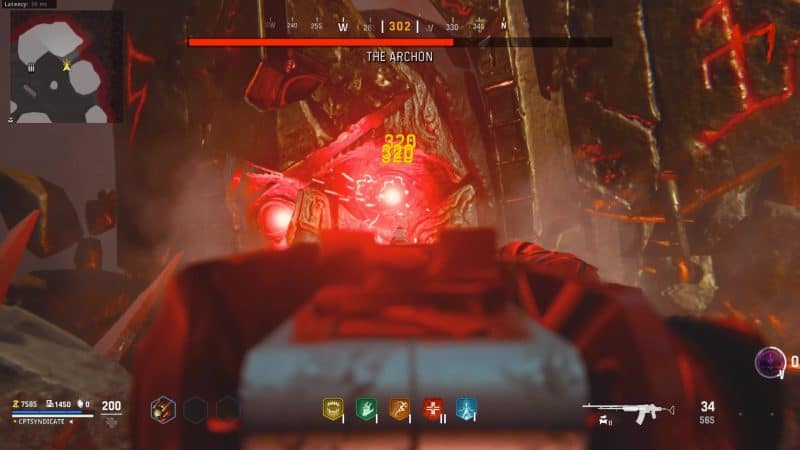
finally concludes with its final round-based map - The Archon. The Archon is a round-based version of
with a green tint.
As expected, the players were not happy with the map, but regardless of how the map was received, the easter egg was long and tedious, with a decent boss fight at the end.
It was clear that the majority of the focus was on the final boss fight to give a proper farewell to possibly the most underwhelming zombies experience to date.
Of all the maps in Vanguard, Shi No Numa is the best, and it is a remastered and slightly reimagined version of the classic map.
In this guide, we've covered everything you need to know about completing the main easter egg quest on The Archon. The easter egg is a multi-step easter egg that can take quite a while to complete. It consists of forging a pack-a-punch machine, completing three trials, and finally fighting Lord Kortifex, the Deathless himself.
Video Guide
Loadout
The loadout in the recent zombies game has been nothing but shotguns, and it remains the same for The Archon. We highly recommend selecting the Einhorn Revolving shotgun with the following attachment as your starting weapon.

**Muzzle**: A5 Smoothbore
**Barrel**: Klauser 560MM Rapid
**Underbarel**: Carver Foregrip
**Optic**: Slate Reflector
**Magazine**: 16 Gauge 7 Round Cylinder
**Rear Grip**: Pine Tar Grip
**Stock**: VDD Hunter
Note that the shotgun isn't viable during the final boss fight. We will change our weapon to a long-range one, preferably an LMG. You can get at least pack-a-punch tier I weapons from wall buys on round 10 and above. We will get to the boss fight weapon when we get to it.
If you're confident, you can do the easter egg with an LMG or other fast-firing weapon such as a PPSh. Feel free to start the map with it, as it will save you some points.
For your field upgrade, we recommend Ring of Fire. You can go with any field upgrade you like, such as Aether Shroud or Frost Blast, but you will eventually need to change it to Ring of Fire.

Ring of Fire is not only needed for a certain step in one of the trials, but also for the final boss fight.
In-game Prep
You need to do a couple of things before starting the trials in this game.
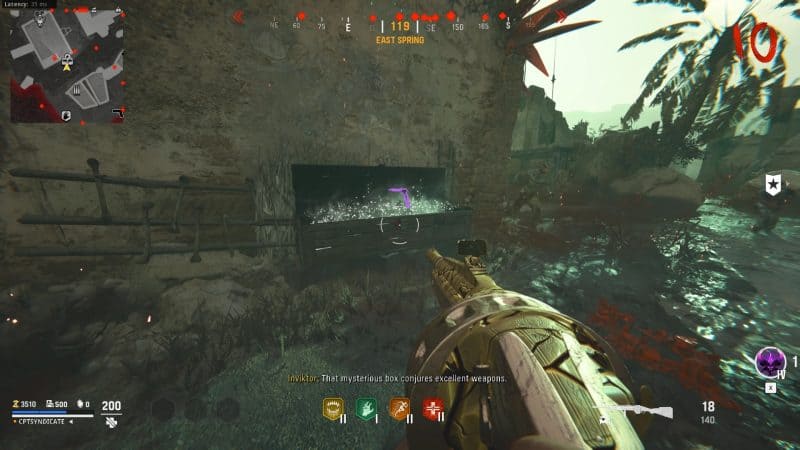
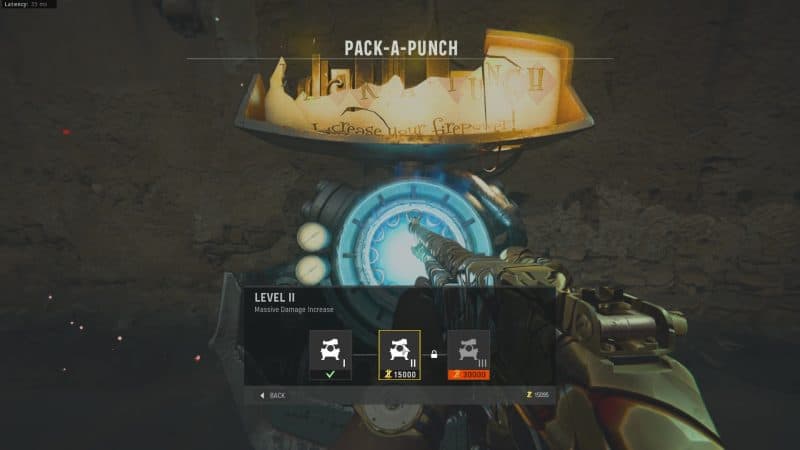
Pack-A-Punch Machine
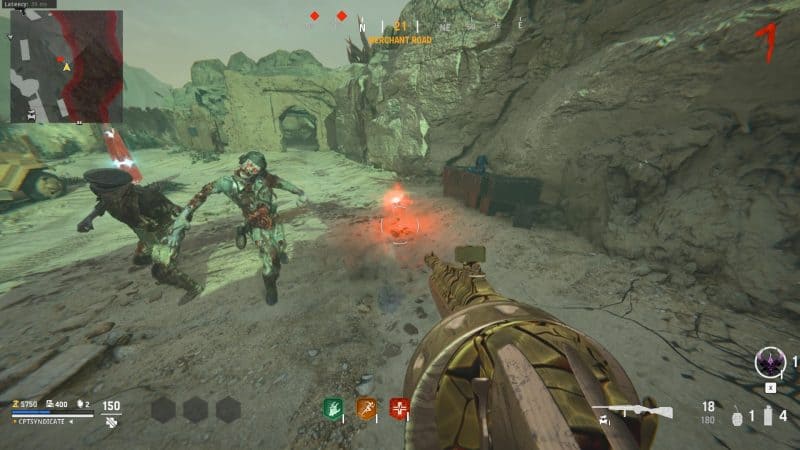
The first step of this easter egg is to forge the pack-a-punch machine. When you first spawn into the map, you will notice that the pack-a-punch machine is not built. It is in a "ghost" state with its top half missing. You will also see a Sturmkrieger and a bunch of zombies around it in a "ghost" state.

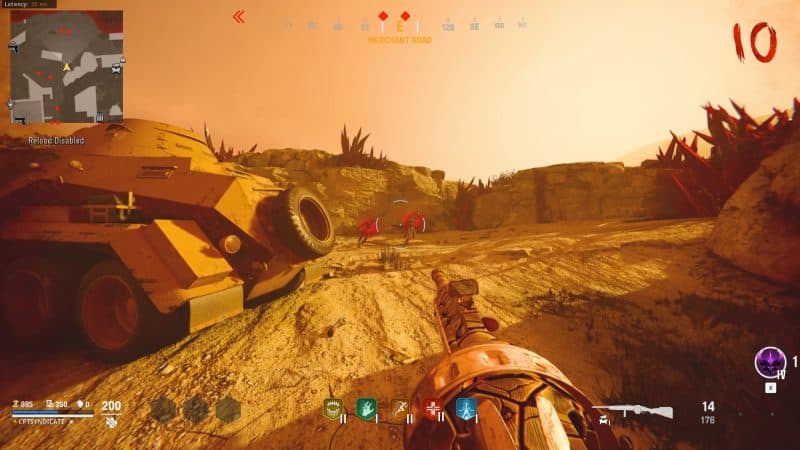
First, kill zombies and rack up at least 8,000 points. Once you have enough points, exit the Temple using the northern barrier, which leads to East Spring.

You can follow the on-screen indicators to get to the pack-a-punch machine parts. Continue forward and go inside the Radio Outpost building at the end of East Spring.

Go through the building, and you will reach Outpost Courtyard. Once again, open the barrier and go through the Storehouse, and you will reach the Jugger-Nog area, The Spike.

You will find one of the parts here.

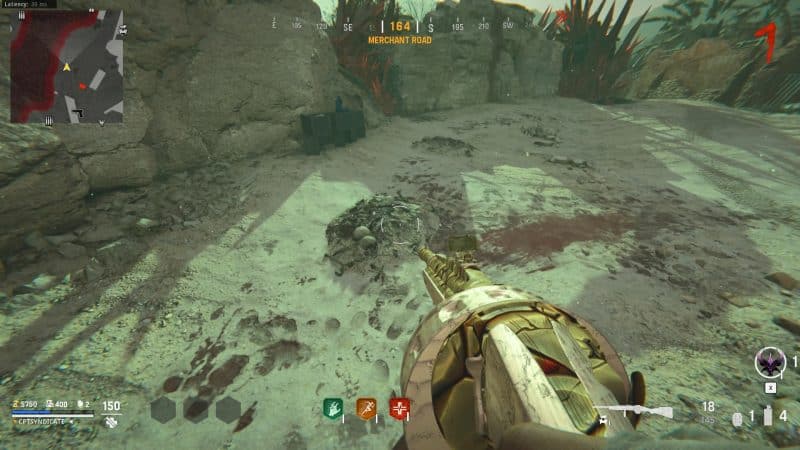
Backtrack all the way to the Storehouse and go through the Merchant Road.

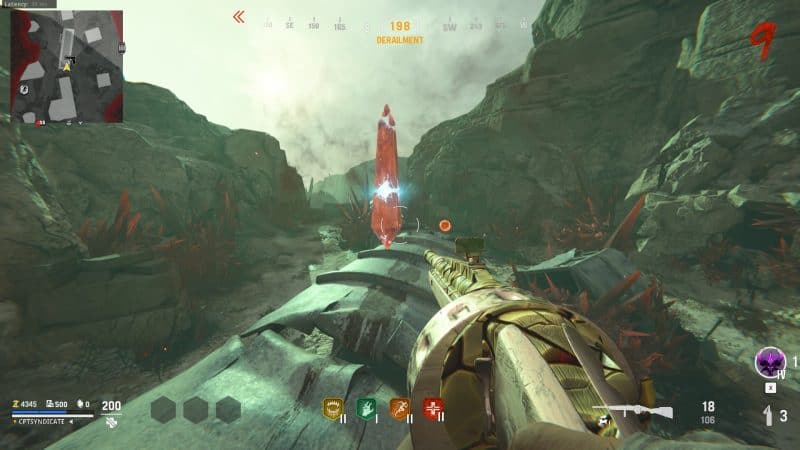
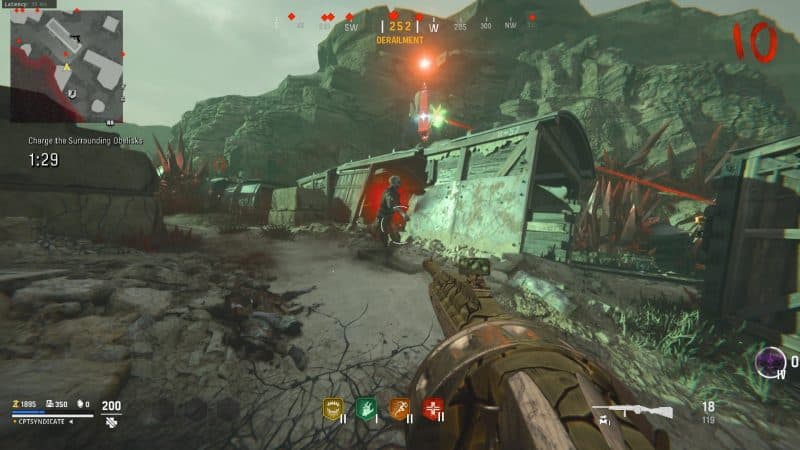
Keep going straight until you reach Merchant Road West. Open up the barrier and continue going southwest towards the Derailment area.

You will find the second part on top of a wrecked train.

Go back to the Temple and interact with the pack-a-punch machine, and all the "ghosted" zombies around the machine will come to life.

Take out the zombies, and you will notice their souls will get sucked into the pack-a-punch machine.

Keep killing the zombies until you get a white flash on your screen indicating the completion of this step. Your pack-a-punch machine will now be fully functional.

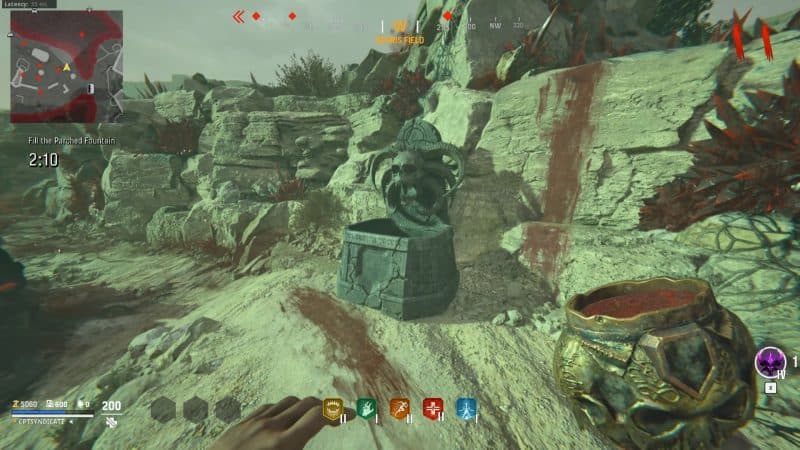
You will also notice a stone podium coming out of the ground directly in front of the pack-a-punch machine.

Once it is out, interact with it to place the Relic Mirror you obtained from the main easter egg quest of Shi No Numa. You don't actually have to complete the Shi No Numa easter egg to have the Relic Mirror. It is obtained by completing the narrative.

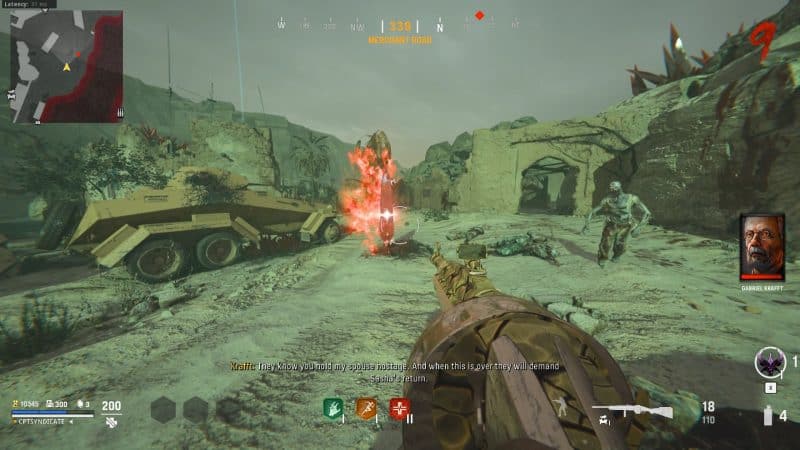
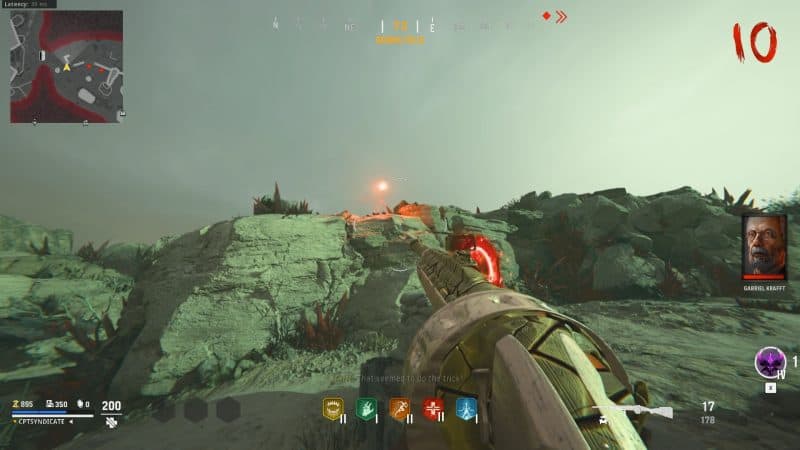
After placing the Relic Mirror, Kortifex's artifact will appear, and he will break free.


After some dialogue, he will disappear, and a portal to Dark Aether will appear to your right. This portal will take you to the boss fight later.

The Shovel
The second preparatory thing you need to do is to find a shovel, as it will be used during the main steps and trials. There are four guaranteed spawn locations for the shovels.
The shovels always spawn in all four of these locations, so you don't have to worry about RNG in this case. Go to any one of the locations and pick it up before moving on to the trials.
Note that these shovel locations are completely different from those found on Terra Maledicta. The dig sites remain the same. Here are the four shovel locations:
Shovel Location 1
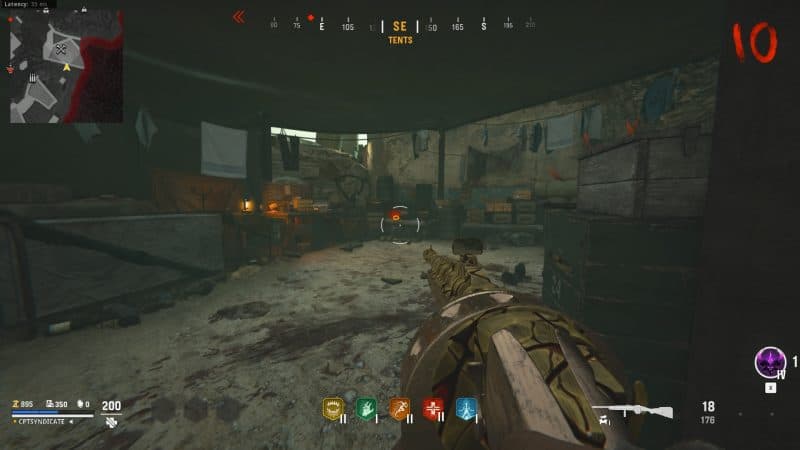
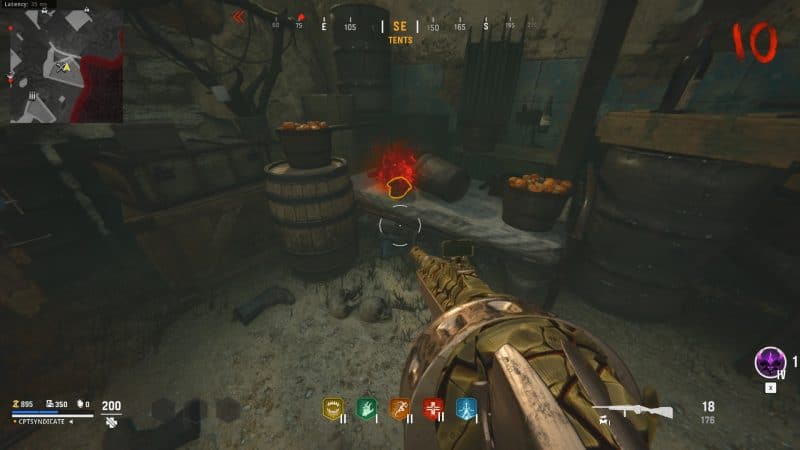
You can find the first shovel in the Tents area on East Spring, next to the Speed Cola perk fountain.

Shovel Location 2
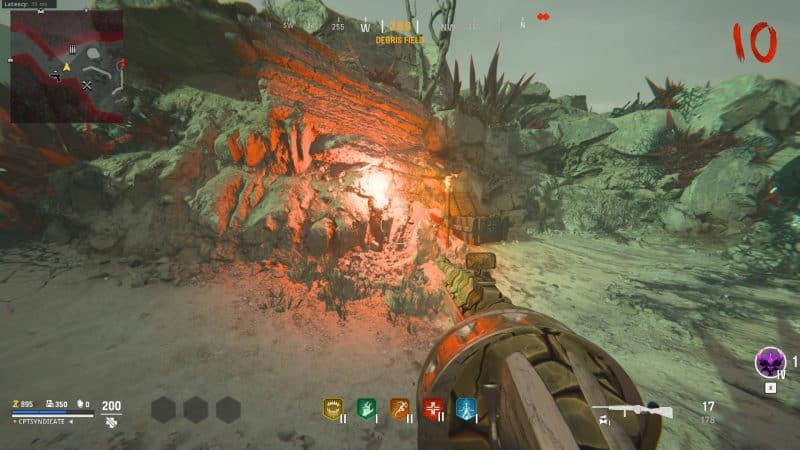
The second shovel is found in Debris Field directly in front of the Quick-Revive perk fountain.

Shovel Location 3
The third shovel is found inside the Bazaar building where the Deadshot Daquiri or Diabolical Damage perk fountain is.

Shovel Location 4
The last shovel is found inside the train in the Derailment area.

Entering Dark Aether
Once you've forged the pack-a-punch machine and obtained a shovel, go back to the Temple and enter the Dark Aether portal that appeared earlier.

Once you enter, you will get some dialogue from Kortifex and the Construct. You need to survive some incoming zombies and then eventually go down. Do not intentionally go down. Just wait for an automatic down.


Do not panic, as this is part of the easter egg. You won't lose any of your perks. After some more dialogue, you will be teleported back to the Temple. Now, you're ready to begin the trials.


nextpage
The Trials
You must complete three trials to be deemed worthy of facing the Kortifex - The Trial of Mindfulness, The Trial of Sacrifice, and the Trial of Resilience.
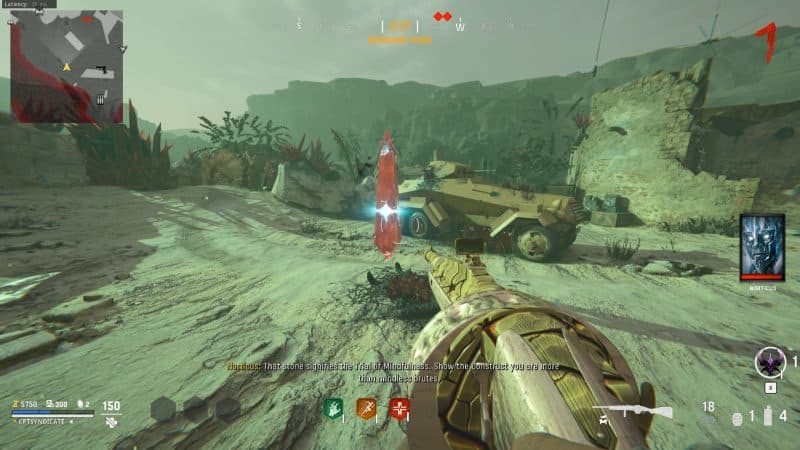
The Trial of Mindfulness
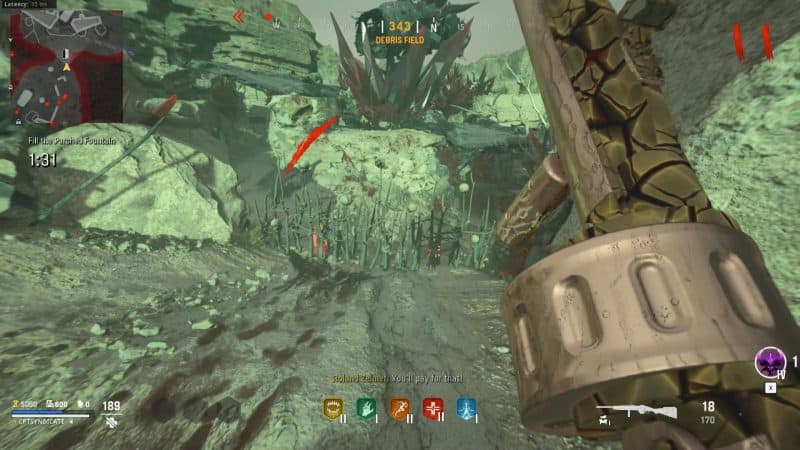
The Trial of Mindfulness is probably the most difficult out of the three and the most tedious. It can also get annoying, so we recommend getting it done and out of the way in the earlier rounds.
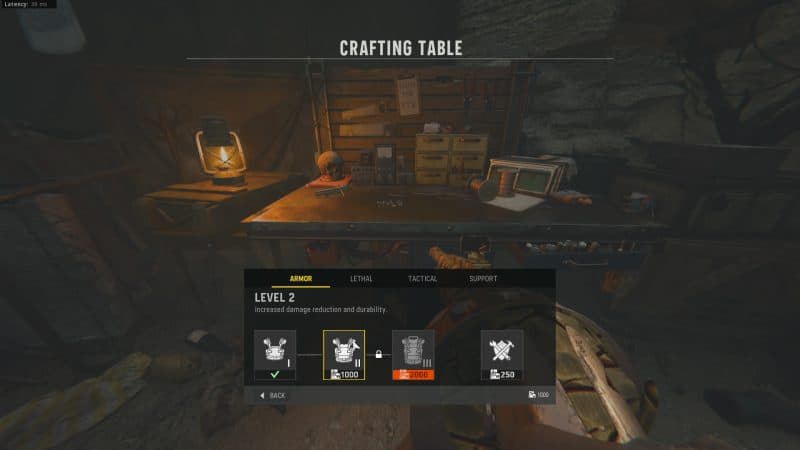
It would also help to craft at least tier II armor for this as you need to tank some damage. Without armor, you will die and lose your self-revive kit, which may prove useful in the boss fight. Purchasing another self-revive kit is quite expensive and requires 3,000 salvage. It is not worth going down for.
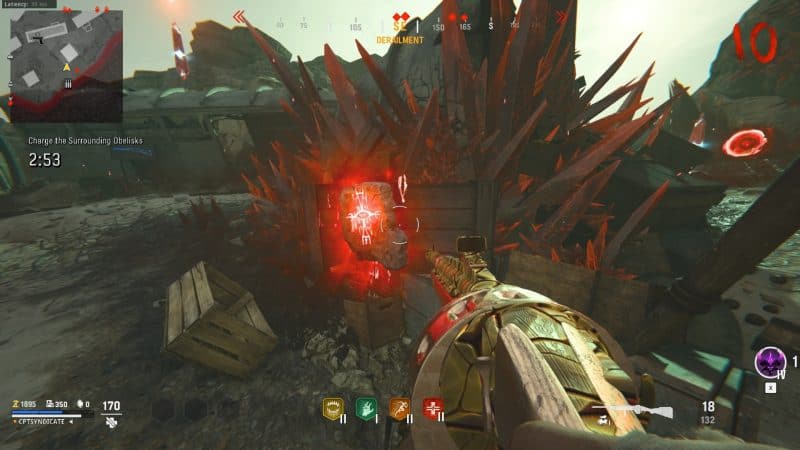
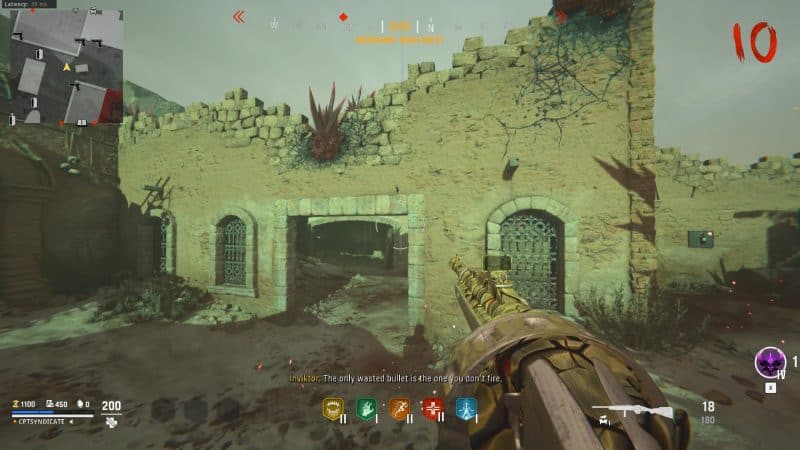
Once ready, go to Merchant Road, where you will find an Obelisk near the Storehouse.
There are a couple of dig spots around the Obelisk. You can identify the dig spots as they will have a dirt mound. They will be sticking out of the ground. It is not hard to notice.
Keep digging around the Obelisk; a red orb will eventually fly out of the dig site. It will fly into the wall next to the Obelisk and stay there.
We recommend doing this trial at the end of the round with only one zombie alive, or else it can get a bit hectic. It requires concentration and memorization of symbols. Moreover, the tests in this trial are time-limited.
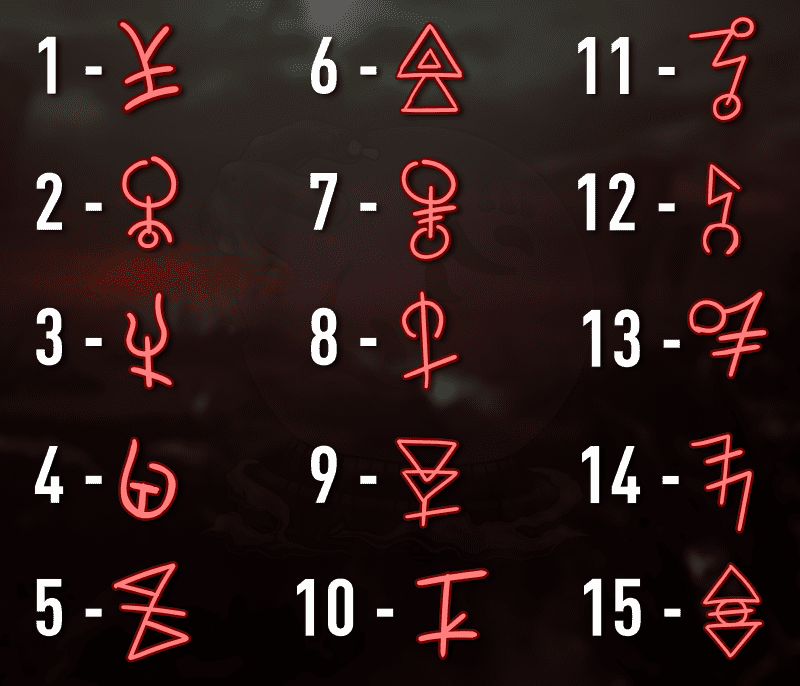
Interact with the red orb, and the first test will begin. You will see three rune symbols appear in a set sequence.
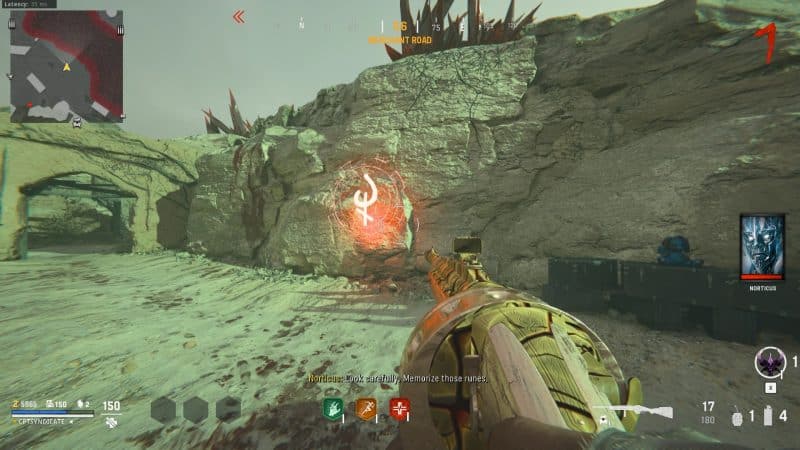
Remember the order in which each rune symbol appears. The same rune symbols will then appear on the ground.
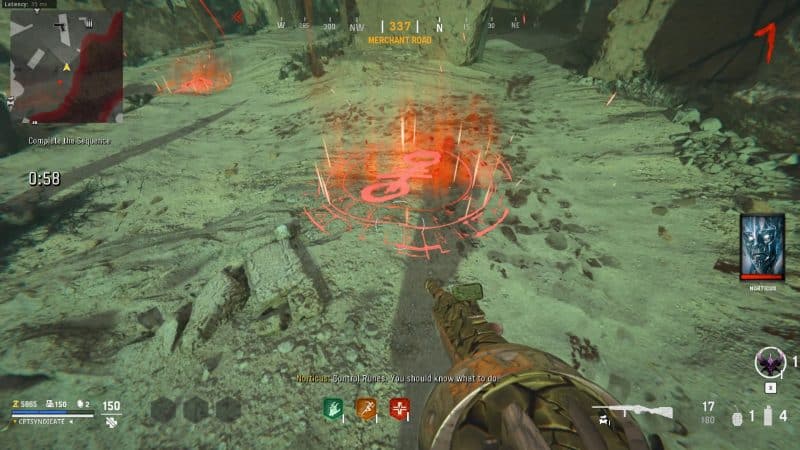
You need to step on the rune symbols and capture them in the same order they appeared on the wall.
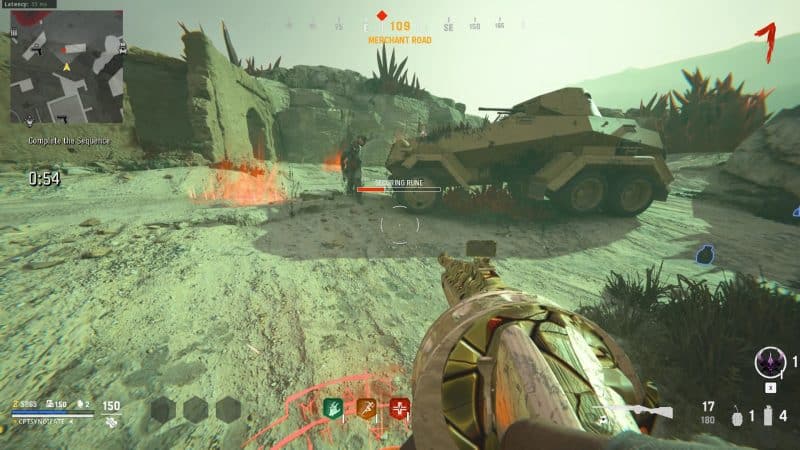
You will only have one minute to capture the runes in the given order.
When you capture the last one, your screen will go "orange," and you need to survive the zombies for one minute.
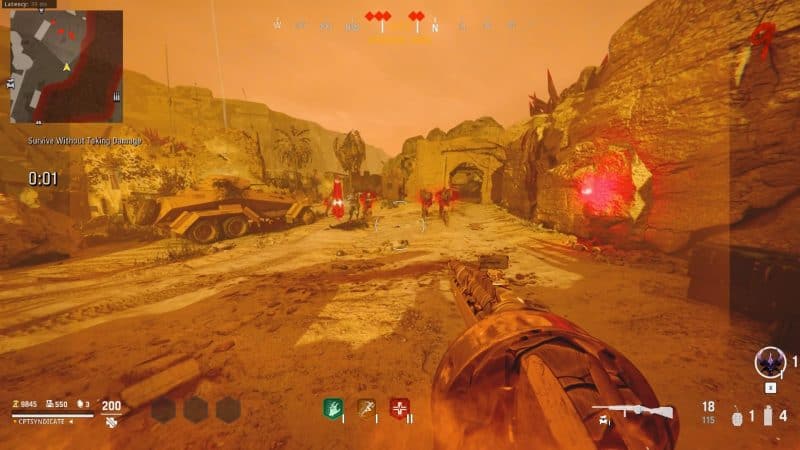
During the survival period, you can get random challenges or conditions to survive the timer. The challenges can include using the given pistol only, taking no damage, regenerating health by killing zombies, killing zombies with headshots only, etc.
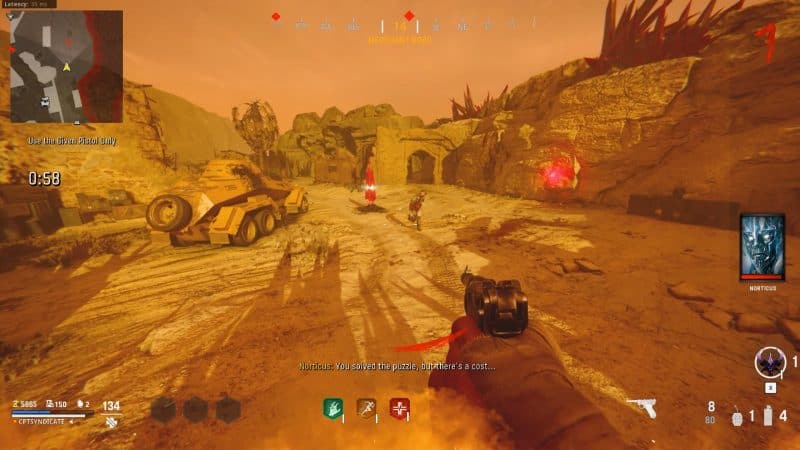
Note, unless the challenge includes eliminating zombies, you can ignore the zombies and run around until the timer ends. If you do get a challenge to eliminate zombies, eliminate the ones with a red aura around them. They are challenge-spawned zombies, and killing them won't skip the round.
Once the challenge is complete, you need to repeat the same two more times. Each time, the number of symbols shown in the sequence will increase by one. So, you need to remember four symbols the second time and the third time, five symbols. Also, remember, at the end of every capture, your screen will get an orange tint with a random challenge or condition.
Once you've completed the third one, you will see the orb fly on top of the Obelisk. This means you can begin the main trial. Before you go for the trial, it is best to have at least two decoy grenades.
Interact with the Obelisk, and the trial will begin.
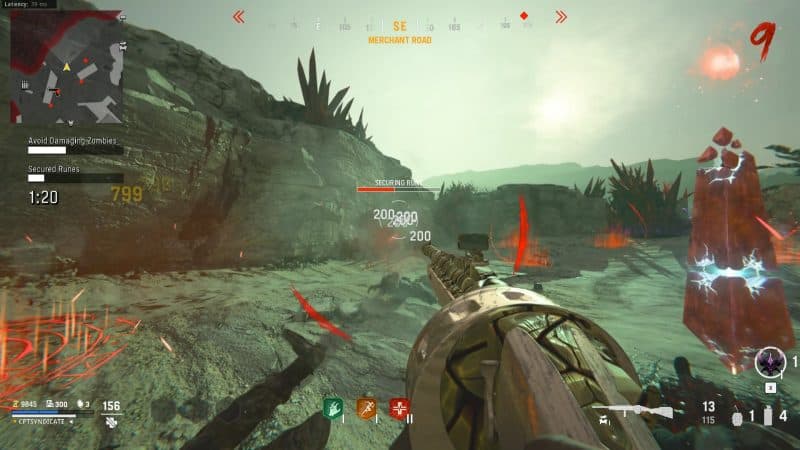
You must capture the runes and fill up the bar at the top-left corner of your screen, just under the mini-map.
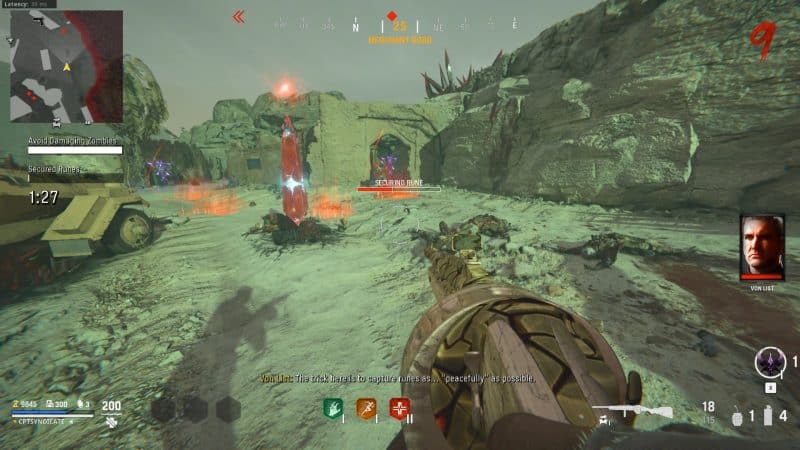
You will also see an "avoid damaging zombies" bar. You need to capture the runes without damaging any zombies. You can only damage so many zombies before you fail the trial. The more you damage the zombies, the more the bar will deplete. It won't affect the rune capturing progress but will deplete the damage progress bar.
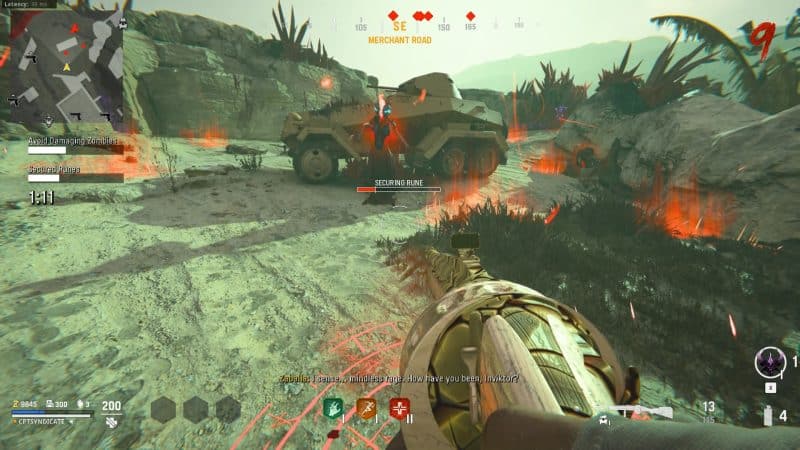
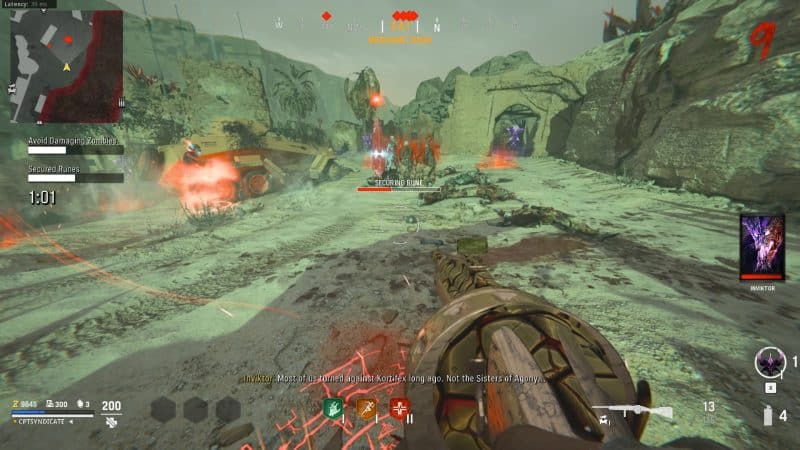
Zaballa will also spawn. The best way to deal with her is to run away as soon as she is about to teleport to you.
Use decoy grenades to keep the zombies occupied as you capture the rune symbols.
If you're playing solo, you must capture six rune symbols to complete this trial.
After the completion of the trial, the Obelisk will start to glow with a red flame around it. This indicates that the trial is now complete.
You can use the cheat sheet given below to easily solve the Trial of Mindfulness. Numbering the symbols helps remember better. The cheat sheet credit goes to r/Myst3ryo on Reddit.
Trial of Sacrifice
The Trial of Sacrifice Obelisk is in the Derailment area.
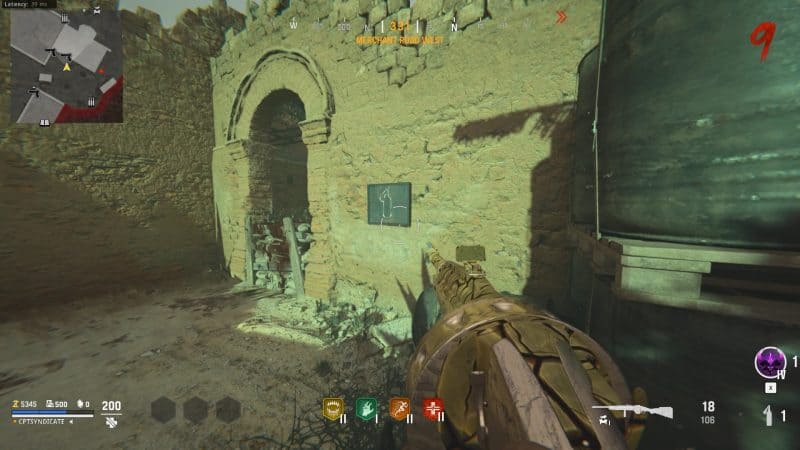
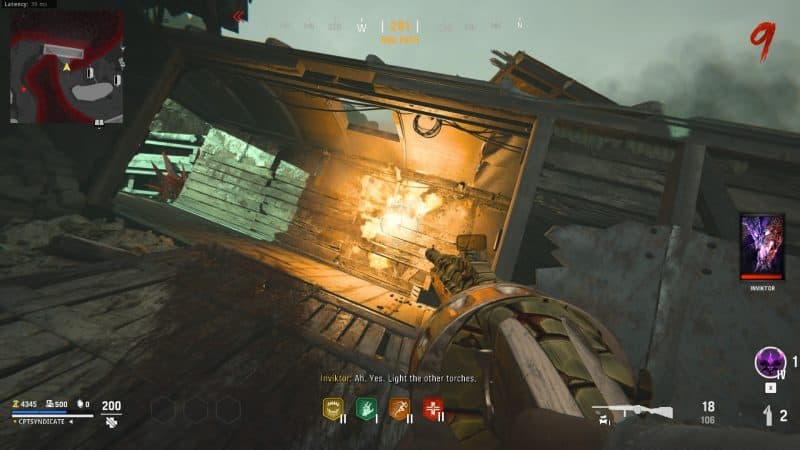
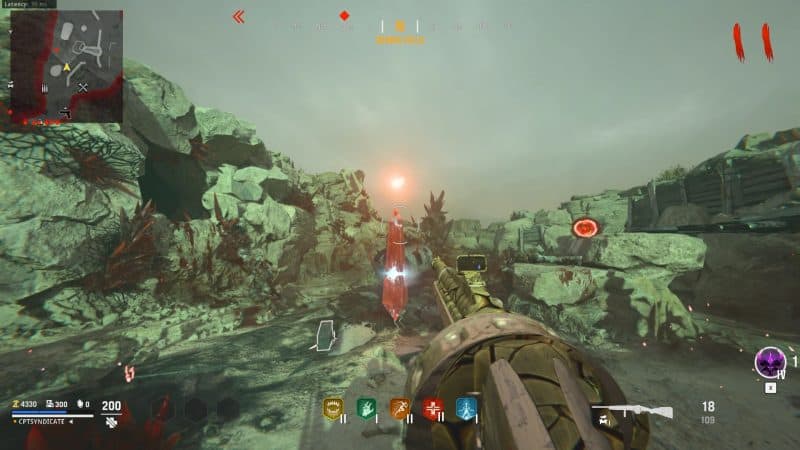
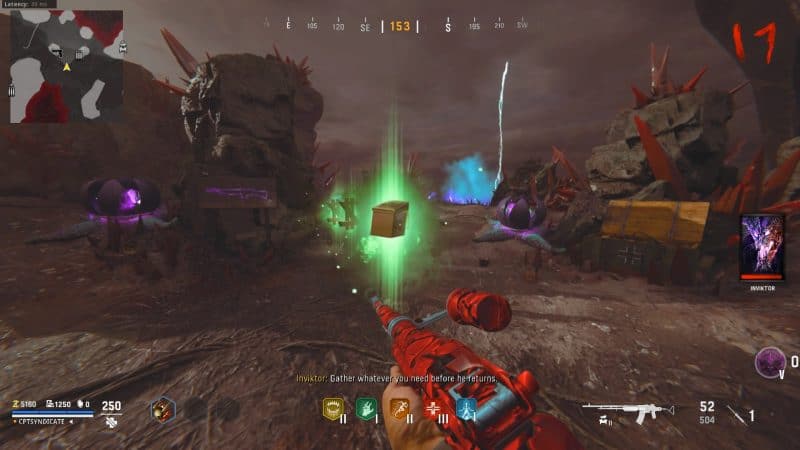
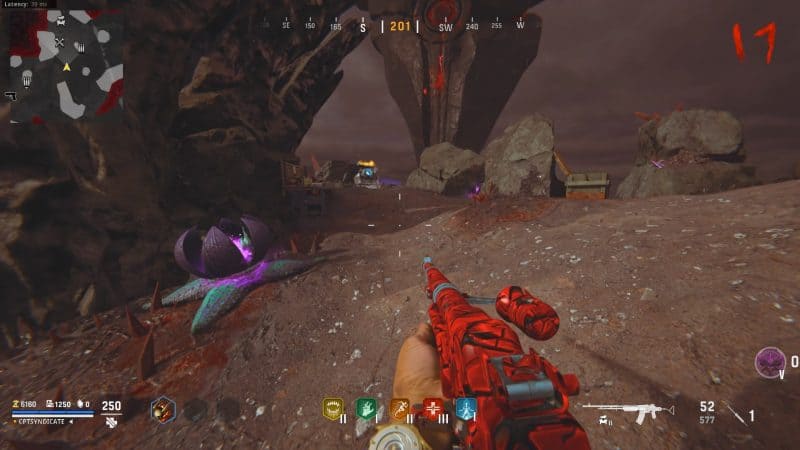
To do this trial, you need to first acquire three Molotov. You can get them by destroying red crystals scattered around the map, killing zombies, crafting, or buying from the new wall buy on Merchant Road West.
Purchase three of them and make your way to the Derailment area. You need to use the Molotov to light up three torches. The following are the locations of the torches.
Torch Location 1
The first torch is inside the train at the entrance of the Derailment area. Throw your Molotov on the marked location to light it up.
Torch Location 2
Proceed towards the Derailment area, and you will find the second torch right ahead of you on a flipped-over cart surrounded by red Dark Aether crystals.
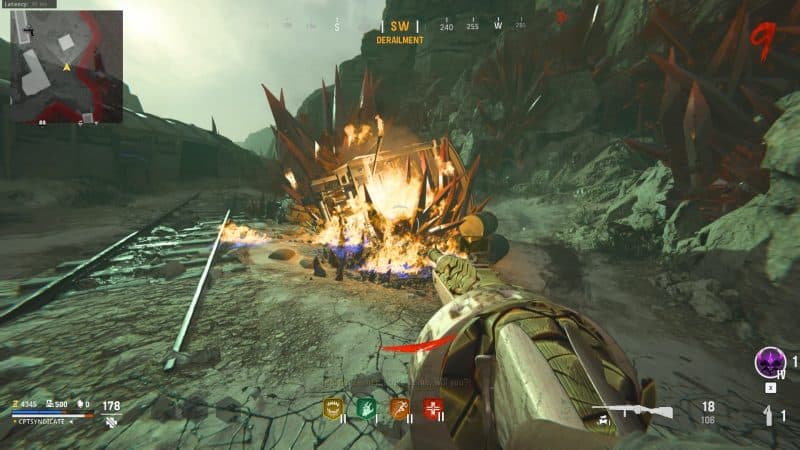
Torch Location 3
The last torch is right behind the second torch location. It is on a bunch of wooden crates surrounded by red Dark Aether crystals.

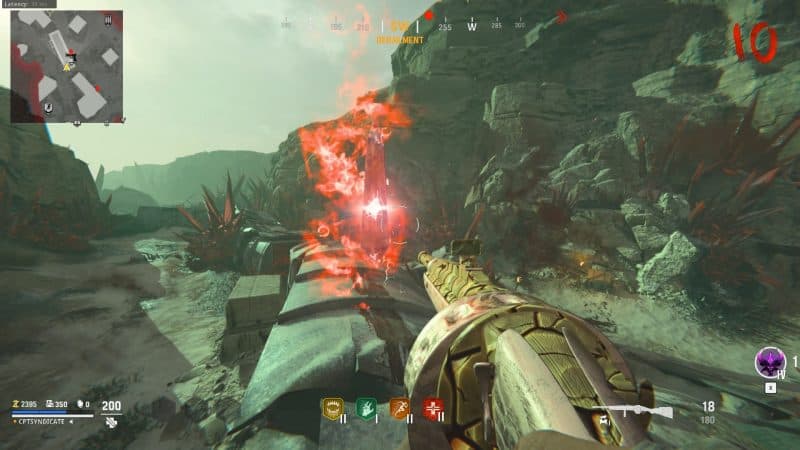
Upon lighting the third torch, a red orb will come out, and it will stay there. Now, you need to sacrifice a pack-a-punched weapon to the orb to advance.
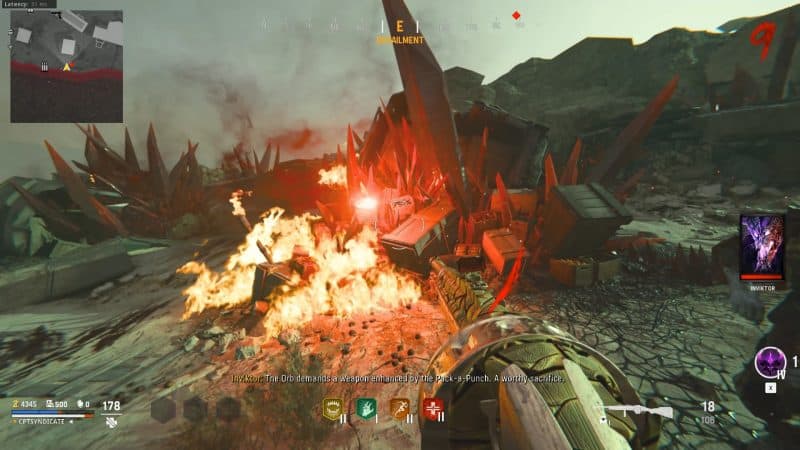
The best way to do this is to purchase a weapon from one of the wall buys or from a mystery box. The mystery box method is a 50/50 chance as you can either get a pack-a-punched weapon or a regular one.
To guarantee a pack-a-punched weapon, go to any one of the walls buys and see if the color of the weapon is blue. After round 10, you can purchase pack-a-punched weapons from the wall buys.
Blue indicates a pack-a-punch tier I weapon. Purchase that and sacrifice it to the orb. First, equip the weapon and interact with the orb to sacrifice that weapon.
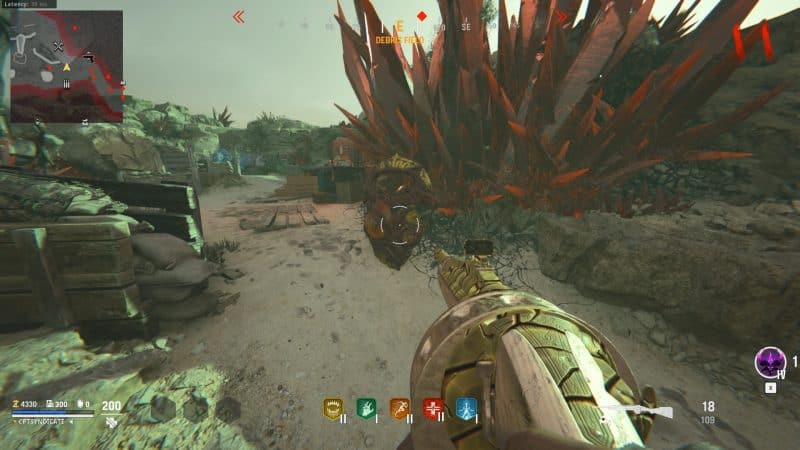
Be careful not to accidentally give your shotgun. After sacrificing your pack-a-punched weapon, a stronger version of the Sturmkrieger will spawn.
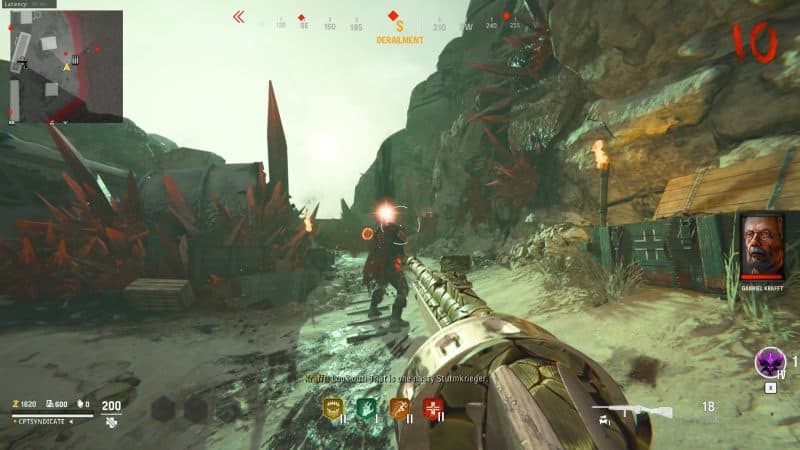
Take him out, and a red orb will fly on top of the Obelisk. This indicates that you can now begin the Trial of Sacrifice.
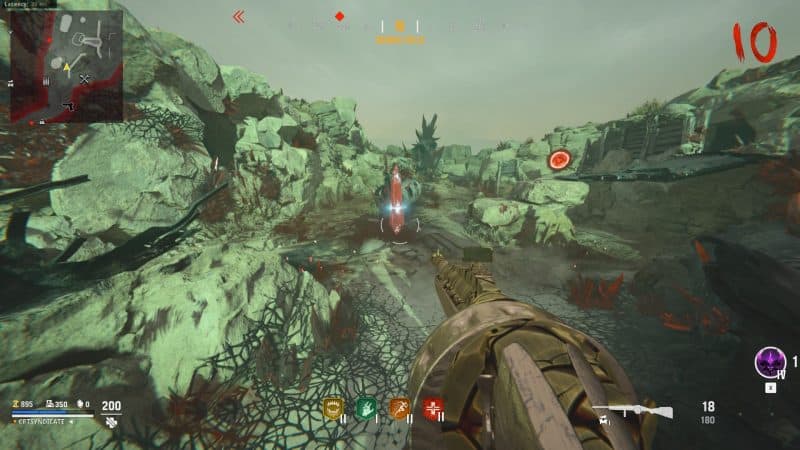
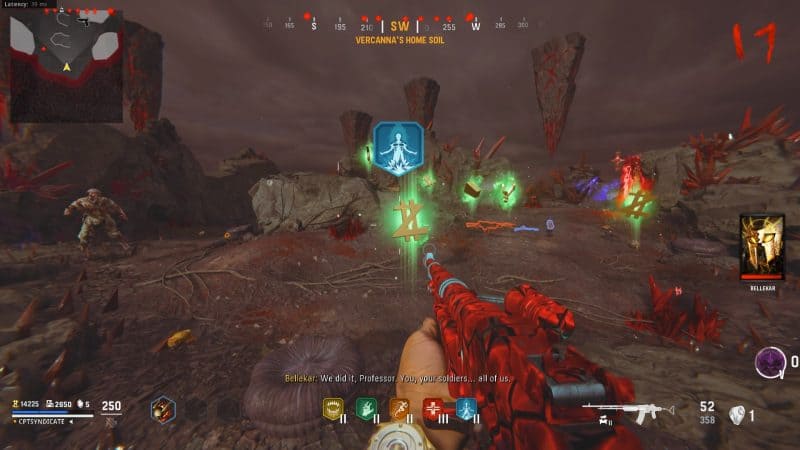
Interact with the central Obelisk to begin the trial. Four more Obelisks will spawn in each corner of the Derailment area. You need to fill them up with zombie souls.
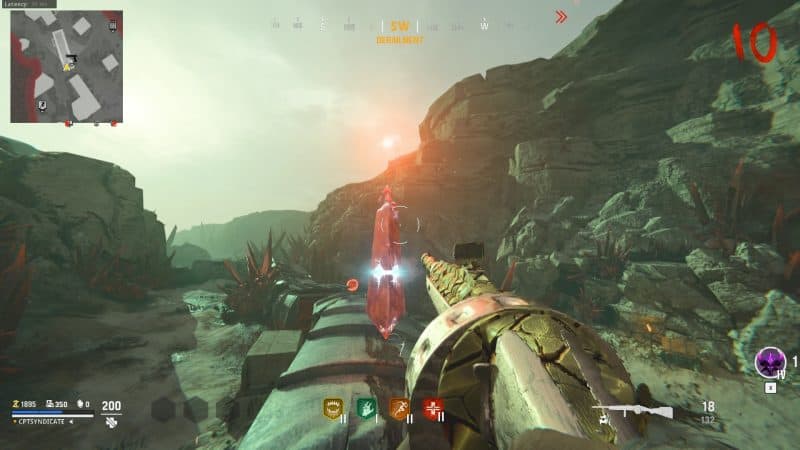
This is the step where you must have the Ring of Fire field upgrade equipped. If you do not have the field upgrade equipped initially, you can find a new runestone by the third torch. Interact with the runestone to equip the Ring of Fire field upgrade.
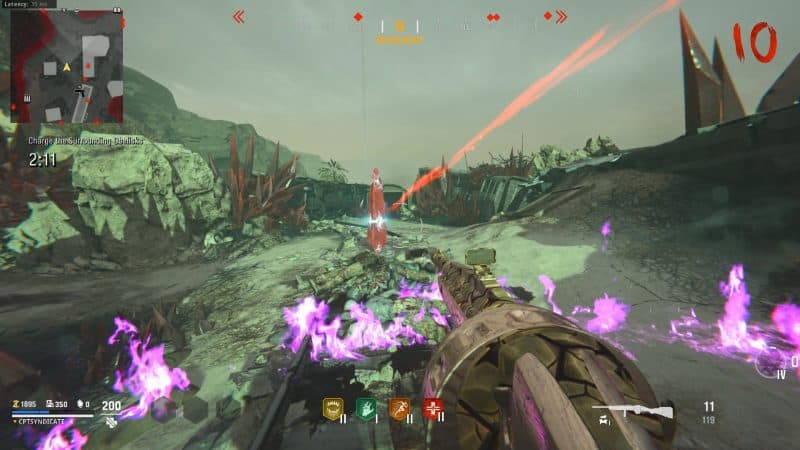
Go to one of the four Obelisks, activate your Ring of Fire, and eliminate zombies to charge the Obelisks up. Note that you only get three minutes to charge all four Obelisks.
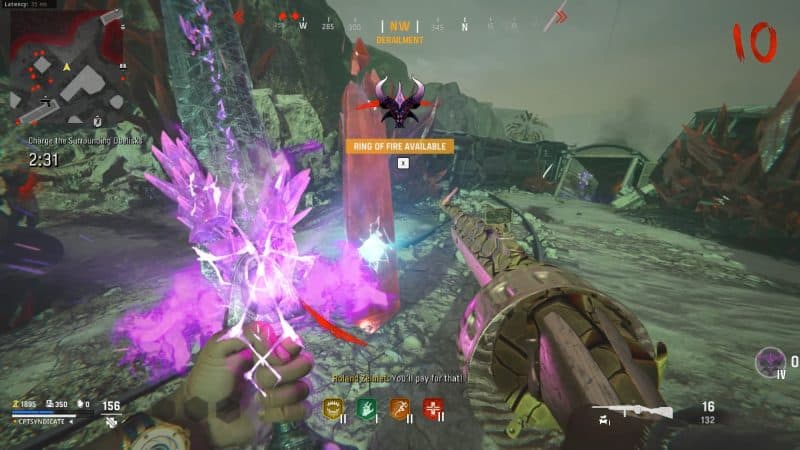
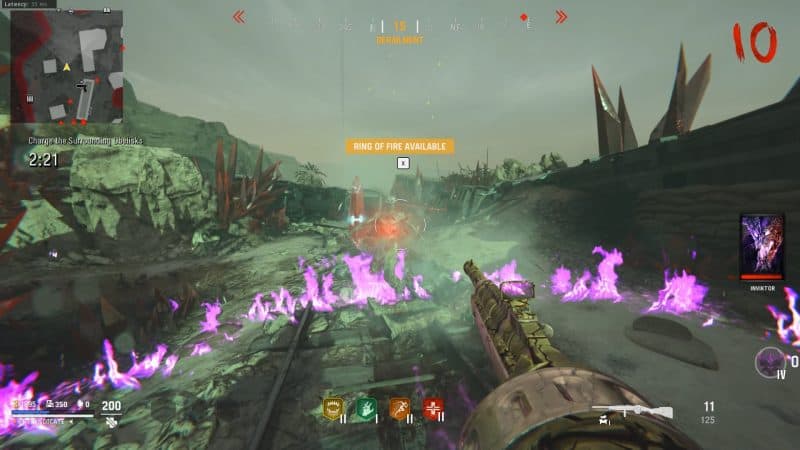
You need around five kills per Obelisk. Once you've got enough kills, a red beam will shoot out of the Obelisk and into the middle Obelisk. This indicates that one of the four Obelisks is charged.
You need to quickly recharge your field upgrade. You can easily do this by killing zombies near the central Obelisk. Once you have enough kills, the central Obelisks will spawn a 'Full Power' drop for you.

Pick up the drop and repeat the same with the rest of the Obelisks. Once done, the central Obelisk will glow with a red flame, indicating the completion of the Trial of Sacrifice.
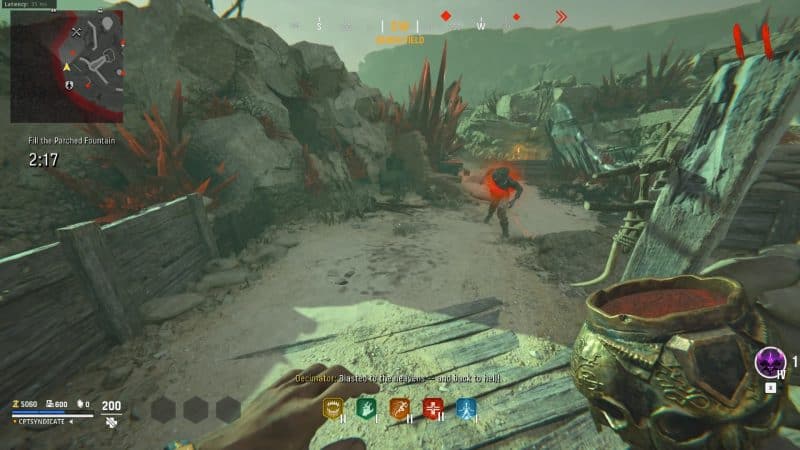
Trial of Resilience
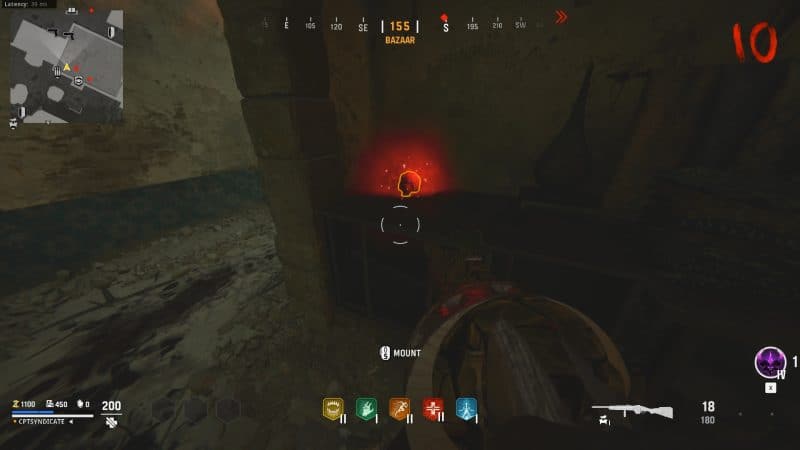
The final trial is the Trial of Resilience, and the trial Obelisk is found in the Debris Field. It is the area with the Quick-Revive perk fountain.
The first step is to once again find a red orb to do the pre-trial steps. There are red Dark Aether crystals found outside the map, at least three or four around the area.
You need to shoot them, and one of them will have the red orb. You can identify the crystals from their unique glow. The glowing crystals can be broken. As mentioned before, there are not a lot of crystals out of bounds, so shooting one or two should do the trick.
The red orb will come out of the crystal and stick on the wall near the ammo crate.
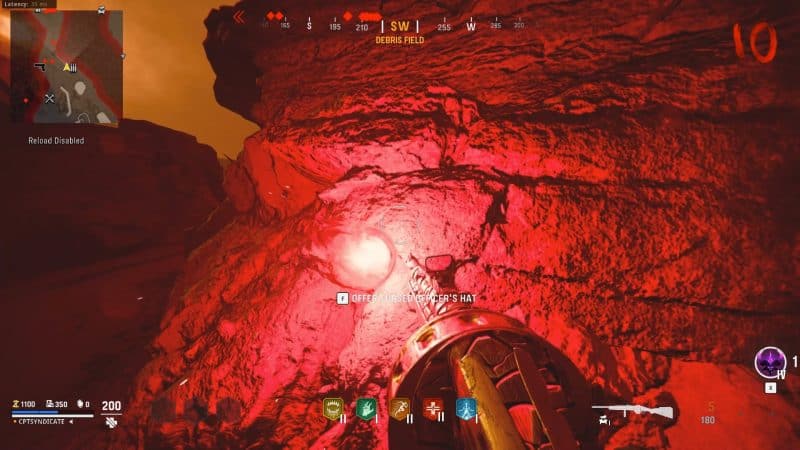
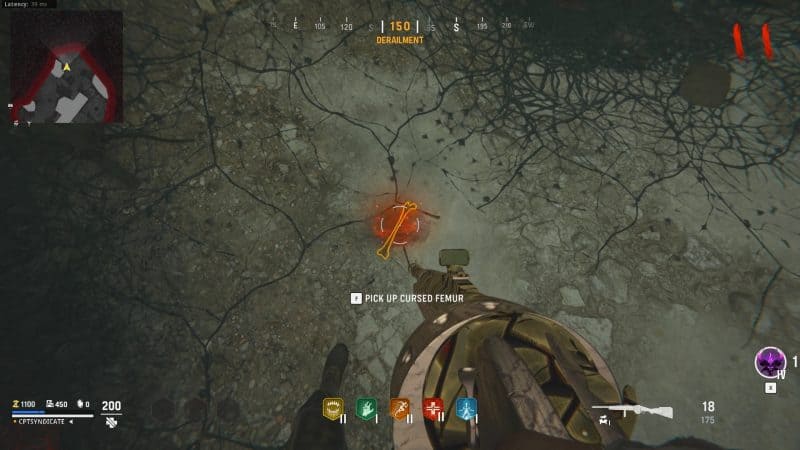
Next, you must find three cursed objects and bring them to the red orb. Note that when you're holding the cursed objects, you cannot sprint. You can only walk while multiple zombies spawn to stop you.
It is also worth noting that every time you carry one of the cursed objects back to the orb, you get a random challenge such as reload disabled, hip-fire only, or killing enemies causes you damage.
Cursed Officer's Hat
The first cursed object is an officer's hat. You can find it on a table by the Tents area crafting table. The cursed objects glow brightly in red. So, they're hard to miss.
Pick up the object, and bring it back to the orb. Interact with the orb to offer the object.
Cursed Skull
The second cursed object is a cursed skull found inside the Bazaar building. It is on a cabinet in a dark narrow corridor on the right side of the Diabolical Damage perk fountain.
Cursed Femur
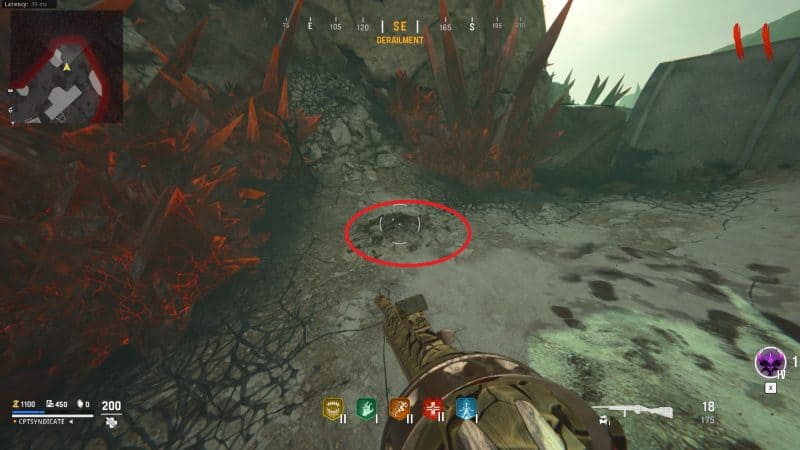
The final cursed object is in the Derailment area. You need to dig a spot to get it. It is always the same spot in the back of the Derailment area.
Once you've done that, as always, the red orb will go on top of the Obelisk.
You will also find that the Decimator Shield is also freed now. You can equip it. It will be used in the completion of this trial.
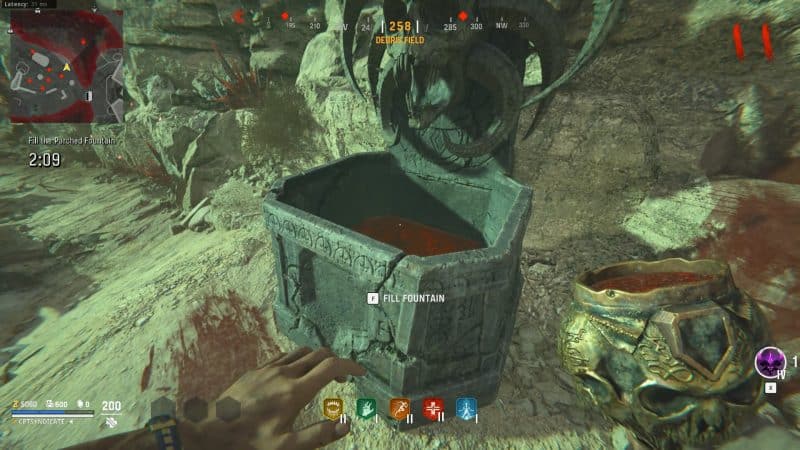
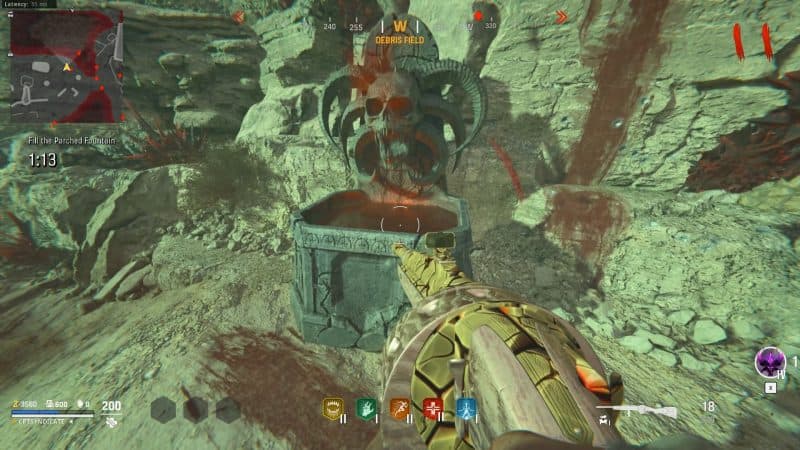
Interact with the Obelisk to start your third trial. In this trial, you must fill an empty perk fountain in the Debris Field.
To do that, use the Decimator Shield blast to destroy Scyphoncores.
Once destroyed, you will see a pool of blood. Interact with it to get a cup filled with blood.
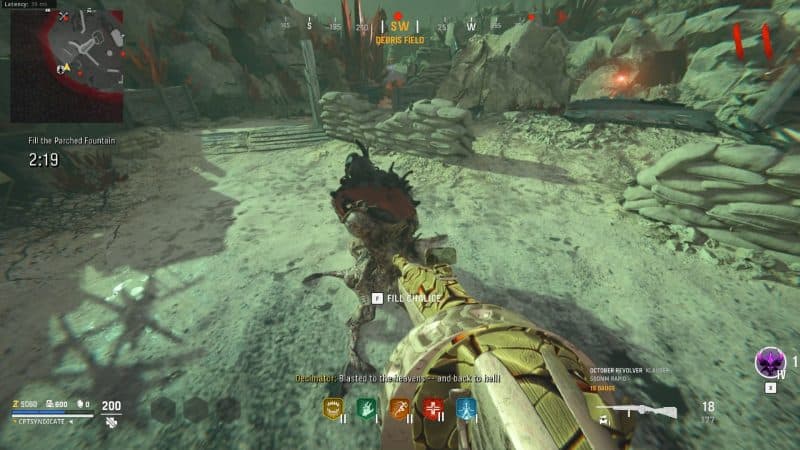
Once you equip the cup, you cannot sprint. Take it over to the fountain and interact with it to fill it up.
You can find three Scyphonecores in the area. Two in Debris Field and one next to the Jugger-Nog perk fountain in the Spike area.
Ensure that the barrier from the Debris Field to the Spike area is opened. Or at least have 1,500 points to open the barrier to get to the last Scyphonecore during the trial. If you do not have enough points during the trial to open that barrier, you cannot do anything. You do not earn points for killing the zombies spawning during your trial. You will fail the trial and will have to skip a round to repeat the trial.
Once the fountain is filled, your trial will be completed.
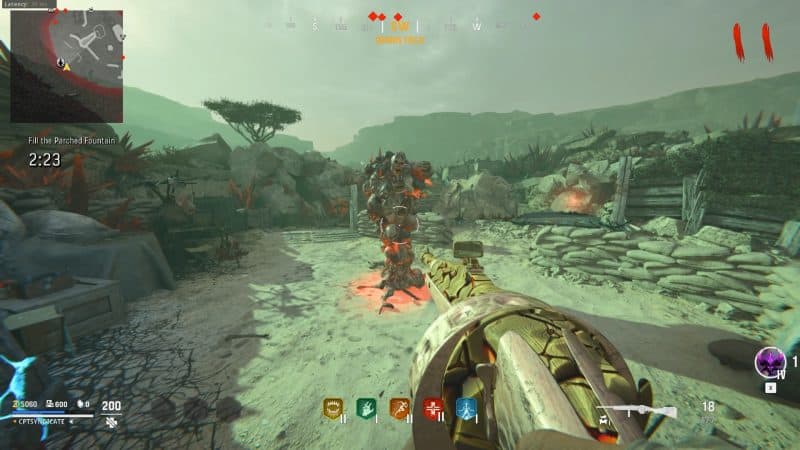
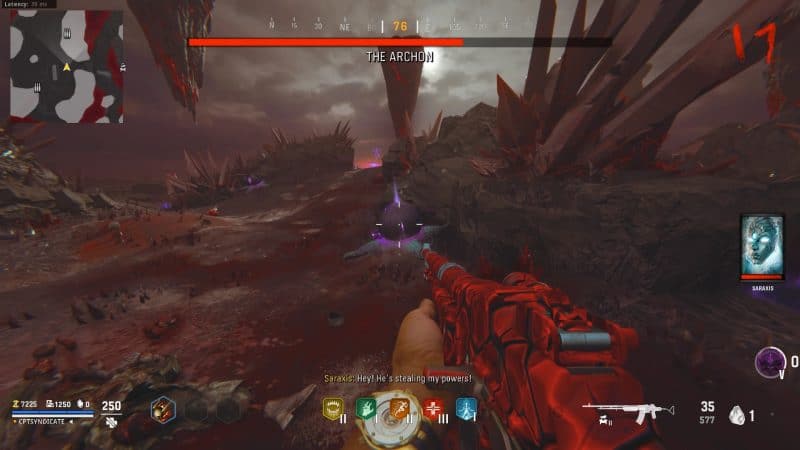
Boss Fight
You can now use the next couple of rounds to prepare for the boss fight. We highly recommend preparing for it as the boss fight isn't as easy as one would think.
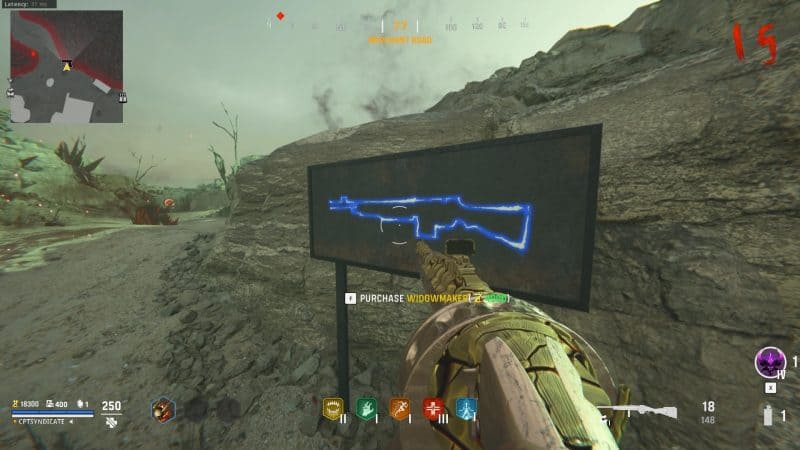
First, you need a good long-range weapon instead of a shotgun. LMGs are great against Kortifex. You can purchase the Widowmaker from the wall buy on Merchant Road. Be sure to buy it early on as the pack-a-punch tier of the weapon will increase as you progress through the rounds preparing for the boss fight. This means the weapon cost will also go up. You can pack-a-punch the weapon using the pack-a-punch machine once you've bought it.
Make sure to pack-a-punch your LMG to at least tier II. It would be best to pack-a-punch it to tier III if you can, as it deals the most damage. Kortifex is tanky.
Other important things include getting at least the Diabolical Damage tier II perk, Jugger-Nog tier III, and Stamin-Up tier II.

Keep your Ring of Fire field upgrade and upgrade it to at least tier IV before jumping into the boss fight. You can do it by going to the Tome of Rituals.

Also, do not lose the Decimator Shield, as it helps a lot during the boss fight. It finally has a good use.
When you're ready, go through the portal in the pack-a-punch area in the Temple. This is a point of no return, so make sure you're ready.

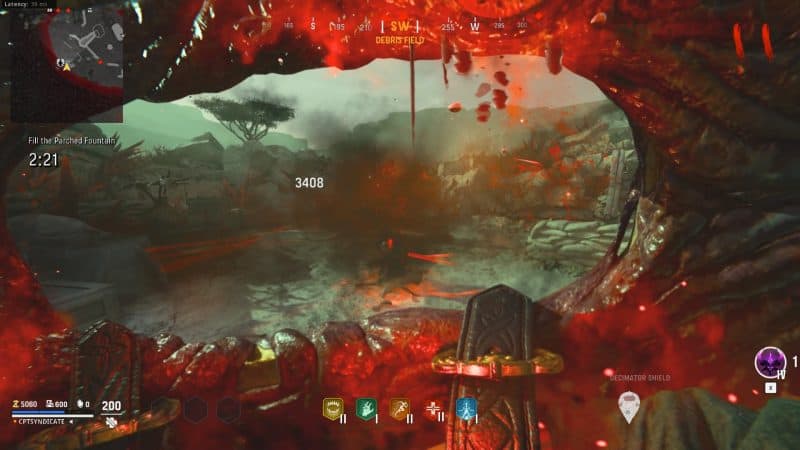
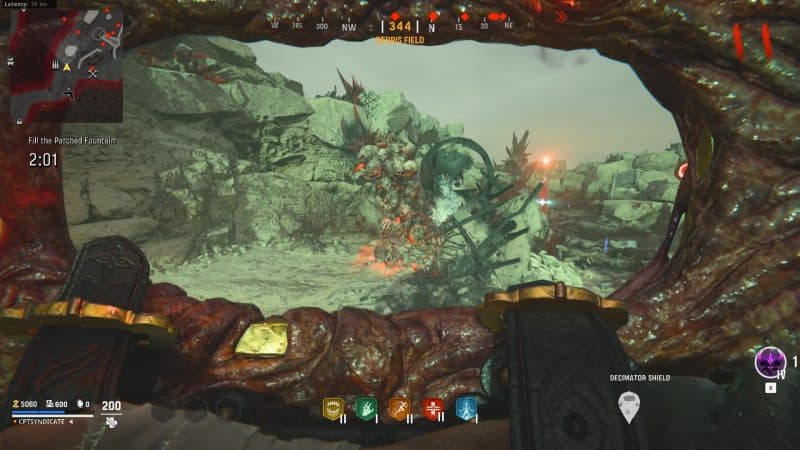
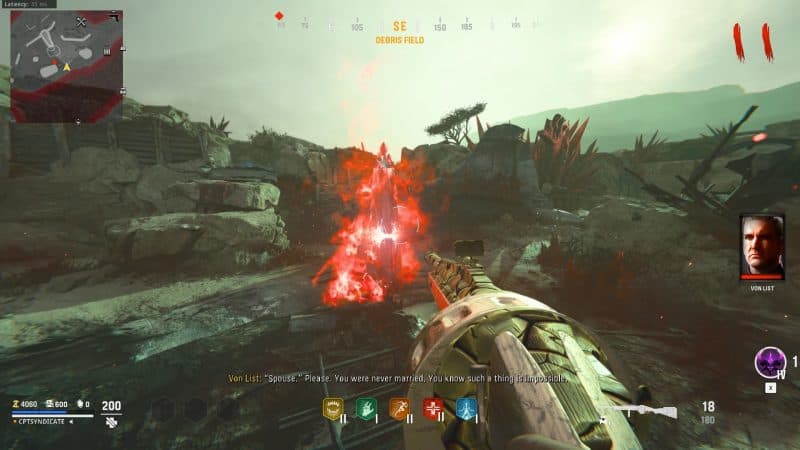
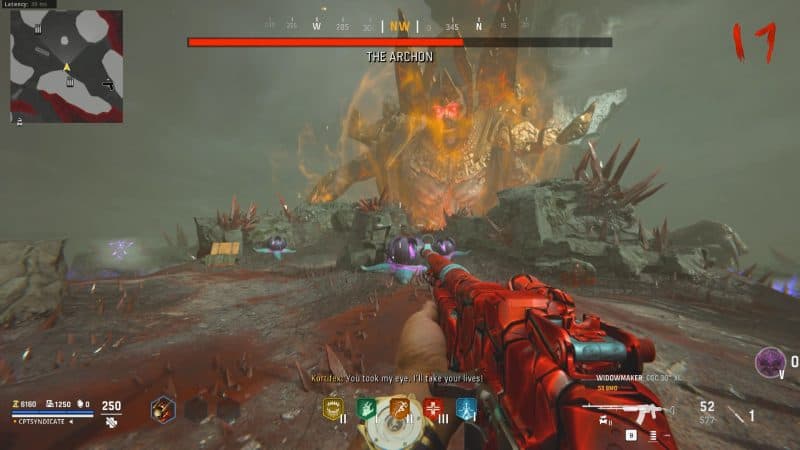
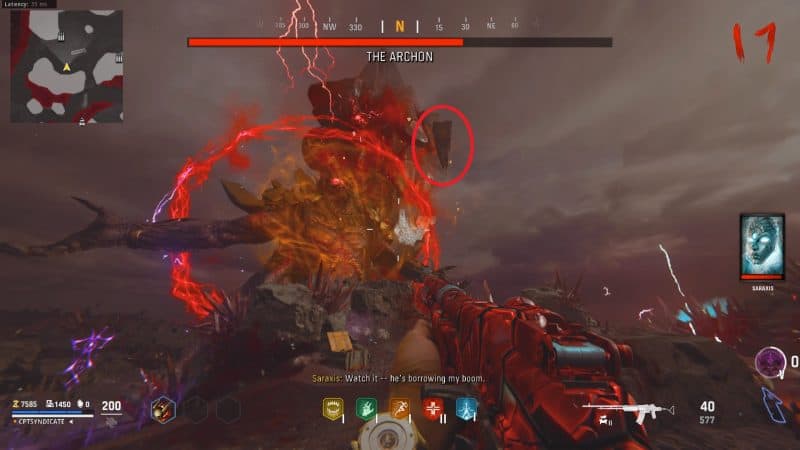
The boss fight has three phases. In the first phase, Kortifex will send a couple of zombies, including Boom Schreiers, and also a large red orb that deals a lot of damage.
The purple pods you see around the map damage you by spraying a purple gas. It's not a lot of damage, but it can down you if you're already damaged enough by the zombies.
The area is quite small, and you cannot move around until you complete the phase. The pods will come in handy in phases two and three. You can shoot the pods to temporarily disable them.
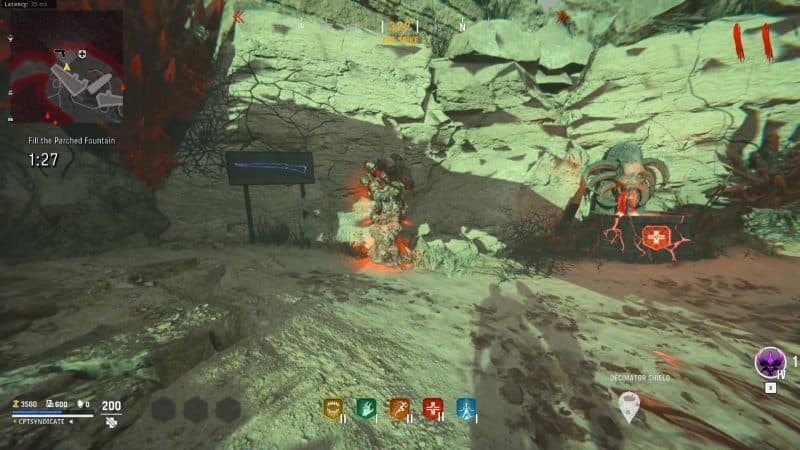
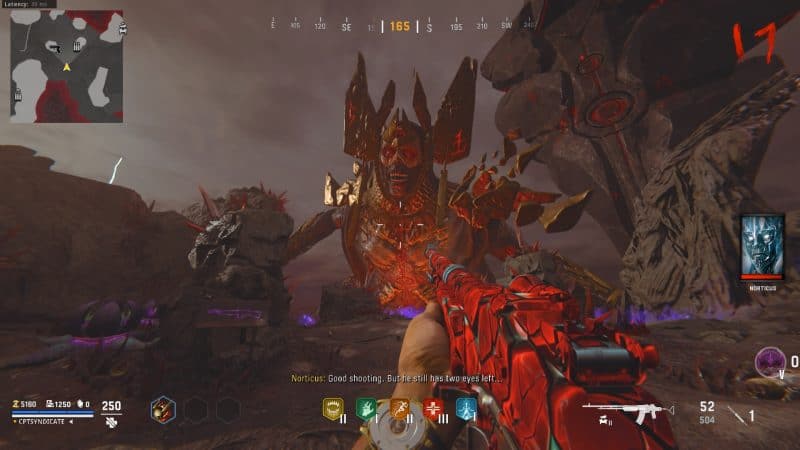
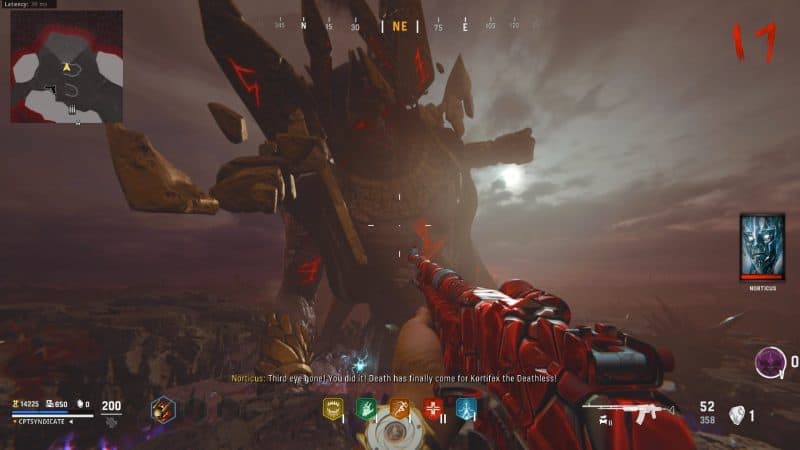
After some dialogue, a giant Kortifex will spawn in front of you by the Construct. He will first spawn some zombies. Quickly get rid of them.

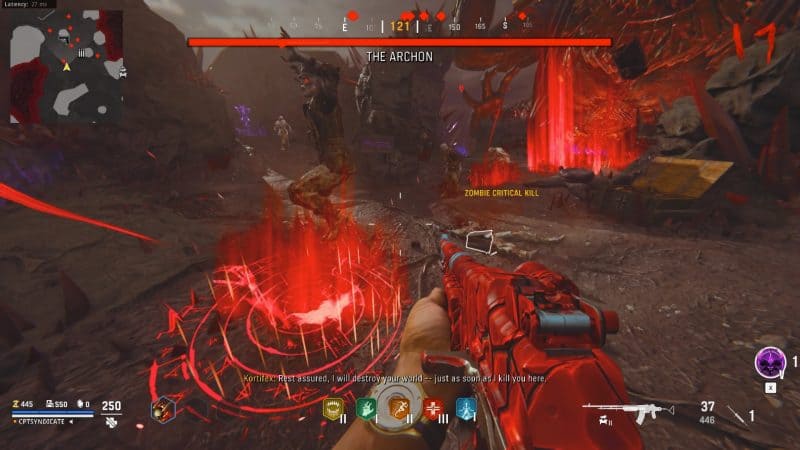
Also, be on the lookout for a red orb in the sky. As soon as Kortifex fires his red orb towards you, take out your Decimator Shield and look towards the orb to block it. The shield not only blocks the orb but also completely destroys it.
The orb is quite annoying if you do not block it. It stays on the map for around a minute and keeps following you. If you come in contact with the orb, especially if you don't have armor, you will go down.
The good news is that you can use the Decimator Shield blast to destroy the orb. But you need to be up close to the orb for it to be destroyed. For some reason, being at a distance while blasting the orb with your shield is inconsistent.
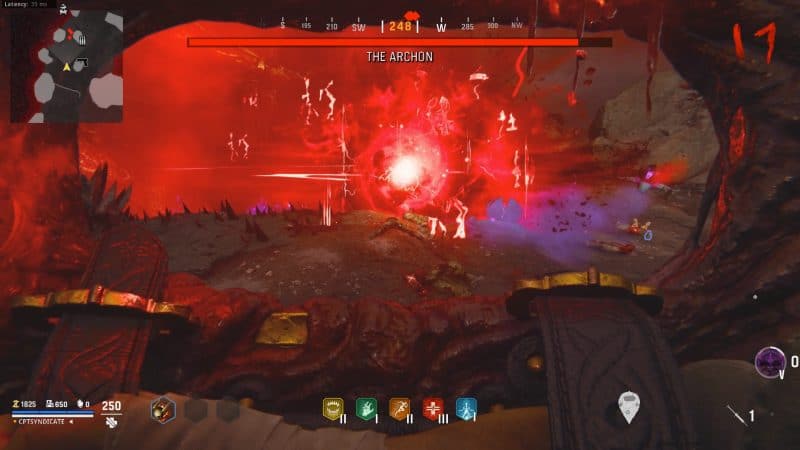
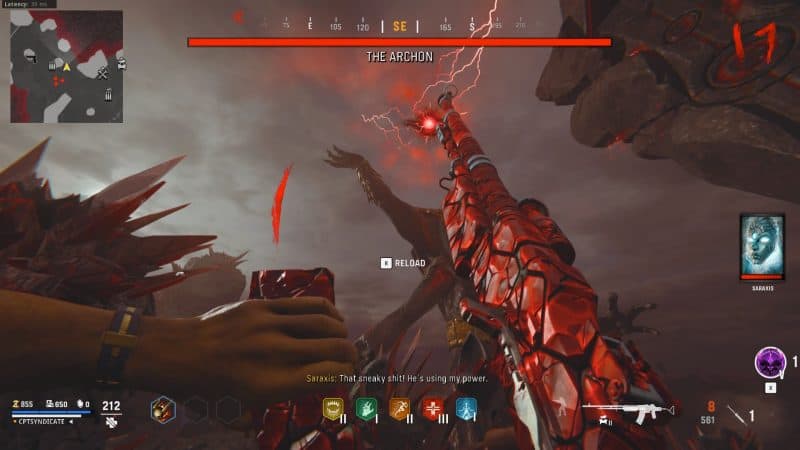
When you get some room, start shooting Kortifex's third eye on his forehead. Activate your Ring of Fire for more damage.
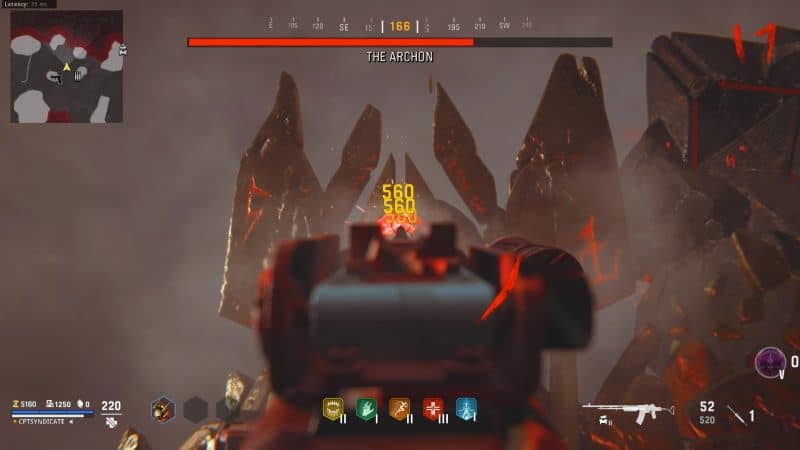
Kortifex will repeat the same pattern of attacking you until you damage him enough to proceed to the next phase.
Continue to damage Koritfex's eye until a quarter of his health is gone. You will get a small break before you go to the next phase.
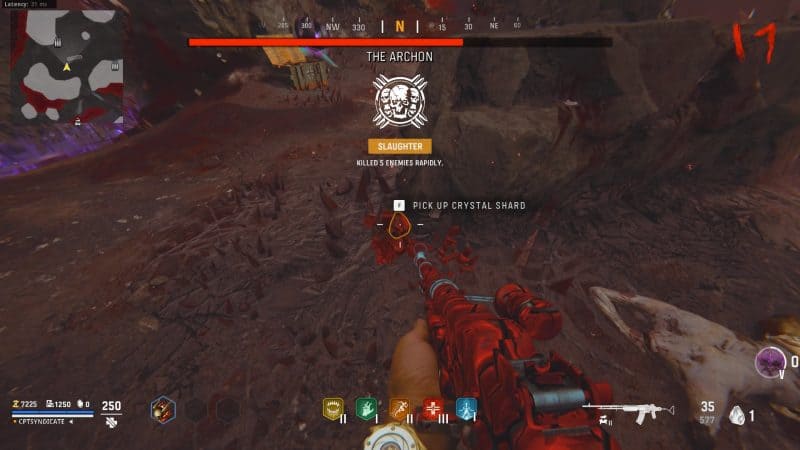
When the phase ends, you will get some bonus points and max ammo drops.
In this break, the area lockdown will be lifted, and you can move around (still to some limited extent). You can access the pack-a-punch machine and the crafting table to repair your armor.
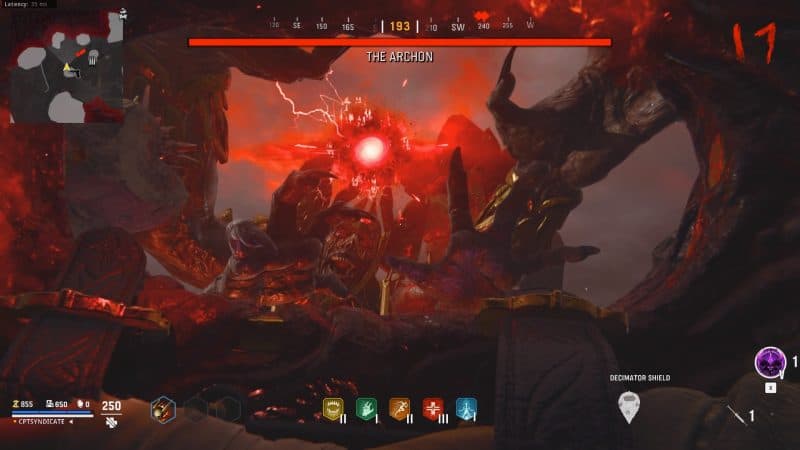
After a minute or so, you will be teleported to the second phase of the boss fight. In this phase, Koritfex will have the same attack pattern as phase one. However, this time he has a shield.
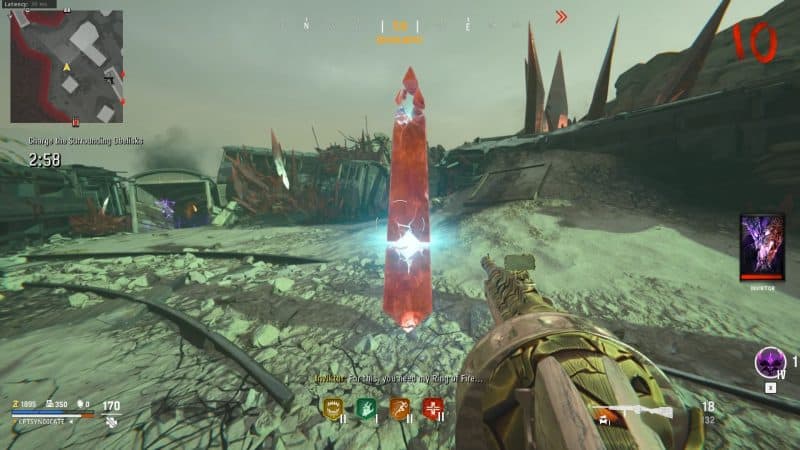
This is where the purple pods come into play. Shoot the red crystals around the map, and they will drop a red crystal shard.
It will be added as a piece of throwable tactical equipment. Throw the shard at any one of the purple pods, and the pod will close up, engulfing the shard.
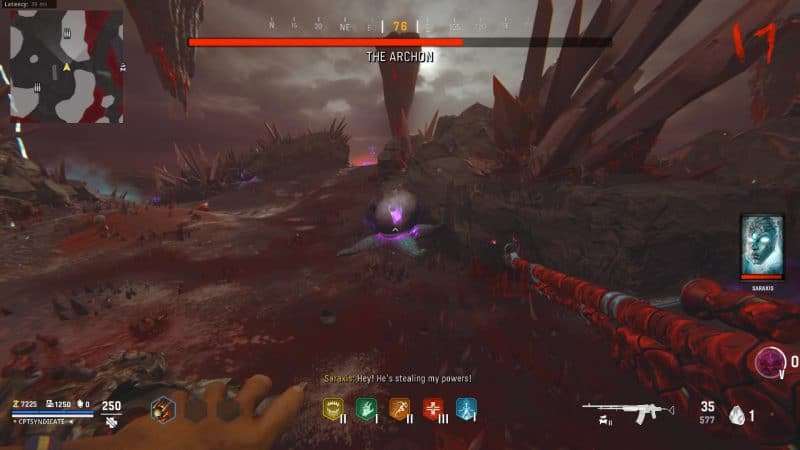
Give the pod a minute to convert the red crystal shard into a blue corrupted crystal shard. We highly recommend doing multiple shards at once, as Kortifex can destroy the pods, even the ones that are converting the shards. You can do multiple so that you will have multiple shards ready for use. It is also worth noting you can pick up more than one shard, but it needs to be of the same type (red or blue).
Once done, the purple pod will explode, spewing out a blue crystal shard.
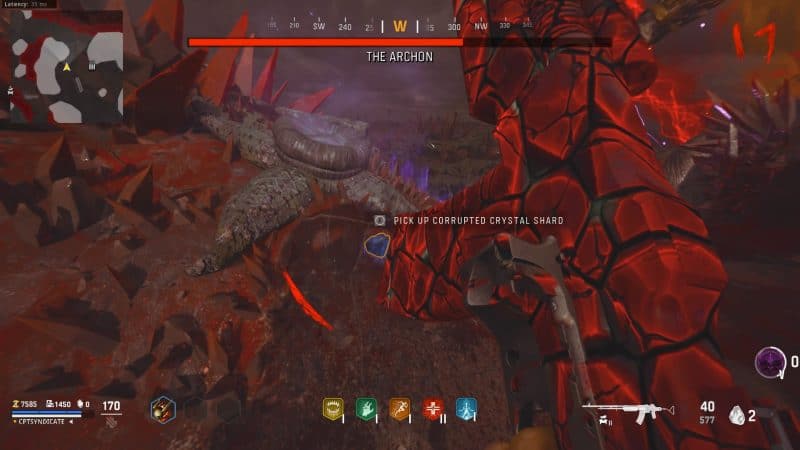
Pick up the blue crystal shard, and throw it at one of the floating rocks on the map.
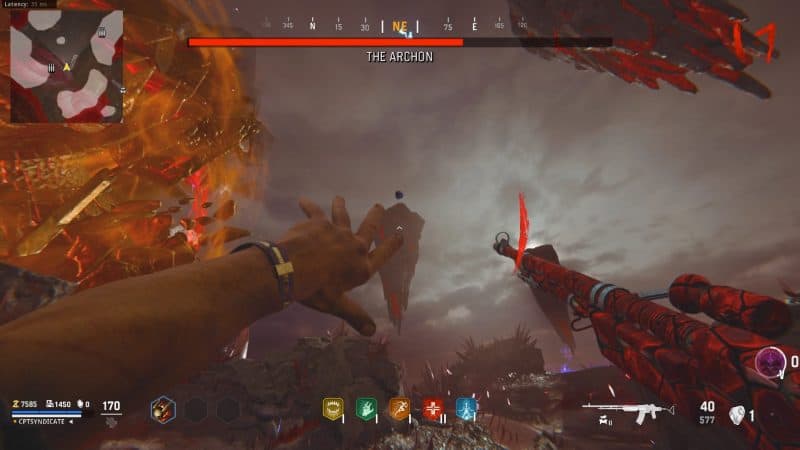
The rock will fly into Kortifex (or the Construct), breaking the shield.
Once Kortifex is stunned without a shield, go up to him and shoot at one of his eyes.
After a while, he will get his shield back up. Repeat the same and continue to shoot the eye until it is completely destroyed.
You will get another pause just like before. You will then be teleported to phase three. In this phase, you must destroy his third and final eye.
Everything in phase three is the same as phase two, except this time, Sturmkriegers will also spawn with the zombies.
You can easily take out the Sturmkrieger using your Decimator Shield blast.
Repeat the same with the shards and take out Kortifex's shield. Shoot his final eye to defeat him and complete The Archon's main easter egg quest.
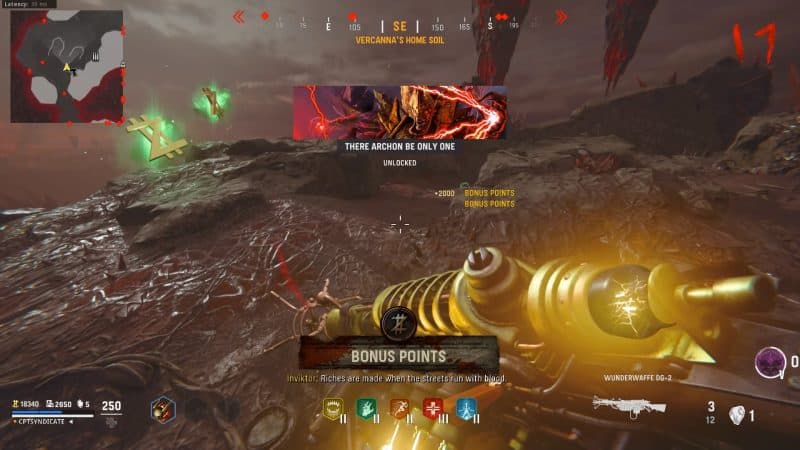
As a reward, you will get a bunch of points, max ammo, max armor, Wunderwaffe DG-2 Wonder Weapon, and all your perk tiers will upgrade by one.
You will also get a unique animated calling card.