The Mauer Der Toten easter egg is one of the most interesting and fun main easter egg quests in the Black Ops Cold War. Coupled with beautiful night ambience and lighting, this map gives incredible 'Shadows of Evil' vibes. The main easter egg on this map is just as much fun to complete as well.
You can only begin the main steps of the easter egg starting from round 10 and above as you need a certain component for this easter egg which is attainable only then.
But, before reaching round 10, you can do some things to optimize your run and ensure you complete this easter egg by round 15 or under. This guide shows you the easiest yet most effective solo strategy to complete the Mauer Der Toten easter egg by round 15. We've separated this guide into two parts - what you need to do before reaching round 10 and then the main easter egg steps starting from round 10 and above.
Although we cover everything in detail within this guide, we highly recommend you check out our guides on how to turn on power & activate pack-a-punch, our dedicated guide on how to build Klaus, and our guide on how to get the free wonder weapon - CRBR-S.
We have video walkthroughs for all the above-mentioned guides, and this one, for your visual reference and better understanding.
Video Guide
Loadout
Weapon
For your weapon, you can spawn in with any weapon you wish to use as we will be using the wonder weapon for the most part. The weapon you spawn in with will primarily be used with the brain rot ammo mod for a certain step. Nonetheless, our recommended weapon would be the Gallo SA12 with the following attachments:

**Muzzle**: SOCOM Blast Mitigator
**Barrel**: 24.8" Task Force
**Magazine**: STANAG 12 Rnd Tube
**Body**: Ember Sighting Point
**Stock**: Marathon Stock
Field Upgrade
For the field upgrade, you must select Aether Shroud upgraded to tier V to get a maximum of 2 charges. There are several reasons to go with Aether Shroud, and you will know of those reasons as you read on through the guide. It will help you stay safe in many situations where you need to avoid killing the zombies (to avoid round skipping).

Perks
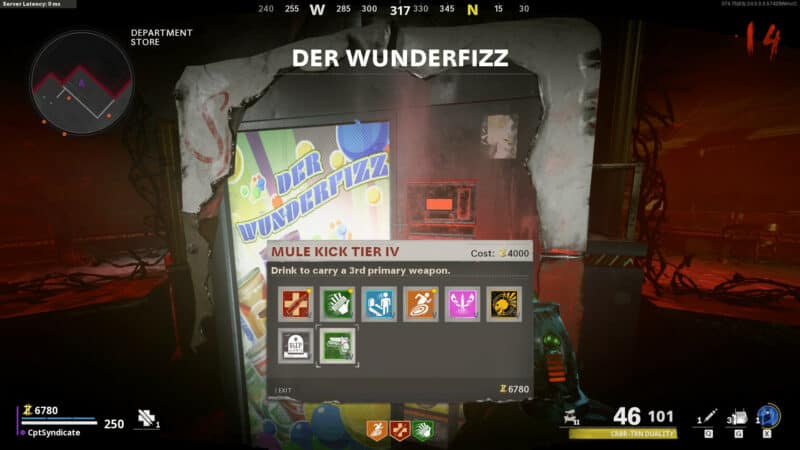
As you play through the game, you will buy perks, obviously. Before you jump into the game of Mauer Der Toten, make sure you upgrade your Mule Kick perk to at least tier 2. This is important as it will help you with the lack of ammo during the final boss fight of this easter egg. With tier 2, all the zombies will have a small chance of dropping ammo.

The wonder weapon ammo is quite expensive to buy (10,000 points), and it is possible that you might be short by a couple of thousand in the middle of the boss fight (yes, it happened with us multiple times).
The rest of the perks that you must buy include Jugger-Nog, Stamin-Up, and Quick Revive. Quick Revive can be bought during the final boss fight as well. But, if you have enough points to buy it before the fight, do so.
Steps - Before Round 10
The following steps are provided assuming that you've already turned on the power and activated the pack-a-punch machine. If you are still unsure how to do that, check out our guide here.
Here are the things you must do before reaching round 10. Microwave Dish Once you've turned on the power and activated the pack-a-punch machine, dig the debris pile around checkpoint charlie until you find a microwave dish.


Keep digging even after finding the dish to collect salvage to upgrade your armor later.

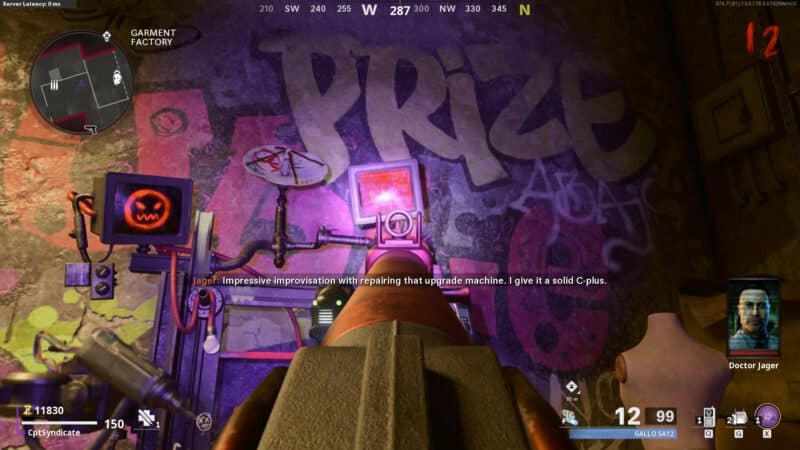
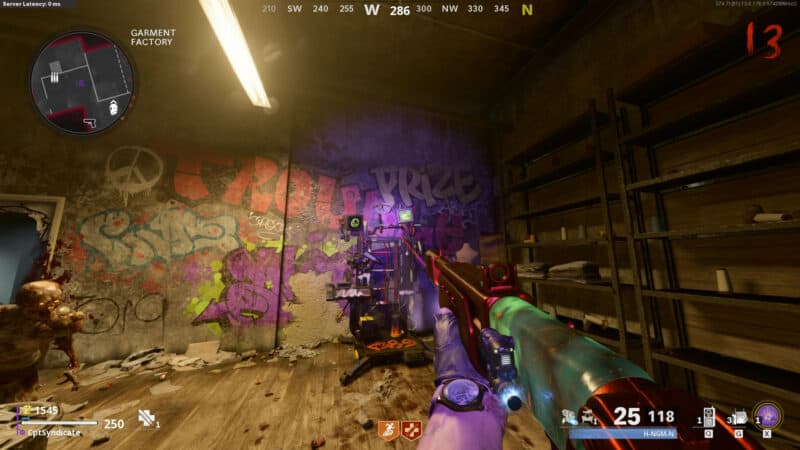
After acquiring the microwave dish, make your way to the Garment Factory and install the dish onto the Upgrade Station.


Robotic Hands
The next thing you need to do is collect the Robotic Hands, which we will use on round 10 to build Klaus. First, go back to the pack-a-punch machine and apply the Brain Rot ammo mod on your weapon.

Go to Hotel Room 305, and you will find a barricaded door inside the room.

Turn one of the zombies near the door, and the turned zombie will break open the barricaded door.


Enter the room, and you will find the Robotic Hands around the neck of the corpse on the bed. Interact with the hands to collect them.


Continue playing until you reach round 10. Also, buy the Stamin-Up perk before round 10.

nextpage
Steps After Round 10
Building Klaus & Secret Lab Entrance
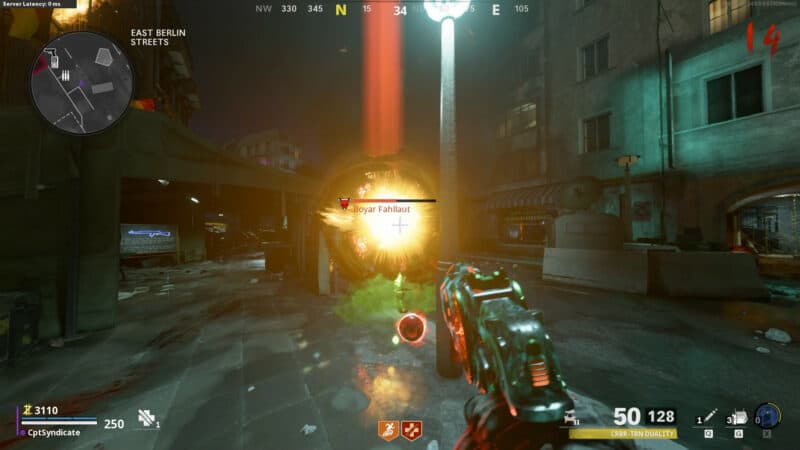
Once you reach round 10, a Krasny Soldat elite zombie will spawn.

Take him out, and he will drop a battery. It is highly recommended that you DO NOT kill any of the regular zombies from this point onwards, in orer to complete this easter egg on a lower round.
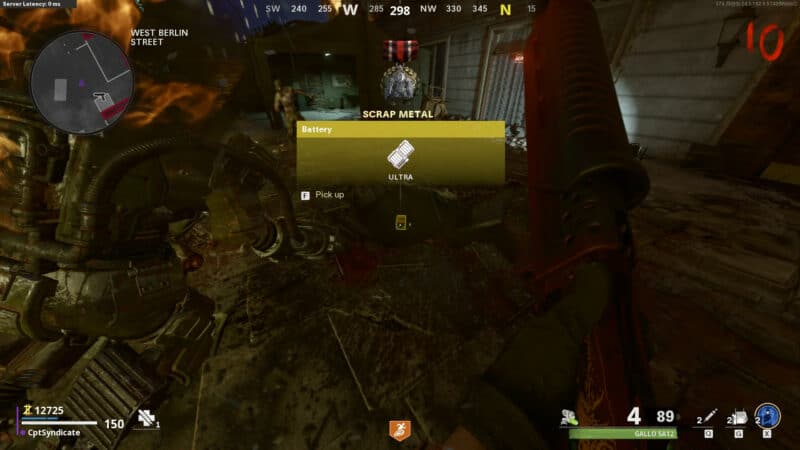
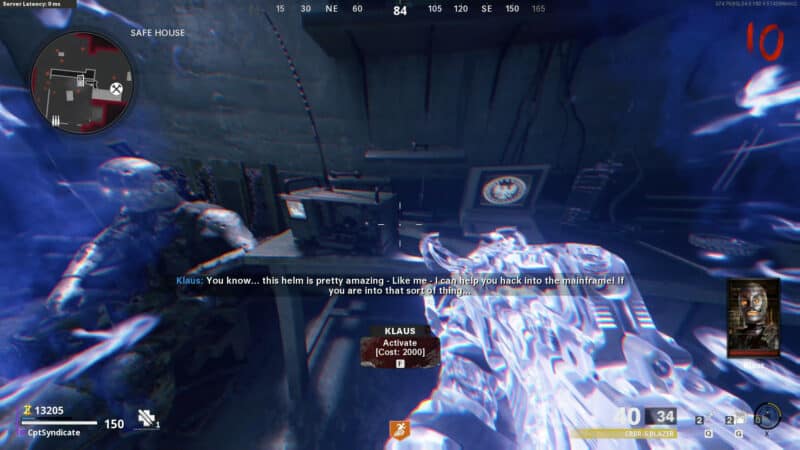
Pick up the battery and make your way to the safe house. Use the robotic hands and the battery to activate Klaus.

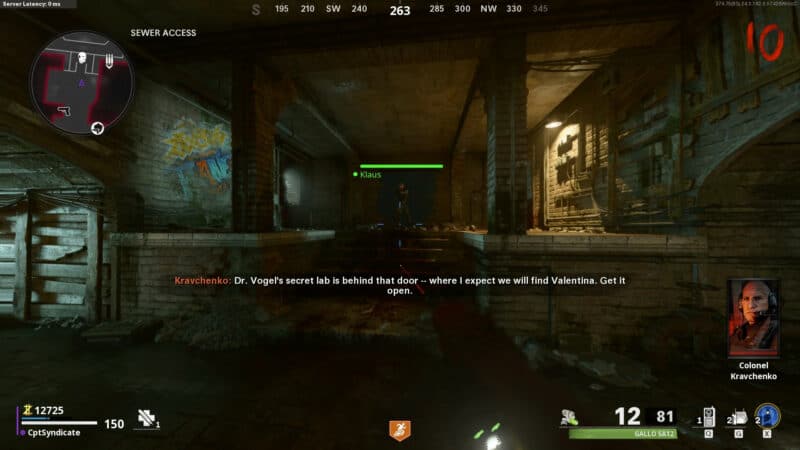
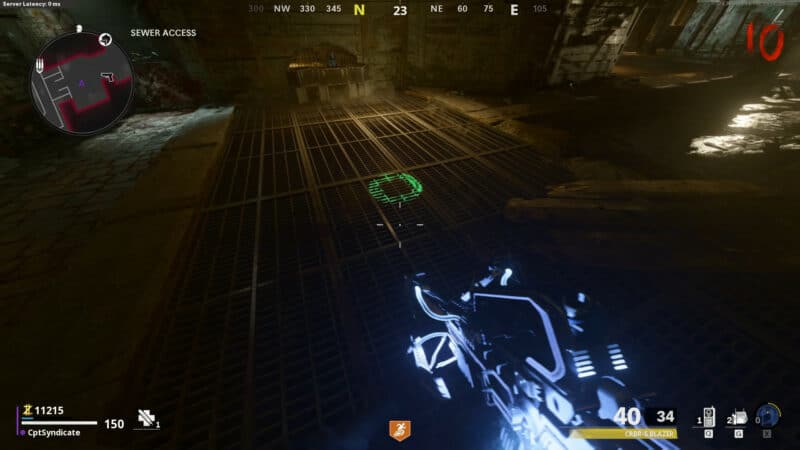
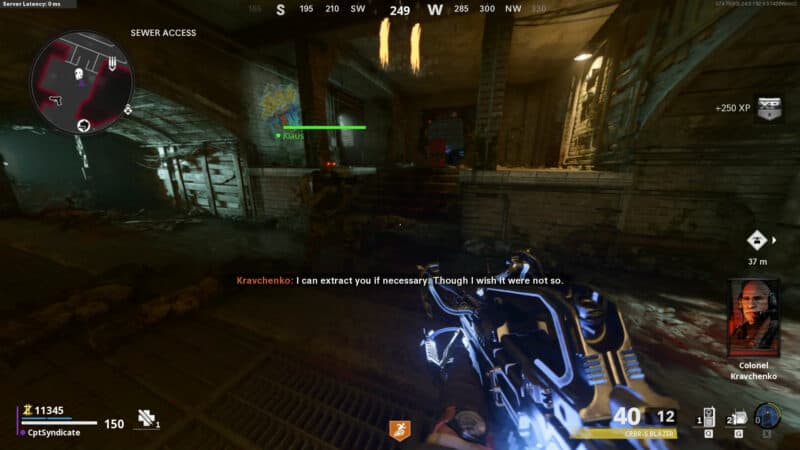
As soon as you activate Klaus, run to the Sewer Access just past the Power Room.
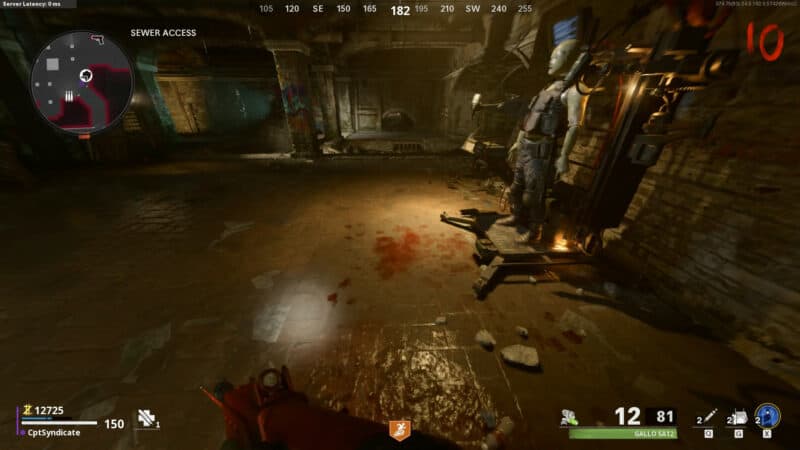
You will notice a remote control in your tactical slot. As soon as you get the remote control to command Klaus, command him next to the wall, just past the rope used to rappel up to West Berlin Street.
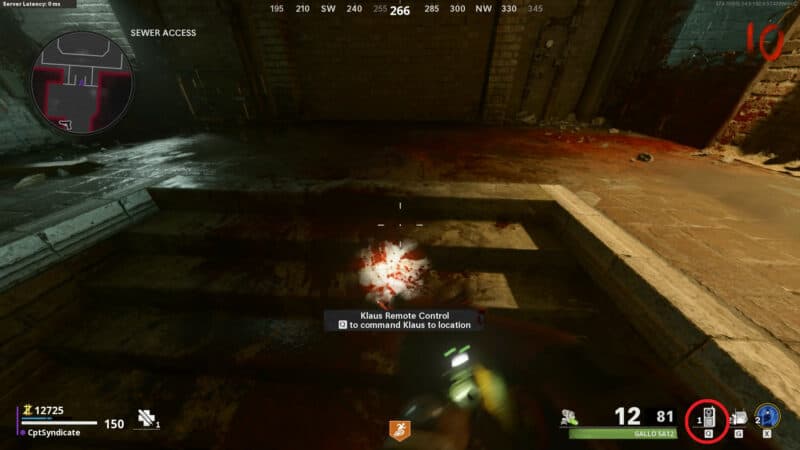
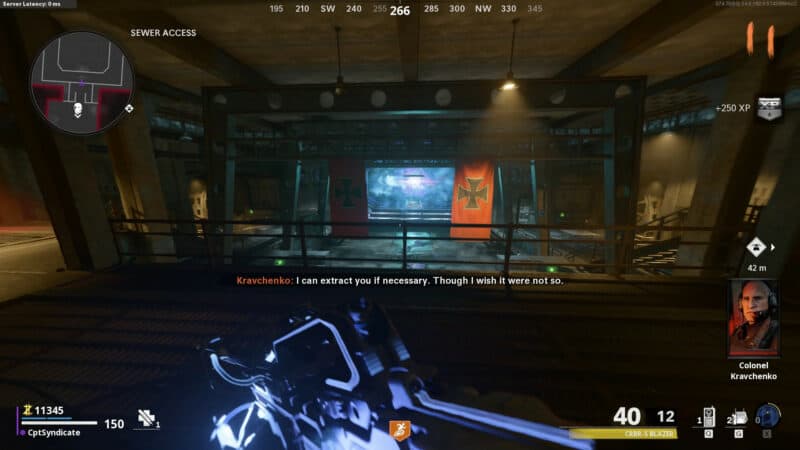
Wait for Klaus to destroy the wall and reveal the secret lab entrance.
Blacklight & Wonder Weapon
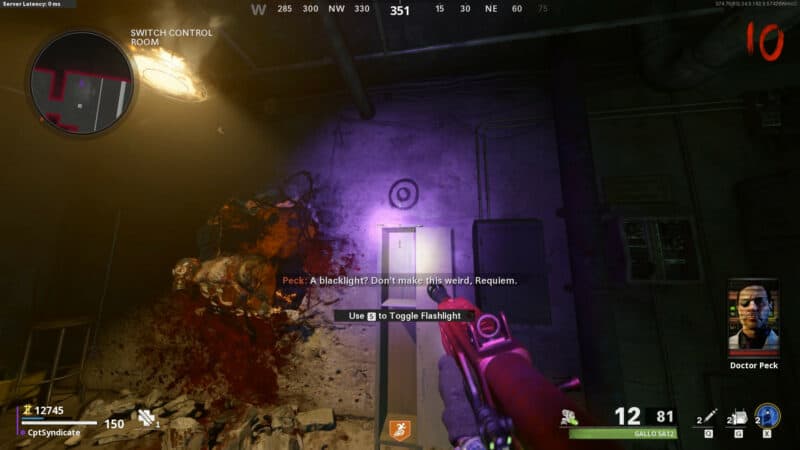
As soon as Klaus destroys the wall, start commanding him around. Keep commanding him to the Switch Control Room, which is located to the right of the Mule Kick perk machine.
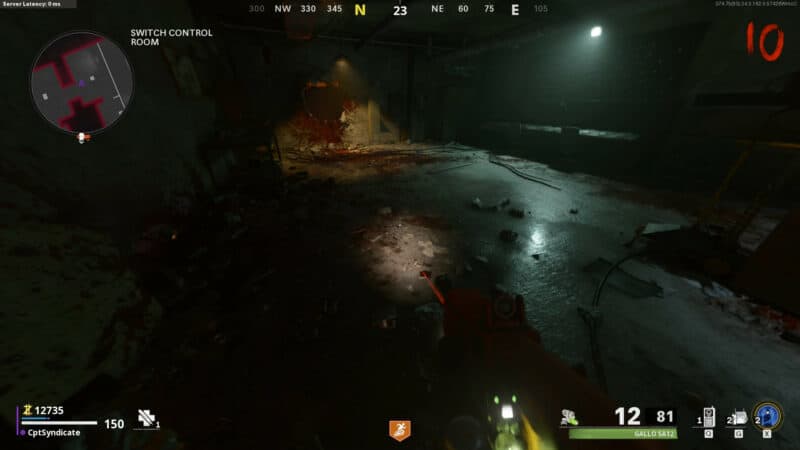
The reason we keep commanding Klaus is to prevent him from killing the zombies. Remember, we aim to do this easter egg on a lower round, and we need to optimize our strategy as much as possible. If you leave Klaus idle, he will start killing the zombies.
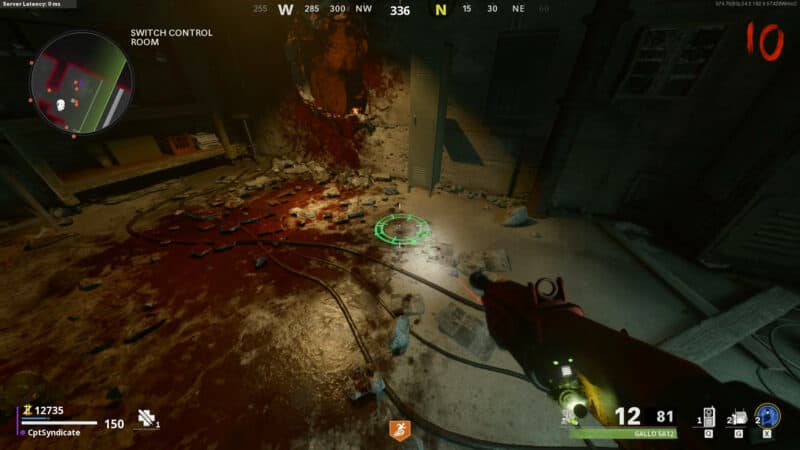
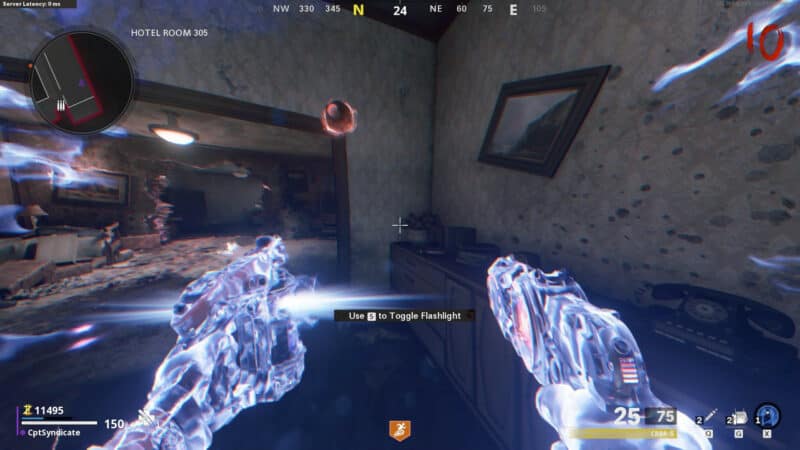
When you reach the Switch Control Room, command him next to the locker by the wall. Klaus will punch it open, revealing a blacklight inside.
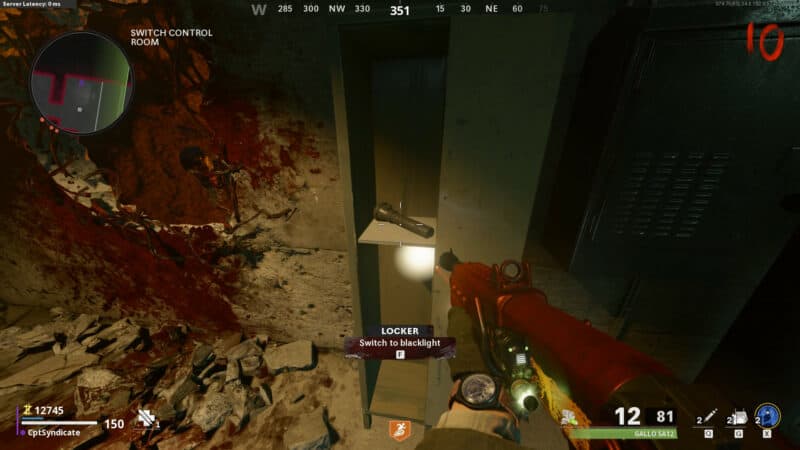
Your flashlight will turn purple. You can switch between your regular flashlight and the blacklight by using whatever your flashlight key bind is. On PC it is 5.
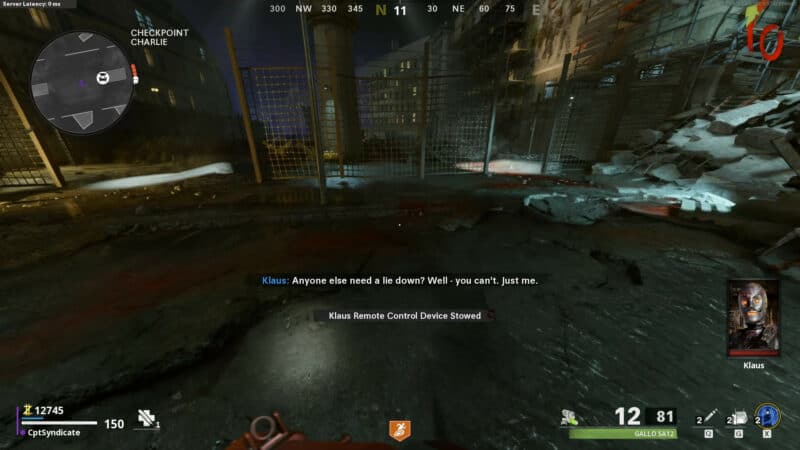
Now, if you're fast enough, you can quickly go and grab the blacklight while commanding Klaus. Or, you can run around the map while commanding Klaus until his battery dies and he returns to the safe house. We recommend commanding Klaus around to avoid any zombie killings.
When Klaus' battery dies off, you will get a message "Klaus Remote Control Device Stowed."
The next step is to find the safe combination using the acquired blacklight. There are three locations where the codes generate. Each location has a number on the wall inside the area representing the order of the numbers on the safe. The numbers shown in the bracket represent the order on the safe. You can find the codes at the following locations: Garment Factory (1) Sewage Passage (2) Grocery Store (3)
There are three spots in each location where the codes can show up, and the spot is random in each game. You can only see the numbers using your blacklight. The following are the locations and the three spots where the numbers can spawn:
Garment Store
The first location is the garment factory. You will notice a '1' on the wall inside the garment factory, which corresponds to the dial labeled '1' on the safe.

The following are the three spots inside the garment factory where a set of numbers can spawn.
Spot 1
On top of the doorway leading to the Korber Rooftop.

Spot 2
On the chalkboard.

Spot 3
A small set of stairs on the wall below the graffiti reads "I Can End This." This is where we got our code which was 34.

Sewage Passage
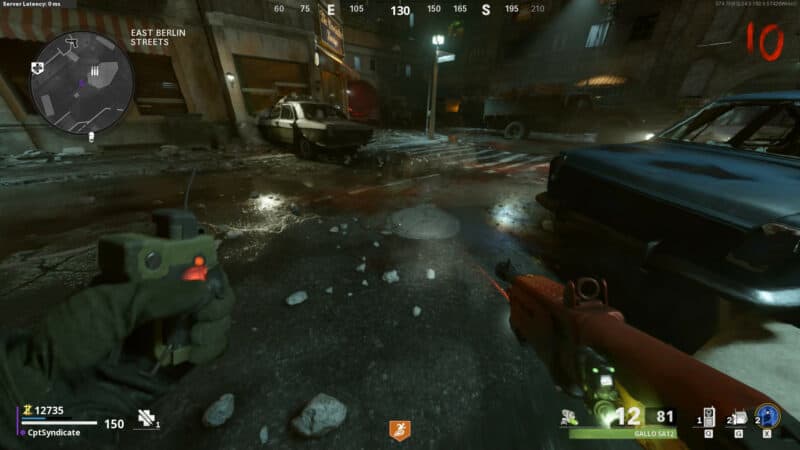
The second location is the sewage passage on East Berlin Street, right outside the alley and in front of the bar. This one has a '2' on the wall by the yellow ladder. That means the number in this area corresponds to the second dial on the safe.

The following are the three spots inside the sewage passage where a set of numbers can spawn.
Spot 1
The first spot is on the plain wall under the pipe.

Spot 2
The second spot is above the doorway that leads to the Dead Shot daiquiri room.

Spot 3
The third and final spot is further into the passage. Go through the doorway, and you will find the number on the wall to your right at the end of the corridor on top of the electric box. This is where we got our number which was 32.

Grocery Store
The final number can be found inside the Grocery Store. It will have a number '3' on the wall corresponding to the third dial on the safe.

The following are the three spots inside the grocery store where a set of numbers can spawn.
Spot 1
The first spot is by the window to your immediate right as soon as you enter the store.

Spot 2
The second spot is the shelf.

Spot 3
The final spot is in the corner of the grocery store below the poster. We found ours in the corner, which was 18.

In our run, the numbers we got at each location were as follows Garment Factory (1): 25 Sewage Passage (2): 38 Grocery Store (3): 31
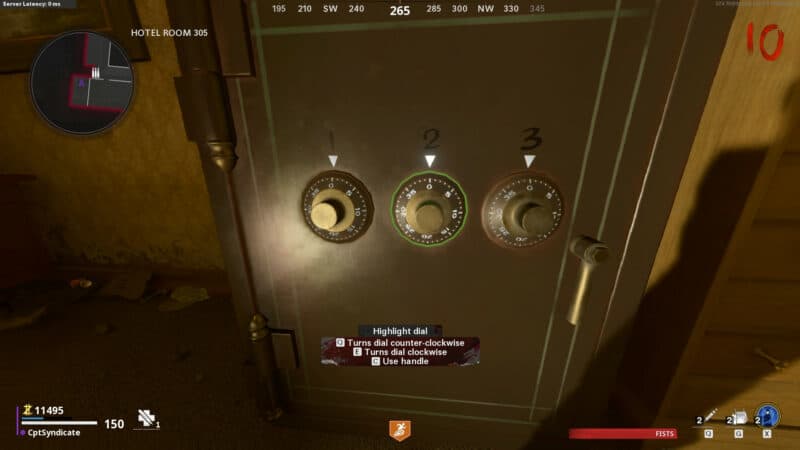
After getting the numbers, make your way back to Hotel Room 305 and enter the combination in the safe inside the barricaded room.
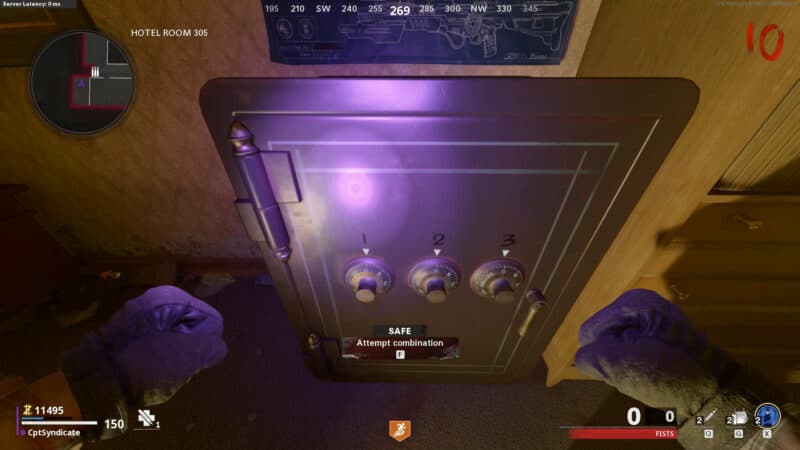
You will be happy to know that the zombies do not attack you while entering the combination. You can hover over the dials by moving your camera when in "enter mode." It can get a bit tricky to know what number the dial is on due to the angle. Our best tip is to count as you move your dial in either direction to avoid this confusion.
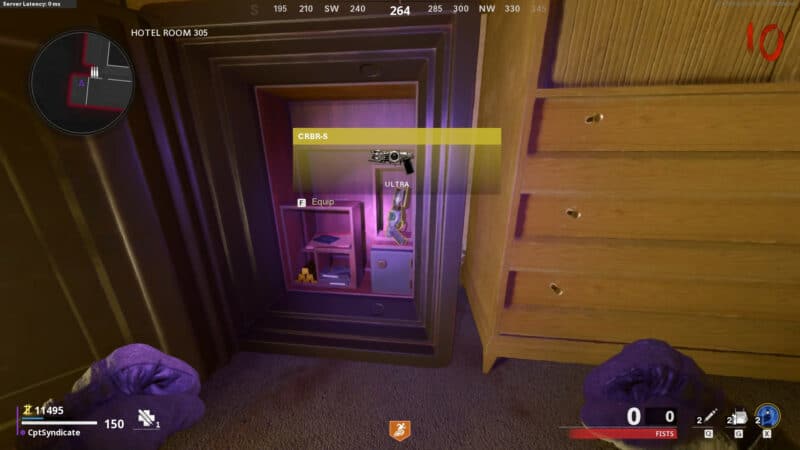
When opened, you will find the base variant of the wonder weapon - CRBR-S.
Now, as we haven't killed the regular zombies so far, getting out of this tiny room can get a bit overwhelming. This is where you can use your Aether Shroud field upgrade to exit the room. Do not go mass killing the zombies.
nextpage
Crafting Headgear & Round Manipulation
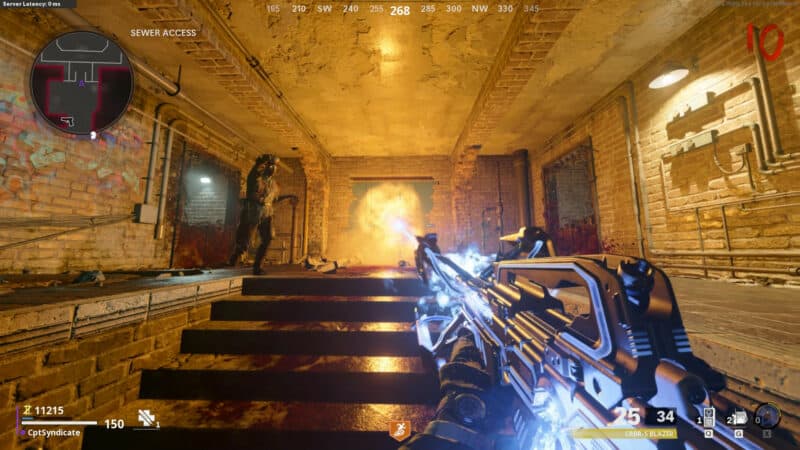
Start killing zombies one by one until one drops the Blazer variant of the wonder weapon. We kill zombies one by one to minimize the number of zombies we kill.
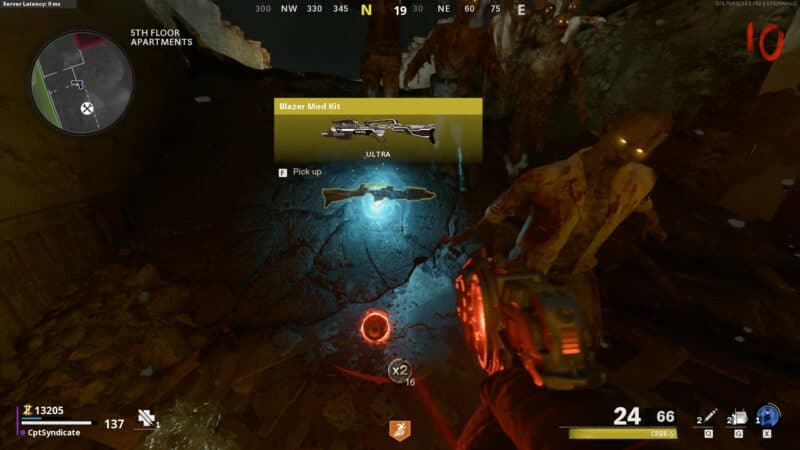
Pick up the Blazer mod kit, and you should now have the Blazer variant of the wonder weapon. We need to use the wonder weapon now to collect three pieces to craft a headgear on Klaus.
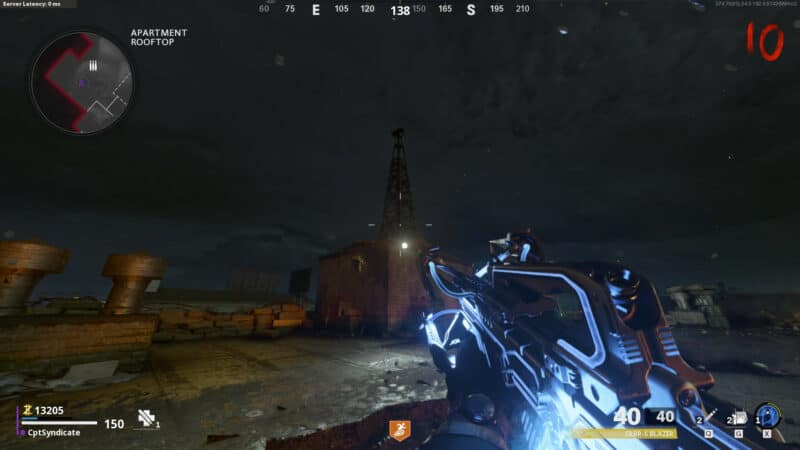
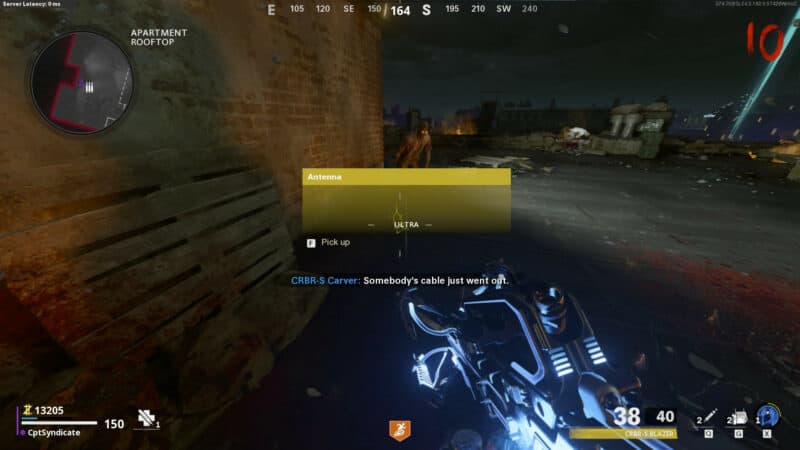
Antenna - Piece #1
The first piece is found by shooting the radio tower at Apartment Rooftop, the spawn location.
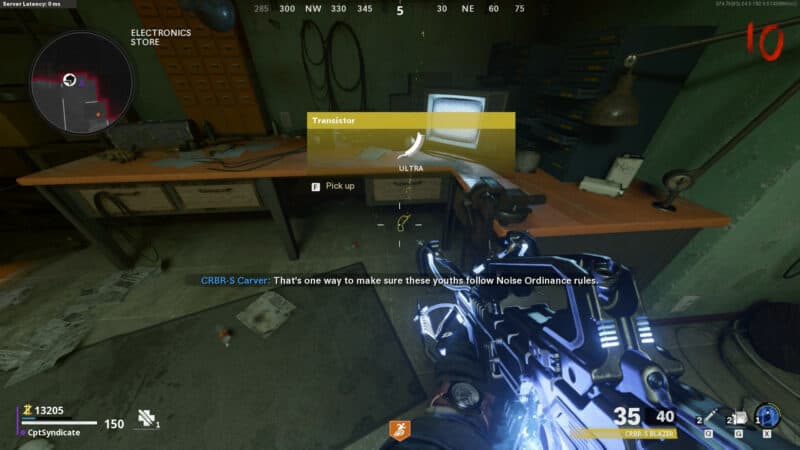
Transistor - Piece #2
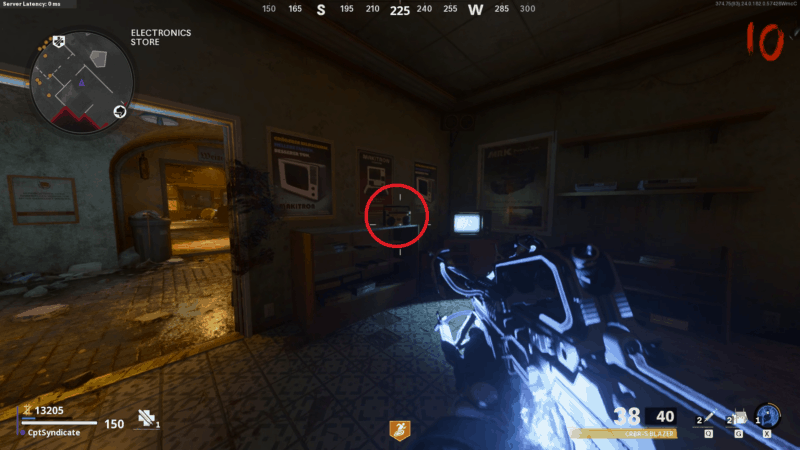
One of the three radios drops the second piece inside the electronics store on East Berlin Street.
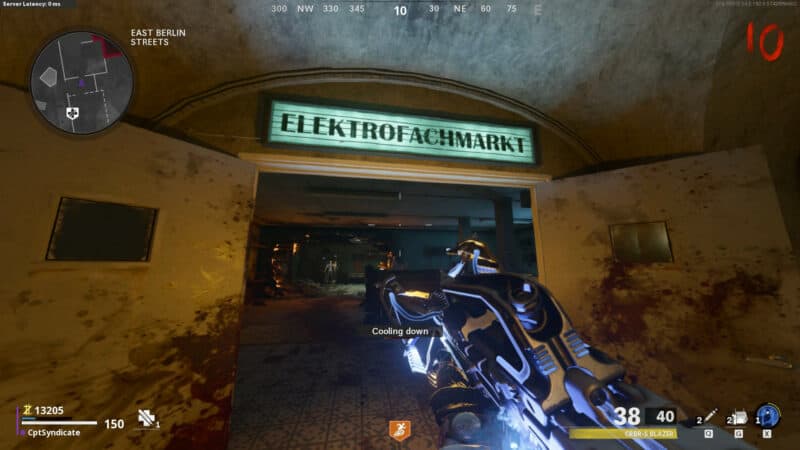
The following are the three radio locations inside the electronics store: Radio Location 1
Radio Location 2 https://www.xfire.com/wp-content/uploads/downsights/2021/08/Headgear-piece-transistor-3-Mauer-Easter-Egg-edit.png
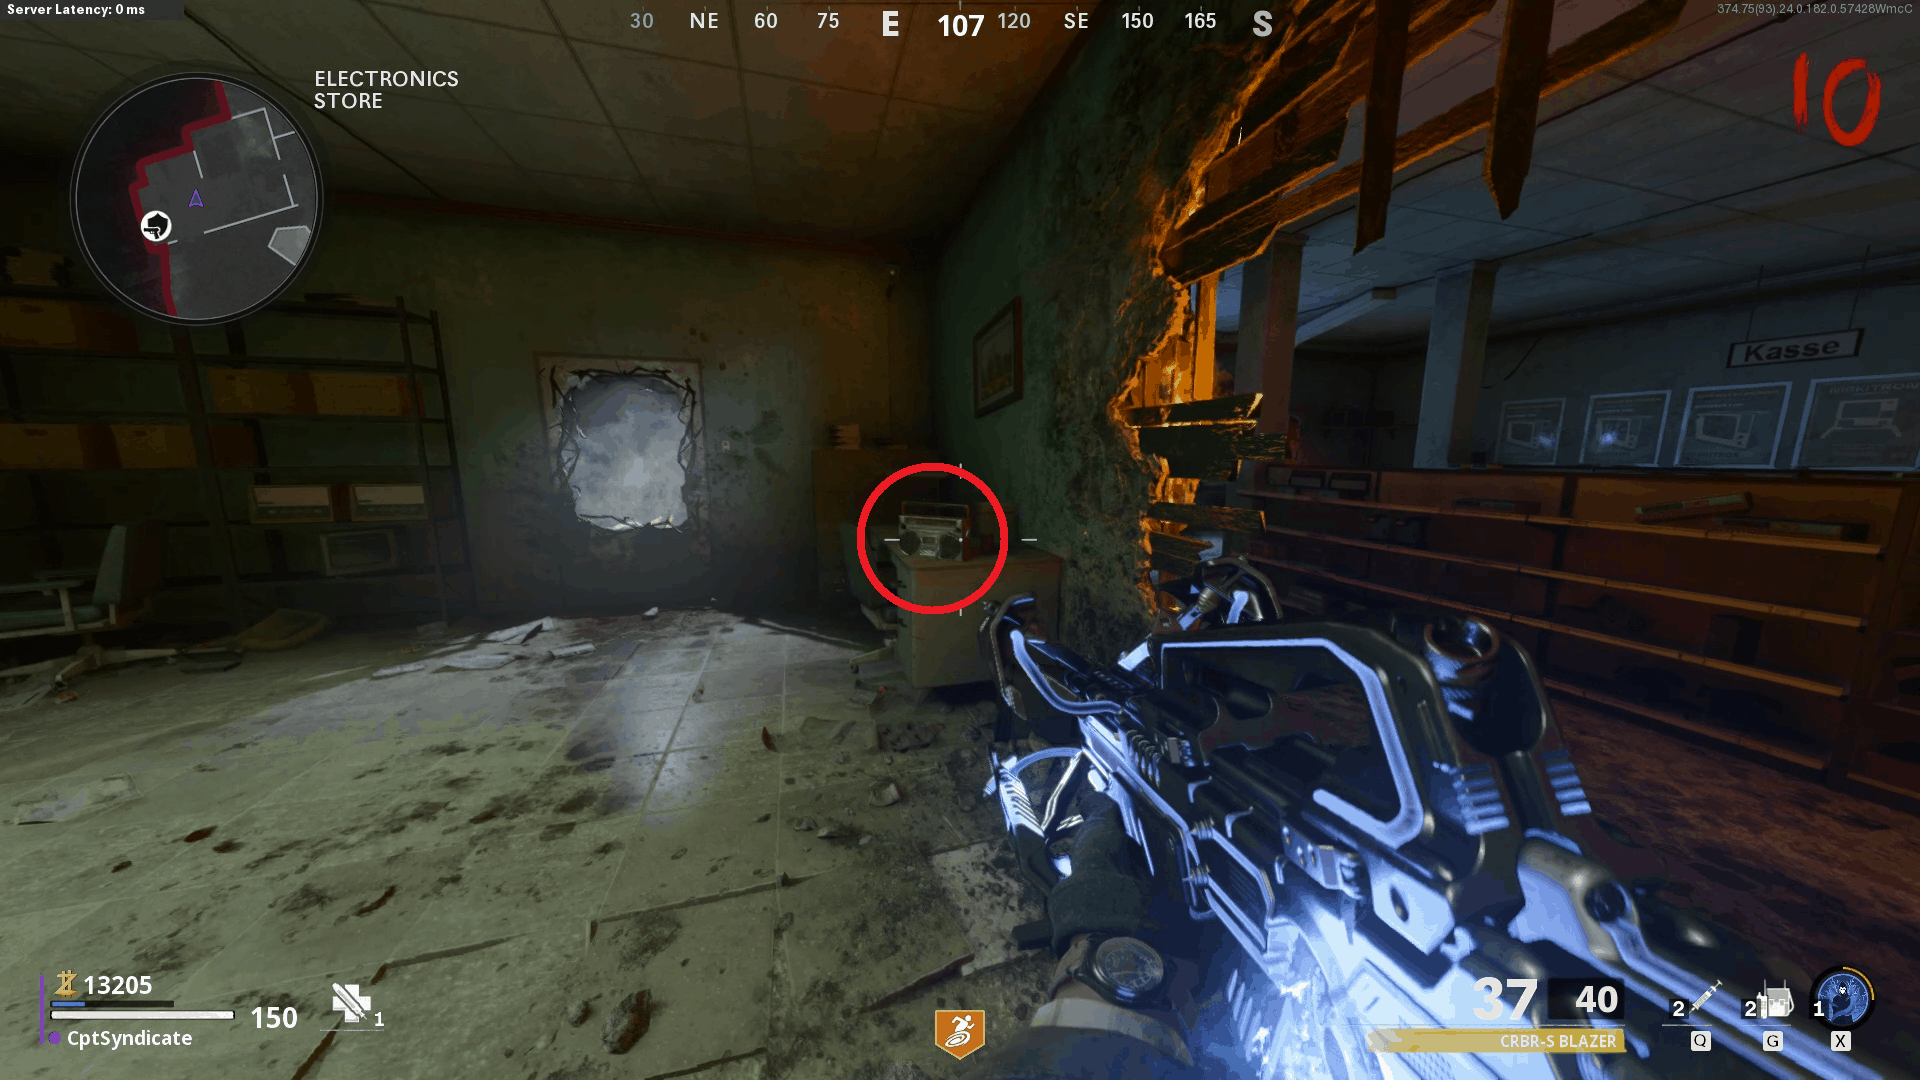
Radio Location 3 https://www.xfire.com/wp-content/uploads/downsights/2021/08/Headgear-piece-transistor-4-Mauer-Easter-Egg-edit.png
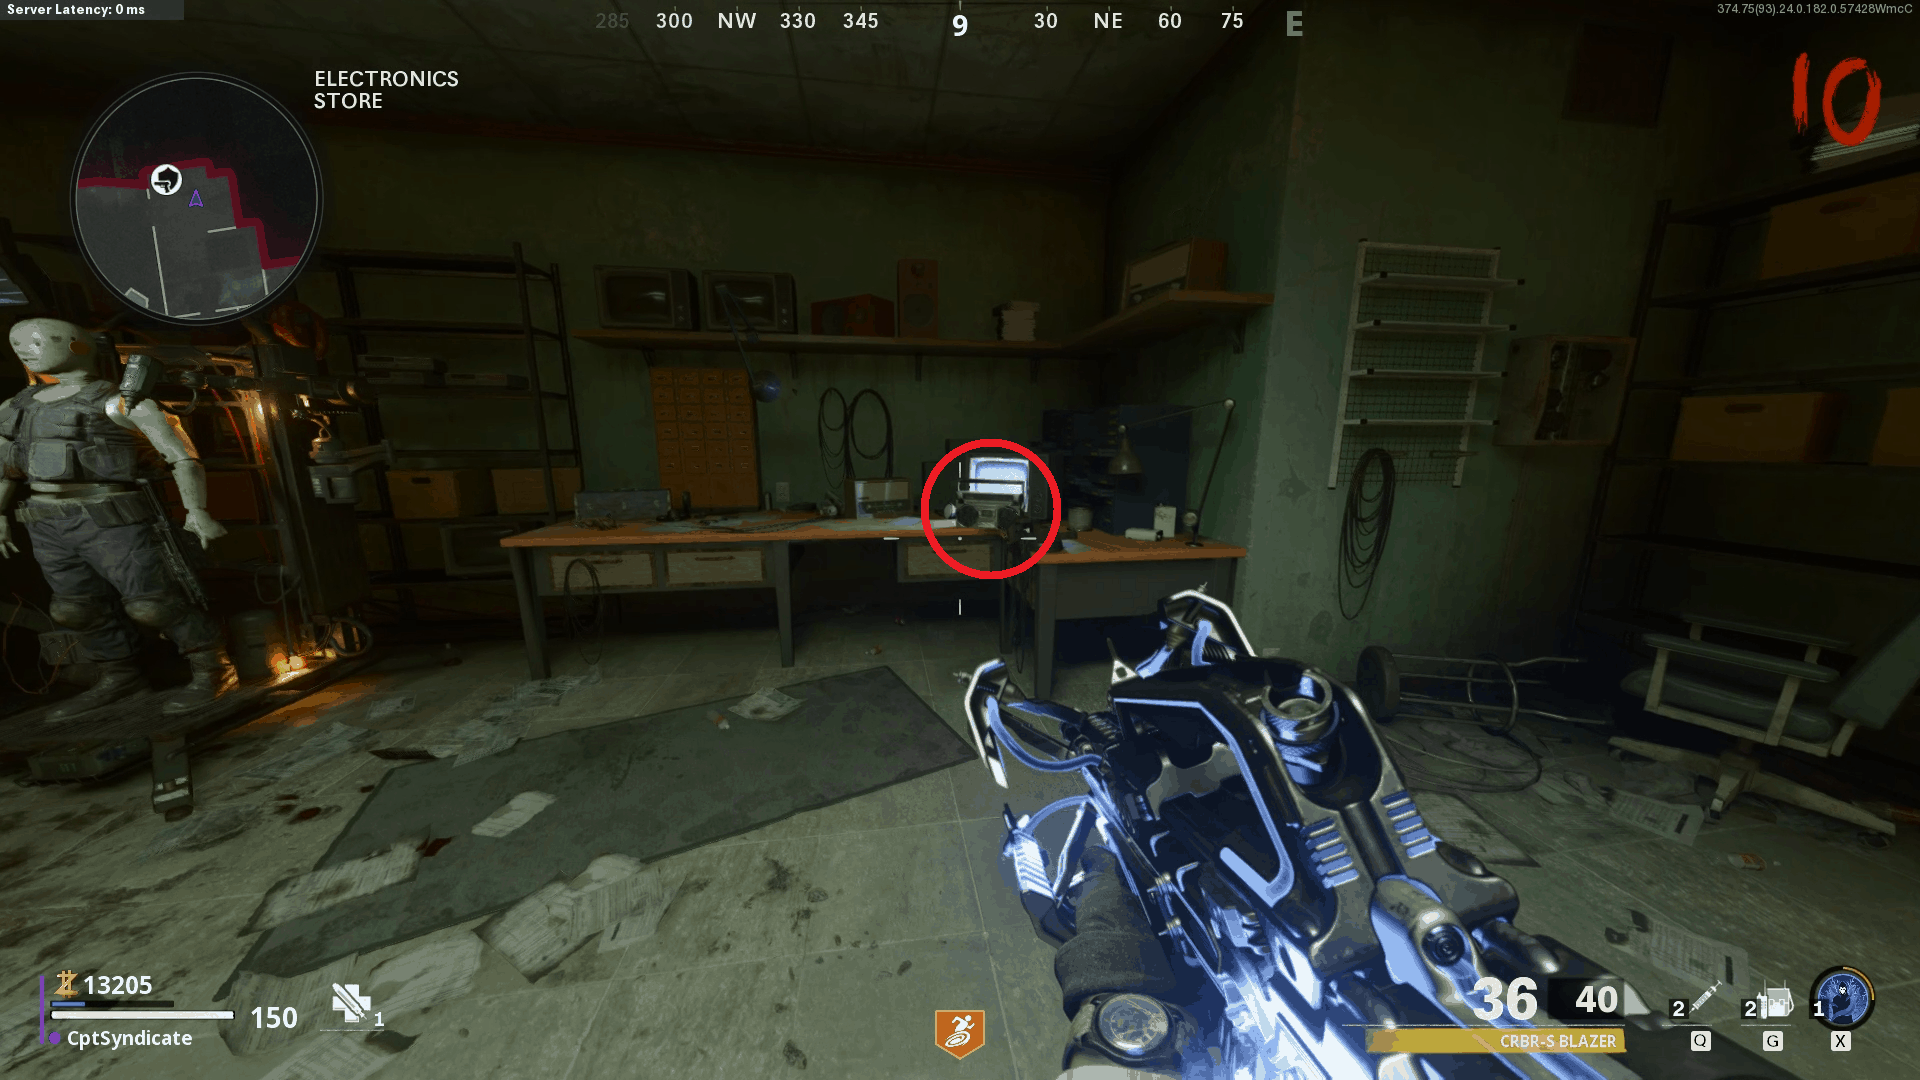
The piece can be dropped by any one of the radios randomly.
Electronic Boards - Piece #3
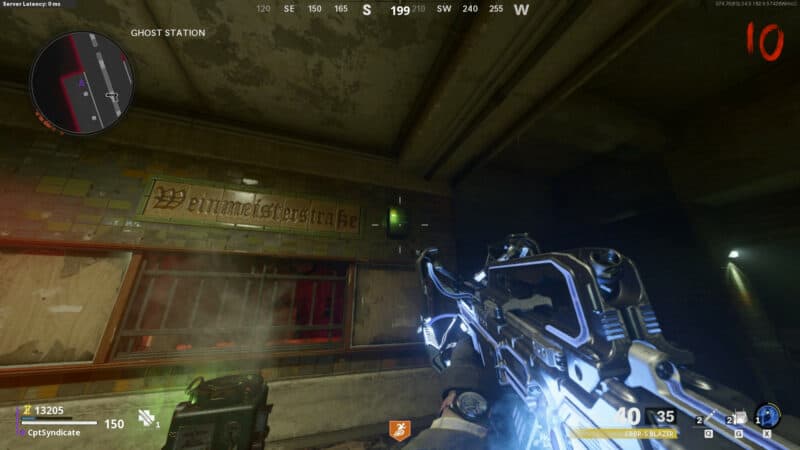
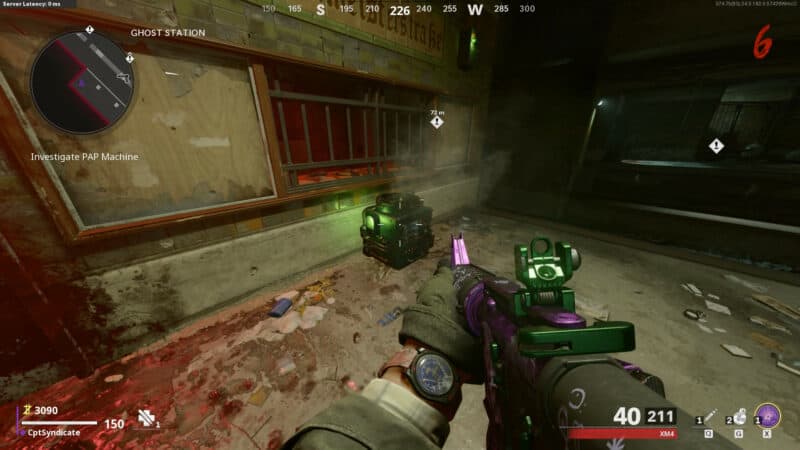
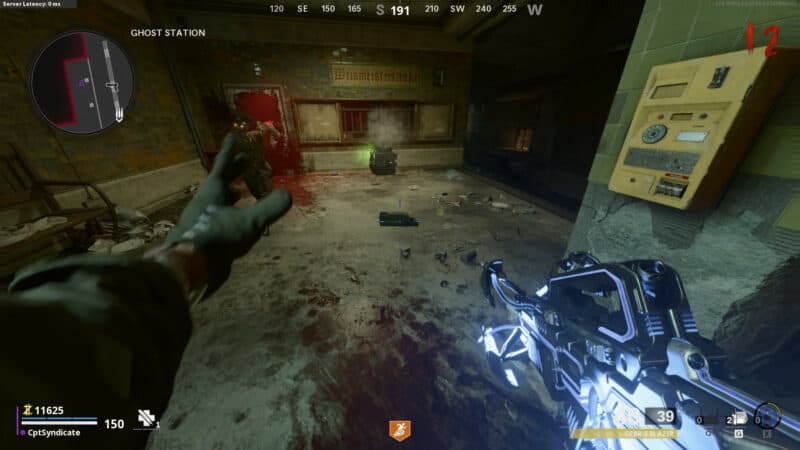
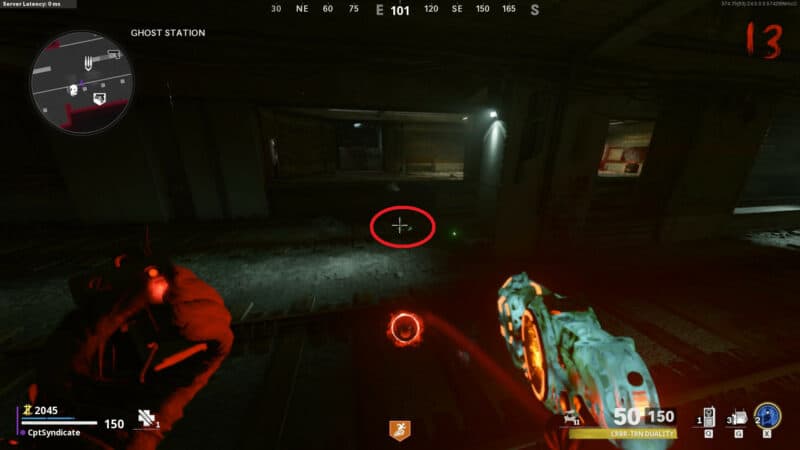
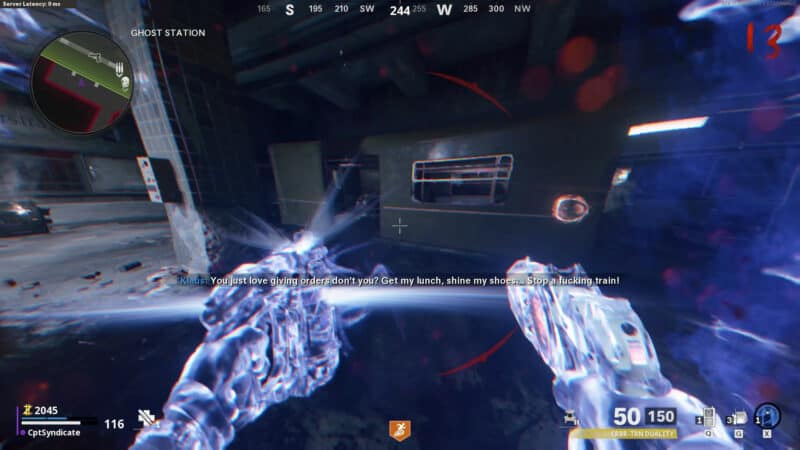
The third and final piece is dropped by shooting at a metal box located at the Ghost Station just above the reception window.
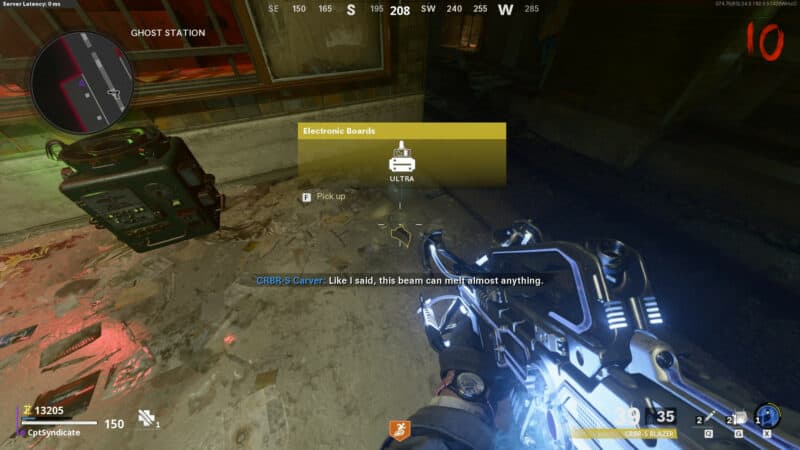
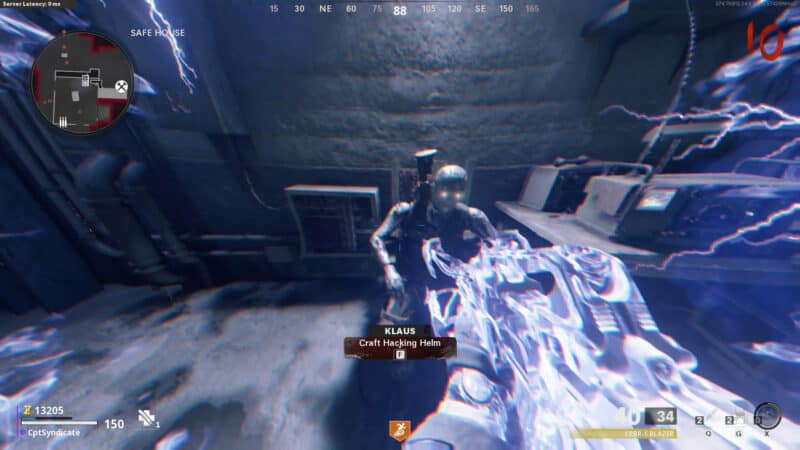
Once you have all the pieces, make your way to the safe house and craft the headgear on Klaus. As we haven't killed any zombies, there will be a lot of them. You can use your Aether Shroud to craft it on Klaus easily.
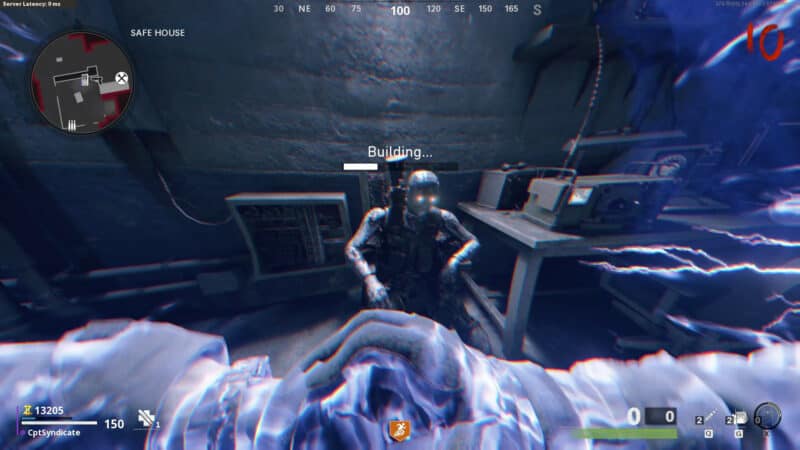
After crafting, activate Klaus for 2,000 points and quickly command him back to the Sewer Access area next to the secret lab entrance revealed earlier.
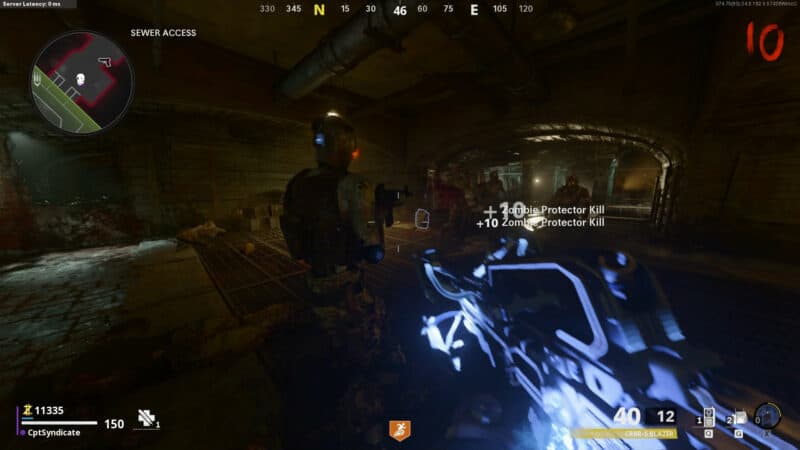
When you reach the Sewer Access, use your Blazer variant of the wonder weapon to destroy the secret lab door but DO NOT ENTER YET.
When Klaus gets there, wait for him to kill all the zombies on this round and let it end. Klaus needs all the kills he can get so that we can upgrade him later. This is the reason why we saved the zombies until now. This helps us complete this easter egg at lower rounds.
A piece of crucial information
: when you enter the lab, the round automatically skips. This is why as soon as Klaus kills the last zombie on round 10, enter the secret lab so that it doesn't skip and stay on round 11. If you enter the lab at any other time, the round skips. Entering the lab as the round is already changing won't do that.
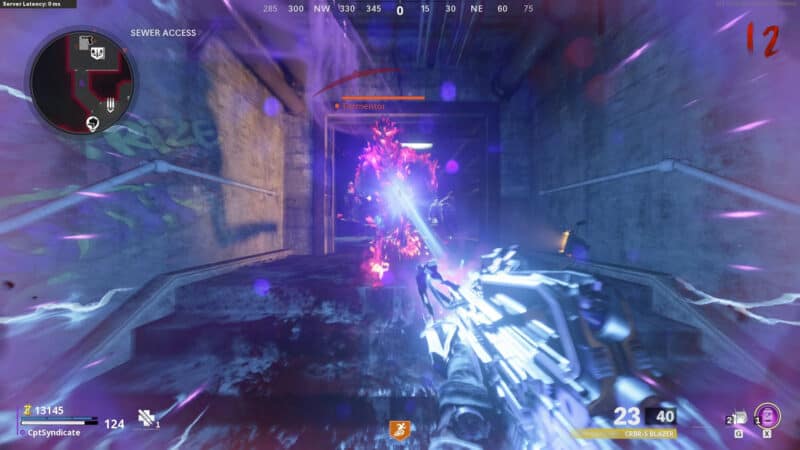
When inside, if it's round 11, it should be a Tormentor round. Command Klaus to the middle of the lab and let him get all the kills on this round as well. We need him to get as many kills as possible. Keep getting kills until he runs out of battery.
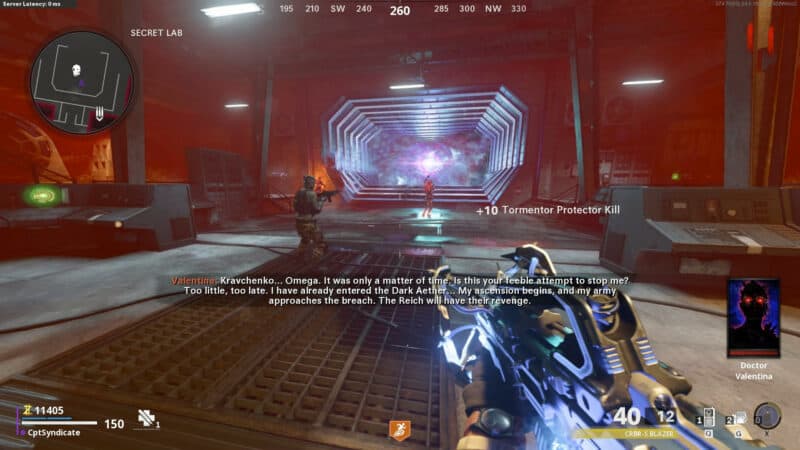
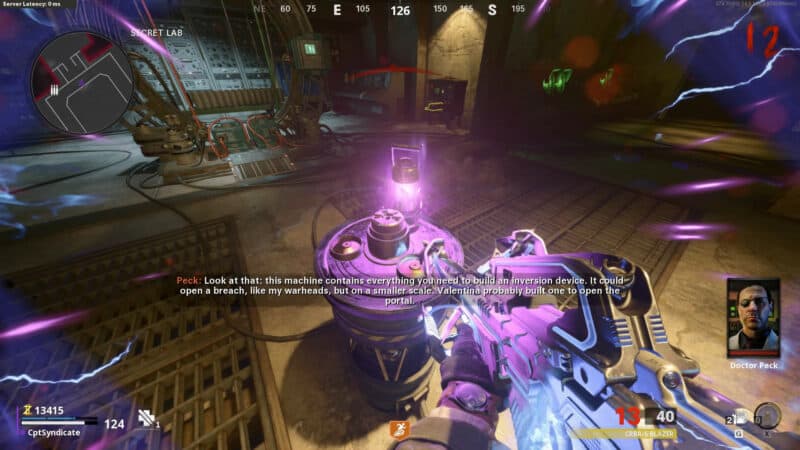
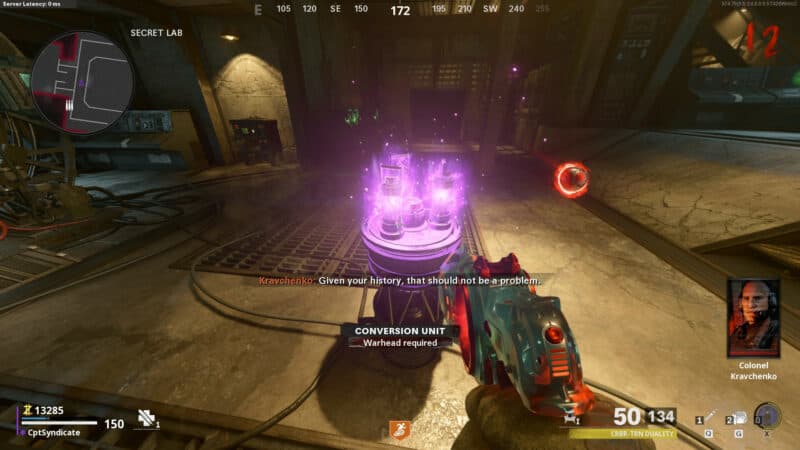
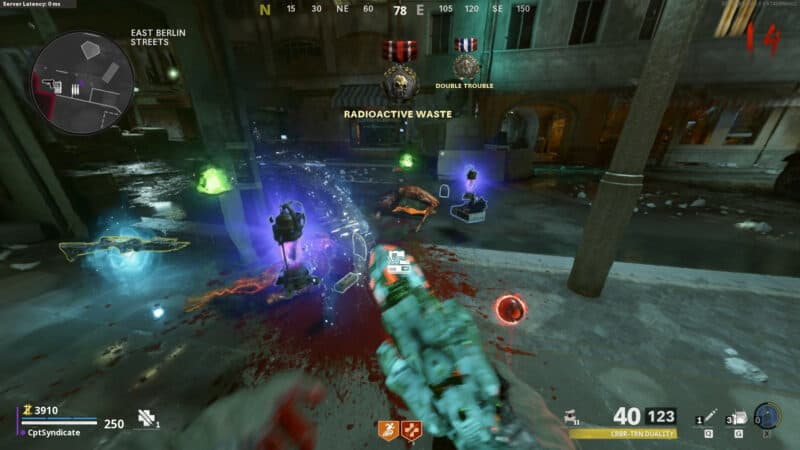
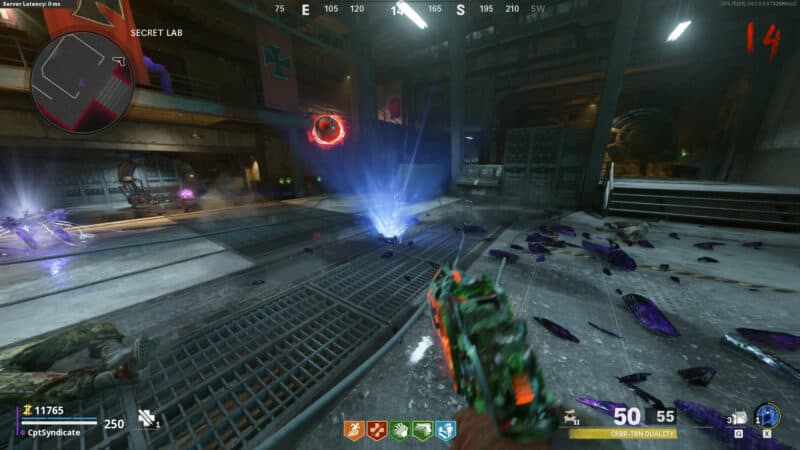
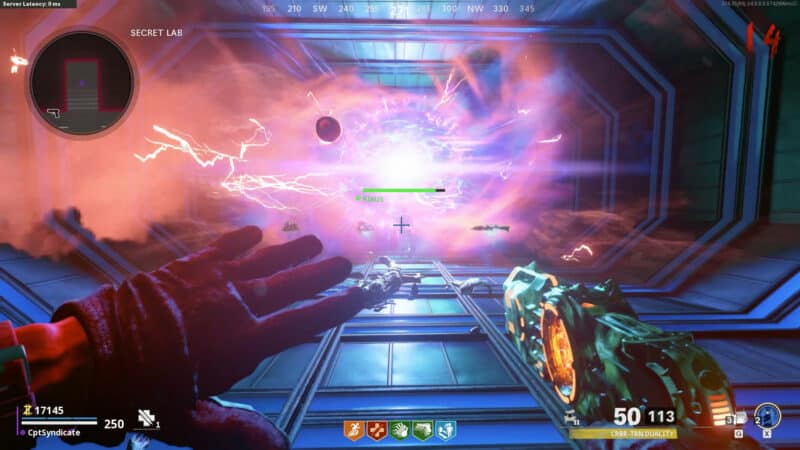
Inside the lab, you will find a huge portal in the middle.
You will also find a conversion unit and a machine by the wall with an orange bubble shield around them.
nextpage
Harvester Step
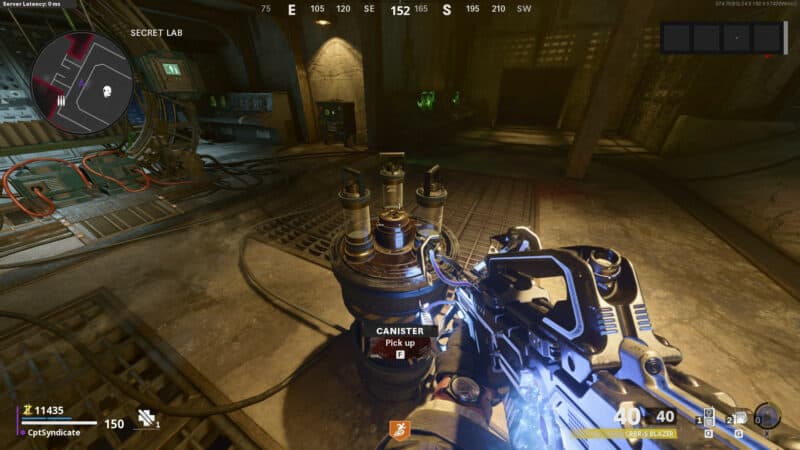
Once the round ends, the orange aura around the conversion unit and the machine by the wall will disappear. You will find three canisters coming out of the conversion unit. Collect all three of them. You need to interact with the conversion unit there times to collect each of the canisters.
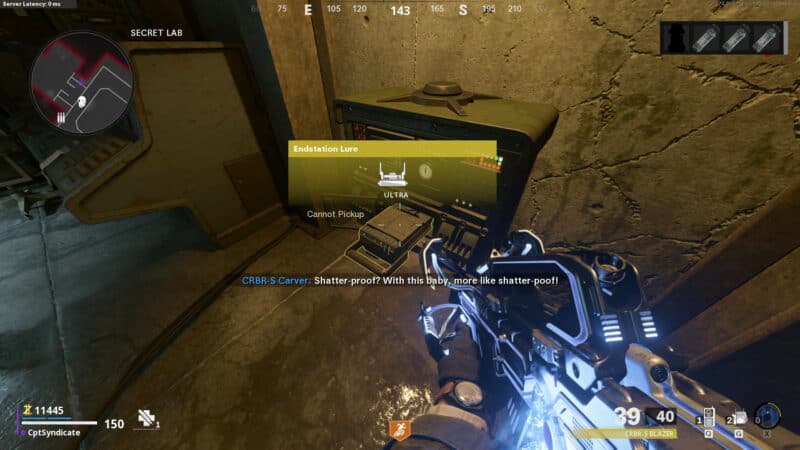
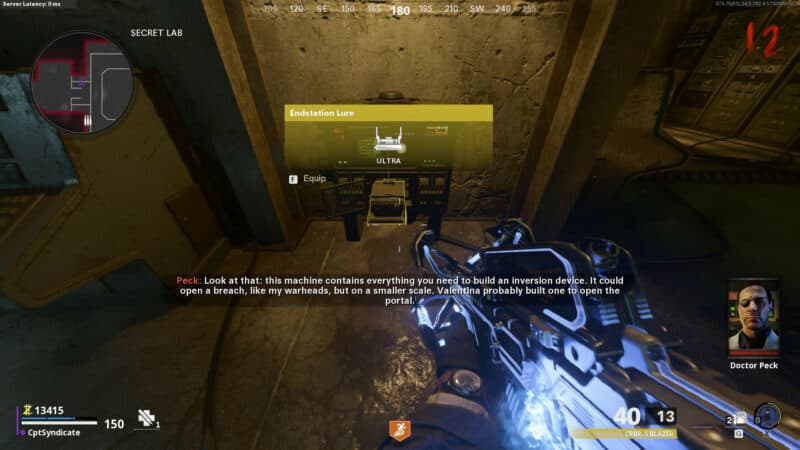
Shoot the machine by the wall with your wonder weapon to get the endstation lure.
Please do not use it by accident, or else you won't be able to spawn three of them in a single round. You will be forced to go to the next round for an extra endstation lure to spawn.
If you still have Klaus, wait for him to lose his charge and return as the remote control will be in your tactical slot. The lure is acquired in the tactical slot as well.
In this next step, you need to put the three empty canisters into the essence harvesters. These essence harvesters spawn in seven different fixed locations around the map.
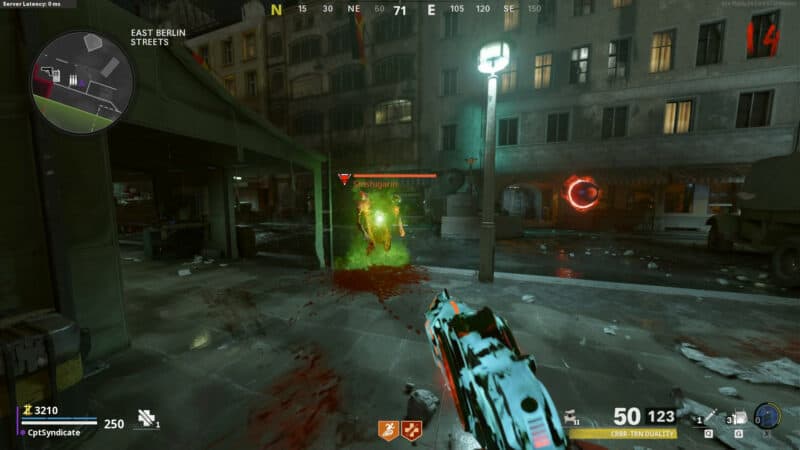
When you get to the harvester, you need to insert the canister in the harvester and throw your endstation lure anywhere near the harvester, and it will spawn three Tempests. Kill the Tempests to trap their soul into the canister.
The following are all the seven locations of the harvester, but they only spawn randomly in any three of the shown locations in each game.
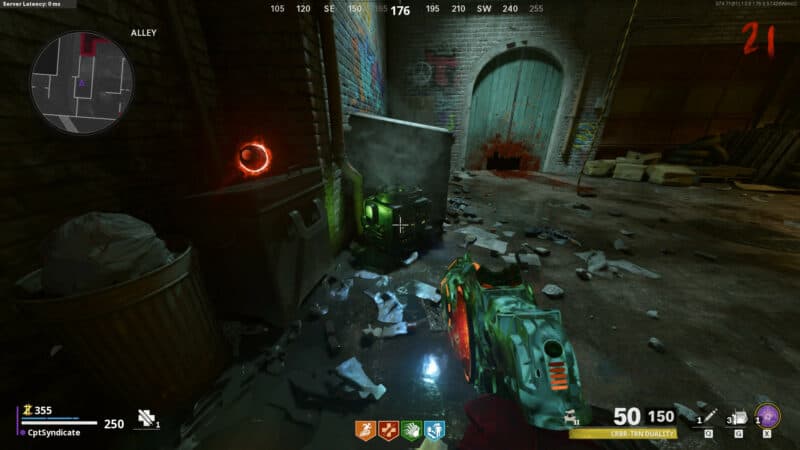
Harvester Location #1
In the Alley next to the trash bin.
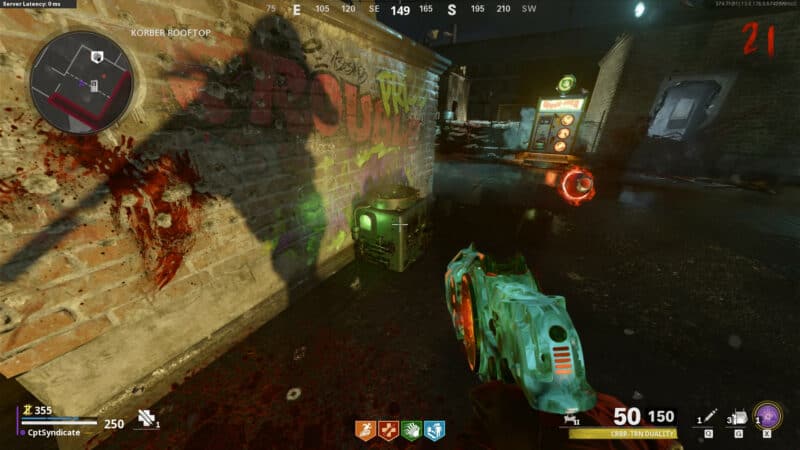
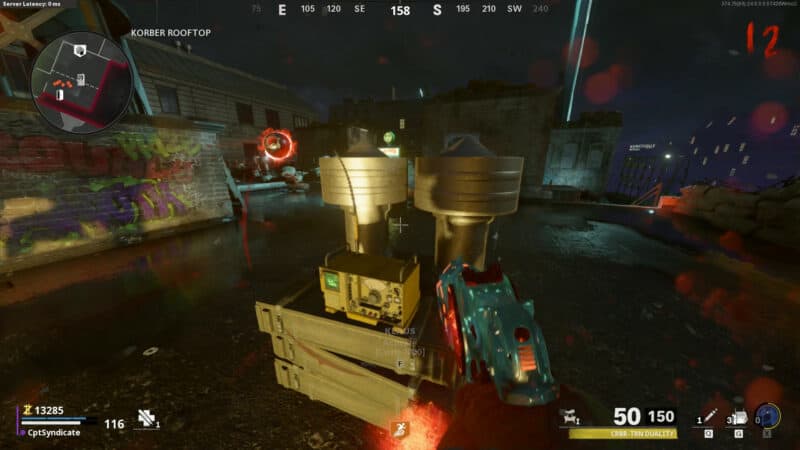
Harvester Location #2
On the Korber Rooftop next to the Speed Cola perk machine.
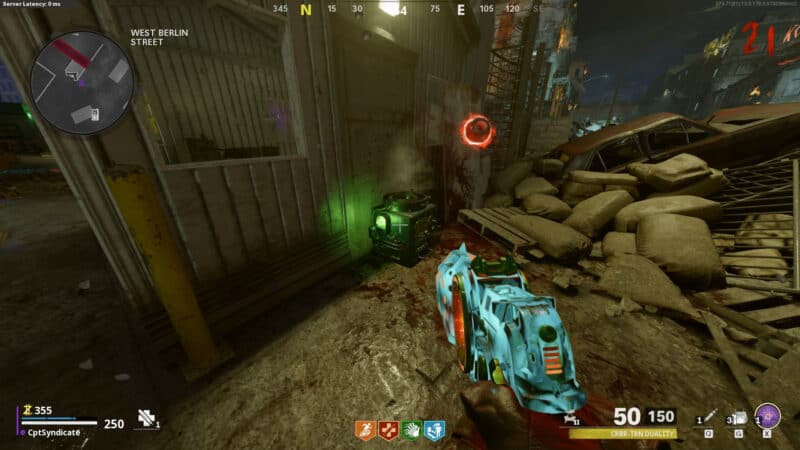
Harvester Location #3
On West Berline Street, next to a checkpoint office with a wall buy.
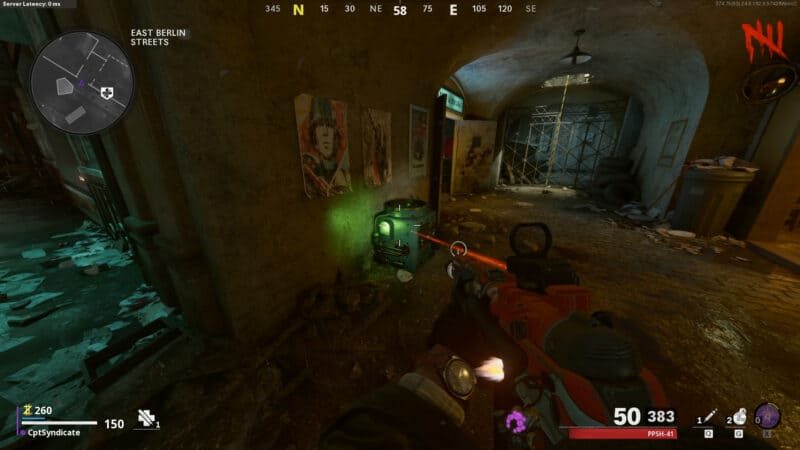
Harvester Location #4
Outside Electronics Store on East Berlin Street.
Harvester Location #5
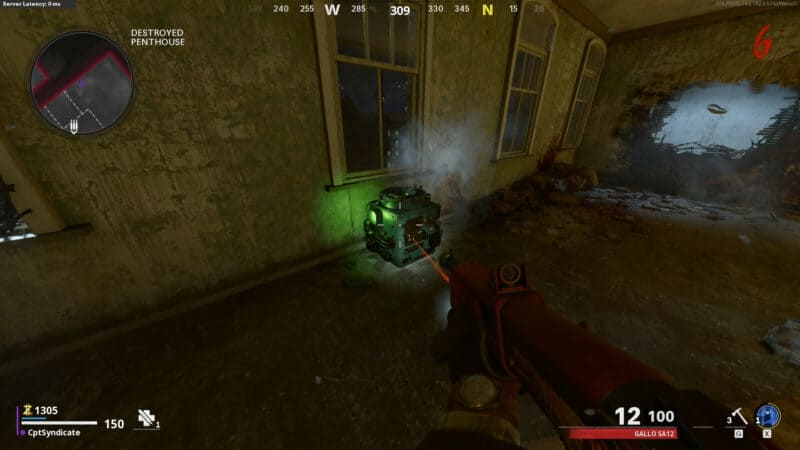
At the Destroyed Penthouse.
Harvester Location #6
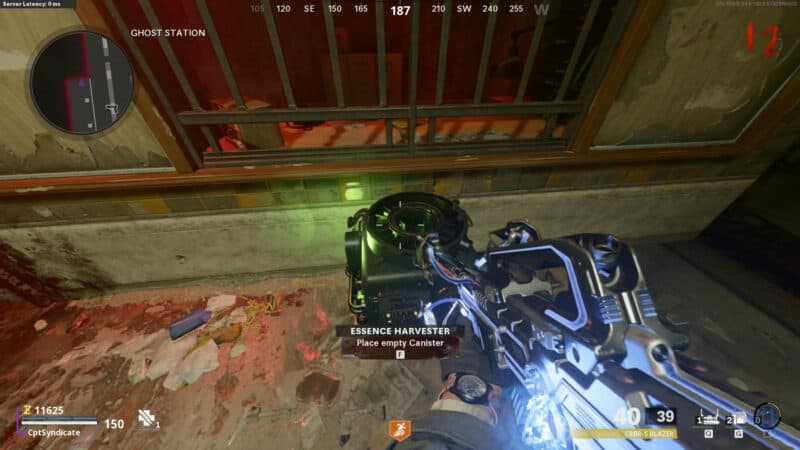
At the Ghost Station by the reception window.
Harvester Location #7
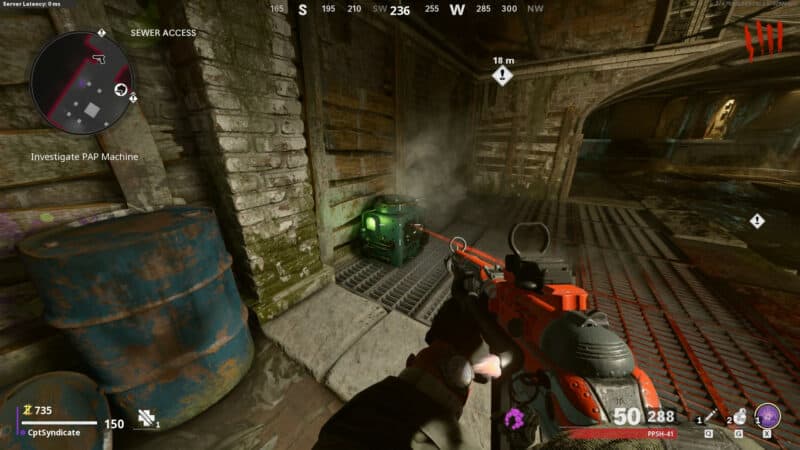
In the Sewer Access across from the Arsenal.
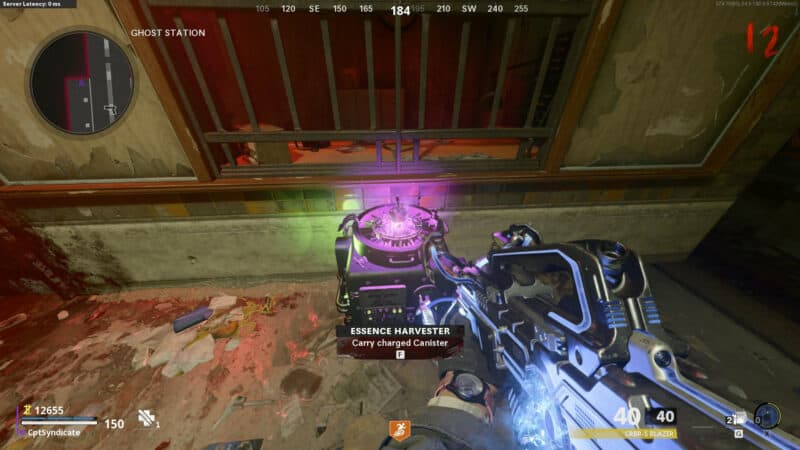
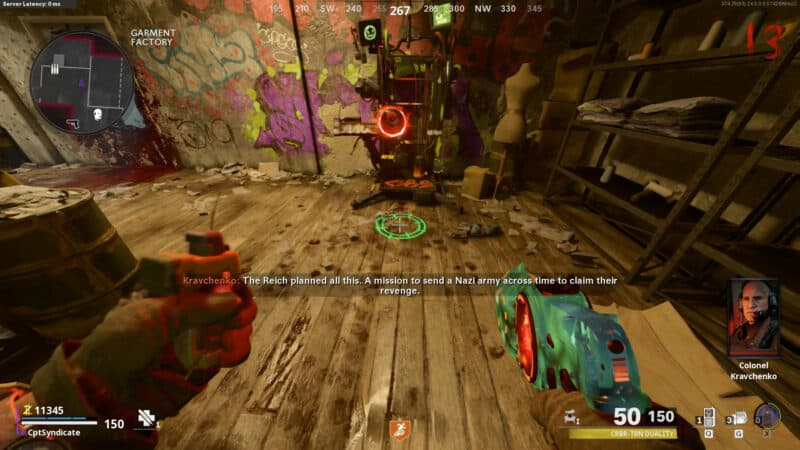
Find where the harvesters are in your game and interact with the harvester to insert one of the collected empty canisters.
After that, throw the endstation lure on the ground next to it, and three Tempests will spawn.
Kill all three tempests near the harvester, and the souls of these tempests will be sucked into the canister. The Tempests do not have to be super close to the harvester.

You can see the Tempest soul getting sucked into the canister in the image below. It'll be a pink-colored glowing orb flying into the harvester.
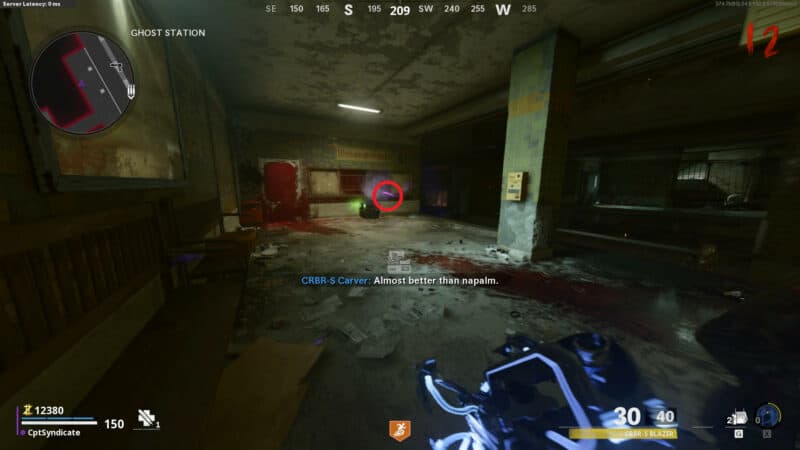
After all three Tempests have been killed, wait a couple of seconds for the canister to come out of the harvester and pick it up for delivery to the secret lab.
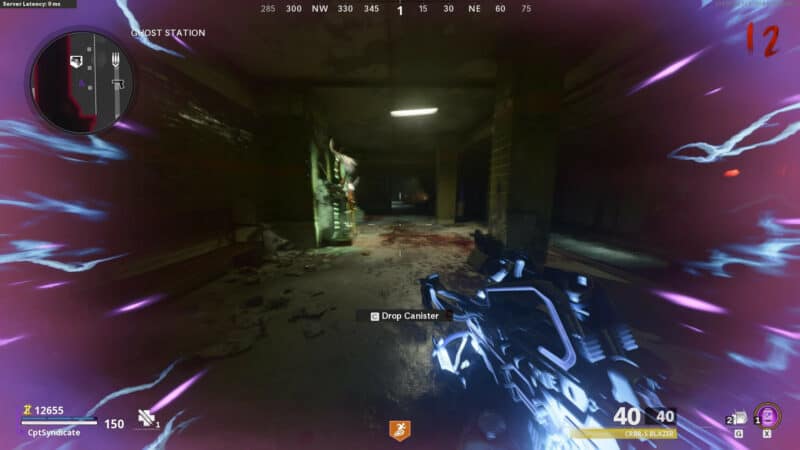
Remember, when you're holding the canister, you cannot sprint. You can only mantle. Do not kill any of the regular zombies on your way to the lab, and try to save as many as possible for Klaus.
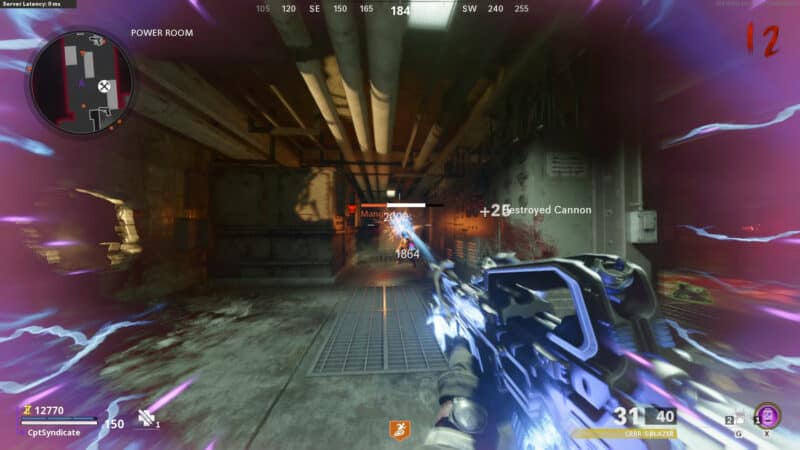
You can kill special zombies such as the Manglers and Tormentors. Alot of them will spawn on this step. Killing these zombies will not contribute towards the ending of the round.
Bring the canister to the lab and insert it into the conversion unit. After inserting the first one, repeat the same process with the other two canisters and insert them into their conversion unit.
Do not forget to grab another endstation lure from the machine before leaving the lab for the second harvester.
After inserting the third and final canister, you will be asked to find a warhead.
nextpage
Upgrading Klaus & The Train Step
At this point, we need to upgrade Klaus. You need to call in Klaus once again and get him to kill as many zombies as possible. Since the upgrade is done in the Garment Factory, the best approach is to train a horde of zombies on Korber Rooftop and then use the yellow radio to call Klaus.
These yellow radios are scattered all around the map and can be used to call Klaus without having to go all the way back to the safe house.

Let Klaus kill all the zombies, and once he is ready to be upgraded, you will hear a distinct sound.
[/audio]
When you hear the above sound, that is your cue to command Klaus to the Upgrade Station in the Garment Factory.
You will also notice that the screen on the upgrade station has now turned green. It was red before the sound.
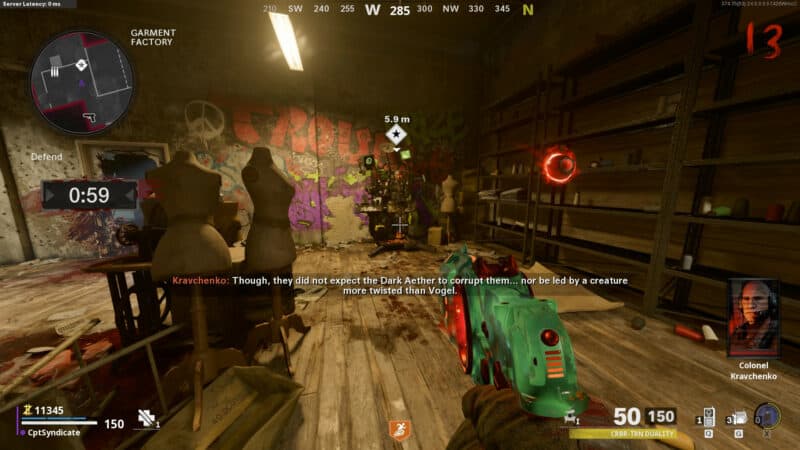
Klaus will go into the station, and you will need to defend him for one minute as he gets upgraded.
Once Klaus upgrades, he will come out of the upgrade station with a pack-a-punched weapon. The pack-a-punched weapon indicates that he is now upgraded to tier I. You only need a tier I upgrade for this easter egg. If you're looking to upgrade Klaus further, feel free to check out our dedicated guide on how to fully upgrade Klaus here.
After upgrading Klaus, go to the Ghost Station and command Klaus to stand on the train track furthest away from the Mule Kick perk machine.
As Klaus gets there, go to the Switch Control Room and use the Railway Switch to switch tracks.
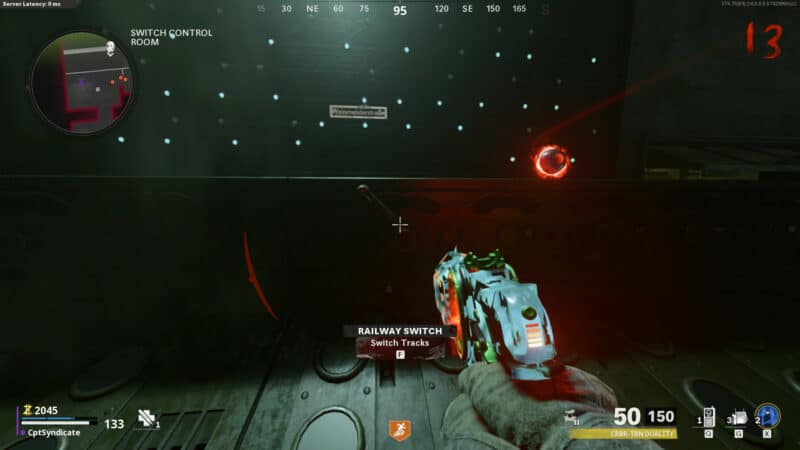
Klaus will come to the train track and stop an incoming train.
You need to quickly get on the train and collect the bomb and Rico's keycard.
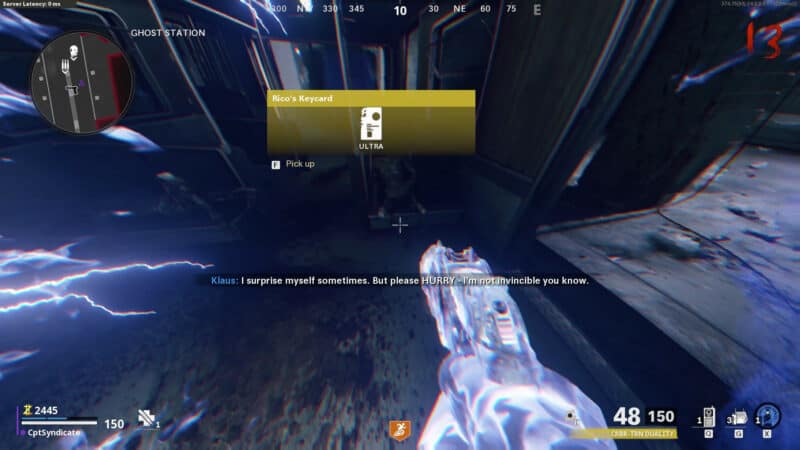
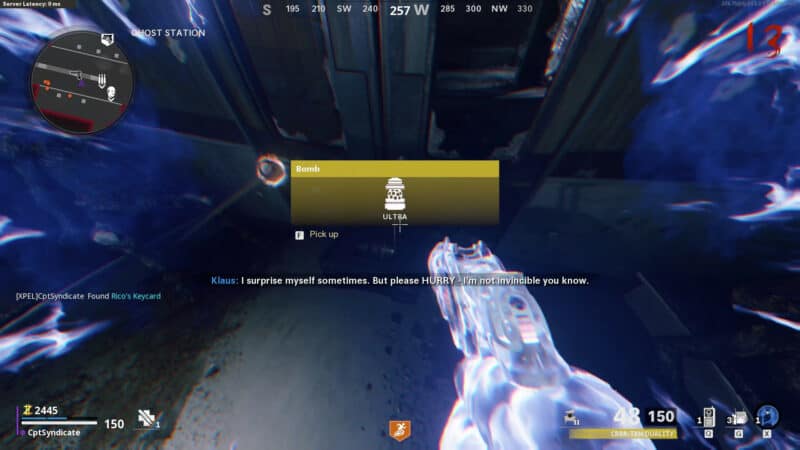
You can use the Aether Shroud ability to get these items from the train safely, and you might get overrun by the zombies.
The Uranium Step
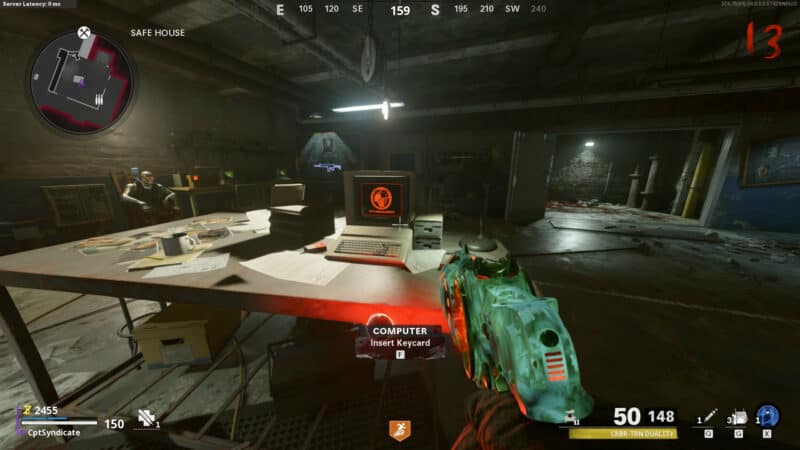
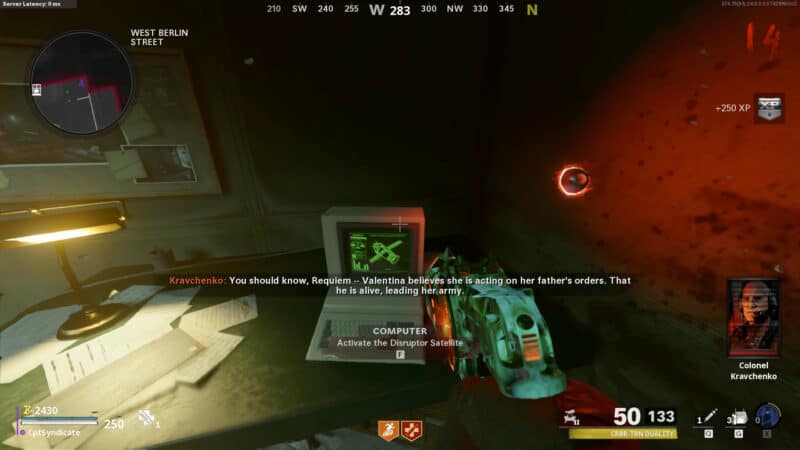
Go to the safe house and use Rico's keycard to access the computer on the table in the middle of the room.
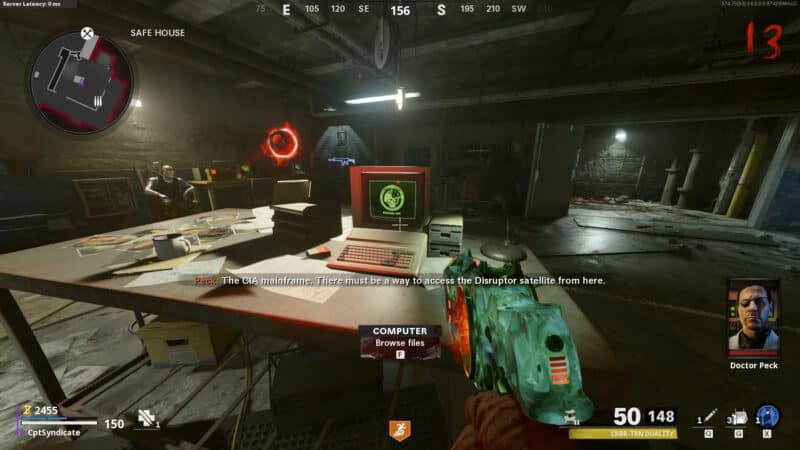
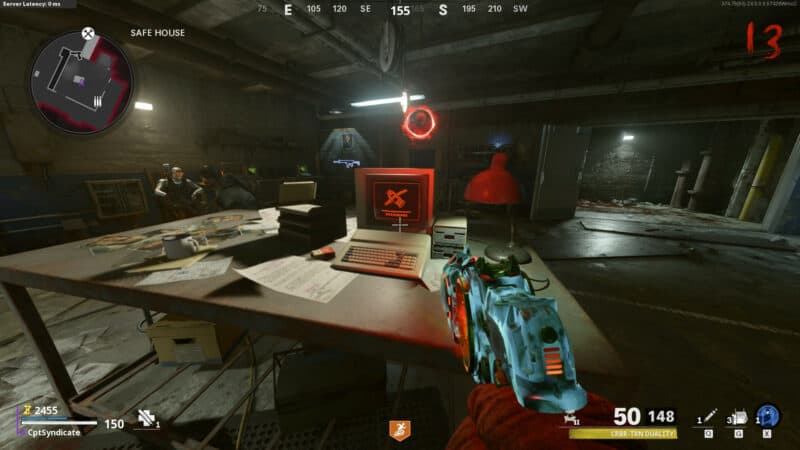
Interact with the computer three times to browse through the files, and you will eventually see a red screen.
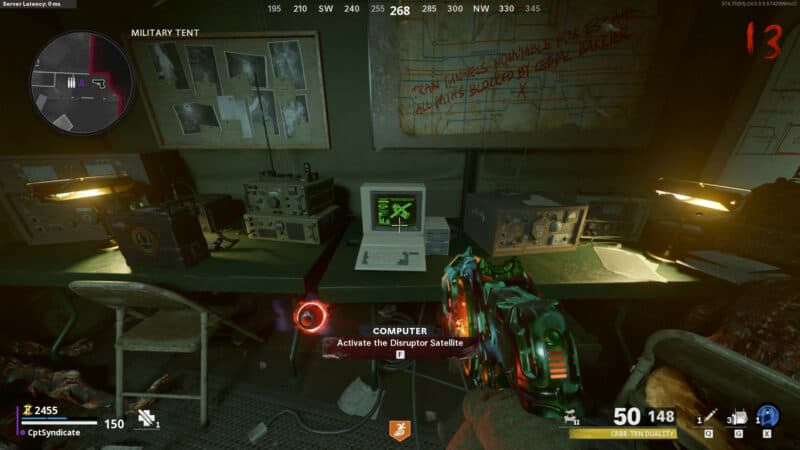
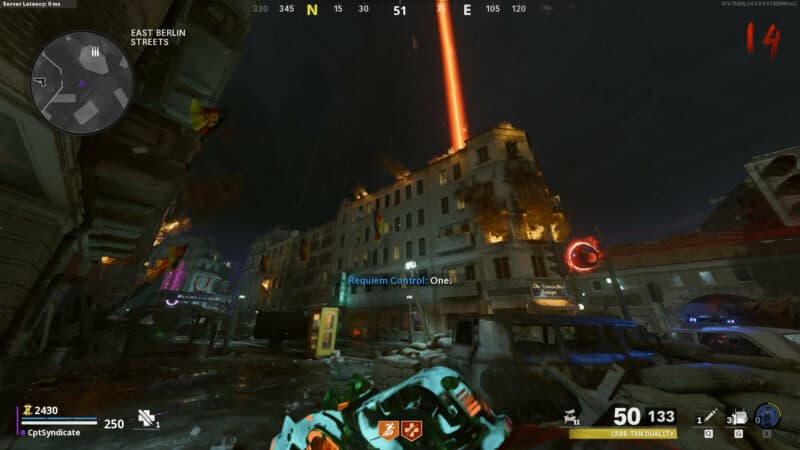
Go back up to East Berlin Street and interact with the computer in the military tent in front of the electronics store to activate the disruptor satellite.
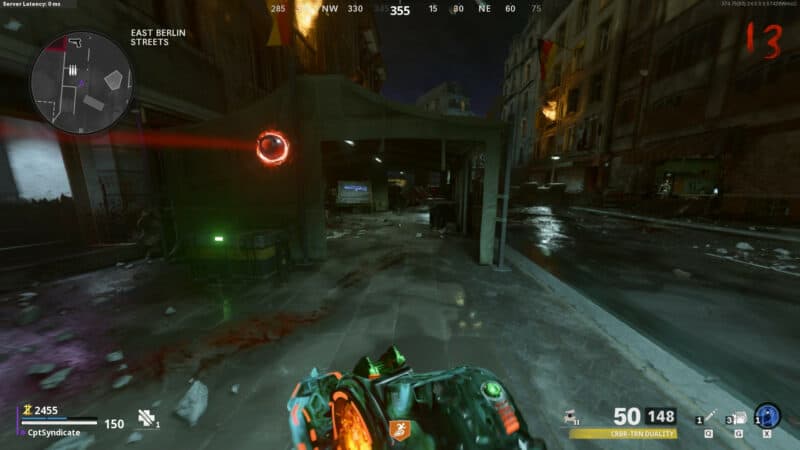
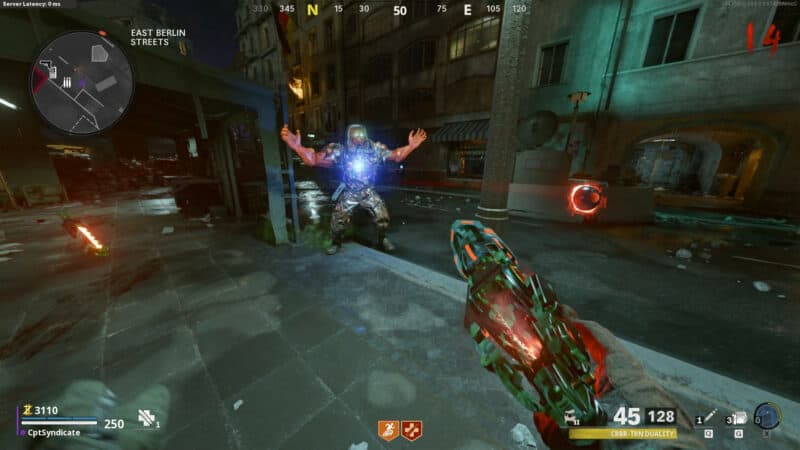
This will spawn some high-value targets (HVTs) similar to the ones seen in the Outbreak mode. The first group of HVTs spawns next to the pack-a-punch machine in the middle of East and West Berlin Street.


While avoiding the majority of the regular zombies, kill the spawned HVTs, including the regular zombies from it and the Mimics (really strong Mimics).
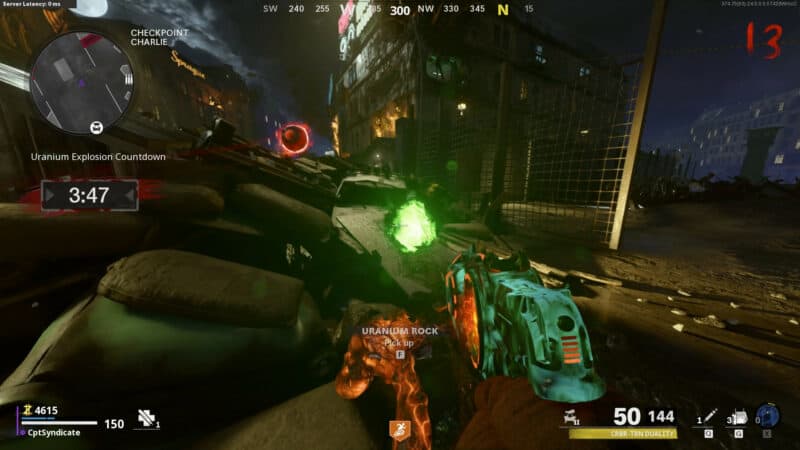
The most important zombie here is the Megaton. It is recommended that you lure the Megaton next to the military tent on East Berlin Street first and then kill it. When you kill the Megaton and the split bombers, each bomber will drop a Uranium Rock.
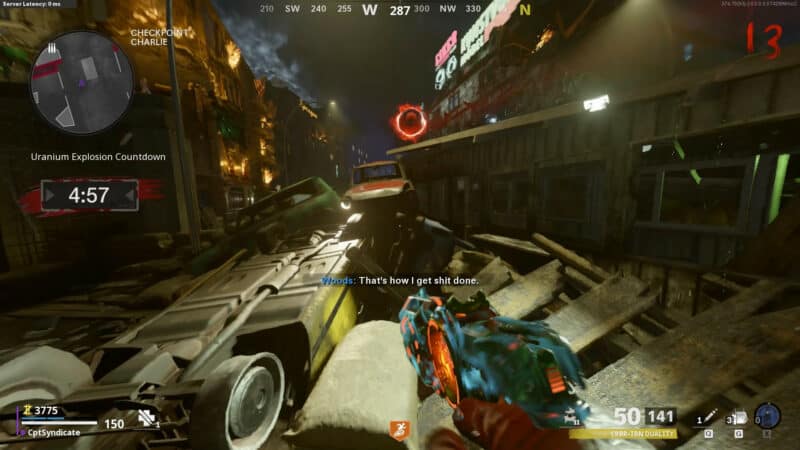
As soon as you kill one of the split zombies, a five-minute timer will start and the split zombies will drop the Uranium Rock. You need to complete the following step within five minutes, or else the game will end.
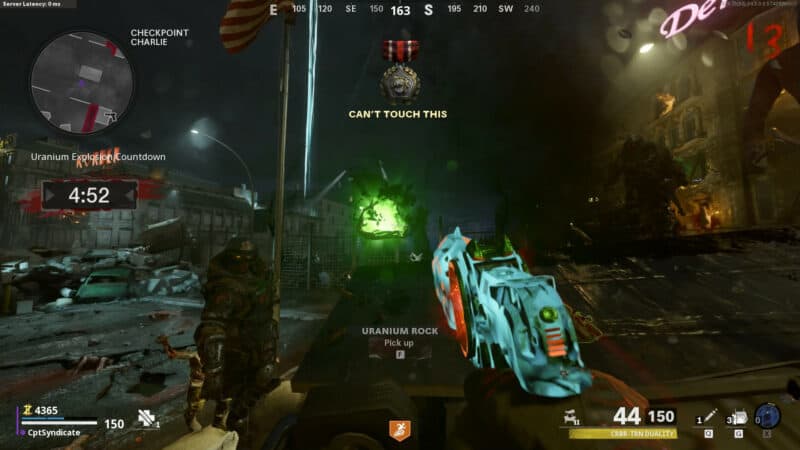
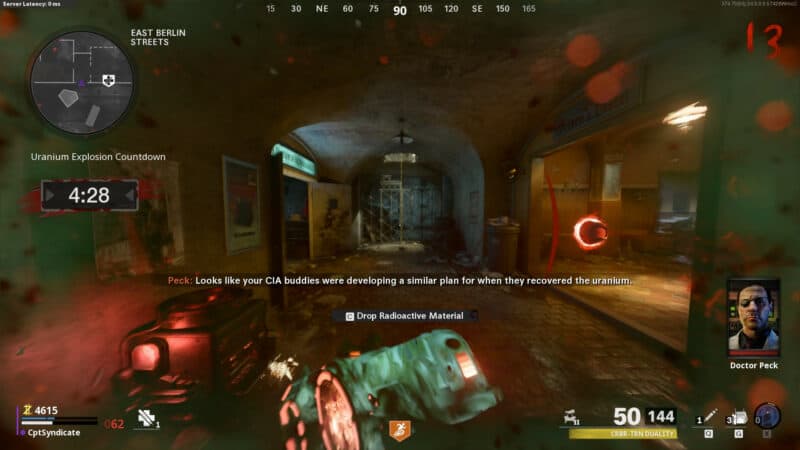
Pick up the Uranium and take it to the East Berlin Street military tent. Note that your health will slowly deplete carrying the Uranium Rock.
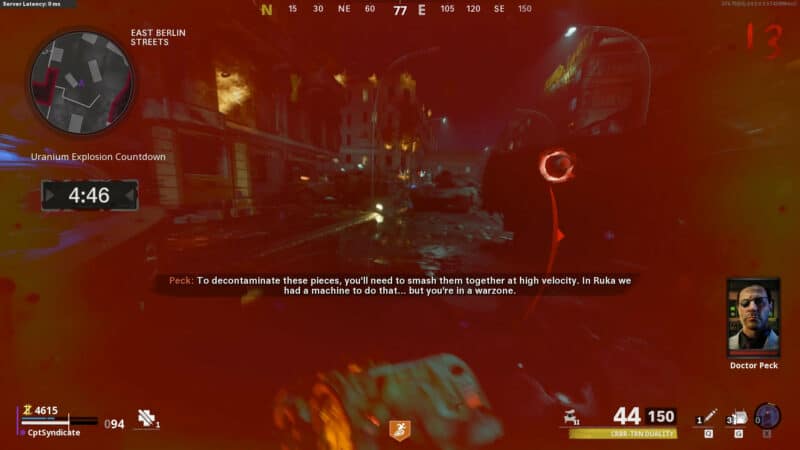
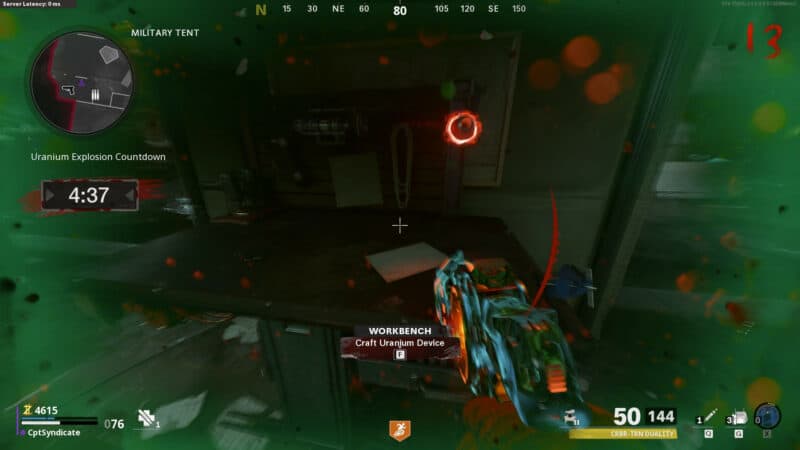
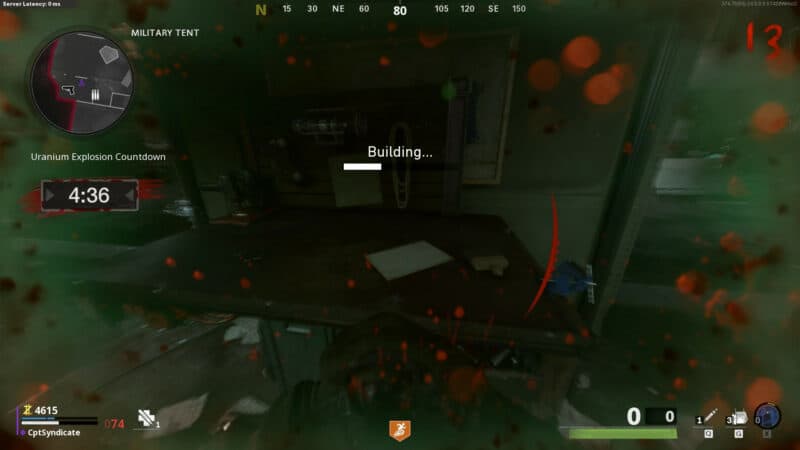
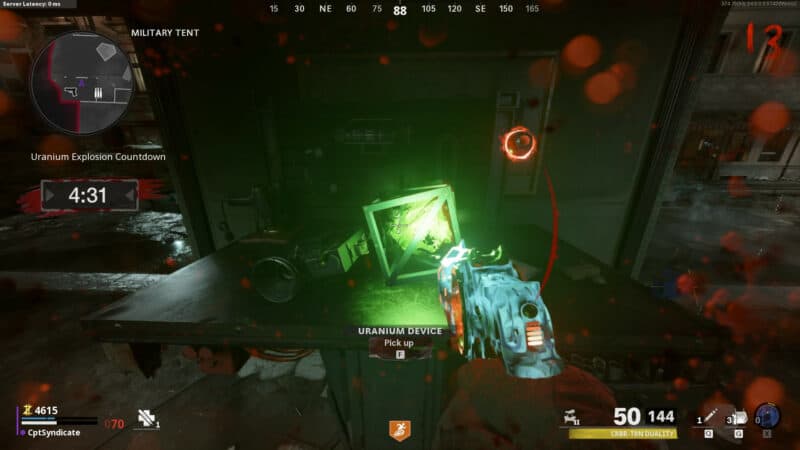
When at the military tent, use the Uranium Rock to craft a Uranium Device at the crafting bench.
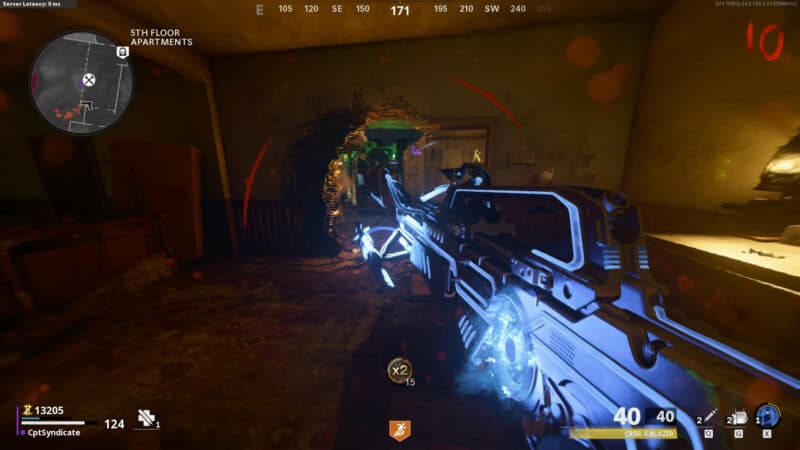
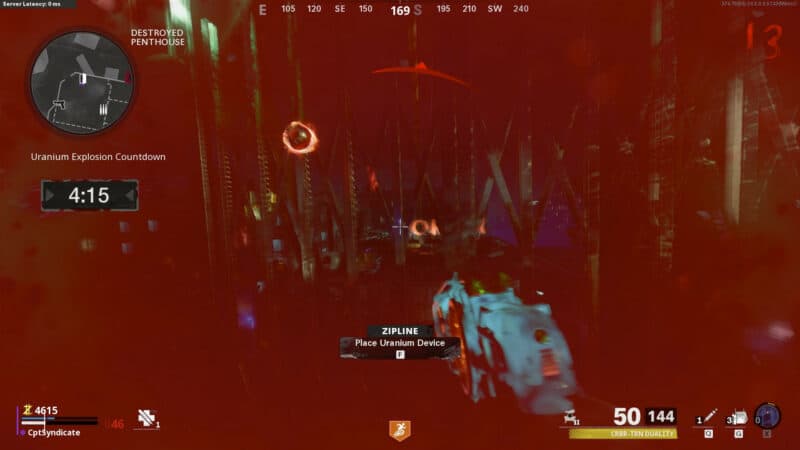
Pick up the Uranium Device and take it up to the Destroyed Penthouse.
The best route to take from here is by using the rope directly in front of the military tent, which takes you back to 5th Floor Apartments, the spawn location. The rope is in between the entrance to the bar and the electronics store.
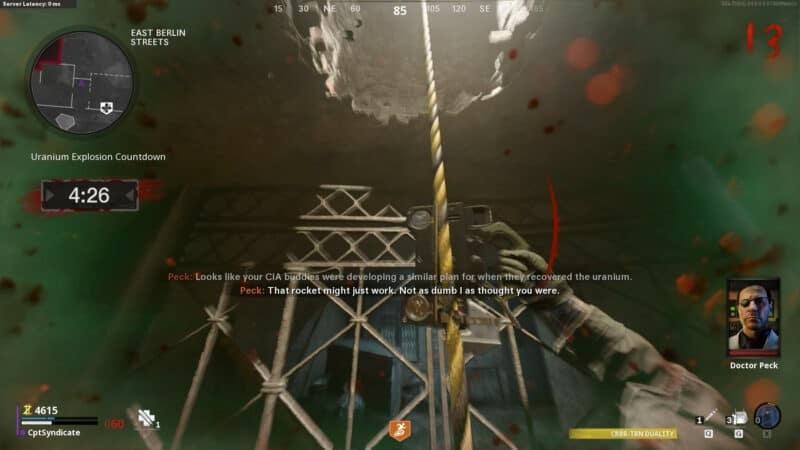
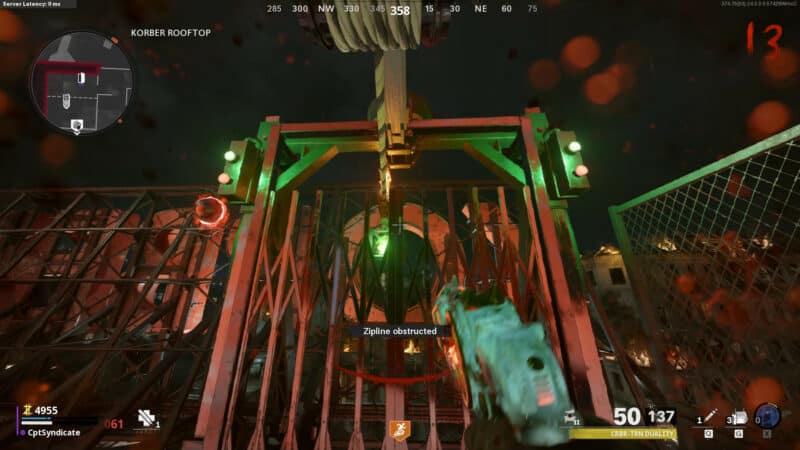
Go up to the Apartment Rooftop and use the zipline to reach the Destroyed Penthouse.
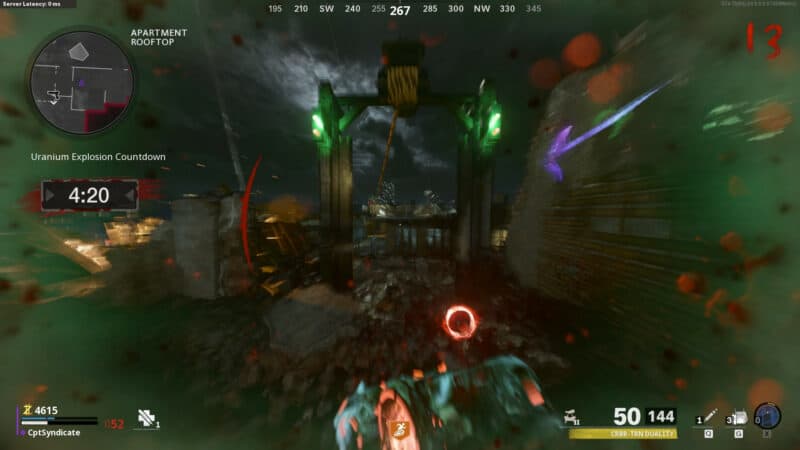
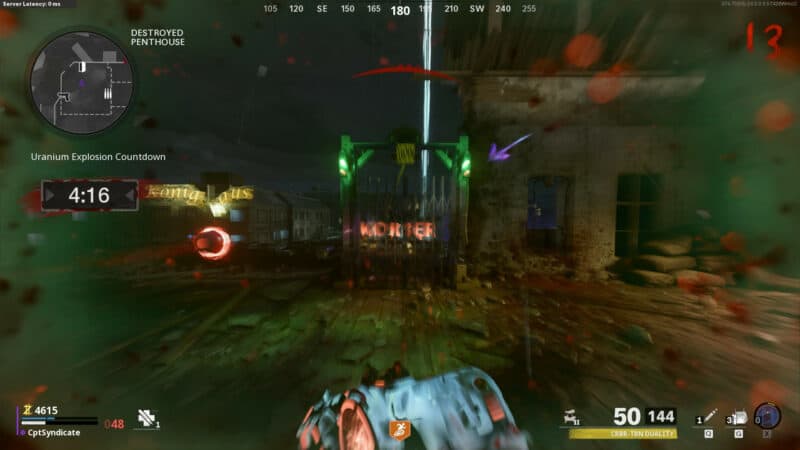
Place the Uranium Device on the zip line leading to the Korber building and then make your way back to the second Uranium Rock.
Pick up the second Uranium Rock, craft the Uranium Device at the tent, and take it up to the Korber Rooftop.

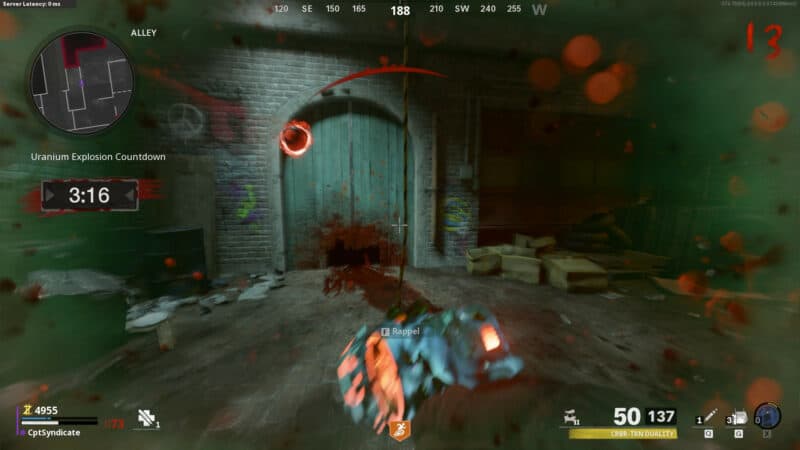
The best way to reach Korber Rooftop is through the rope in the Alley directly South of the military tent.

When you reach the Korber Rooftop, place the Uranium Device on the zip line leading to the Destroyed Penthouse.
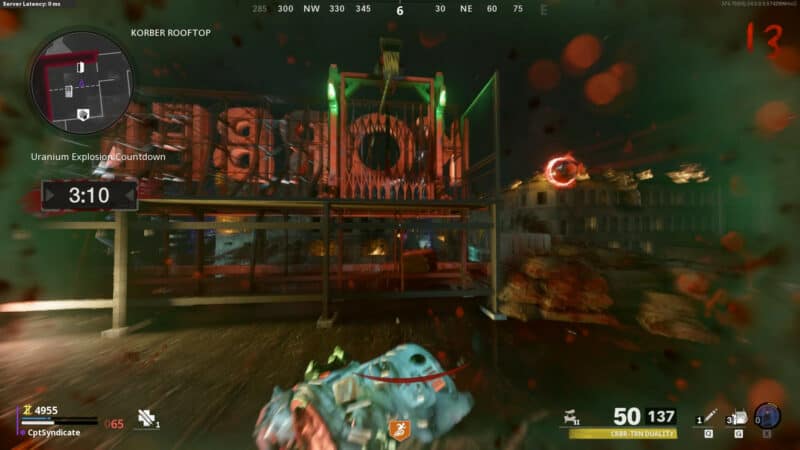
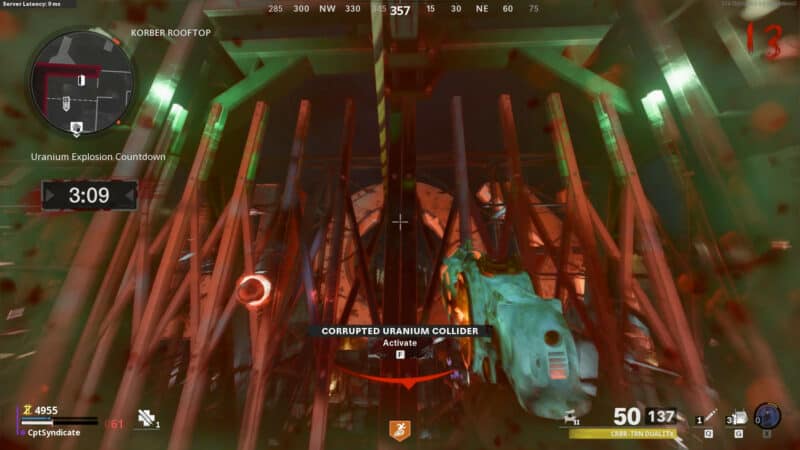
Now, both the Uranium Devices will slide towards each other and collide.
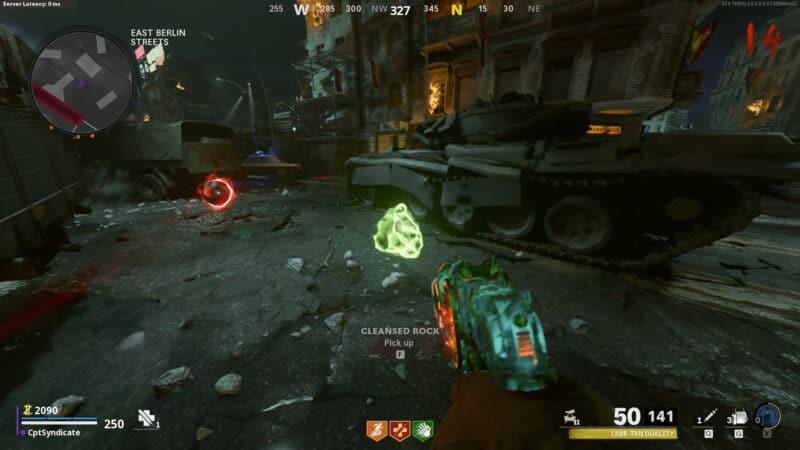
Go down to the middle of East Berlin Street, and you will find Cleansed Uranium.
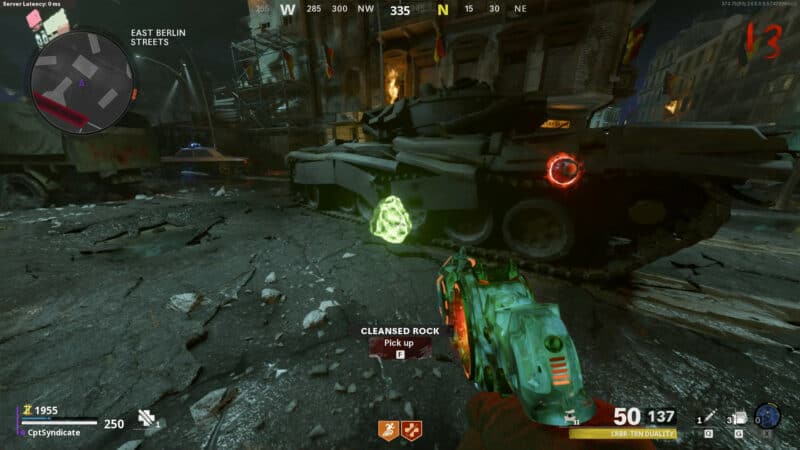
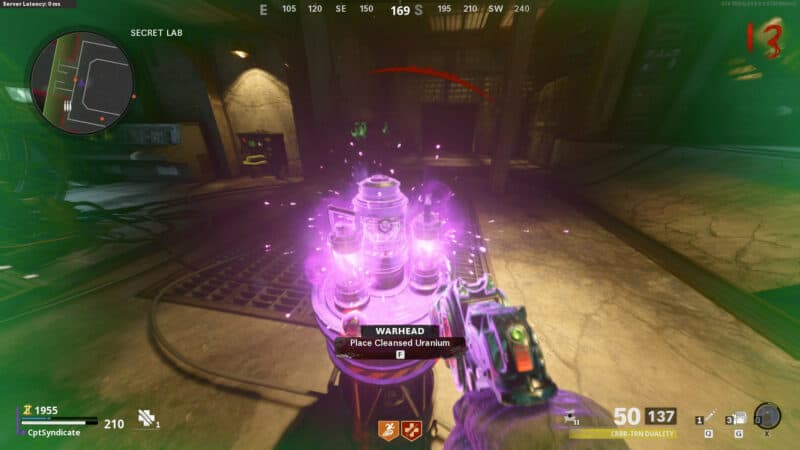
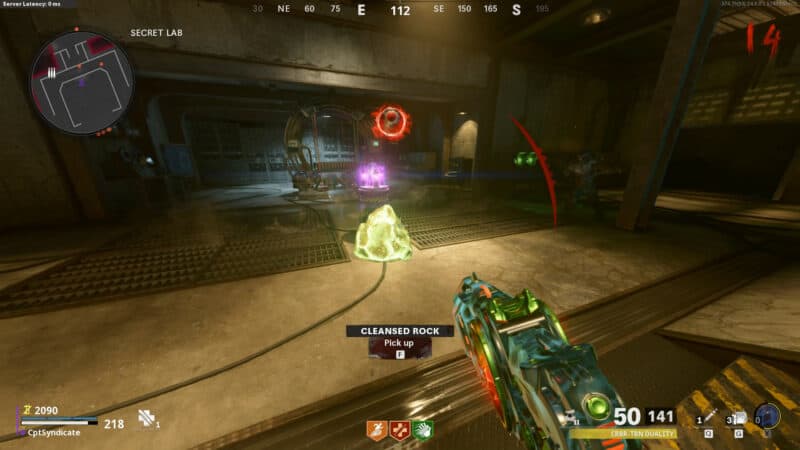
Pick it up and bring it back to the secret lab. You already have the bomb from the train. Interact with the conversion unit to first place the warhead inside.
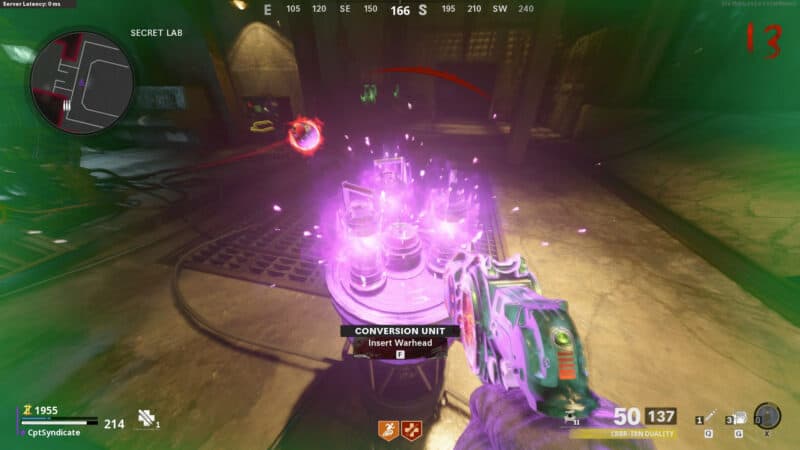
Then insert the Cleansed Uranium into the conversion unit.
Now, you need to repeat the same step once more, but to be able to do it again, you need first to end the round.
End the round and then on the next round go to the military tent on West Berlin Street.
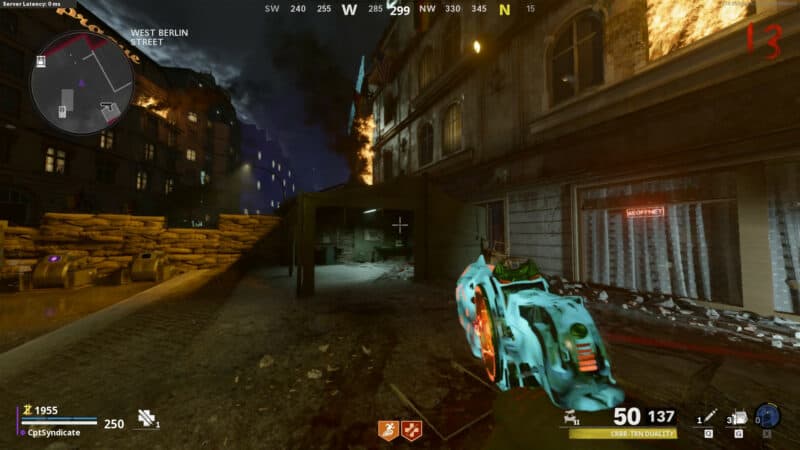
Use the computer to activate the disruptor satellite for another batch of HVT.
This they will spawn on top of Apartment Rooftops (the spawn point).
Go to the spawn point and eliminate all the zombies except regular and Megaton. Do not even split the Megaton. Leave the Megaton and go back down to the military tent on East Berlin Street.

When you are far away from the Megaton, he will teleport to you. Since you are near the military tent on the east side, the crafting process will be easier and faster since the Uranium Rocks will be near the crafting bench.
You can still craft at either one of the military tents. But the one on East Berlin Street is preferred as both the buildings are close to this tent.
Repeat the same and collide both the Uranium Devices to get Cleansed Uranium.
Pick up the Cleansed Uranium and bring it to the secret lab. Now, if you're already prepared with all the perks and necessary preparations, such as the tier III armor and a pack-a-punched weapon for the boss fight, you may insert the Cleansed Uranium into the conversion unit.
As soon as you insert the Uranium, there's no going back, and the boss fight will begin. This is a point of no return.
If you're not prepared, it would be best to drop the Uranium in the lab and do your necessary preparations before you enter the boss fight.
Read on to see the preparations you need to make for this boss fight.
Boss Fight
Before you get into the boss fight it is highly recommended that you have the following perks:
Jugger-Nog
Stamin-Up
Mule Kick
Speed Cola
You can also get Quick Revive if you have the points. As mentioned before, you can also get the Quick Revive perk in the middle of the boss fight. Ammo is one of the biggest issues during the boss fight. Mule Kick (tier II) helps with ammo by giving us a small chance of ammo drop when eliminating zombies.
You must keep Aether Shroud for the field upgrade and not change to Ring of Fire as most people do. Aether Shroud makes this boss fight a lot easier.
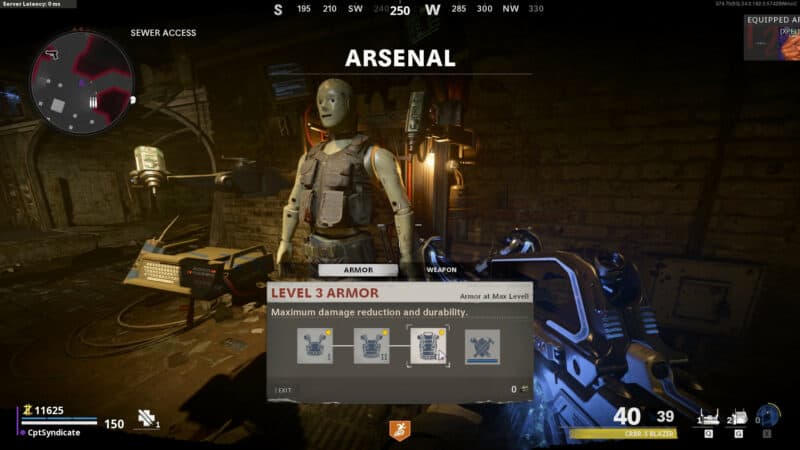
For the armor, you should have tier 3 armor by now either way. But, just in case you haven't, go to one of the arsenals and upgrade your armor to tier 3.
You will be using the base variant of the wonder weapon to take on the boss on this map. Make sure you have pack-a-punched your wonder weapon at least twice.

Also, before beginning the boss fight, grab another endstation lure as it can help you with ammo in case you run out. If you ever run out of ammo during the boss fight, throw the endstation lure to spawn three Tempests and kill them get ammo.
When ready, go ahead and insert the Cleansed Uranium into the conversion unit and be ready for the fight.
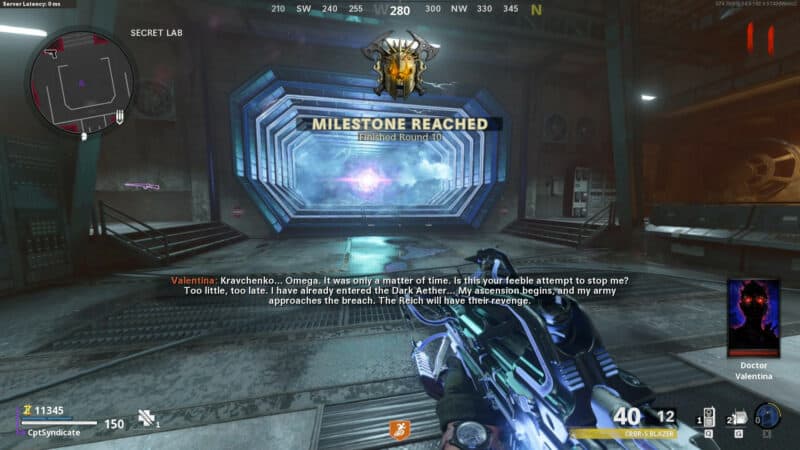
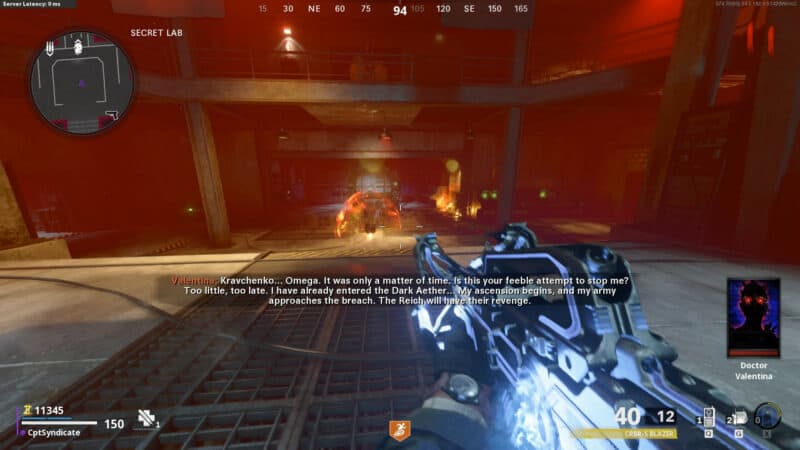
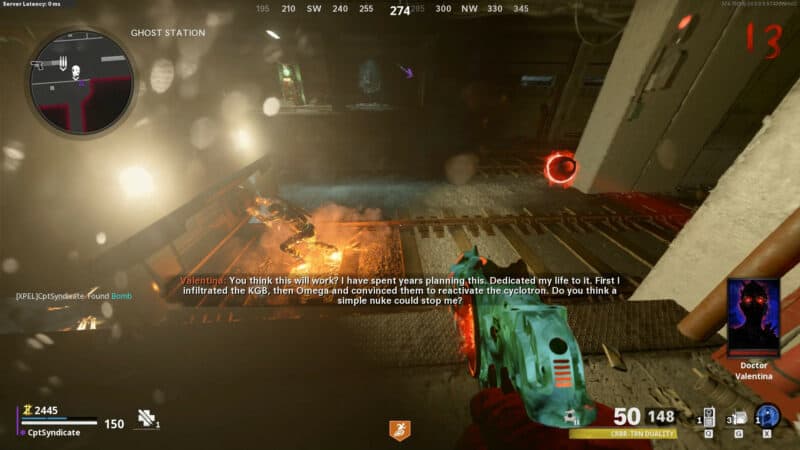
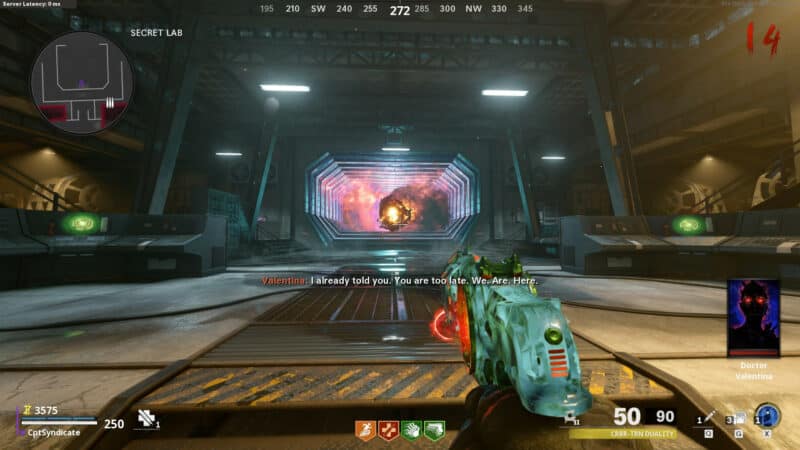
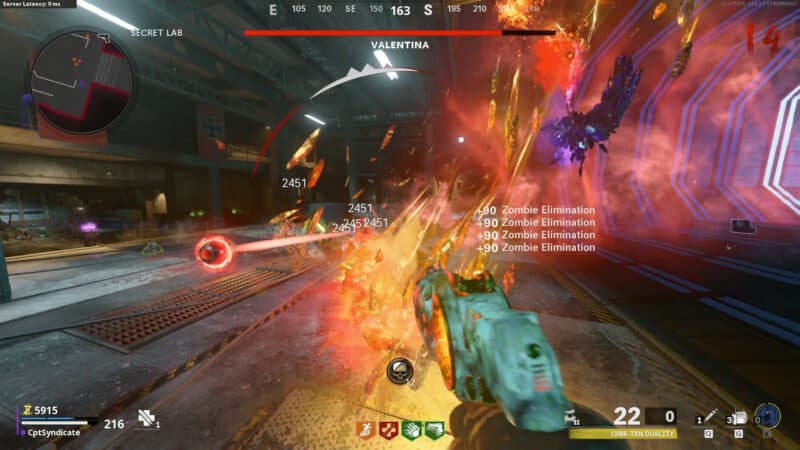
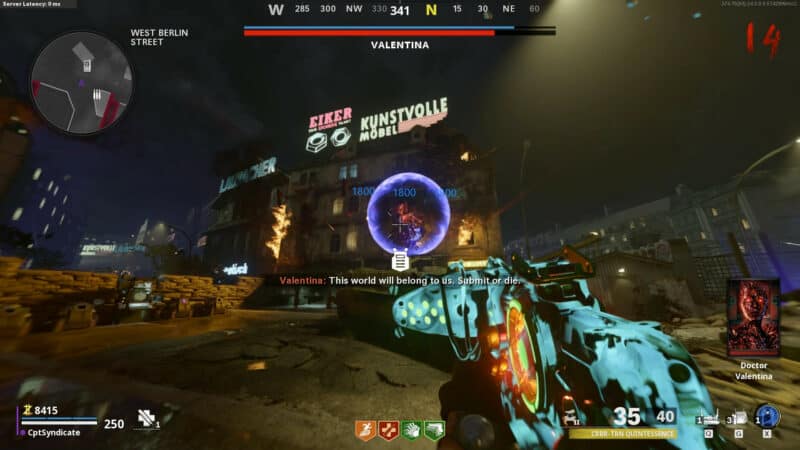
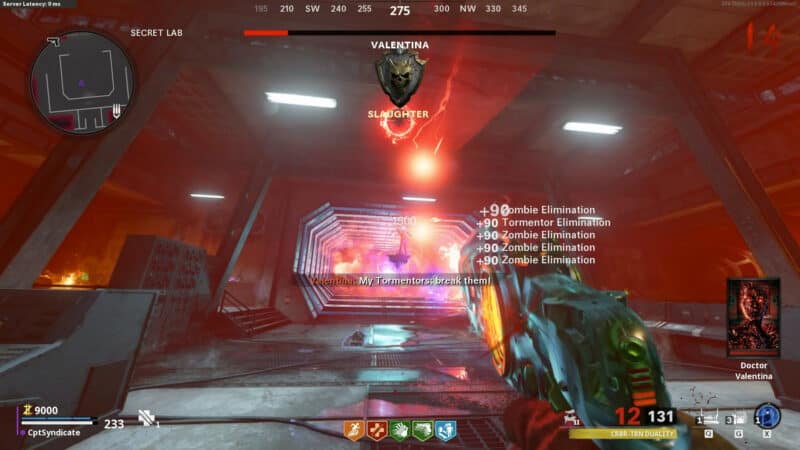
Valentina will come out of the huge portal in the middle of the secret lab.
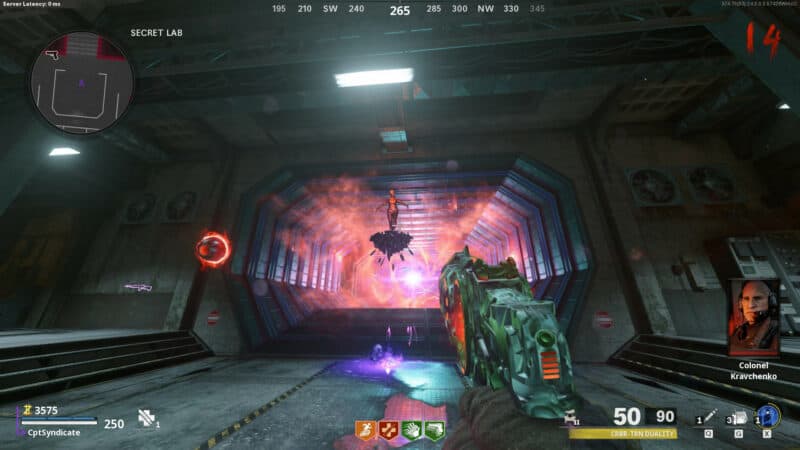
When you see her health bar show up, start shooting at her shield bubble with your wonder weapon until it breaks, and continue firing shots at her to deplete her health.

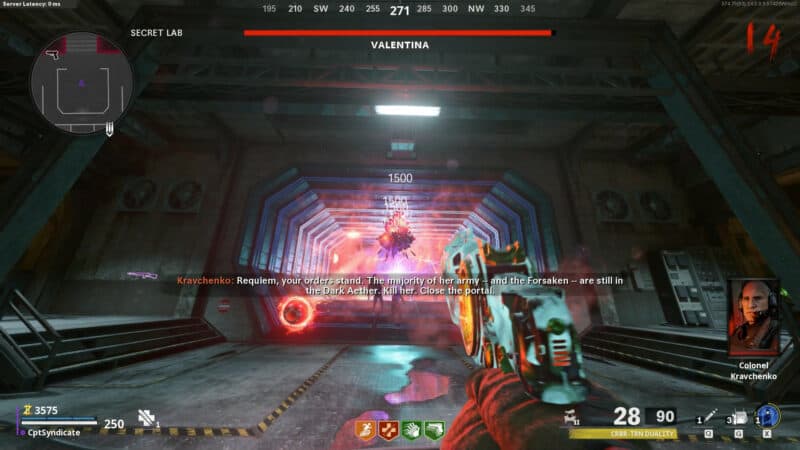
As with any boss fight, the regular zombies will continue to spawn. Keep taking them out as you shoot at Valentina to fill your Aether Shroud field upgrade. The regular zombies will be dead in a single shot with your wonder weapon.

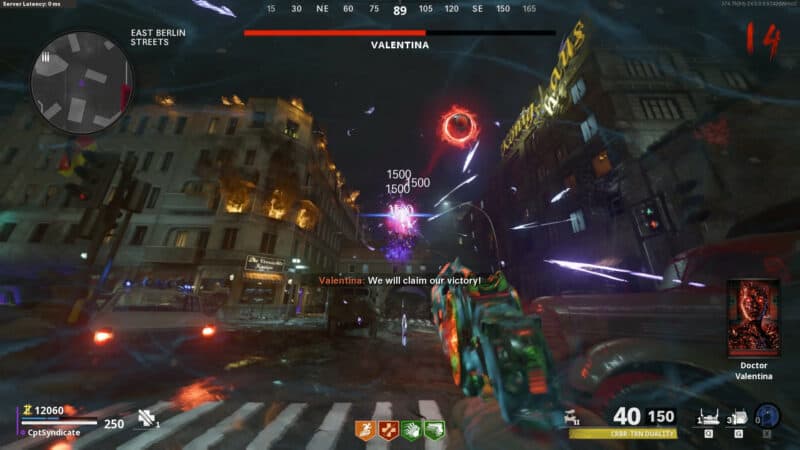
Keep shooting at her, and as soon as Valentina goes for her ranged attack, activate your Aether Shroud and continue shooting at her.


If your Aether Shroud ability isn't recharged fully before her next ranged attack, run away from her until she finishes her attack. Her ranged attack does serious damage to your armor and reduces it by a lot.
Valentina will also spawn some floating zombies around her that she uses to heal herself. As soon as she does, quickly take them out and do not give her a chance to heal.
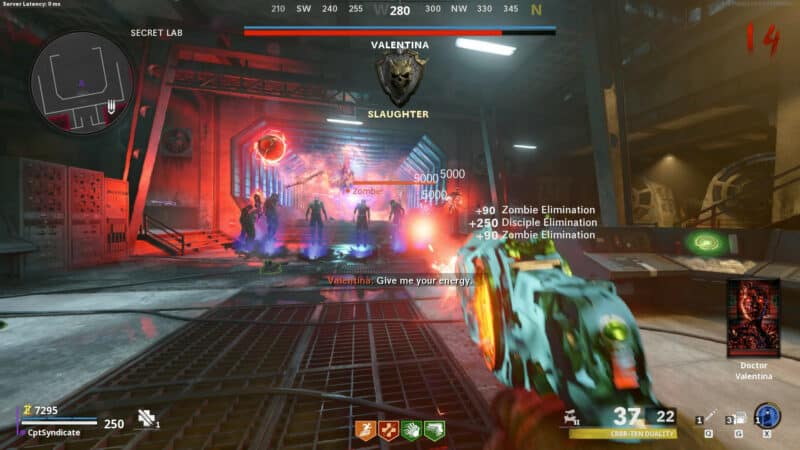
She also spawns in Tormentors. If your surrounding environment gets all "reddish," it's a sign that she is spawning the Tormentors. Continue shooting at her even during this stage. You can shoot the Tormentors when they get a bit close to you.
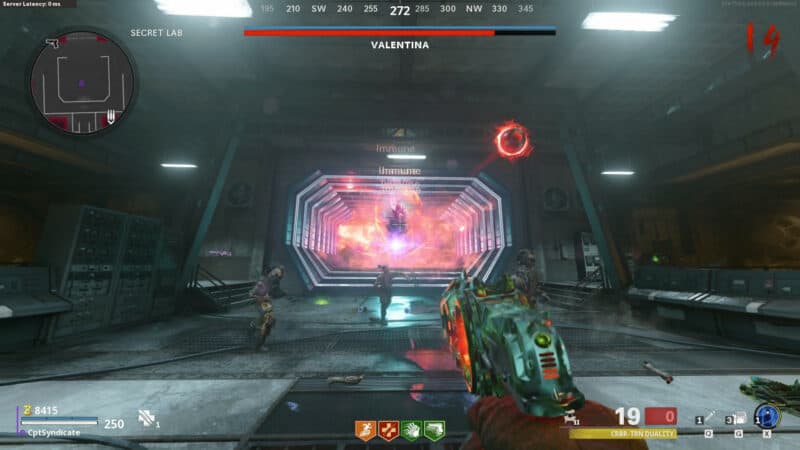
Continue the same shooting strategy and shrouding during ranged attack until she becomes immune and teleports to the next location.
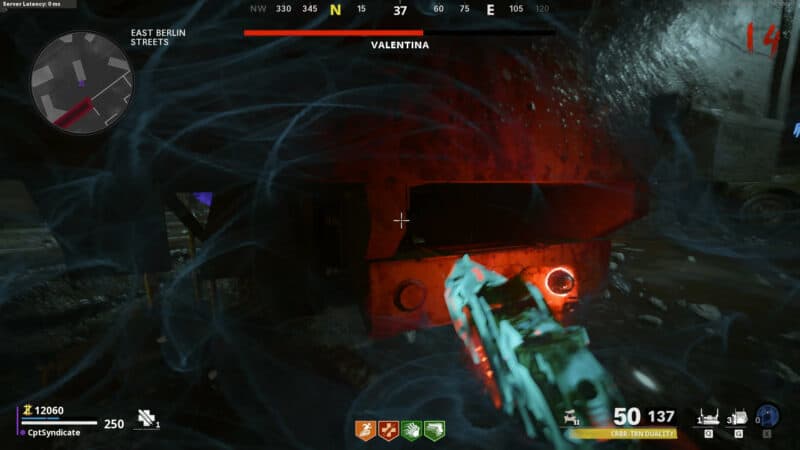
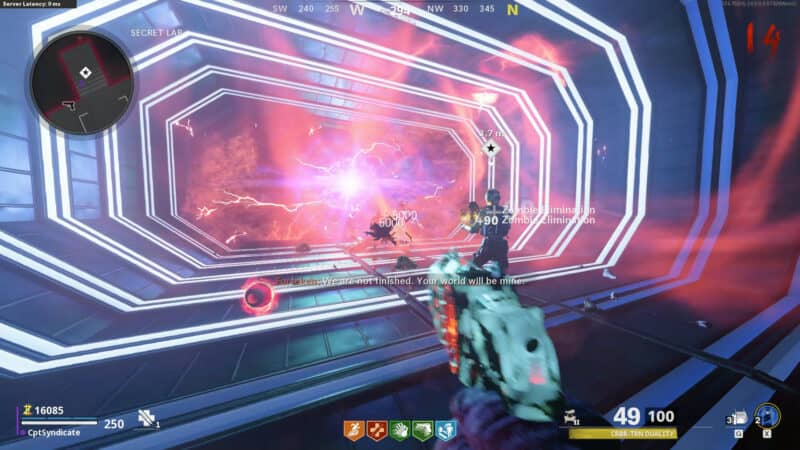
Another critical point to take note of is Valentina's wipe attack. This is an attack she does when your whole screen gets hazy with electricity showing all over your screen. This is an indication of her wipe attack.
As soon as you see it on your screen, quickly hide somewhere out of her sight, or else you will instantly drop down to 1 health.
In this complete boss fight, as her health depletes, she will teleport to four different locations before finally returning to the secret lab.
You can also go ahead and repair your armor in between the fight when she teleports. If there is an arsenal on the way to her next teleported location, you can repair your armor or even buy perks.
If you do not get to Valentina after a minute or so, she will teleport you to her.

You can also teleport to her by firing at her orange aura/bubble from afar.

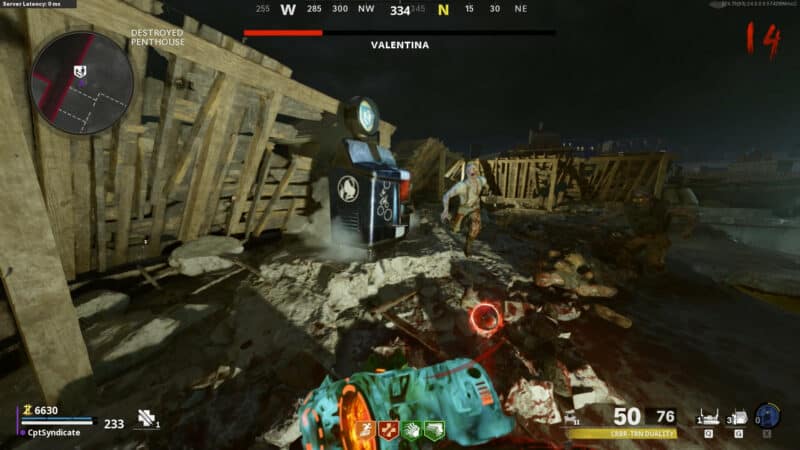
One of the locations she teleports to is the destroyed penthouse. There is a Quick Revive perk machine. If you have enough points, do buy it. It will help you regenerate your health faster. If you already have the previously mentioned four perks, then Quick Revive will cost you 4,500 points.
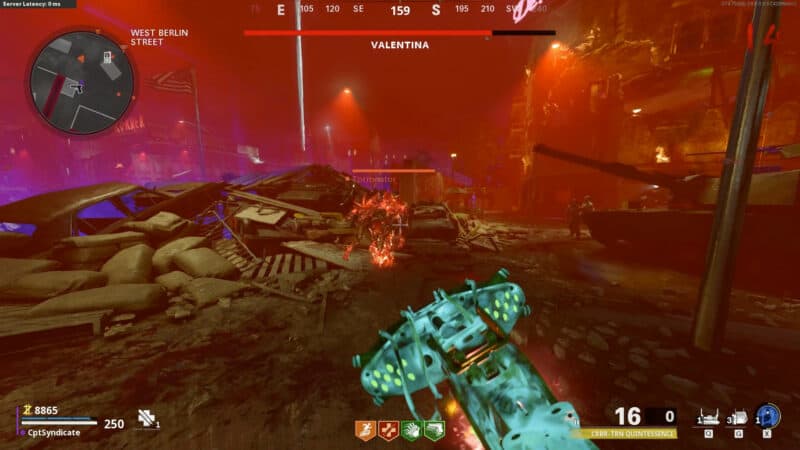
Valentina will teleport to three different locations before finally returning to the secret lab, where you will deplete her health for good. The four locations she teleports to are: West Berlin Street East Berlin Street Destroyed Penthouse
Once her health is zero, she will fall to the ground, and you will get a prompt to 'capture' her when you stand near her.
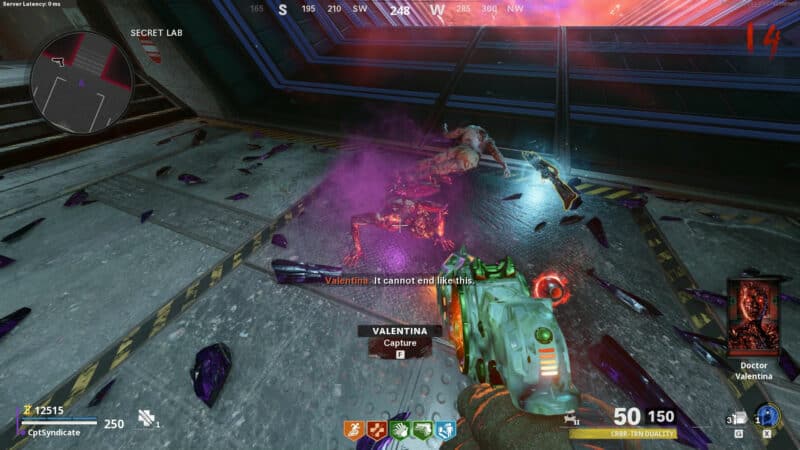
Interact with her, and a mini cutscene will play.
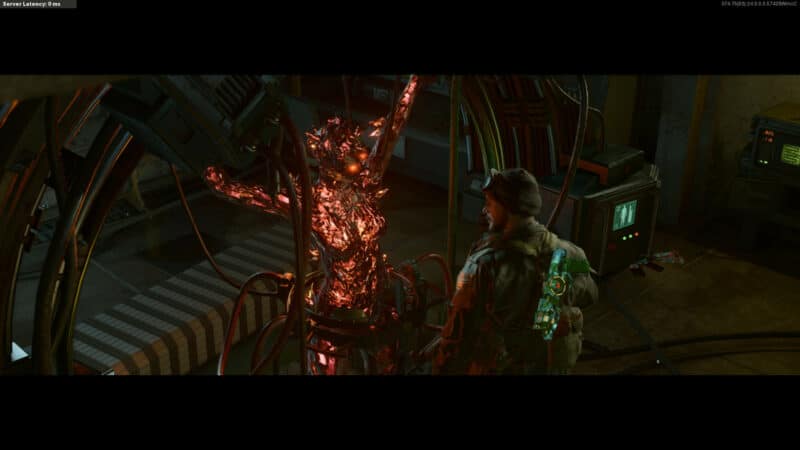
Outro & Outro Cutscene
In the mini cutscene, you will see Klaus approach the bomb, pick it off the conversion unit, and start walking towards the portal.

You will again get control of your character. Now, you need to defend Klaus from a wave of incoming zombies until he reaches the inside of the portal.
When Klaus reaches the portal, zombies will stop spawning, and the bomb will explode, closing the portal. This concludes the easter egg followed by an outro cutscene.