The second part of the main Outbreak easter egg is here, which serves as a 'prologue' for the next main round-based survival map - Mauer Der Toten.
If you've already completed the first part, let's begin with the second part of the easter egg. The second part isn't as challenging as the first one, as it is only a prologue for the next map. This one is a quick easter egg that many refer to as a 'side easter egg' given how easy it is to complete.
With that being said, it is still RNG-based and requires a bit of work. You will need to reach Round 3 in Outbreak before you can do any easter egg steps, similar to how the first part of the easter egg was.
In this guide, we show the locations of all the red rifts, broken mystery boxes, and red aethereal orbs. These are all part of this easter egg.
Video Guide
Setup
This easter egg does not require much preparation as the final boss you encounter isn't that difficult. It is still best to have some form of preparation either way since you will be encountering the final boss and the zombies on either Round 5 or 6, depending on the RNG. In Round 5, you have a lot of super-sprinters and armored zombies. That is one of the reasons why you still shouldn't take this easter egg lightly.
We do have a solid recommendation for you and recommend running the new AMP63 pistol with Akimbo. This pistol is overpowered in zombies and shreds through the hordes like no other. You may choose whatever weapon you wish, but you will easily cheese through this easter egg if you go with our recommendation. Below is our recommended AMP63 setup.

**Muzzle**: SOCOM Eliminator
**Barrel**: 6.4" Task Force
**Body**: SWAT 5mW Laser Sight
**Magazine**: STANAG 25 Rnd
**Stock**: Dual Wield
In-game Preparation
There's no special in-game preparation, but you must at least have a tier 2 pack-a-punched weapon with epic or legendary (orange) rarity. The higher, the better, of course.
The most optimal way of upgrading your weapon rarity is first to collect 1,500 uncommon salvage to reach rare (blue) rarity, followed by completing the fury crystal world events to get the Aether Wrench for a free upgrade to epic (purple) rarity.
You have a high chance of getting the event in two different regions, so you can easily upgrade to epic and finally legendary rarity for free. Suppose you have a fury crystal world event on the map. Do not do it until you've collected 1,500 uncommon salvage and upgraded your weapon to at least rare.
Always buy the important perks first, as you lose perks when you go down. We recommend buying the perks in the following order: Quick-Revive, Jugger-Nog, and Stamin-Up. You can buy the rest without worrying about the order.
Also, don't forget a complete set of armor!
You can do all this in-game preparation until Round 3, where you will start the easter egg steps. We recommend doing all the side objectives and any random side easter egg you can find such as the unknown radio signal and aethereal orbs for maximum points. Easter Egg Steps Once prepared, continue playing until you reach Round 3 and then follow the steps ahead. Step 1: Red Rifts After warping to Round 3, you will need to look for a red rift around the map. These red rifts spawn in a single fixed location in all the regions. They look similar to the purple rifts you find along the borders of all the regions.

When you go through the rift, you will be teleported into the air just like the purple rift does, but this time you will find another red rift right in front of you at a distance. You need to direct yourself to jump through the second red rift.

You will go through the rifts three times in total. Every time you go through a rift, the following rift is further away in the distance. You can always parachute or glide sideways to cover a greater distance.


After going through the final rift, you will notice an object falling out of the sky in front of you, leaving behind a dark trail to follow.
![]()
You can locate the object's exact location by looking for a yellow beam going up in the air, highlighting the location of the object.
![]()
Go to the object and collect it. This is a Beacon Listening Device which you must take to the Beacon to contact Ravenov. Similar to how you used a Beacon Listening Device in the first part of the easter egg to contact Samantha.
![]()
The following are all the red rift locations in all the regions: Red Rift - Golova On the top floor of the Church.


Red Rift - Alpine
At Dead Man's Cliff.


Red Rift - Duga
Inside the Northern Bunker.


The rift is through the first door to your left as soon as you drop down into the Bunker.

Red Rift - Ruka
In a small cabin at the Old Farm near the western border of the region.


Red Rift - Zoo
In the Wolf Exhibit at the Zoo.


Red Rift - Collateral
At Cliffs West.


Red Rift - Armada
The red rift is underwater under a crashed ship in the western part of the region called Capsized.


After getting the Beacon Listening Device, make your way to the Beacon and select the 'Respond' option to call Ravenov.
![]()
After the dialogue with Ravenov, warp to the next region, and you should be teleported to Sanatorium (guaranteed).
![]()
Step 2: Locating the Crashed Helicopter
After warping to Sanatorium, you will notice that you have a new objective called 'Operatsiya Issecheniye' instead of one of your regular objectives.

The first thing you need to do is to find a crashed helicopter. The location of this crashed helicopter is always fixed, and it is in the southwestern section of the map.


You can also locate it by looking for a huge black cloud of smoke in the air.

When you reach the site, a horde of zombies will spawn and attack you. You need to secure the site by eliminating all the spawned zombies.

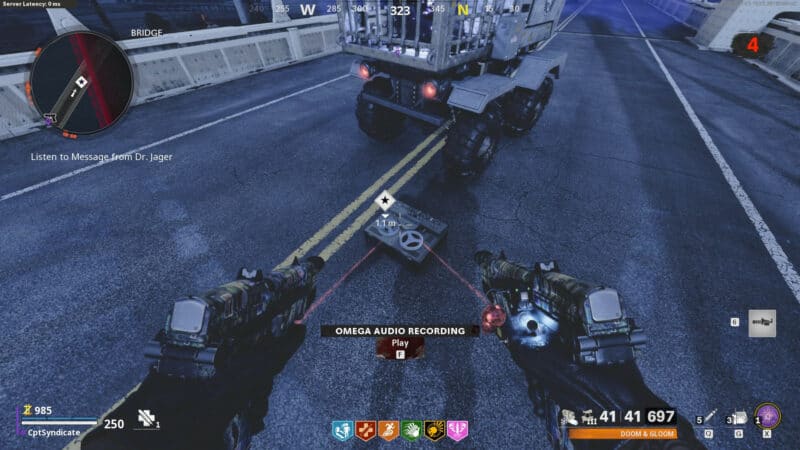
After killing all the zombies, interact with the Omega Audio Recording by the dead body hanging out of the helicopter.

Dr. Jager will start speaking, and he will inform you about the Aetherium Neutralizer. To make this work, you will be asked to find an Aethereal Orb.

nextpage
Step 3: Red Aethereal Orb
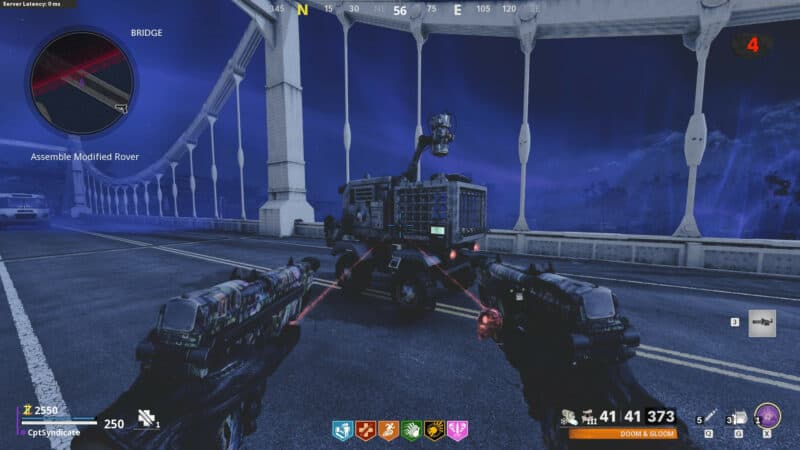
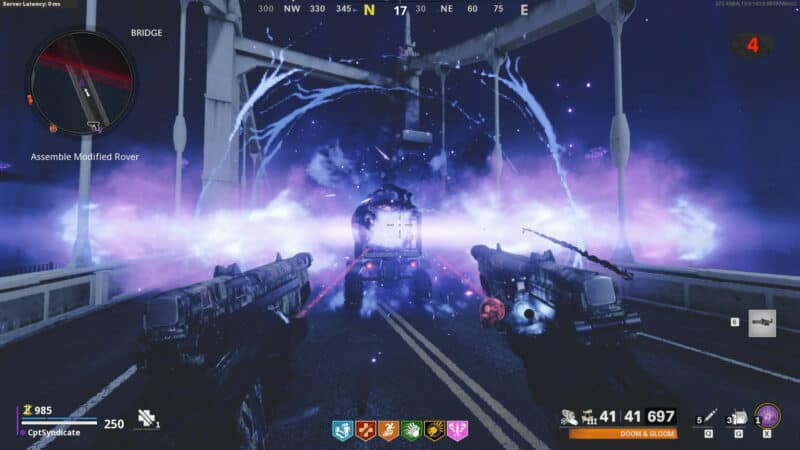
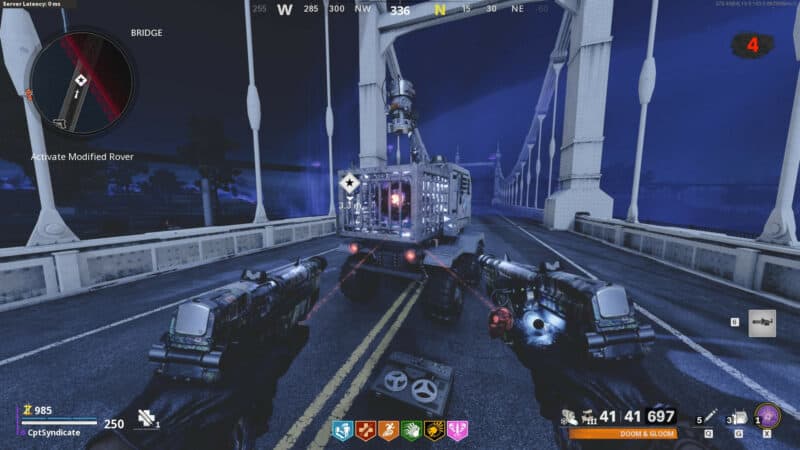
You will now need to assemble the recon rover located at the main bridge, and for that, you need to find a red aethereal orb.
The red aethereal orb is similar to the one you encounter during the random world side easter egg. You can find more information about the side easter egg here.

However, as the name suggests, the red aethereal orb is red in color and behaves slightly different from the regular aethereal orbs when shot at. It only flies in the direction you shoot it at.
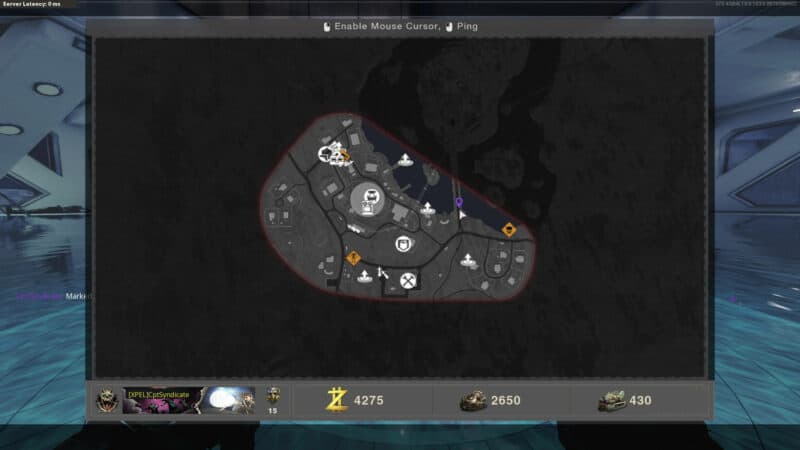
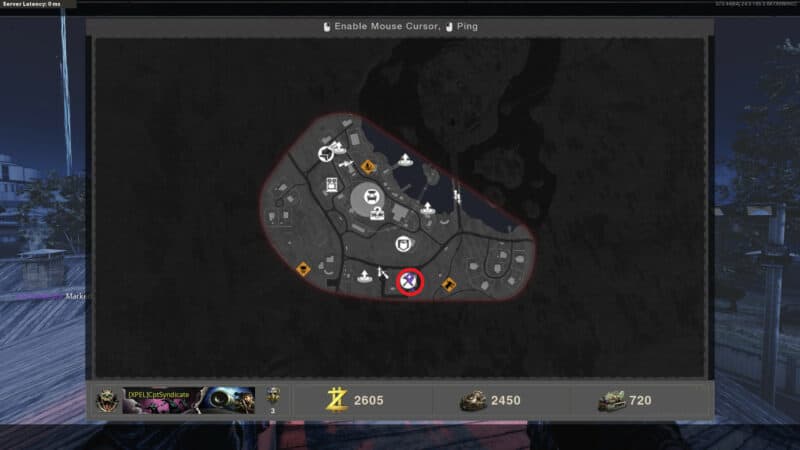
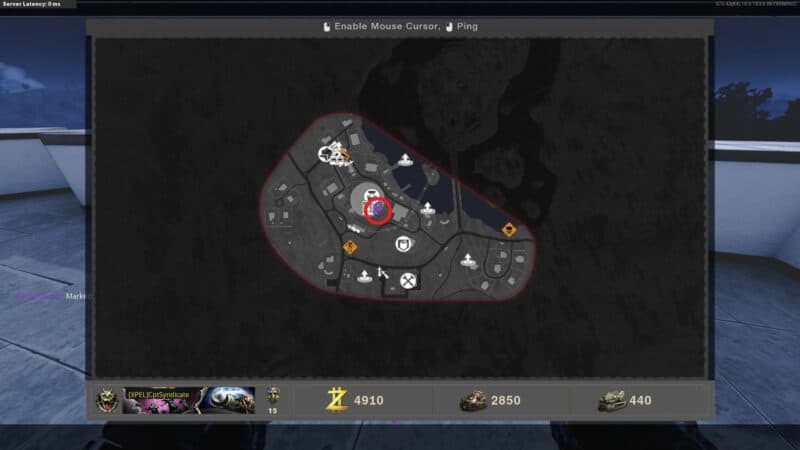
You need to shoot the orb in the direction of the main bridge where the recon rover is. You can mark the bridge on the map overview to get a general sense of direction.
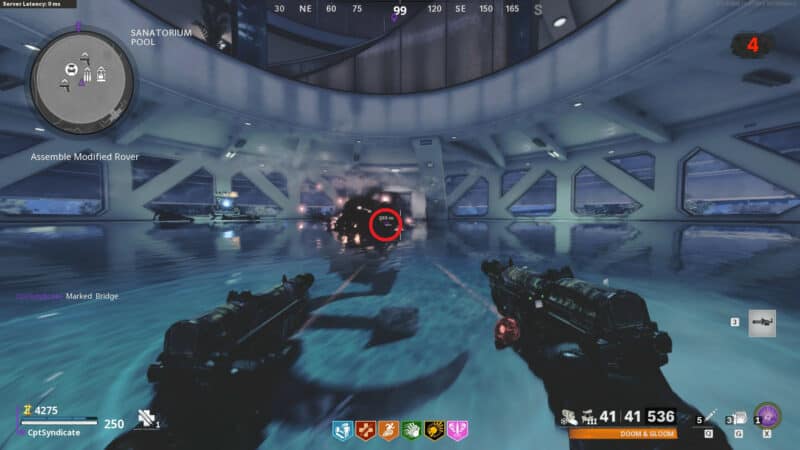
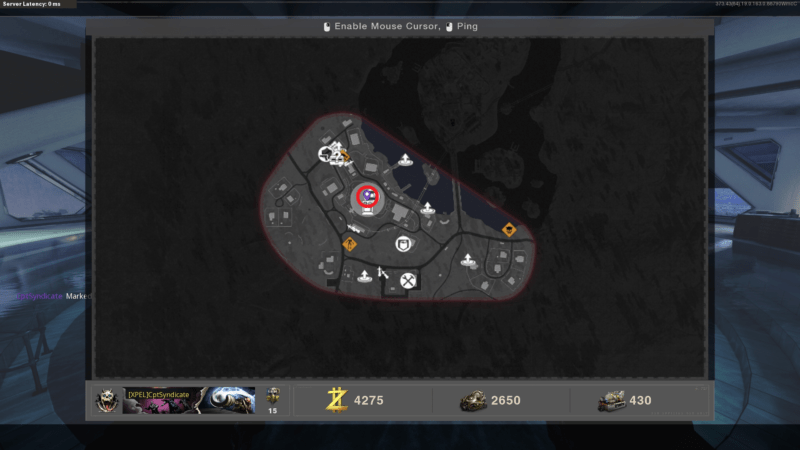
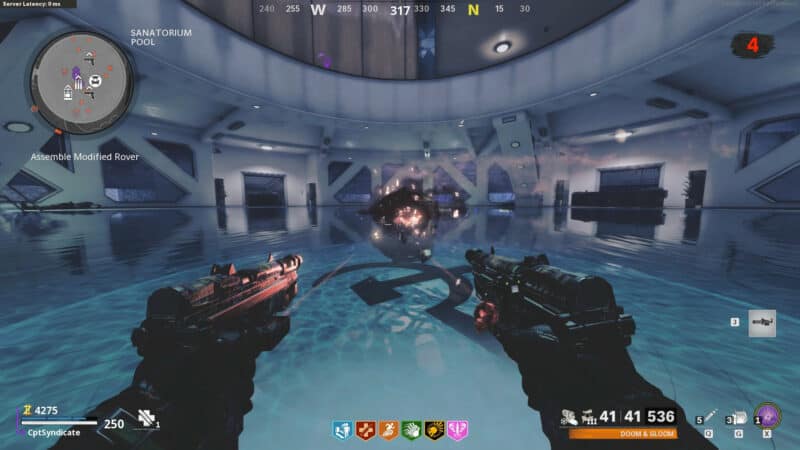
There are three orb locations in Sanatorium, and it can spawn in any one of them. The locations are as follows: Red Aethereal Orb - Sanatorium Pool In the middle of the Sanatorium Pool.
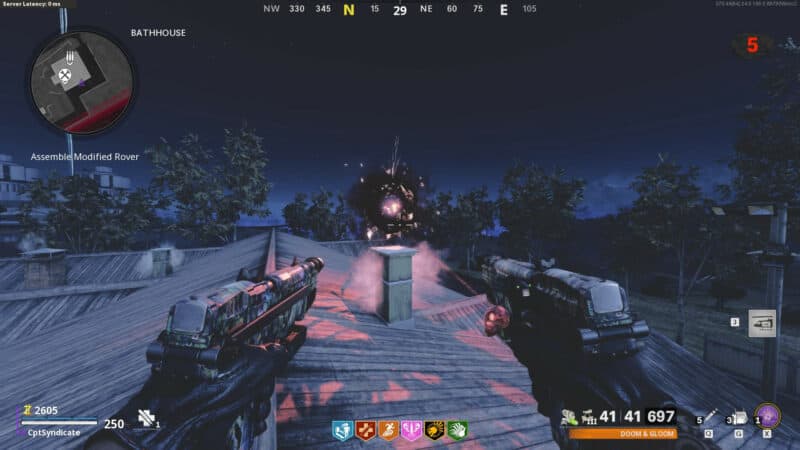
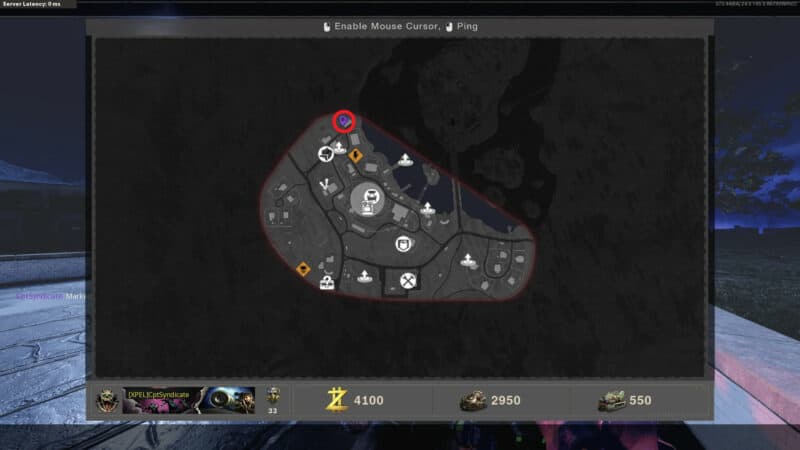
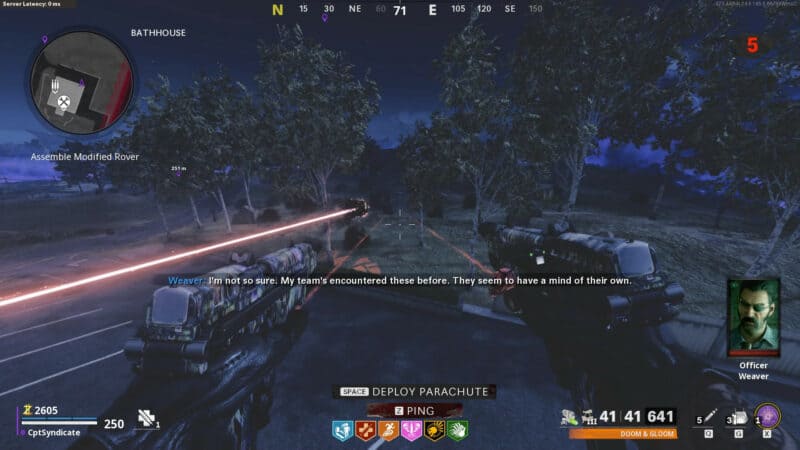
Red Aethereal Orb - Bathhouse Roof
On the roof of Bathhouse.
Red Aethereal Orb - Maintenance
On the roof of the Maintenance building.
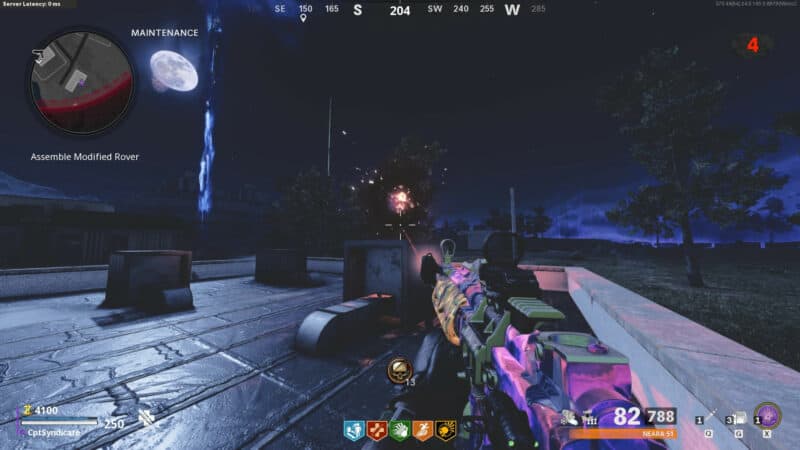
Once you've found the orb, as mentioned before, shoot it in the direction of the main bridge. It will fly to a couple of places along the way to the bridge. You need to shoot it in the direction of the bridge every time it stops.
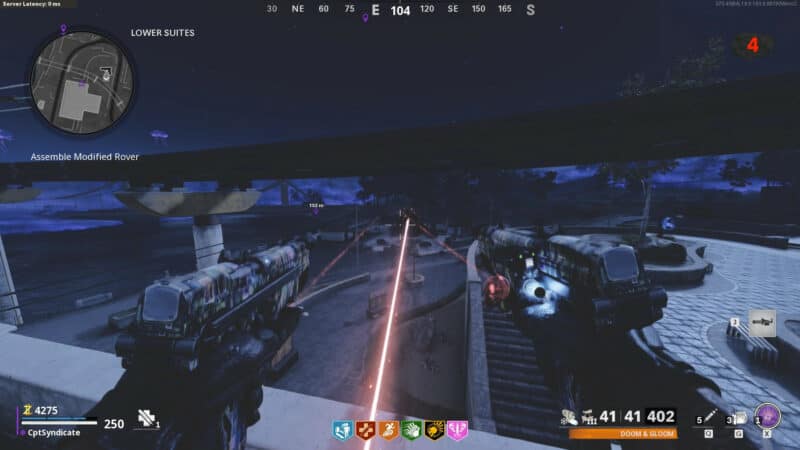
Once the orb reaches the bridge, it will stop on top of the modified recon rover. Ensure you do not shoot the orb once it is at its destination, as it can still move.
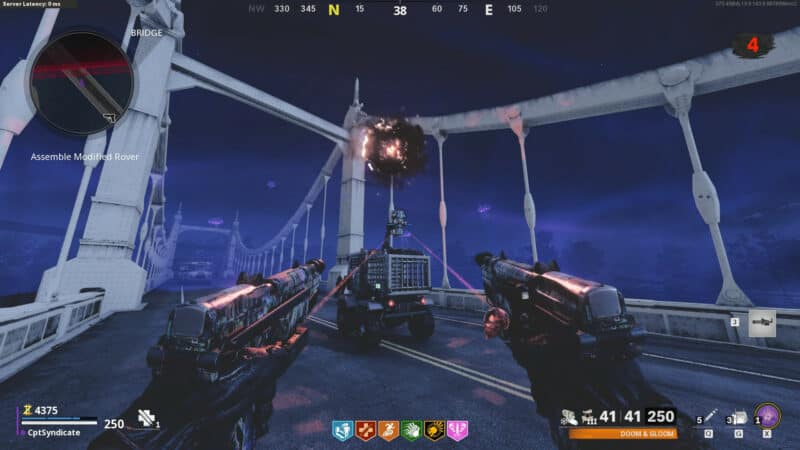
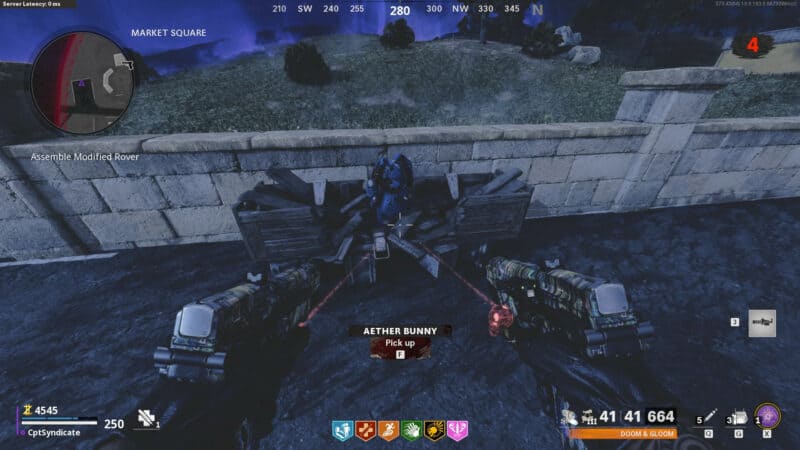
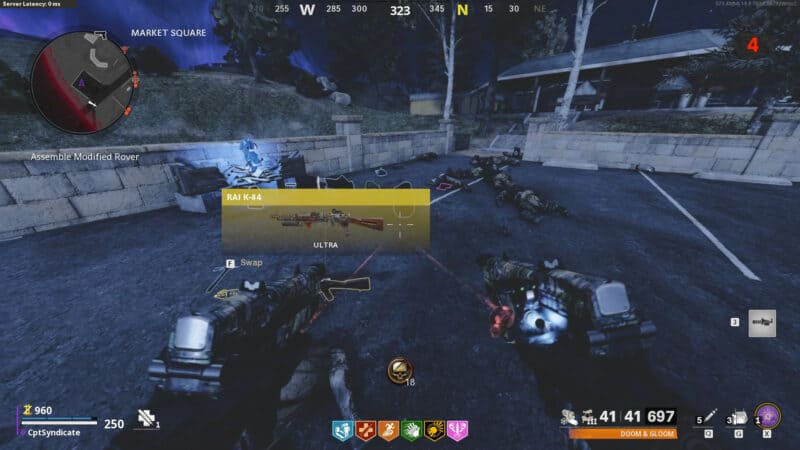
The orb will not go inside the modified recon rover. For that, you need a toy to lure it inside the cage of the rover. This takes us to our next step - The Aether Bunny step. Step 4: Aether Bunny The next step is to find a broken mystery box. As we already know, all the mystery box locations have a blue bunny as well. We need to find a broken mystery box, and it will also have a toy aether bunny on it.
The broken mystery box can be at any one of the mystery box locations on Sanatorium. Luckily, there are only three locations. Out of the three, we can always skip the active mystery box (the one that has a blue lightning beam coming out of it) as we're looking for a broken one.

The following are the three mystery box locations on Sanatorium. Mystery Box Location 1 - Groundskeeping
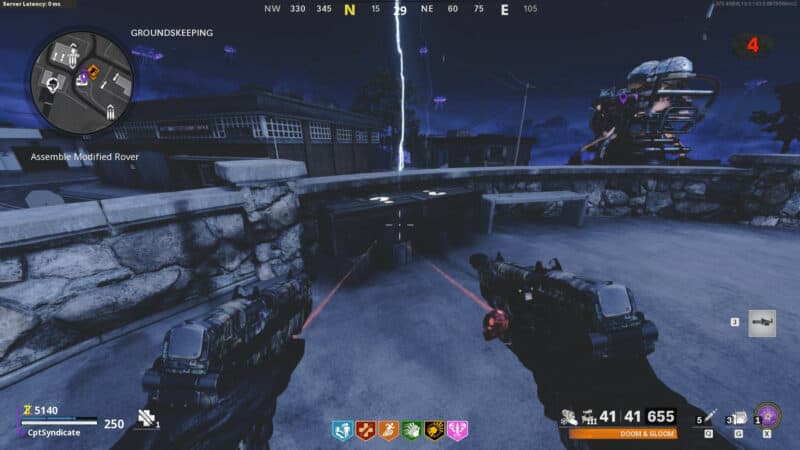
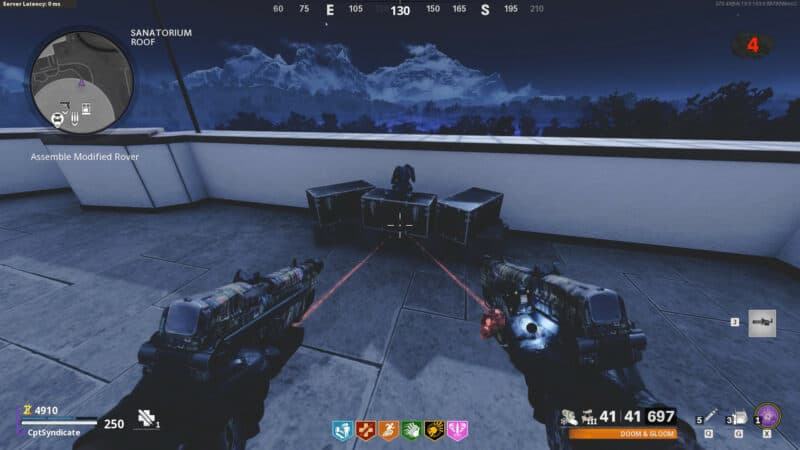
Mystery Box Location 2 - Sanatorium Roof
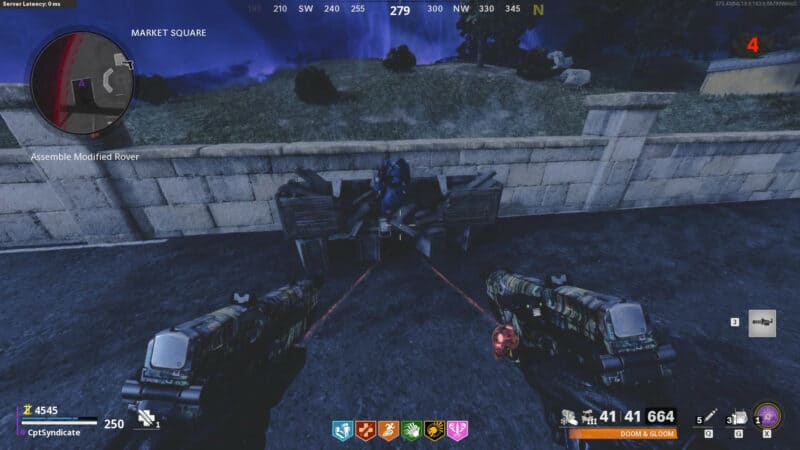
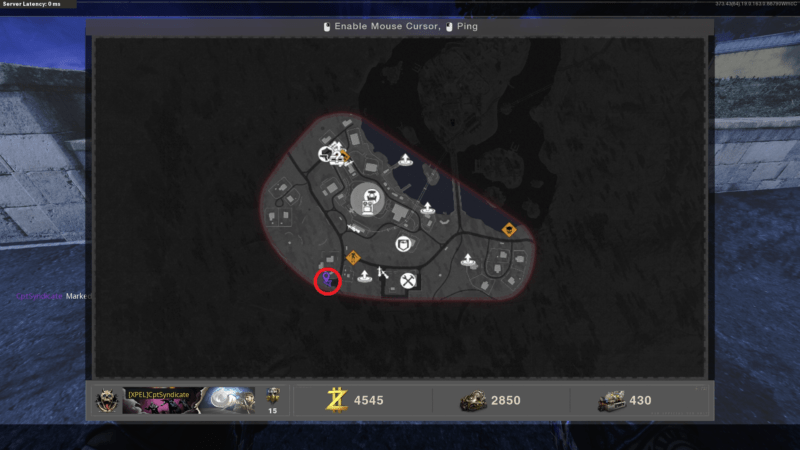
Mystery Box Location 3 - Market Square
Once you've found the bunny, interact with it.
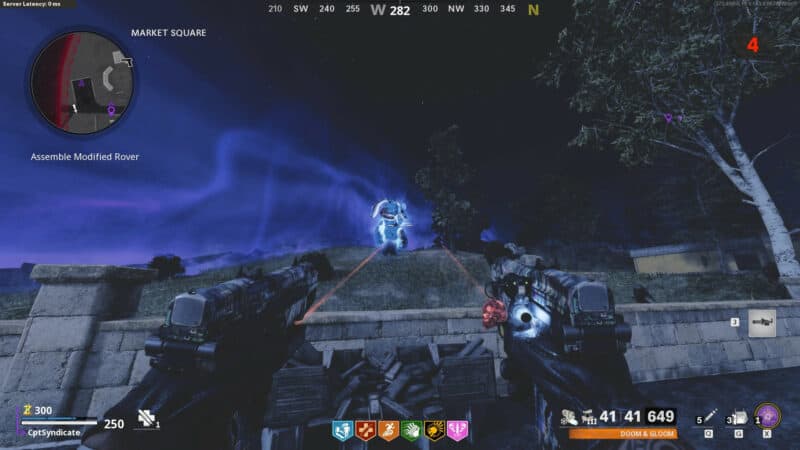
Upon interaction, the bunny will start to hover in mid-air, spawning a horde of zombies to attack you.
Eliminate all the spawned zombies.
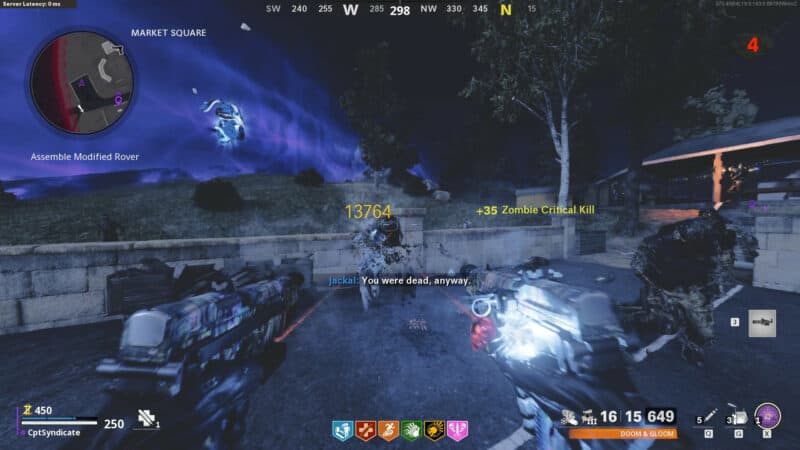
Once you've killed all the zombies, the bunny will come back down and also drop a lot of valuable loot for you.
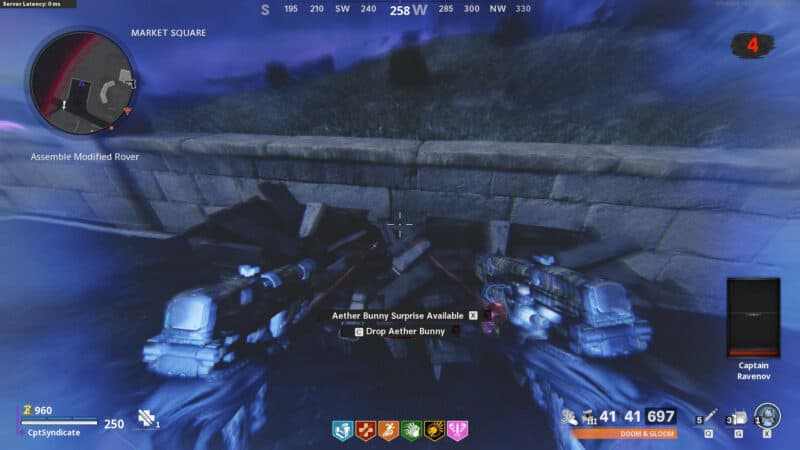
You can now pick up the bunny (now constantly glowing blue) and make your way to the modified recon rover at the main bridge. Once you pick it up, you will the same vision as the one seen when holding the canisters during the 'Retrieve' objective, and you also use the special ability.
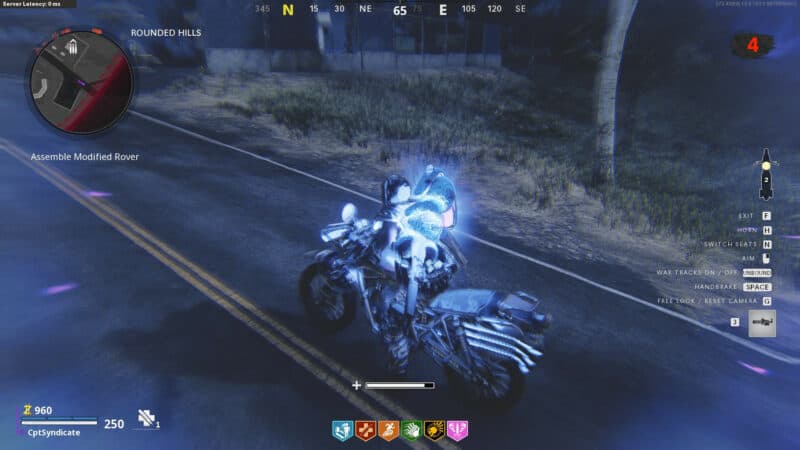
You can also ride vehicles while holding the bunny.
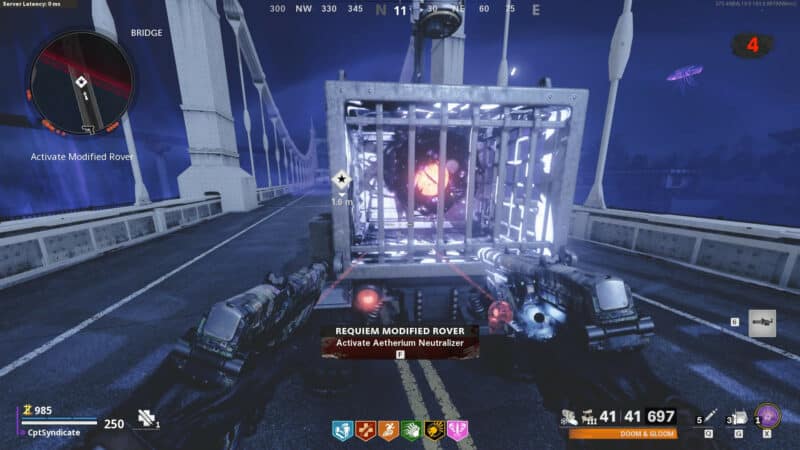
Take it to the modified recon rover at the bridge and insert it into the rover cage to lure the orb into the recon rover.

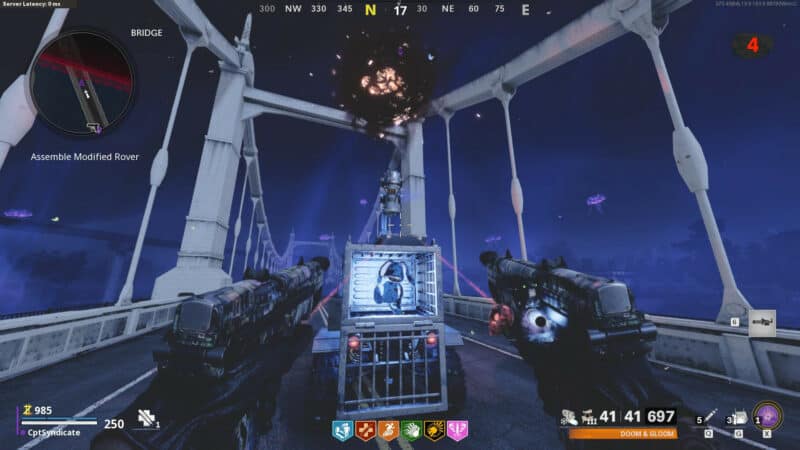
The orb will fly into the rover, and it will drop another Omega Audio Recording. Interact with the radio to listen to a recording.
Once the recording finishes, you will get an option to activate the aetherium neutralizer.
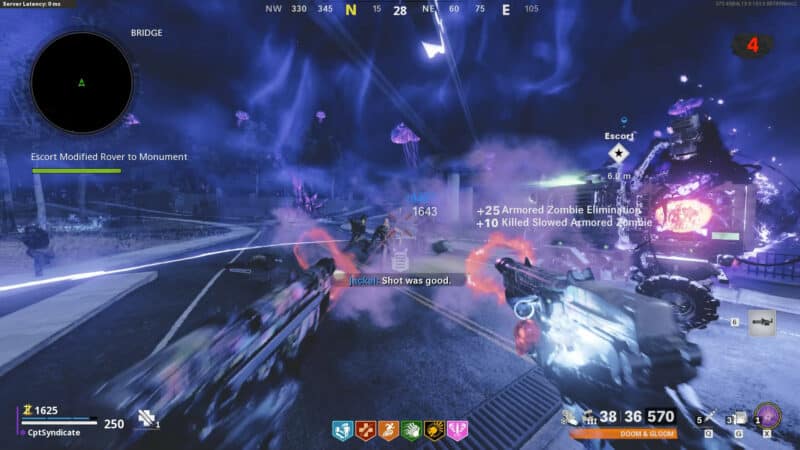
Activatin the aetherium neutralizer will spawn in an energy field around you. This energy field or 'bubble' will move with the recon rover. You must stay inside the bubble as the rover moves forward.
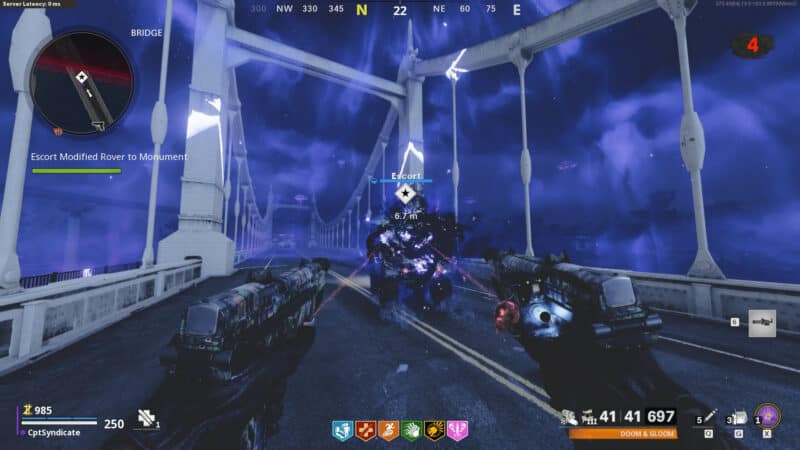
Zombies are going to spawn and attack you as you move forward. The ammo is limited so make sure you stock up on ammo before activating the neutralizer.
Once you reach the Monument, the rover will crash into a wall and will be destroyed. The bubble will also disappear, but you won't get hurt outside the bubble anymore.
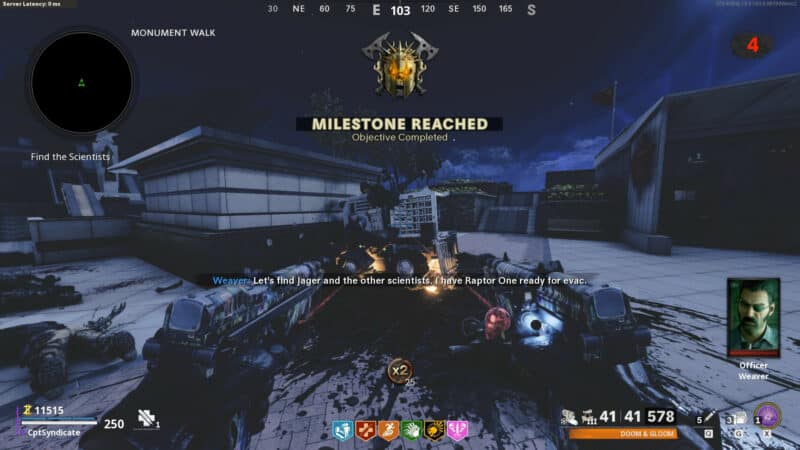
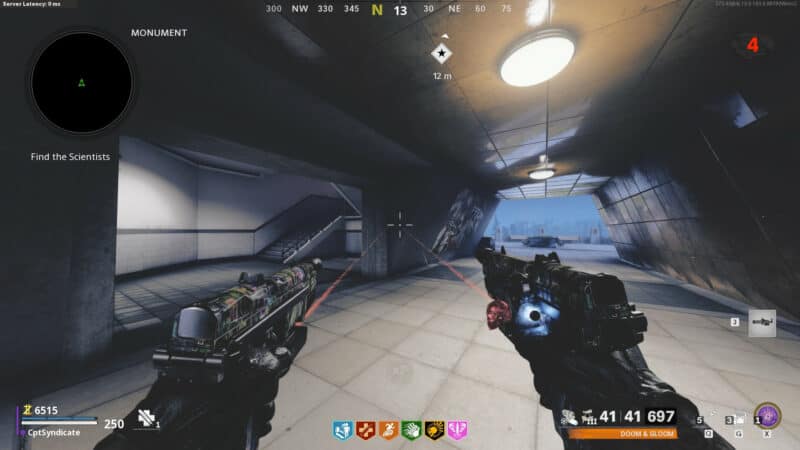
Make your way to the Monument. You can also get ammo on your way to the Monument.
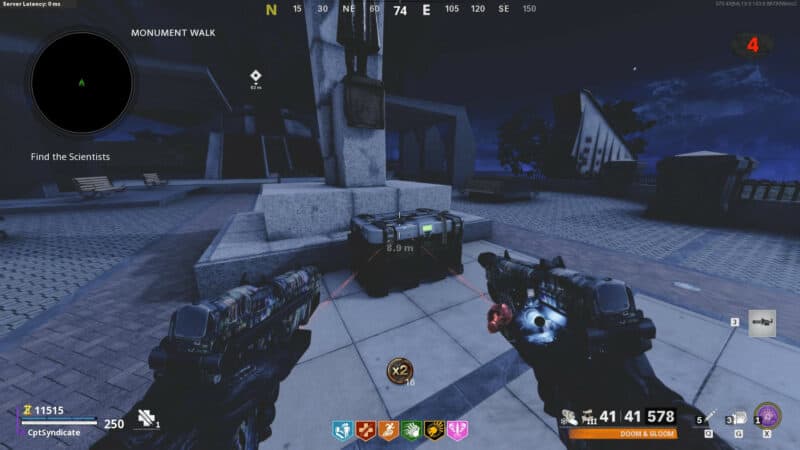
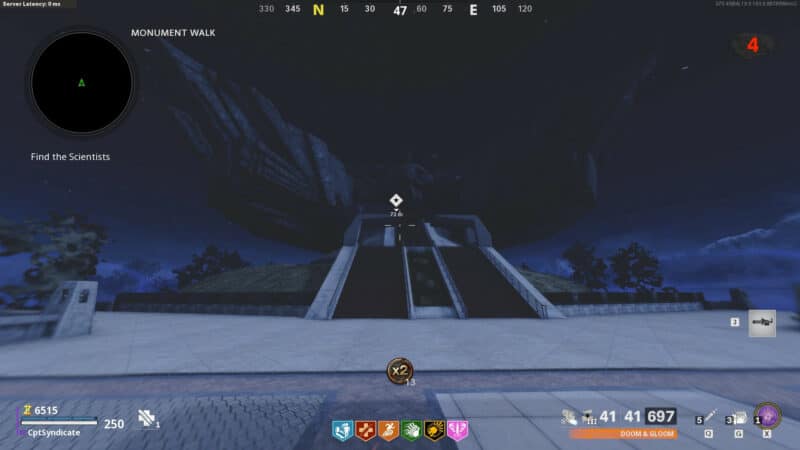
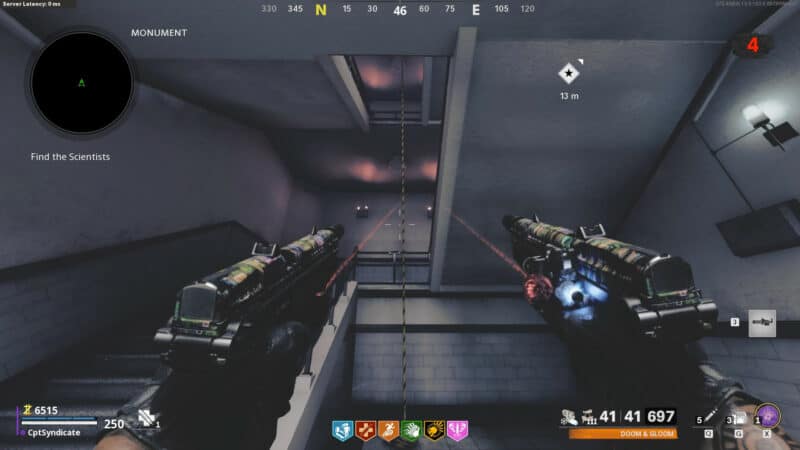
Upon reaching the Monument, turn left towards the stairs leading up to the roof. Either take the stairs or use the rappel.
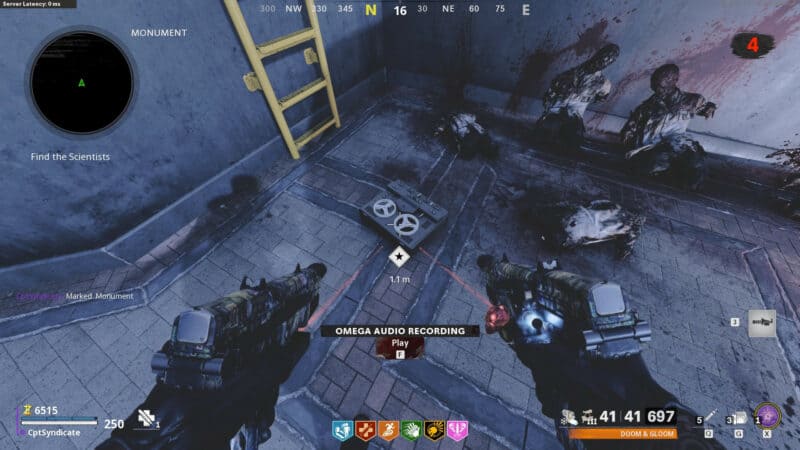
Go through the double doors and turn left to find the dead bodies of the scientists along with another Omega Audio Recording.
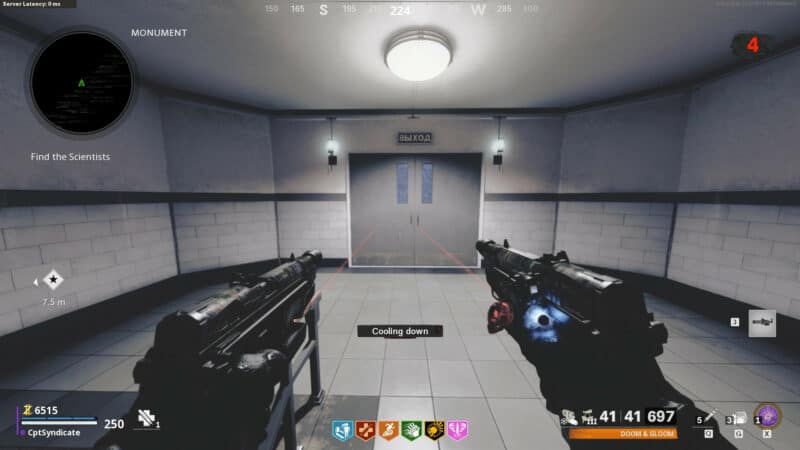
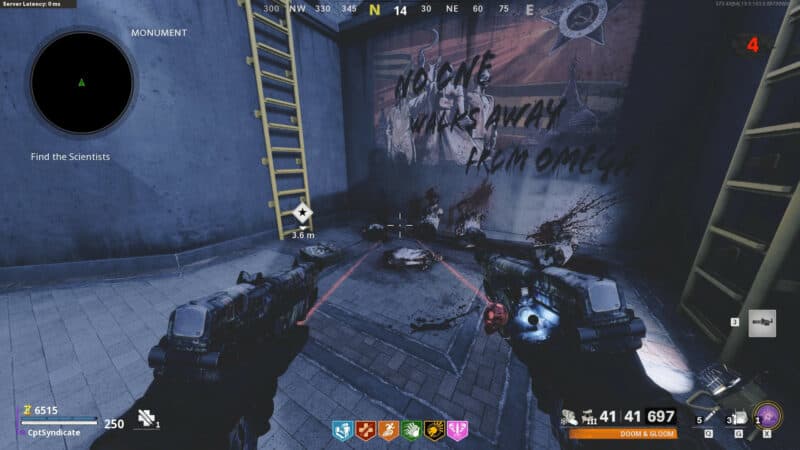
Play the audio recording, and once it finishes, it will play a loud alarm sound similar to the one that plays during the unknown radio signal easter eggs. It will attract all the zombies towards you, which takes us to our next and final step.
nextpage
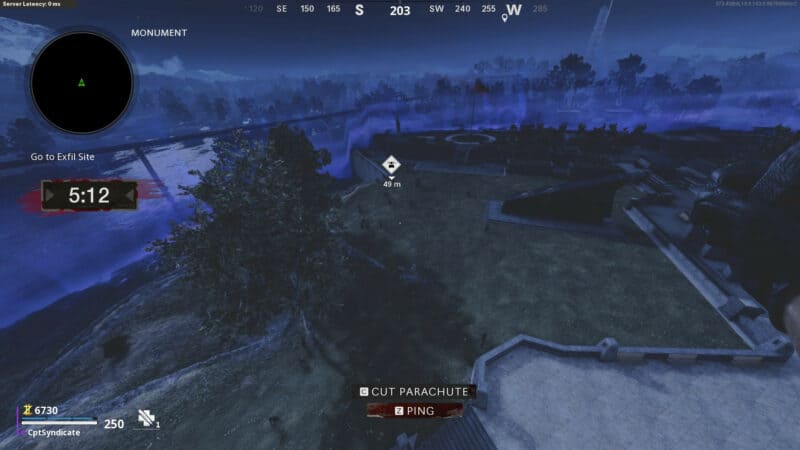
Step 5: Boss Fight & Exfil
As the zombies approach you, you need to head to the exfil site marked by the star icon. Simply jump down towards the exfil site.
You must eliminate all the zombies in under 5 minutes, including the Orda boss.
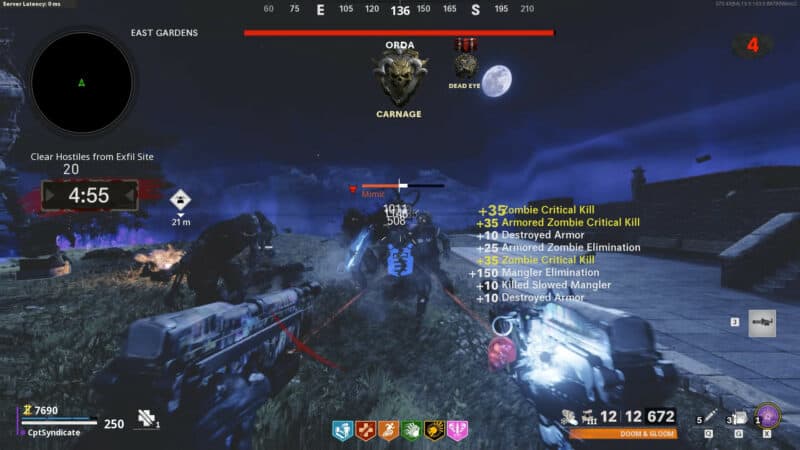
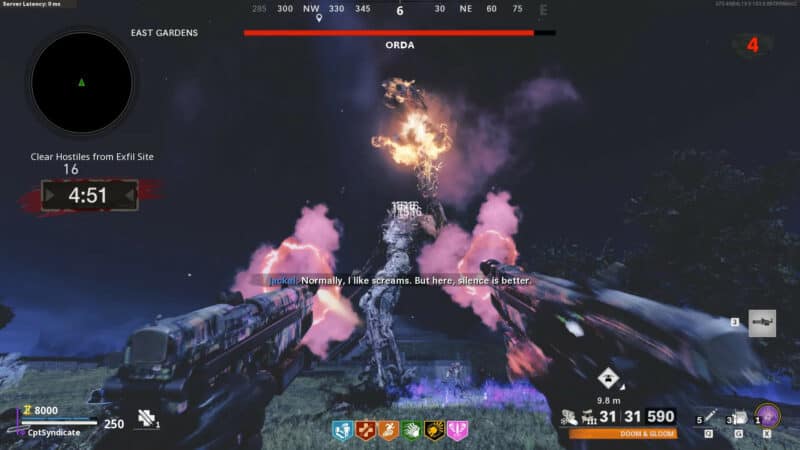
Note that killing Orda only won't end the easter egg. You must kill all the remaining zombies as well. Once you've eliminated all the zombies, including Orda, you will be able to interact with the helicopter to initiate the exfil.
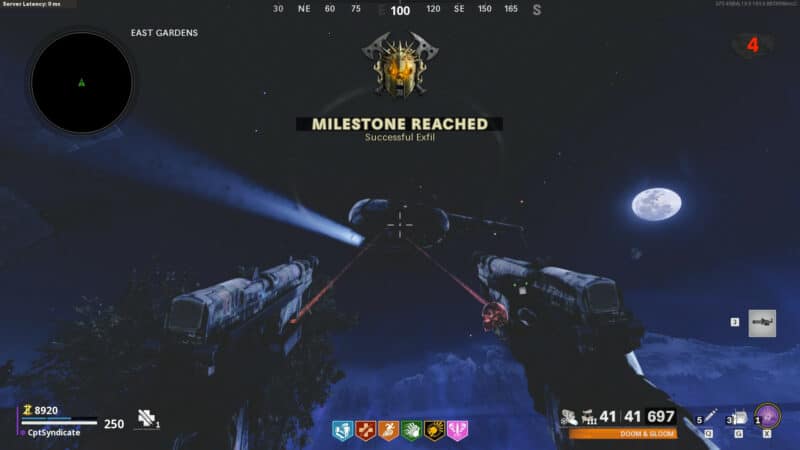
You will also get an interesting easter egg that sets the stage for the following map - Mauer Der Toten.


This concludes the walkthrough of the second part of the easter egg. If you have any questions, feel free to leave them below, and we will try our best to get back to you as soon as we can.
Frequently Asked Questions
What's the best weapon in Outbreak?
We use the PPSh-41 as our weapon to go against the Legion boss. Another excellent option is the AMP63 dual-wielded pistols. These absolutely shred the Legion boss and zombies in general.
When your AMP63s are pack-a-punched to tier III on legendary rarity, it only takes one and a half clip to destroy a single orb. You can use the following setup for AMP63: Muzzle: Infantry Compensator Barrel: 6.4" Task Force Body: Ember Sighting Point Magazine: Salvo 22 Rnd Fast Mag Stock: Dual Wield
Is it necessary to complete the first Outbreak easter egg to start the second one?
You do not have to finish the first Outbreak easter egg to start the second one. Although the story is in order from the first to the second, you can do either one of the easter eggs whenever you like. To learn more about the easter egg and how to start, you can check out our
.
Which Call of Duty has Zombies Outbreak?
Zombies Outbreak is a mode exclusive to Call of Duty: Black Ops Cold War.
What is Call of Duty Outbreak?
Call of Duty Outbreak was a new addition to the Black Ops Cold War Zombies mode where players must explore, accomplish a range of objectives, and combat relentless waves of undead. Outbreak is a new take on the classic Zombies mode with distinctive features like vehicles, world events, fishing, trials, and loot chests.
Will there be another Outbreak Zombies?
Yes, it is possible that Activision decides to include this specific version of the Zombies mode in future Call of Duty games.
Do you have to buy Call of Duty to play Outbreak?
Activision sometimes offers free access to Black Ops Cold War. During one of these periods you could download thr game and then play Outbreak and other modes without purchasing the game.
Is Outbreak a DLC?
Call of Duty Outbreak is not a DLC, but a free update for Call of Duty: Black Ops Cold War Zombies mode.
Where is the crashed helicopter in Sanatorium?
The crashed helicopter is part of the second easter egg of Outbreak. You can find it in the southwestern section of the map during Outbreak easter egg part two.
There are certain steps you must complete for the crashed helicopter to spawn. Check out our complete Outbreak easter egg part two guide to learn more.
Where can I find the orbs in Sanatorium?
In general, two types of orbs are found in the Sanatorium. The first type is the general purple orbs you find to earn extra points by following the orb to three different locations. The purple orbs can spawn in all the regions.
The second orb type is the orb that spawns only as part of the Outbreak easter egg part two. This orb type is called Red Aethereal Orb and spawns in three different locations in Sanatorium. Since this orb spawns only during Outbreak easter egg part two, you can only find it in the Sanatorium region.
Can I do Outbreak easter eggs solo?
Yes, you can do both Outbreak easter eggs (part one and two) solo. In fact, our guides for part one and
are both focused on completing the easter eggs solo.
How many Outbreak easter eggs are there?
The primary Easter egg in Outbreak consists of two parts, resulting in a total of two Outbreak Easter eggs. This is part 2 of the easter egg and you can find part 1
.
I've completed the radio step, but didn't get the Beacon Listening Device?
There are two types of Maxis radios. One type is always associated with the Outbreak easter egg, while the other is generally used for points and to collect the music collectibles.
There is a possibility you might have completed the regular points Maxis radio easter egg that has its own spawn locations. The ones that give music collectibles and points are referred to as 'unknown radios.' The Maxis radios mentioned in this guide are the only ones used for this Outbreak easter egg. The other radios are used for points and music collection.
It is also worth noting that there is only one spawn location for the easter egg radios, while the regular radios have three possible spawn locations in each region. Check our complete in-depth guide on all the regular radio locations.