This secret unmarked quest is a sequel to The Wild Fairy of Erinnyes main world quest of Genshin Impact Fontaine 4.2. You will not get this quest until you complete The Wild Fairy of Erinnyes.
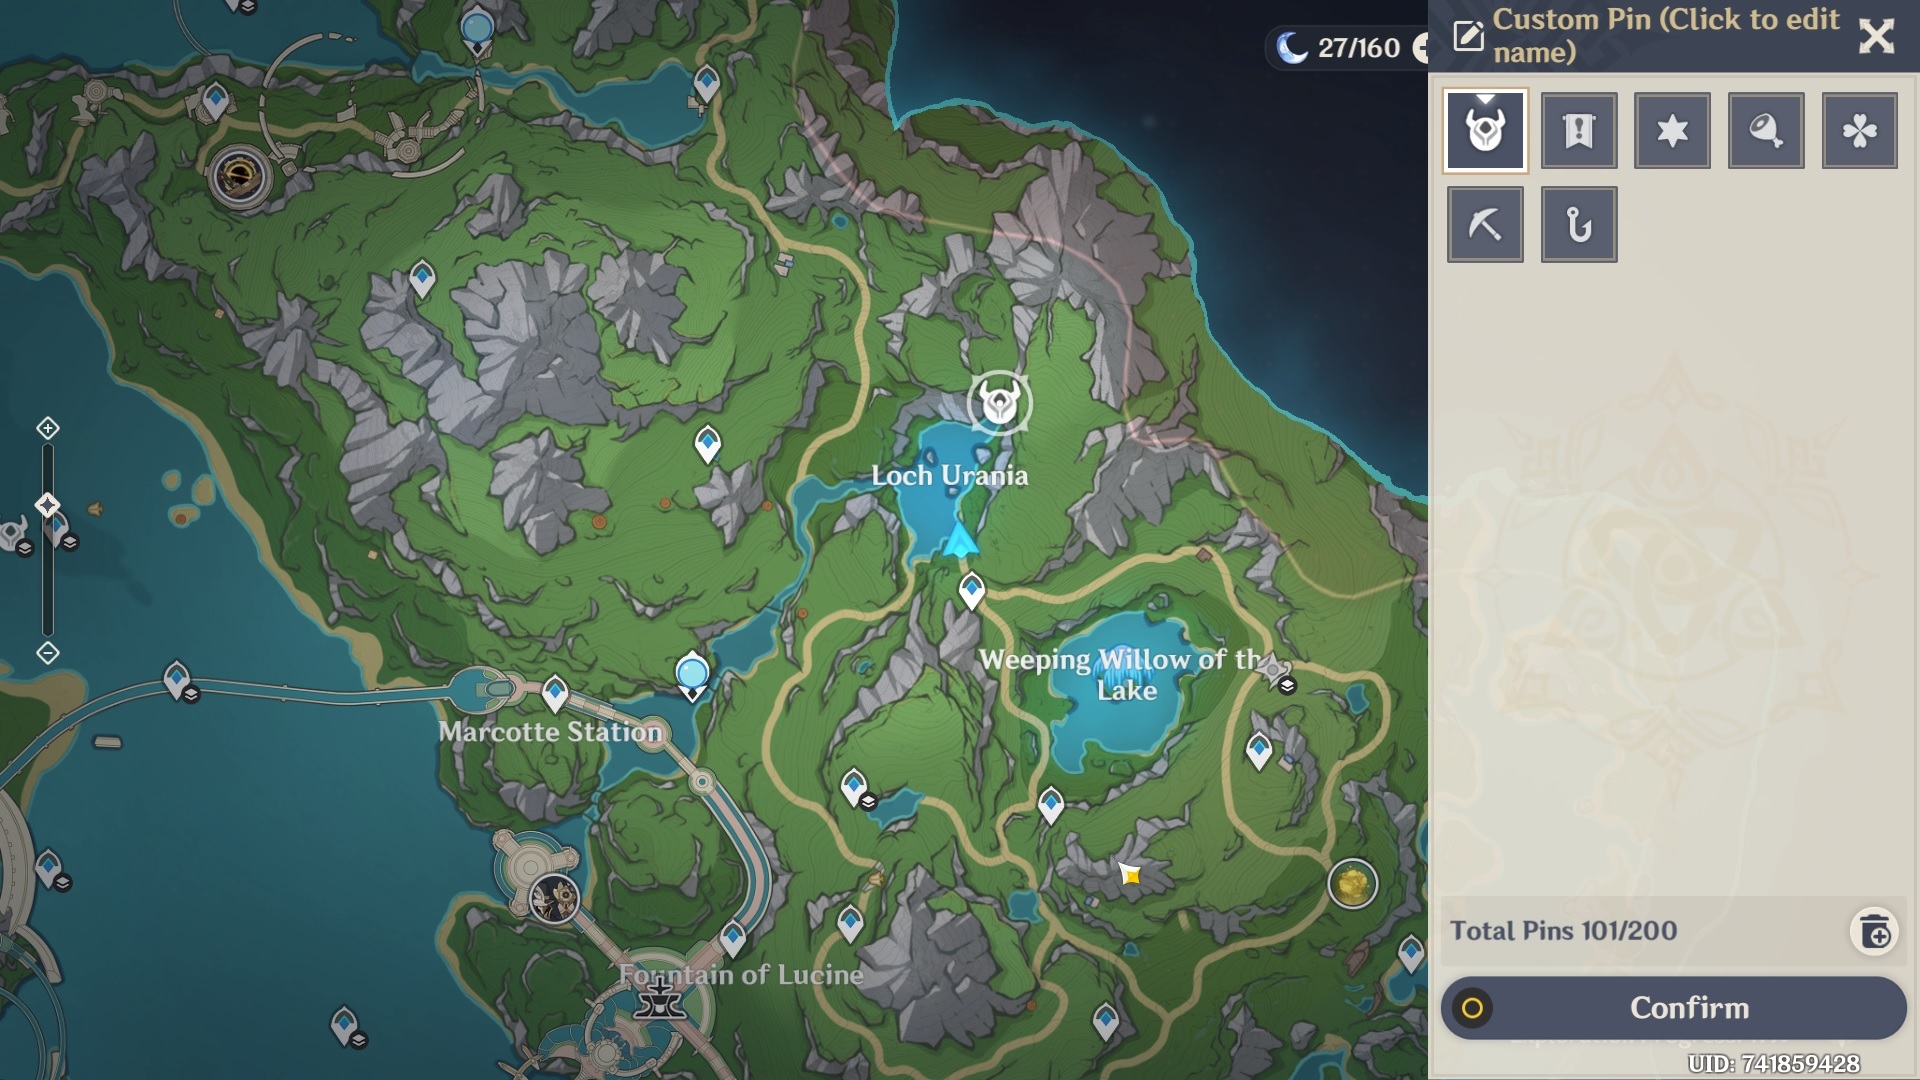
In this secret quest, you must return to Loch Urania (a location you must be familiar with if you've completed the pre-required quest) and speak with Pahsiv. Speaking with Pahsiv will initiate the quest.
Quest Initiation
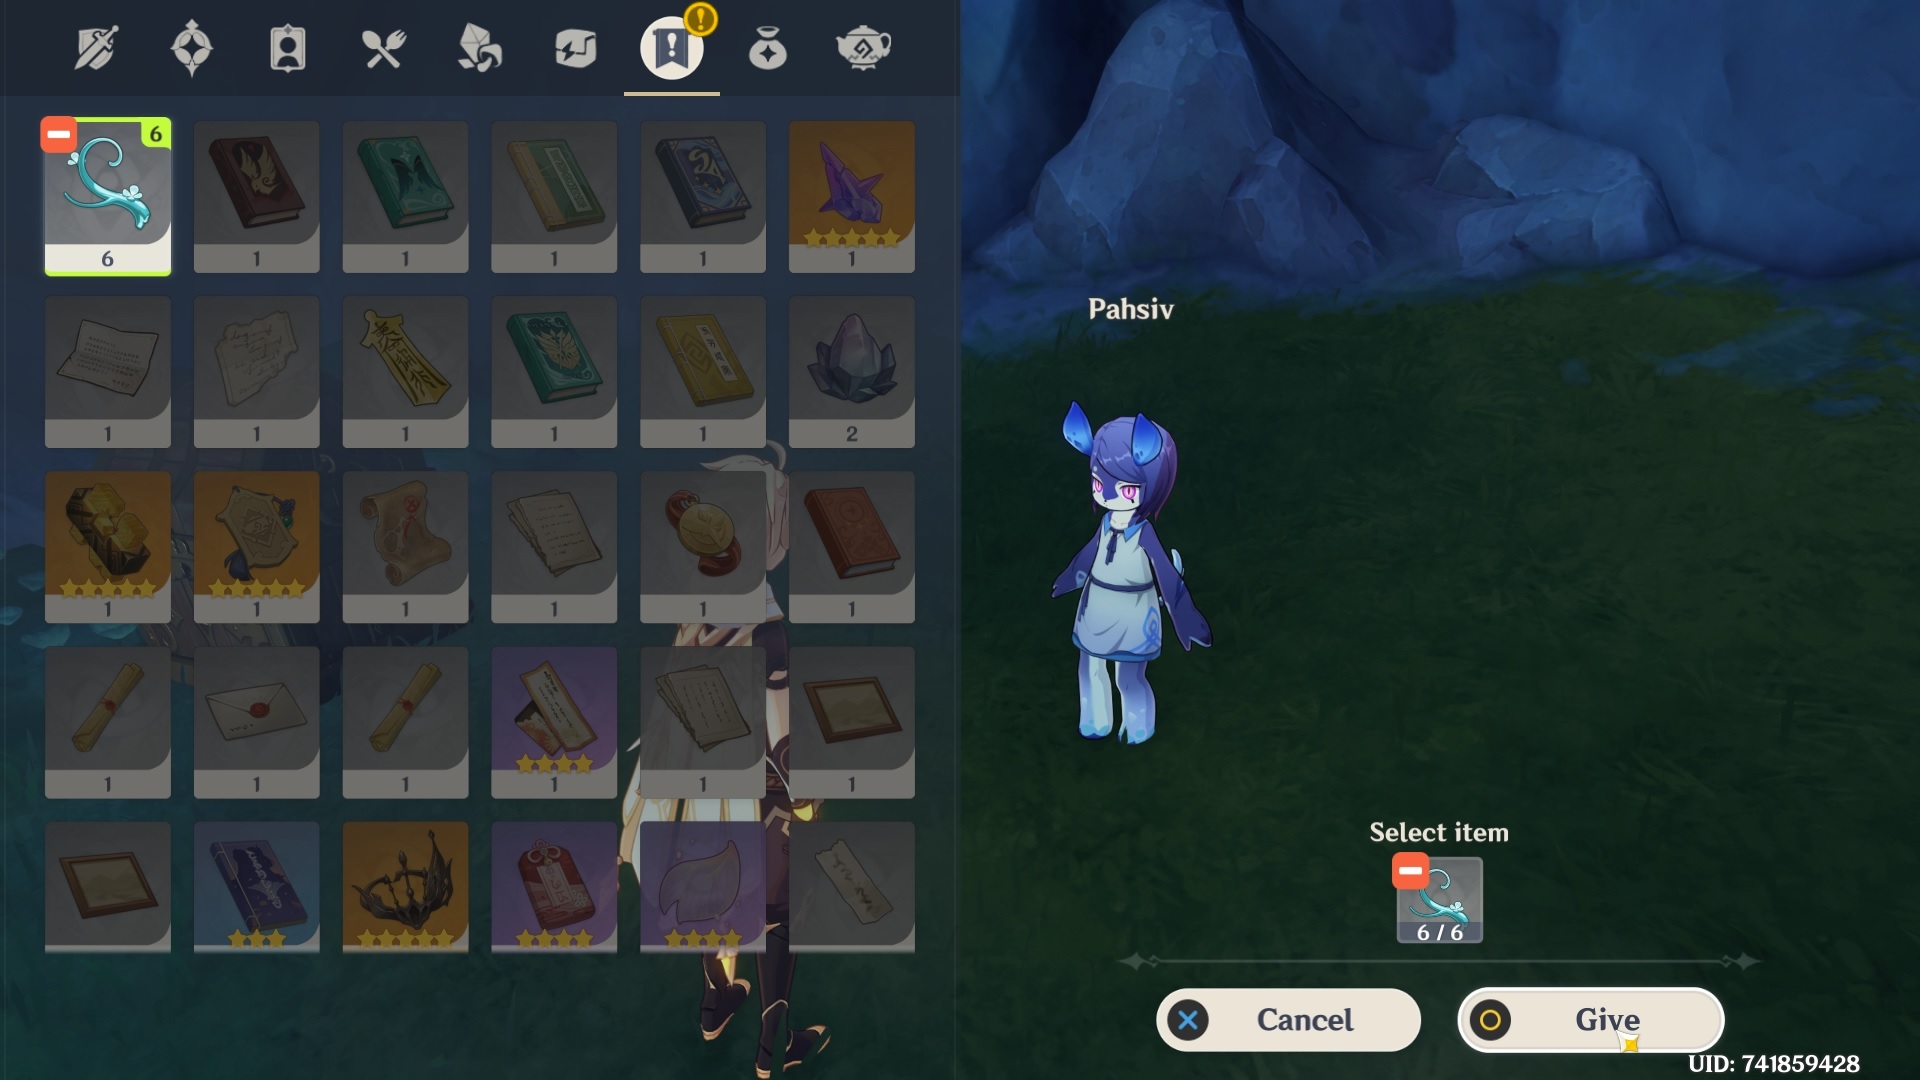
To complete this quest, you must bring six Foggy Forest Branches to Pahsiv.
All the branches can be obtained by completing various puzzles. The puzzles are not that complicated and take a few minutes. If you still have doubts about any puzzles, this guide will clear it all for you.
Foggy Forest Branch 1
The first branch is near the teleport waypoint directly north of the Marcotte Station Statue of The Seven.
When you teleport to the waypoint, you will notice a small steep mountain directly in front of you.
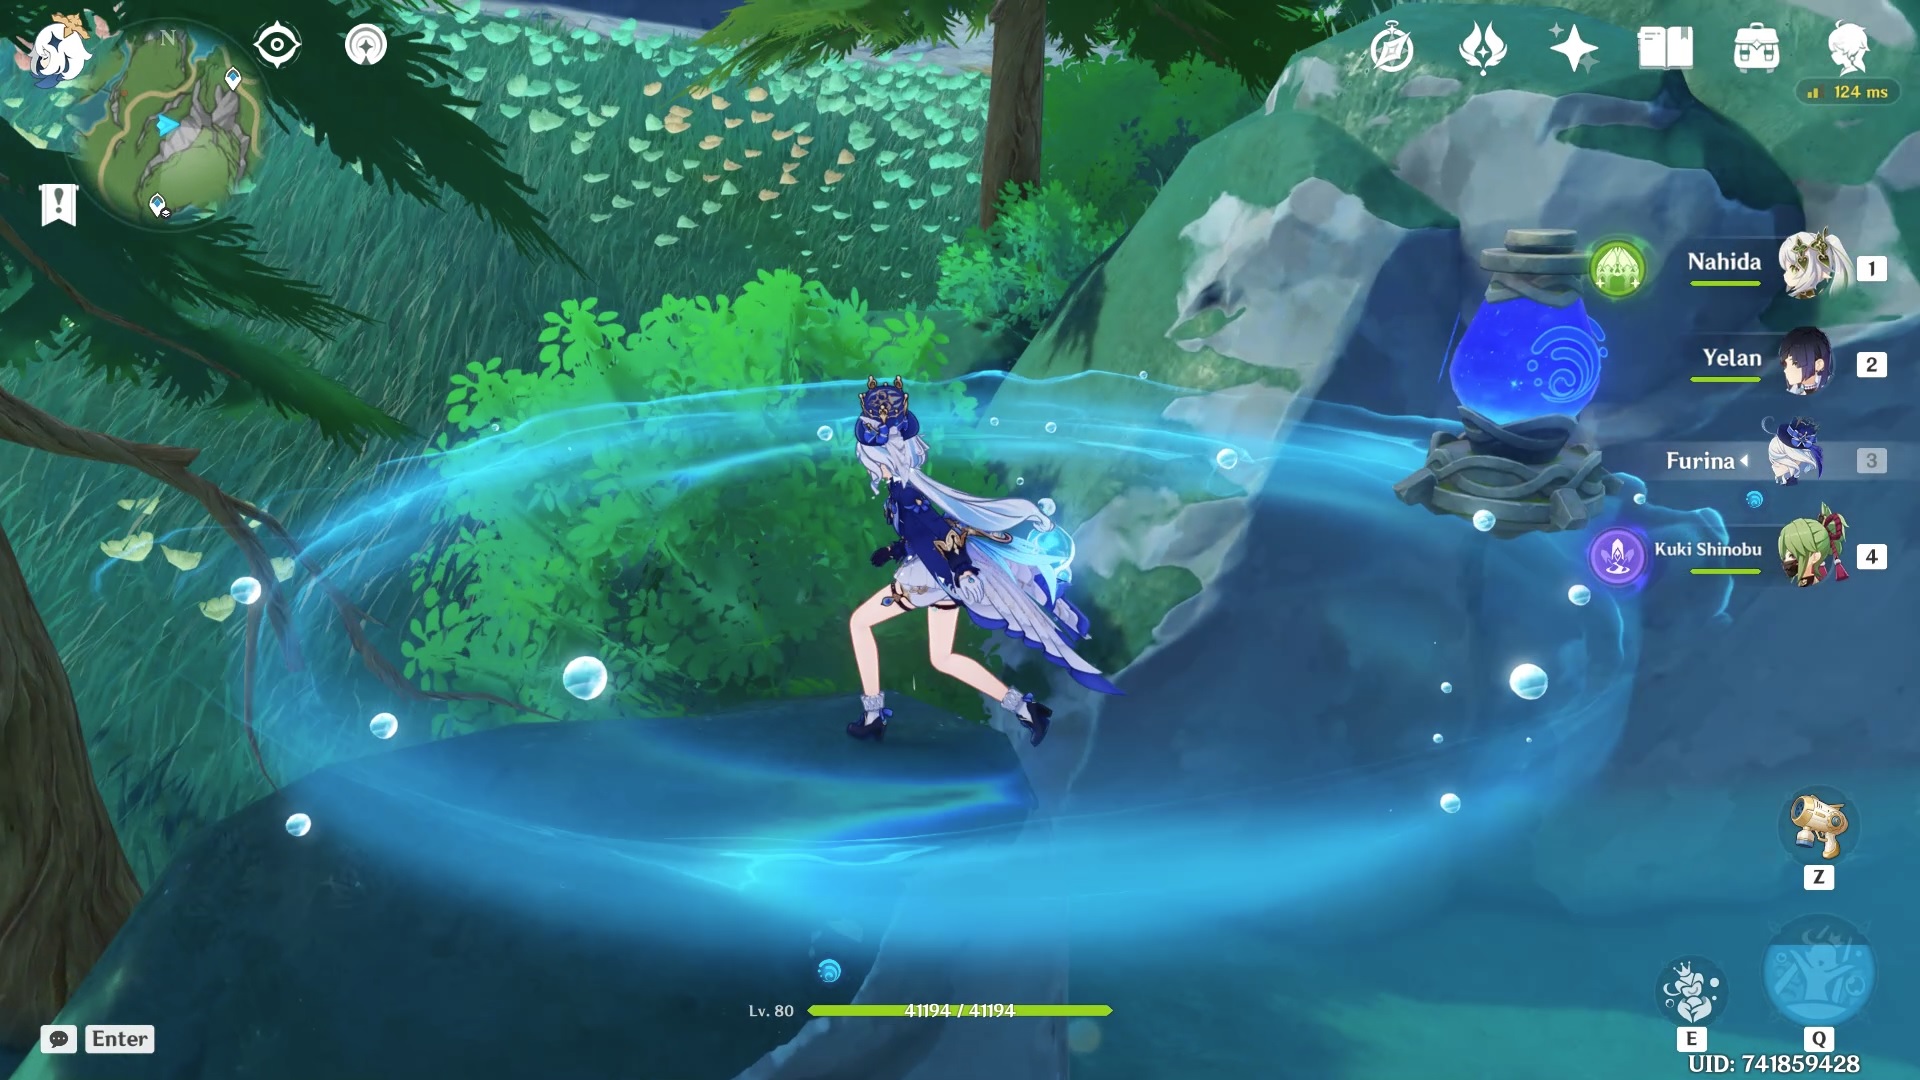
You must complete the time trial to get your first branch. You need to collect 10 hydro particles in 45 seconds to beat this challenge.
An exquisite chest will spawn once you've collected all the hydro particles within the given time.
Foggy Forest Branch 2
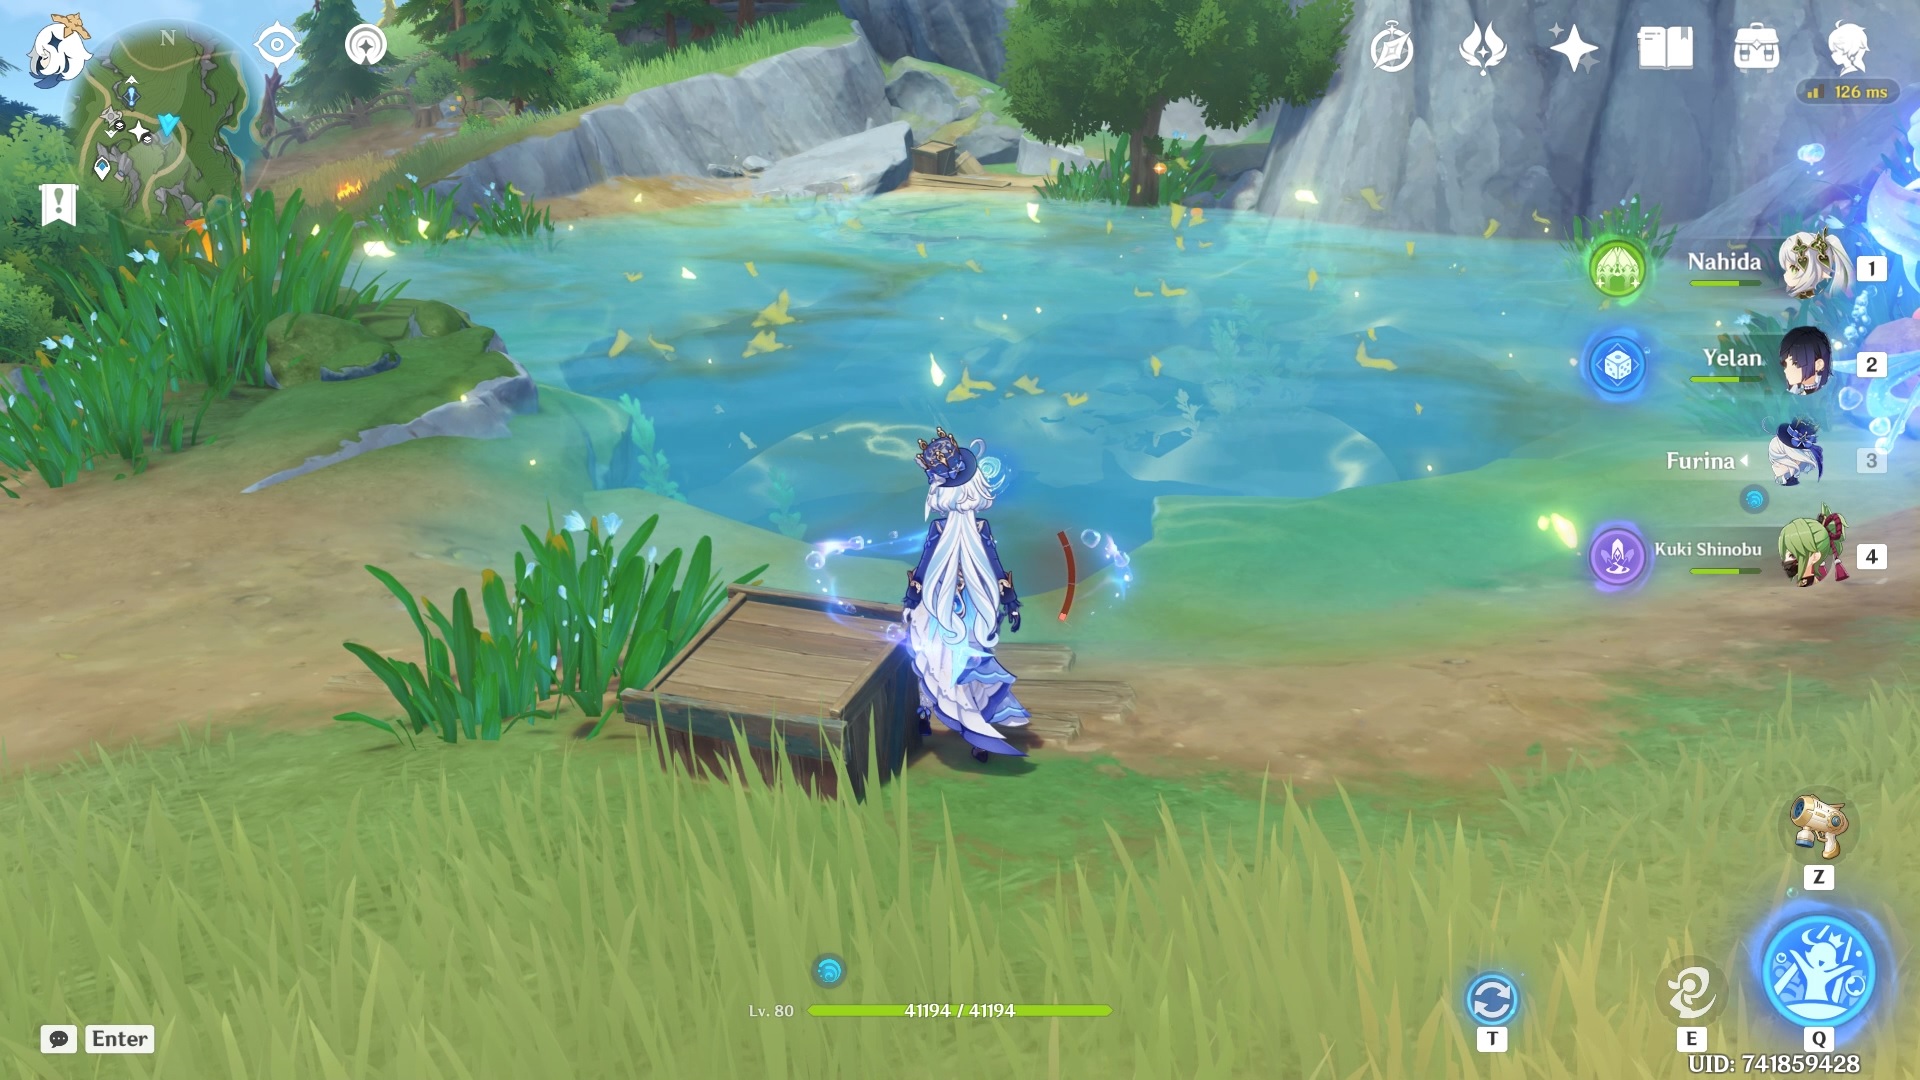
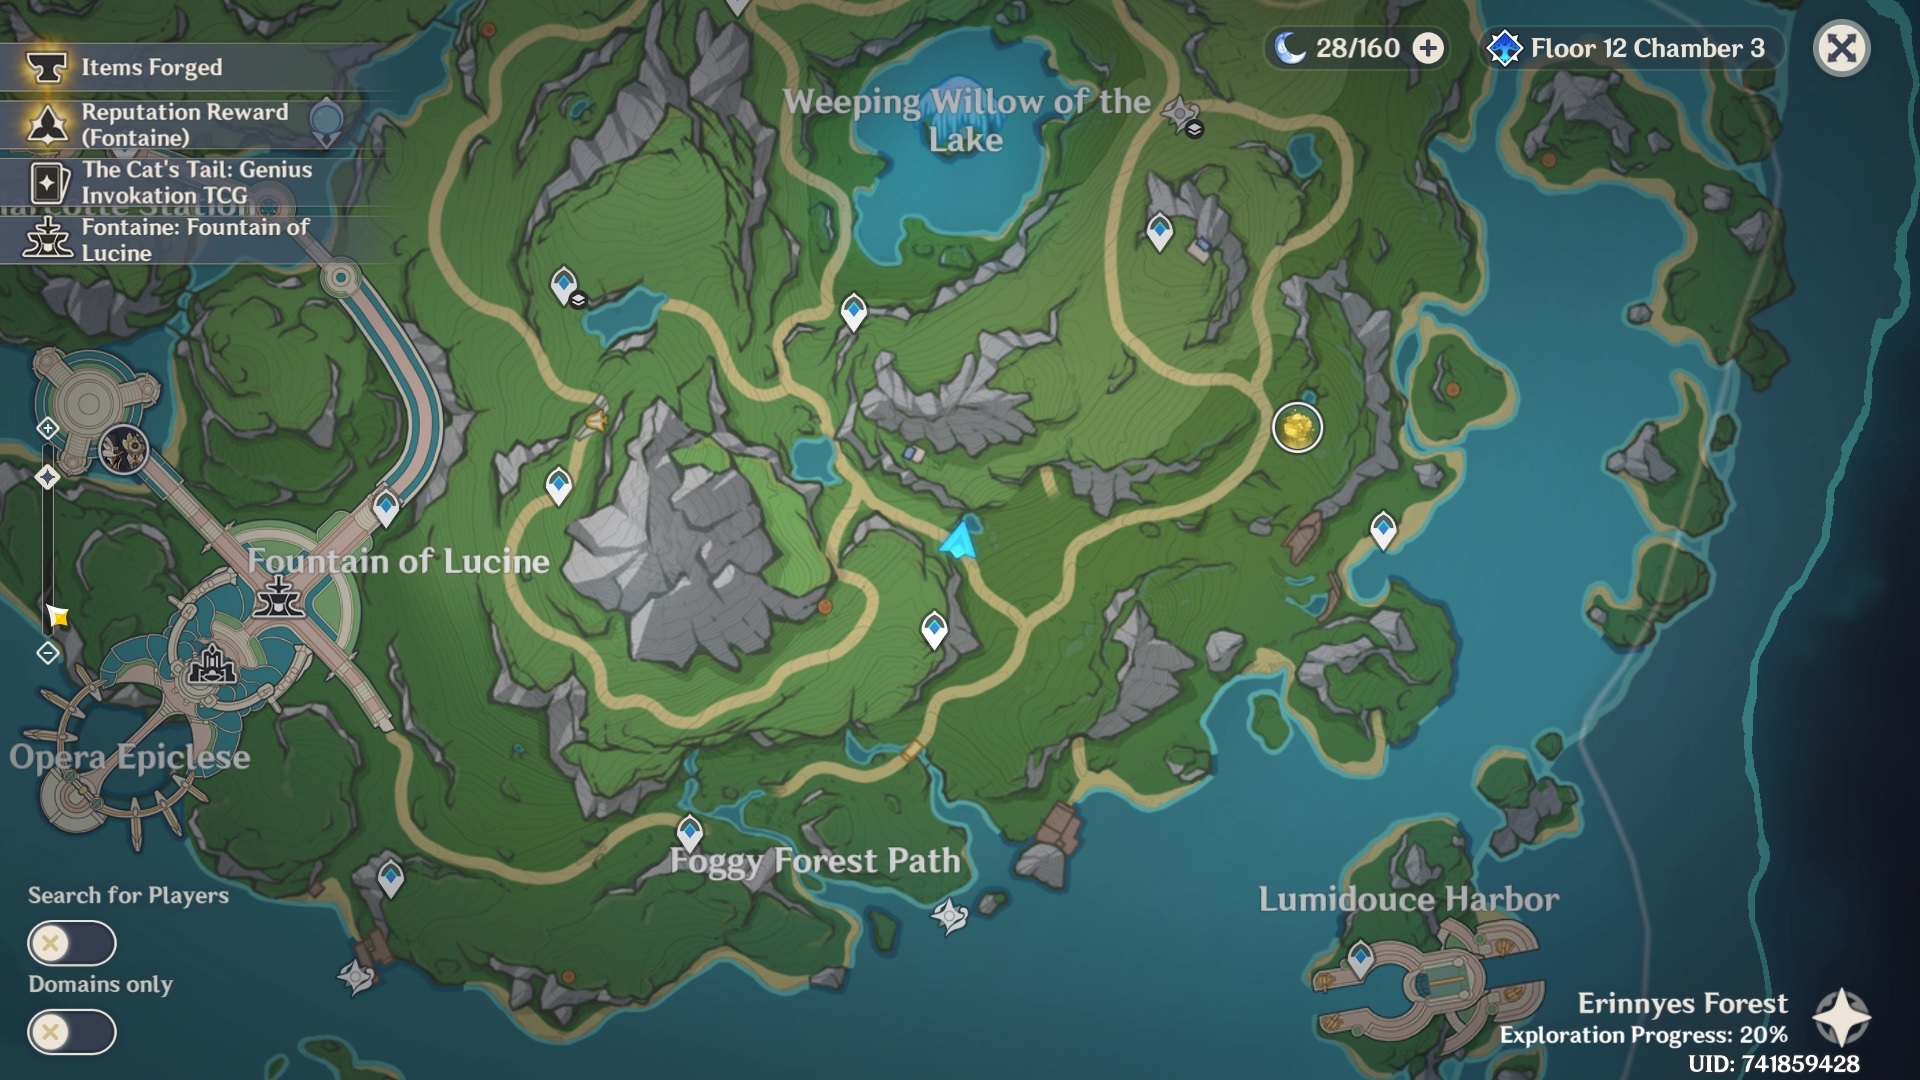
You can grab the second branch by solving a puzzle near a little water body situated between the Marcotte Station's Statue of The Seven and the Loch Urania teleport waypoint.
Pick up the small hydro particle, and enter the water to get the wet status on your character.
Wait for a couple of seconds and the hydro particle will grow due to the wet status.
Once the hydro particle is fully grown, it becomes a hydro core.
Install the hydro core in small hydro core holder above the boulder.
Hit the blue mechanism to activate it (it will turn orange) and make the hydro urns move in an anti-clockwise direction.
Turn off the mechanism when all four hydro urns are wet, making contact with both the hydro core field and the water underneath.
When they're all wet, a precious chest with the branch will spawn.
Foggy Forest Branch 3
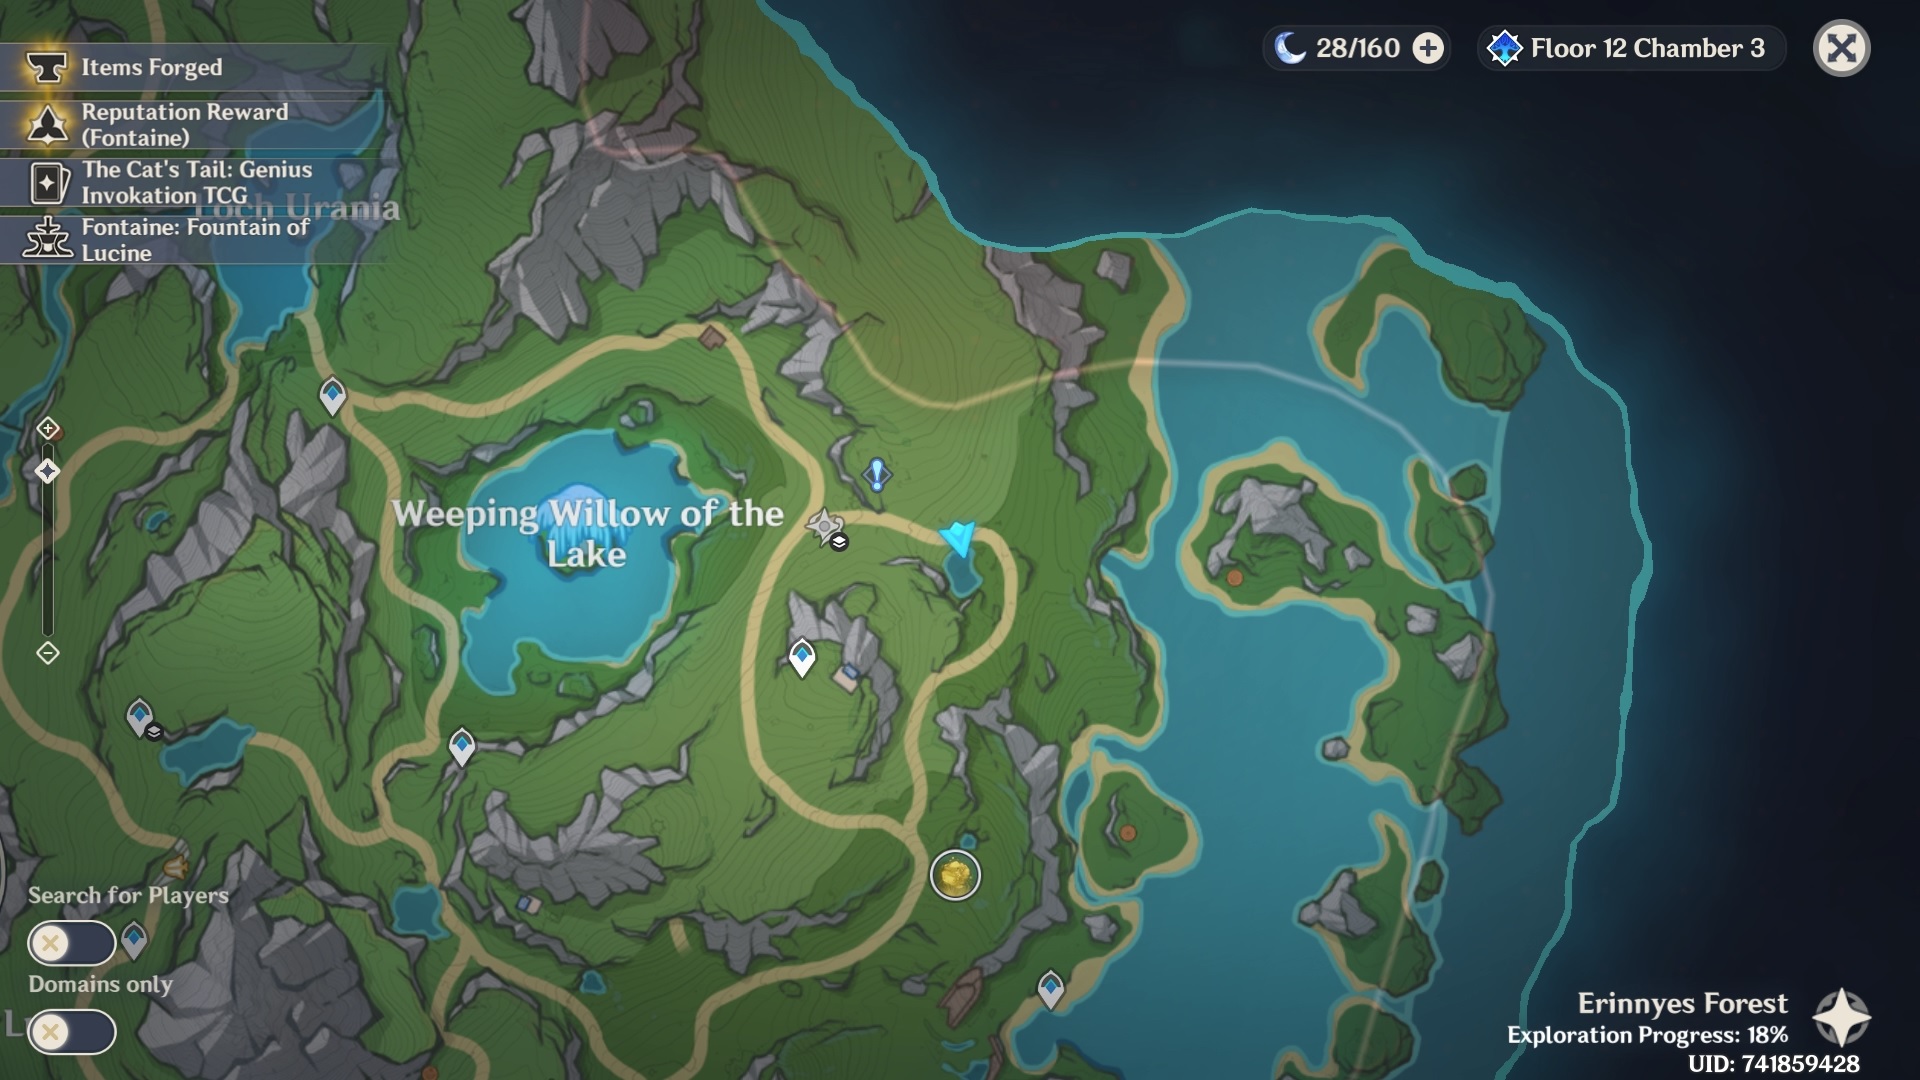
The third branch can be acquired by purifying the pond east of the Weeping Willow of the Lake.
When you get to the pond, you will notice that is contaminated.
First, grab the Xenochromatic Ball Octopus' power from the small altar near the pond.
Once you get the ability, use it on the smaller tumor first to destroy the shield on the larger tumor.
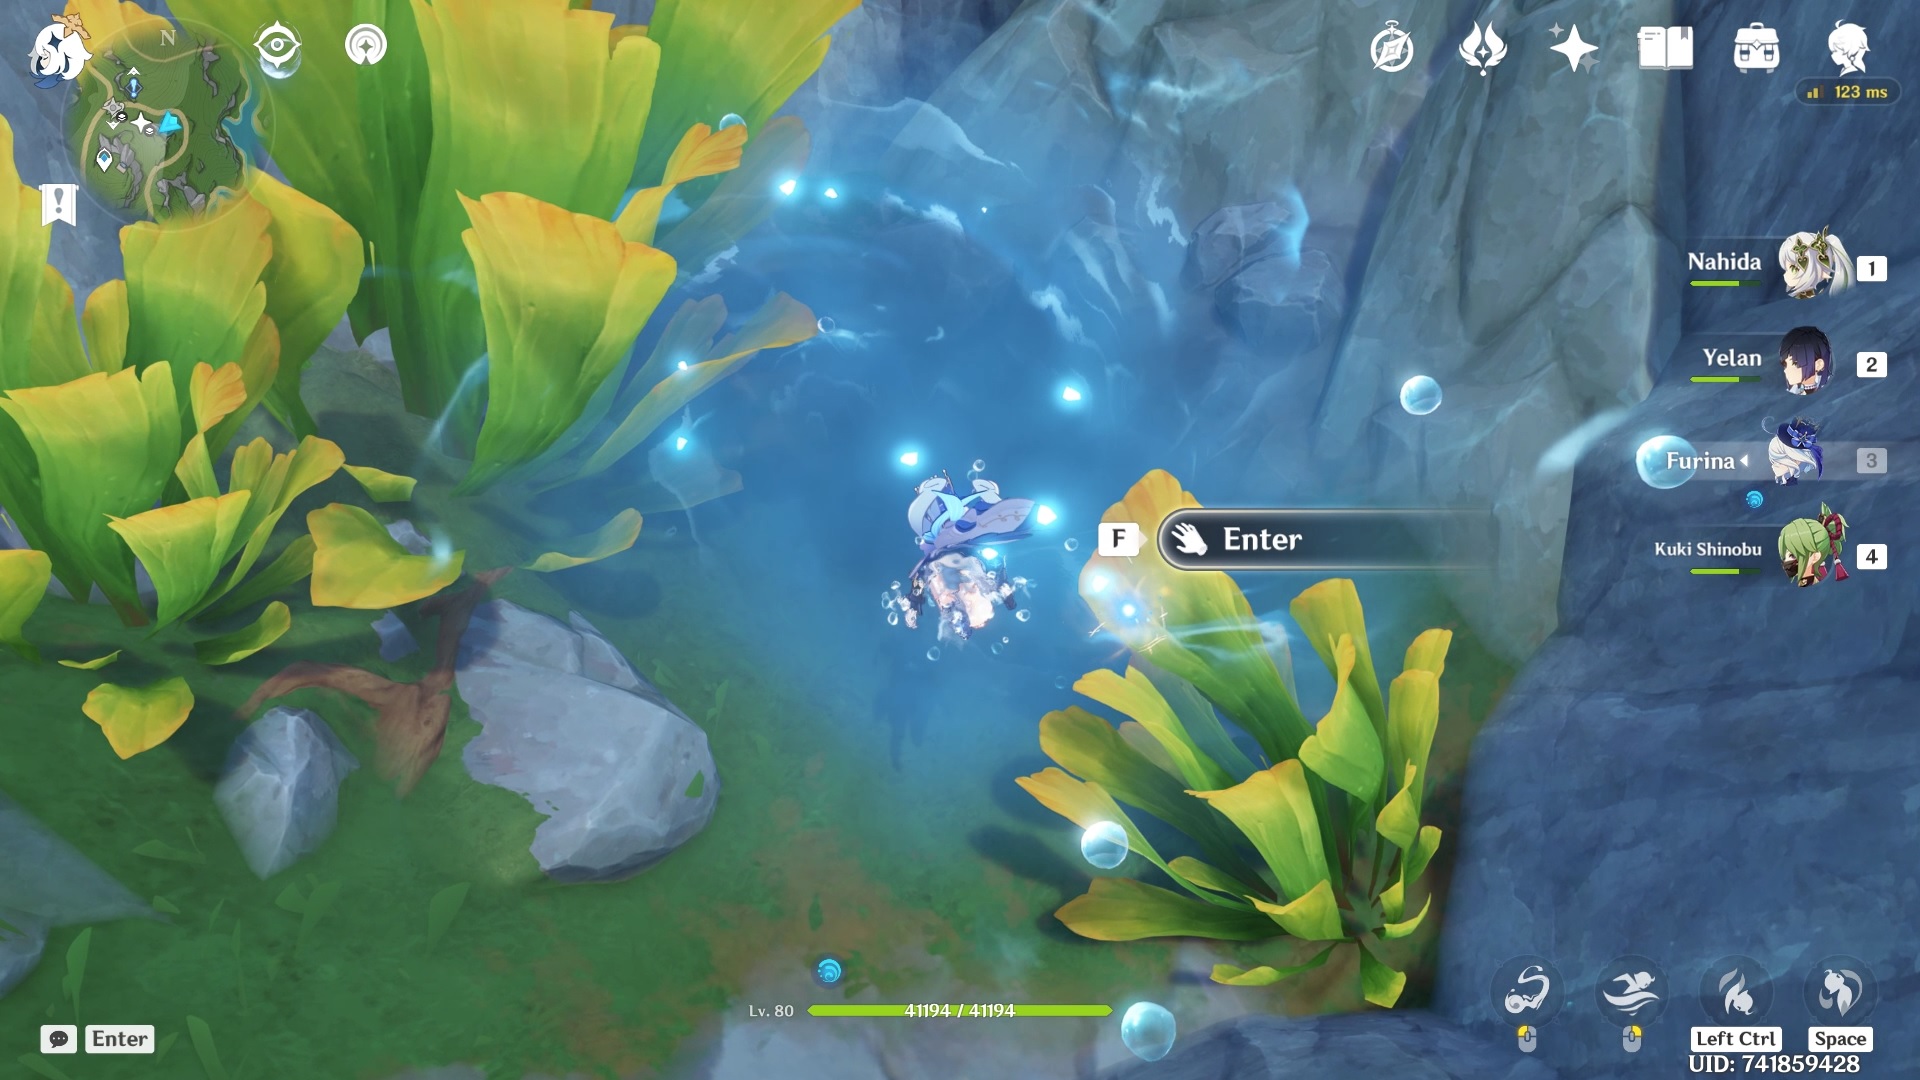
Once cleaned, dive underwater and enter the teleporter.
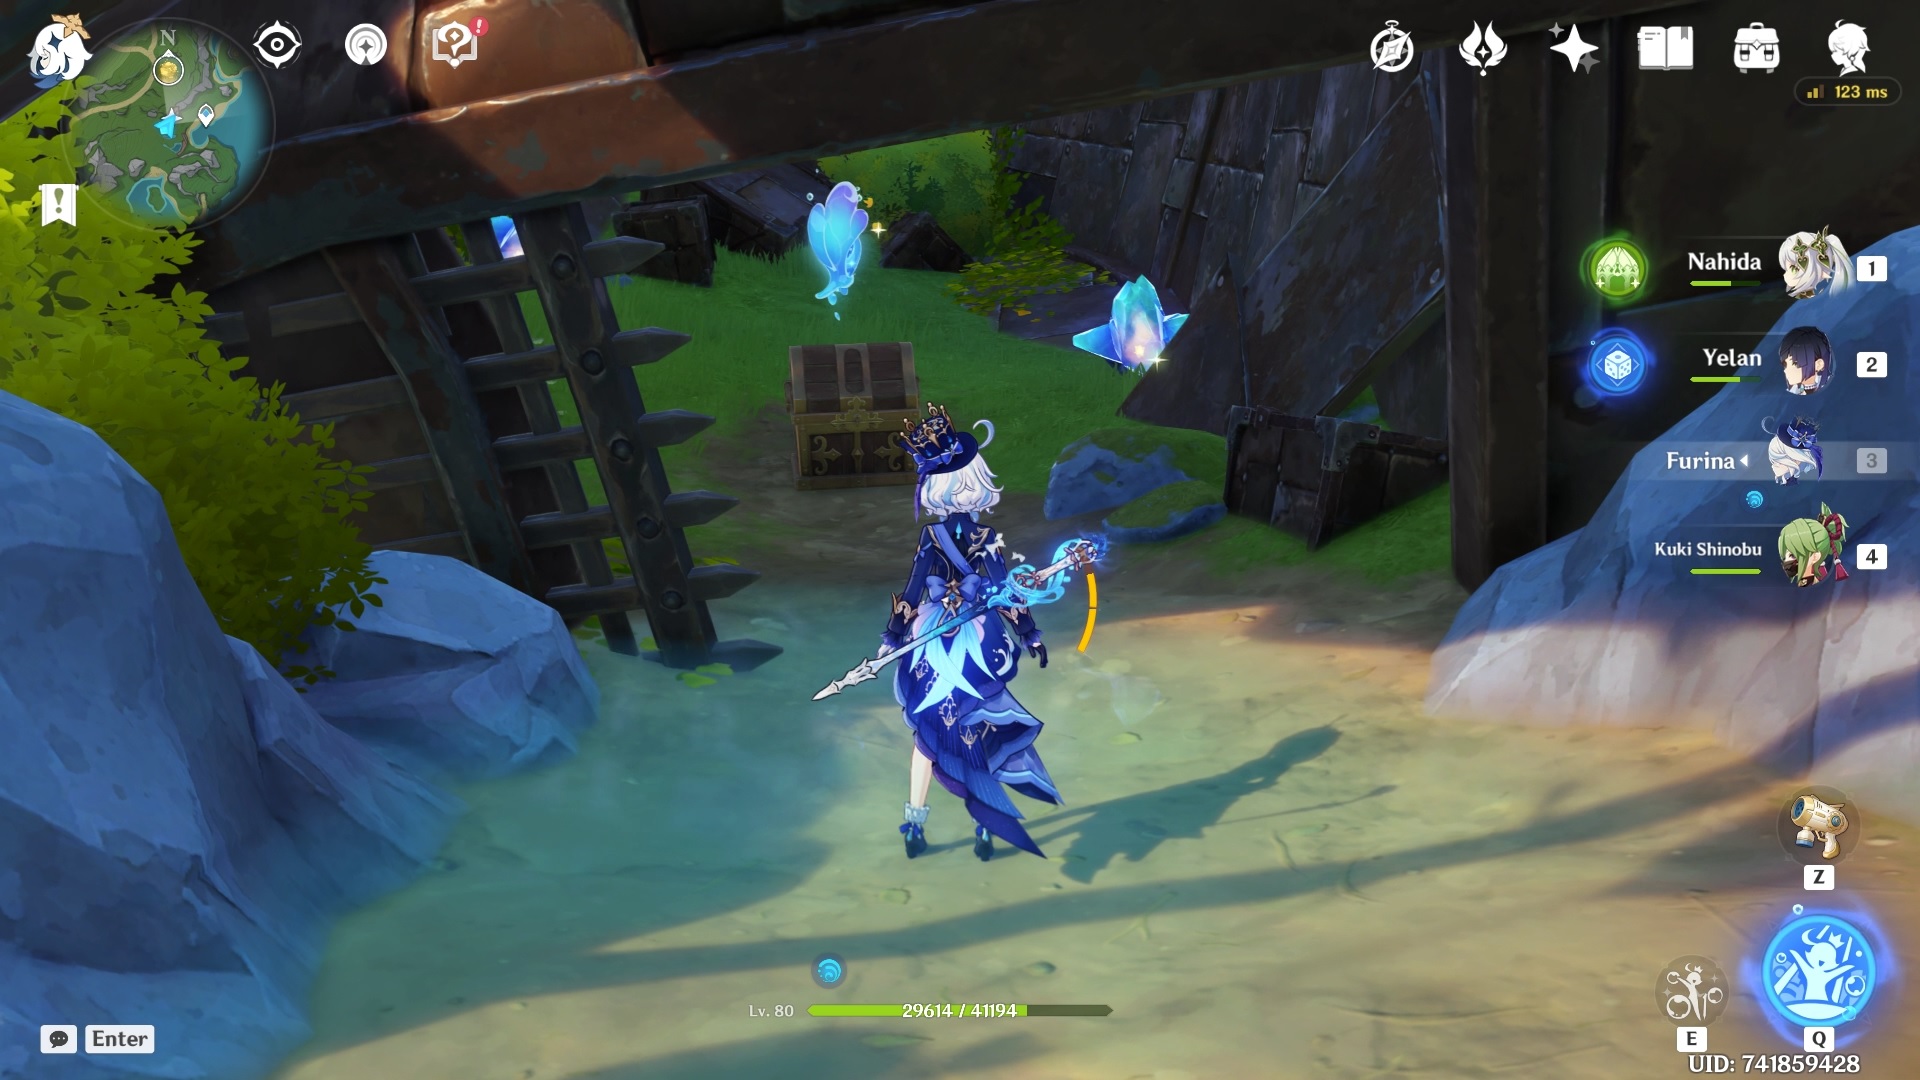
It will take you to a secret underground base with an exquisite chest containing the Foggy Forest Branch.
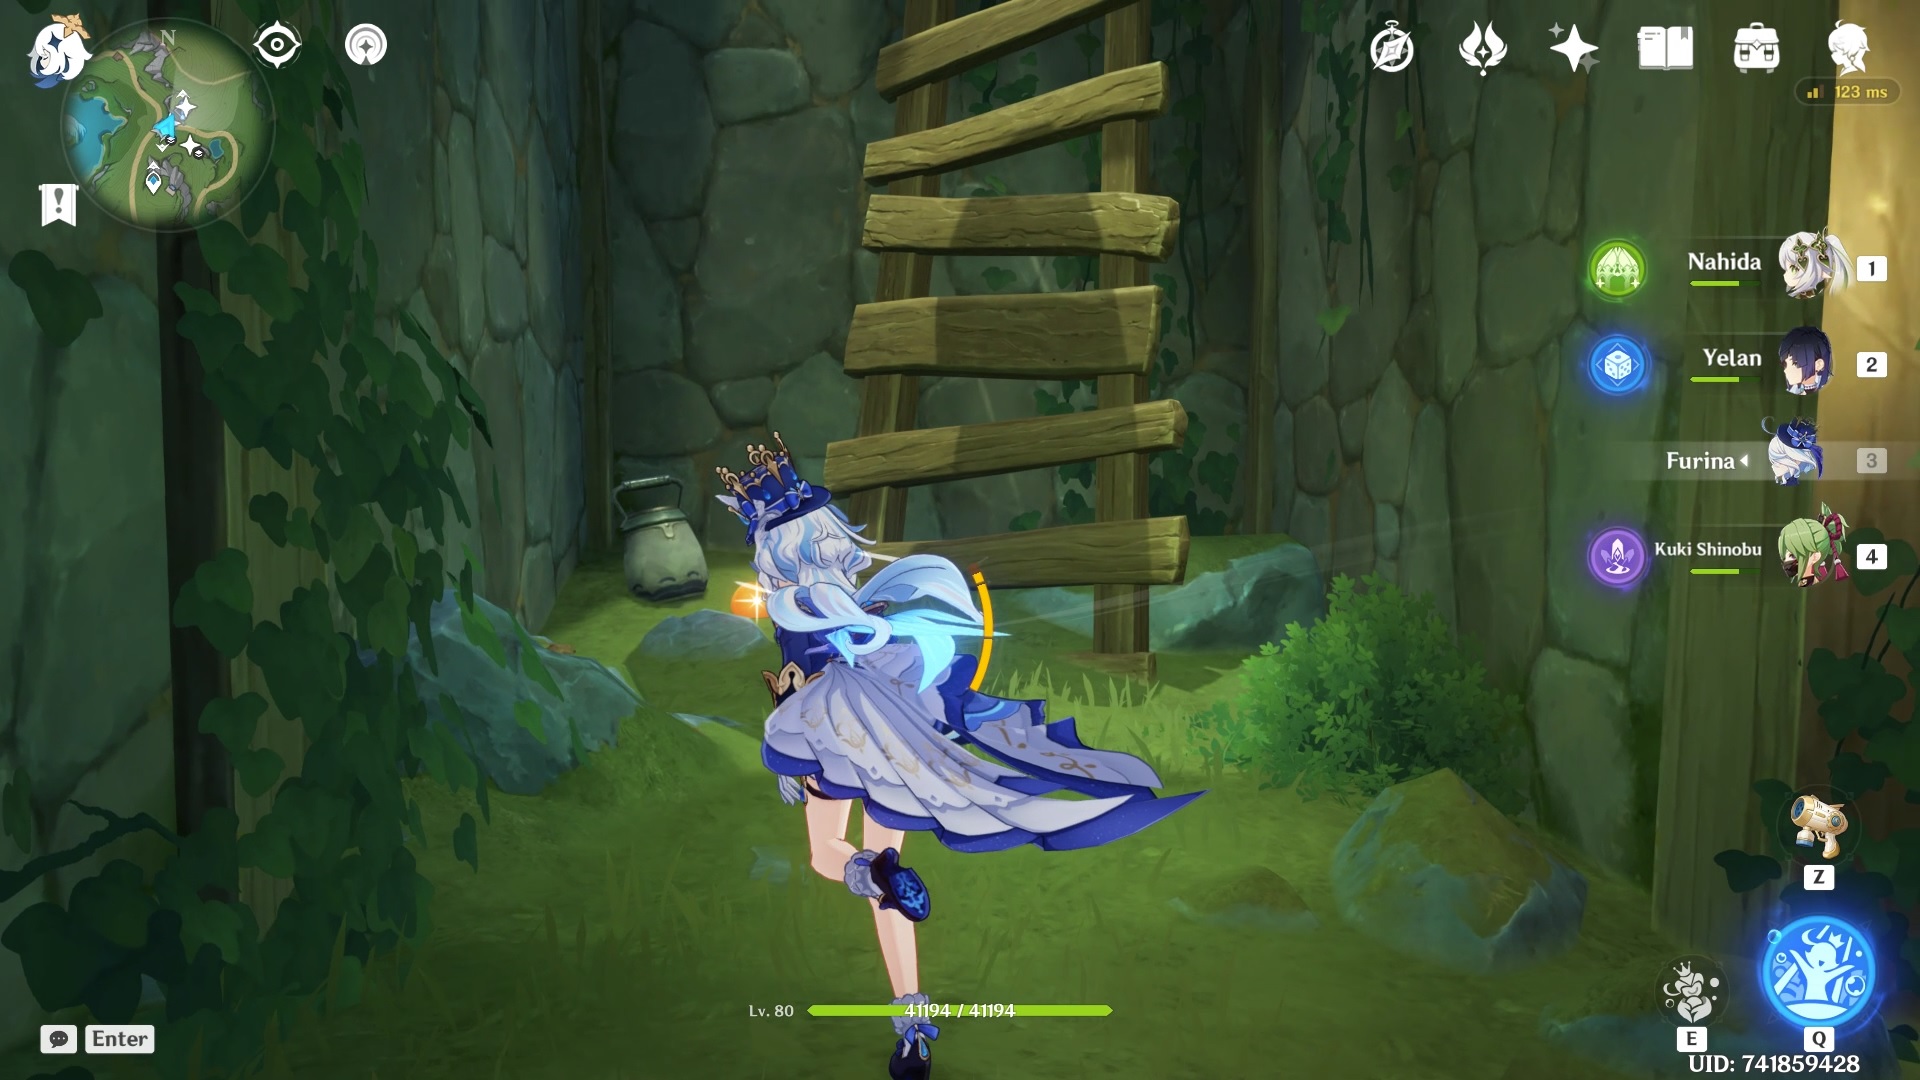
You can exit this underground base using the wooden ladder as you proceed to the right.
Foggy Forest Branch 4
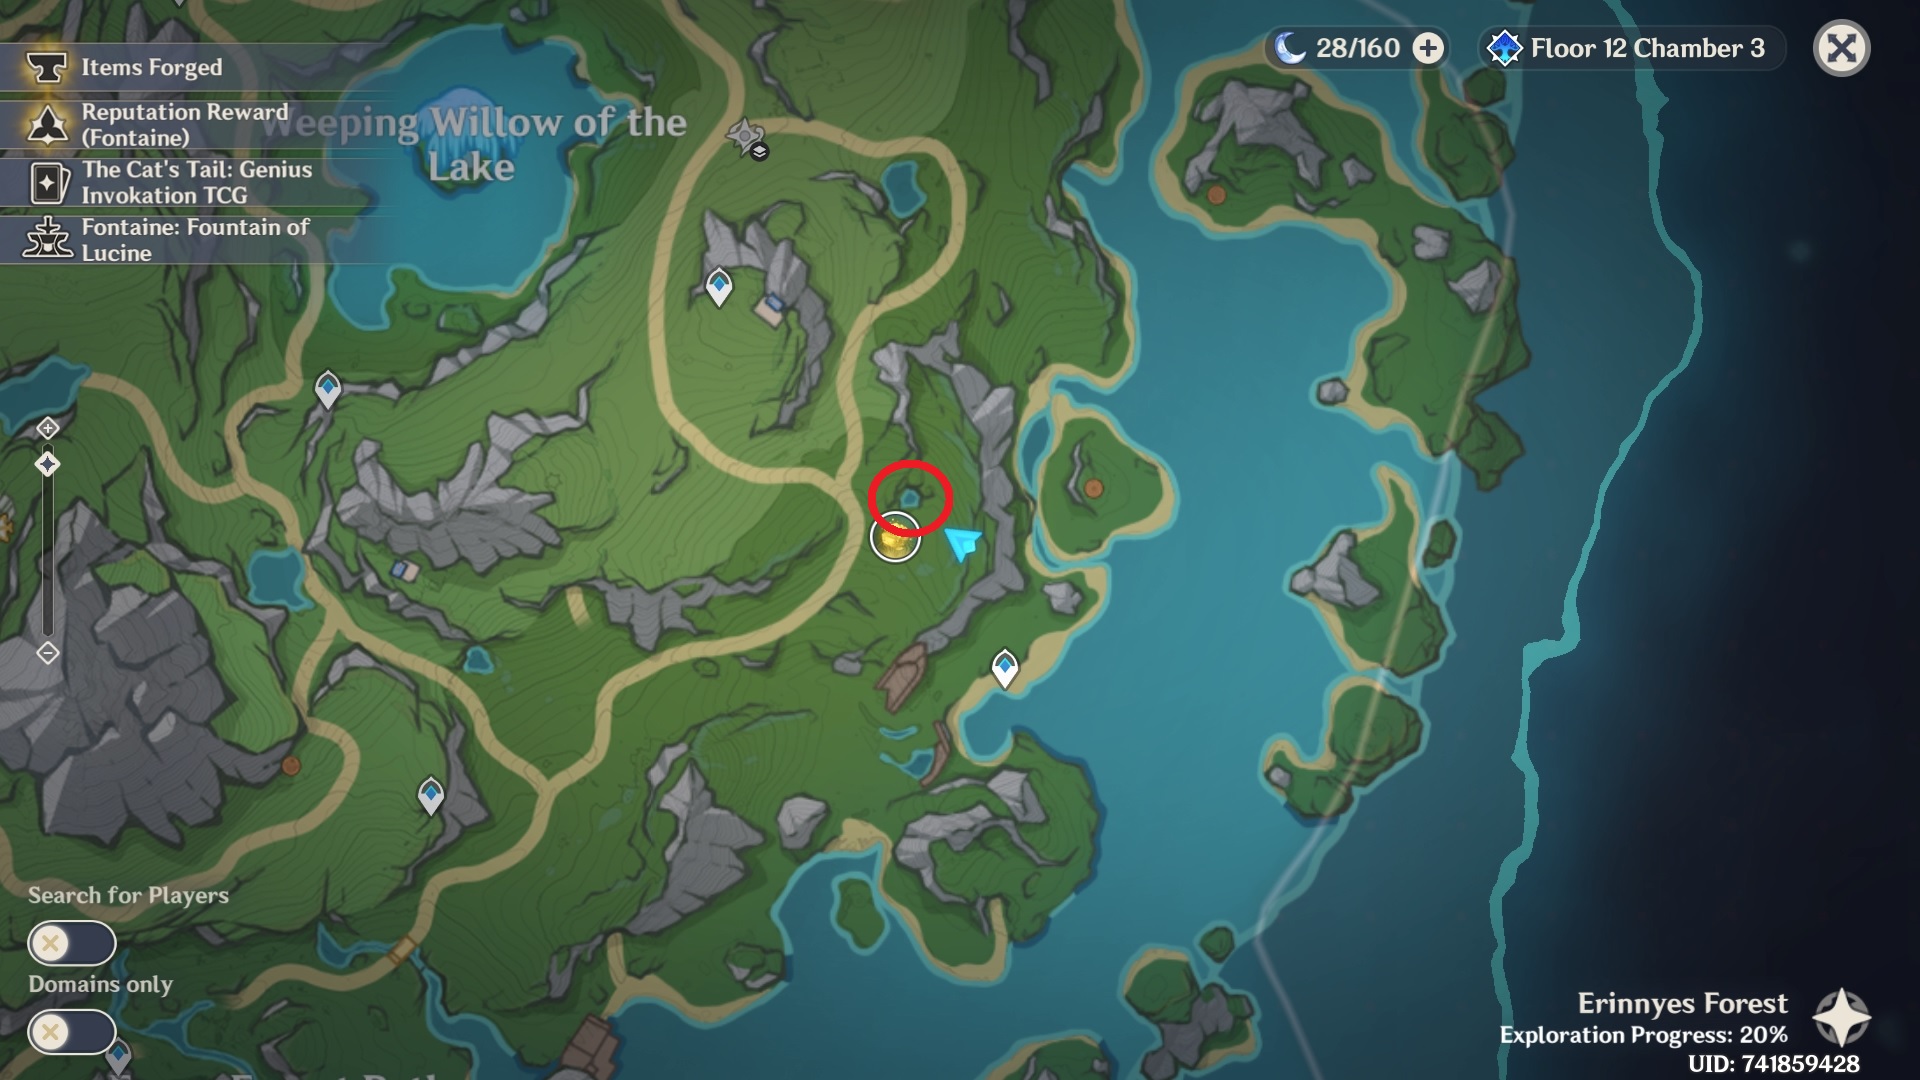
This branch is inside a small pond located in between the Foggy Forest Path and the Weeping Willow of the Lake.
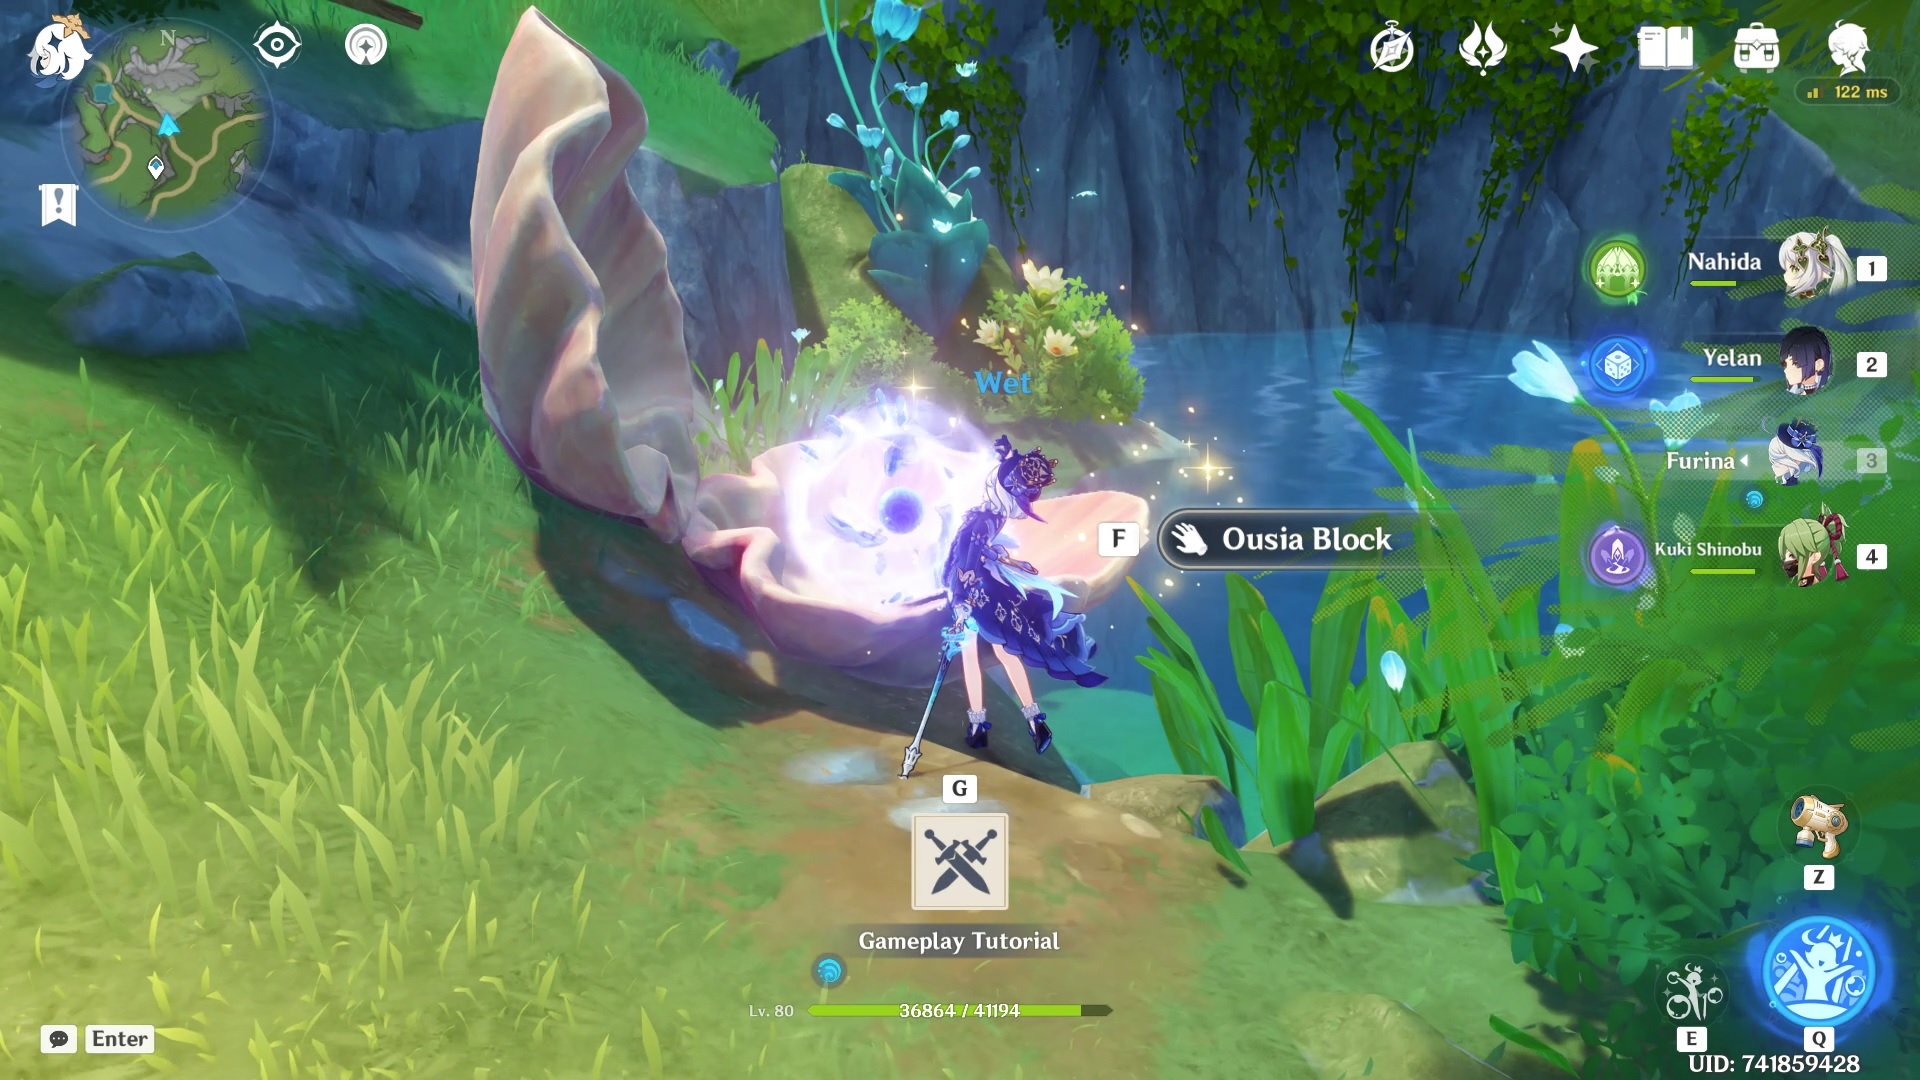
You will find a large seashell.
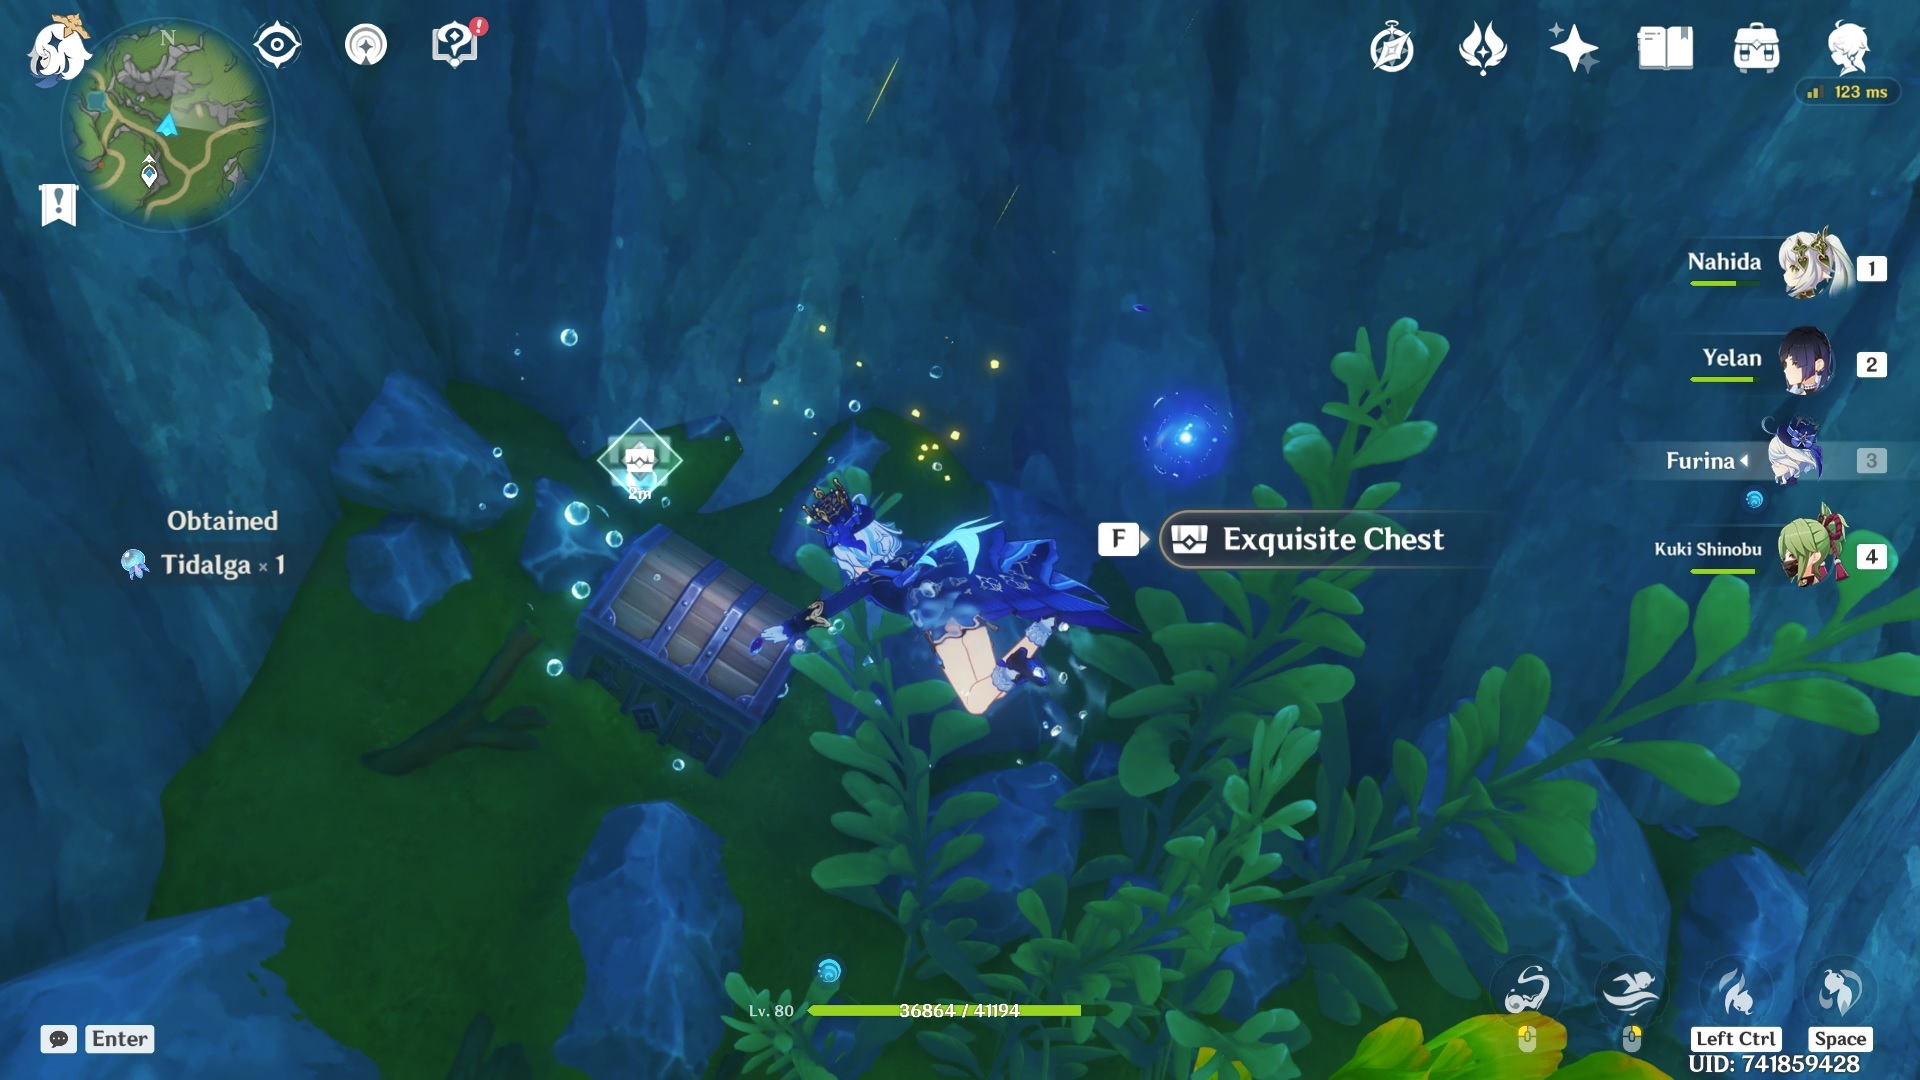
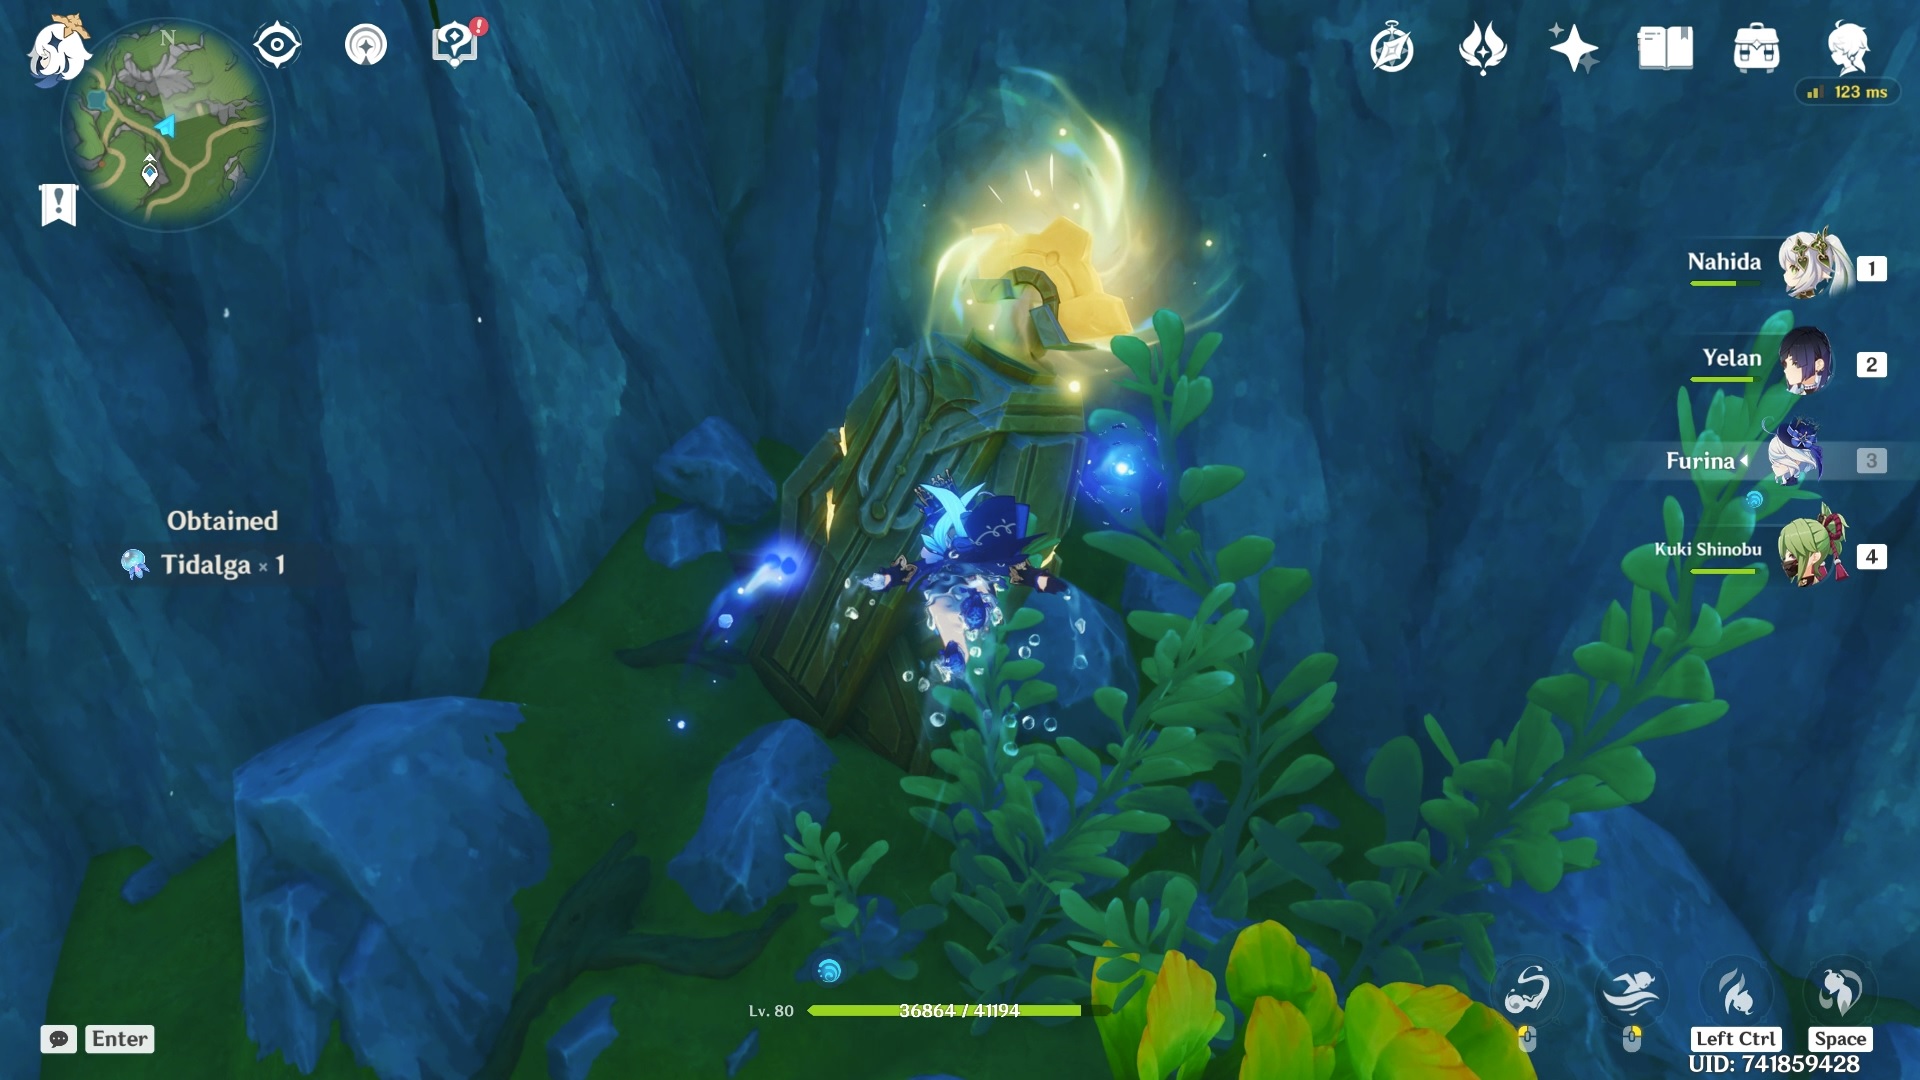
Dive underwater and destroy the Pneuma-aligned altar.
Once you destroy it, an exquisite chest with the fourth Foggy Forest Branch will spawn.
Foggy Forest Branch 5
The fifth branch is in an area only accessible through a teleporter which is located underwater in a small pond southeast of the Weeping Willow of the Lake.
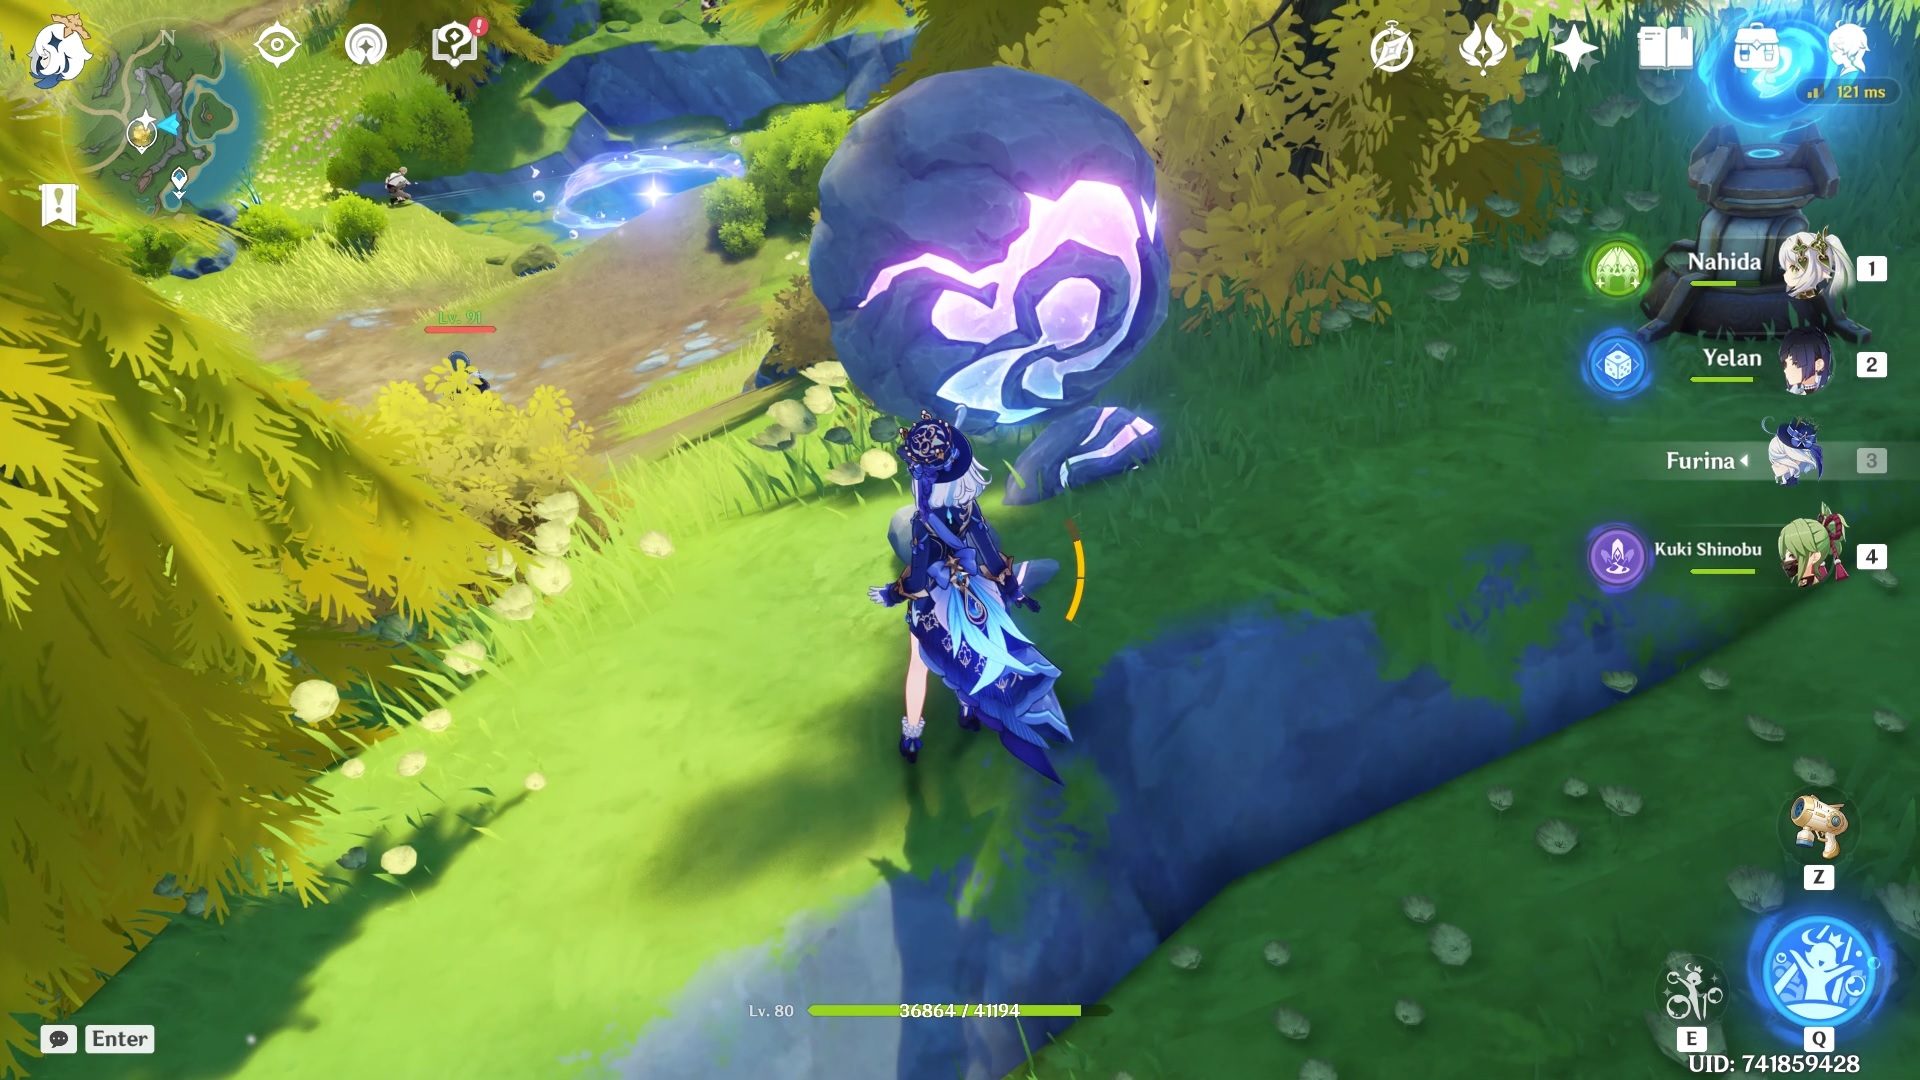
You will find a purple glowing ball next to the small altar containing the Xenochromatic Ball Octopus power.
Hold the skill button while aiming at the ball until it charges it.
You need to direct it inside a purple field next to the small pond to access the teleporter underwater.
Go through the teleporter and you will end up somewhere under the sea.
When you go through the portal, you will teleport somewhere south inside a wrecked ship.
You will find two chests here (exquisite and precious).
The only way to exit this area is by returning through the portal you entered from or teleporting to any of the waypoints on the map.
Foggy Forest Branch 6
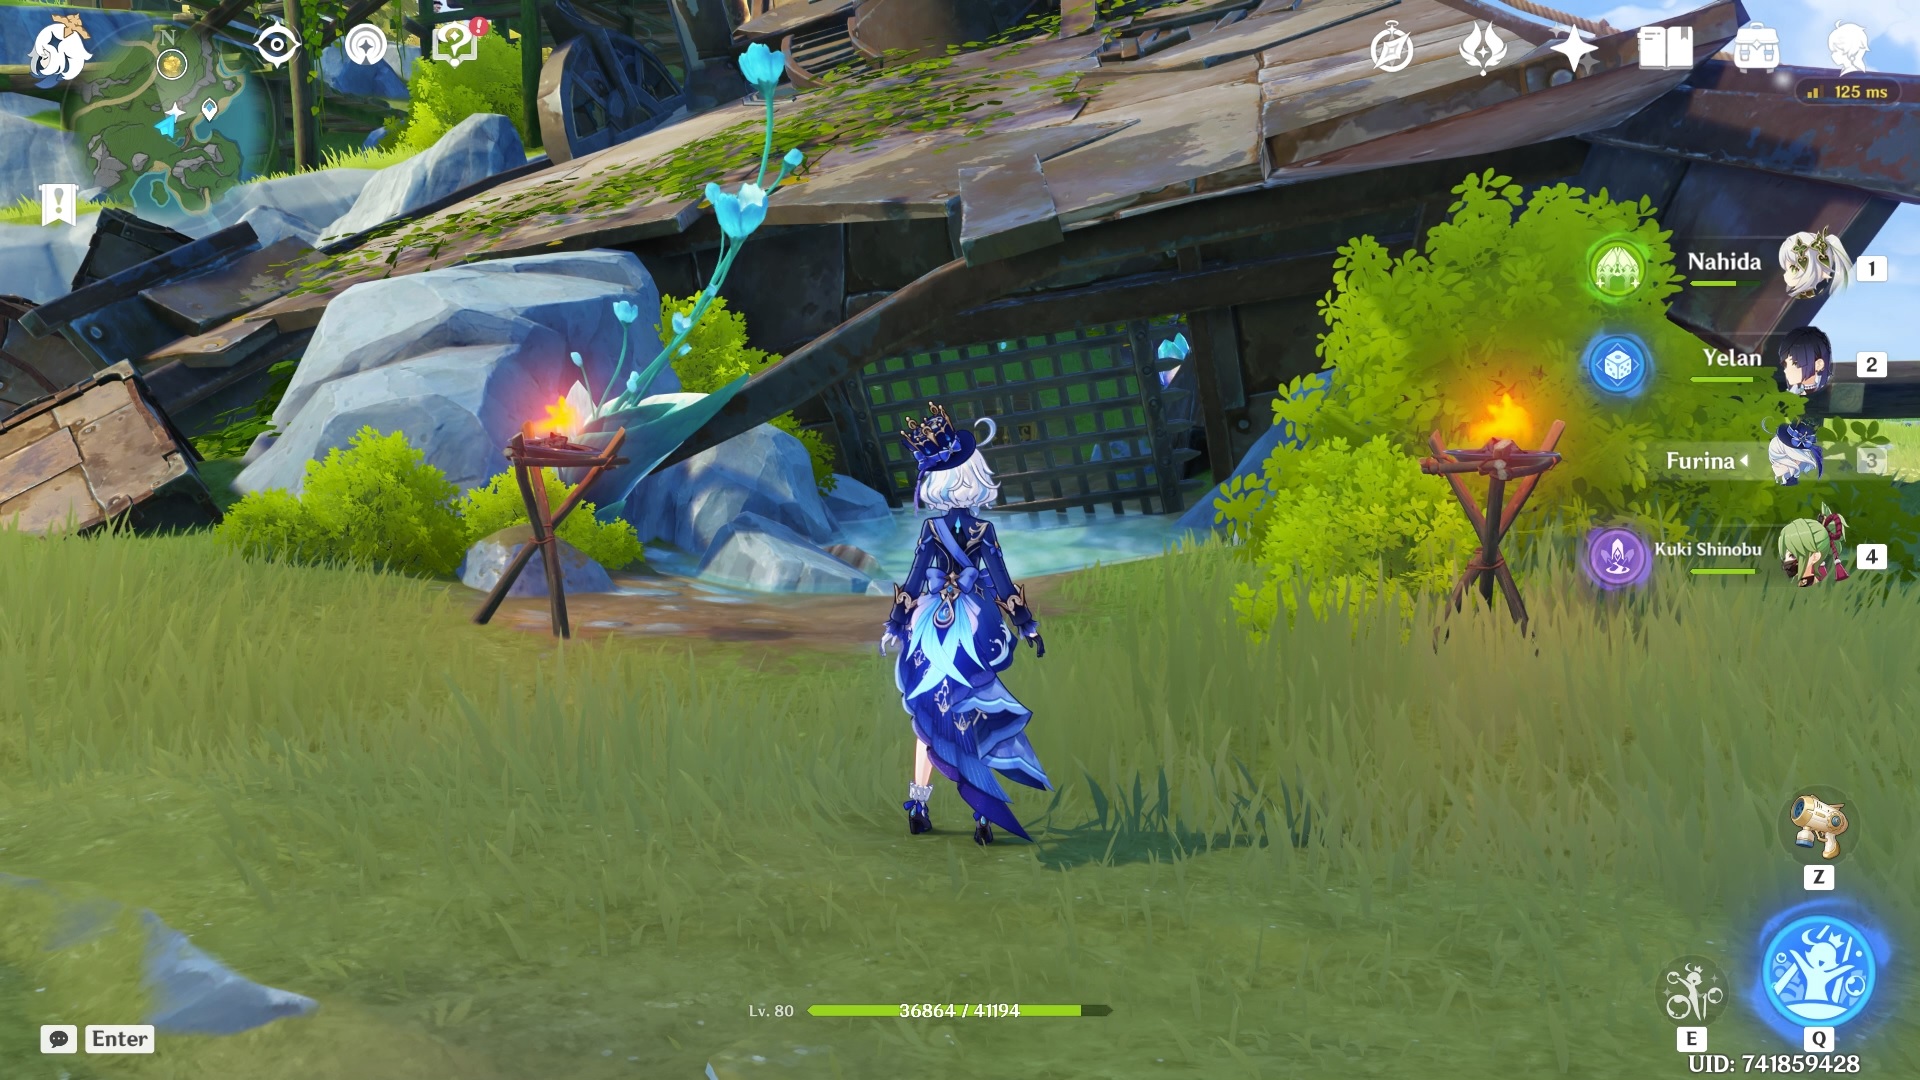
For the last branch, you need to open a chest locked behind a vault door of a wrecked ship.
You need to find three vault keys to unlock this door.
Vault Key 1
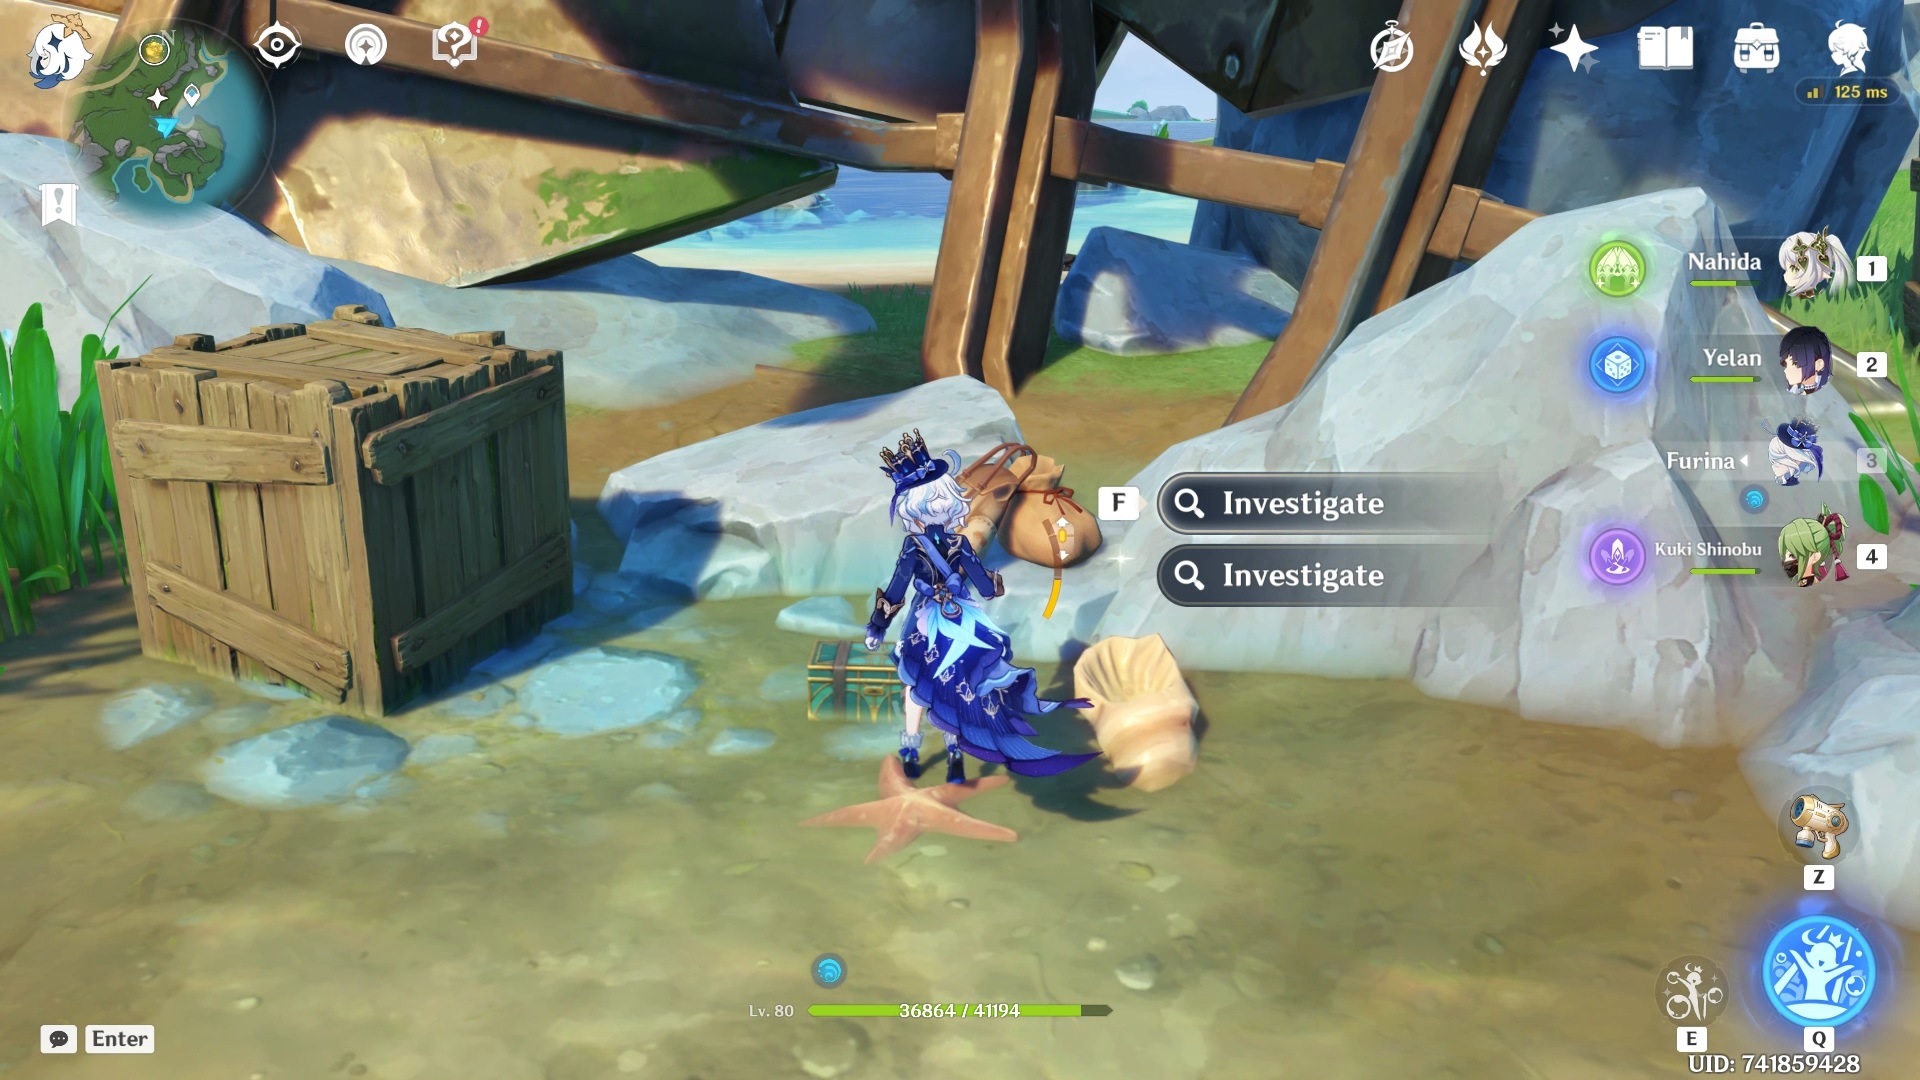
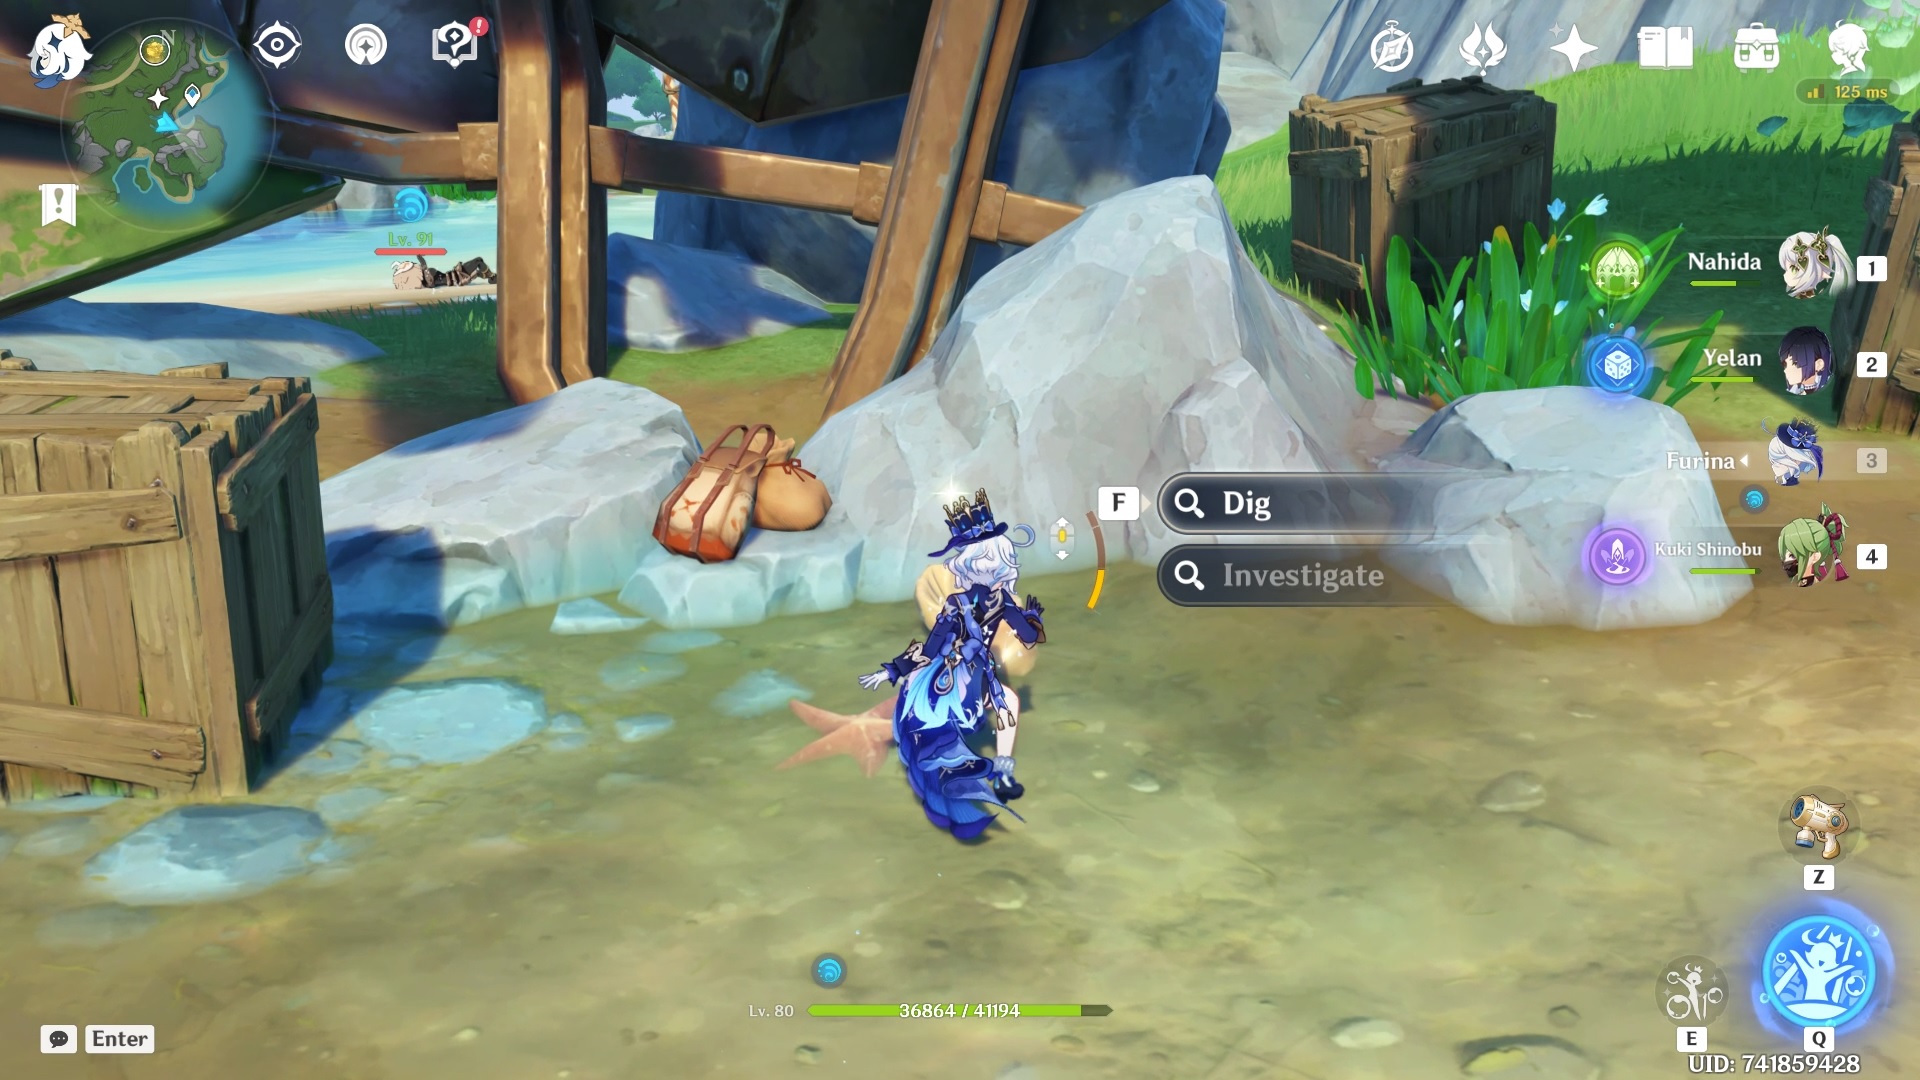
While facing the locked vault door, go to the wreckage to the southeast.
You will find a conch with a glow on it.
A small box will appear.
Vault Key 2
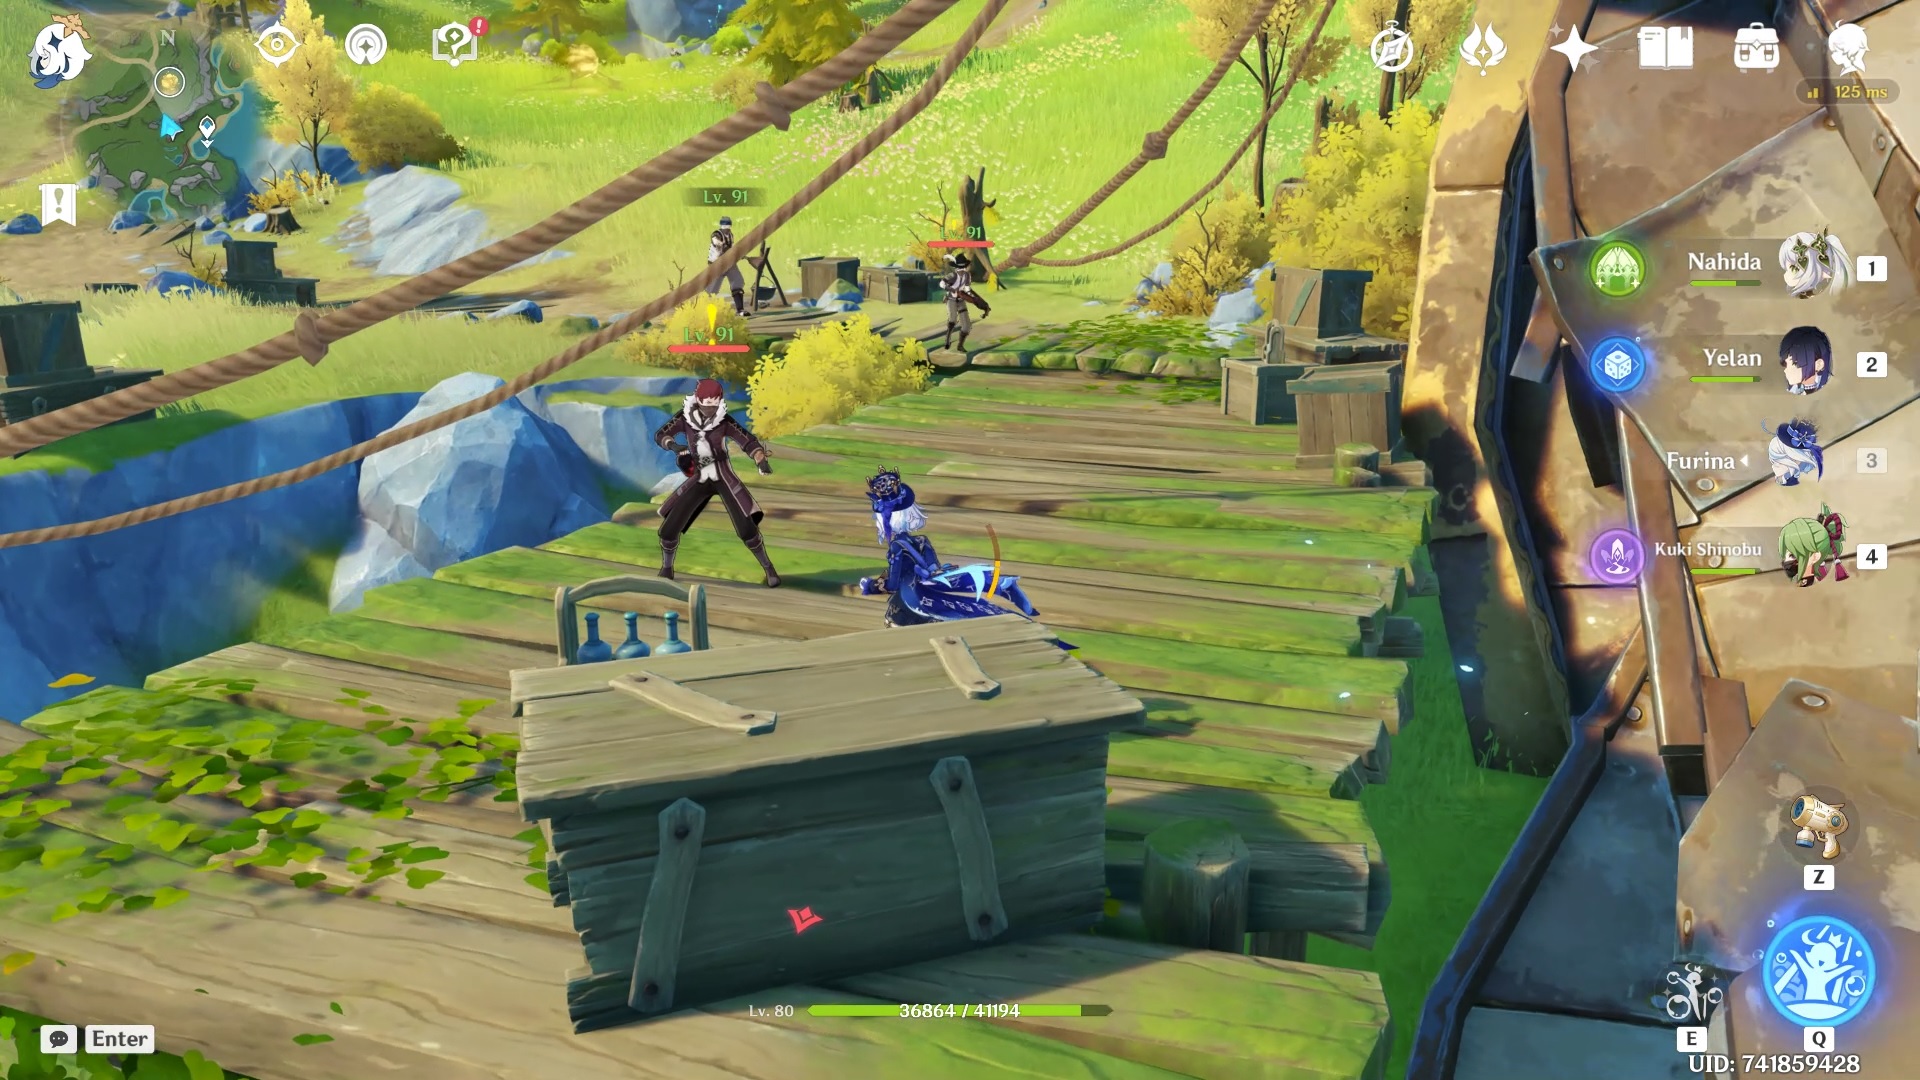
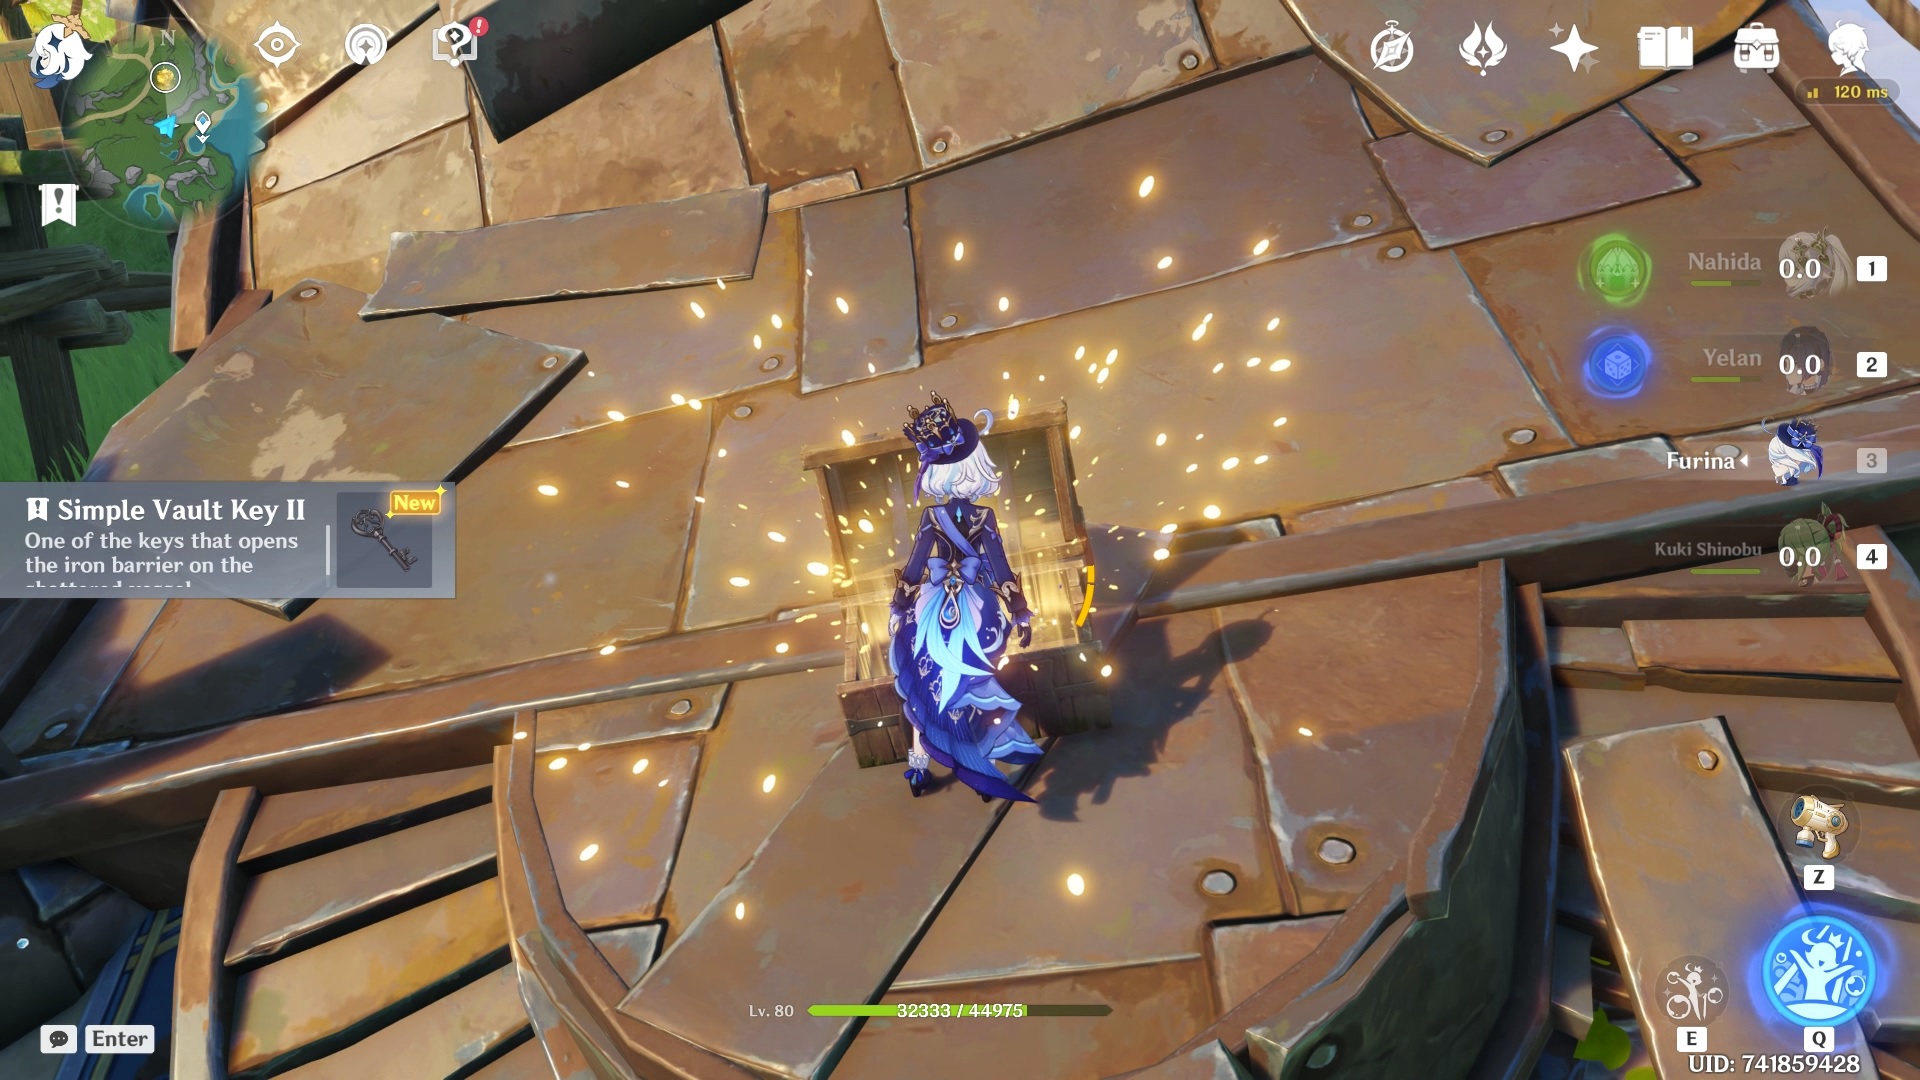
Go on top of the wrecked ship with the vault door and you will find a locked common chest with a bunch of treasure hoarders on the wooden platform to your left.
Eliminate them all to unlock the chest and get your second key.
Vault Key 3
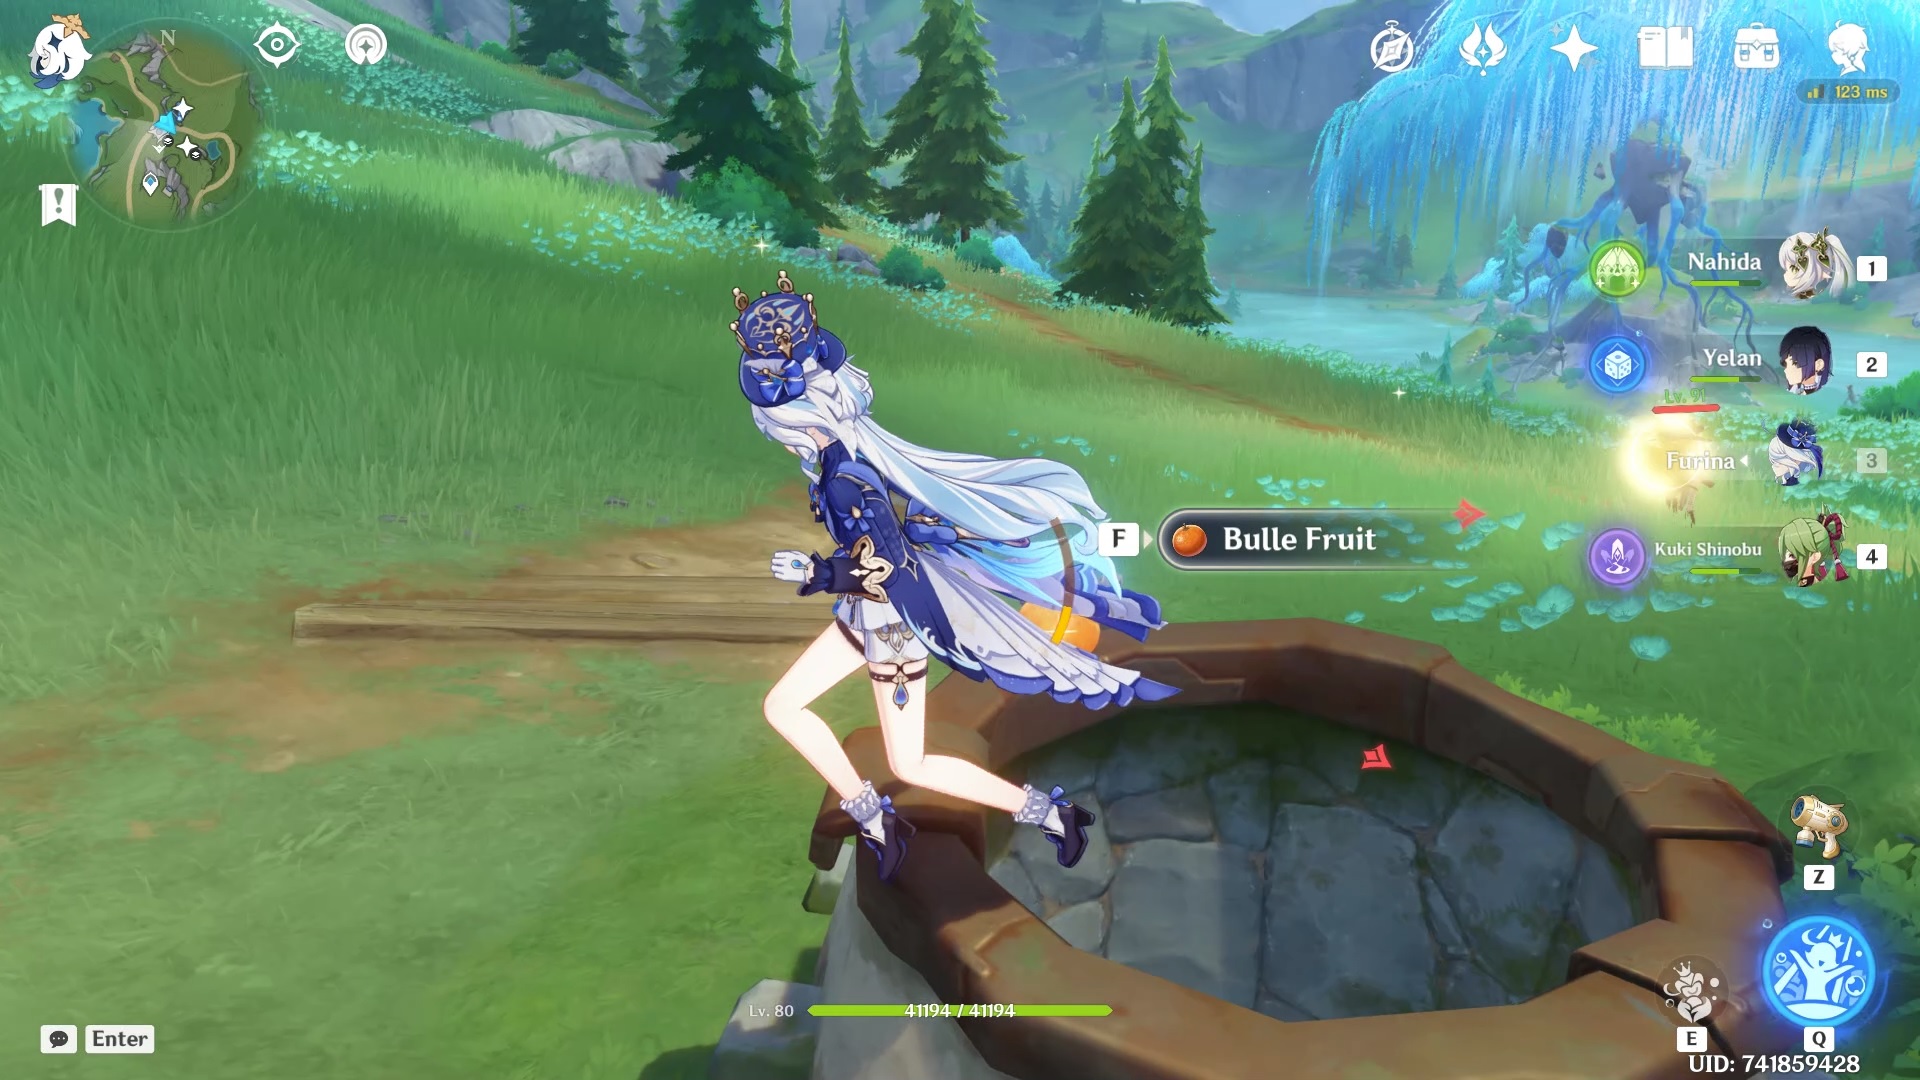
Climb the top of the wrecked ship and you will find a bird's nest.
Now, you can return to the vault door and use the three "Simple Vault Keys" to unlock the door and get your final Foggy Forest Branch.
Returning the Branches
Return to Pahsiv and interact with her to give her the Foggy Forest Branches and complete this quest.
Secret Achievement
Pahsiv also sells you some items from her shop. If you select the dialogue option "We brought some Tidalga," you can purchase items from her in exchange for Tidalga.
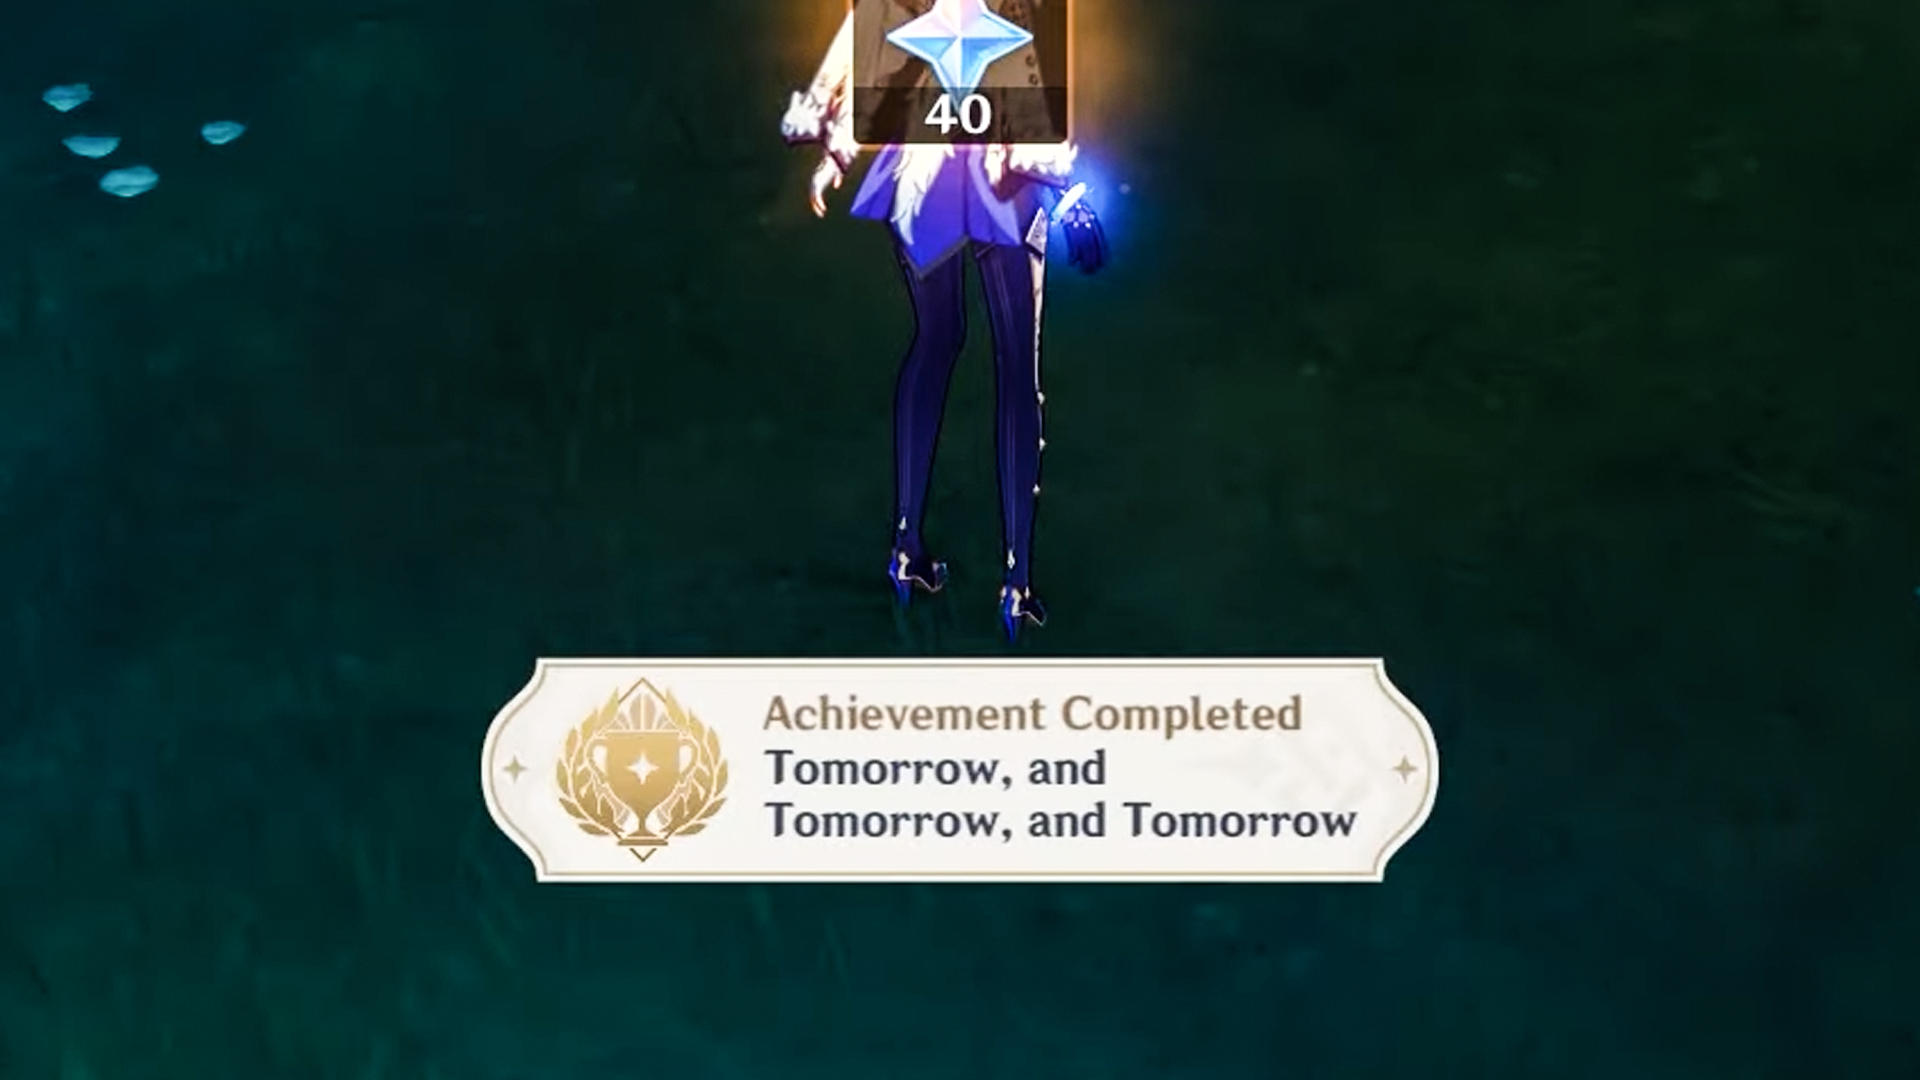
If you purchase everything from Pahsiv and clear her stock, you get a secret achievement called "Tomorrow, and Tomorrow, and Tomorrow."

