The Anvil

Requirement: Exfil a game with only using melee attacks.
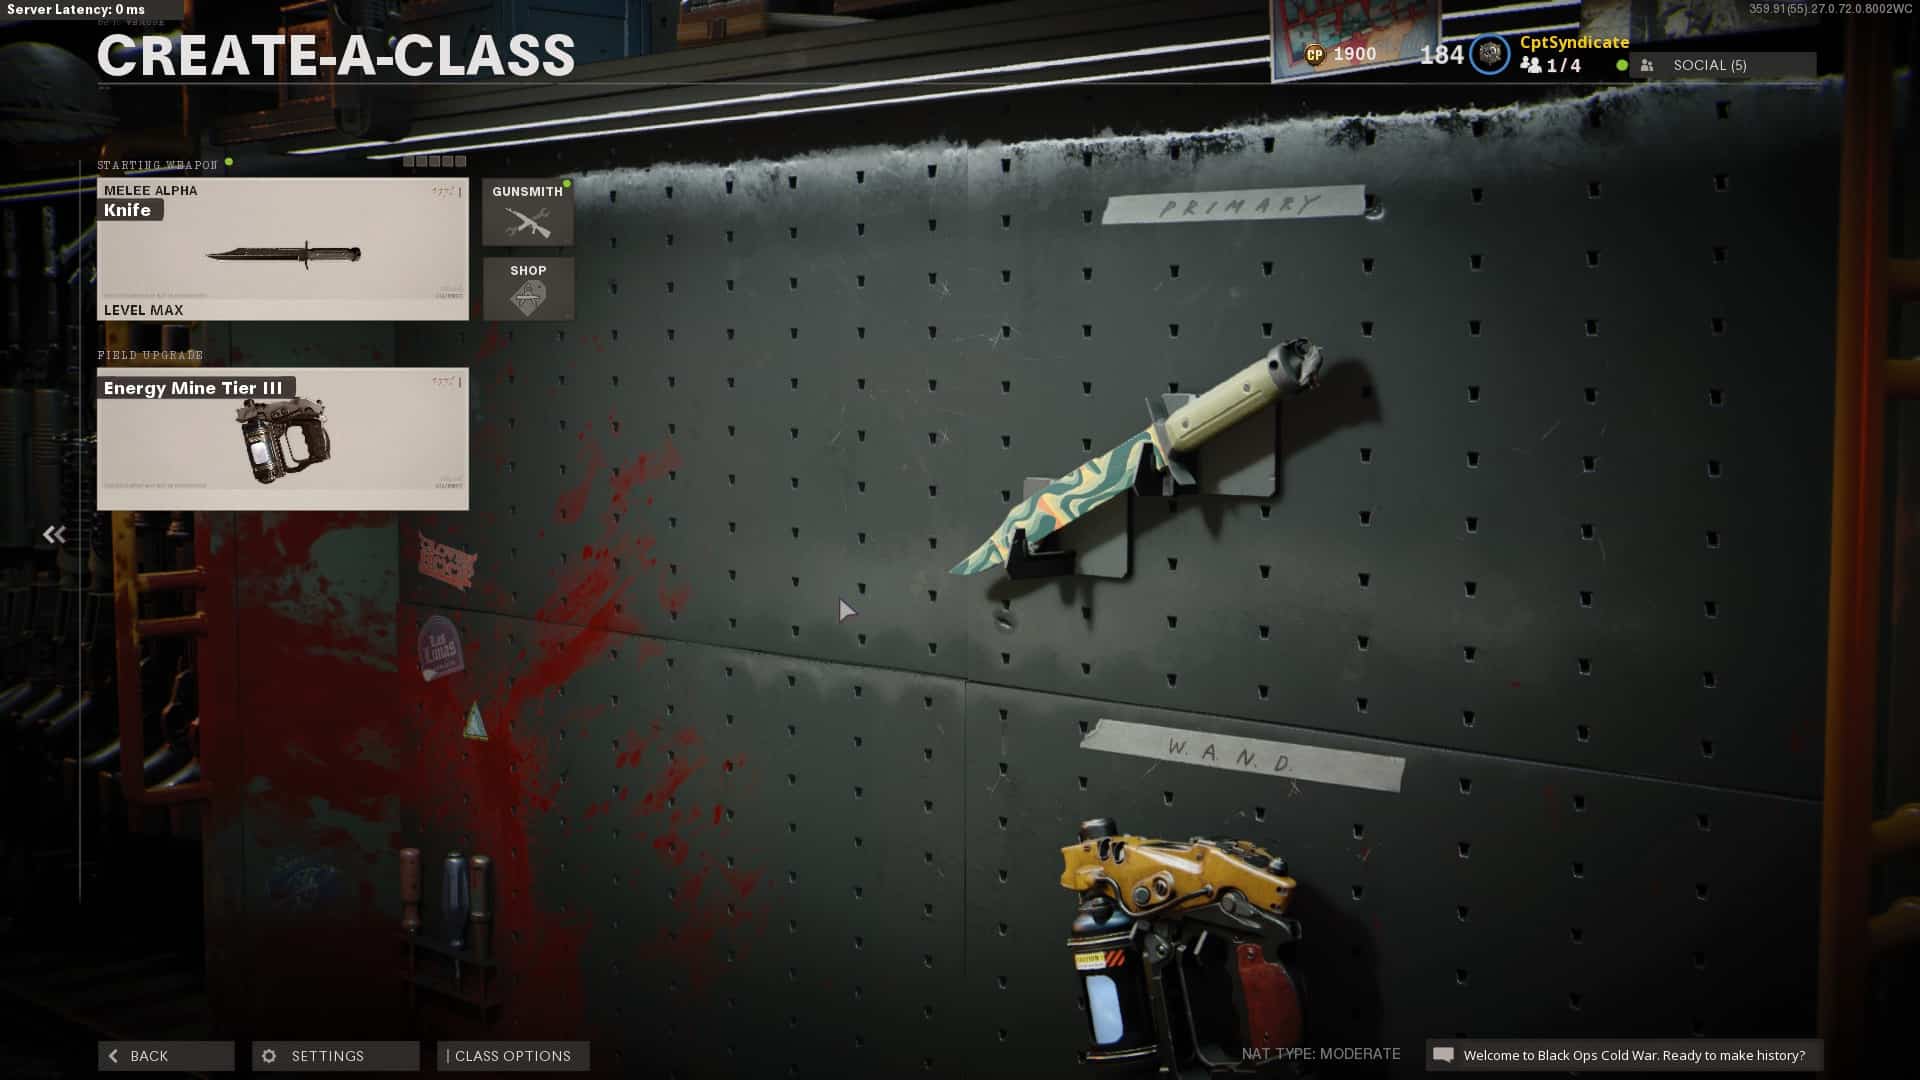
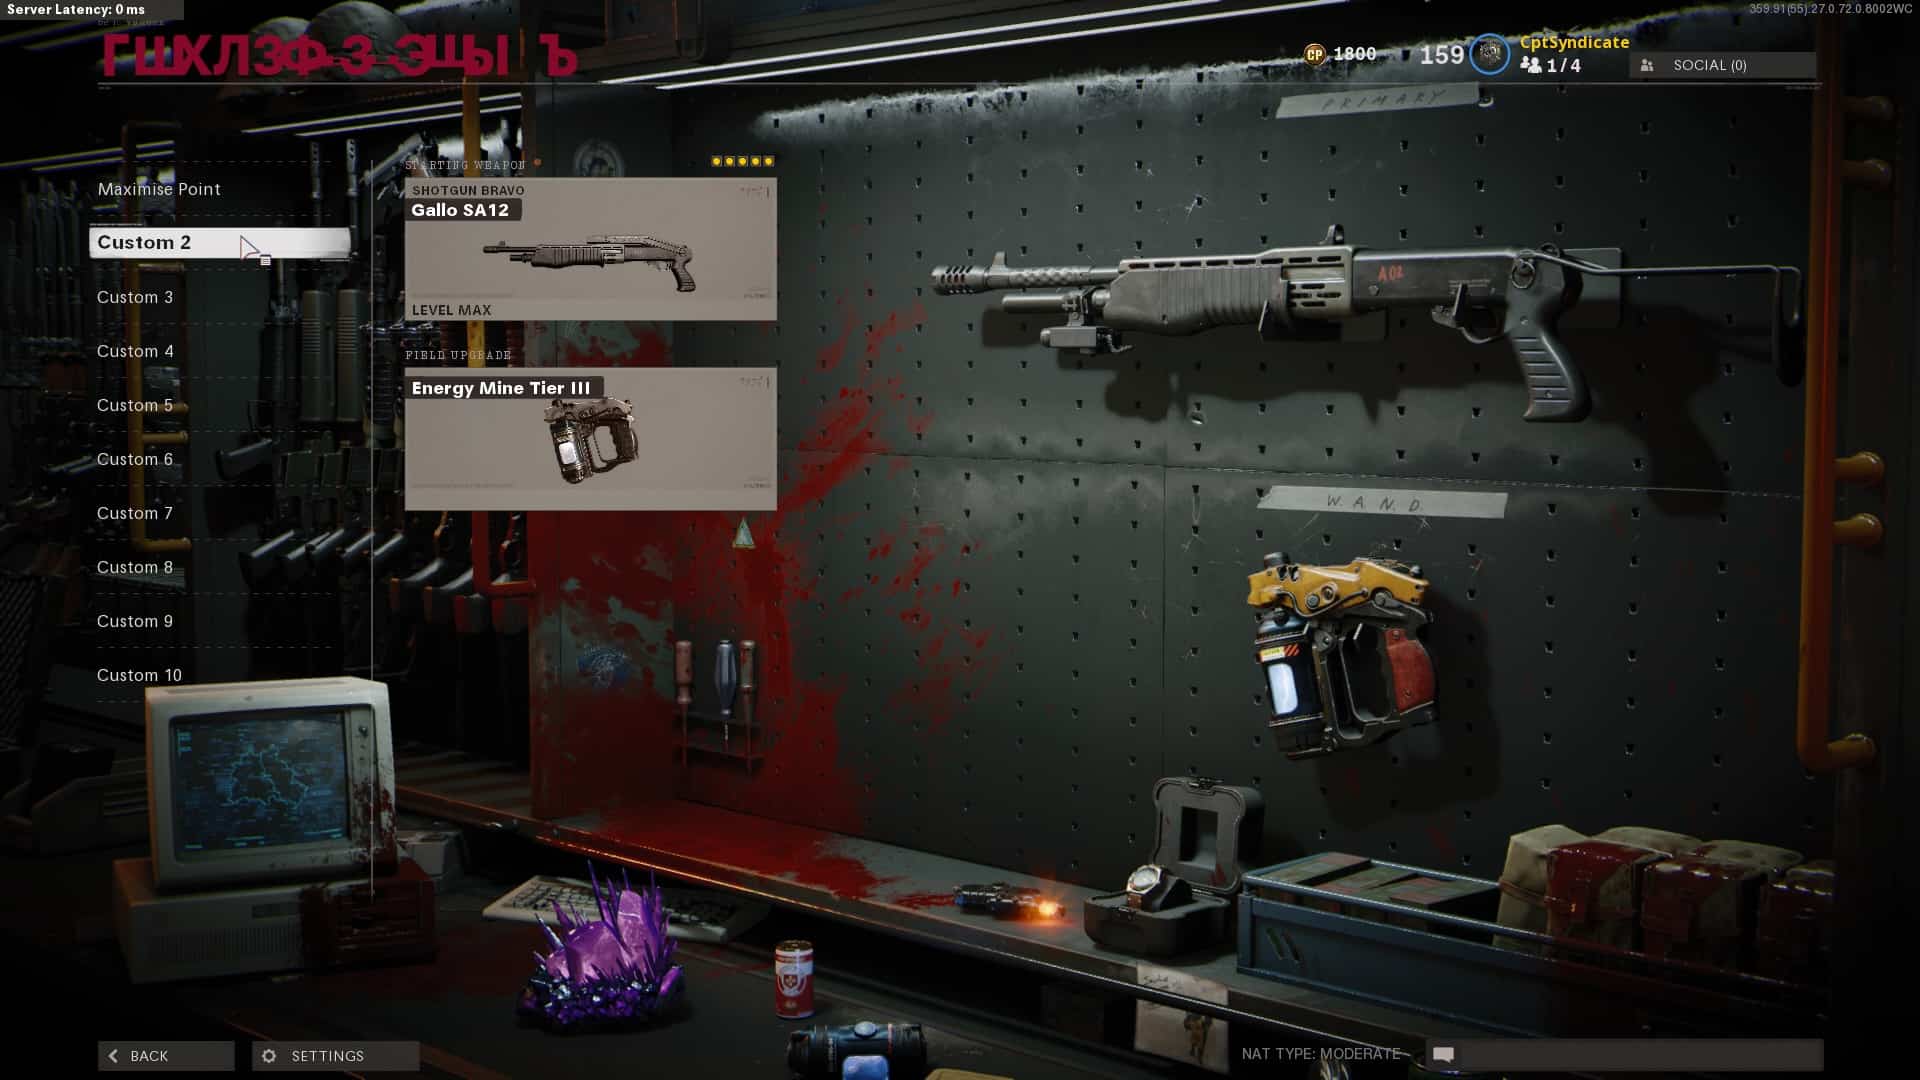
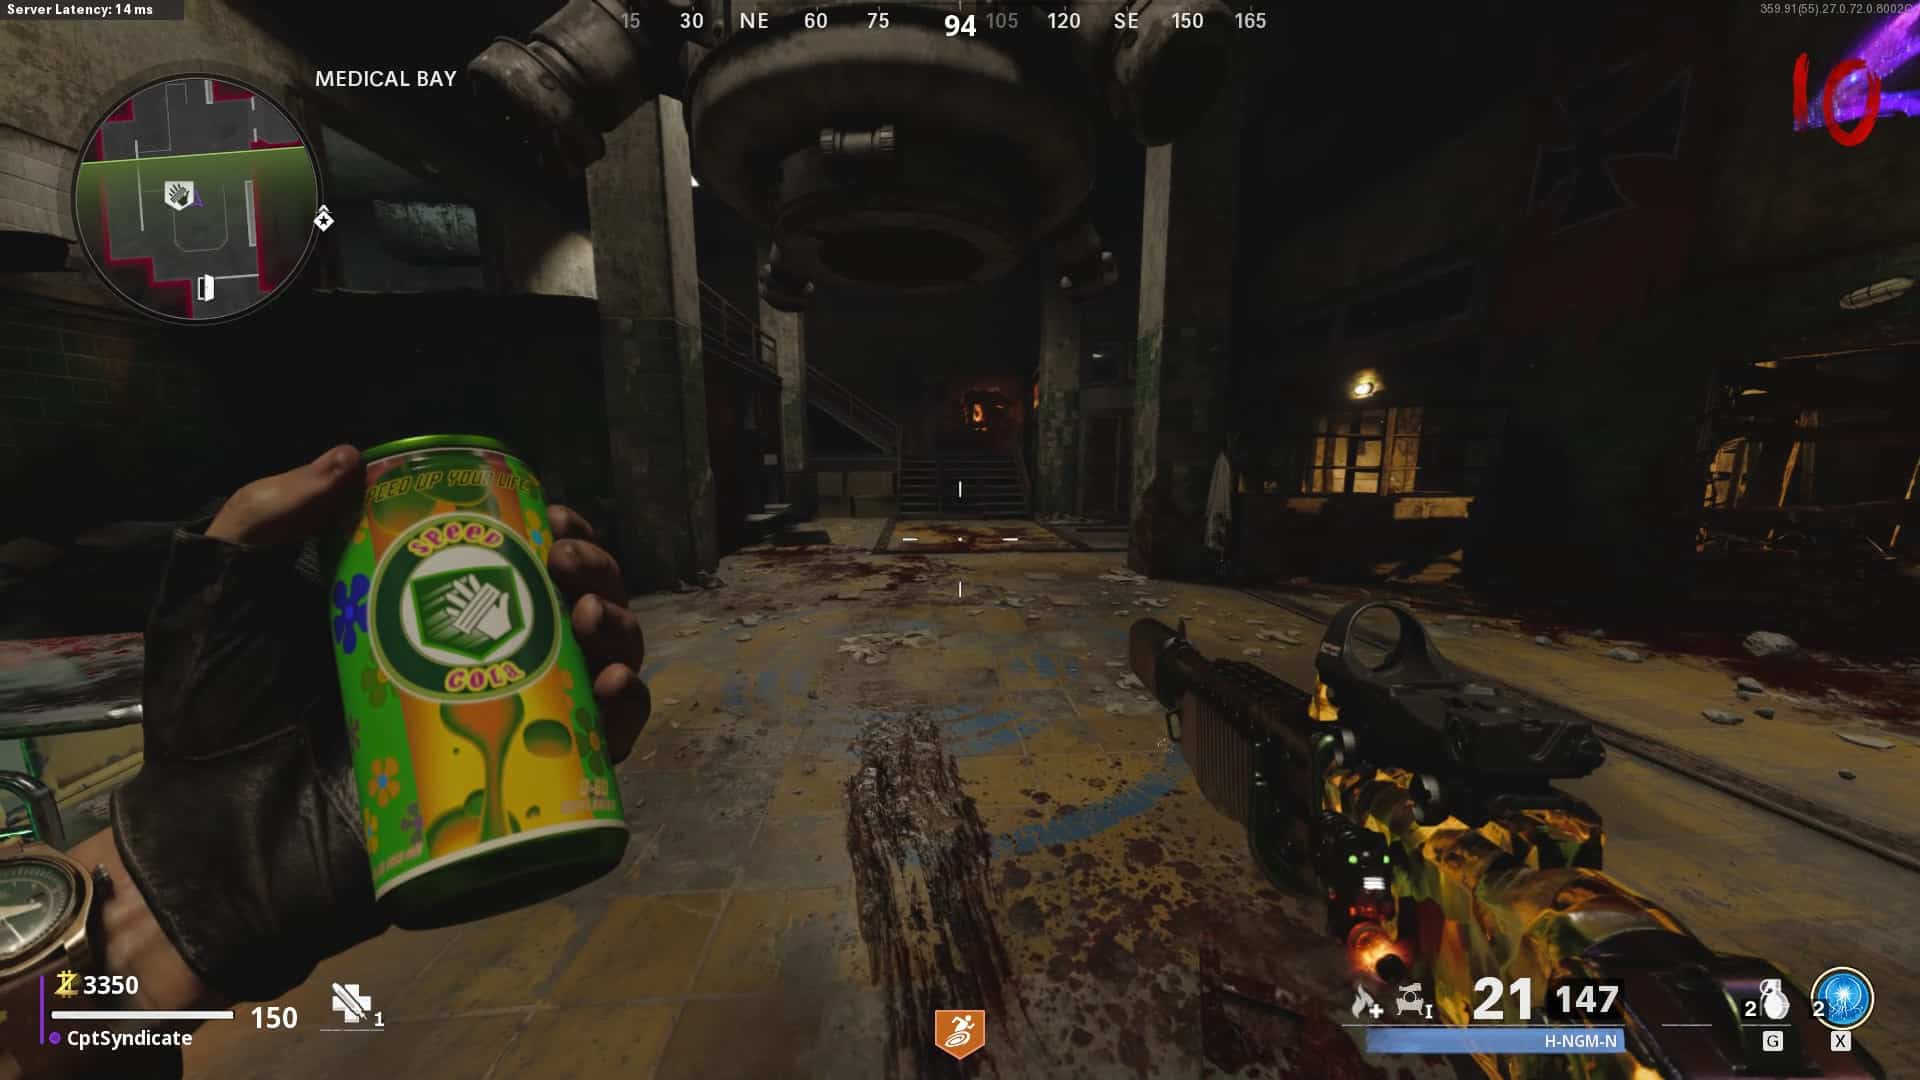
You must have a knife in your loadout and the Energy Mine as your field upgrade. The Energy Mine must be upgraded to tier 3. Keep knifing the zombies until the end of round 5, and then make your way to the plane crash site. You can one-hit kill all the zombies up to round 10-11, so you don’t have to worry about not being able to kill the zombies.
On your way to the plane crash site, buy Stamin-Up and also the Jugger-Nog perk. Keep knifing the zombies and clearing rounds. At the end of round 9, leave one zombie alive, turn on the power and get armor for extra protection during the exfil. You do not have to build the Pack-A-Punch machine.
End Round 9 by killing the last zombie, and the next round should be a plague hound round. Go back to the crash site to easily deal with these hounds. If you’re indoors, you might get overwhelmed by these teleporting dogs. And these dogs do a lot of damage collectively.
After killing all the dogs, you will be at Round 11, and you will have the option to exfil. Quickly make your way to the Yard and start the exfil.
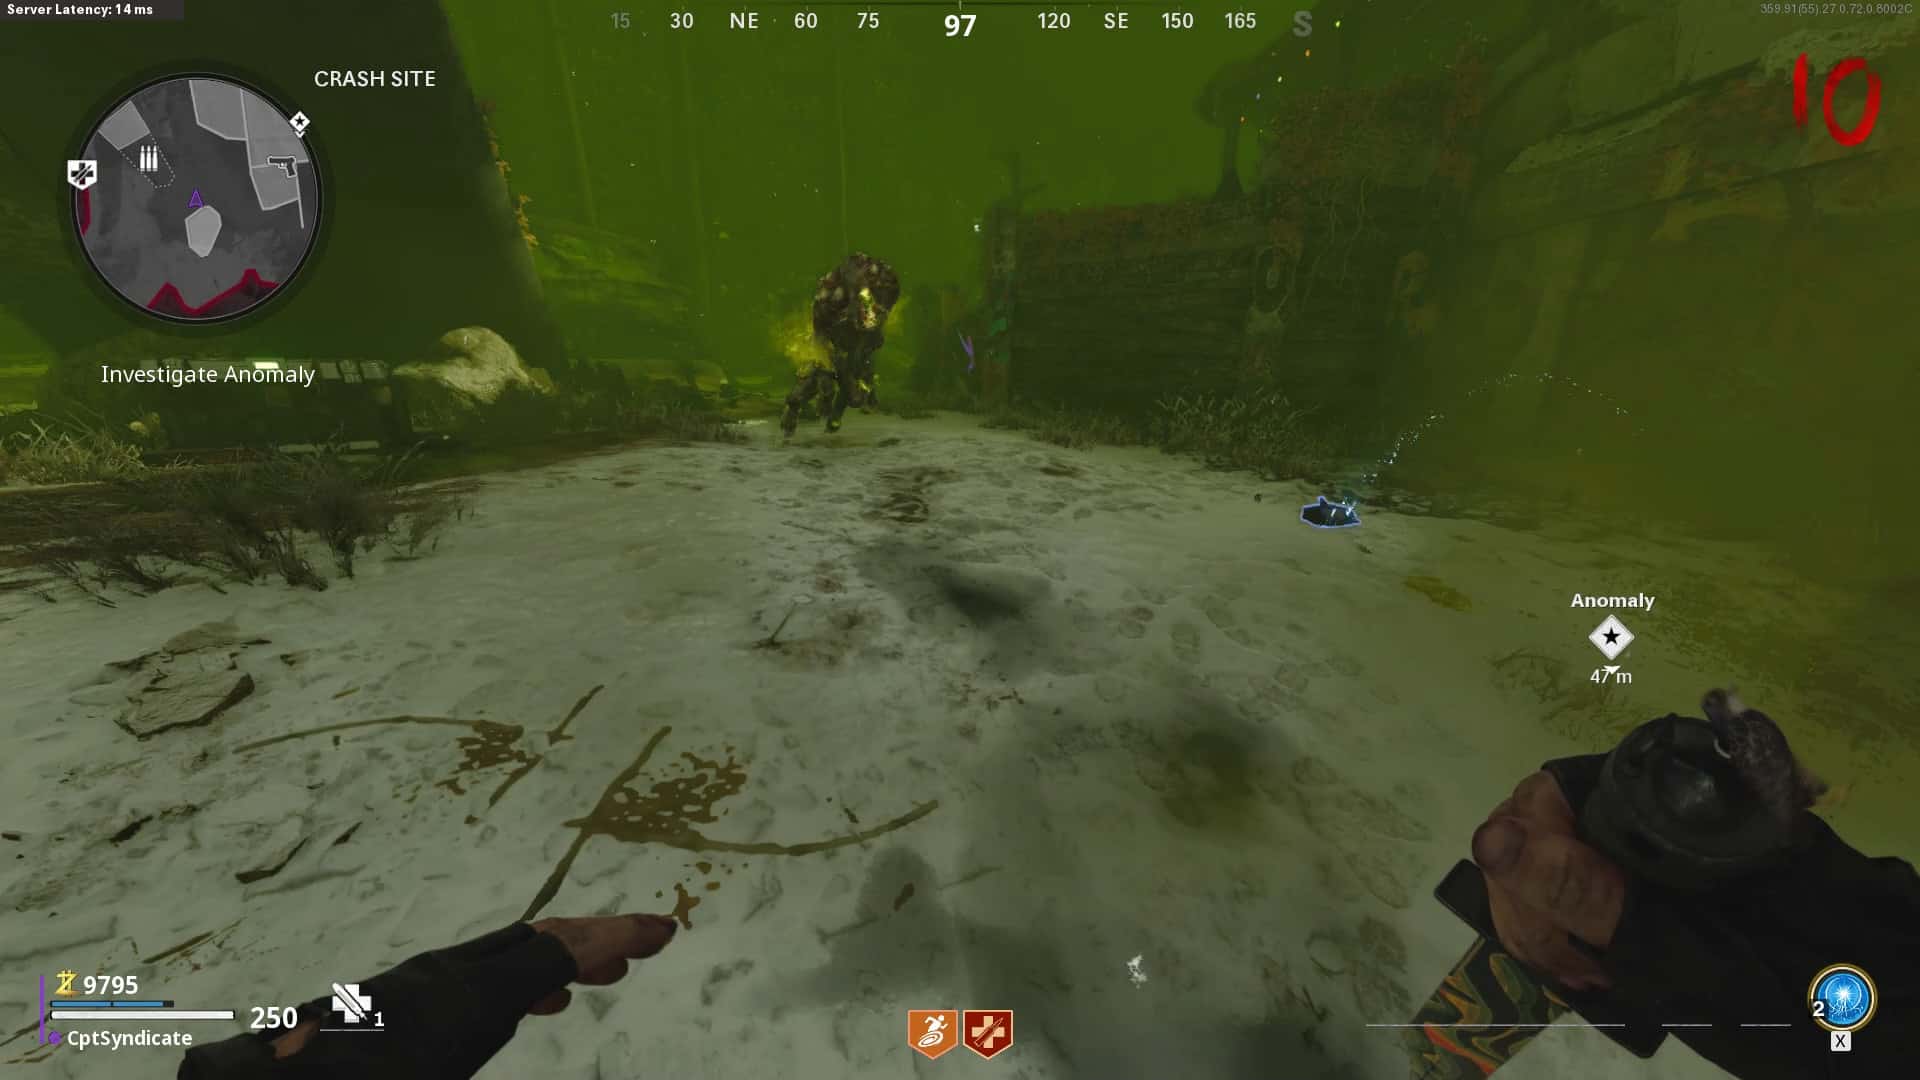
Rush to the Pond area via the Nacht Der Untoten route, and when you reach the Pond area, horde up the zombies. This is where your Energy Mine comes in handy. When the zombies are all bunched up together, use your Energy Mine to kill the zombies.
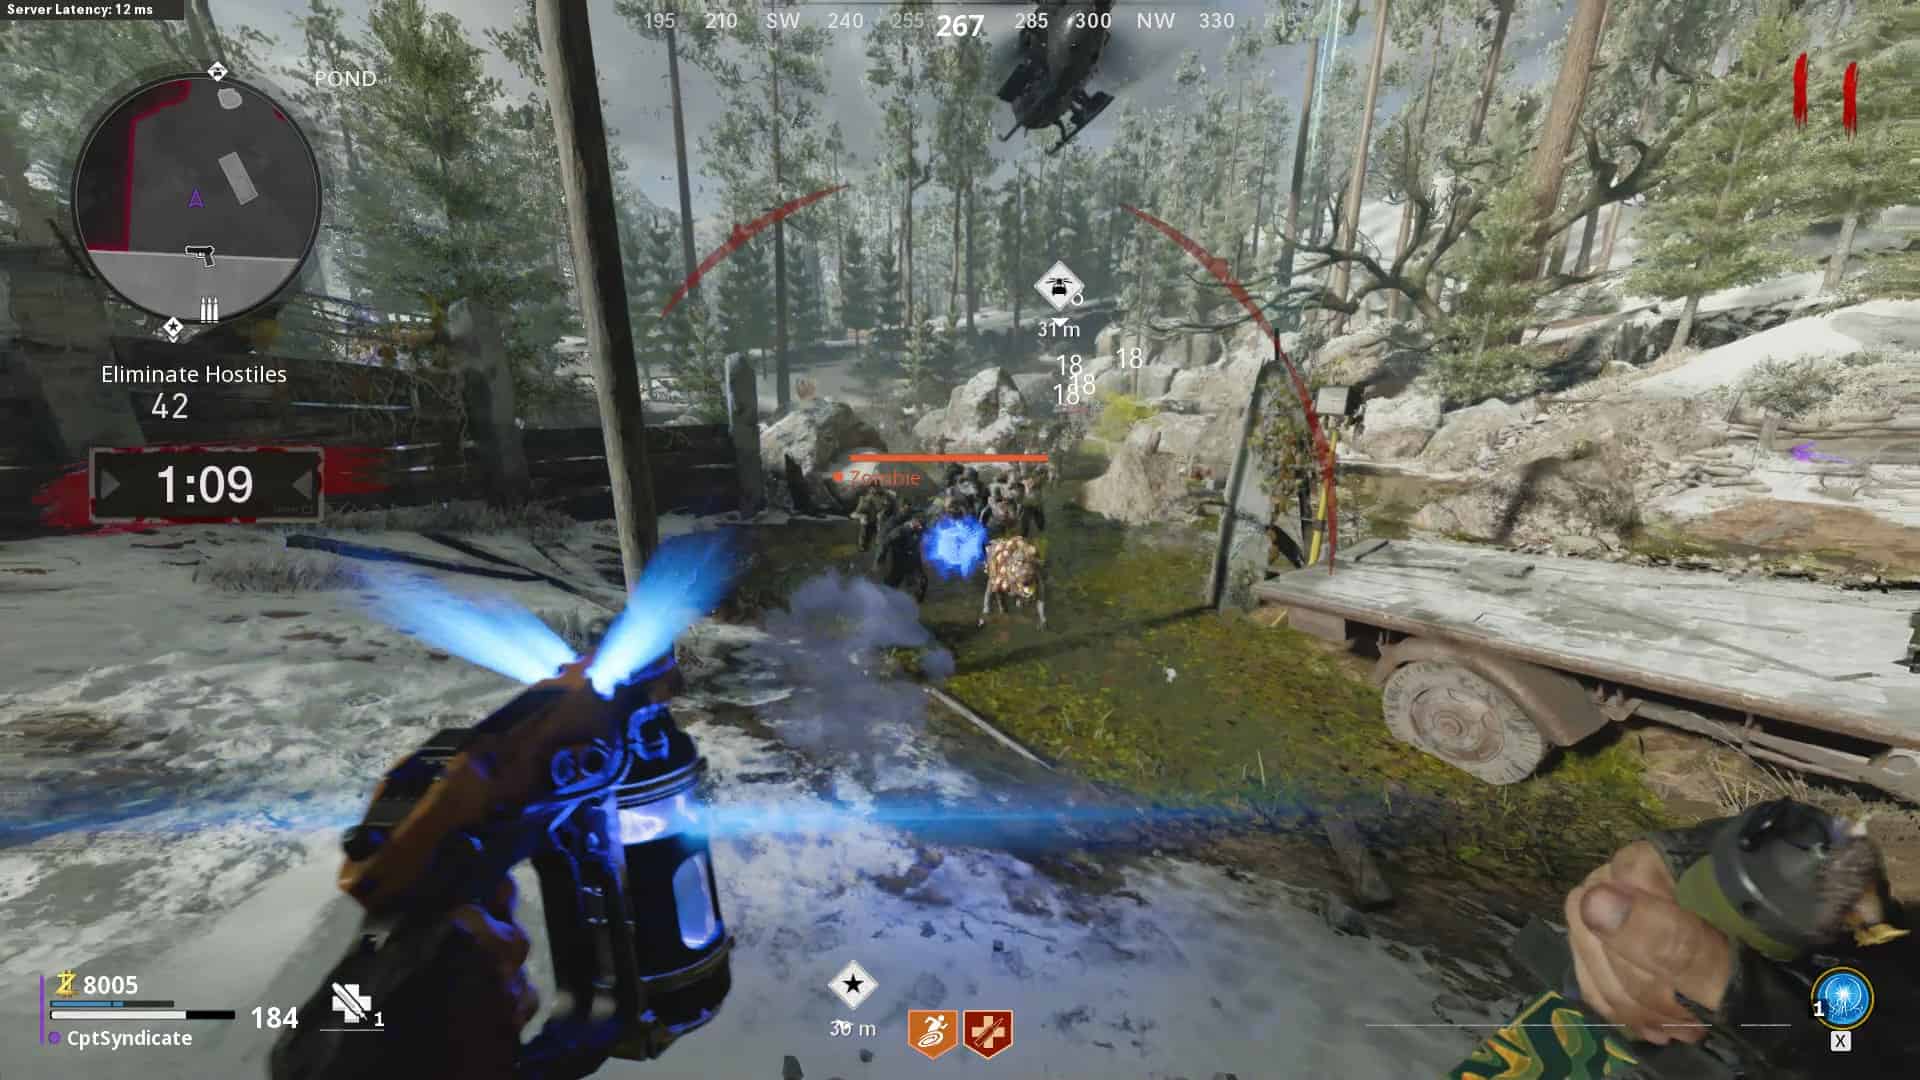
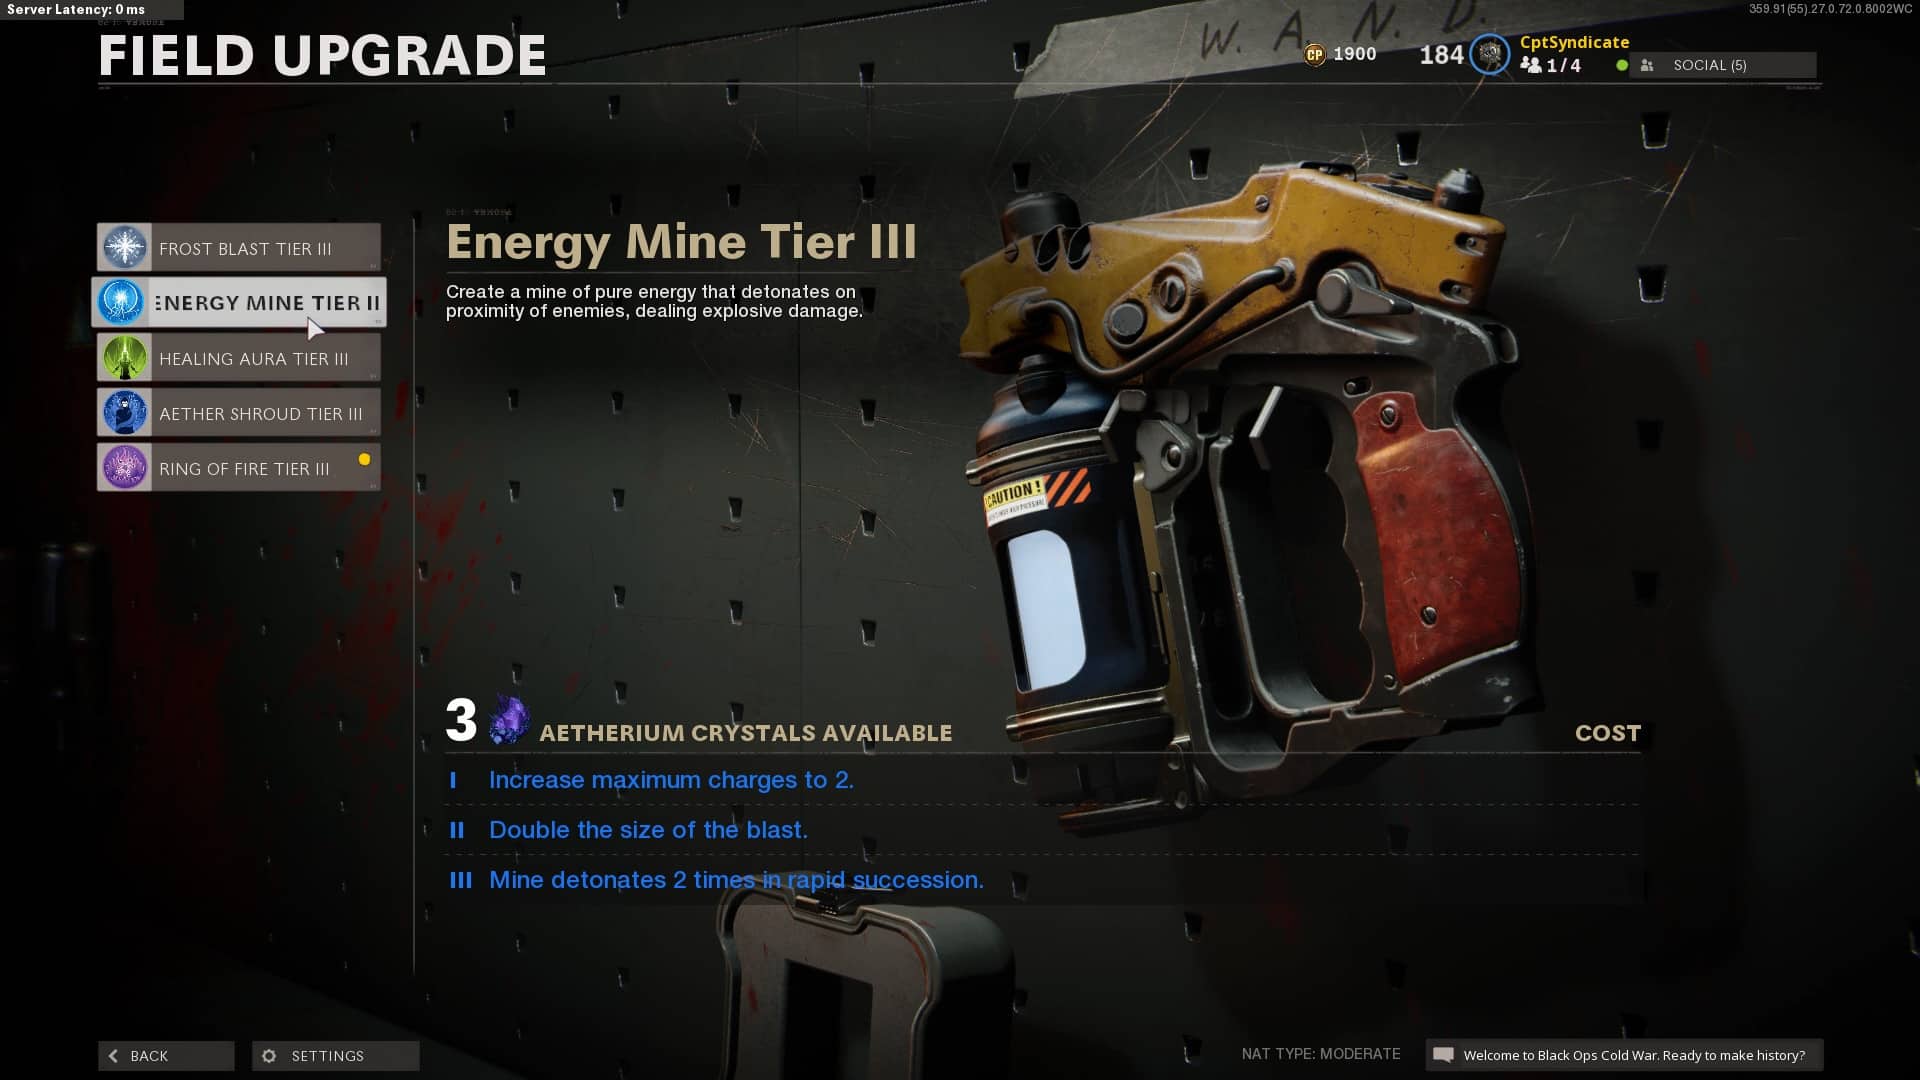
Keep killing the zombies using your Energy Mine. The Energy Mine sends out two pulses. If you kill the zombies on the second pulse as well, then it recharges back to full. Kill the few remaining zombies using your knife and then exfil. You will get a challenge completion notification upon successful completion.
Do not use any tactical or lethal equipment, or else you will fail the challenge.
Harbinger of Doom

Requirement: Kill 50 enemies with a single support.
Start the game as usual and reach Round 21. you must collect at least 250 high-grade salvage. You will have more than 250 by the time you reach Round 21 anyway.
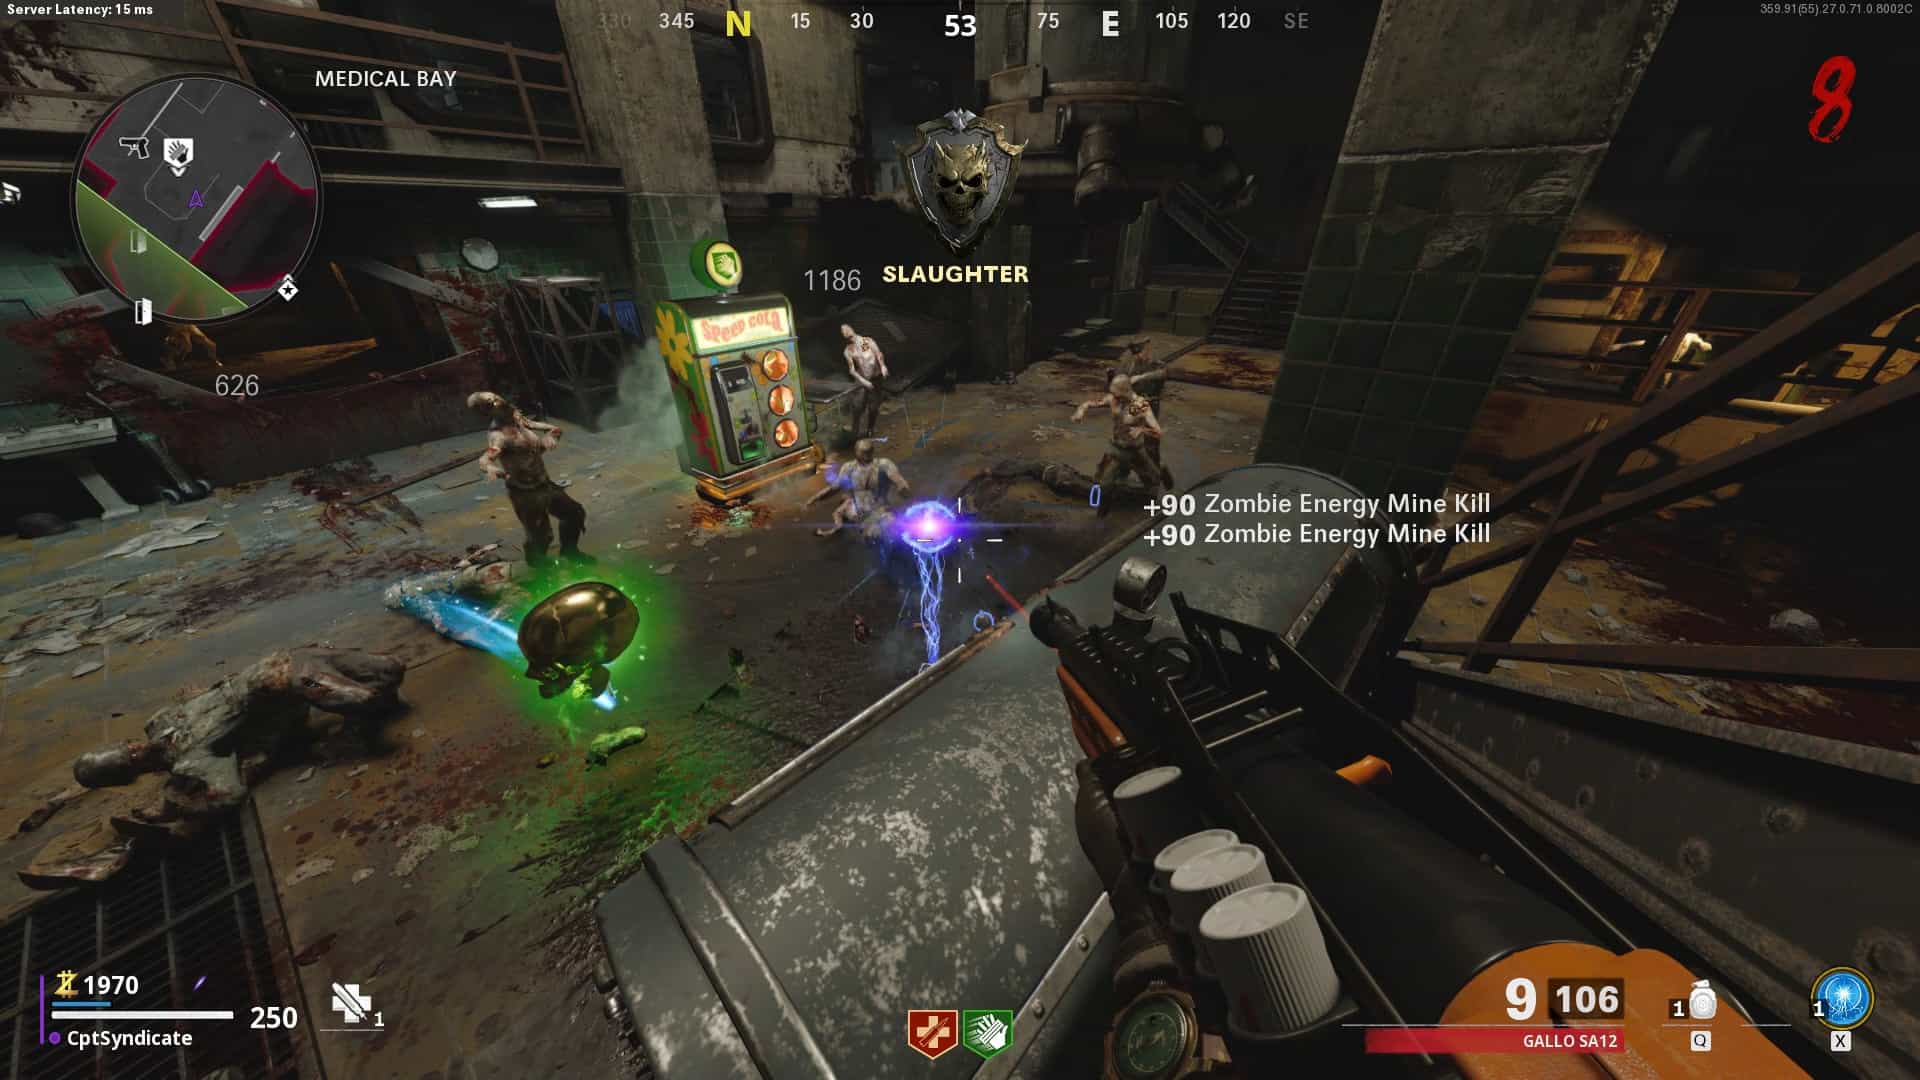
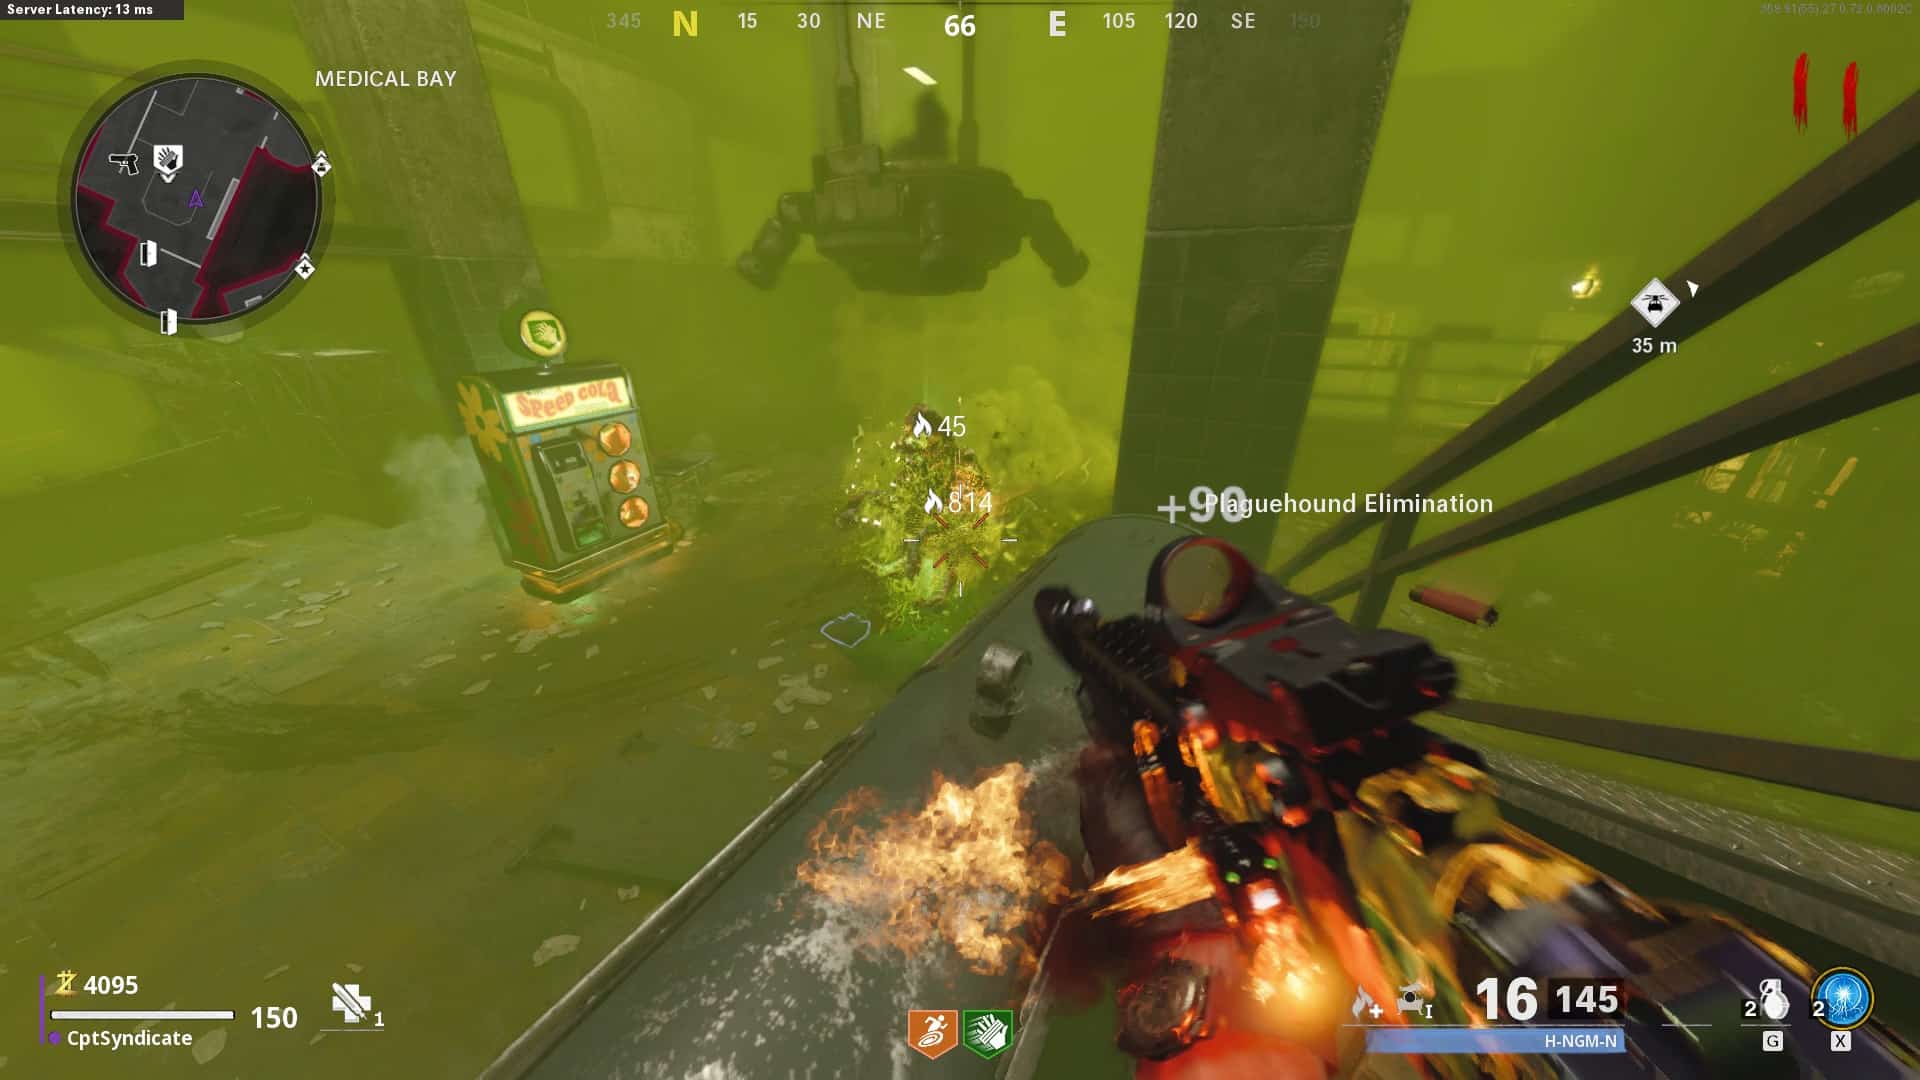
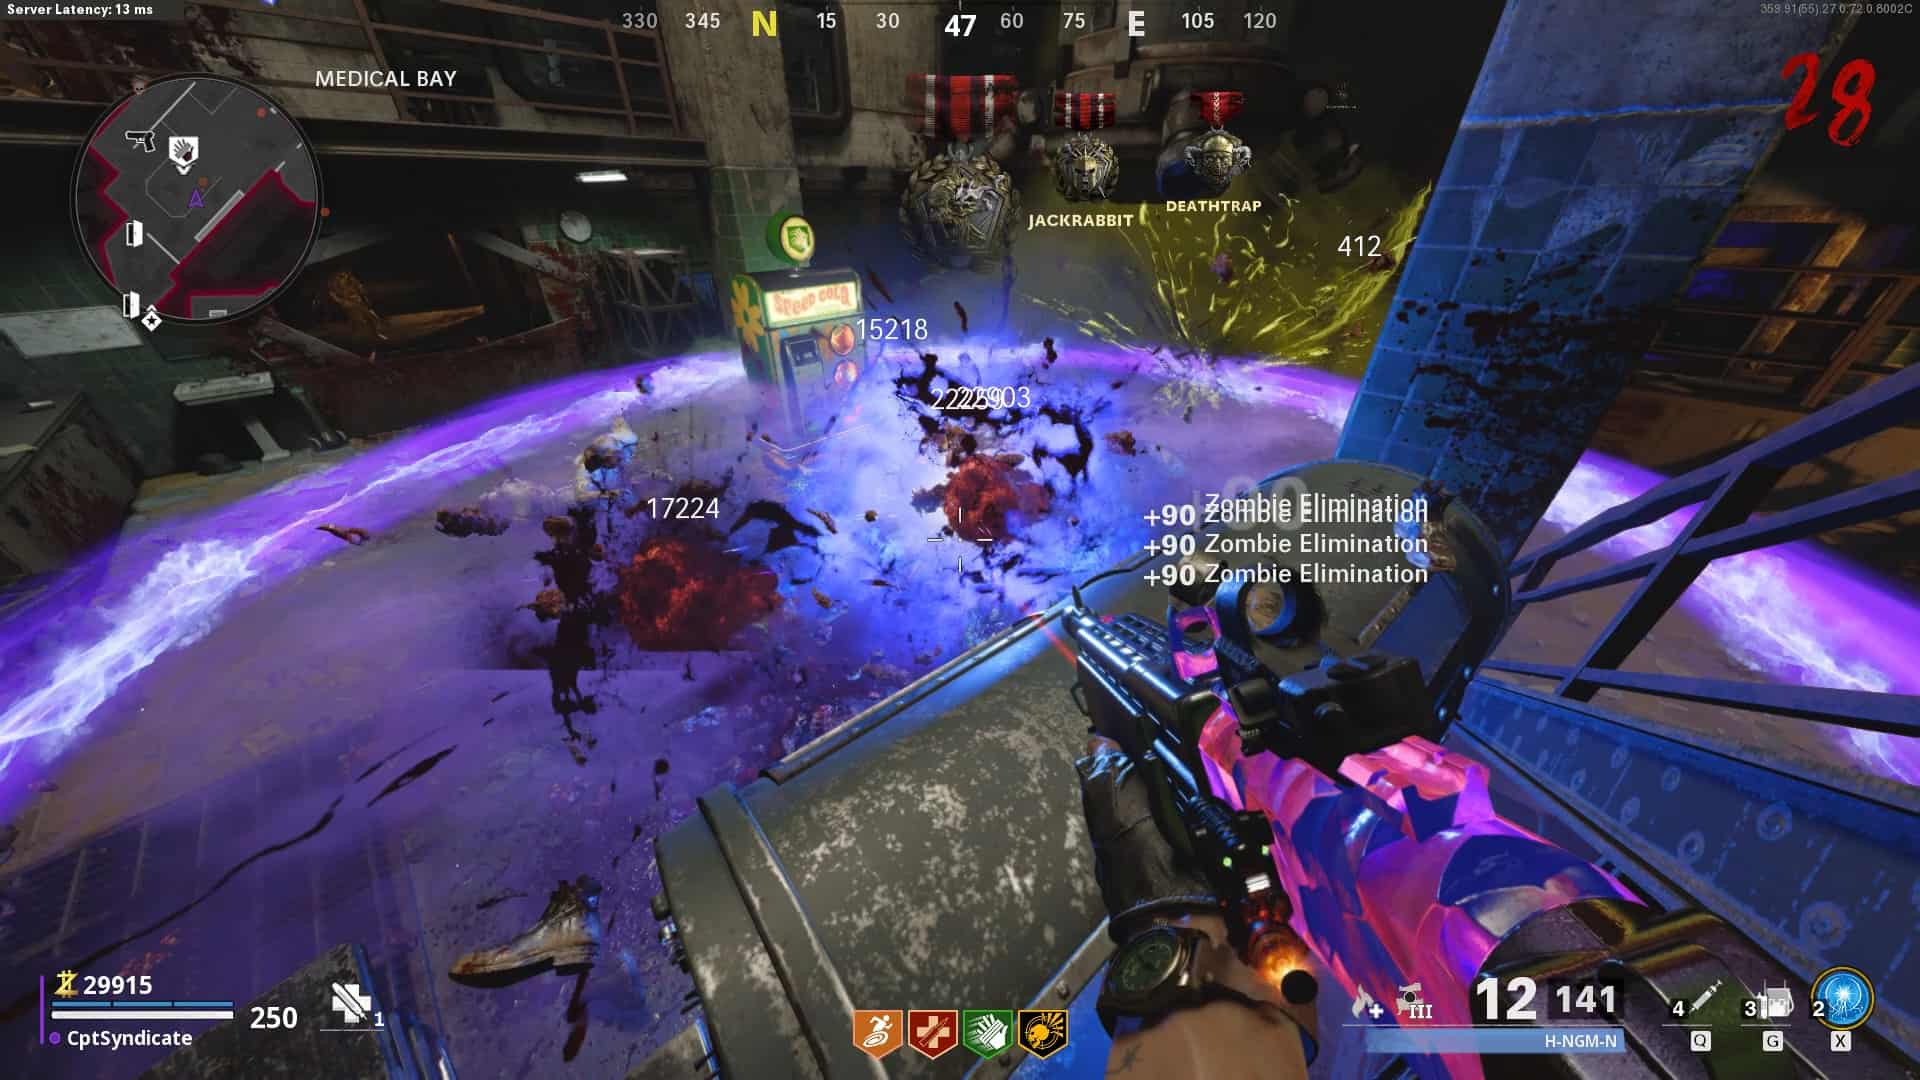
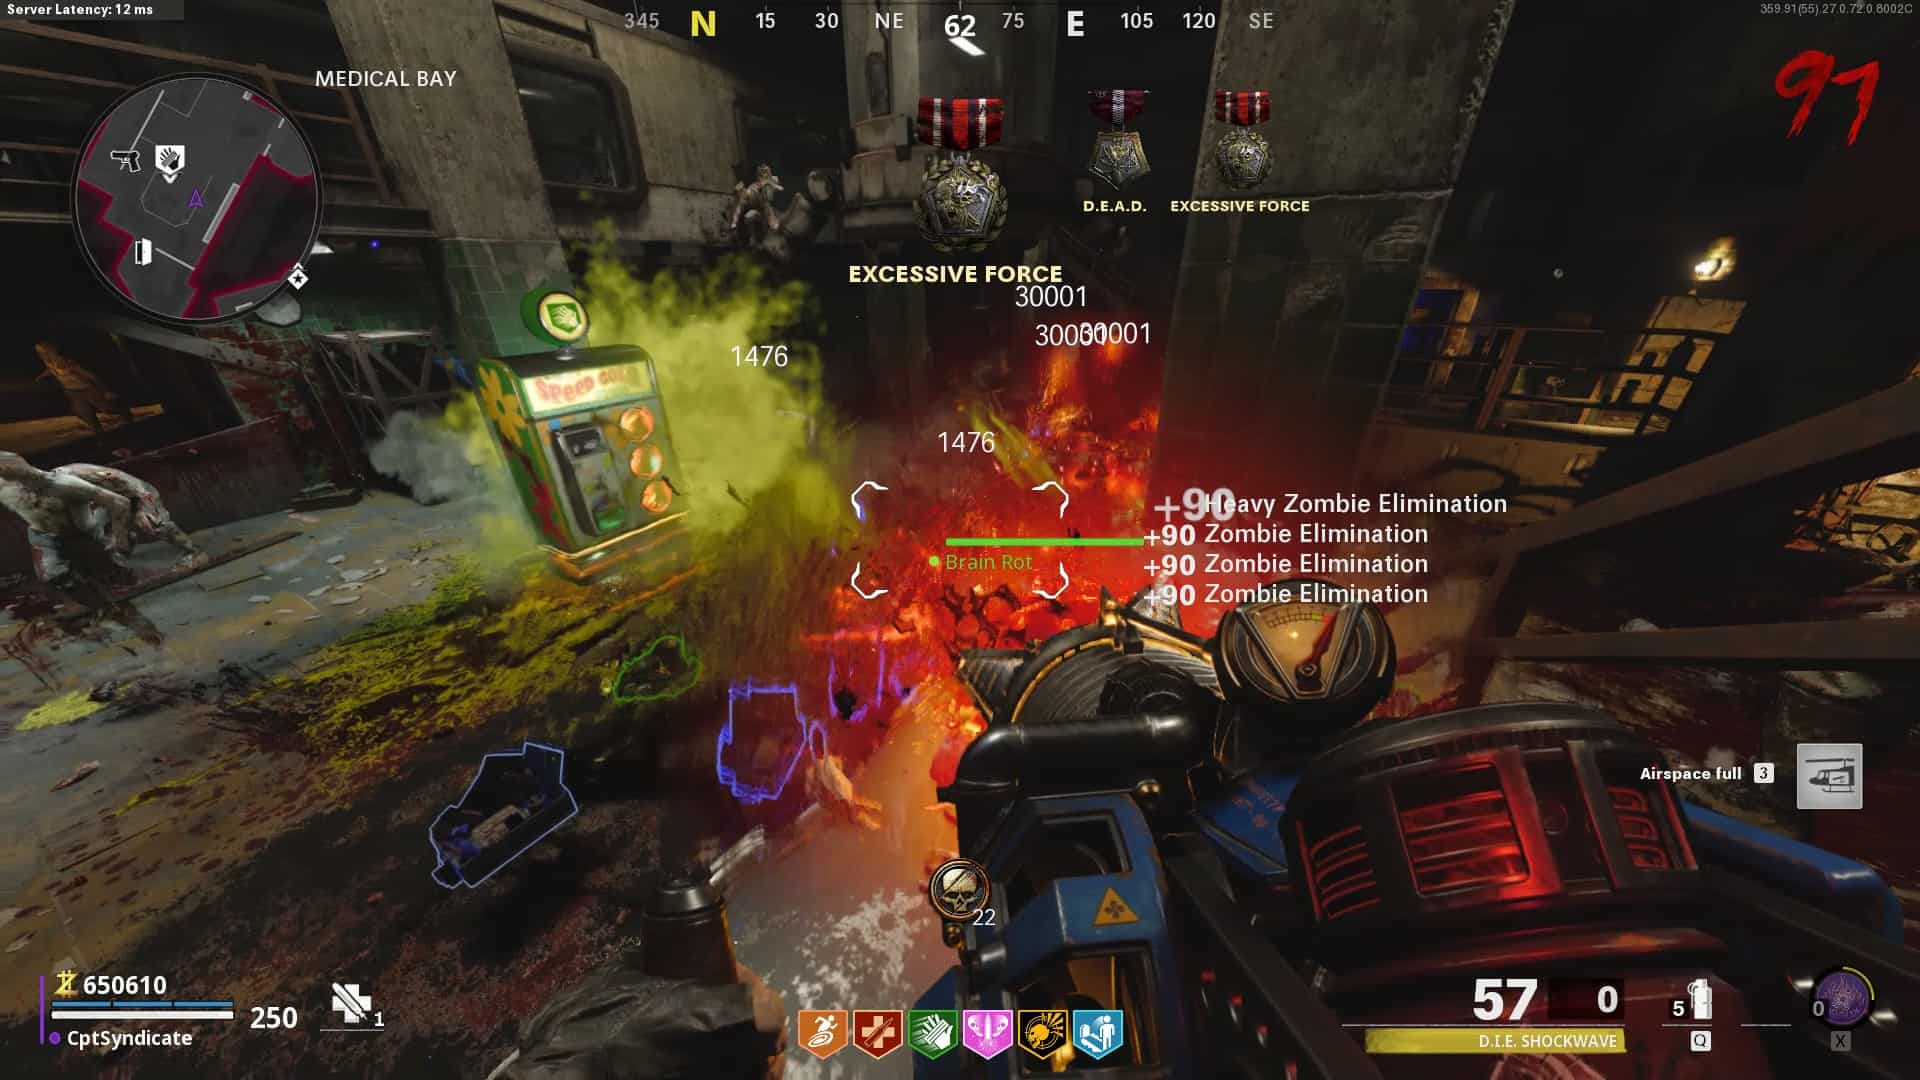
One of the easiest methods is to camp on the metal structure next to the Speed Cola perk machine in the Medical Bay but make sure the door leading to the Control Room is locked, or else the camp spot won’t work. While in the spot, you can use the Energy Mine to kill the zombies. We will discuss this camping strategy more in detail below.
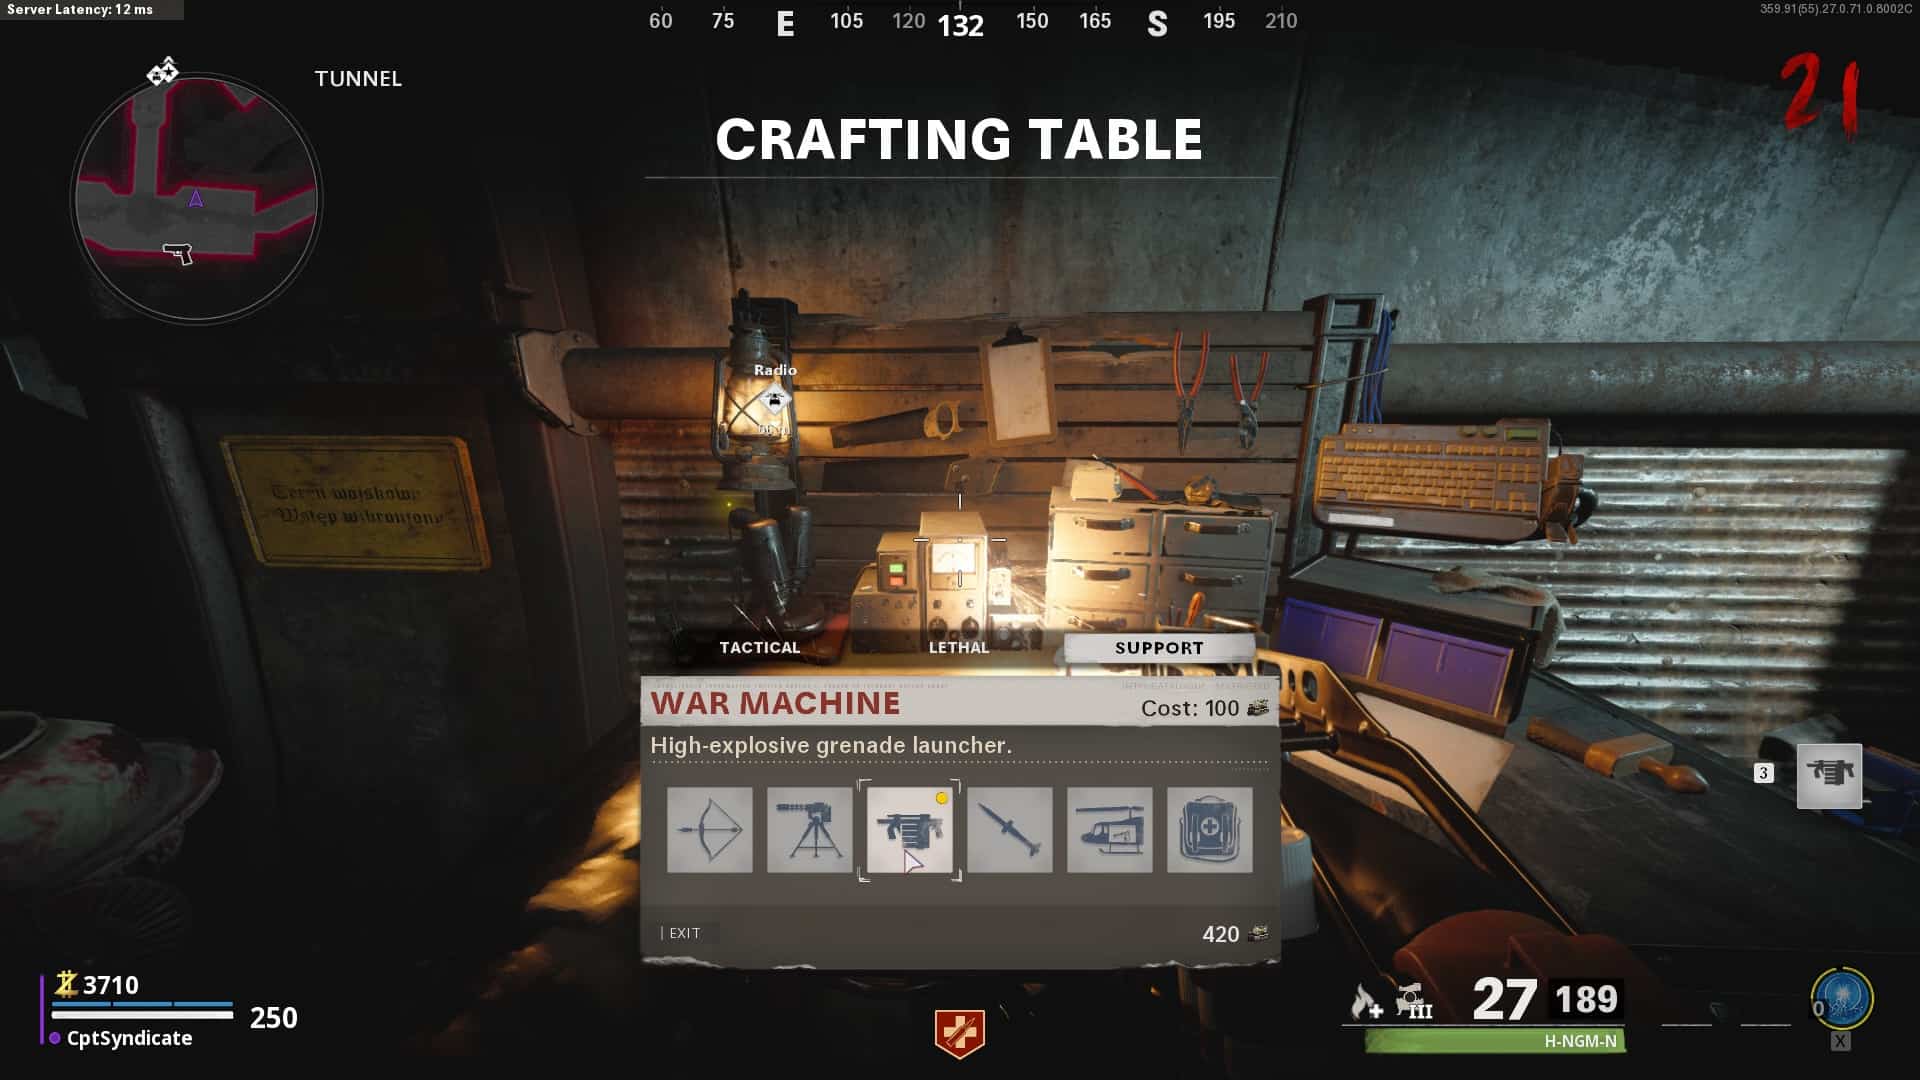
When you reach round 21, buy the war machine for 250 high-grade salvage and make your way to the Yard to start the exfil.
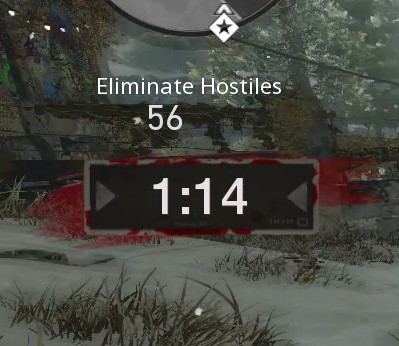
Reach the Pond area, and you will notice that you will be asked to eliminate 56 hostiles. Train the zombies in the area and when they are bunched up together, use the War Machine Scorestreak to kill them.
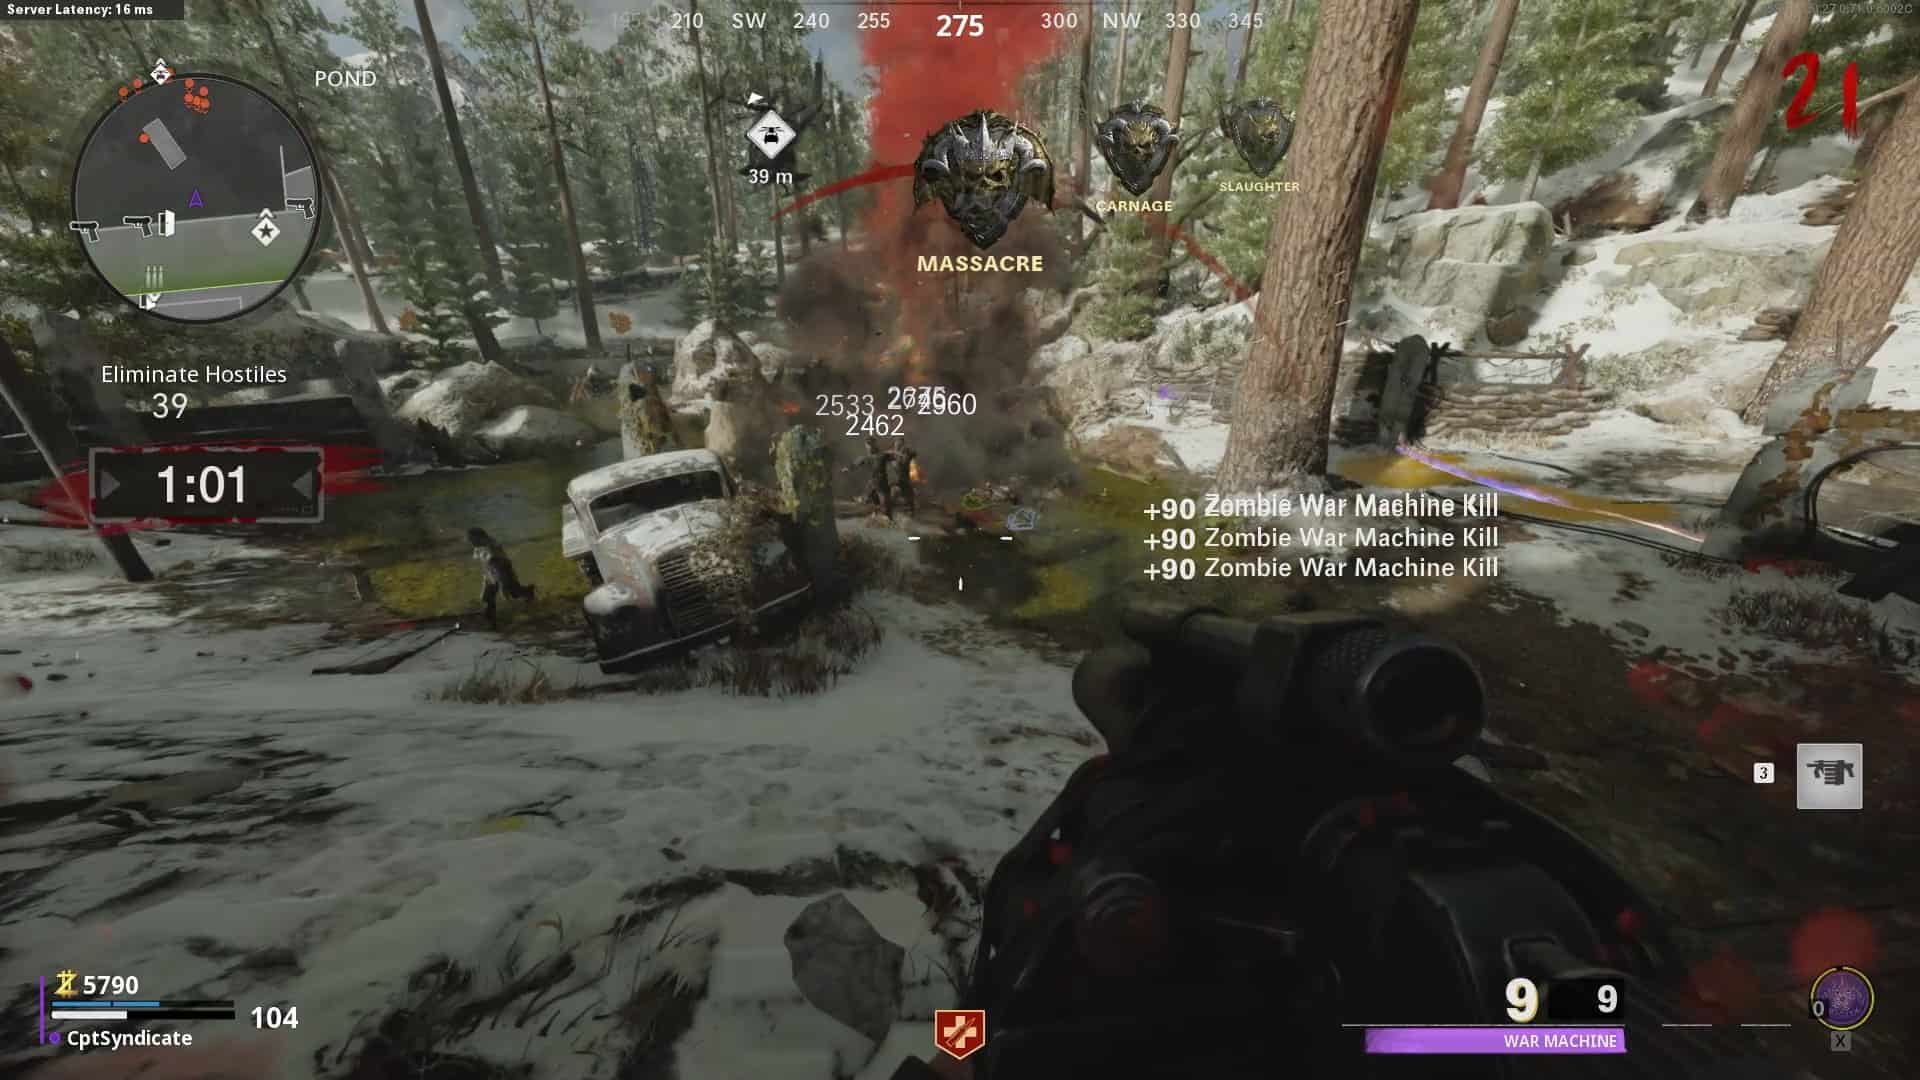
When you’ve killed 50 zombies, you will get a challenge completion notification for the ‘Harbinger of Doom.’ The exfiltration at Round 21 is because we get more than 50 zombies at the exfil site. The challenge requirement is killing 50 zombies.
Social Distancing

Requirement: Reach Round 20 without being hit.
This challenge is probably the most annoying and requires a lot of patience. It is worth noting that you WILL certainly fail this a couple of times. It is not easy, but if you’re careful enough, you can do it with some patience.
Start with a Gallo SA12 or Hauer 77 shotgun and select Energy Mine as your field upgrade. Make sure the Energy Mine is upgraded to tier 3. Use your shotgun to kill the zombies even on Round 1. Try to get headshots to get maximum points. Stay in the Yard until the end of Round 5 and keep your distance from the zombies.
After Round 5, make your way to the plane crash site and buy Stamin-Up on the way. Stamin-Up and Speed Cola are the only two perks you need for this challenge. Deadshot Daquiri can come in handy as well, but it’s optional, especially if you’re a console player.
When you are at the crash site, buy the Gallo SA12 from the buy wall and continue on top of the plane wing. You will camp here until Round 10. Please note that you don’t jump off the plane wing, or the challenge will be void. Even if you have the Stamin-Up perk, the damage might be “mitigated,” but it still counts as one. If you ever get overwhelmed on top of the plane wing, just use your Energy Mine and clear out the path in front of you to escape the wing.
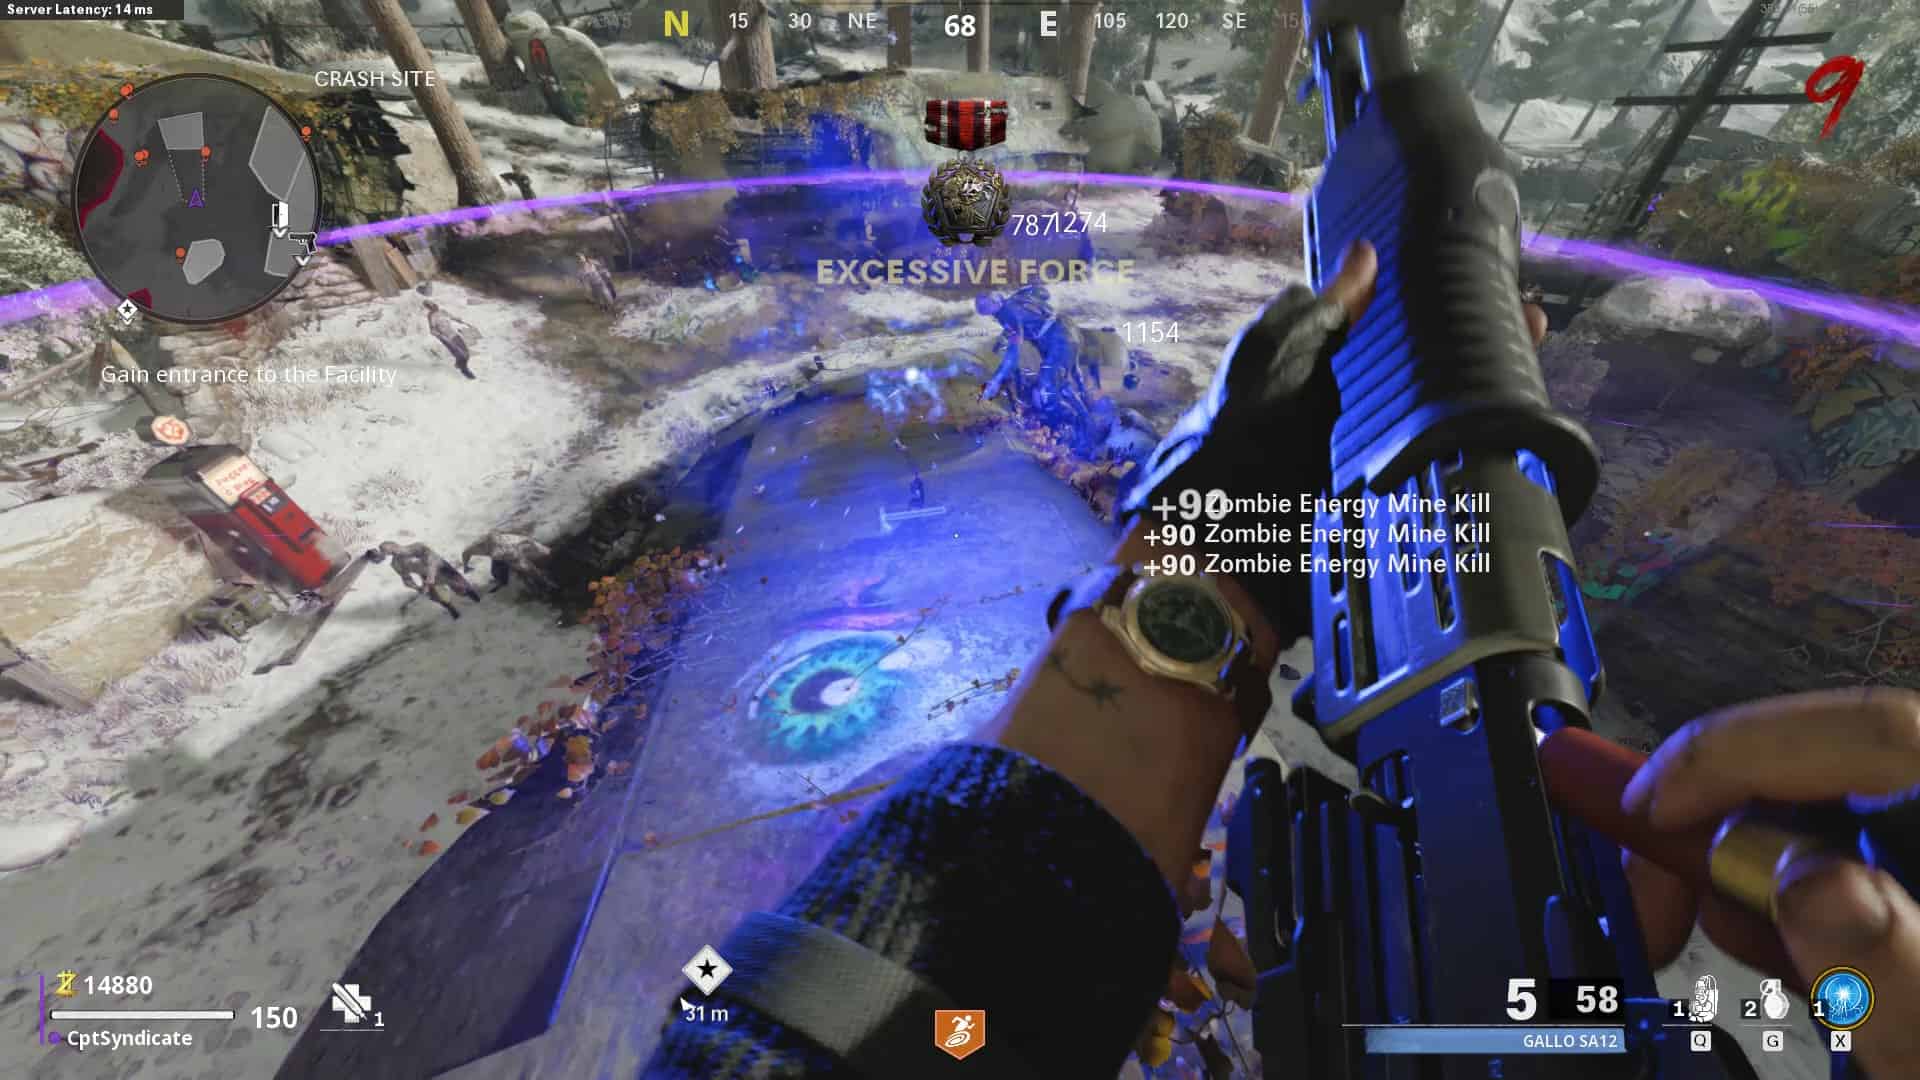
As mentioned before as well, the Energy Mine can be fully recharged without any cooldown. The Energy Mine will send out two pulses. Each pulse kills the zombies. If the second pull also kills a single zombie, your Energy Mine will recharge fully. But, before using your mine, you must fully charge it up to 2. If the second pulse doesn’t kill a zombie, use your weapon to kill one zombie, and it will recharge.

At the end of Round 10, leave one zombie and turn on the power. Also, build the Pack-A-Punch machine. Be very careful when in the particle accelerator room. The zombies come out of nowhere and might surprise tag you voiding the whole challenge. When in confined areas, here’s a tip: always tag a single zombie by pinging on him. The marker stays on the zombie so you can keep track of it.
At this point, you should have enough points to Pack-A-punch your weapon. So apply tier 1 punch and add the Fire Ammo mod. Make your way to the Medical Bay and buy the Speed Cola perk.
Now comes the main part of this challenge. You need to sit on a metal structure that is in front of the Speed Cola perk machine. Sit on this structure until Round 20. You just need to finish Round 19, and the challenge will be completed. Sit at the exact spot shown in the image below, and the zombies will only come in front of you.
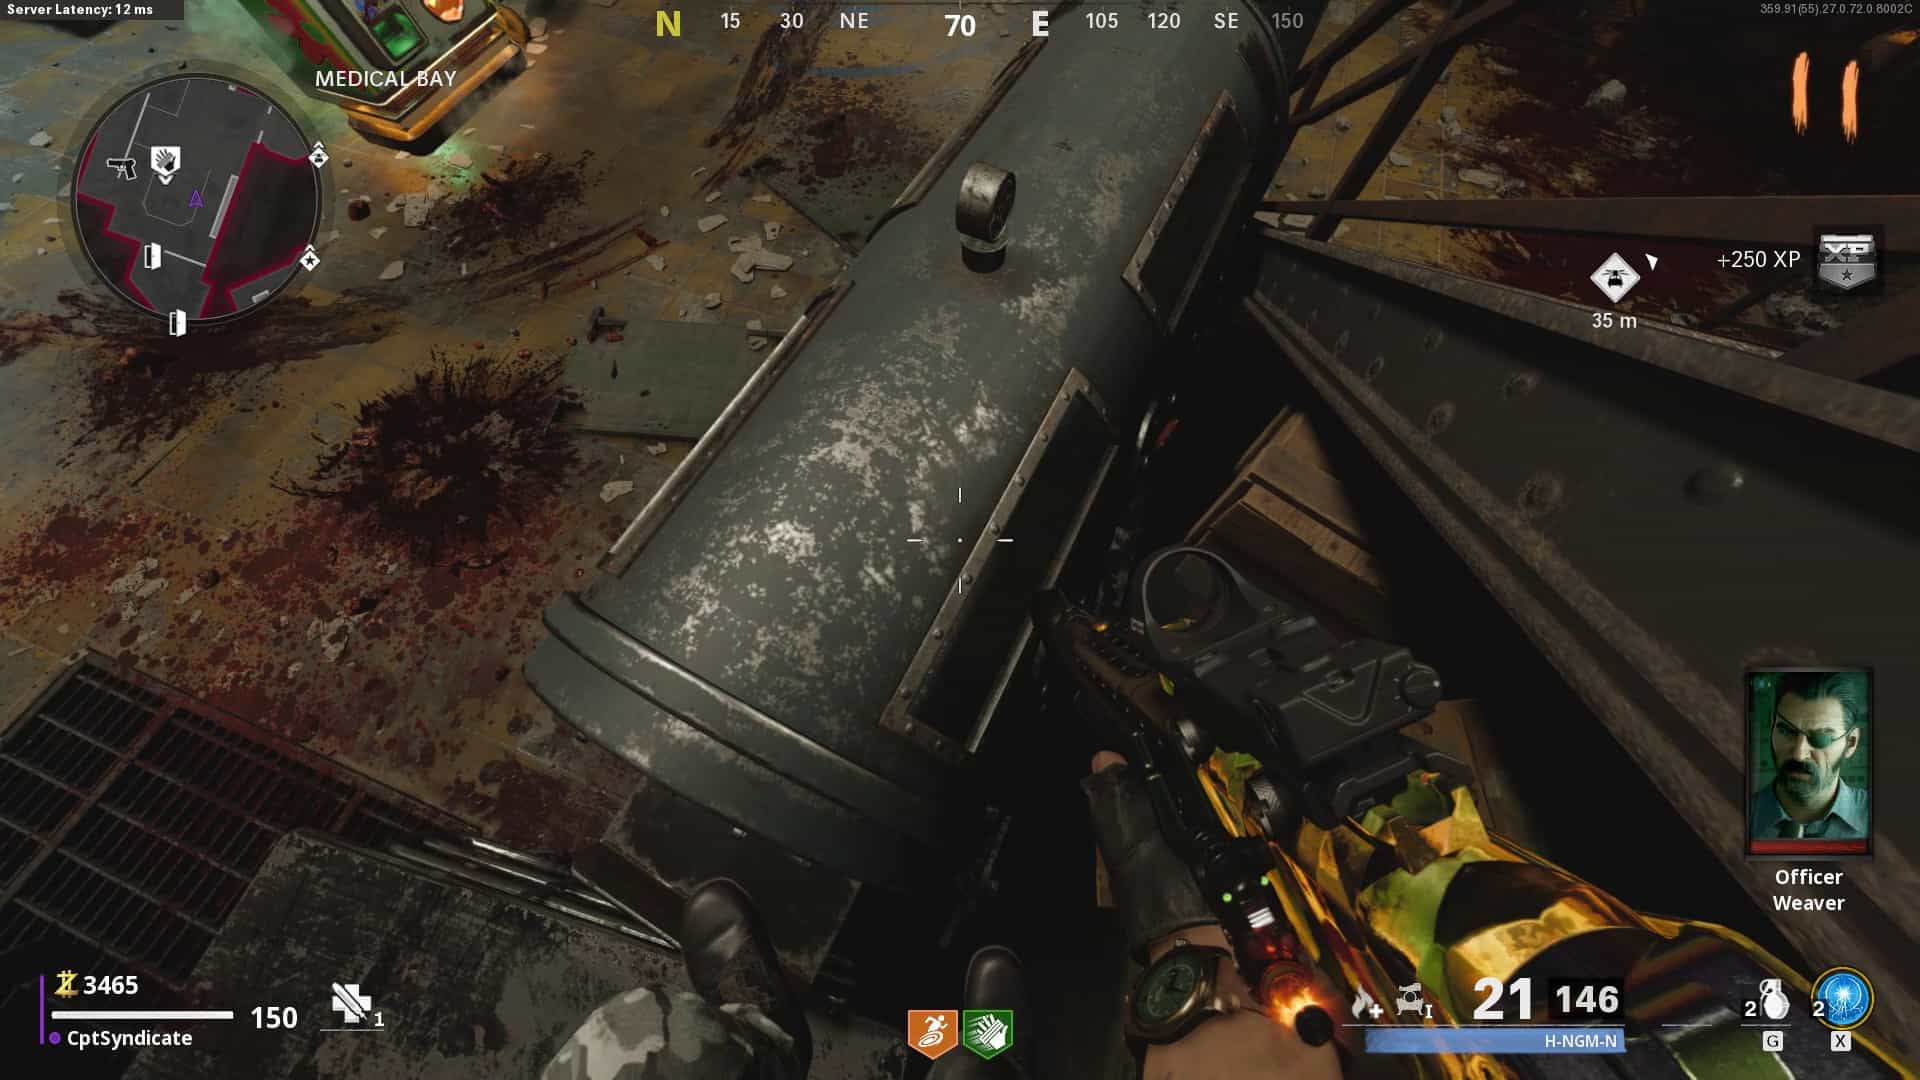
But, for this to work, you must ensure that the door leading to the Control Room is not opened. Do not open that door, or else this spot will not work.
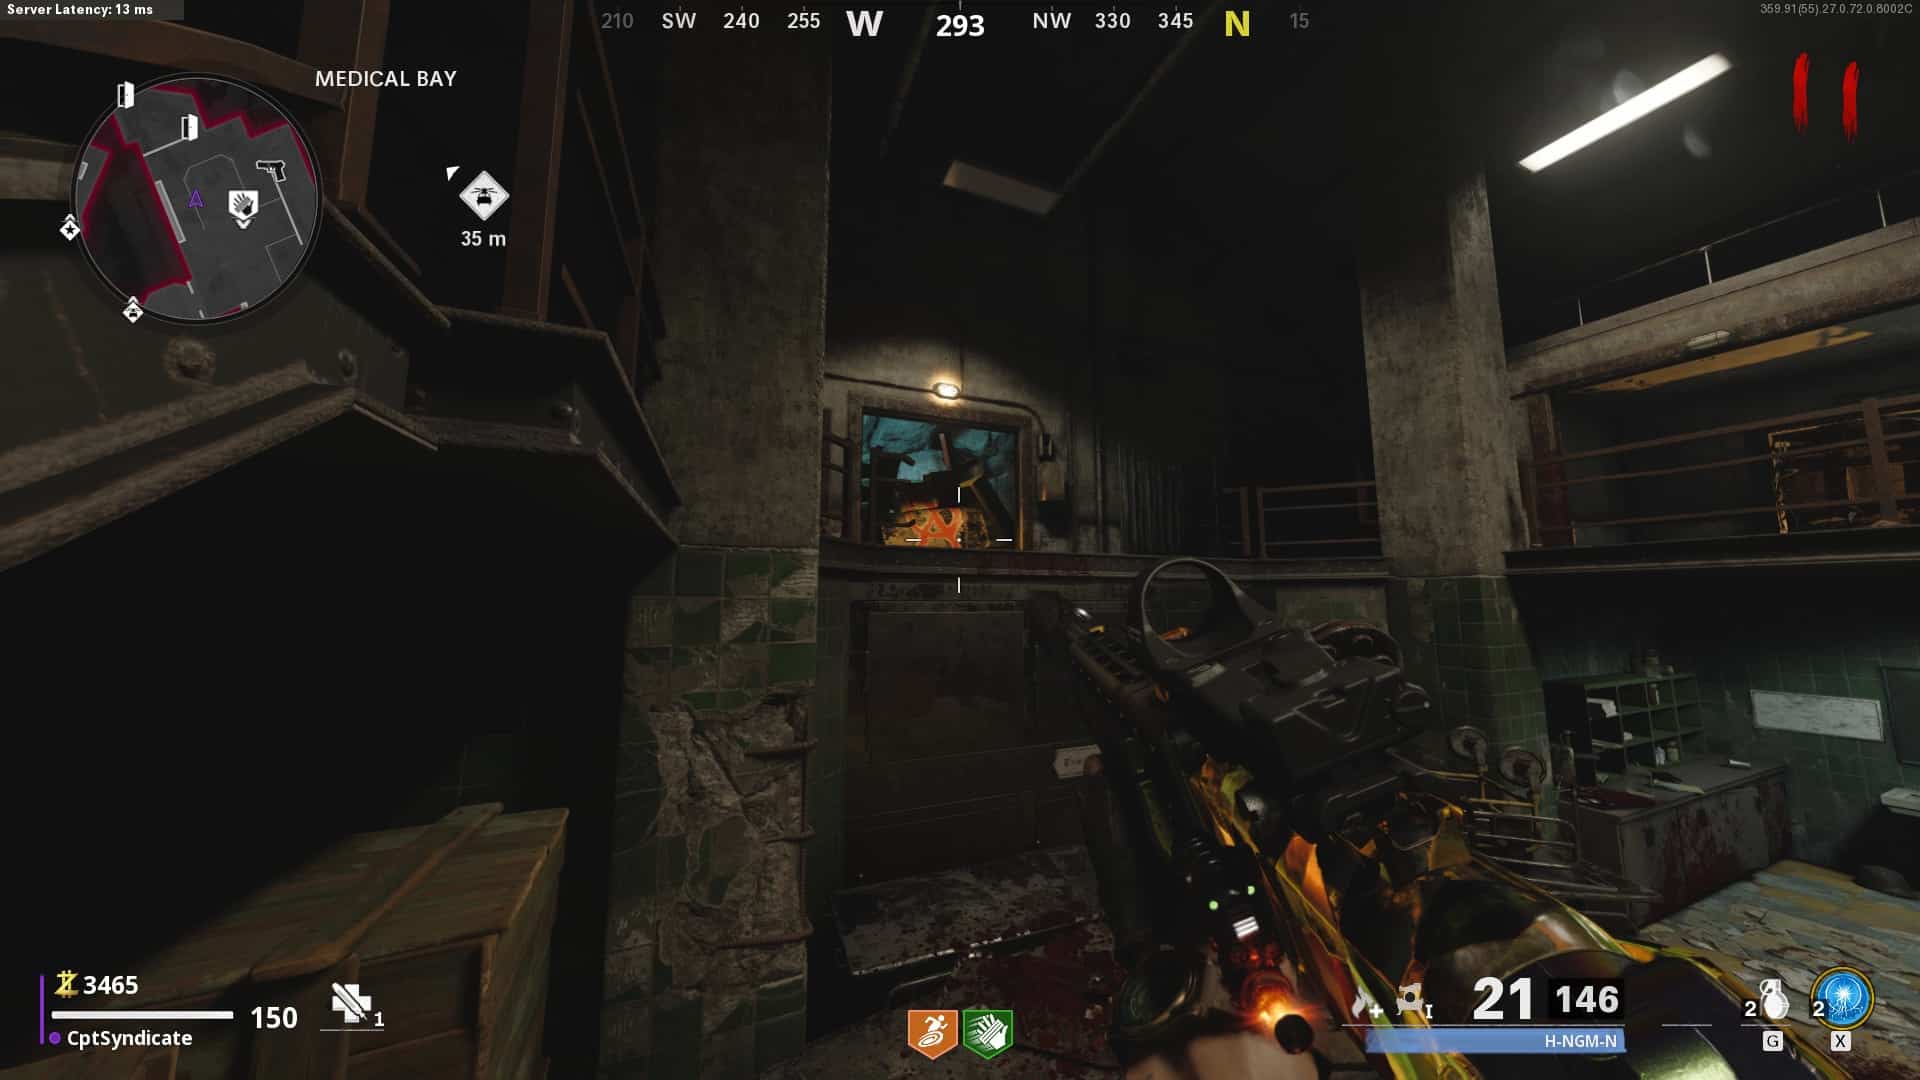
Since the door at the back will be closed, there is only one way for plague hounds to come from, and that is from the particle accelerator room. You can easily take them out from this spot.
Now, at Round 12, when the Megaton spawns, don’t worry as long as you’re in a spot. The Megaton will stay outside the map. Do not be tempted to loot the items on the ground.
Use the same technique of Energy Mine and clear out all the zombies. You won’t even need to use your gun until or unless it is absolutely necessary. You just need to make sure that the second pulse kills a zombie as well. With a bit of practice, you will get the hang of it. It is all about timing. Be sure to check out our video guide that shows the technique.
When you reach Round 20, you will get a challenge completion notification.

Invincible

Requirement: Reach Round 30 without going down
Continue using the same Energy Mine strategy that you used for ‘Social Distancing’ and reach Round 30. Be sure to upgrade your Pack-A-punch tier as you progress through the rounds as the zombies get stronger. You won’t have to use your weapon a lot, but just to be on the safe side.
This time around, you won’t even have to worry about getting hit as the ‘Social Distancing’ challenge would have been over by now. Just try not to go down at all. When you finish Round 29, you will get the calling card, and the challenge will be completed.
Another Round?

Requirement: Reach Round 100.
This challenge is the most difficult and time-consuming. It can take you anywhere between 3-5 hours to complete this challenge because that is how much time it takes to reach round 100.
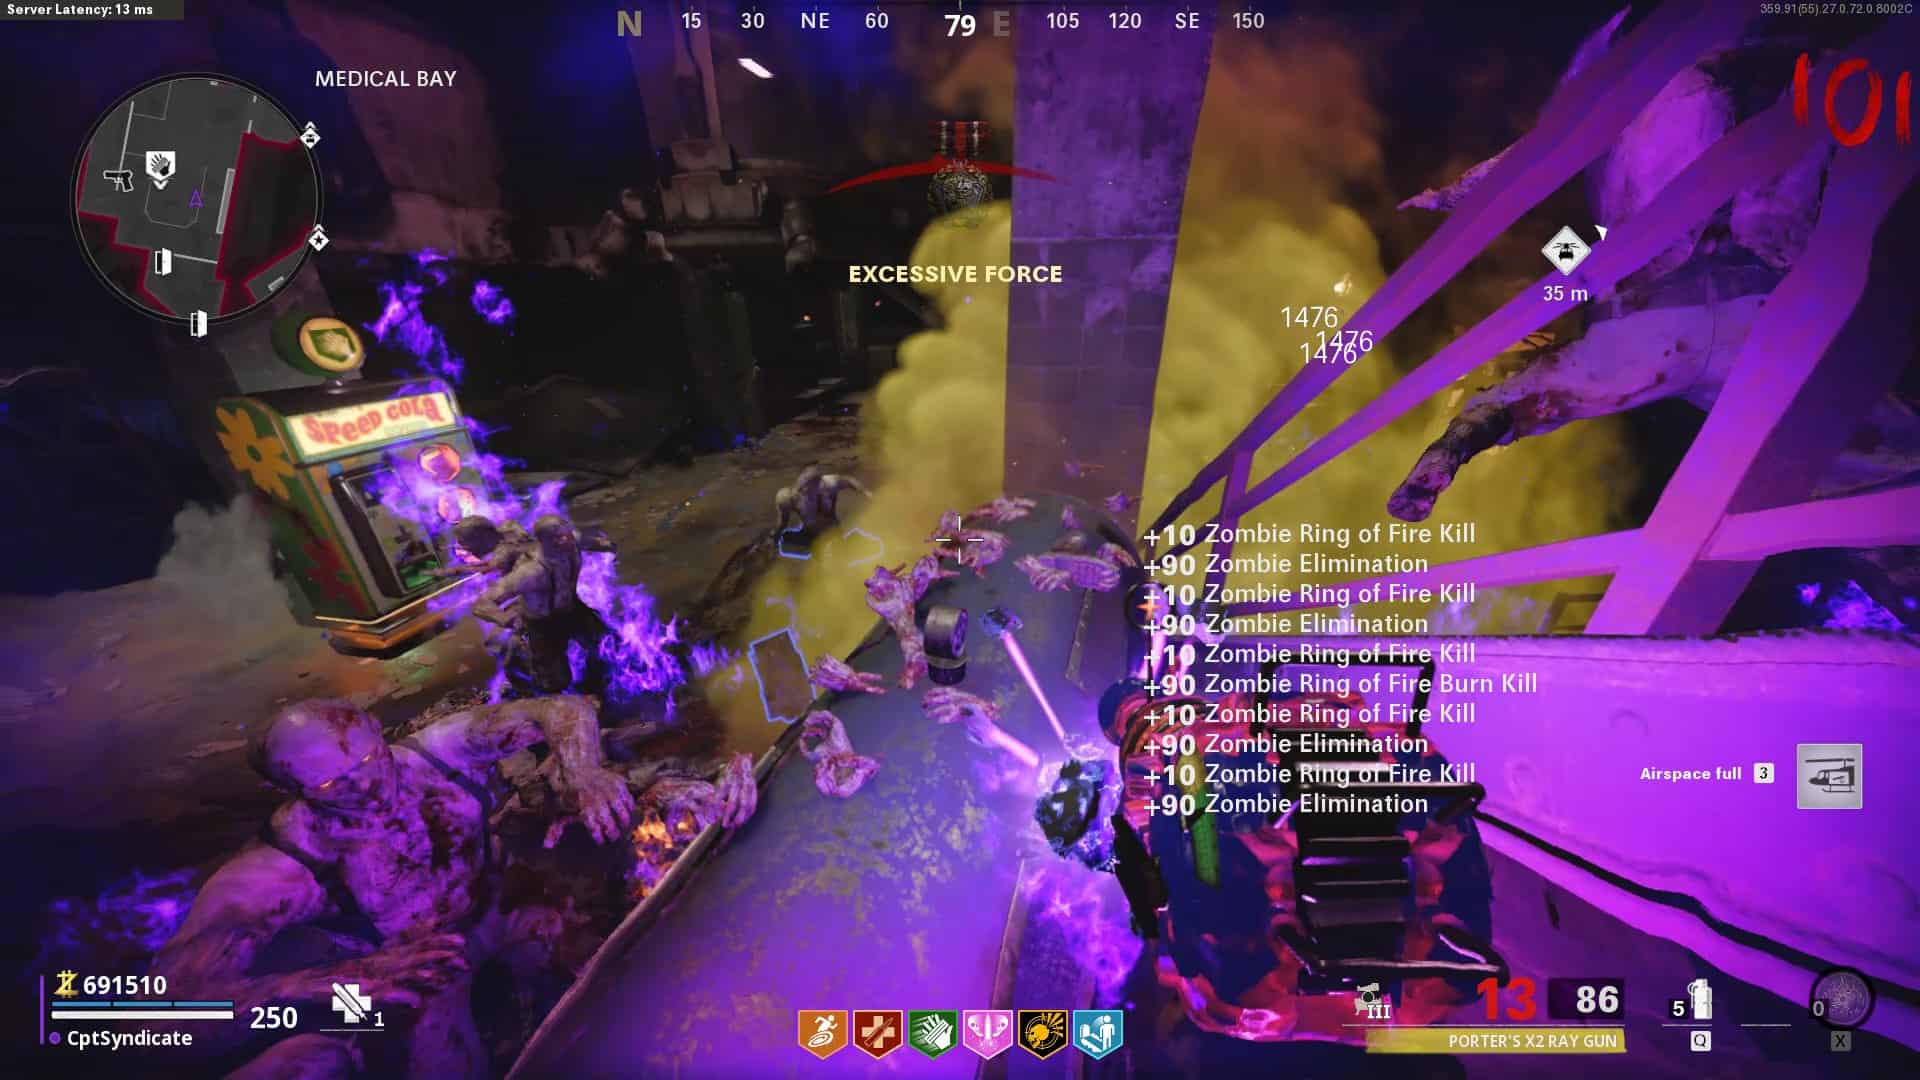
You can continue the Medical Bay strategy up to Round 100, but you must swap out your Energy Mine field upgrade with the Ring of Fire field upgrade. And, it must be upgraded to tier 3.
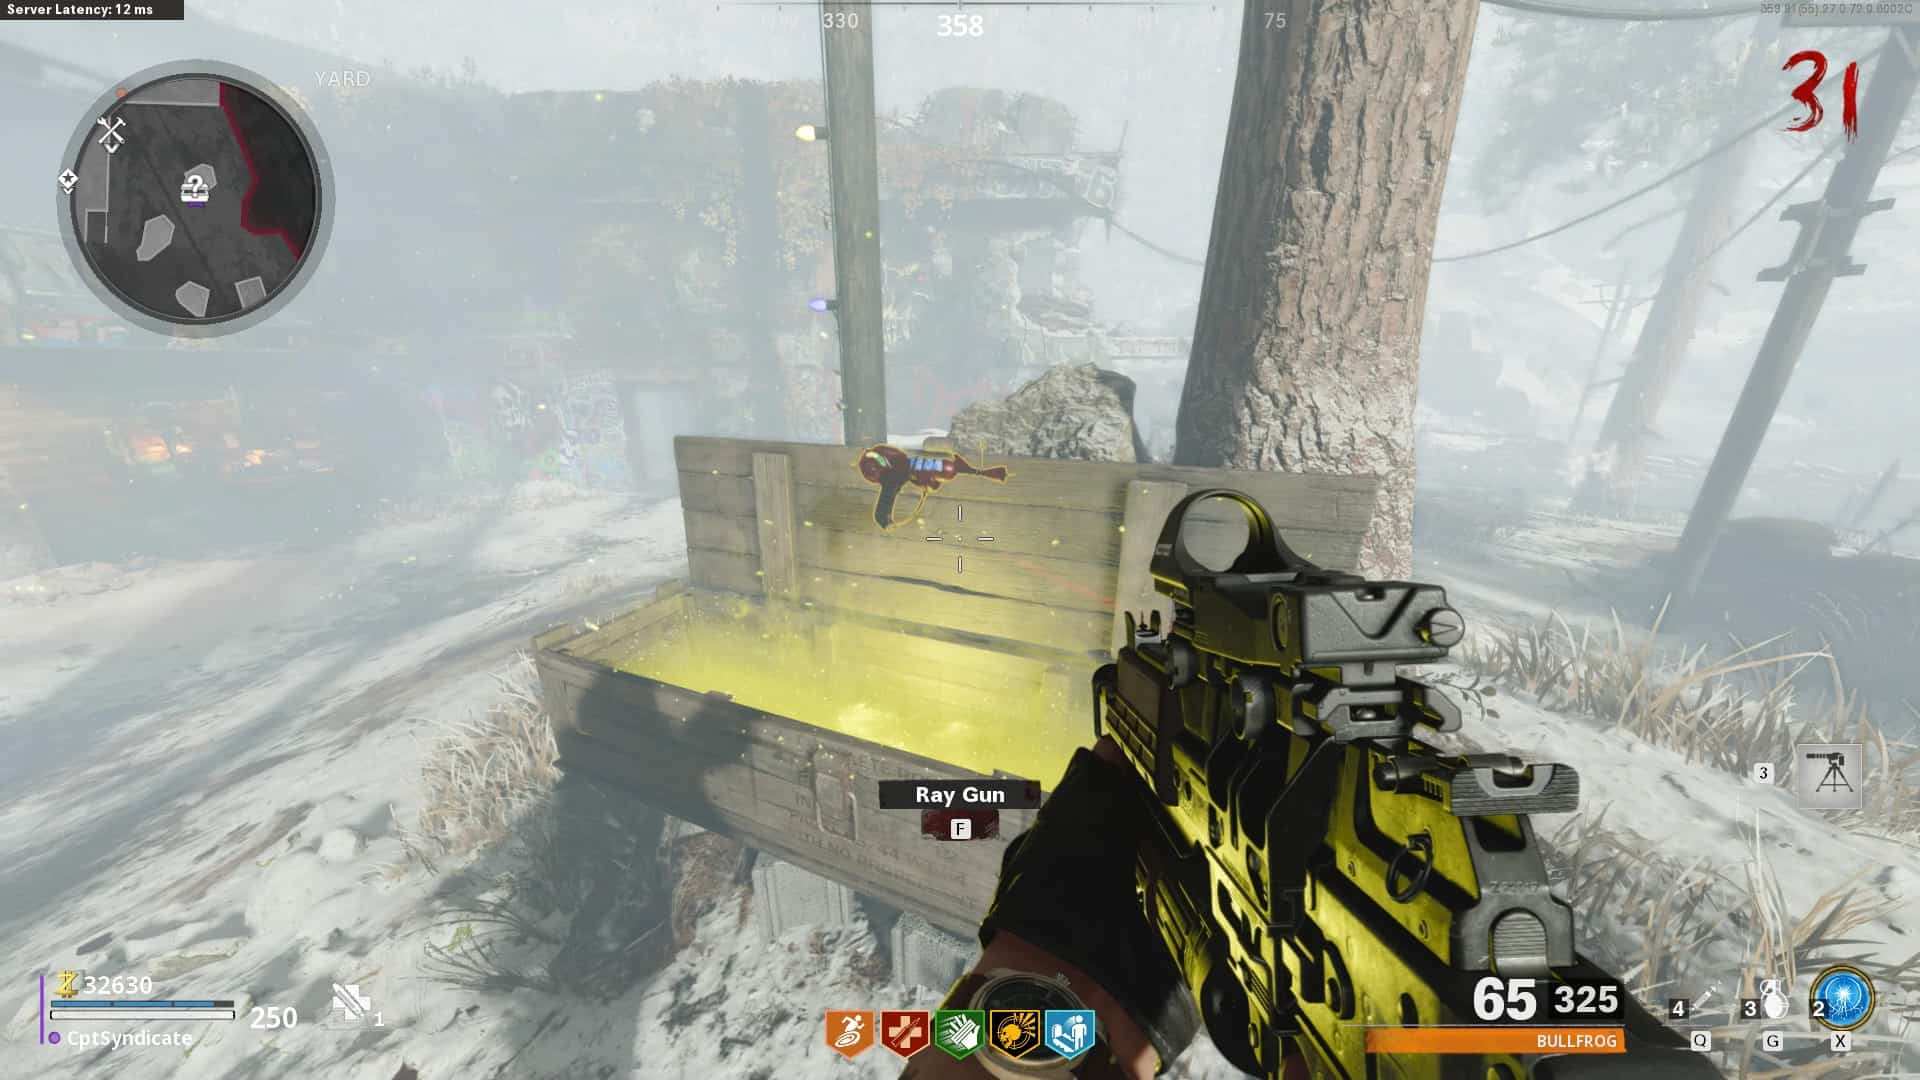
It is highly recommended that after around Round 25-30, you invest in the Mystery Box and get a Ray Gun. Don’t forget to Pack-A-Punch the Ray Gun up to tier 3. The zombies become ridiculously powerful as you progress through the rounds.
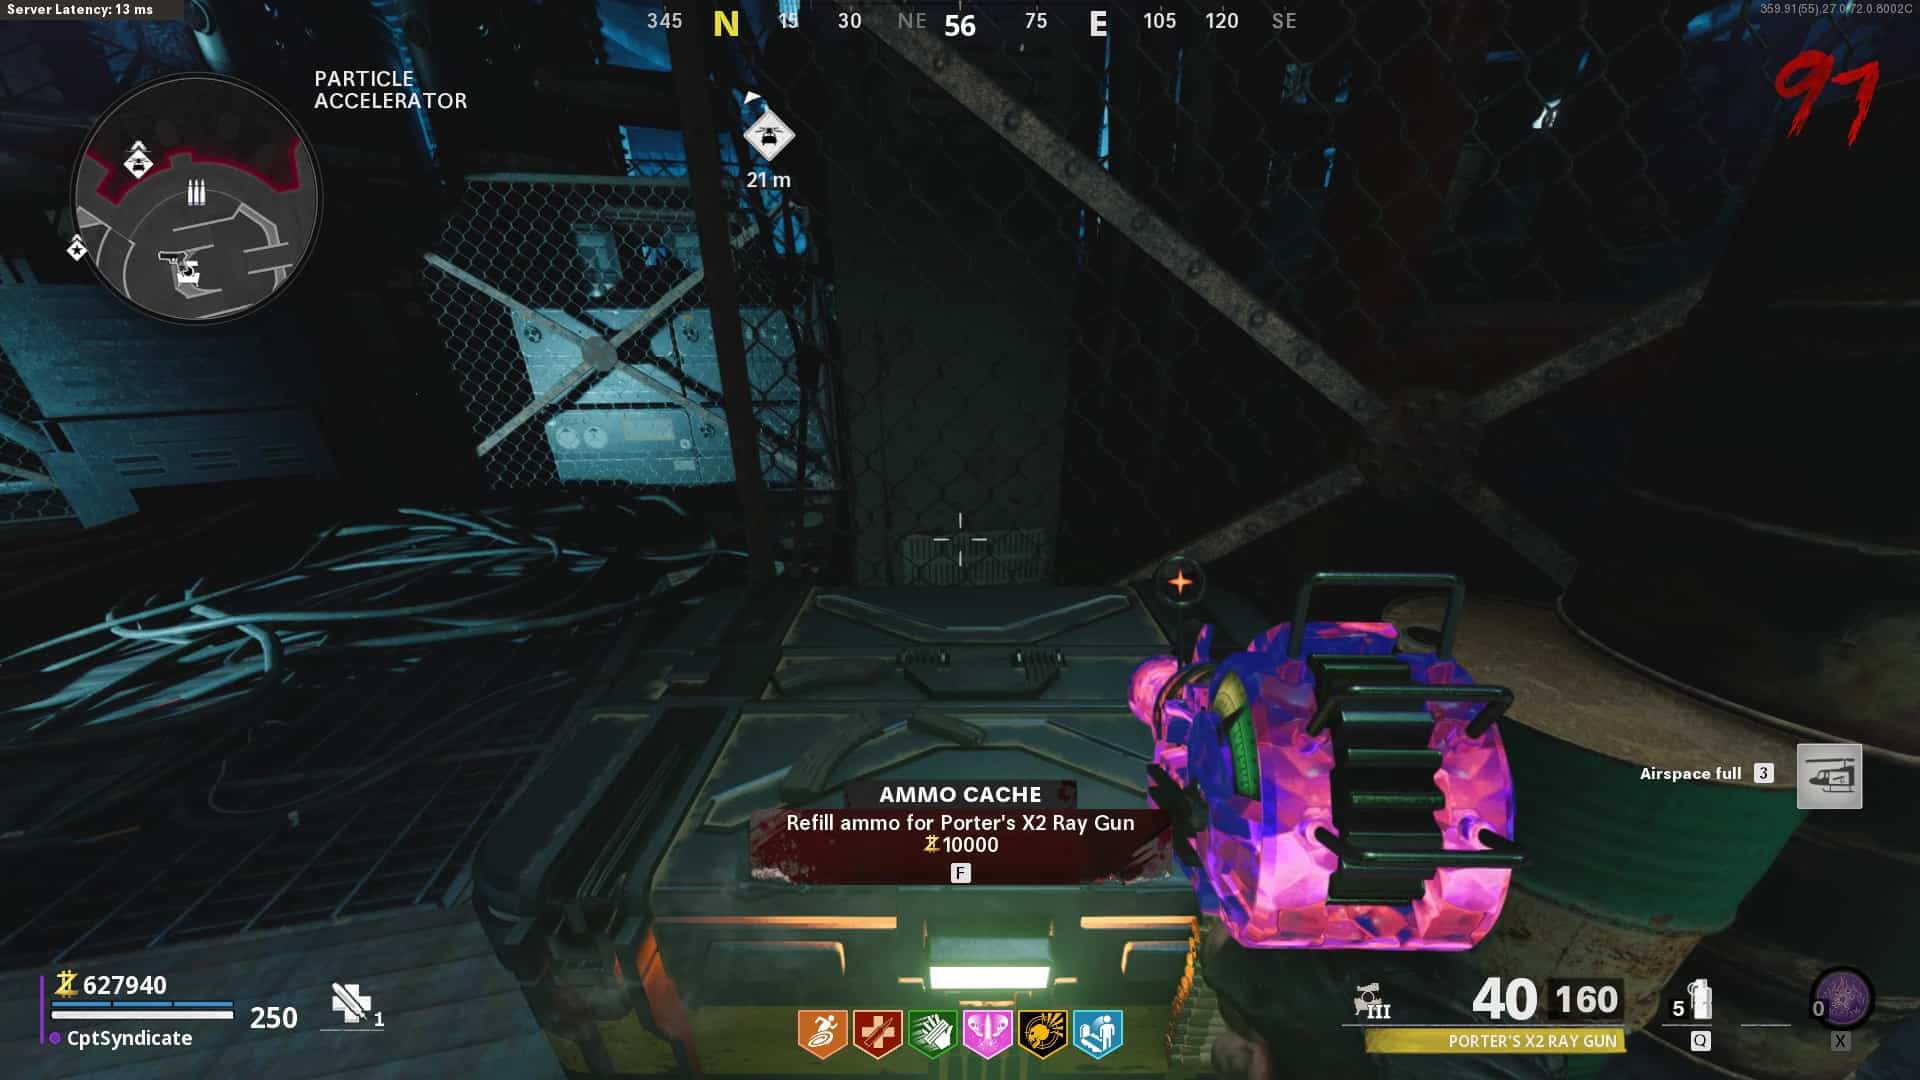
You can also get a D.I.E. Shockwave wonder weapon and switch to it whenever you get insta-kill or run out of Ray Gun ammo.
Whenever there is one zombie left, keep him alive and run to the particle accelerator to refill your ammo using the ammo cache.
When shooting the Ray Gun, keep shooting slightly away from you and when you run low on ammo, activate your Ring of Fire. You do not have to worry about the zombies at all as they die before they climb up to you. For some reason, the Ring of Fire is extremely overpowered beyond Round 30. While the Ring of Fire does its work, you can reload your Ray Gun.
Make sure you have Speed Cola, Jugger-Nog, Stamin-Up, and Quick Revive. These are the most important perks for this strategy. The Quick Revive helps with the Ray Gun splash damage (if you get some while shooting).
The Megaton will surely spawn throughout your camping, and whenever you go to refill your ammo, he will come out of the map. Always leave one zombie at the end of each round and deal with the Megaton before proceeding to the next round.

Once you finish Round 99 and enter Round 100, you will get the challenge completion notification.
Evil Unleashed

Requirement: Complete the Main Quest in Die Maschine.
To get this calling card, you must complete the main easter egg on Die Maschine. We have a full in-depth guide on how to do the main easter egg.
Reaper Of The Undead

Requirement: Kill 1,000,000 enemies.
You don’t have to think too much about this challenge. Simply keep playing the game, and you will eventually get 1,000,000 zombie kills. You will get more kills at higher rounds.
King Of Silverbacks

Requirement: In Dead Ops Arcade, earn a cumulative high score of 999,999,999.
You need to get a cumulative score of 999,999,999 in Dead Ops Arcade 3 (DOA 3) for this challenge. This means you need to play A LOT of DOA 3. There is no particular strategy for this challenge. The score is not restricted to just one game but across all the games that you play in DOA 3.
Pristine Pelt

Requirement: In Dead Ops Arcade, defeat Mamaback in the final round without ever dying.
This challenge is also related to DOA 3, and it would be best if you do it with a friend. DOA 3 gets very difficult as you progress through the rounds. You can die however many times, but it has to be before the Mamaback boss fight starts. Once the fight starts, make sure you do not die to complete this challenge.
Save as many nukes as possible by the time you reach round 64. Use the nukes whenever you are overwhelmed by the zombie hordes and keep shooting at the Mamaback.
Maxis Potential

To get this calling card, you must complete the main easter egg on Firebase Z. We have a full main easter egg guide on how to complete it solo.
Breakthrough

You must complete 10 objectives, and exfil in a single game of Outbreak.
Dark Ops Master Calling Card
When you complete 11 of the Dark Ops challenges, you will get an animated Dark Ops Master Calling Card as a reward.