Minecraft is a game in which players can let their creative ideas flow. While many blocks let you build cool things, some players with a knack for technology wanted more. That's where Redstone comes in.
Redstone is essentially a Minecraft equivalent of electricity that allows players to build useful and clever contraptions. From automated farms to automatic doors, Redstone enables it all. It's a bit like building what real engineers do but on a smaller scale.
In this guide, we walk you through everything you need to know about Minecraft Redstone, how to obtain it, its components, and some basic logic gates that every Minecraft player should know about.
How to get Redstone
You can find Redstone deep underground, typically between Y-levels 8 to -64. When mined, each Redstone ore drops approximately 4-5 Redstone dust. But if you're using a Fortune III enchanted pickaxe, it can increase the yield.
When you're mining underground and come across large veins of Redstone, you can quickly fill up your inventory. To reduce the load on your inventory, you can combine 9 Redstone dust into a single Redstone block to condense it. When you get back up to the surface or whenever you want to use the Redstone dust, you can put the Redstone block back into your crafting grid and convert it back into 9 Redstone dust.
You can also get Redstone dust by trading with the Minecraft villagers with the Cleric occupation. If you are ever wandering around the swamps and come across a Witch, she can also drop some Redstone.
Redstone Components
Minecraft has a variety of Redstone components, each with a unique functionality of its own. Some Redstone components act like power sources, and others are activated using these power sources. Some of these components emit a strong signal, and some emit a lower signal. The strongest signal can light up Redstone dust spanning across 15 blocks.
After the 15-block limit, you will need to add a repeater to extend the signal. You can think of repeaters as extension leads, extending your signal by another 15 blocks. More on these components below.
Redstone Dust
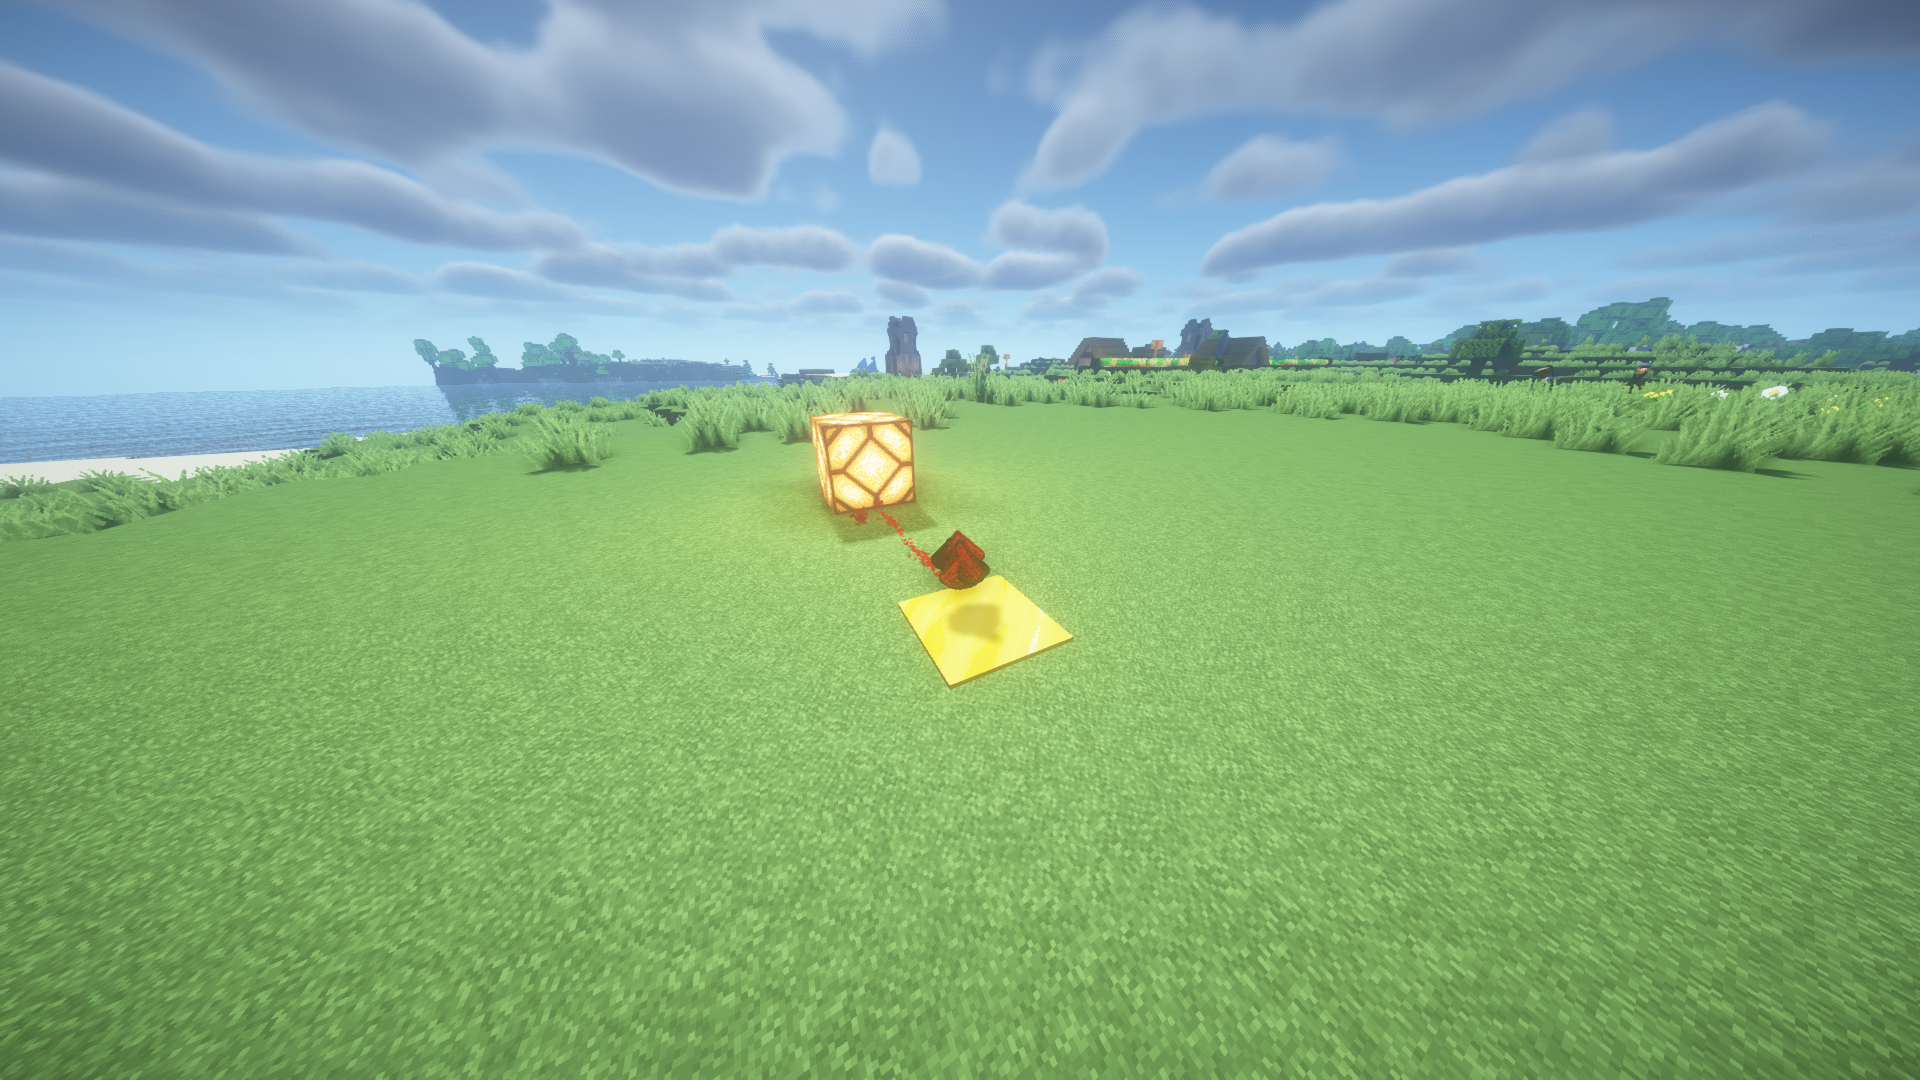
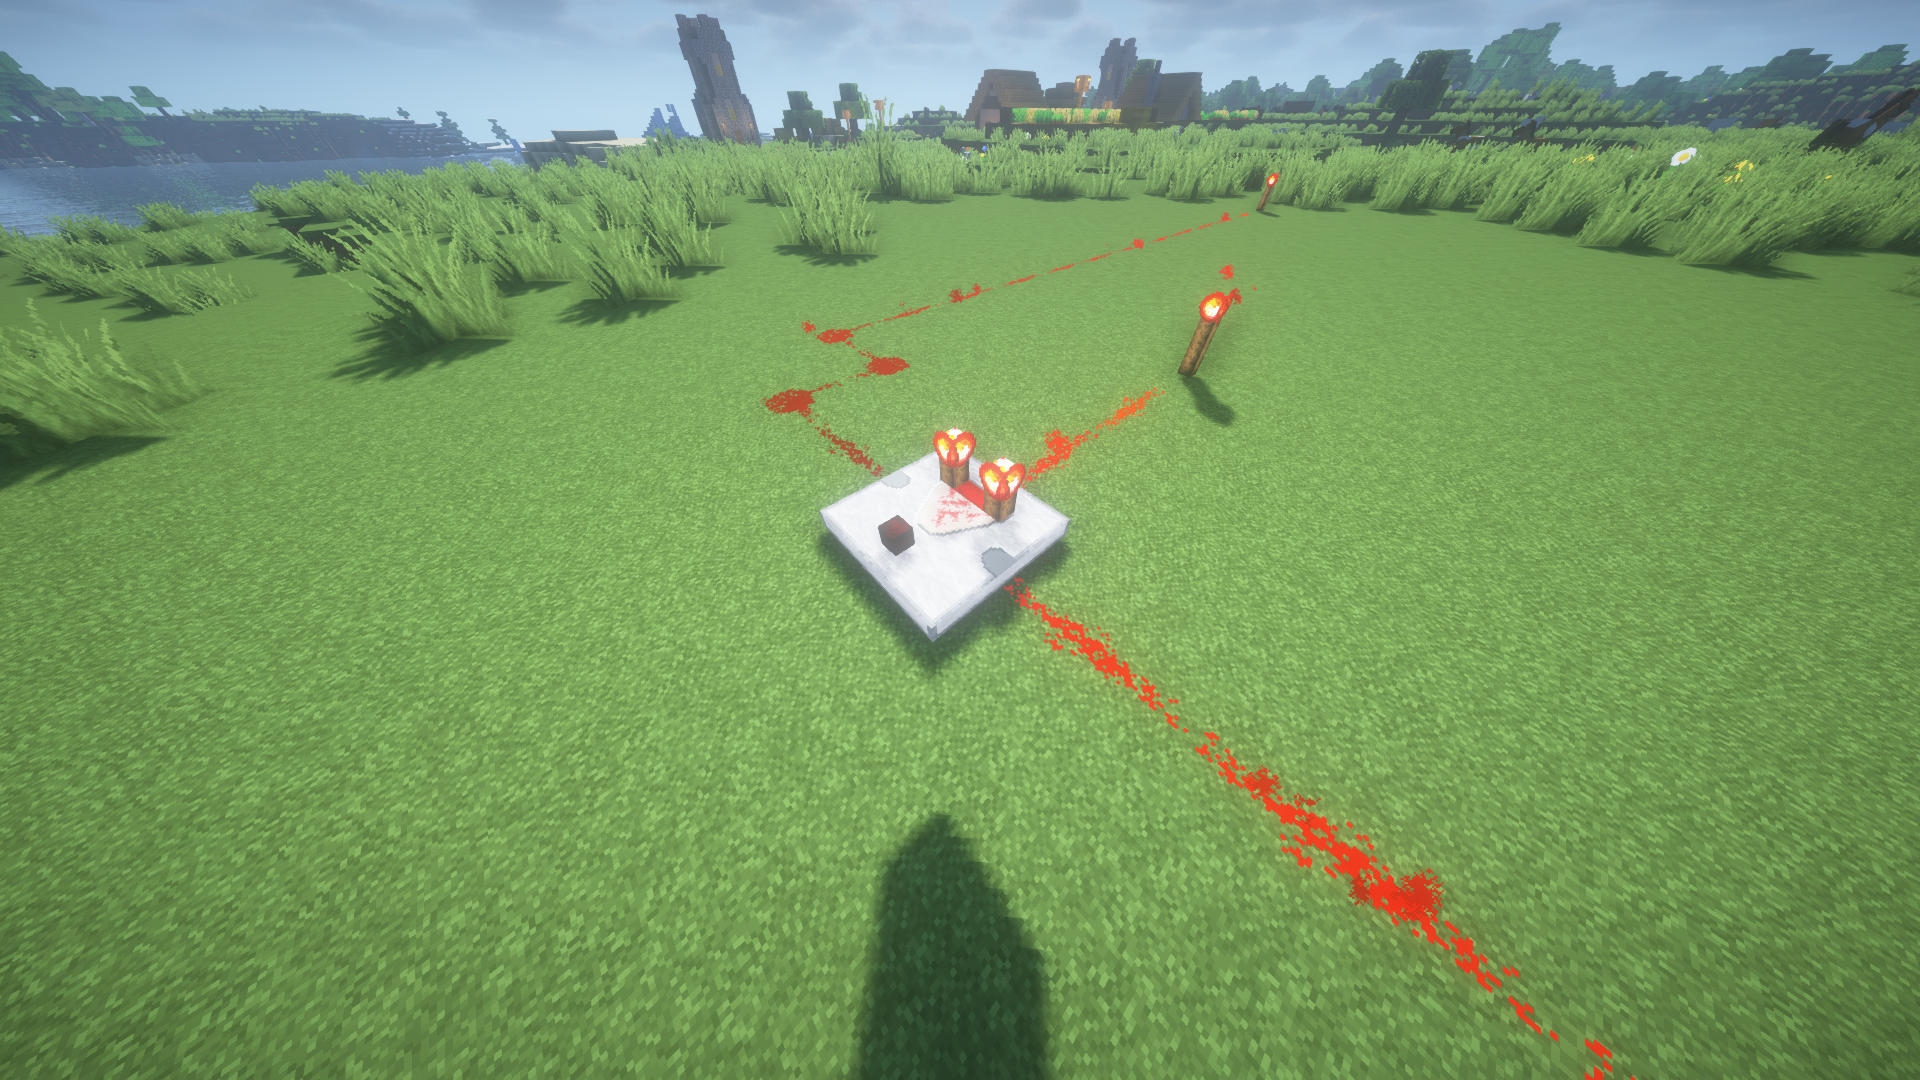
Redstone Dust is the purest form of Redstone and can be placed on the ground to create a Redstone wire. This Redstone wire is used to transfer signals from one Redstone source to another. You can use power sources such as a a Redstone torch, a button, a lever, or a Redstone block to send power through the Redstone dust.
Redstone Torches
Redstone torches are the most basic Redstone craftable item you can create. You craft them the same way as a regular torch, except you use Redstone dust instead of the coal or charcoal above the stick in a crafting grid.
Redstone torches can emit power to up to 15 blocks of adjacent Redstone dust. These torches can also activate components beside them or directly above them.
Redstone Blocks
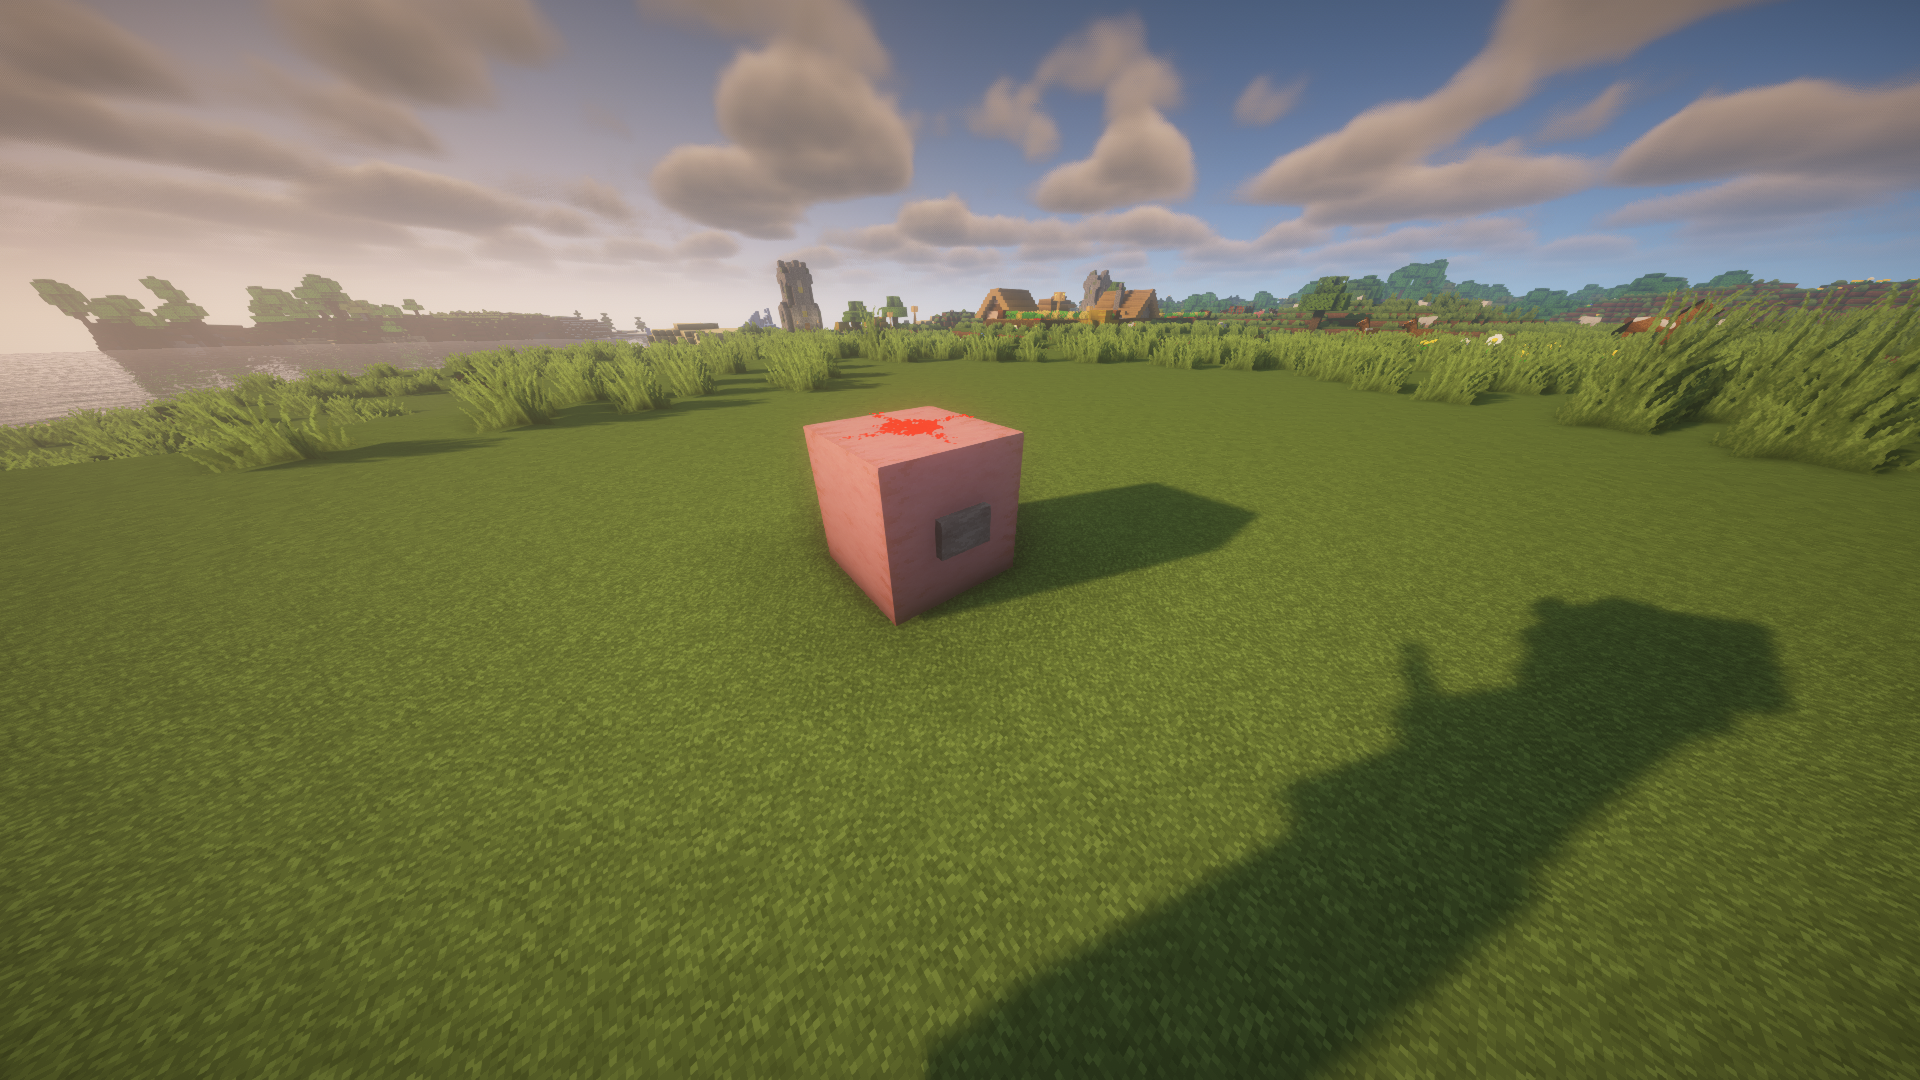
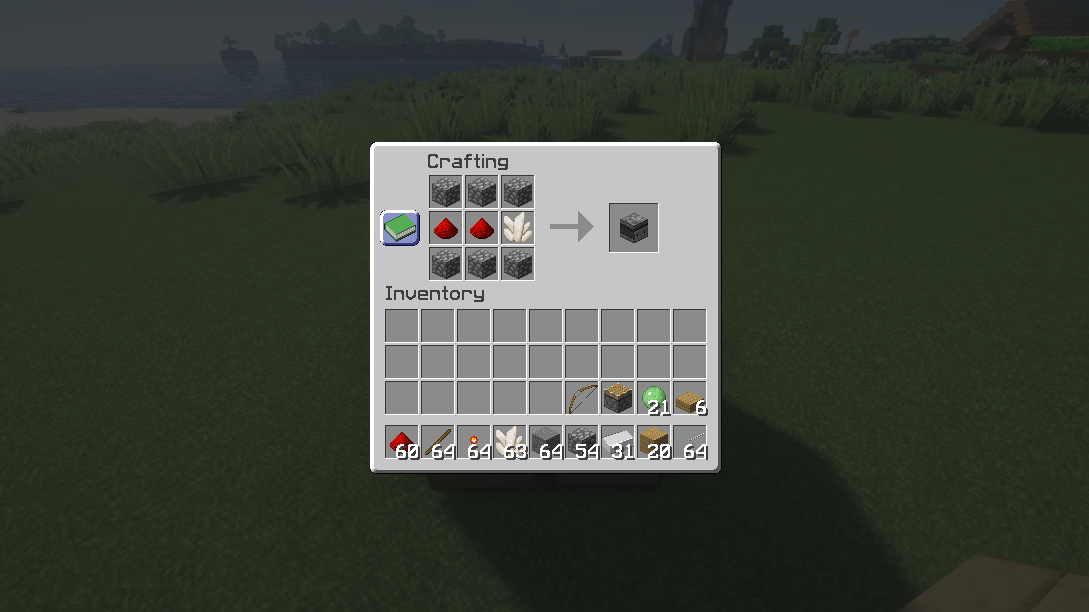
As mentioned earlier, you can place nine Redstone dust into your crafting table grid and combine them to create a single Redstone block. The block also emits a signal strength of 15 blocks. If you place any other Redstone component beside it, it will activate that block.
Repeaters
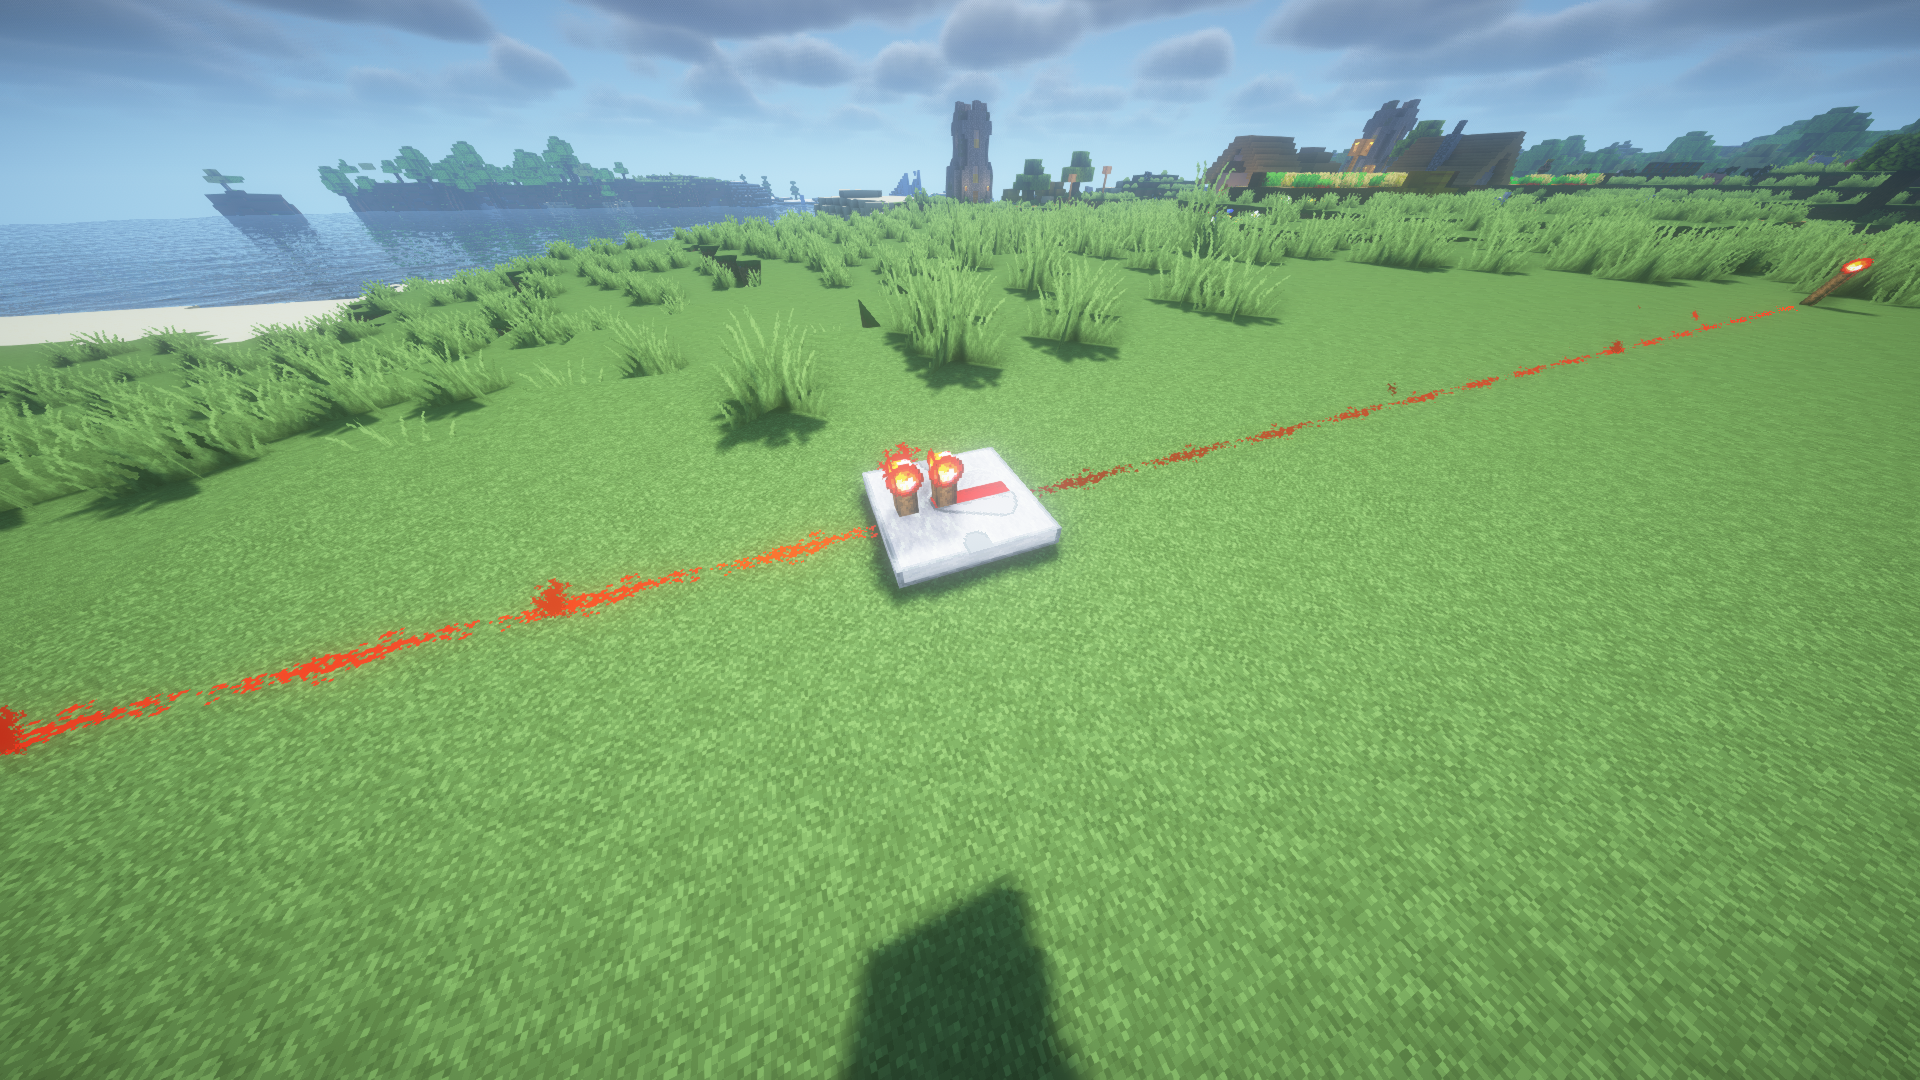
Whenever you place down Redstone dust and it reaches the 15-block signal limit, you can extend it by using a repeater. These handy devices stretch the signal by another 15 blocks.
Repeaters are also fantastic for introducing delays to your signals. A simple right-click on the repeater adds a single-tick delay, and you can stack up to four tick delays. Upon placement, a repeater has a default one-tick delay.
Comparator
A Redstone comparator is a block that can read chests, lecterns, beehives, barrels, and similar blocks and produce an output signal from its front. It can also repeat a signal without changing its strength. It has two distinct modes: normal and subtract.
In the normal mode, if the signal from the side is stronger than the signal being fed into its back, there will be no output signal.
In the subtraction mode, the signal coming from the side is subtracted from the signal originating at its back. This results in an output signal that reflects the outcome of the subtraction. And the resulting signal will pass through which is indicated by the front light turning on.
Lever
Levers serve as devices capable of transmitting a Redstone signal across a maximum distance of 15 blocks. They can be toggled, causing them to emit a continuous signal to any connected Redstone components.
This signal persists for an extended duration until the lever is switched back to its original position, effectively discontinuing the signal transmission.
Buttons
Buttons function in a manner similar to levers. But they only possess the capability to send a momentary pulse of signal up to a distance of 15 blocks.
Pressure Plates
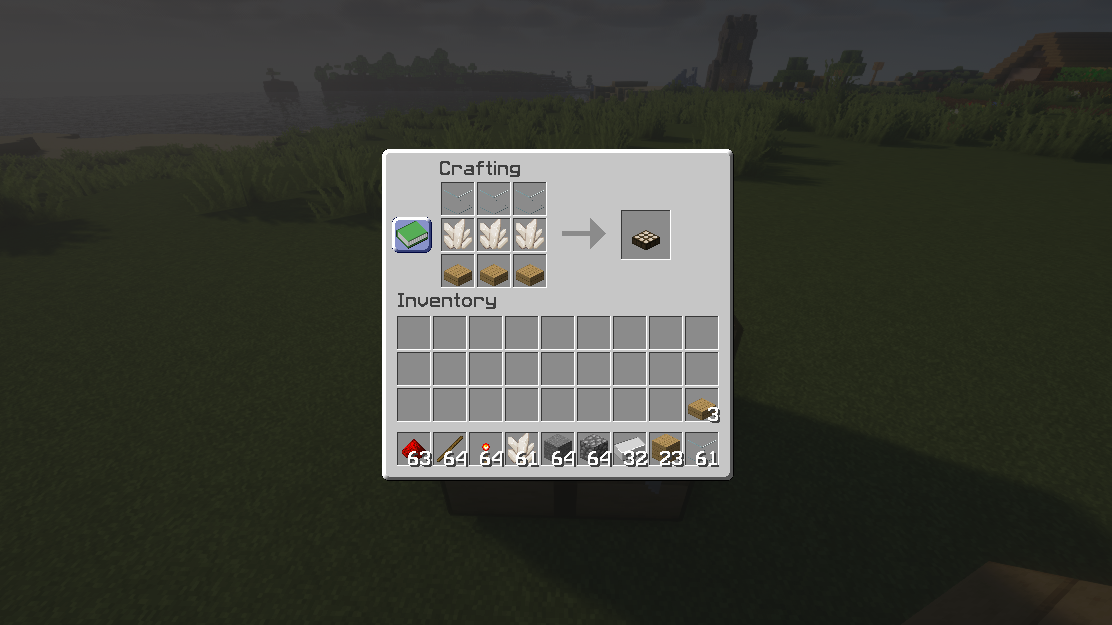
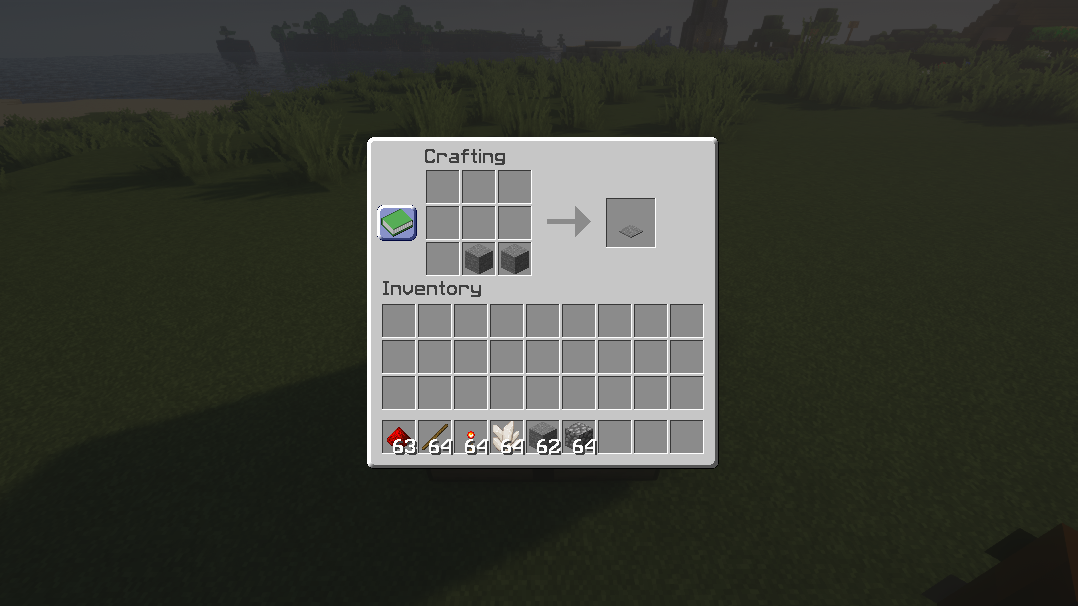
Pressure plates are sensitive mechanisms that can be crafted from either stone or wood. When stepped on by players or mobs, they emit a signal that travels up to 15 blocks. These plates can trigger blocks positioned directly beneath them as well.
It's worth noting that pressure plates can also be activated when items are dropped onto them.
Weighted Pressure Plates
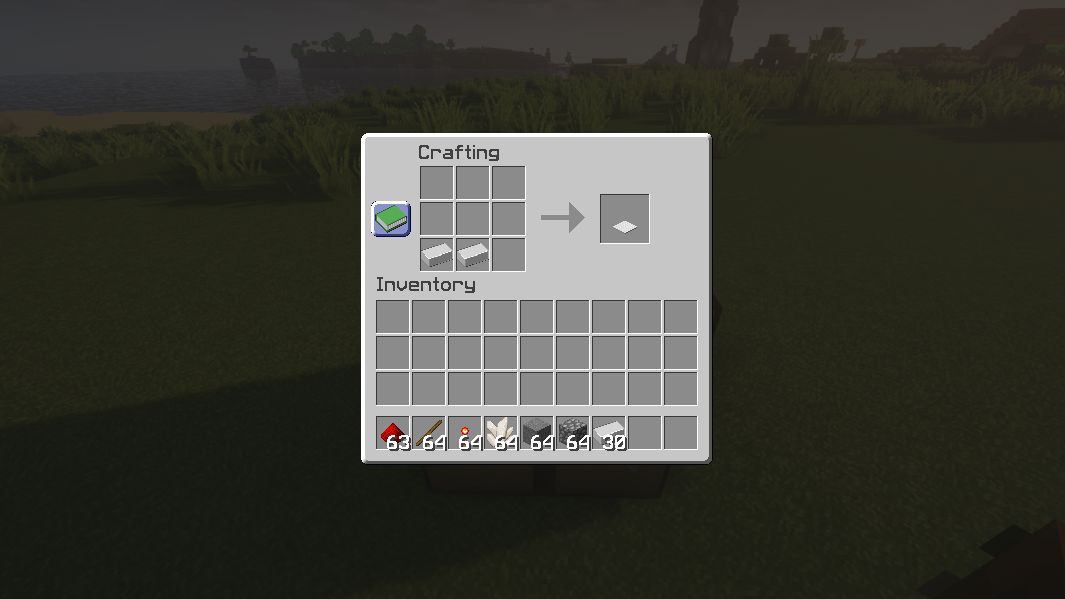
Weighted pressure plates provide an interesting twist to the standard pressure plates. Crafted from either iron or gold, these plates function similarly to their regular counterparts but require a specific number of entities to activate. The strength of the signal they emit also varies based on the number of entities placed on them.
For heavy weighted pressure plates (crafted with iron), you'll need a minimum of 141 entities (equivalent to 2 stacks of 64 plus 13) on top of the plate to trigger a signal that travels up to 15 blocks. On the other hand, light weighted pressure plates (crafted with gold) demand a minimum of 15 entities to produce a signal of the same range.
Notably, the gold plates maintain a 1:1 ratio, making them more valuable in terms of signal activation efficiency compared to their iron counterparts.
Tripwires
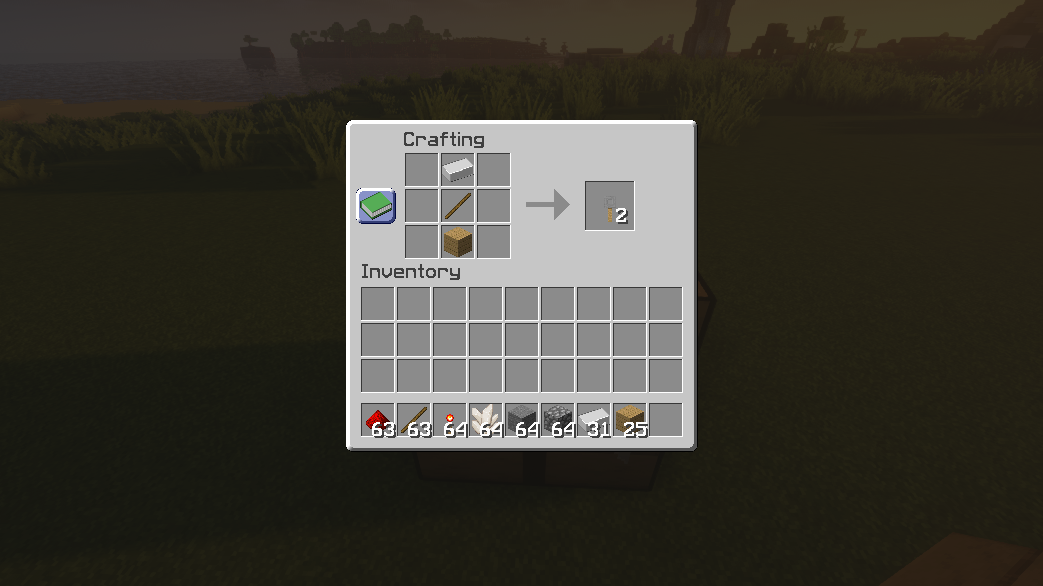
Creating tripwires is a simple process that involves using tripwire hooks and strings. By placing two tripwire hooks on opposite sides and connecting them with a string, you establish a functional tripwire circuit. When a player or a mob interacts with the tripwire, it emits a signal that can travel up to 15 blocks.
Daylight Detectors
Daylight detectors in Minecraft function similarly to solar panels, responding to the changing daylight conditions.
These detectors send out signals according to the time of day. The signal strength peaks at 15 blocks around noon and gradually decreases to zero as the sun sets.
Interestingly, you can transform a daylight detector into a night detector by right-clicking on it. In this mode, it emits signals during nighttime hours.
Pistons
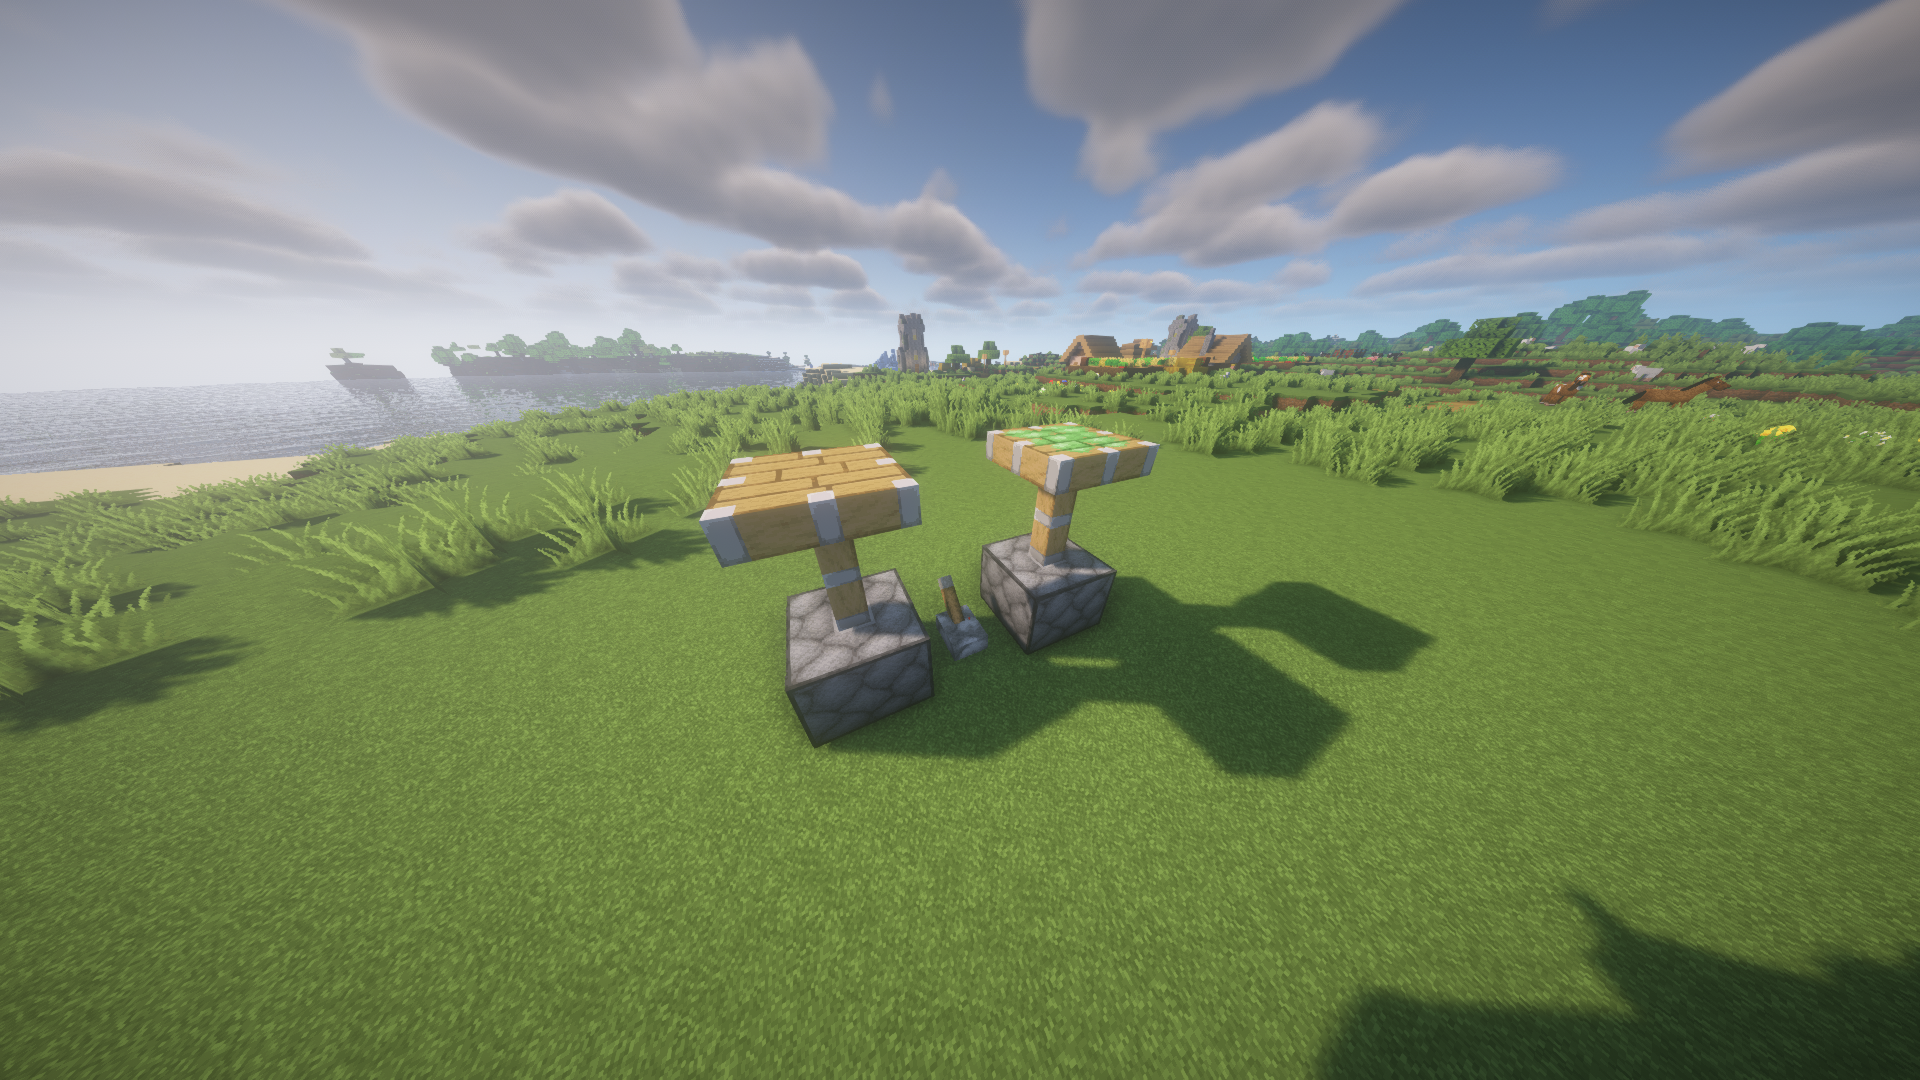
The piston stands as a fundamental Redstone component in Minecraft. Within the piston category, two types exist: Normal Pistons and Sticky Pistons. Pistons, when powered, extend by a single block.
But if you want to push and pull a block, getting a sticky piston is imperative. This variant adheres to adjacent blocks, enabling it to shift them forward during extension and return them to their initial position when retracted.
Dropper
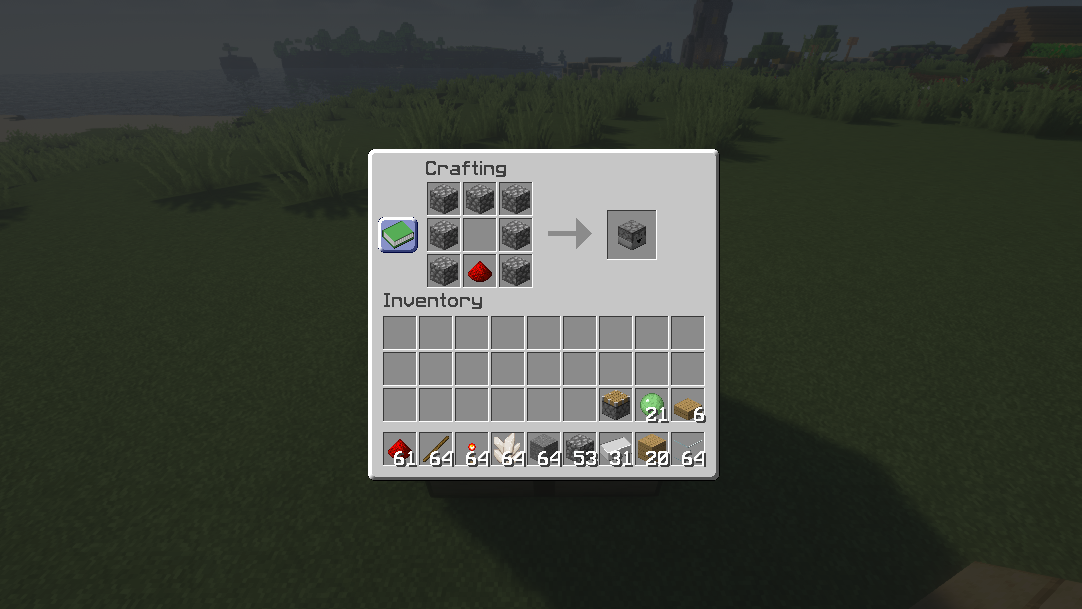
Droppers are quite simple to understand. They do exactly what their name suggests: when you activate them with a Redstone signal, they drop an item. But here's the clever part – if you position a chest right next to the dropper, the dropped item goes right into the chest instead of falling to the ground. It's a handy way to manage items with Redstone mechanics.
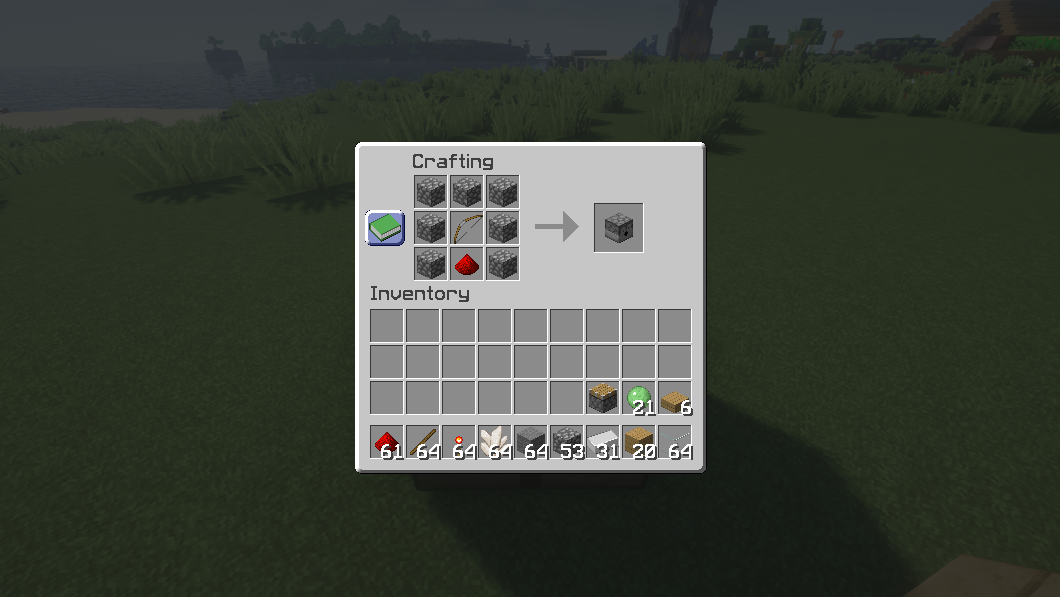
Dispenser
Dispensers work like droppers in terms of releasing items when a Redstone signal is sent to them. However, they have a unique ability – they activate items as they're dispensed.
For example, if you load an arrow into a dispenser, it won't simply drop the arrow. Instead, it will shoot the arrow, dealing damage to players or mobs.
Observer
The Observer block is a handy component that watches for changes on a block placed right in front of it. When it detects a change, it sends a quick signal pulse that can travel up to 15 blocks, much like a button's signal.
This block proves especially useful in automating tasks, like in a sugar cane farm. By placing an Observer at the tallest height a sugar cane can grow, it can detect when the cane reaches that point and trigger a piston to harvest it from below.
Beyond this, the Observer can identify a range of events, including when other components are powered or turned off, crop growth (as explained in the sugar cane farm example), block movements, and more.
Hopper
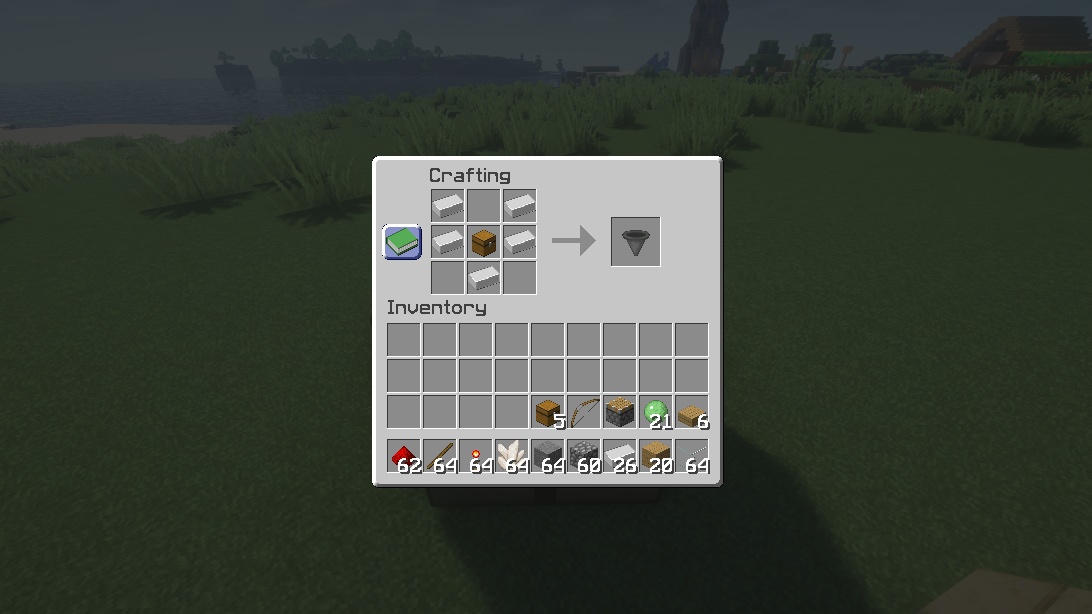
Hoppers act like funnels and are essential components for all things related to Redstone in today's Minecraft. Whether you're setting up automated item sorting storage or creating an automated farm, hoppers are your go-to tool.
When you place an item into a hopper, it gets pulled toward the direction its open end is facing. If the hopper is connected to a chest, the item is deposited inside. However, if the open end is facing a solid block or a wall, the item remains trapped inside the hopper until it's accessed or the hopper is broken.
nextpage
Trapped Chest
A trapped chest emits a signal when players open it, making it ideal for crafting traps.
Sculk Sensors
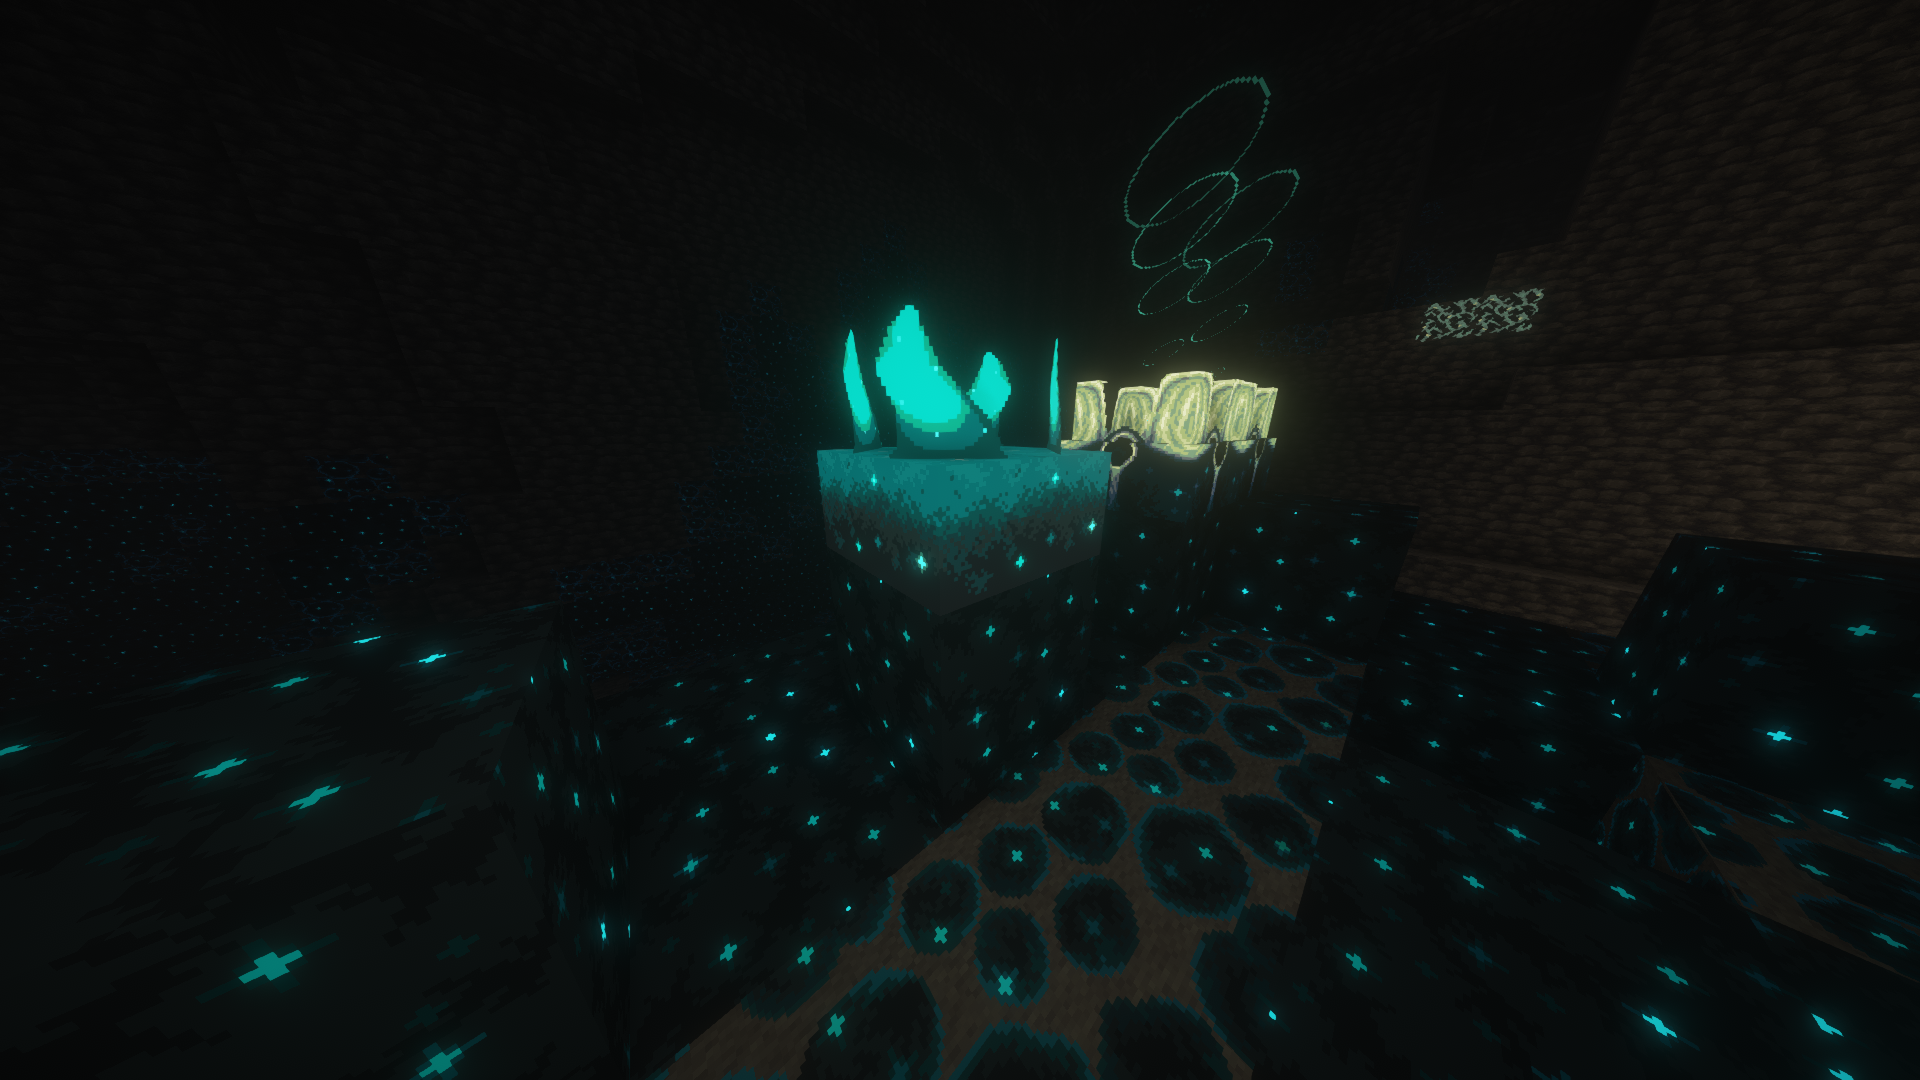
Sculk sensors were introduced with the Ancient City underground biome update. These sensors pick up vibrations triggered by actions like walking, jumping, block breaking, and chest opening. Once a vibration is detected, the Sculk sensors generate a Redstone signal.
These sensors have enabled players to devise the earliest form of "wireless" Redstone contraptions. To avoid detection, you can crouch or use wool to cover them. Wool acts as a sound dampener.
Sculk sensors have a detection range of 8 blocks for sounds, but you can upgrade them into calibrated sculk sensors by using amethyst crystals. This upgrade extends their range to a radius of 16 blocks.
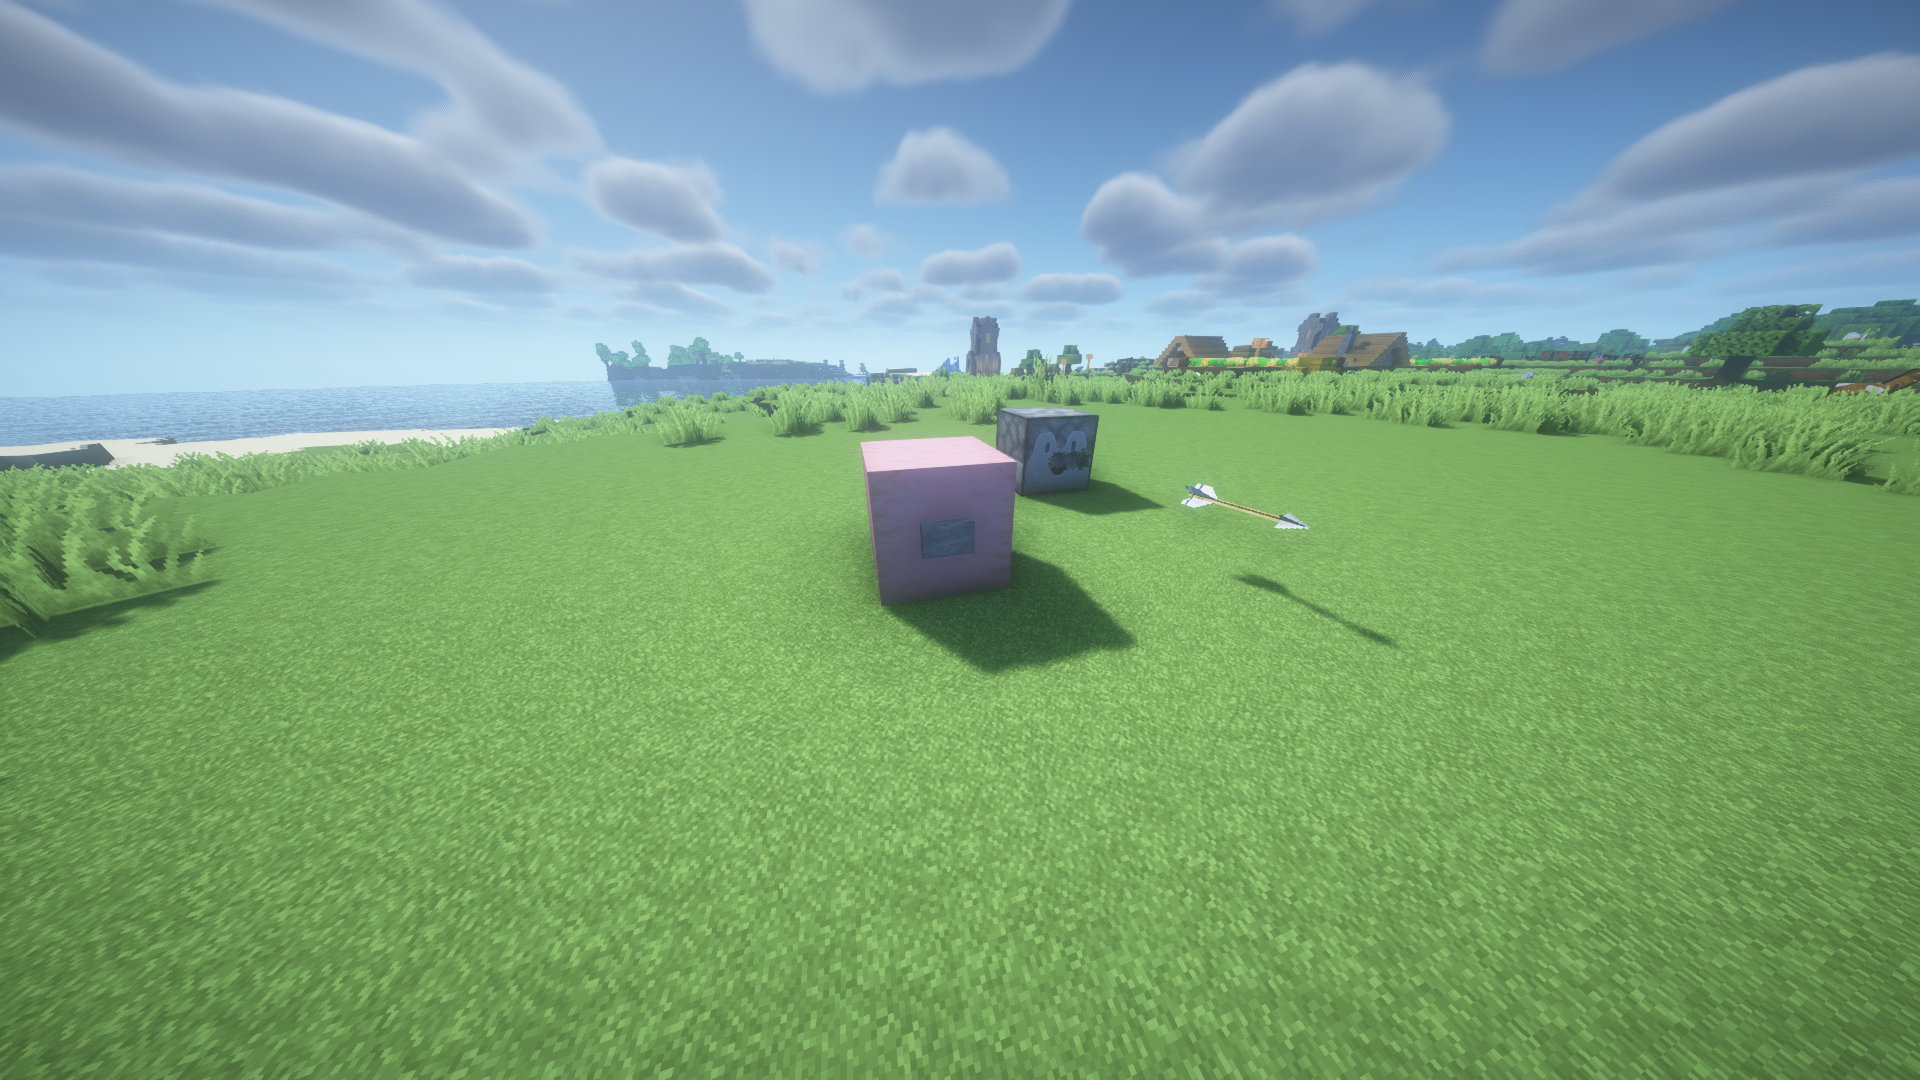
Target Block
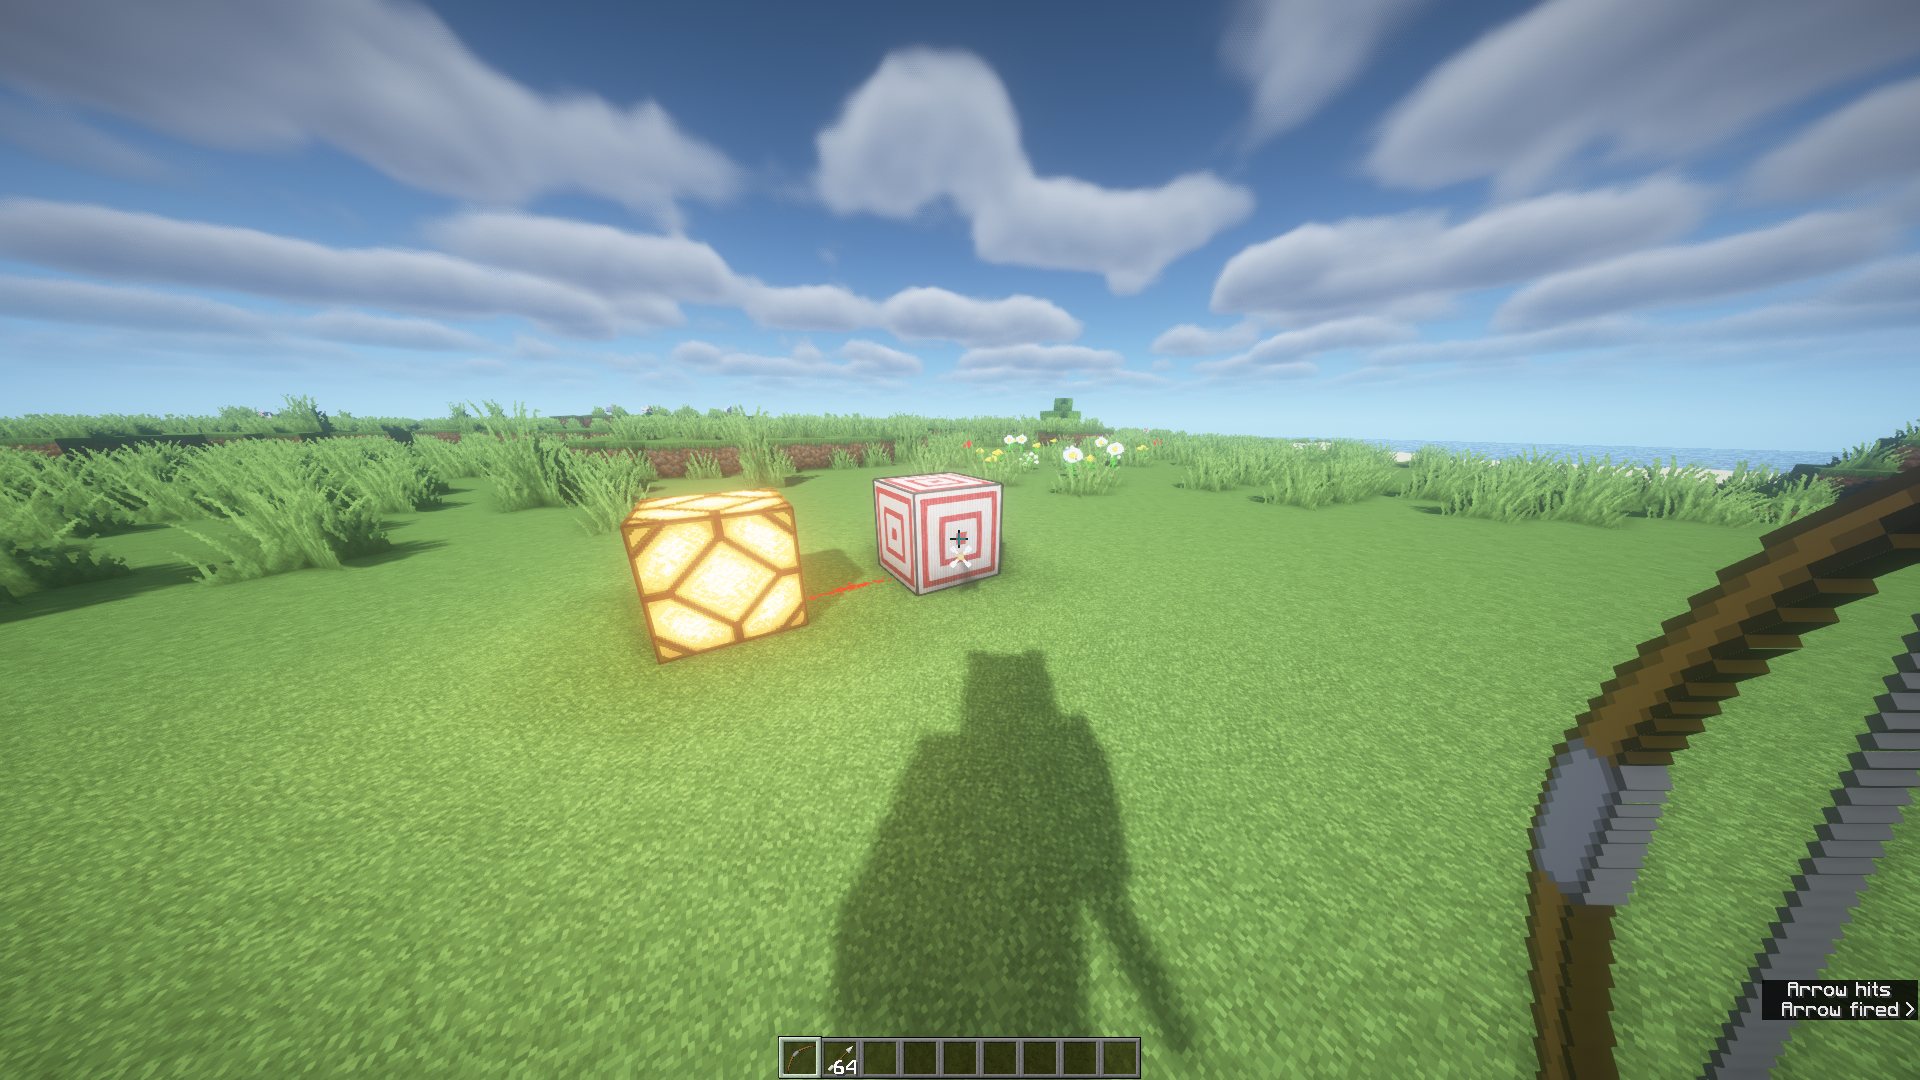
The target block releases a Redstone signal when struck by projectiles like arrows, eggs, tridents, crossbows, and splash potions. The strength of the signal varies based on the projectile's distance to the block's center.
The target block also triggers the observer as it is seen as an updated block whenever it is hit.
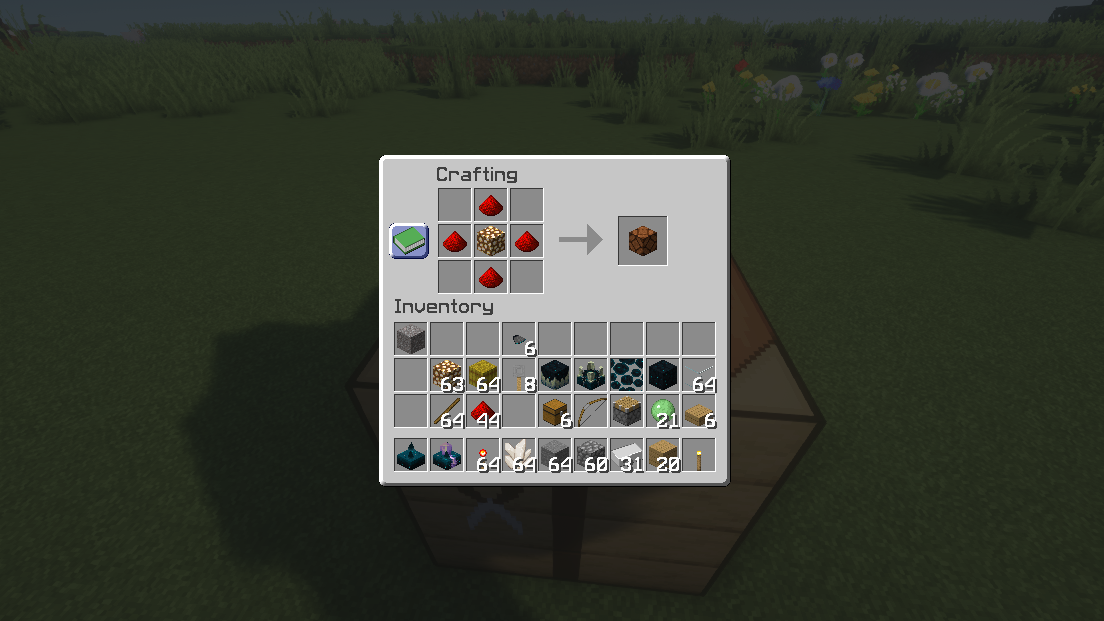
Redstone Lamp
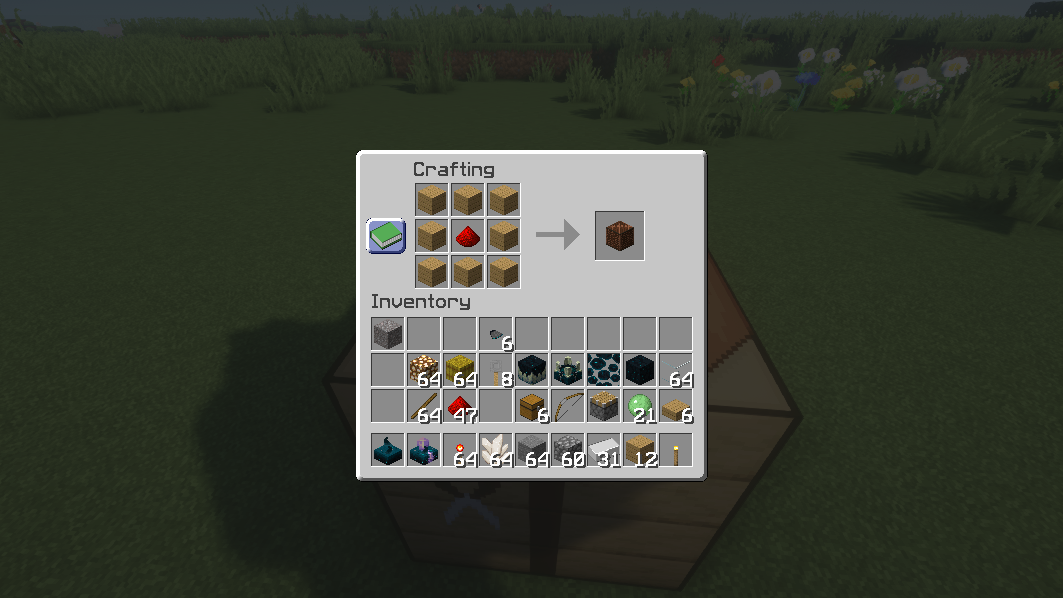
As the name suggests, a Redstone lamp illuminates when it receives a Redstone signal. Crafting a Redstone lamp involves placing a single glowstone in the center of the crafting grid and surrounding it with four Redstone dust.
Note Block
A note block produces sound either when it's struck by a player or when powered by a Redstone signal. The sound of the note block can be changed by placing different types of blocks above or below it.
Note blocks can also play a role in farming with Allays. If an Allay is within a 16-block range of a playing note block, it will be drawn to the sound and will gather nearby items, dropping them nearby.
Much like the vibrations sensed by Sculk sensors, the interaction between note blocks and Alloys involves sound vibrations. If wool blocks are placed between an Allay and a note block, the Allay won't be able to hear the notes.
Powered Rails
Powered rails are rails that get energized by Redstone, giving a speed boost to Minecarts. To power these rails, position a Redstone source like a Redstone block or torch next to the block containing the powered rail or beneath it. This sends a signal that activates the rail and propels Minecarts forward.
Activator Rails
Activator rails trigger specific types of Minecarts as they move over them. Various Minecart types, like TNT Minecarts or hopper Minecarts, can be affected.
For instance, when a TNT Minecart crosses an activator rail, it detonates the TNT it carries.
Redstone Logic Gates
Logic gates in Minecraft function exactly the same way as they do in the real world. These gates employ the same fundamental principles and can be built using Redstone and its components within the game. Logic gates are basic mechanisms that compute the output based on the input they receive. As these logic gates generate an output based on the status of their input, each logic gate section is accompanied by a truth table that shows the output with respect to the inputs.
We will go through all the useful logic gates and how to build them in Minecraft. There are six main logic gates you can create and they are as follows:
NOT
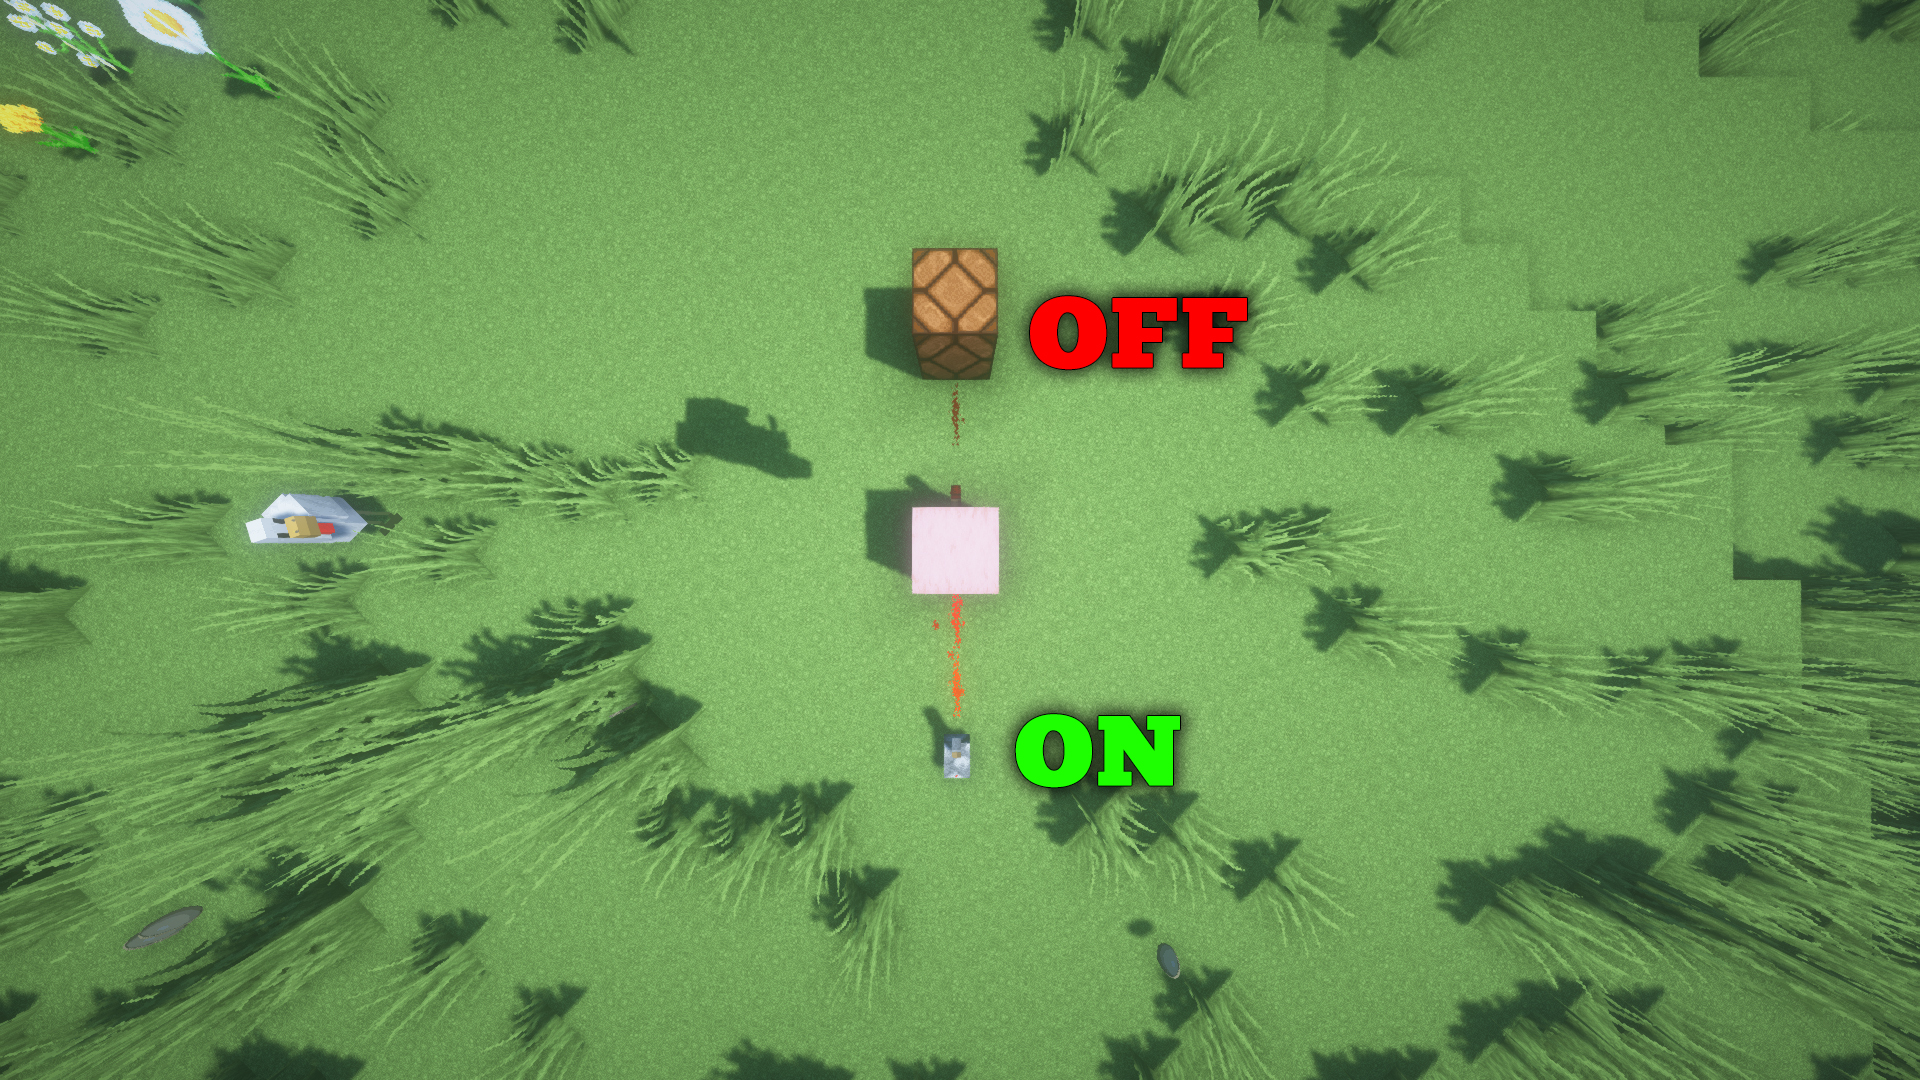
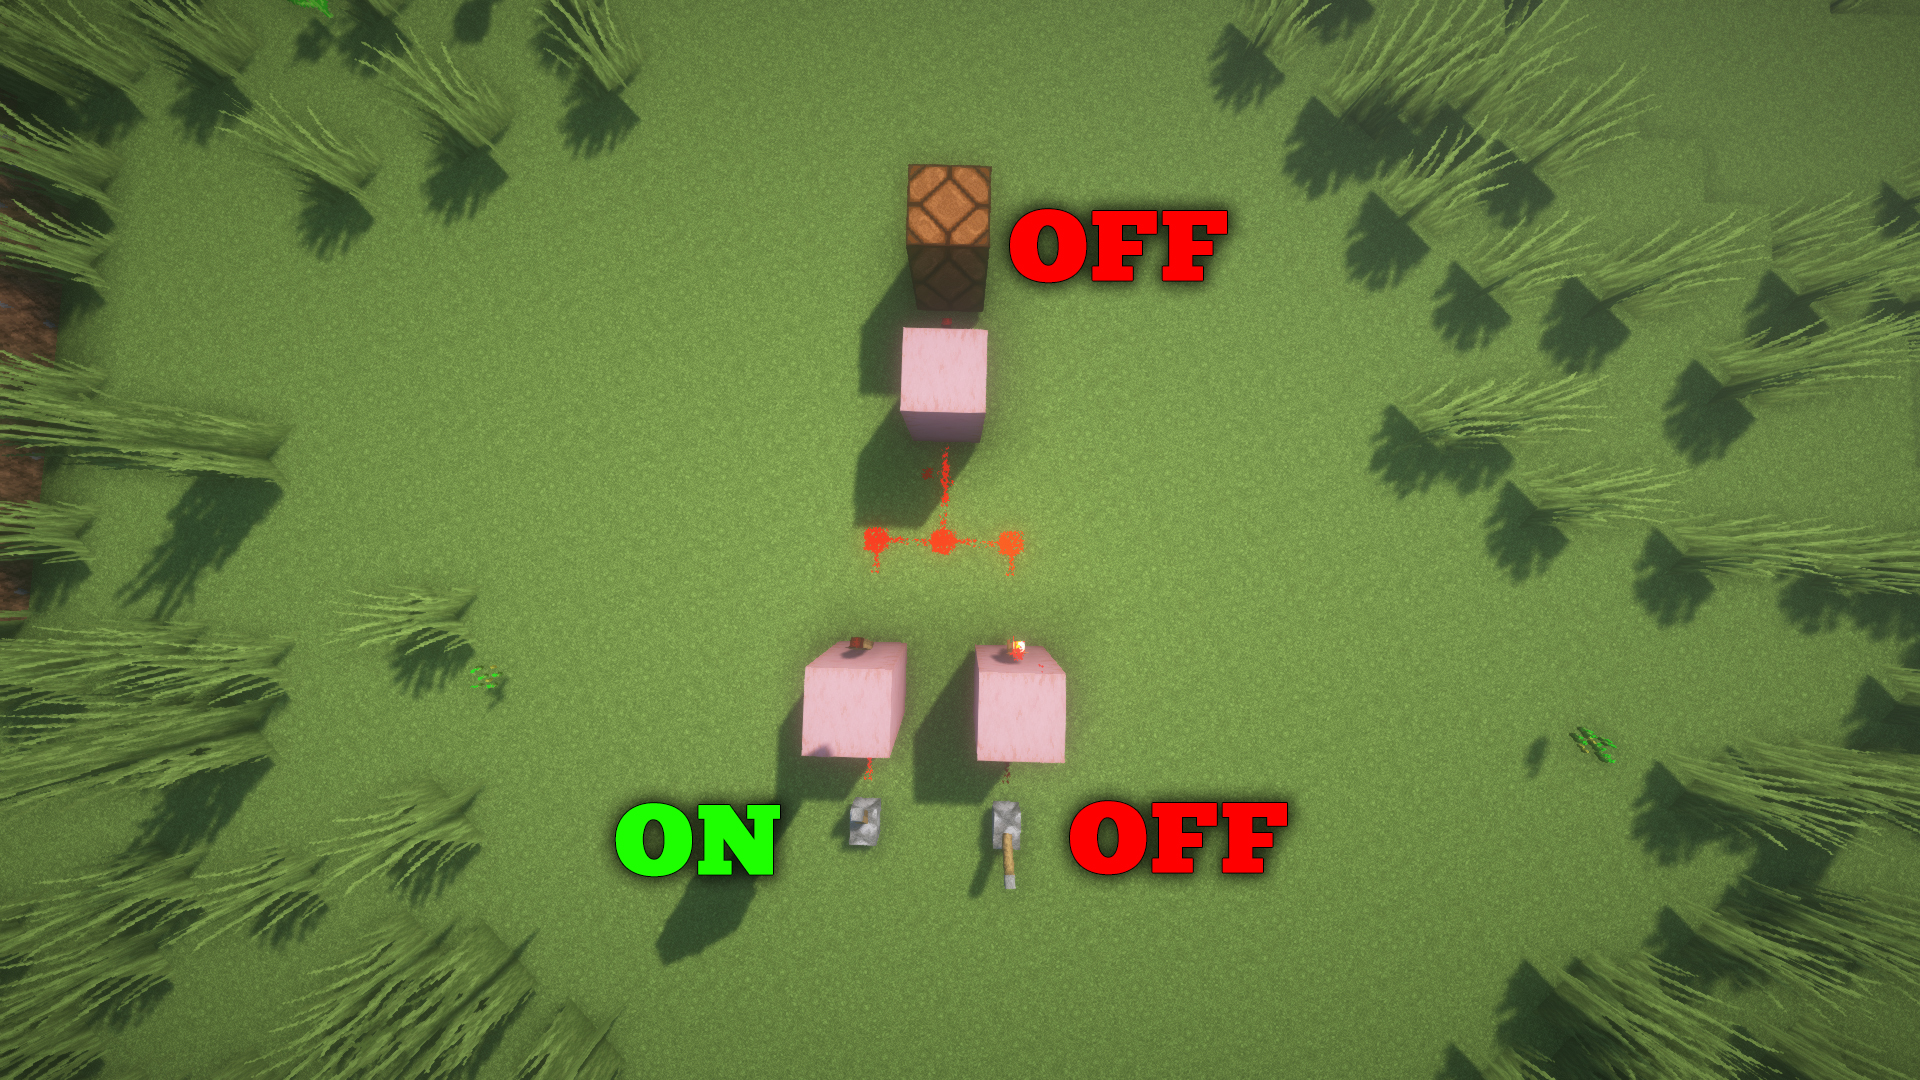
The NOT gate is the most simple logic gate in Minecraft. Its main function is to act as an inverter. It takes an input and gives the opposite as the output. For instance, if you switch the lever ON, it makes the connected mechanism turn OFF.
OR
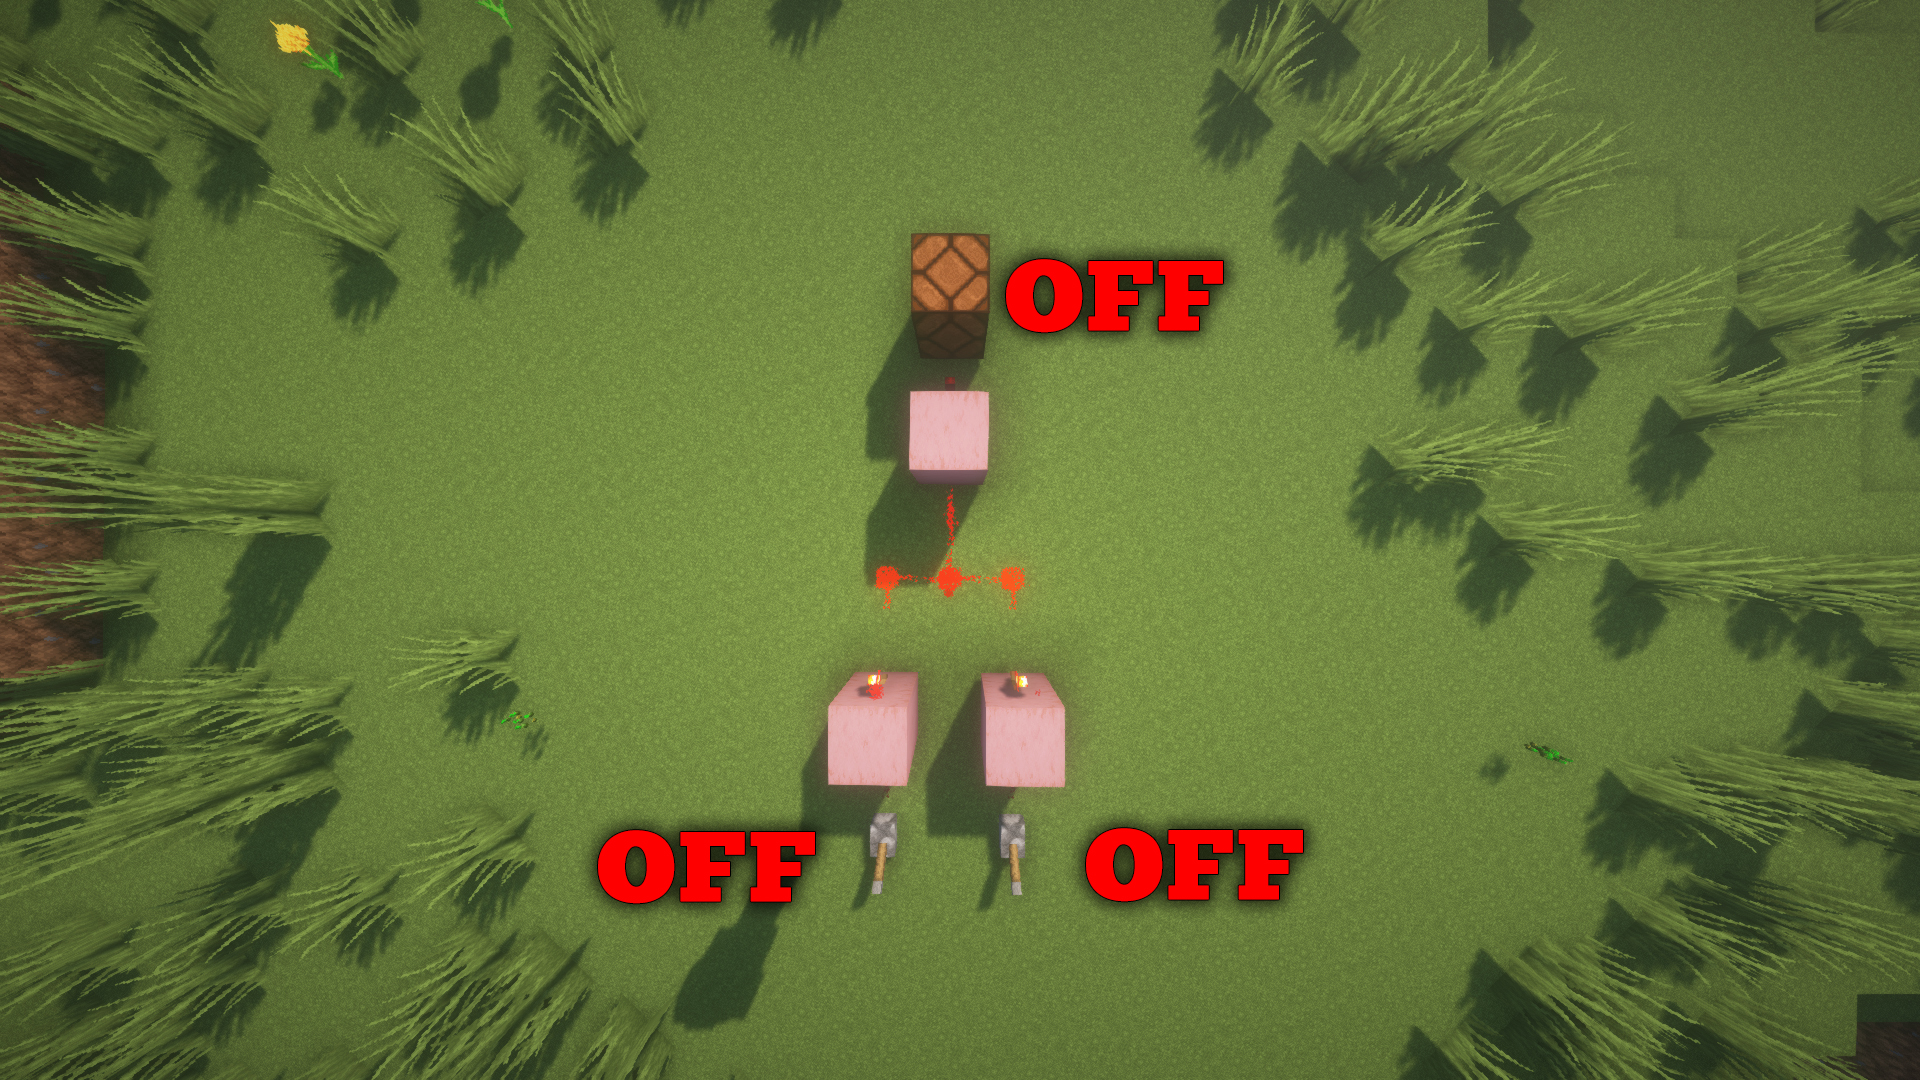
The OR gate in Minecraft works with two inputs to produce one output. But either both inputs must be ON or just one of them needs to be ON for the output to be ON. If both inputs are OFF, the output stays OFF too.
NOR
A NOR gate is an inverted version of the OR gate. It also takes two inputs to produce one output. However, it will only produce an ON output if both inputs are OFF. It will not give an ON output even if one of the inputs is set to ON status. You're pretty much combining NOT and OR gate to create a NOR gate.
AND
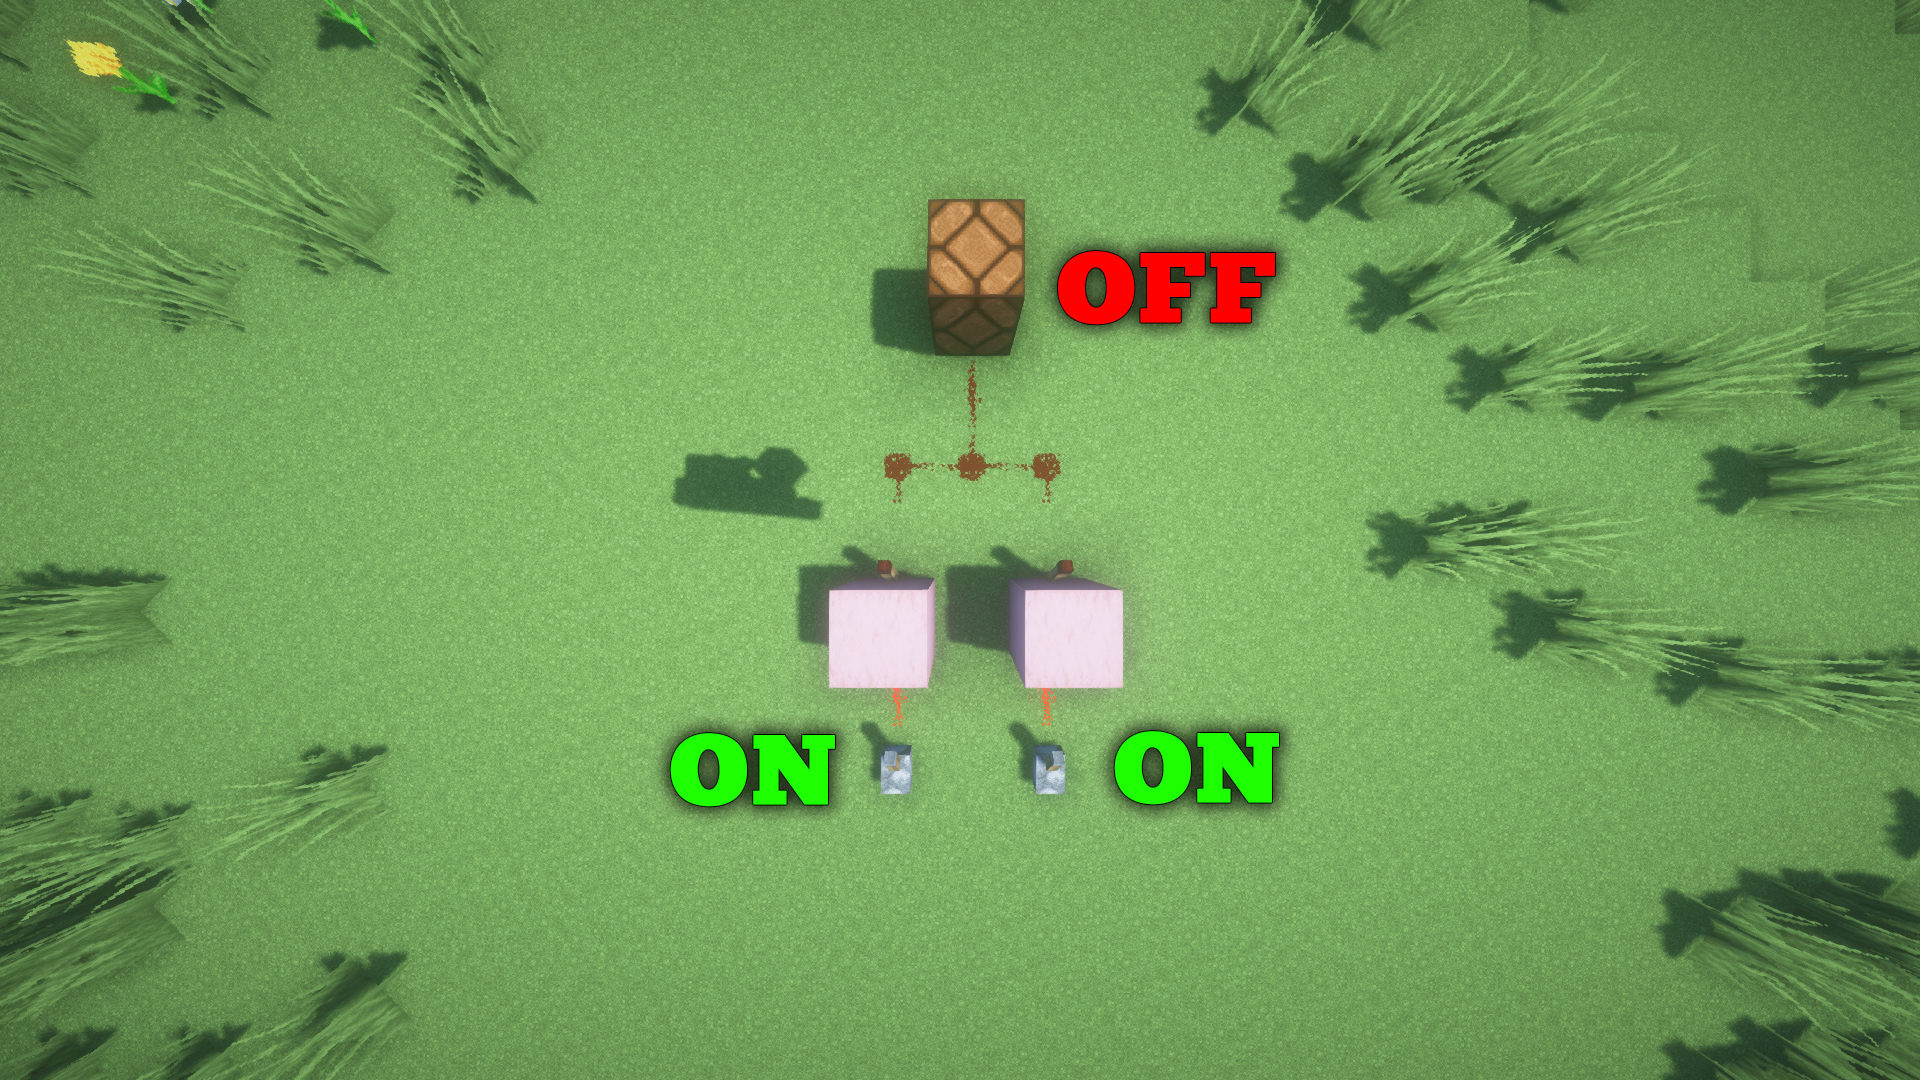
The AND gate in Minecraft shares some similarities with the OR gate, but it operates with a slight difference. While an OR gate requires either one of the inputs to be turned ON for an ON output, the AND gate works differently. It only produces an ON output when both inputs are set to ON. If one or both inputs are OFF, it will result in an OFF output.
NAND
Just as its name implies, the NAND gate serves as the inverted version of the AND gate. In the NAND gate, both inputs must be switched ON for the output to become OFF. If one or both inputs are in the OFF state, it will produce an ON output.
XOR
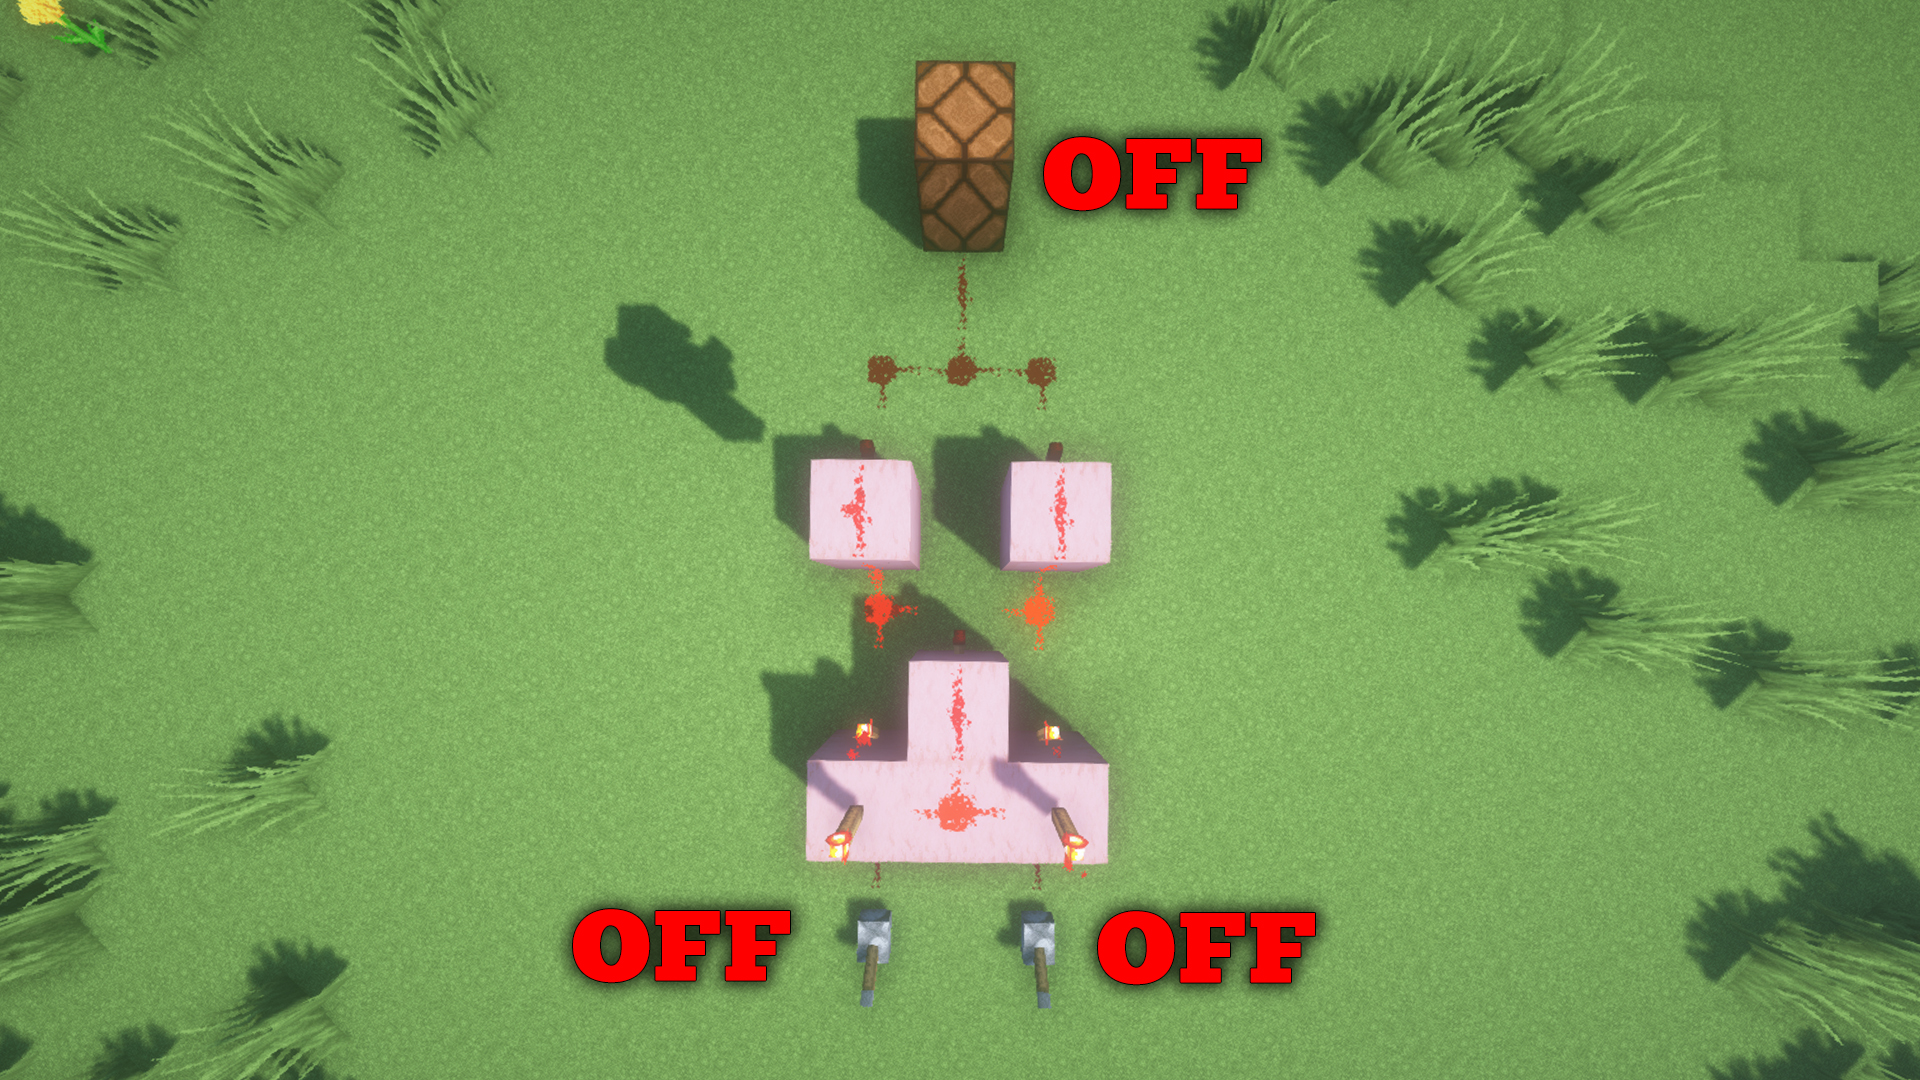
Okay, the XOR gate shares similarities with the standard OR gate, but it distinguishes itself by providing an ON output only when one of its inputs is set to ON. If both inputs are either OFF or ON, it generates an OFF output. However, if only one of the inputs is set to ON, then the output becomes ON. You will understand it better by referring to the table below.
In this logic gate, we have a hard criteria for the output to be turned ON, that is, to only turn ON one of the inputs and not both. This logic gate needs different power statuses. If both input switches are in the same position, the output will always be OFF.
XNOR
The XNOR gate is basically the XOR gate connected to a NOT gate to invert its function. In an XNOR gate, both inputs must be in the same state, either both ON or both OFF, for the output to be ON. If only one of the inputs is ON while the other is OFF, the output will be OFF.
That wraps up our Minecraft Redstone guide. These basics provide a solid foundation for understanding Redstone mechanics in Minecraft. With these concepts in mind, you can combine and explore creative ideas to build innovative mechanisms in the game.

