As experienced players who have ventured through the depths of Minecraft, we understand the exhilaration and challenges that come with stepping into its world for the first time. As the saying goes, "For every redstone engineer designing complex contraptions, there's a builder creating their first shelter."
With a fresh generation of miners and builders entering this beautiful world, it's only fair to provide them with a comprehensive guide. This guide will ensure that the next generation of miners and builders won't have to scratch their heads in puzzlement and can start their adventures with the utmost confidence.
Minecraft is a very welcoming and friendly game with endless possibilities to explore. However, as the sun sets, the night creatures start to crawl out of their caves, which you might want to avoid, especially on your first night in Minecraft!
Controls
Before we jump into the survival tips, let's take a quick look at the controls for your platform. Familiarizing yourself with these controls is important because you'll be building and managing your inventory a lot in Minecraft. Check out the table below for all the important Minecraft controls on different platforms.
Action | PC | Xbox | PlayStation |
|---|---|---|---|
Move forward | W | Left Stick (Push Forward) | Left Stick (Push Forward) |
Move backward | S | Left Stick (Push Backward) | Left Stick (Push Backward) |
Jump | Spacebar | A | X |
Sneak (Crouch) | Shift | Right Stick (Click) | Right Stick (Click) |
Sprint | Left Ctrl (Hold) | Left Stick (Click) | Left Stick (Click) |
Attack/Destroy/Harvest | Left-Click (Mouse) | Right Trigger (RT) | R2 |
Use/Place/Interact | Right-Click (Mouse) | Left Trigger (LT) | L2 |
Open Inventory | E | Y | Triangle |
Drop item | Q | Down D-Pad | Down D-Pad |
Open Crafting Menu | C | X | Square |
Chat/Command (Multiplayer) | T | D-Pad Right | D-Pad Right |
Inventory (Survival Mode) | E | Y | Triangle |
Swap item from Hotbar | 1-9 keys | D-Pad Up/Down | D-Pad Up/Down |
Split stack in half | Right-Click (Mouse) | A (while holding the item) | X (while holding the item) |
Place a single item in the inventory | Shift + Left-Click (Mouse) | Y (while holding the item) | Triangle (while holding the item) |
Video Guide
Feel free to check out our video for a more visual reference of this guide.
Gathering Resources
When you start the game, you have around 10 minutes of real time to collect the crucial resources you'll need to survive your first night in Minecraft. Your top priority should be gathering Wood. Wood is the most important material in Minecraft and serves as the cornerstone for crafting almost everything in the game.
You can obtain wood by punching the tree trunks. On PC, right-click (on Xbox, use the RT button, or on PlayStation, use the R2 button). Keep an eye on the block; it will show cracks that get bigger until it breaks. Collect about 64 logs before you continue, as we'll need them to make plenty of planks and sticks.
Crafting Table
Once you've collected enough, you can use one wood log to create four planks. At this stage of the game, convert all your wood logs into planks, as we don't have any use for the wood logs right now. You can achieve this by accessing your crafting menu, which you can open by pressing 'E' on the keyboard, 'Y' on Xbox, or 'Triangle' on PlayStation. In the crafting menu, you'll notice a 2x2 crafting grid. Simply place the log in any of the slots, and it will provide you with planks in a box on the right side.
Once you've crafted the planks, it's time to use them to make some essential tools. Begin by arranging four planks in a 2x2 grid to create a crafting table, which expands your crafting capabilities to a 3x3 grid. To place the table on the ground, select it from your hotbar and left-click on PC (or press LT on Xbox and L2 on PlayStation) while aiming at the ground or your desired location.
Next, let's create some sticks. Simply arrange two planks vertically in a 2x2 grid to craft these sticks. Sticks are essential for making various tools, including a pickaxe.
Crafting Tools
With your newly crafted sticks, place two of them vertically in the middle of your 3x3 crafting grid. Fill the top row with three wooden planks, creating a wooden pickaxe.
Use your wooden pickaxe to gather some cobblestone. With cobblestone, you can craft more efficient tools that mine or dig faster and have increased durability. As you upgrade your tools, their durability improves, allowing you to mine more blocks. Keep in mind that gold tools are the least durable, while Netherite tools are the most robust. Netherite tools are for "end game" though, and for now you can focus on getting the stone tools.
The recipes for all the tools remain the same, you only need to to swap the material. For example, crafting a stone pickaxe involves arranging two sticks vertically in the middle, with the top row filled with three cobblestones instead of wooden planks this time.
Mine approximately twenty cobblestone blocks to ensure you have enough for crafting essential tools like an axe, a hoe, a sword, and a shovel. The axe speeds up the process of breaking wooden items, the hoe transforms grassy terrain into suitable plots for planting seeds, the sword is used to kill both hostile and friendly mobs, and the shovel makes quick work of digging blocks like dirt or gravel.
Tip
: If you're unsure about the crafting recipe for any of these tools, open your recipe book. You can find the tools there and click on them. If you have the necessary items in your inventory, they will be placed automatically in the crafting grid.
Food
Now, let's focus on gathering some food. In Minecraft, food is your key to survival. When your hunger bar is full, your health will gradually heal. But if your hunger bar is low, your health won't regenerate. Look for animals like chickens, sheep, cows, or pigs. They'll provide you with the sustenance you need.
Equip your sword and use it to defeat the animals and collect their meat. To maximize damage, jump and attack. Typically, it takes two or three jump attacks to defeat them. Equip your sword in the hotbar and left-click on PC (RT on Xbox and R2 on PlayStation) to attack.
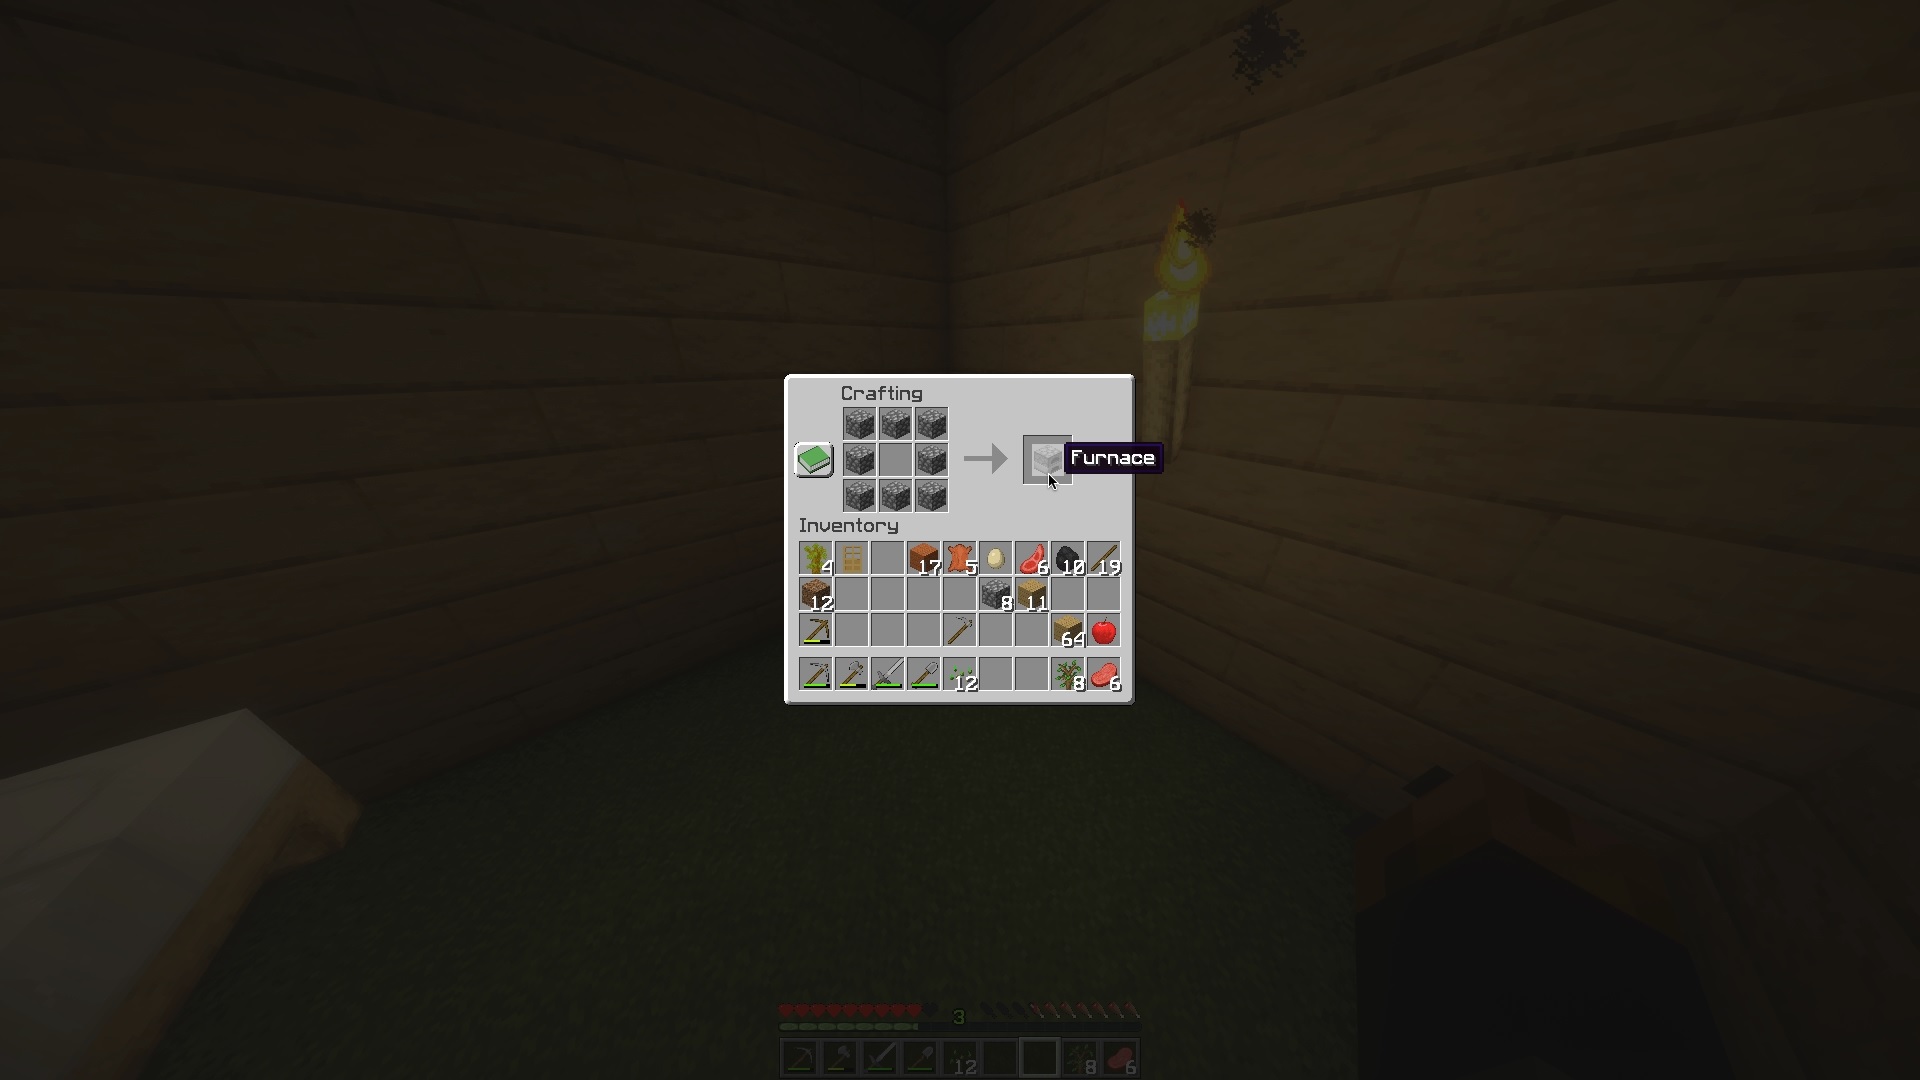
To make a furnace, use your crafting table and surround it with eight cobblestones along the border of the 3x3 grid.
After crafting the furnace, you'll notice two slots. Place your raw food in the top slot and a fuel source at the bottom to cook the food. Various items can be used as fuel, including wood. However, wood burns quickly and isn't ideal for cooking multiple items.
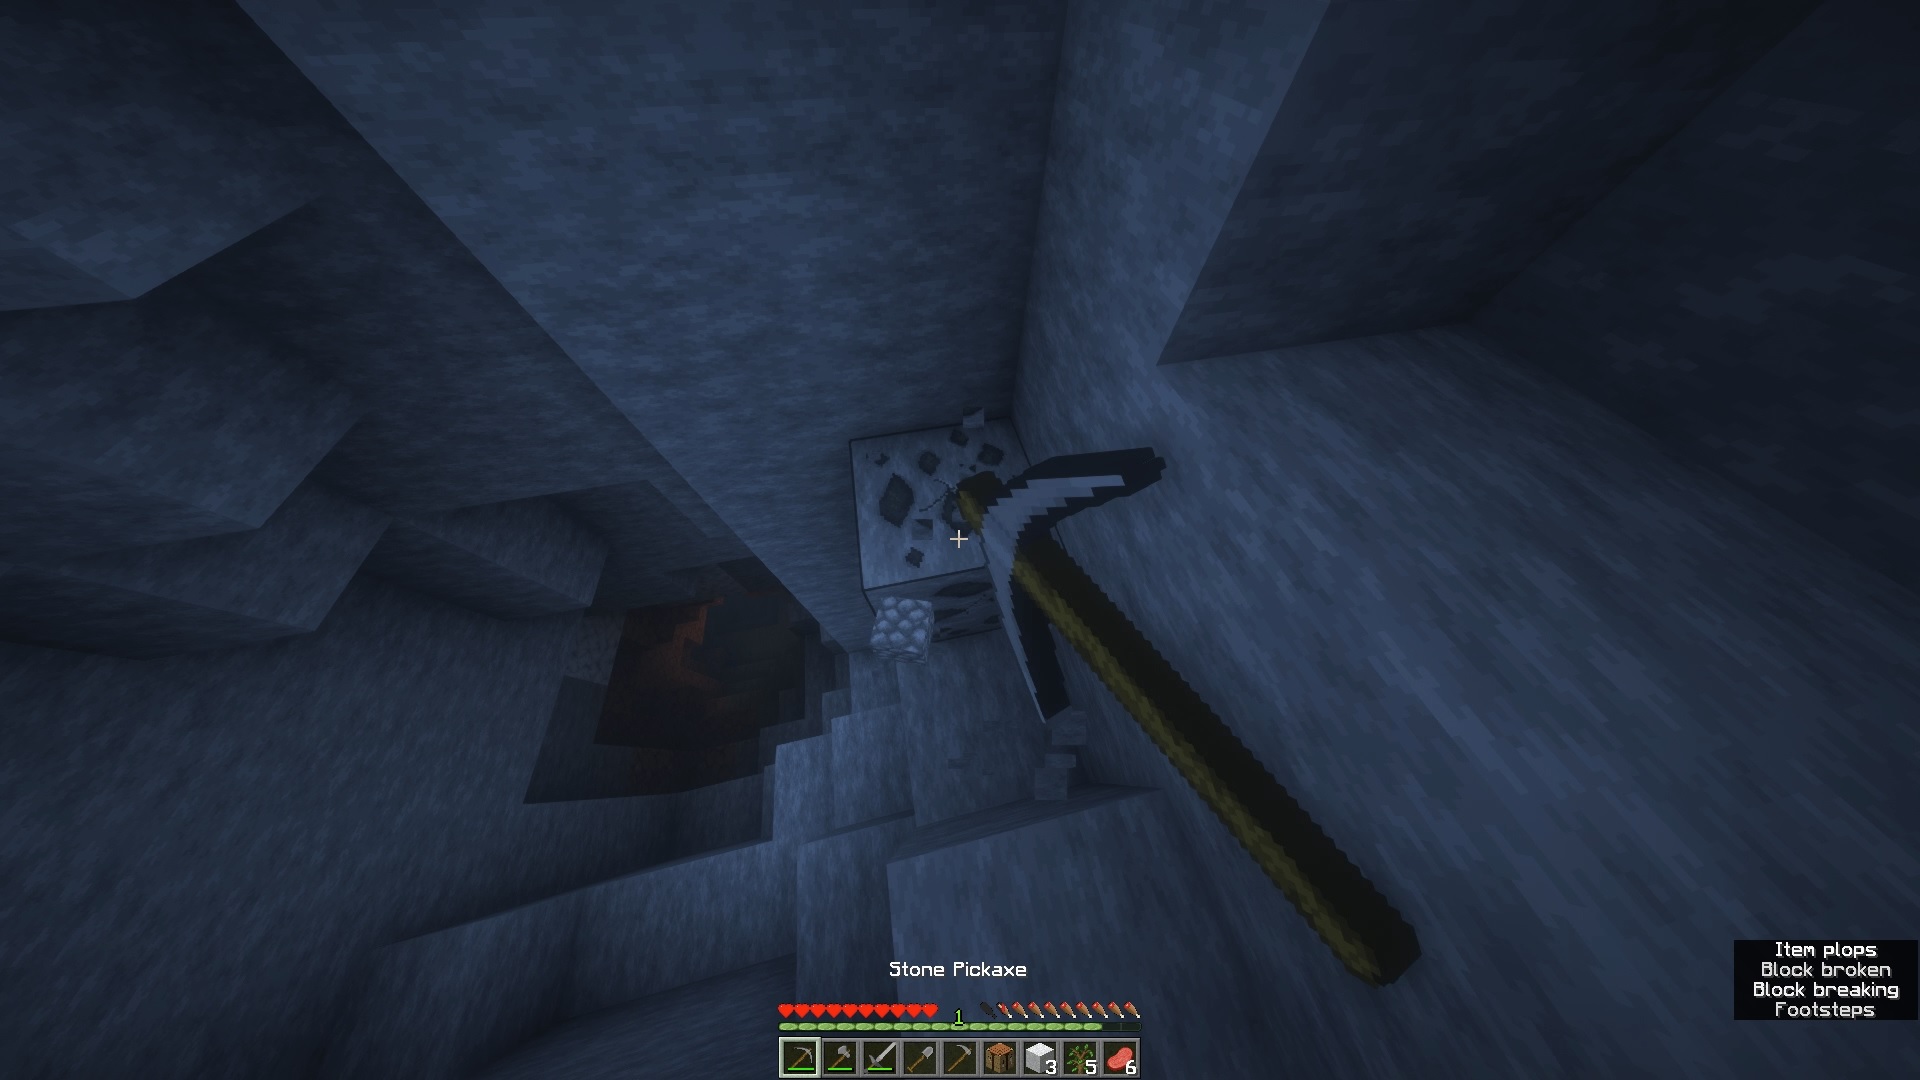
Coal is quite easy to locate. It's often found on mountainsides, inside caves, or on stony surfaces. The good news is that coal usually appears in veins, with each vein yielding 1-2 coal.
nextpage
Shelter
On your first night in Minecraft, you can dig a hole on a mountainside or underground. However, with all that wood you've gathered you can create a small cabin. This shelter will protect you from the hostile mobs that roam the land at night.
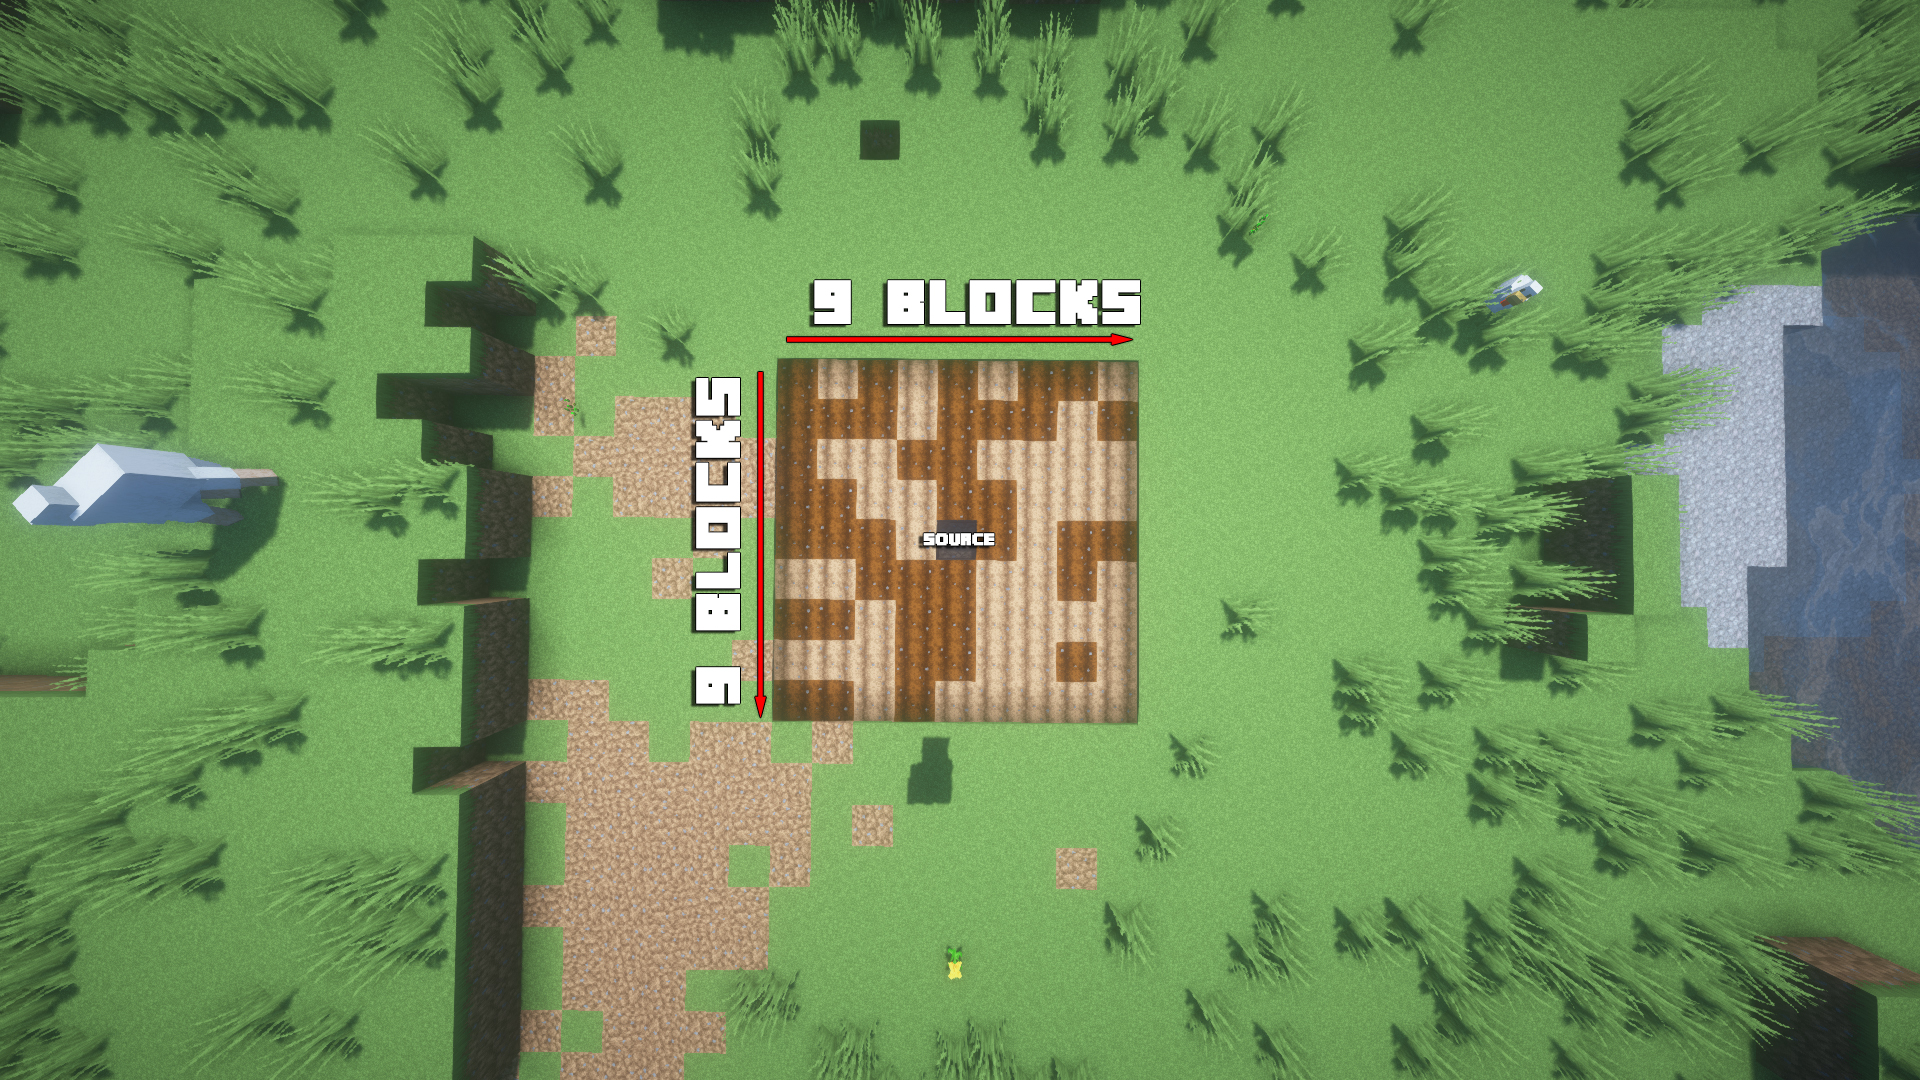
In the beginning, it's a good idea to locate a spot near a water source, although not mandatory. This will simplify farming later on. Once you've found a suitable location near water, you can clear the grass by punching it.
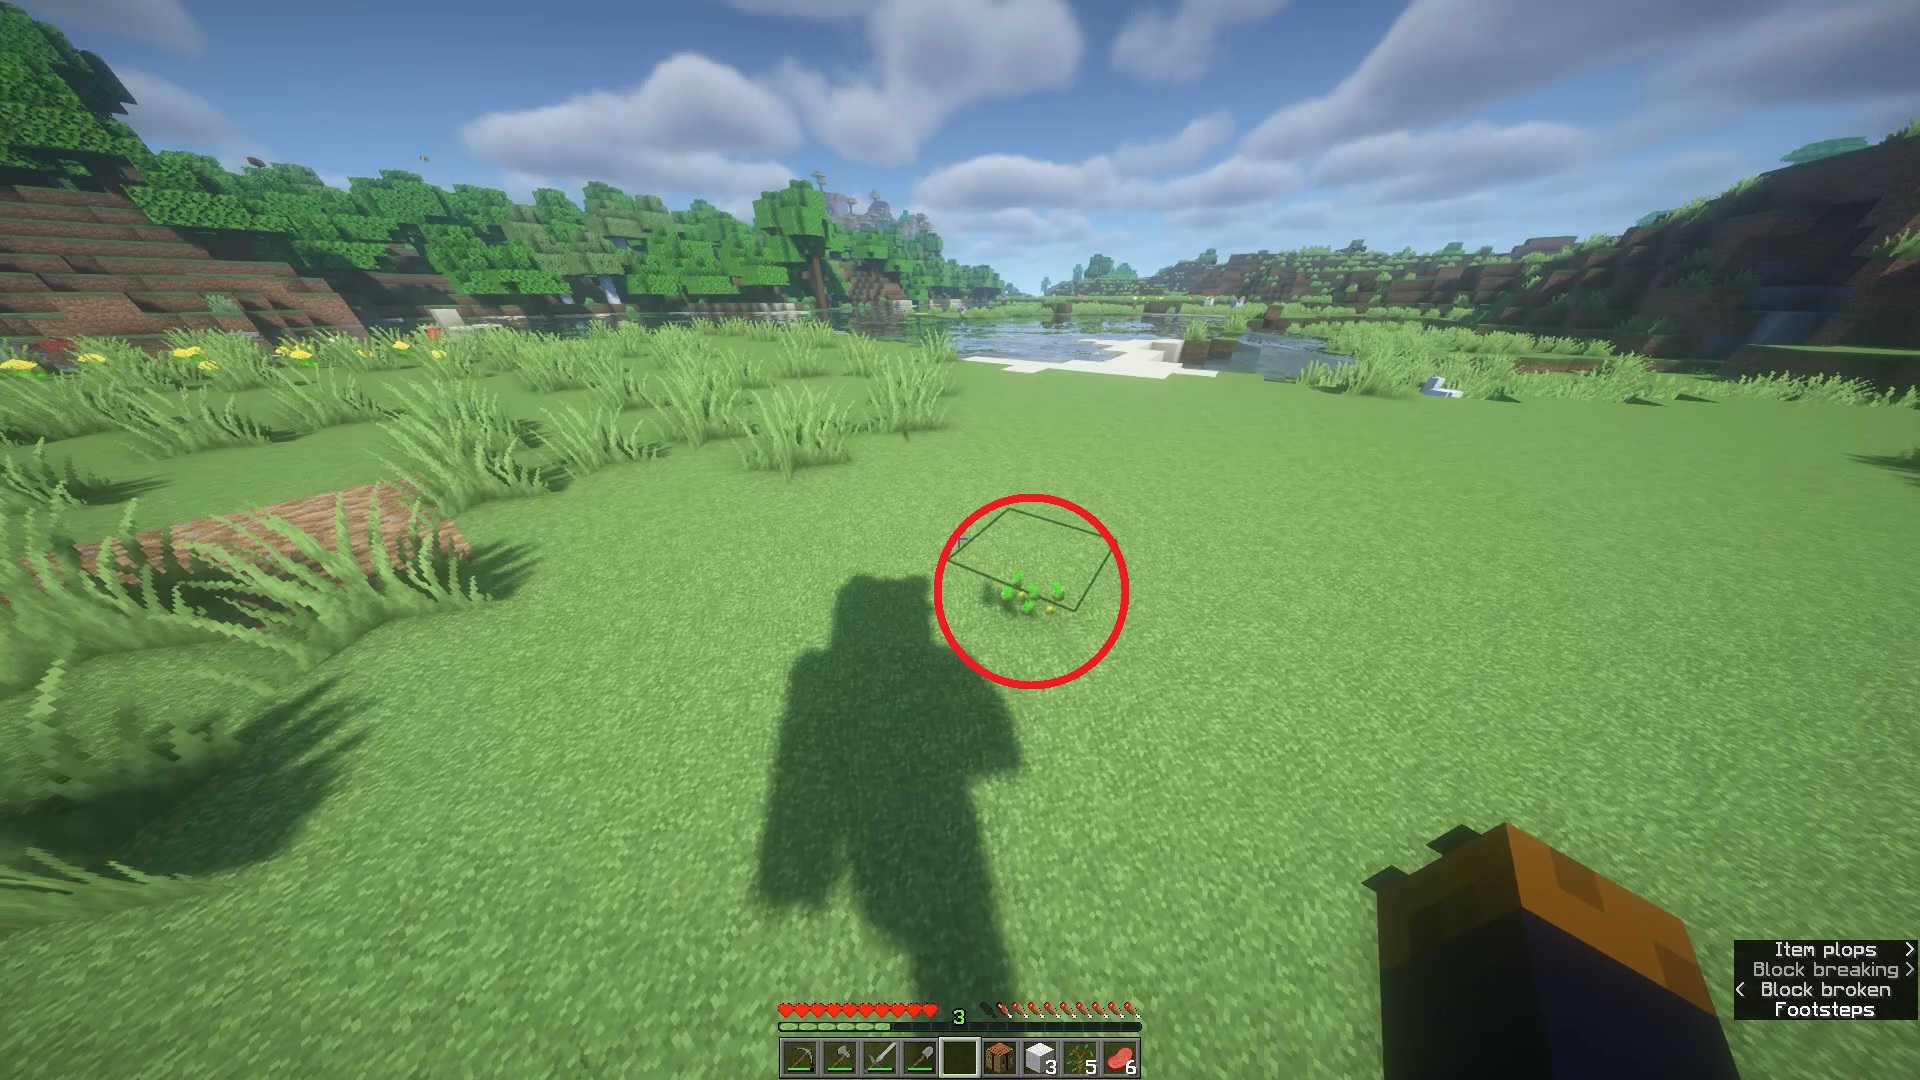
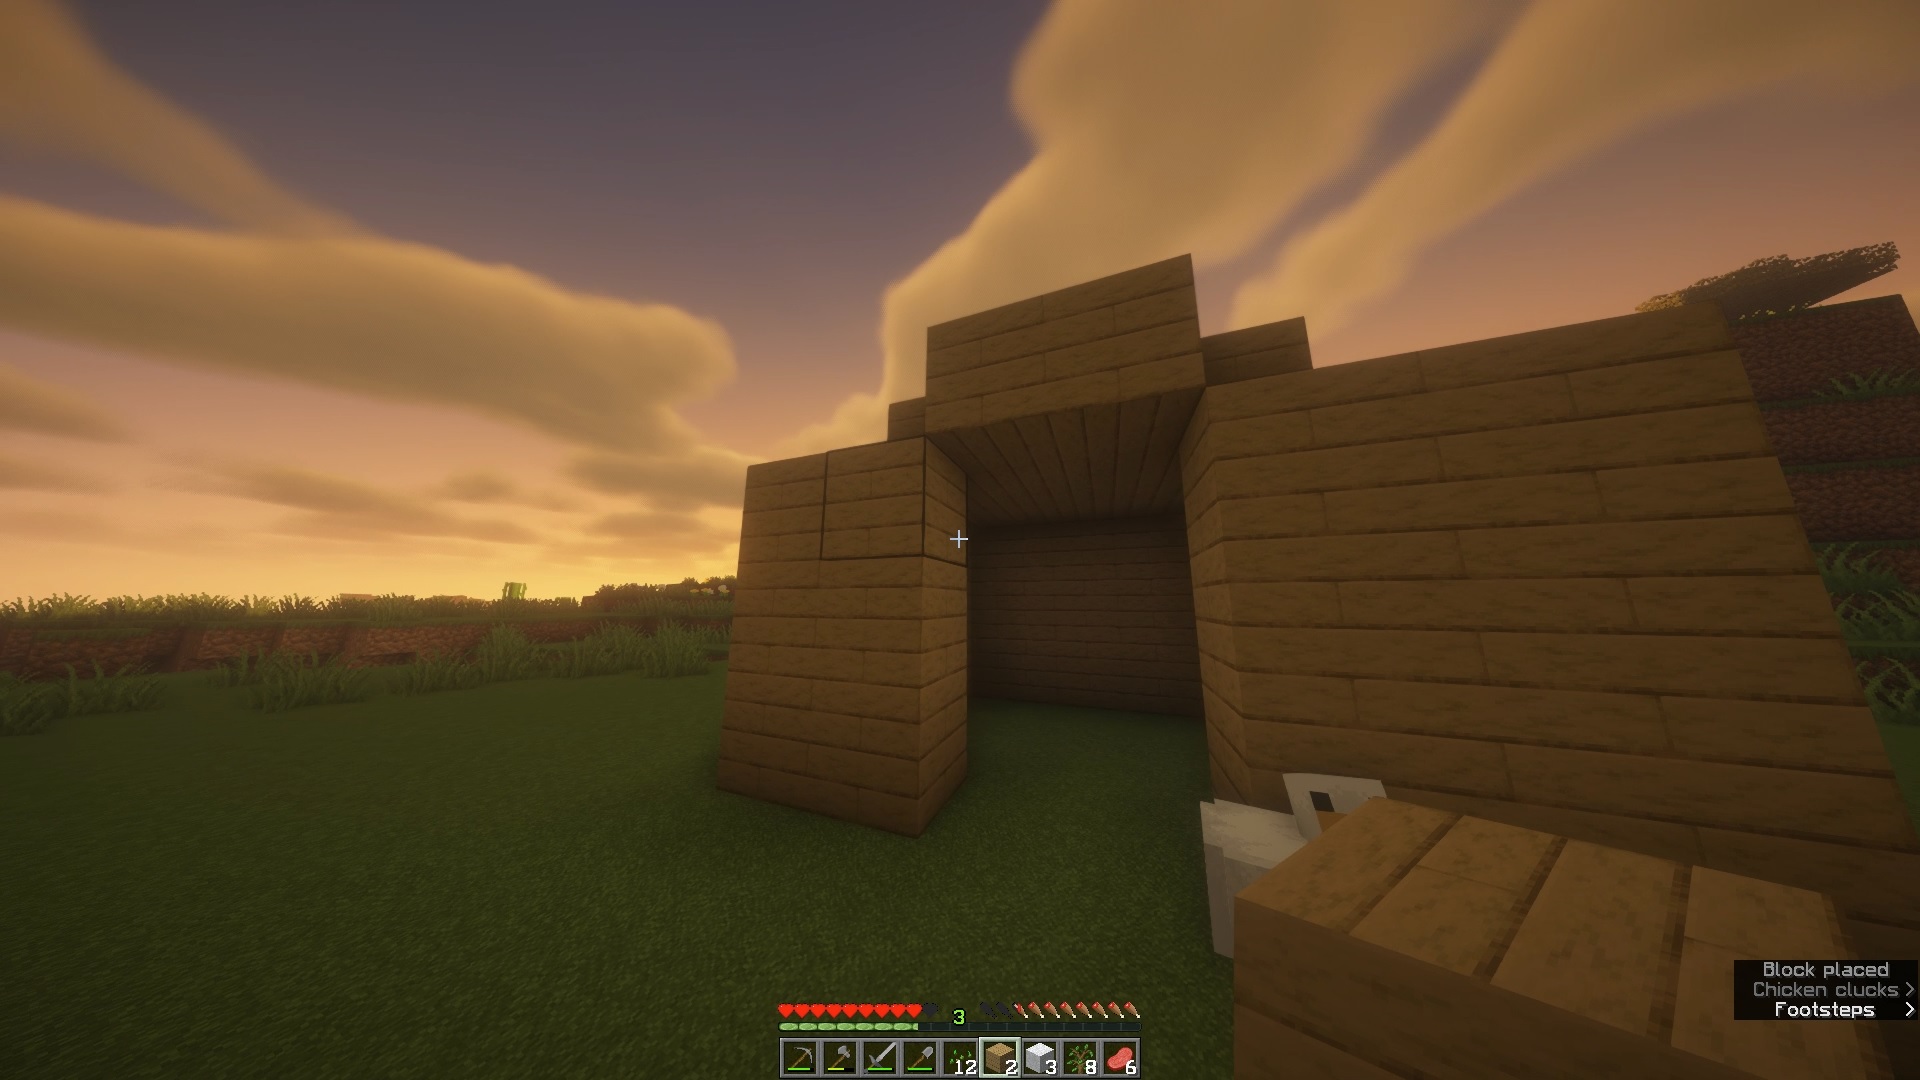
When you remove the grass, it will drop seeds, which we'll discuss in the farming section below. Now, equip the wooden planks and place them one by one on the ground to create a rectangular shape.
To craft a door, arrange six wooden planks in a 2x3 grid on your crafting table, which will yield three wooden doors. You can place two of these doors within the 2x2 gap you left to create an entrance for your very first Minecraft cabin.
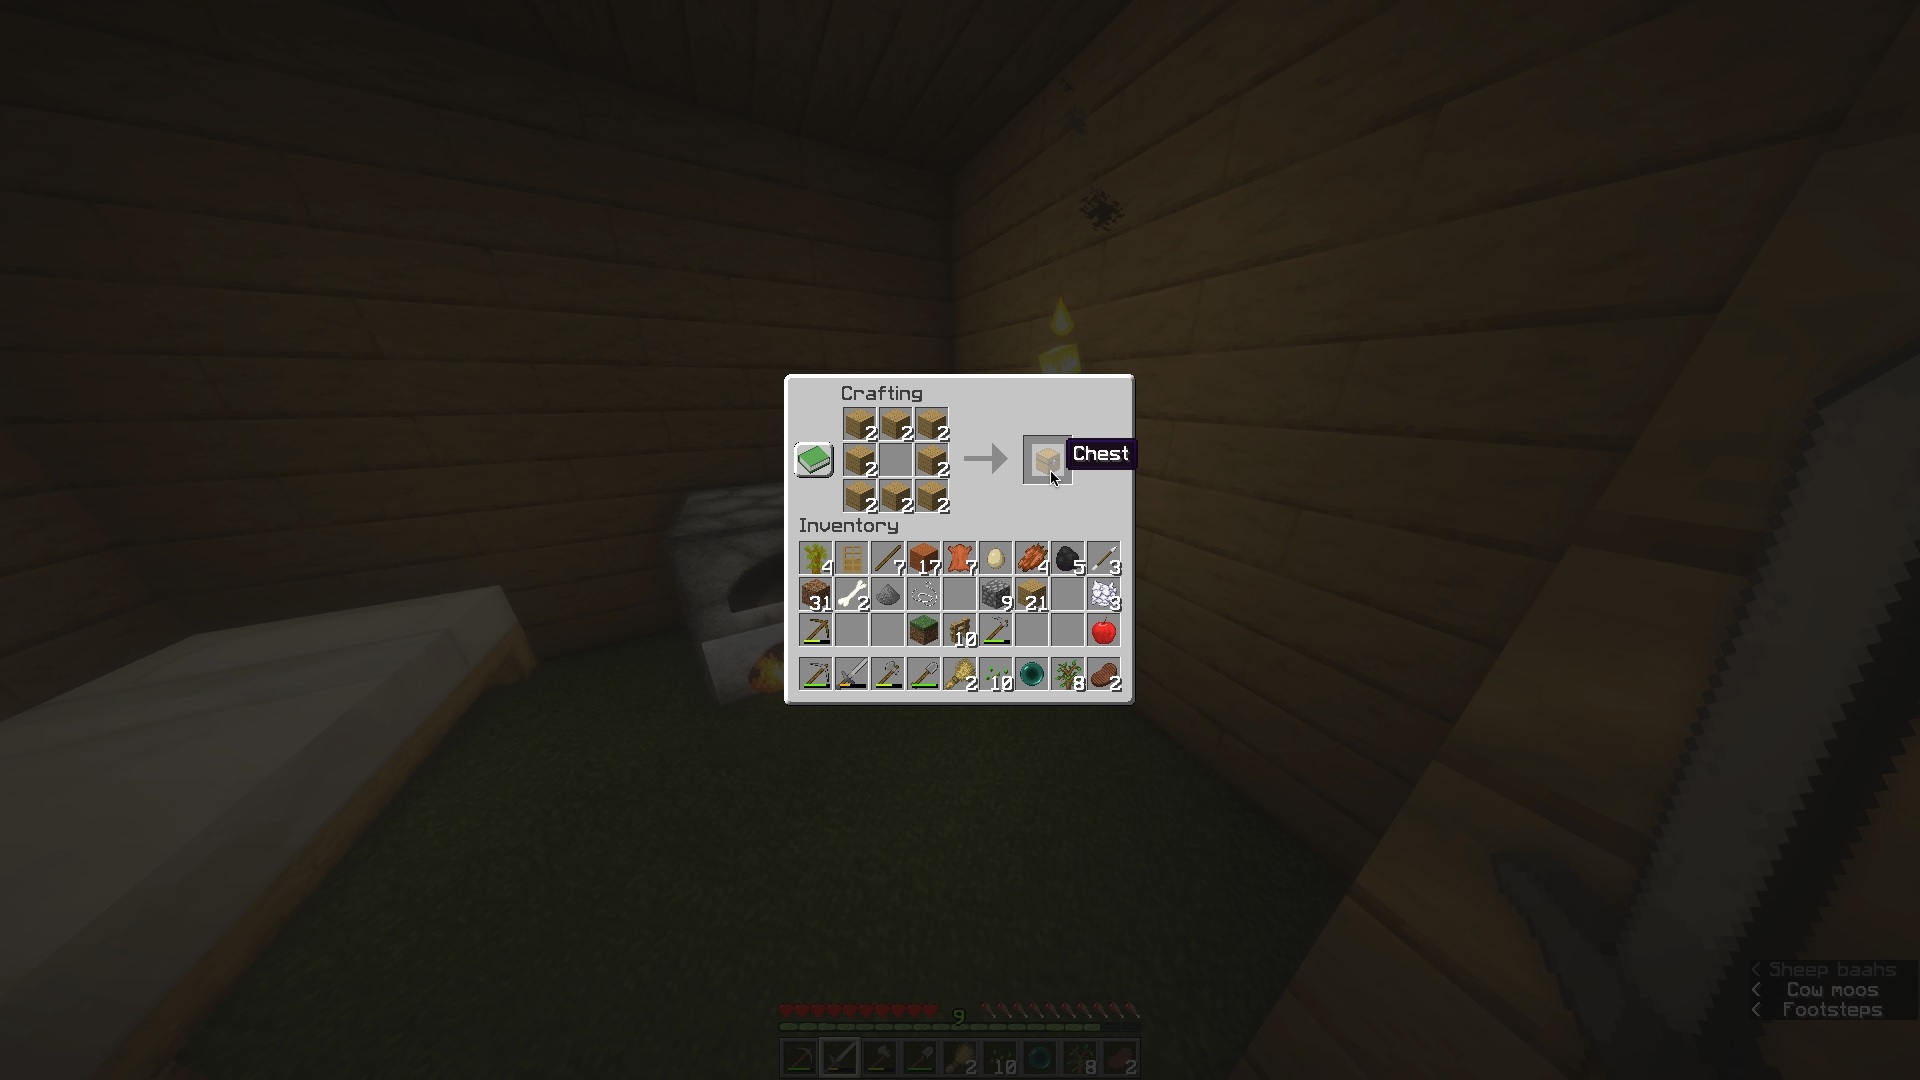
Now, you can relocate your essentials like a crafting table and a furnace inside your cabin. It is also best to craft a double chest to store all your items and avoid overloading your inventory. To craft a double chest, combine two small chests in a crafting grid. First, create a single small chest by arranging eight wooden planks around the border of a 3x3 crafting grid on the crafting table.
Next, create another small chest and place them side by side anywhere you'd like. This will result in a large double chest capable of holding more items.
Lighting
Lighting plays a crucial role in Minecraft survival, whether it's day or night. In caves, keeping areas well-lit with torches is important to prevent hostile mobs from spawning. These mobs tend to appear in darker conditions, which is why they always spawn at night.
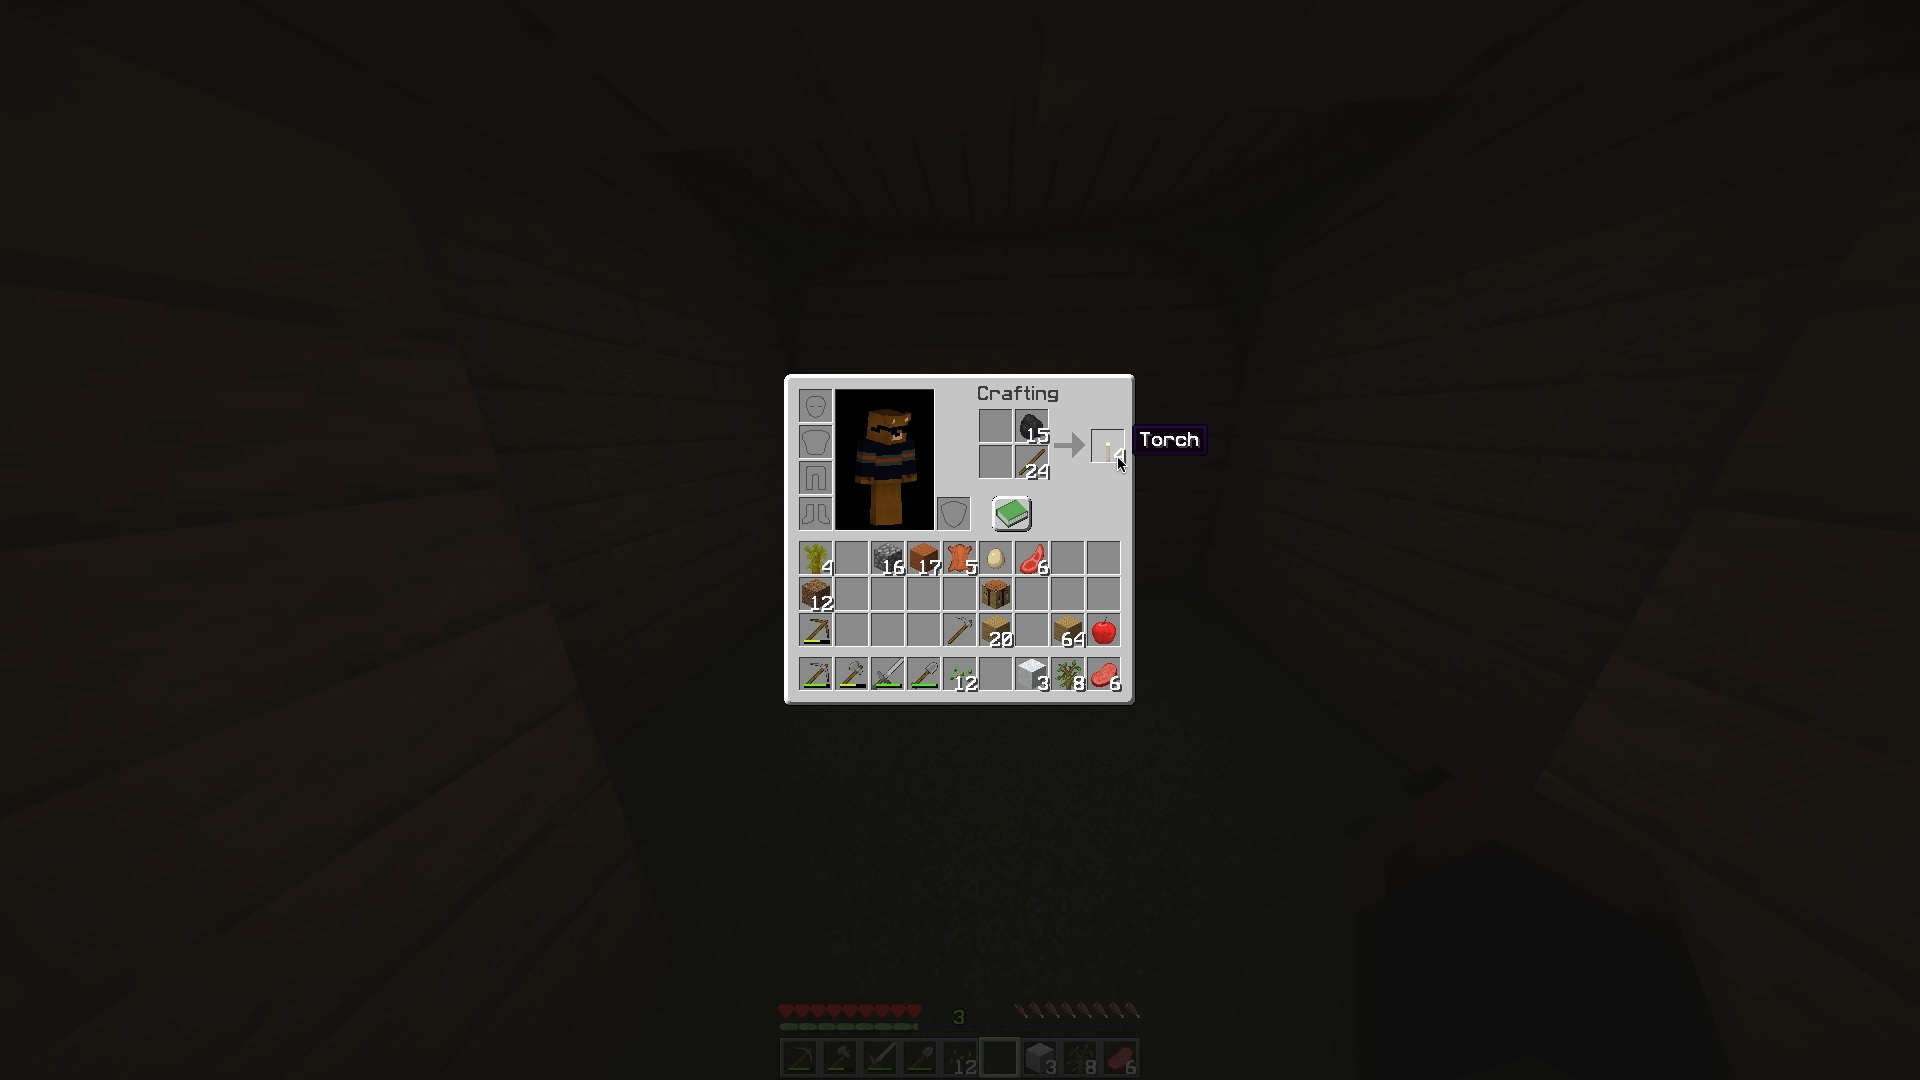
A basic but highly effective light source you can craft is the torch. To create four torches, simply place a stick below a single piece of coal in your crafting grid.
Spawn Point
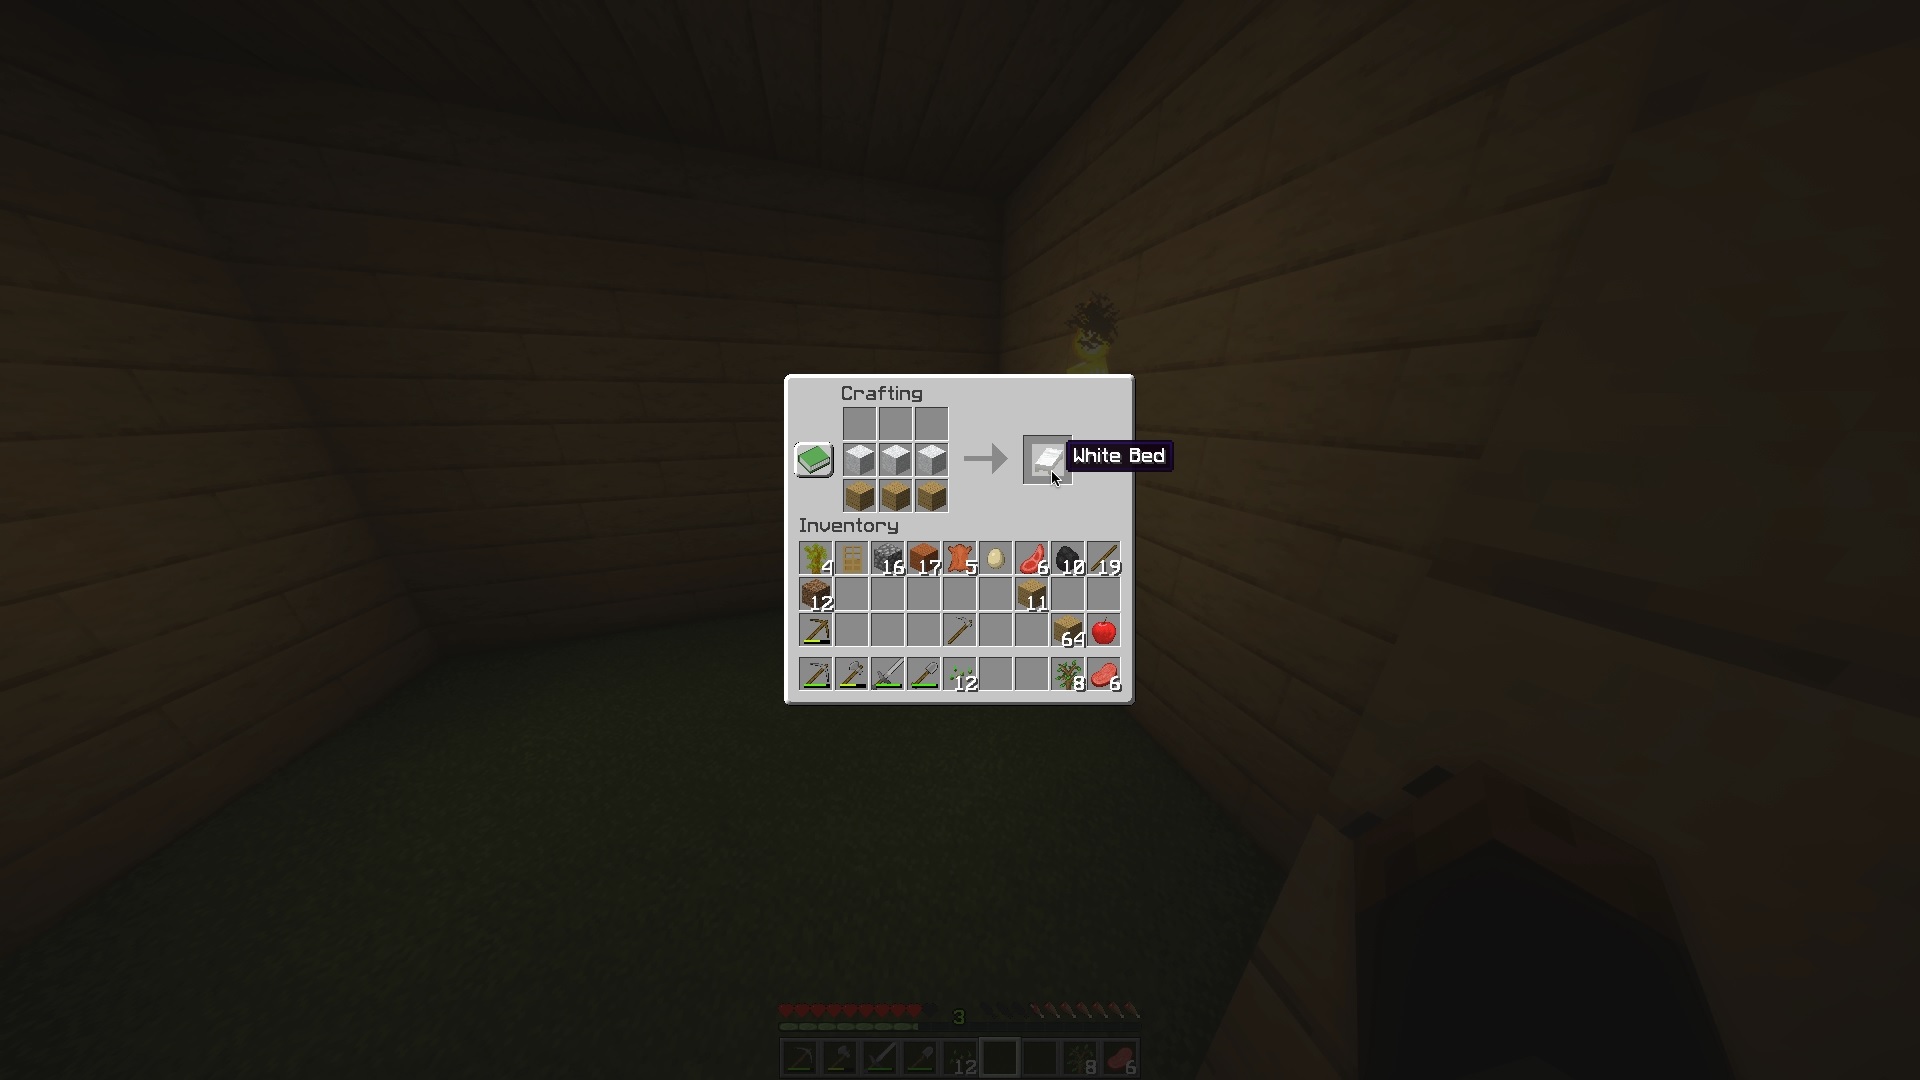
To set your spawn point, which is especially crucial if you've ventured far from the world's original spawn point, you need to craft and use a bed. Crafting a bed involves placing three pieces of same-colored wool and three wooden planks horizontally in a 3x2 pattern on your crafting table. The reason we use the same-colored wool is because having different colored wool won't allow you to craft the beds.
If you happen upon a black sheep, be on the lookout for at least three of them to ensure you can craft a bed.
After placing a bed, right-click on it (LT on Xbox and L2 on PlayStation) to set your spawn point.
Farming
Next, let's explore additional food options like farming. In Minecraft, there are various food items you can cultivate, but for your first night, let's start with something simple such as wheat seeds.
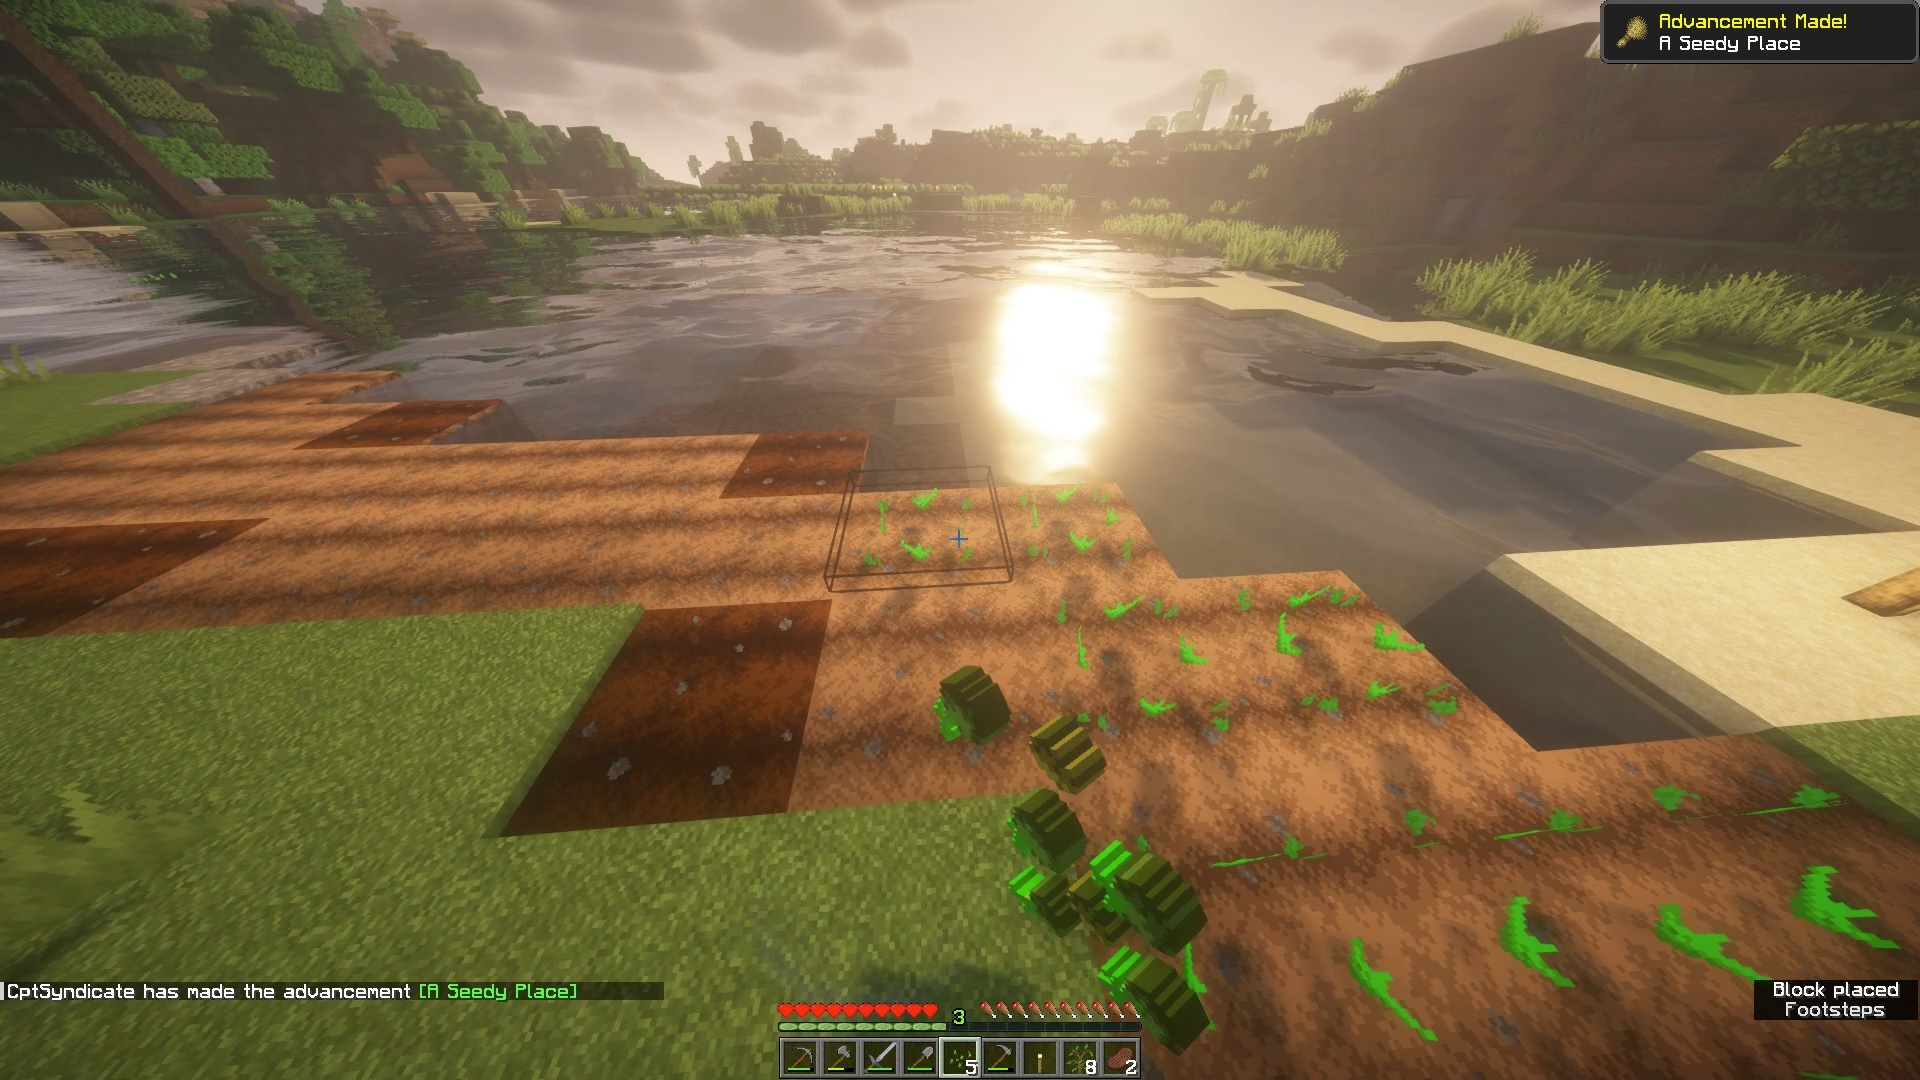
Once you've collected some seeds, equip a hoe and right-click (LT on Xbox and L2 on PlayStation) on a grass block to create soil.
With the seeds ready and equipped, right-click (LT on Xbox and L2 on PlayStation) on the moist soil to plant them.
To craft bone meal, simply place a regular bone (acquired by defeating skeletons) into a crafting grid.
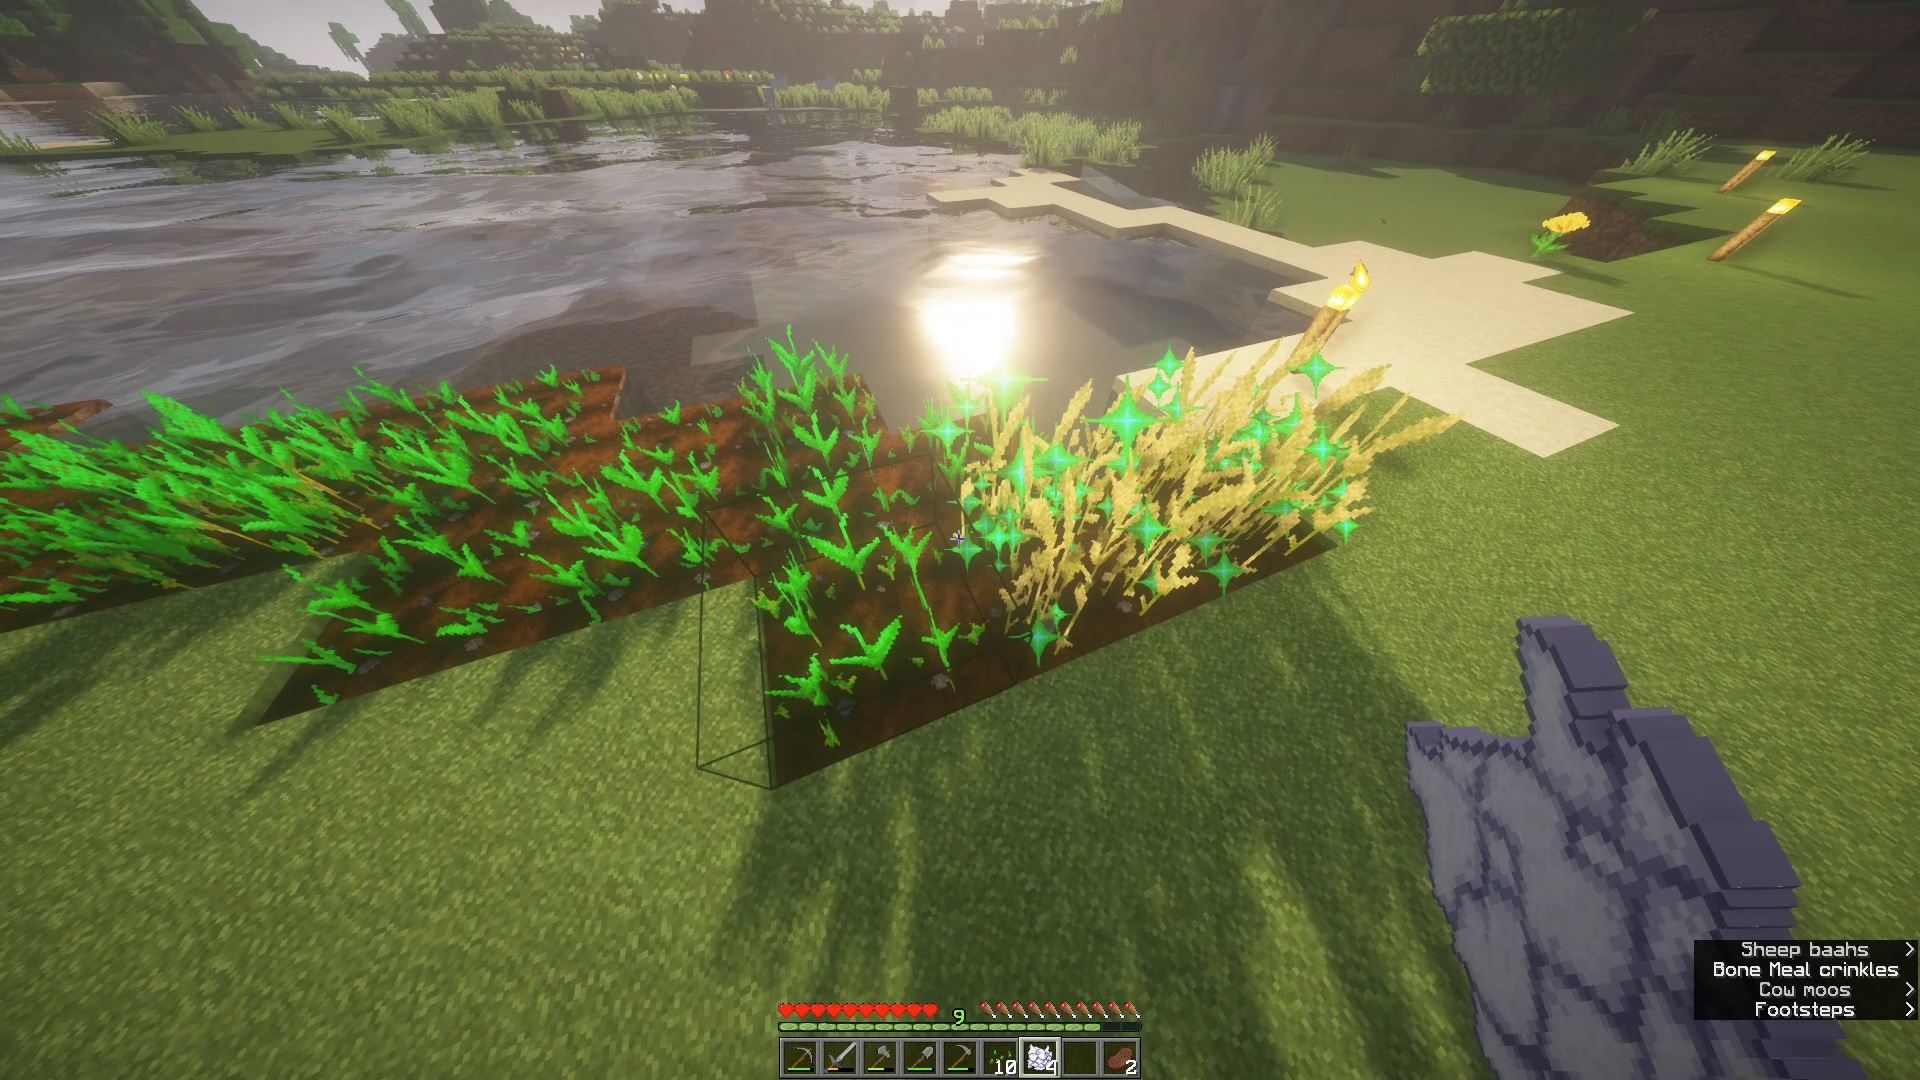
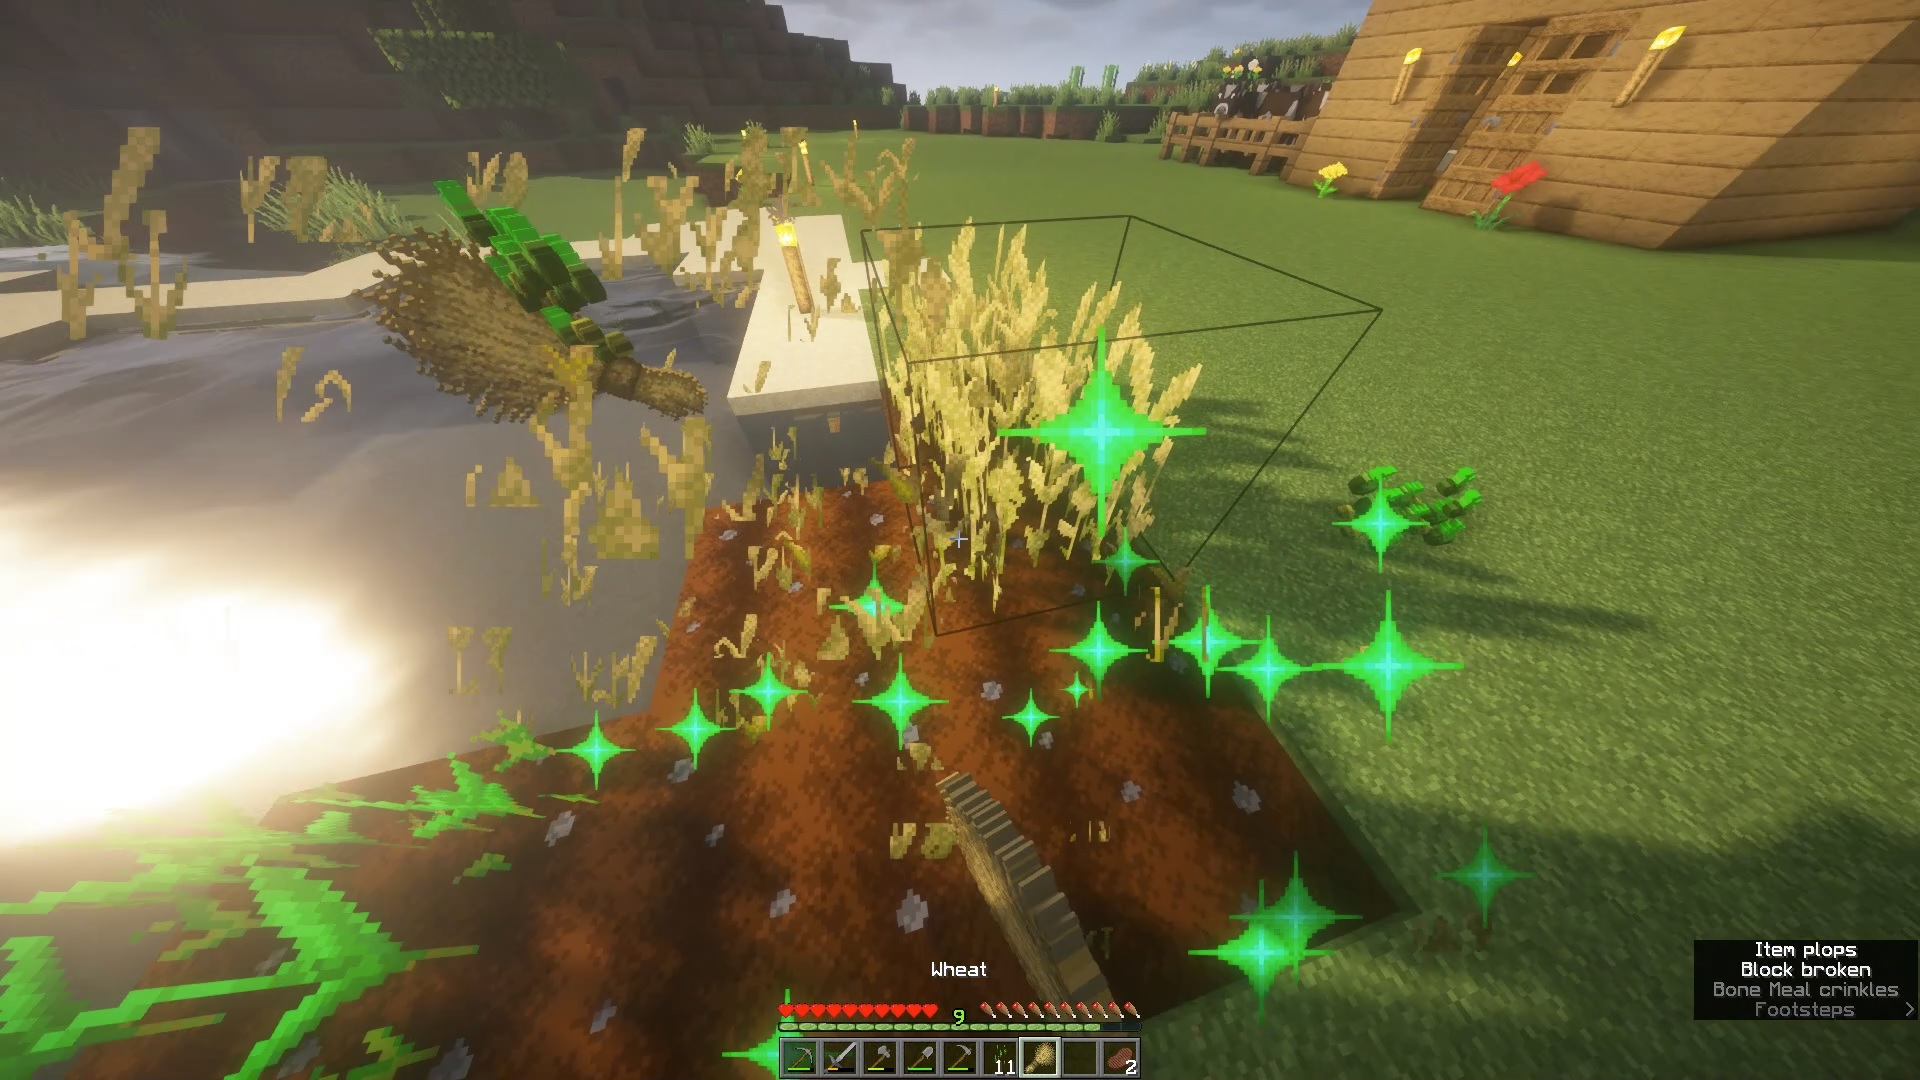
With bone meal equipped, right-click (LT on Xbox and L2 on PlayStation) on the planted seeds to rapidly advance their growth to the next stage.
It is also worth noting that a single water source "block" can hydrate up to 4 adjacent soil blocks in all directions.
Once the wheat has fully grown, you can harvest it by simply punching it. Make sure to unequip any tools while harvesting, as using tools will wear them down unnecessarily.
It's important to avoid jumping on the soil as it can turn it back into regular dirt, especially if you've planted seeds that are nearly ready for harvest. Jumping on soil can disrupt its growth and result in a loss of productivity and time. Even if the wheat is fully grown, jumping on the soil will destroy the yield, returning only the seeds and not the wheat itself.
You can walk on it or, as my preferred method, crouch. To crouch, hold down the shift key on PC (or the right analog stick on consoles). When you move on soil while crouching, there is a zero percent chance for the soil to be destroyed.
Breeding
Breeding is an important aspect of Minecraft and the backbone of numerous advanced automated animal farms you see created by Redstone enthusiasts. But we will not delve into that just yet.
As mentioned above, you can find many farm animals roaming around in batches of 4-6. You can kill almost all of them except two. You probably already guessed it - the two will be used to breed and repopulate to get an infinite source of food.
Before we bring the animals, it is best to build an enclosure to keep them secure. You can craft fences by using sticks and planks in a 3x3 crafting grid on a crafting table.
You can also craft a fence gate for entry and exit into the enclosure. However, it's not particularly necessary because we won't be using the fence gate to access the animal pen. The issue with a fence gate is that when you open it, the animals tend to make a run for it, scattering around the area. Managing and herding them back inside can become quite challenging.
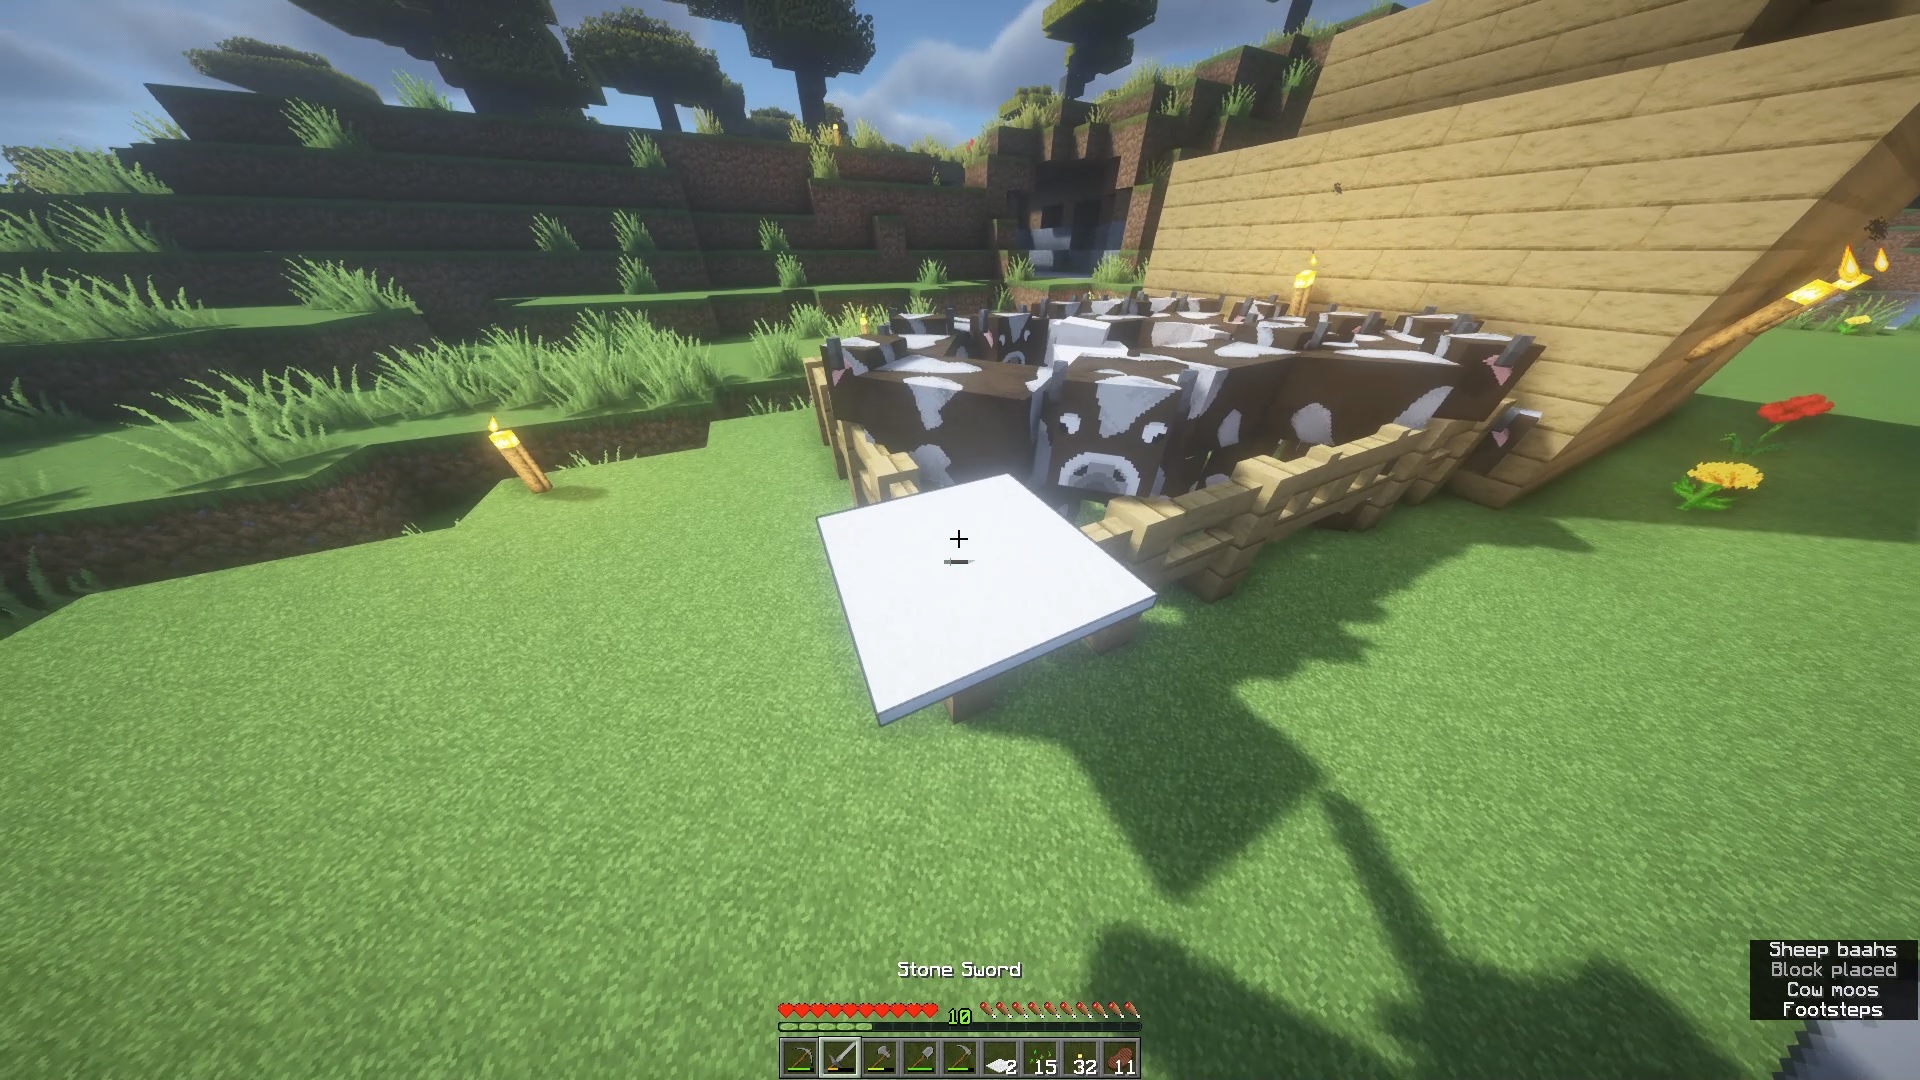
A handy tip that I have for you to easily enter and exit the enclosure is to craft a simple carpet. You can make a carpet by arranging two wool blocks side by side in a crafting grid.
You can place a single piece of carpet on the fence to facilitate entering or exiting the enclosure. The way this works is that it only allows you to jump on it. The farm animals or any other mobs cannot jump on the carpet when it is placed on the fence.
Now that you've set up the fences, be sure to leave at least one or two spaces open to allow animals to enter. We'll guide the animals inside and then use a fence to block them in. Afterward, we can place a carpet on the fence for a convenient exit.
To gather the animals, you'll need some wheat. Fortunately, by this point, at least one of your planted seeds should have fully grown into wheat. Harvest it and then search for animals. The one you really want is the cow, as it satiates you the most. If you equip wheat in your hand and approach any sheep or cow, they will begin to follow you.
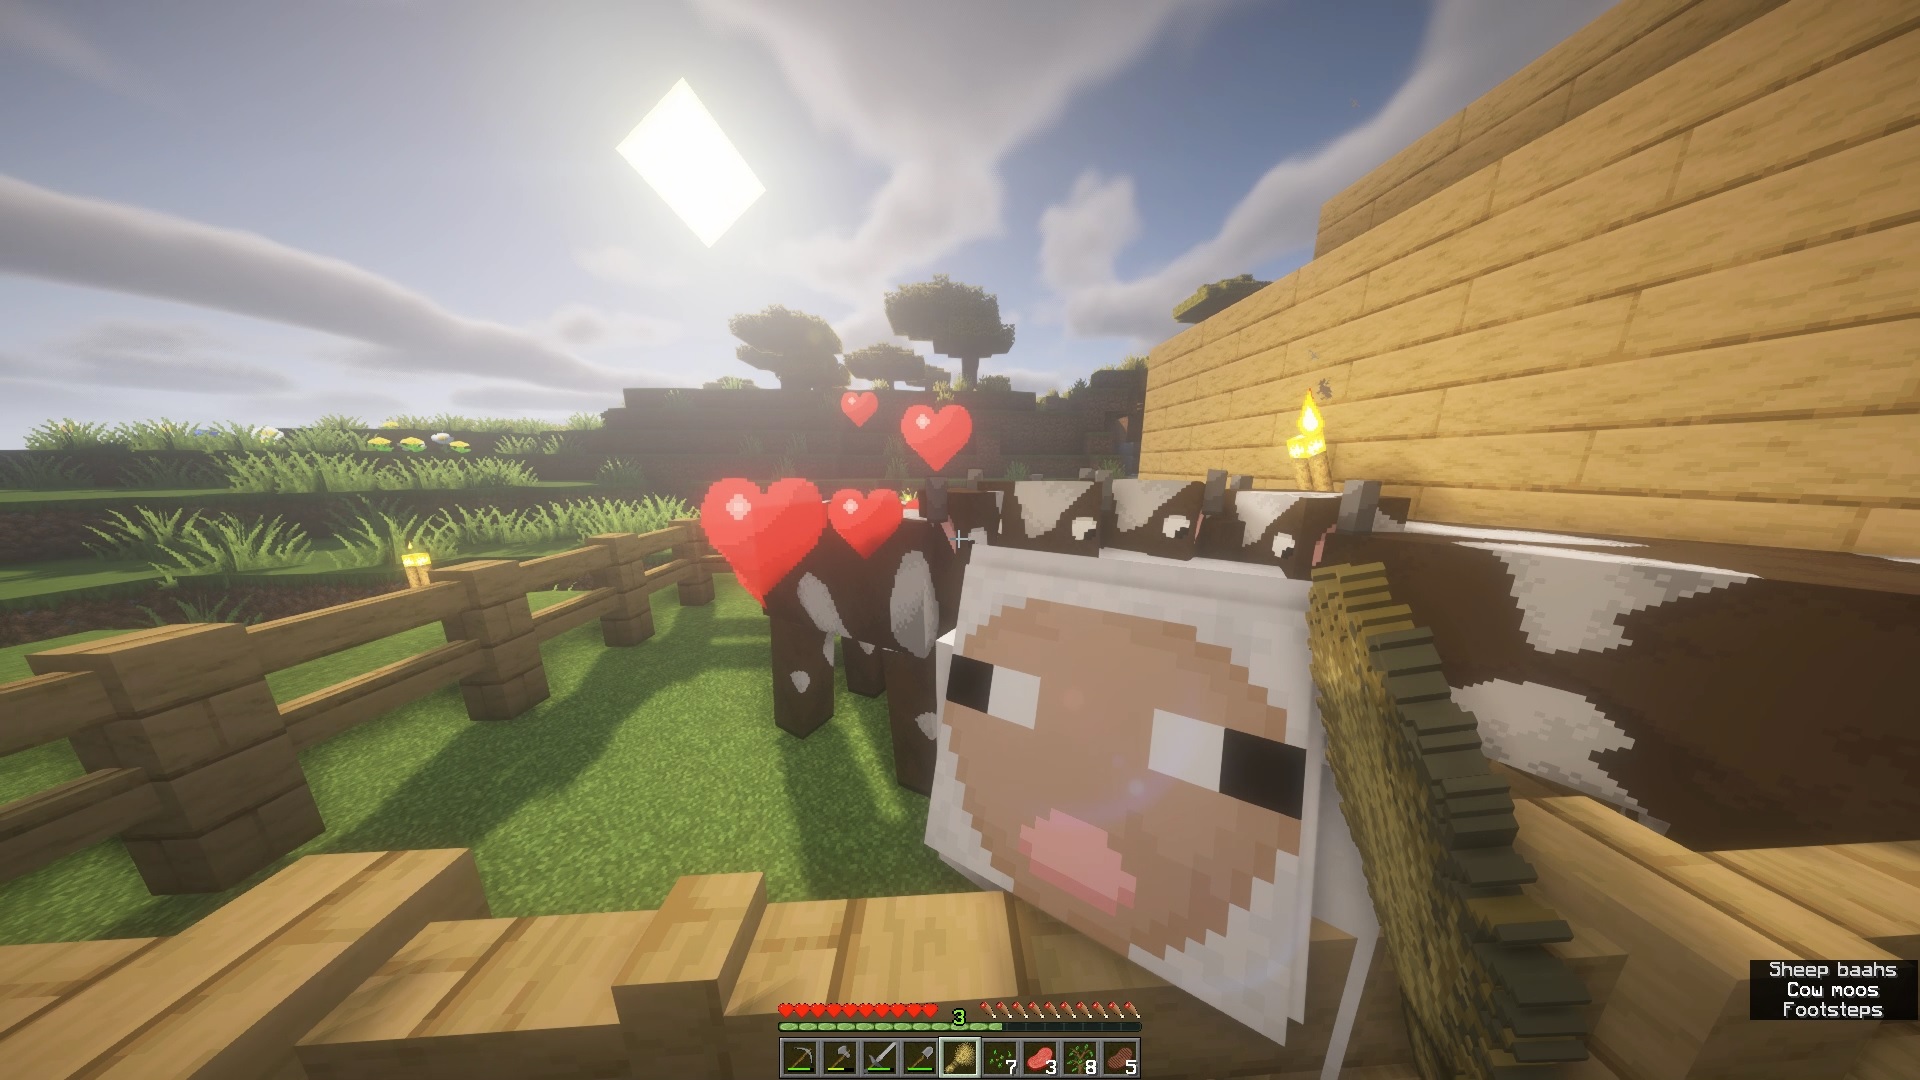
To breed the animals, simply right-click (LT on Xbox and L2 on PlayStation) on two cows (or sheep) while holding wheat in your hand.
After a few seconds, a baby version of the animal you bred will appear. Usually, baby mobs take 20 minutes to mature into adults. You can speed up this process by feeding baby cows some wheat, which accelerates their growth by 10%. However, if you continue to feed them, it yields diminishing returns and wastes your food.
The adult cows used for breeding can be bred again after 5 minutes. You can't breed them immediately after one session. While cows provide a great source of food and leather, sheep are valuable for wool and mutton.
Night Time
With a secure shelter, a spawn point, and a steady food supply in place, let's talk about nighttime and the hostile mobs that come with it. During night-time in Minecraft, your usual course of action is to return to your shelter and sleep by right-clicking on your bed. However, if you require resources that can only be obtained from hostile mobs, you might choose to brave the night outside and confront these mobs.
Minecraft features a variety of hostile mobs throughout the game, but for simplicity's sake, we will focus on the most common ones, explaining how to handle them and the items they drop.
Zombies
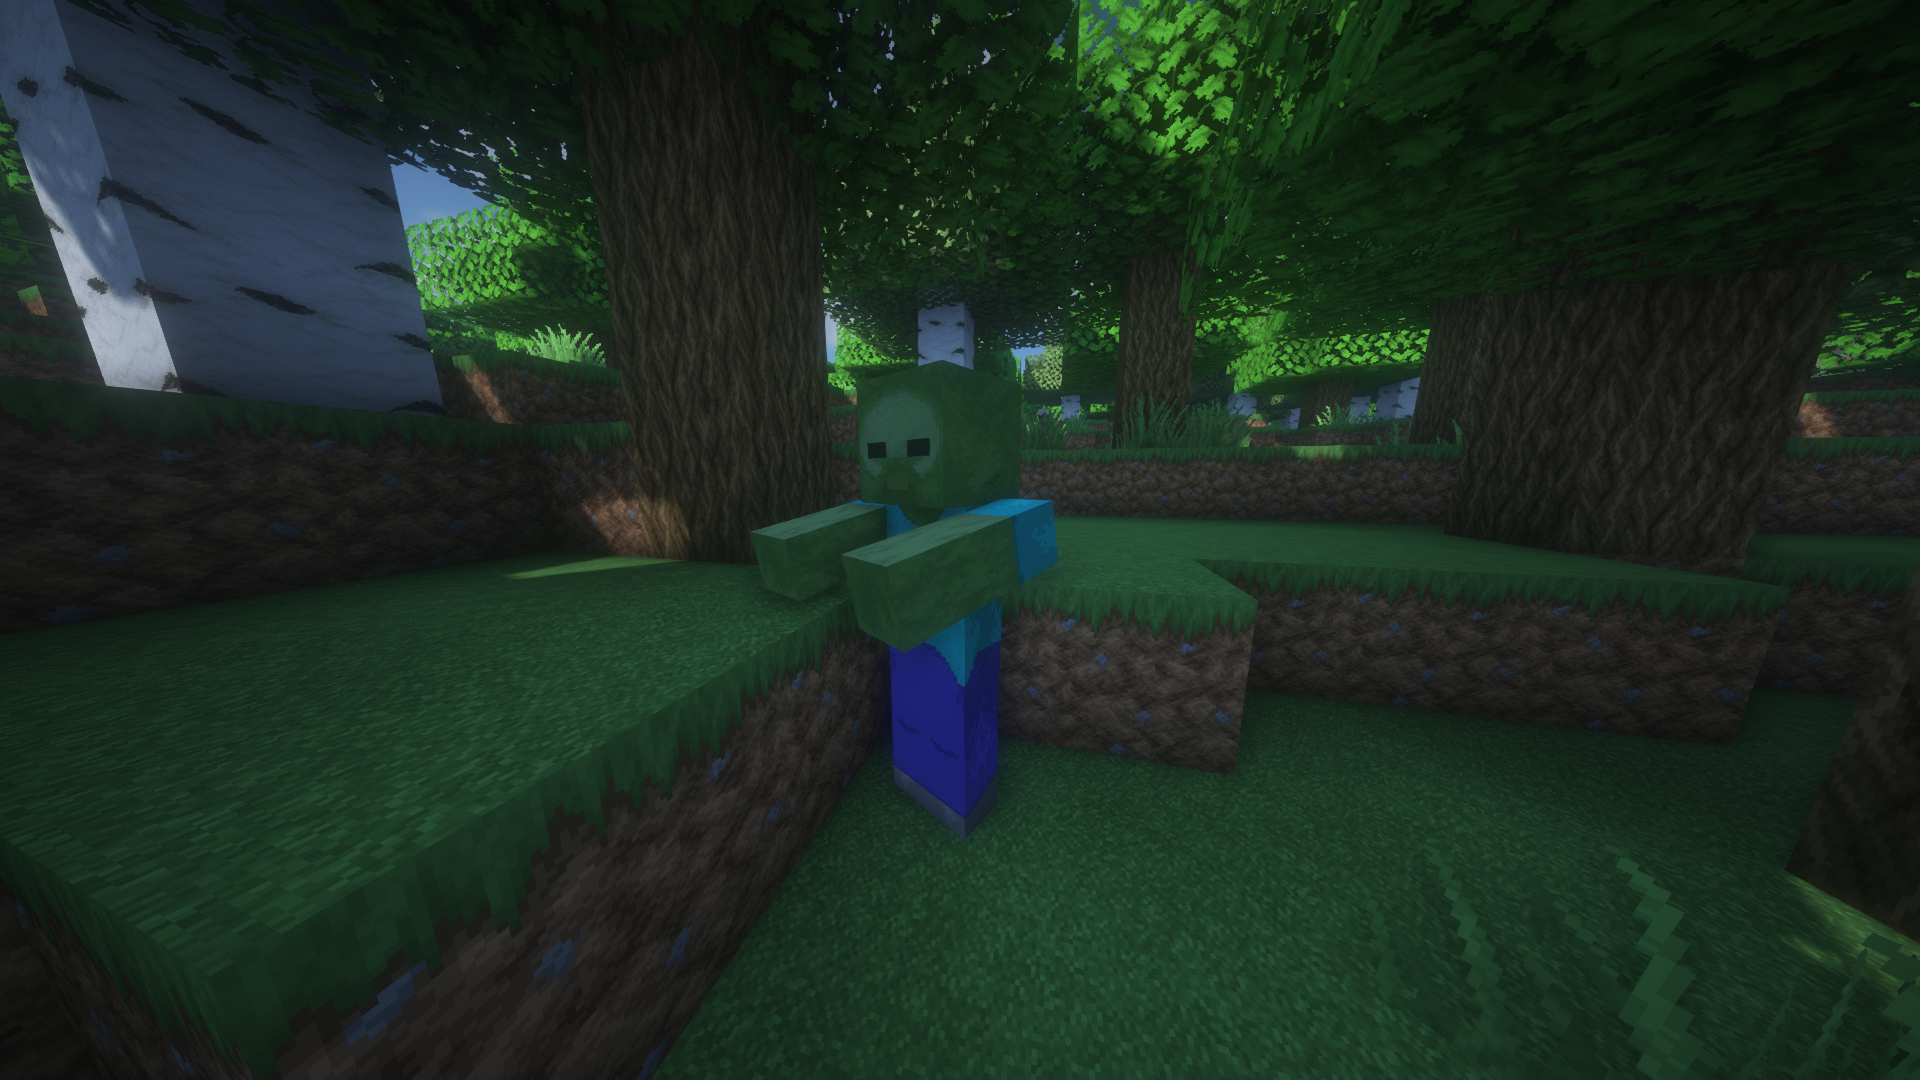
Zombies are the most common and the least threatening hostile mob in the game. Zombies burn during daylight and can only spawn in the dark.
Skeletons
Skeletons can be quite difficult to deal with, especially during the early stages of the game. It's advisable to steer clear of them, especially if you encounter two together. They can attack from a distance and pack a punch. When defeated, skeletons drop bones, arrows, and occasionally bows.
Creepers
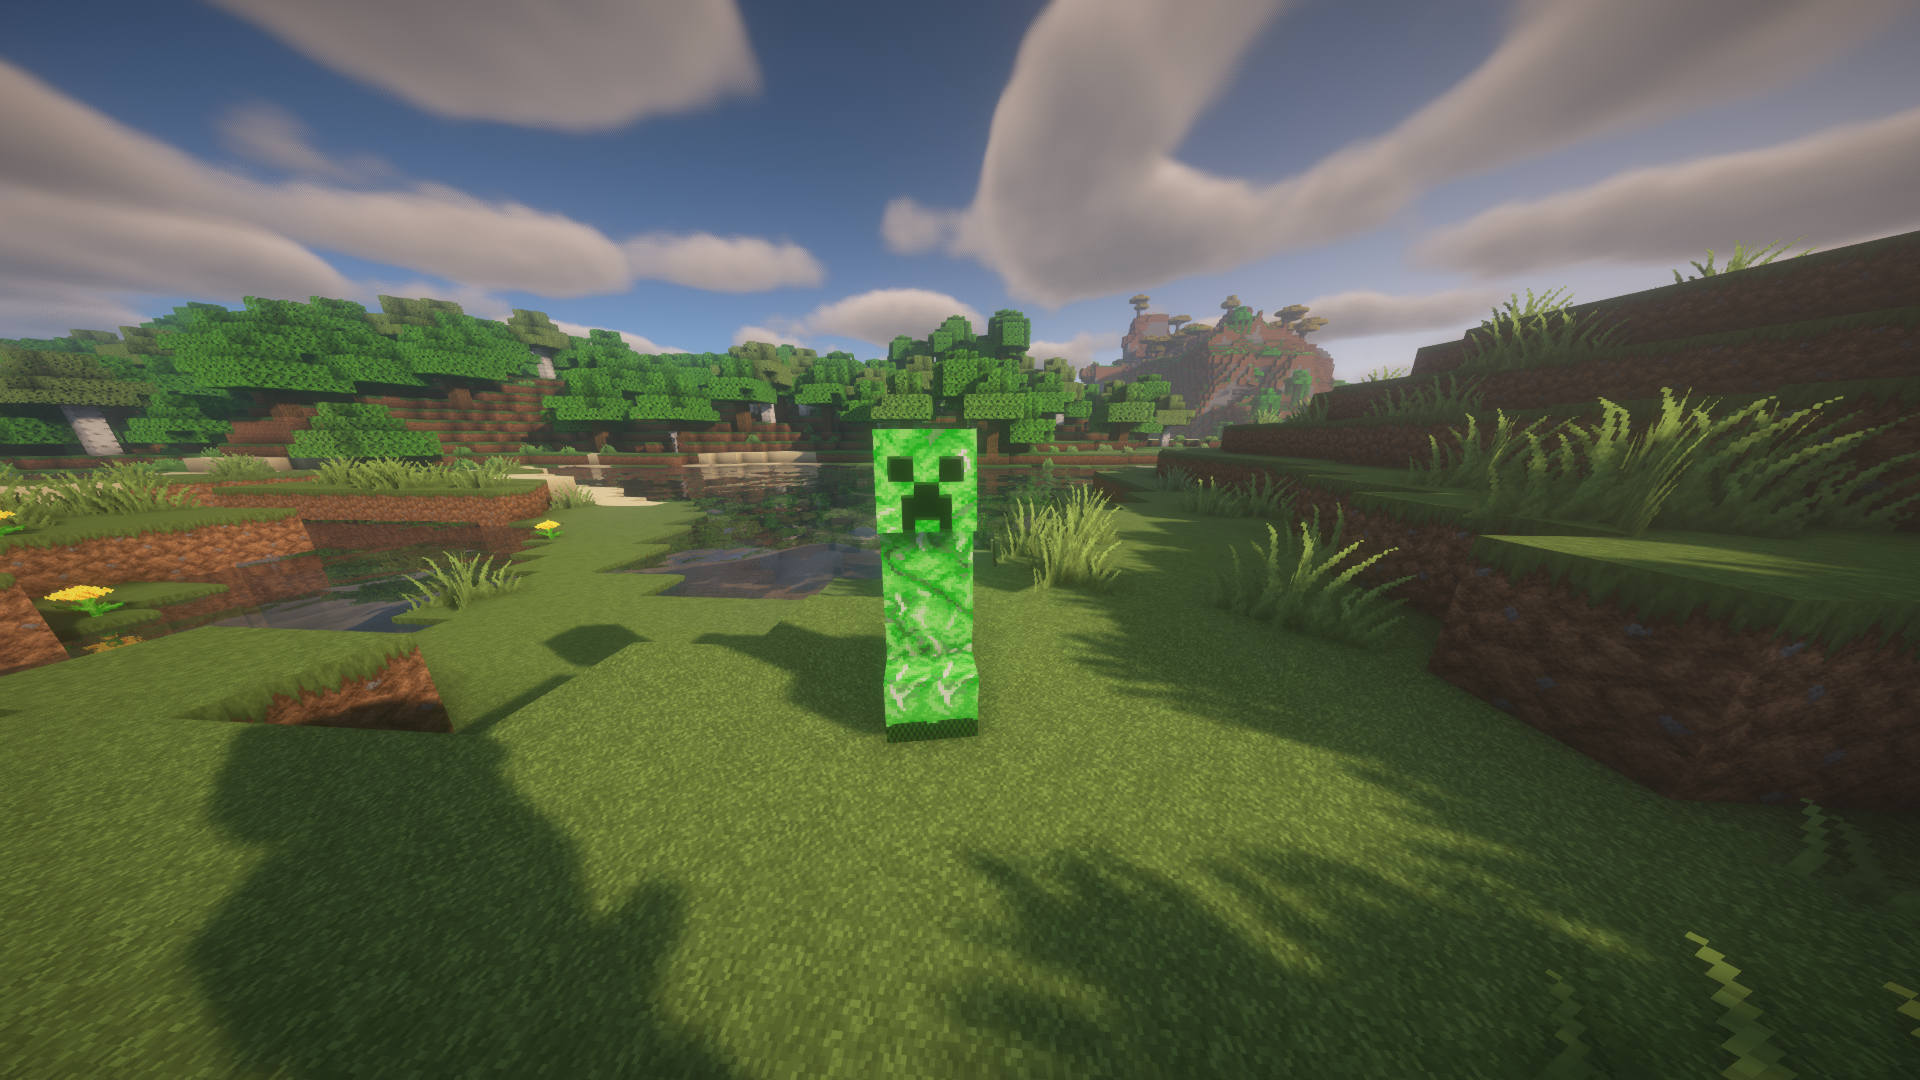
Creepers are among the most menacing hostile mobs in the game and can be a source of frustration. These creatures have a tendency to explode when they approach, causing significant damage to nearby objects, including chests, structures, and items in your inventory. It's always wise to eliminate them from a safe distance. You can sprint and strike them to push them back and prevent them from getting too close. Repeat this until they're defeated.
Spiders
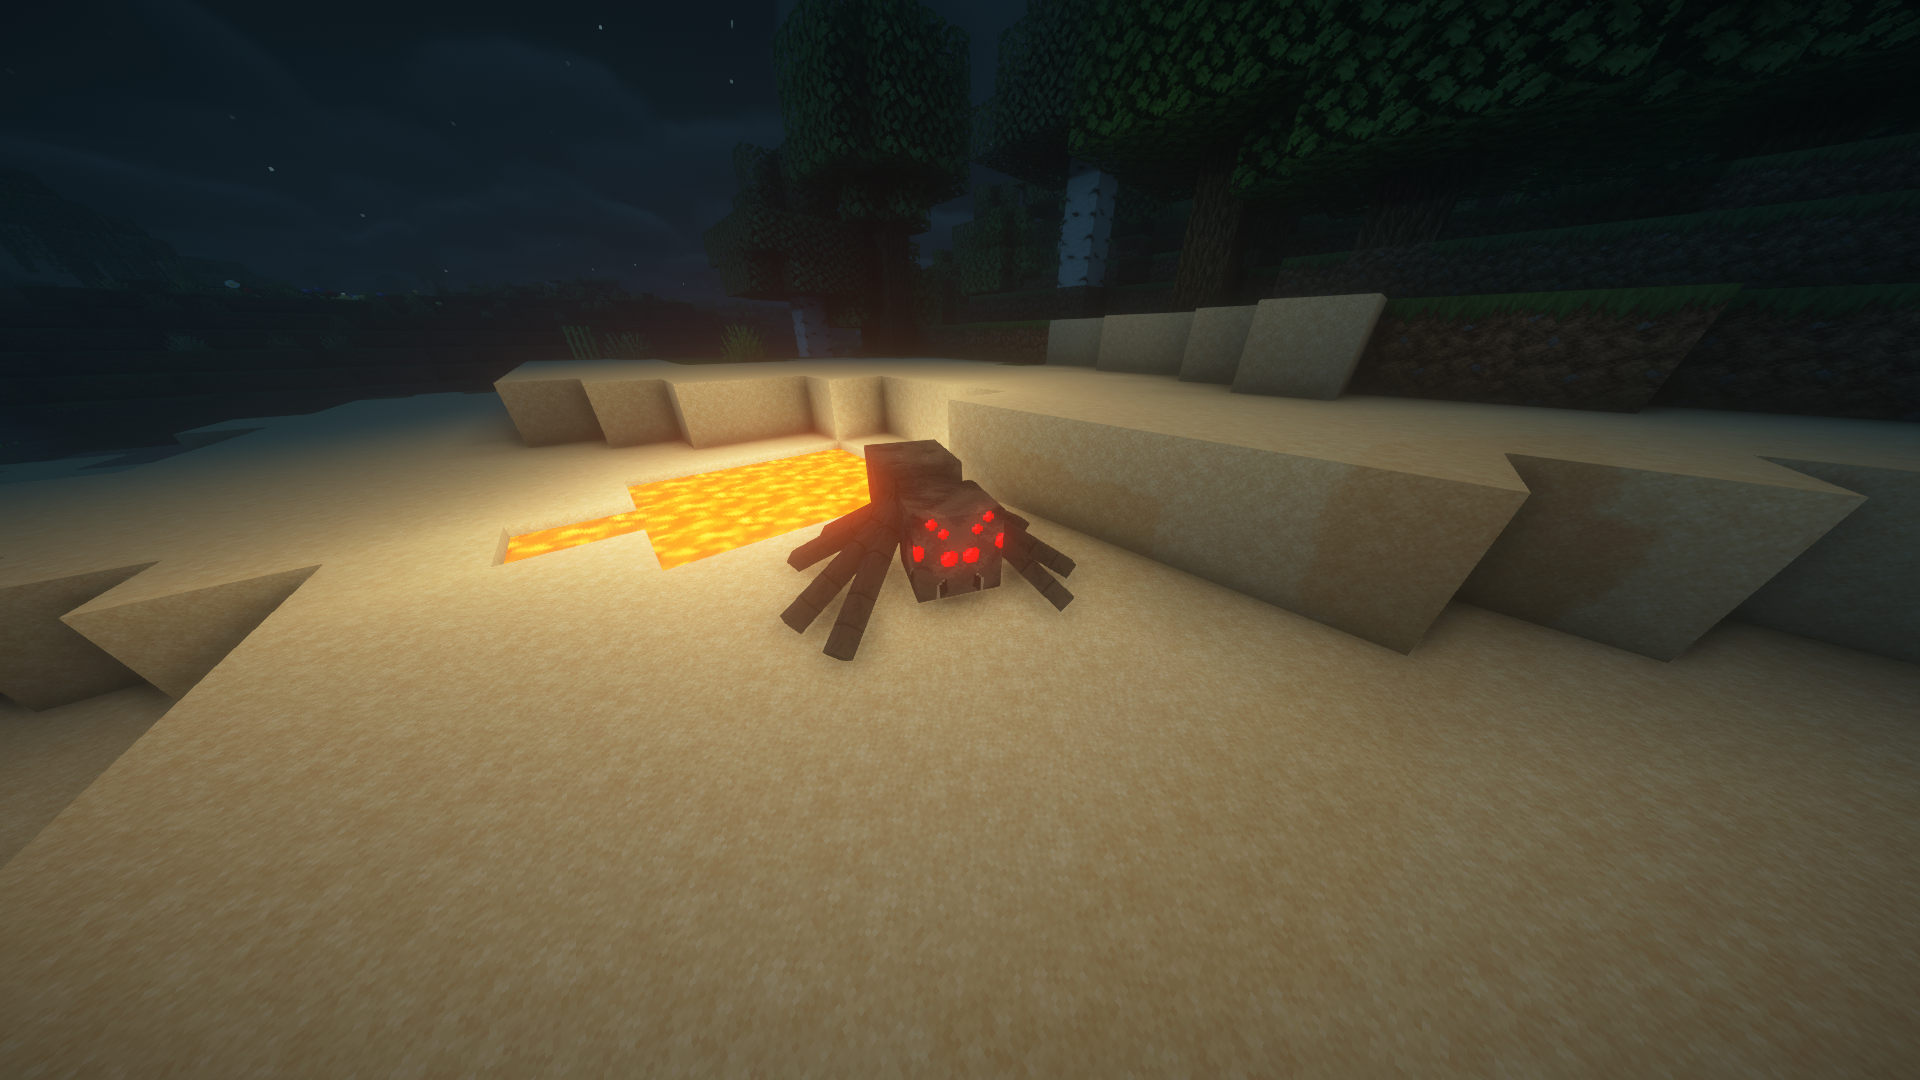
Spiders exhibit different behavior based on the time of day in Minecraft. During the day, they are neutral and won't attack unless provoked. However, at nighttime, they become hostile and will actively pursue you. Spiders drop string and spider eyes as loot.
Enderman
The Enderman is Mojang's interpretation of the infamous Slenderman. These tall, black figures can spawn during both day and night. Endermen are initially neutral, but become aggressive if you attack them or look directly at them. To avoid provoking them, keep your crosshair off them. When agitated, Endermen teleport around and deal significant damage.
One unique feature of Enderman is their habit of randomly picking up blocks and teleporting away with them. When defeated, they drop valuable loot known as Ender Pearls.
Slimes
Slimes are not as commonly encountered in standard Minecraft biomes, but you might see them depending on your initial spawn location. Slimes typically spawn in "slime chunks," which are specific chunks designated for slime spawning. Swamp biomes are a good place to find slimes in abundance. When you defeat slimes, they drop slimeballs, which are essential for crafting items like sticky pistons. When you defeat a large slime, it splits into multiple smaller slimes.
And with that, we conclude our guide on surviving your first night in Minecraft. Keep in mind that Minecraft is a game where you learn and progress at your own pace. There's no need to rush. Enjoy the game's beauty and the sense of adventure it offers. As you play, you'll naturally develop the skills to craft items on the fly. Before you know it, you'll be creating impressive structures using Redstone contraptions!

