Vanguard Zombies finally has a round-based map, and with it comes a brand new main easter egg quest. Not only does Vanguard Zombies have a main easter egg quest though, but it also contains several side-easter eggs, such as the music easter egg, to keep the players busy.
This guide shows you how to complete the main easter egg quest on Shi No Numa in Vanguard Zombies. We've covered everything from building the Wunderwffe DG-2 to completing the cipher symbol steps. You can check out the guide here if you're only looking to build the Wunderwaffe DG-2.
Video Guide
Loadout & Field Upgrade
We highly recommend the Einhorn Revolving shotgun for the loadout as it deals tons of damage and takes out zombies in a heartbeat. This weapon will be especially useful during the boss fight.

The following are the recommended attachments for this shotgun: Muzzle: A5 Smoothbore Barrel: Klauser 560MM Rapid Underbarrel: Carver Foregrip Optic: Slate Reflector Magazine: 16 Gauge 7 Round Cylinder Stock: VDD Hunter Rear Grip: Pine Tar
As for the field upgrade, the zombies get really fast as you get to higher rounds, and the ceremony step in this easter egg can get a bit sketchy. Therefore, we suggest going with the Aether Shroud field upgrade if you get into sticky situations. It'll help you escape.

Step 1: Unlocking Monolith & Weapon Barrel Step
First, make your way to the Doctor's Quarters, and you will find a Monolith by the tree on a little island in the middle of the swamp. The Monolith will be covered in vines.


On Round 5, Boom Schreiers will spawn. The only way to remove the vines around the Monolith is to lure the Boom Schreiers near the Monolith and eliminate them. You can do this at a later round as well, but we will do it now and get it out of the way.

You need to explode three Boom Schreiers near the Monolith for the vines to be destroyed.

Next, go to the Fishing Hut and grab the Weapon Barrel on the shelf in front of the perk fountain.


Then make your way to the Comm Room area and insert the Weapon Barrel inside the radio tower machine in front of the Comm Room door.


After putting the barrel inside the machine, skip the round, and a defense objective will start. You will know the objective has started once the lightning strikes the radio tower machine.

Many Boom Schreier and Sturmkreigers will also spawn and try to attack the machine. You must defend it until you see a white flash on the screen, indicating the defense objective's completion.

Once done, you can approach the machine and interact with it to collect the barrel again.

Step 2: Charged Vacuum Tubes & Crafting Wunderwaffe DG-2
This step revolves around collecting the charged tubes for the Wunderwaffe DG-2. First, go to the Comm Room building.

Collect the charged vacuum tube plugged into the radio sitting on the shelf directly bending the perk fountain. You won't be able to collect this tube before completing the barrel step.

Go to the next room, and collect the electrical fuse on the table.

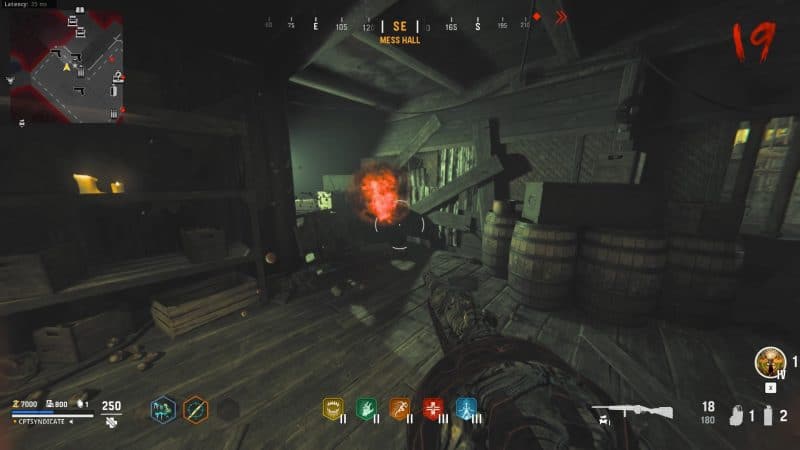
Next, go to the Storage and activate the trap inside it. It will cost you 1,000 points.


After a few seconds, the fuse of the trap will blow up. You can repair it using the electrical fuse you collected from the Comm Room, but you must have some zombies trained before you do.

This is important because as soon as you insert the fuse, it will activate the trap. This won't cost any points, but if you fail to kill enough zombies with this activation, you will need to activate it again, but it will cost 1,000 points this time.
So, make sure you have enough zombies, lure them to the trap, and repair the blown-up trap switch using the electrical fuse by interacting with it.


Once you've got enough kills, the vacuum tube on the Wunderwaffe crafting table will be charged and sparkling.

For the third charged vacuum tube, you need to charge up a coil inside the Excavation Room of the main spawn hut.


You can charge it up using Zaballa mini-boss. However, Zaballa only spawns on round 15 and above. So, you need to play until you reach round 15.

Once you do, lure her into attacking the coil three times. Once it charges up, it will charge the vacuum tube on the table beside it. You only need three of her blasts to hit the coil.


After the third orb blast, it will be fully charged, and you can collect the vacuum tube.

Once you've collected all three tubes, return to the Storage and craft the Wunderwaffe DG-2.


Step 3: Collecting Cypher Wheel Parts
The next step is to collect the cypher wheel parts scattered around the map. There are three wheel parts, and you can find them in the following locations.
Wheel Part 1
The first wheel part is inside the Dormitory on the side table by the bunk bed.

Wheel Part 2
The second wheel part is inside the Doctor's Quarters in the back room on some crates by the bed.

Wheel Part 3
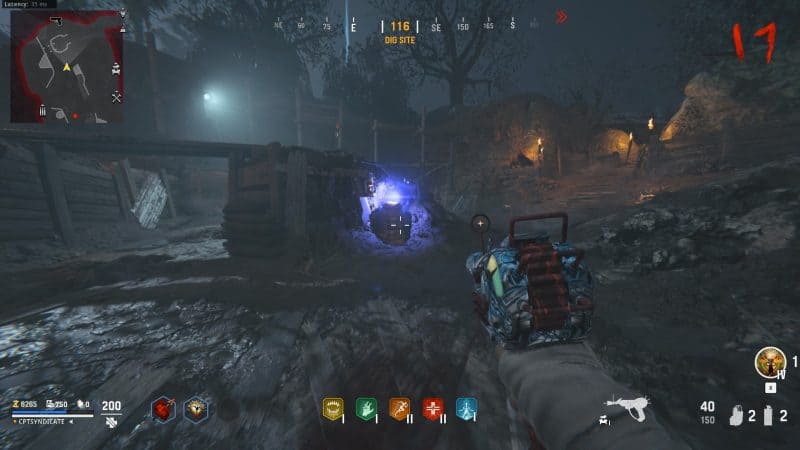
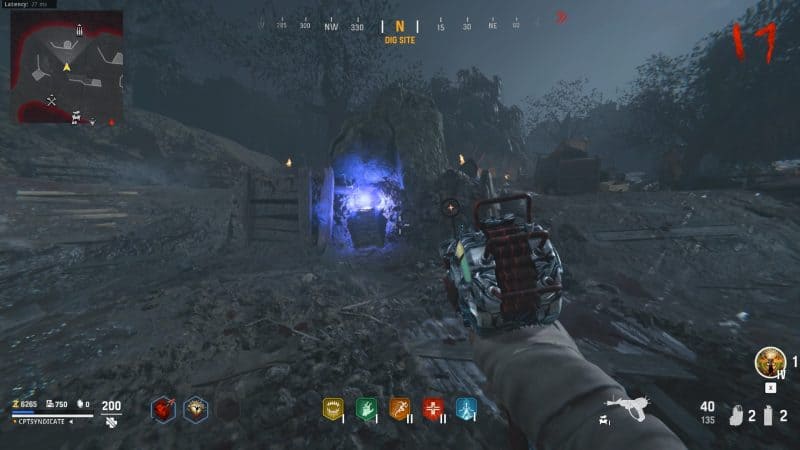
The third wheel part is on the table in front of the pack-a-punch machine at the Dig Site.

Once you have all three cypher wheel parts, return to the Monolith and insert them by interacting with it.

Step 4: Decoding the Cypher
The next step is to figure out what the code for the Monolith cypher wheel is. There is a page inside Doctor's Quarters with Japanese Kanji symbol translations. It will help us decode the cypher.

Only half of the page is visible. To see the bottom half, you need to burn the cypher page. You can use anything that burns, such as a Thermite or a Molotov work. It reveals the invisible ink.


It is best to number the symbols as it is easier to correlate and remember this way.

Now, you need to find three Japanese Kanji symbols around the map. The locations are always the same but symbols are randomized in every game.
Symbol 1
The first symbol is on the table inside the Excavation Room. It is next to the coil. Shoot or melee the books on the table to reveal the symbol.


Symbol 2
The second symbol is inside the Comm Room. It is on the table inside the room, which is to the left of the perk fountain.

Symbol 3
The third symbol is on the crafting table at the Dig Site.

Once you have the Kanji symbols, check what symbol they equate to on the cypher page and put that in the Monolith. According to the cypher page numbering we gave and the symbols we got, it turned out to be symbols 8, 9, and 10.

The symbols go across the middle from top to bottom. They do not duplicate, so you don't have to worry about the placements of the symbols.
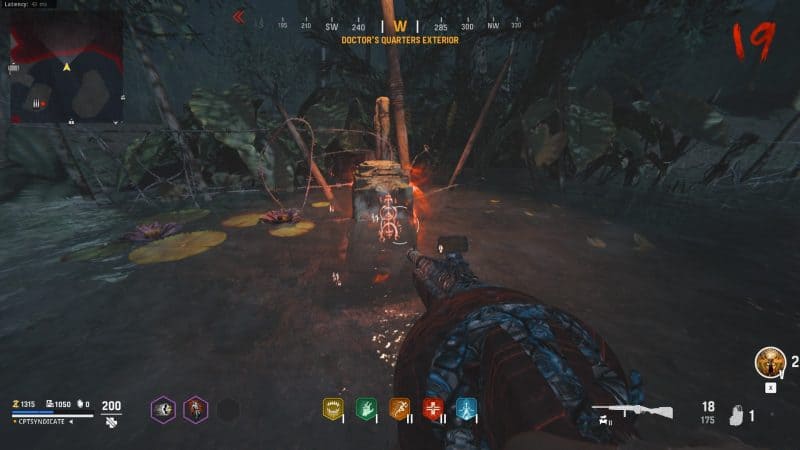
Once you've aligned the symbols, lock it in, and you will see sparkling red symbols coming out of the Monolith, which confirms that you've aligned the correct symbols. If you do it wrong, the cypher wheel will reset to its default position.

nextpage
The Ceremony Step
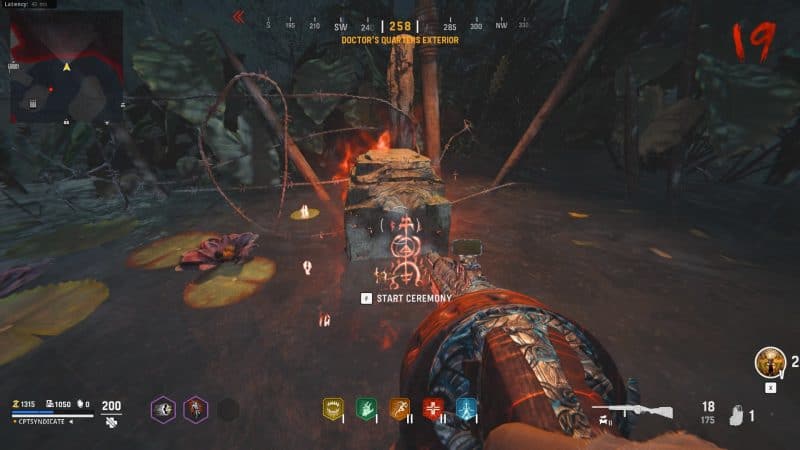
Once you've aligned the symbols correctly, the podiums around the swamp will light up depending on how many players are in the game. There are four podiums around the swamp. However, only one will light up if you're playing solo. If there are four players, all four will light up.
Interact with the podium to start the ceremony. If there are more players, every player should press the button on their respective podiums at the same time.
During this step, you will be in a lockdown and can't leave the area. You need to use your Wunderwaffe DG-2 to kill the glowing blue zombies. These blue zombies are extremely fast, and the swamp slowing you down doesn't help much.
Stand near the Monolith on the island, and wait for the glowing blue zombies to get on the island first. When they get there, kill them using your Wunderwaffe, and their souls will be sucked into the Monolith.
Boom Schreirs and Sturmkreigers will also spawn, but you can them out with a single shot of your Wunderwaffe. The only problem is that the Wunderwaffe reloads very slowly. You need to conserve your ammo mostly for the blue zombies, or else you can slow down, and this is a time-sensitive ceremony.
This is why it is best to pack a punch your Wunderwaffe at least once before starting the ceremony. This will increase the default magazine capacity from three to six.
Once you have enough kills, you will see a white flash and get a mini cutscene with a blue orb called Echo. After the cutscene, the lockdown will be lifted, and you can leave the area.
If you fail to get enough kills, you will be able to repeat the ceremony but only after skipping one round.
Step 6: The Relic Pieces
Now, you need to find two relic fragments. The only way to get the relic fragments is while you're in the zombie blood mode.
To get the zombie blood, you must fill the perk fountain in the Flogger Courtyard with the zombie blood.
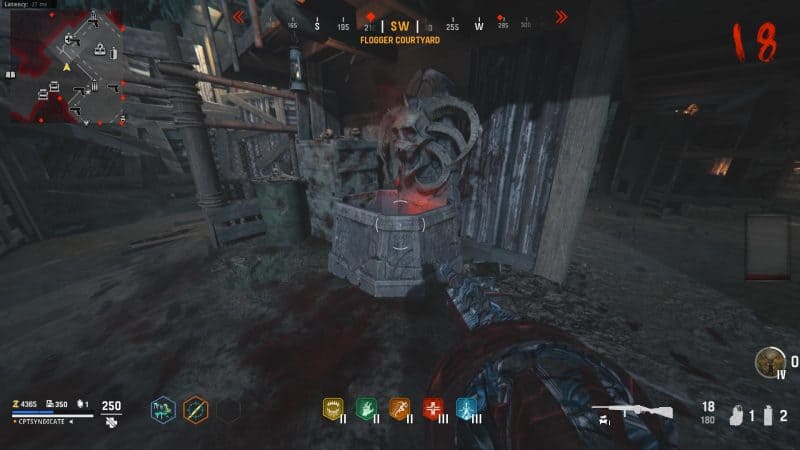
This is done by getting glogger trap kills. Train enough zombies and lure them into the flogger trap. They will get slammed into the perk fountain, and it will fill up with their blood.
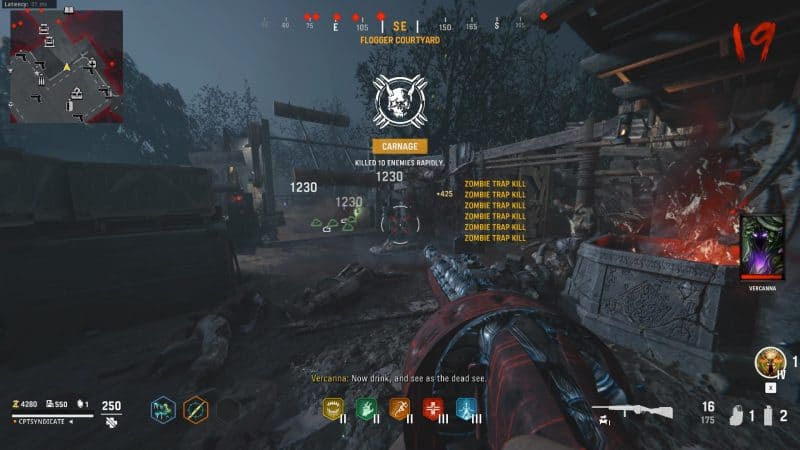
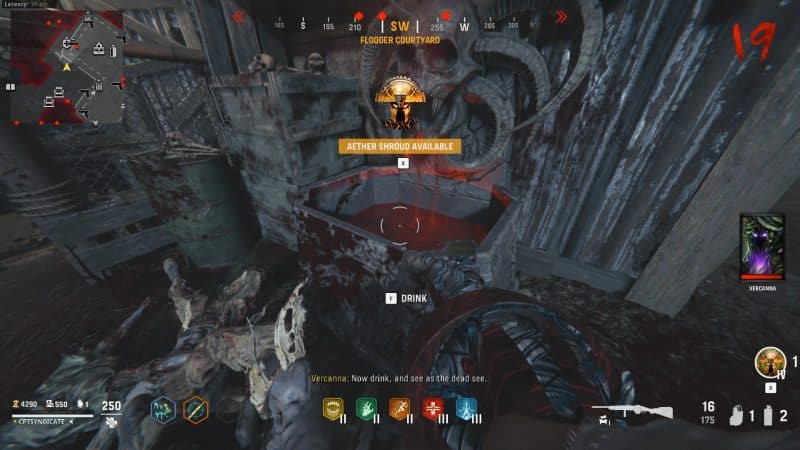
Approach the perk fountain, and you will get a prompt to drink the blood from the fountain. Drink it.
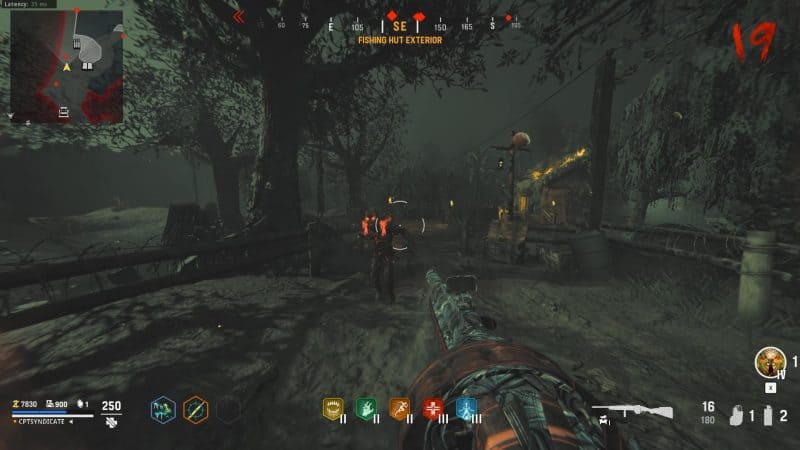
After drinking the zombie blood, run around the spawn hut area (both lower and upper level) to find a red floating orb. It will only spawn in the spawn hut area and nowhere else.
Once you find the orb, go near it, and it will start moving. Escort the orb by staying close to it.
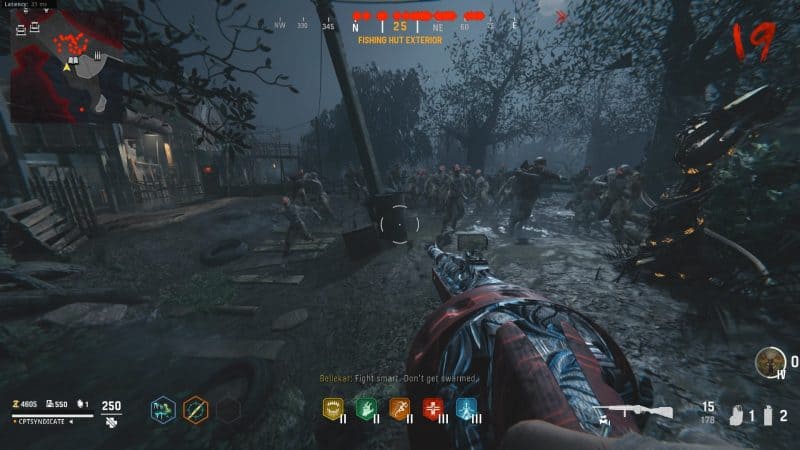
A lot of Boom Schreiers will spawn. As you escort the red orb, make sure you kill them ahead of you.
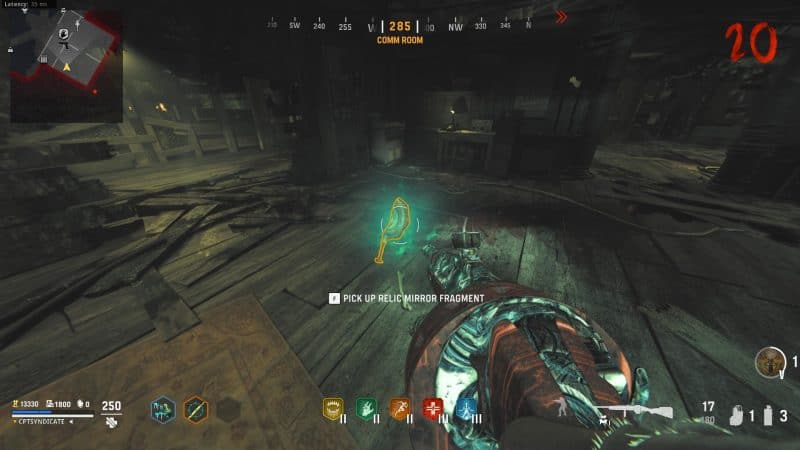
When you reach the destination, the red orb will disappear, and the first half of the mirror relic will appear. Pick it up while you're still in zombie blood mode.

If you're out of the zombie blood mode, you won't be able to pick the relic fragment up. Also, if you do run out, you can always go back and drink the blood to enter the zombie blood mode again.
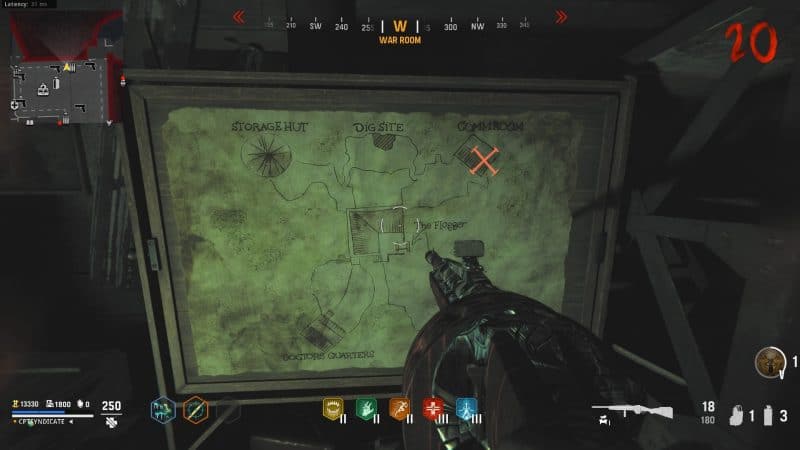
For the second piece location, go back to the War Room at the spawn hut and check the map for the 'X' mark. This mark is only visible in zombie blood mode. For us, it is the Comm Room. You can also try to locate the exact location by listening for a unique sound the relic makes.
Go to the marked location and check the ceilings of the building. Shoot the relic fragment, and it will fall. It won't fall immediately but rather gradually float down.
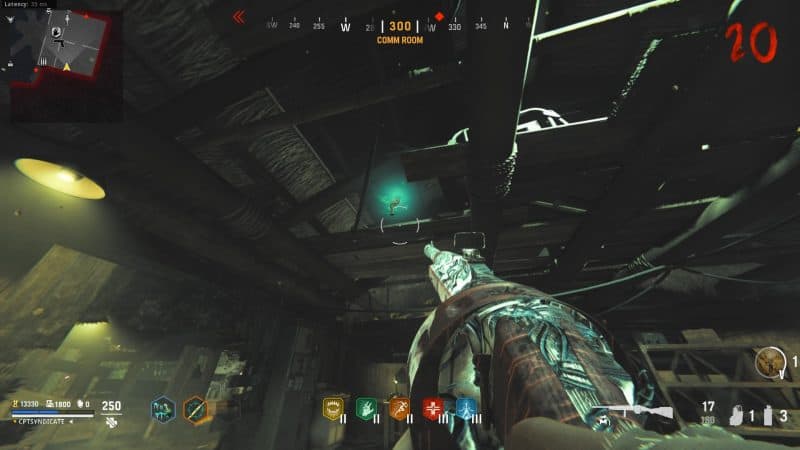
Once it is down, pick it up, and you've got the complete relic.
Now, go to the Dig Site and interact with the podium in the middle to place them there. A blue light will fly out of it and into one of the four podiums around the central podium. This is where we go to our next step.
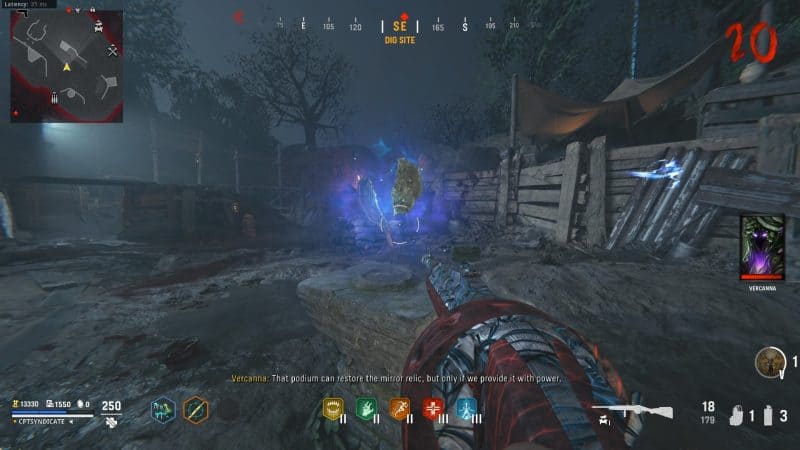
Step 7: Energizing the podium
Next, you need to energize the podium with the blue orb. This is done by interacting with the blue orb on the podium.
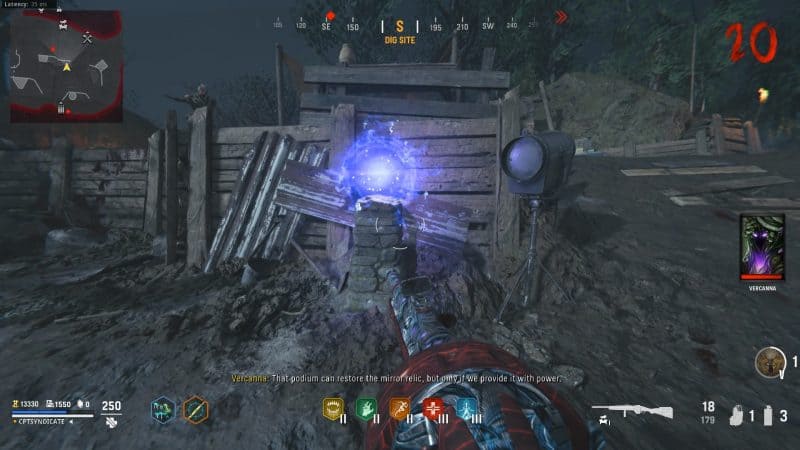
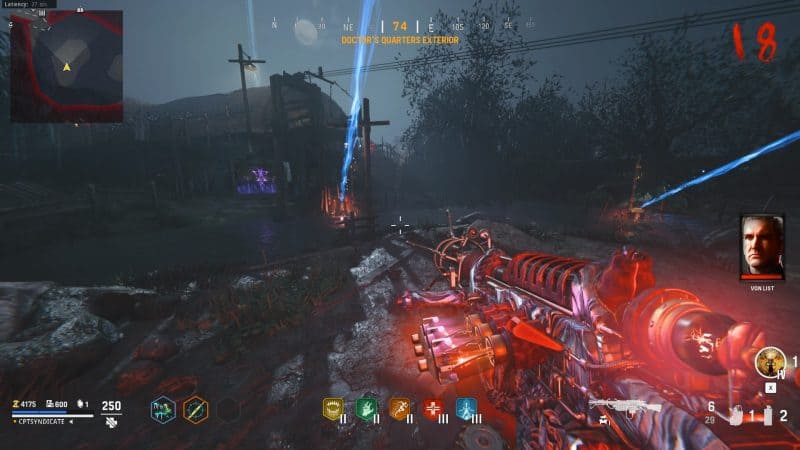
When you interact, the blue orb will float in the air and shoot in a direction. You need to follow it to the location it flew to and shoot it three times to redirect it back to its podium.
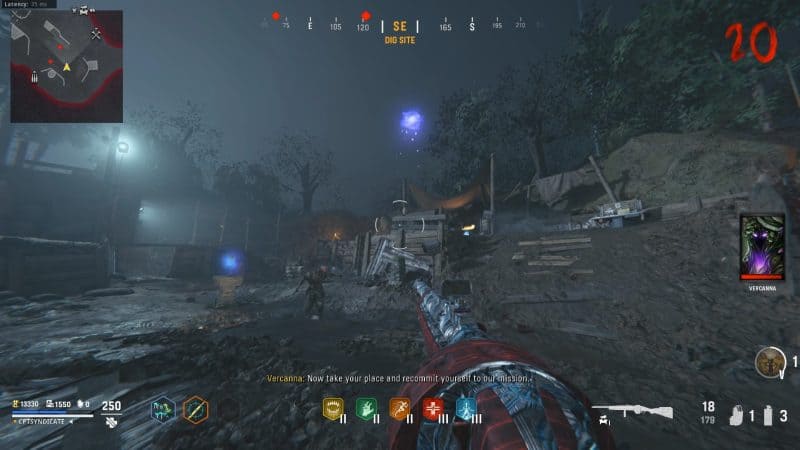
You have to be quick about this, or else the orb will disappear and spawn on one of the other four podiums at the Dig Site. Every time you fail, it goes to the next podium.
Each podium has its own fixed route, which the blue orb takes. It is best to know all the routes so you can get to the orb locations in time.
Southern Podium Route
The first podium is to the south of the central podium.
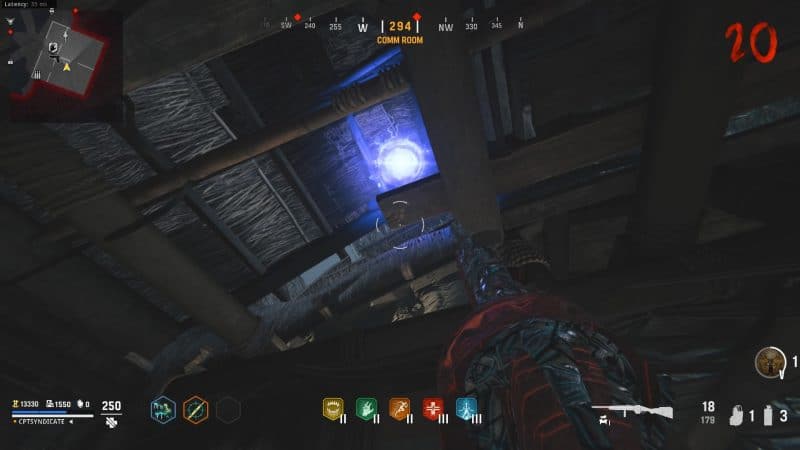
The blue orb first flies into the ceiling of the Comm Room.
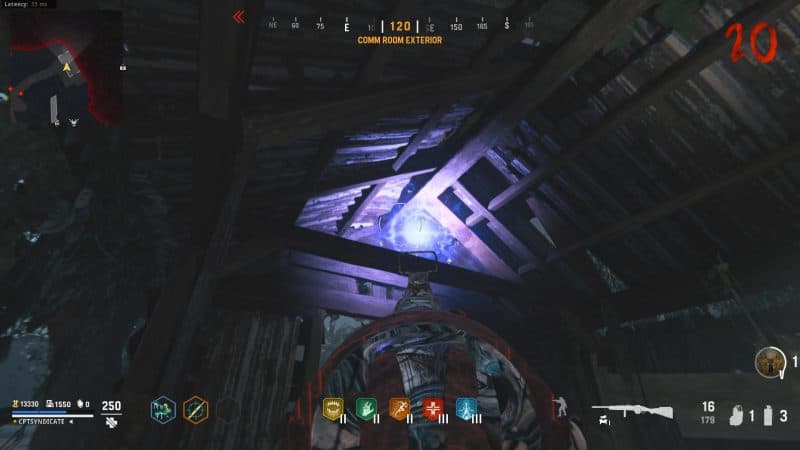
The second location is the small hut outside the Comm Room. It is to the left as you exit the Comm Room building.
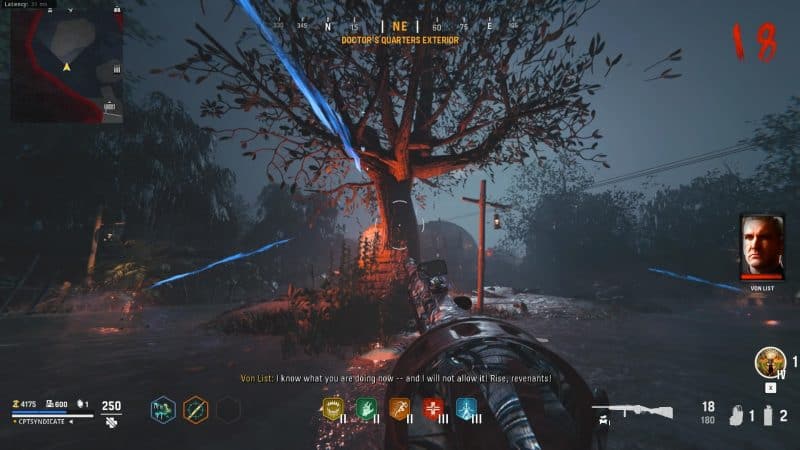
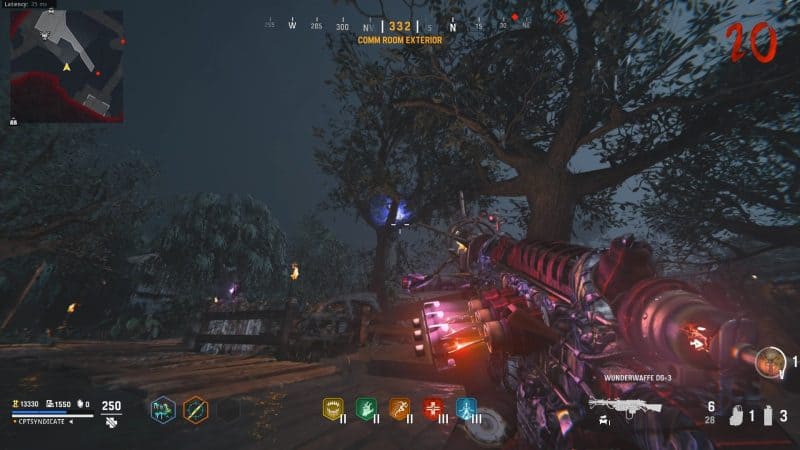
The third and final orb location is the tree in the middle of the Comm Room Exterior area. It is right behind the Altar of Covenants.
Western Podium Route
This is the western podium.

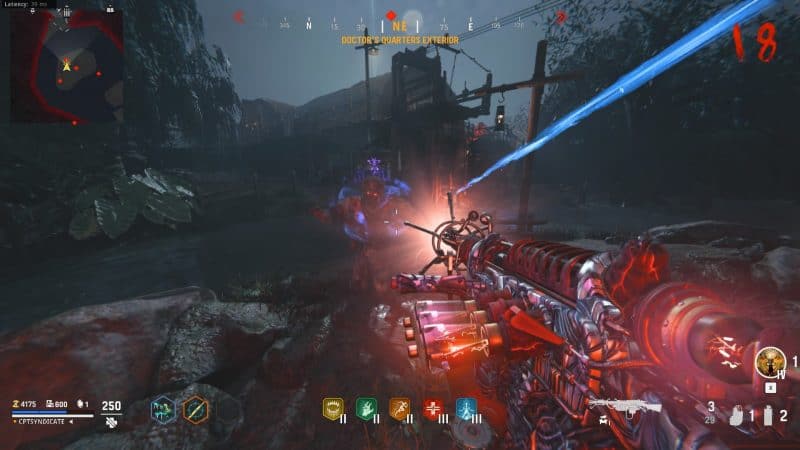
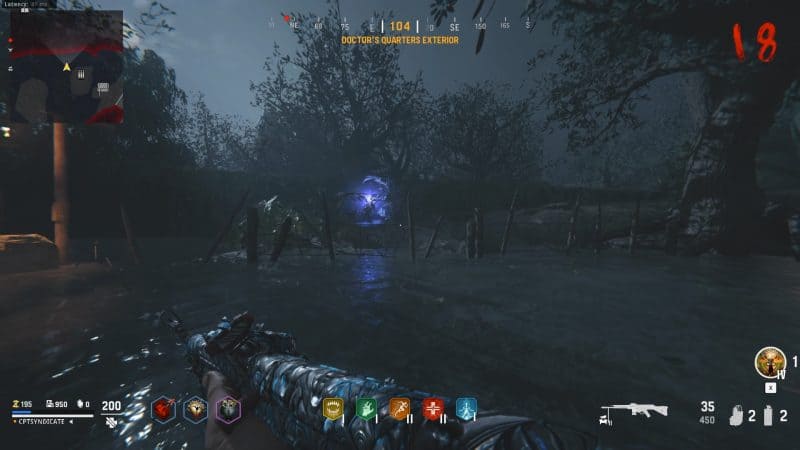
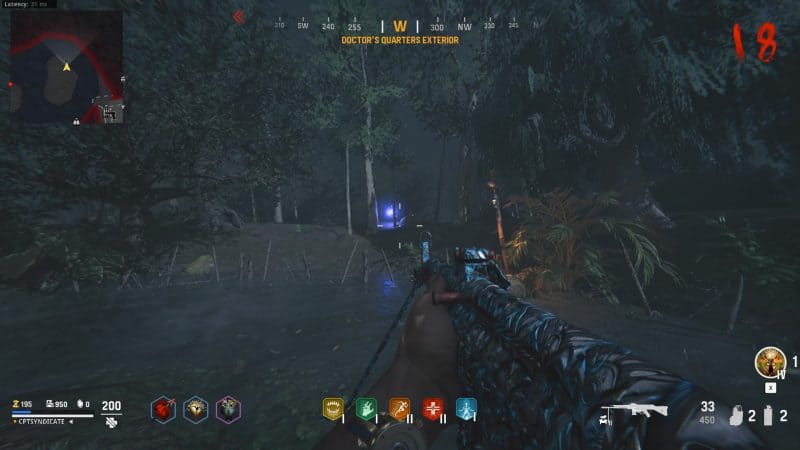
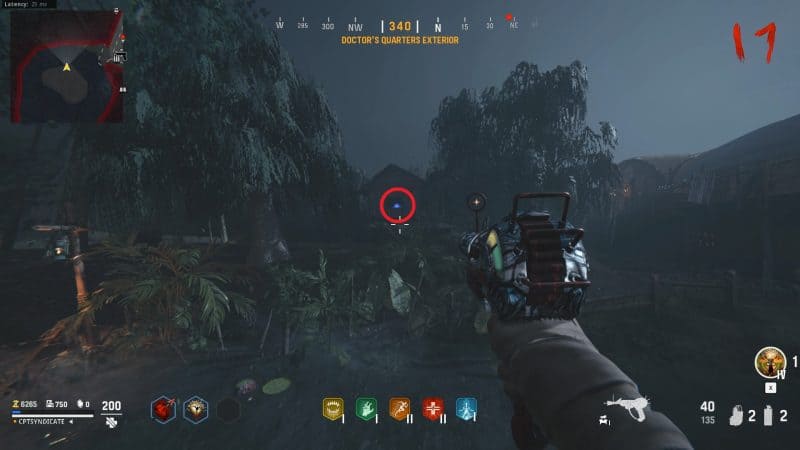
The first location is the eastern edge of the Doctor's Quarters Exterior area.
The second is the same area but this time, the orb moves by the exit of the Doctor's Quarters area.
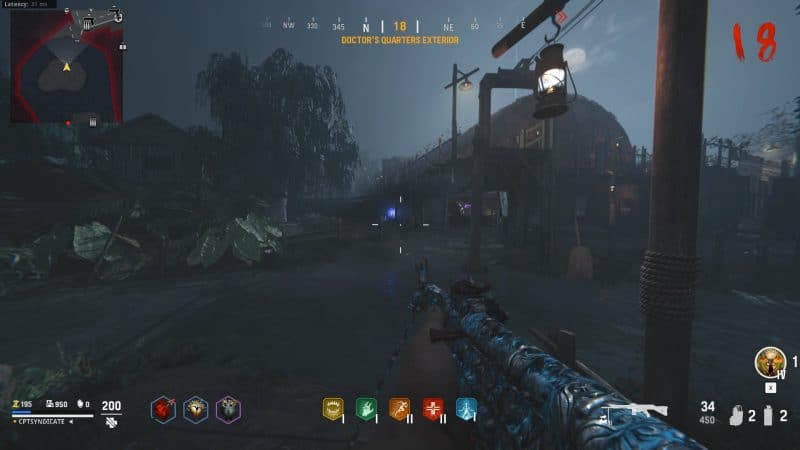
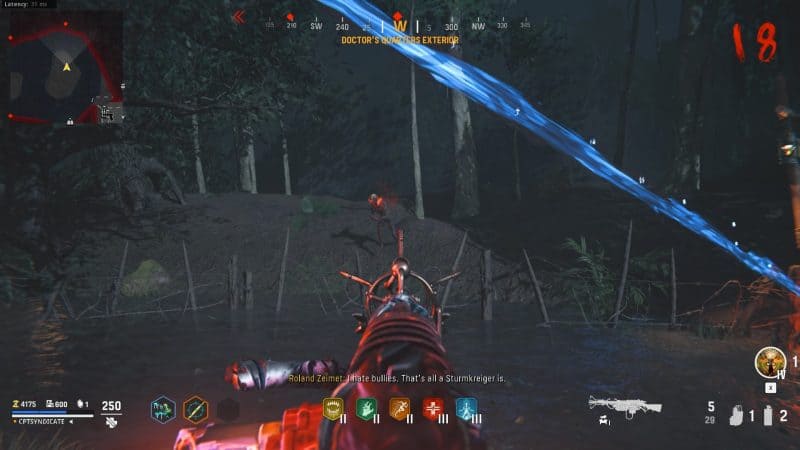
Finally, the orb moves to the west just outside the map by the tree.
Eastern Podium Route
This is for the Podium to the east of the central podium.
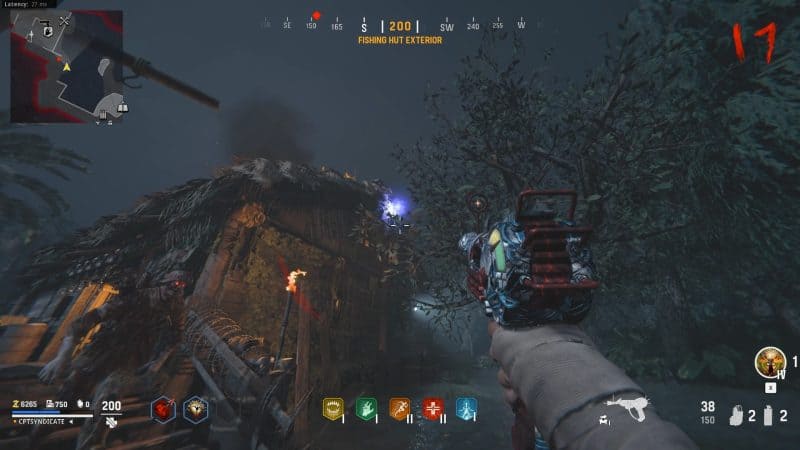
The first location it moves to is in the Fishing Hut area. The orb is on a tree located outside the map to the left of the bridge that takes you to the Fishing Hut.
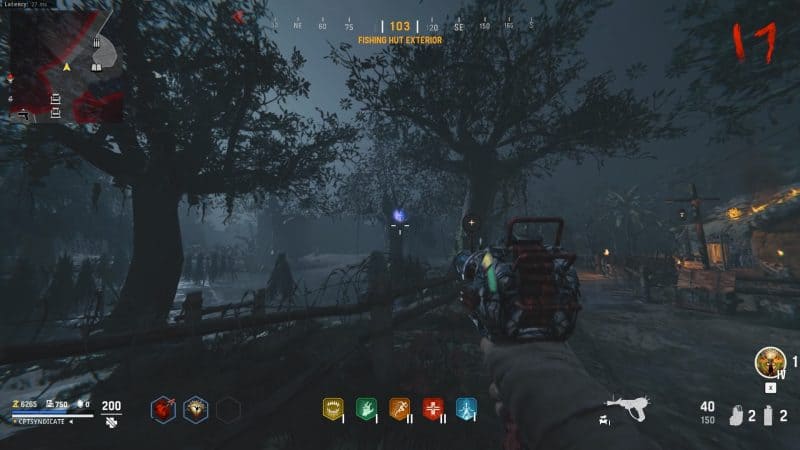
The second location it moves to is on a tree that can be seen from the ammo supply room window inside the Fishing Hut.
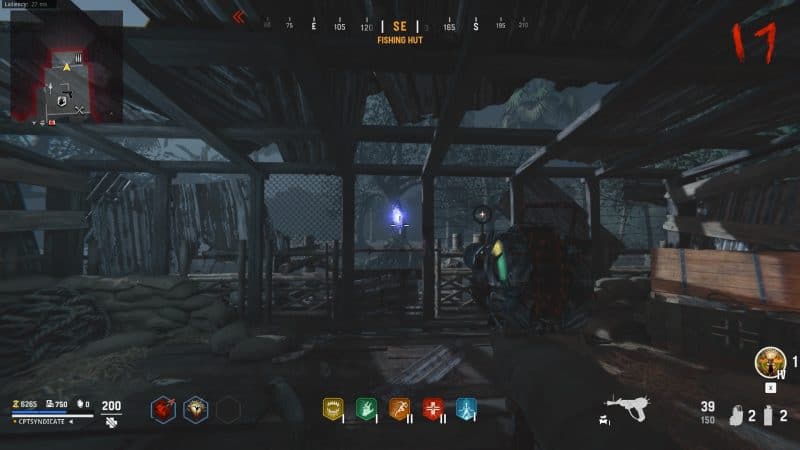
The final location it moves to is on the Fishing Hut roof, visible from the hut's entrance stairs.
Northern Podium Route
This is for the northern podium.
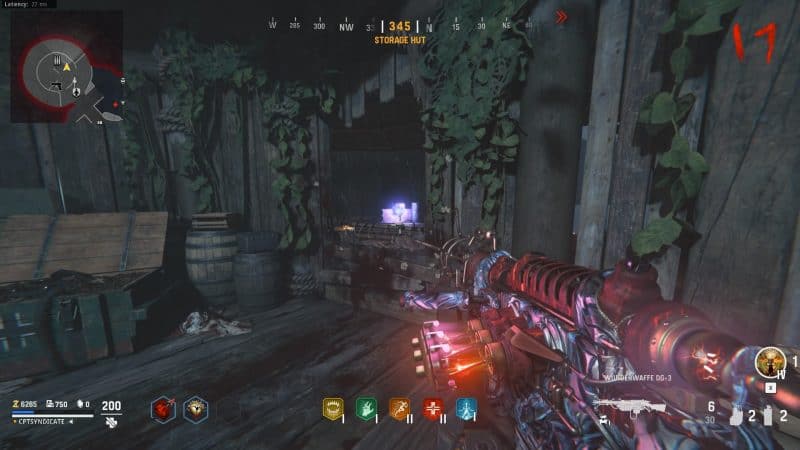
The first location the orb flies to is outside the map. The orb can be seen through the back-right corner window of the Storage.
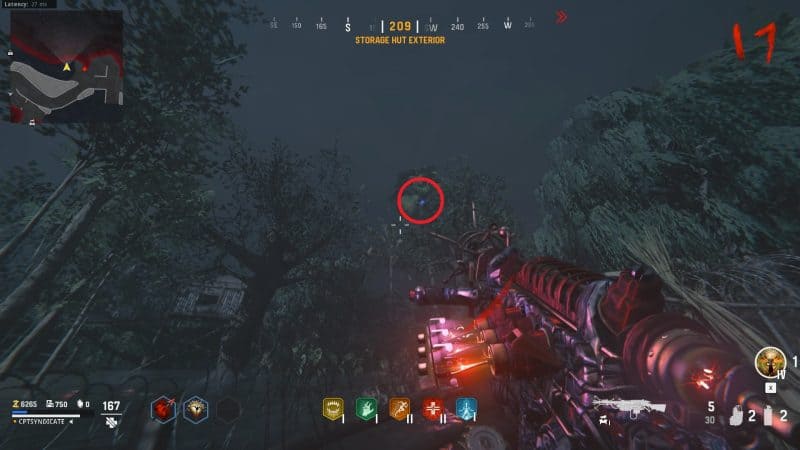
The second location it moves to is on a long tree located outside the map southwest of the Storage hut Exterior.
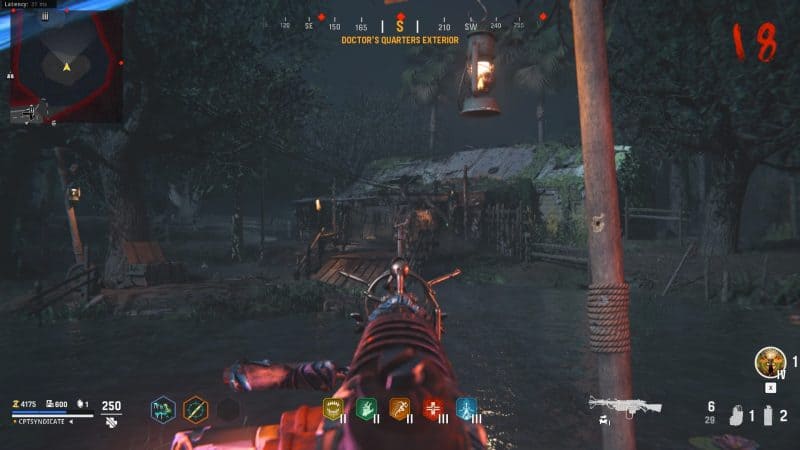
The final location is the hut outside the map seen from the little island at the Doctor's Quarters Exterior area. The hut is located north of where the Monolith is.
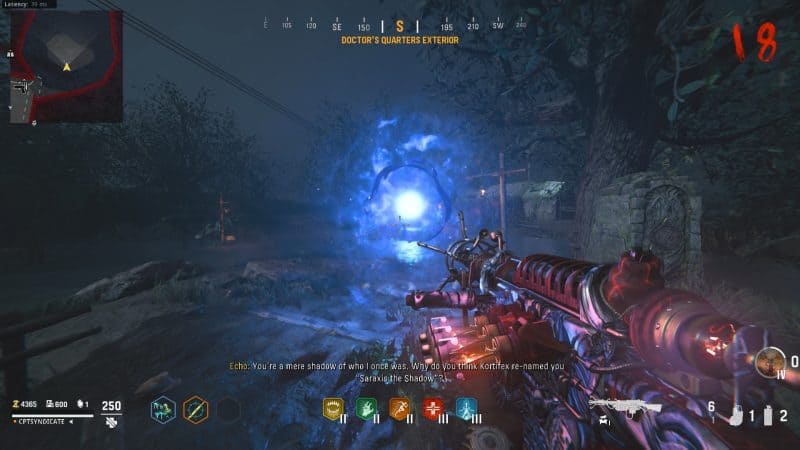
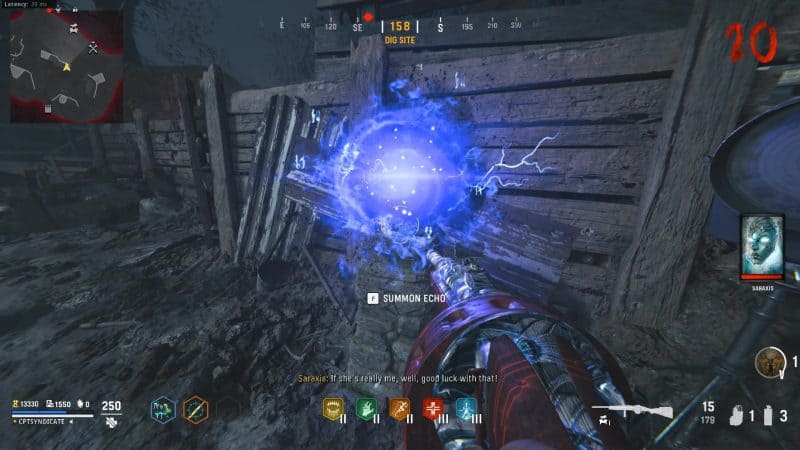
Once you've shot all three blue orbs in time and redirected it back to its podium, you can interact with it to summon the Echo.
Now is the time of no return. It would be best to stock up on armor and perks and pack a punch your weapon as needed.