Minecraft is one of those games which is most enjoyed when played with your friends and family members. Of course, this is achieved by playing on a server that is always available for everyone to join!
There are several ways to create a Minecraft server using the official Minecraft server file, but that is used to host the server from your personal computer, which may need more memory or a faster internet connection to provide a smooth gameplay experience for everyone.
On top of that, once you, or whoever is hosting the game, shuts down their PC, the server is gone. If a friend wants to rejoin the server later, the host player must turn their PC and the server on, making it highly inconvenient for everyone.
The best way to overcome this problem is to create a cloud-based Minecraft server that runs 24/7 and does not use your PC resources. That way, anyone can join at any time without worrying about hosting issues.
In this guide, I walk you through every step needed to create your own cloud-based Minecraft server. We go through all the required details, including the Java installation, firewall access, ports, remote access, and SSH commands for the terminal.
We will create this server using a server management tool called PufferPanel for better accessibility and to make managing it easier. I created a server for the latest version of Minecraft 1.20.1. However, this same method will apply to all the future versions as well. You will only have to change the build and version number (see PufferPanel & Server Setup). Let's begin.
Oracle Cloud Server
Oracle Cloud and Amazon's Web Services (AWS) are two of the most popular cloud server providers. We will use Oracle Cloud, which allows us up to 24 GB of memory and 4 CPUs as a free user with no expiry date. This comes under Oracle Cloud's Always Free Eligible scheme, so you won't have to pay even a single cent. This is enough to host up to 20 people on a server without lag.
Creating VM Instance
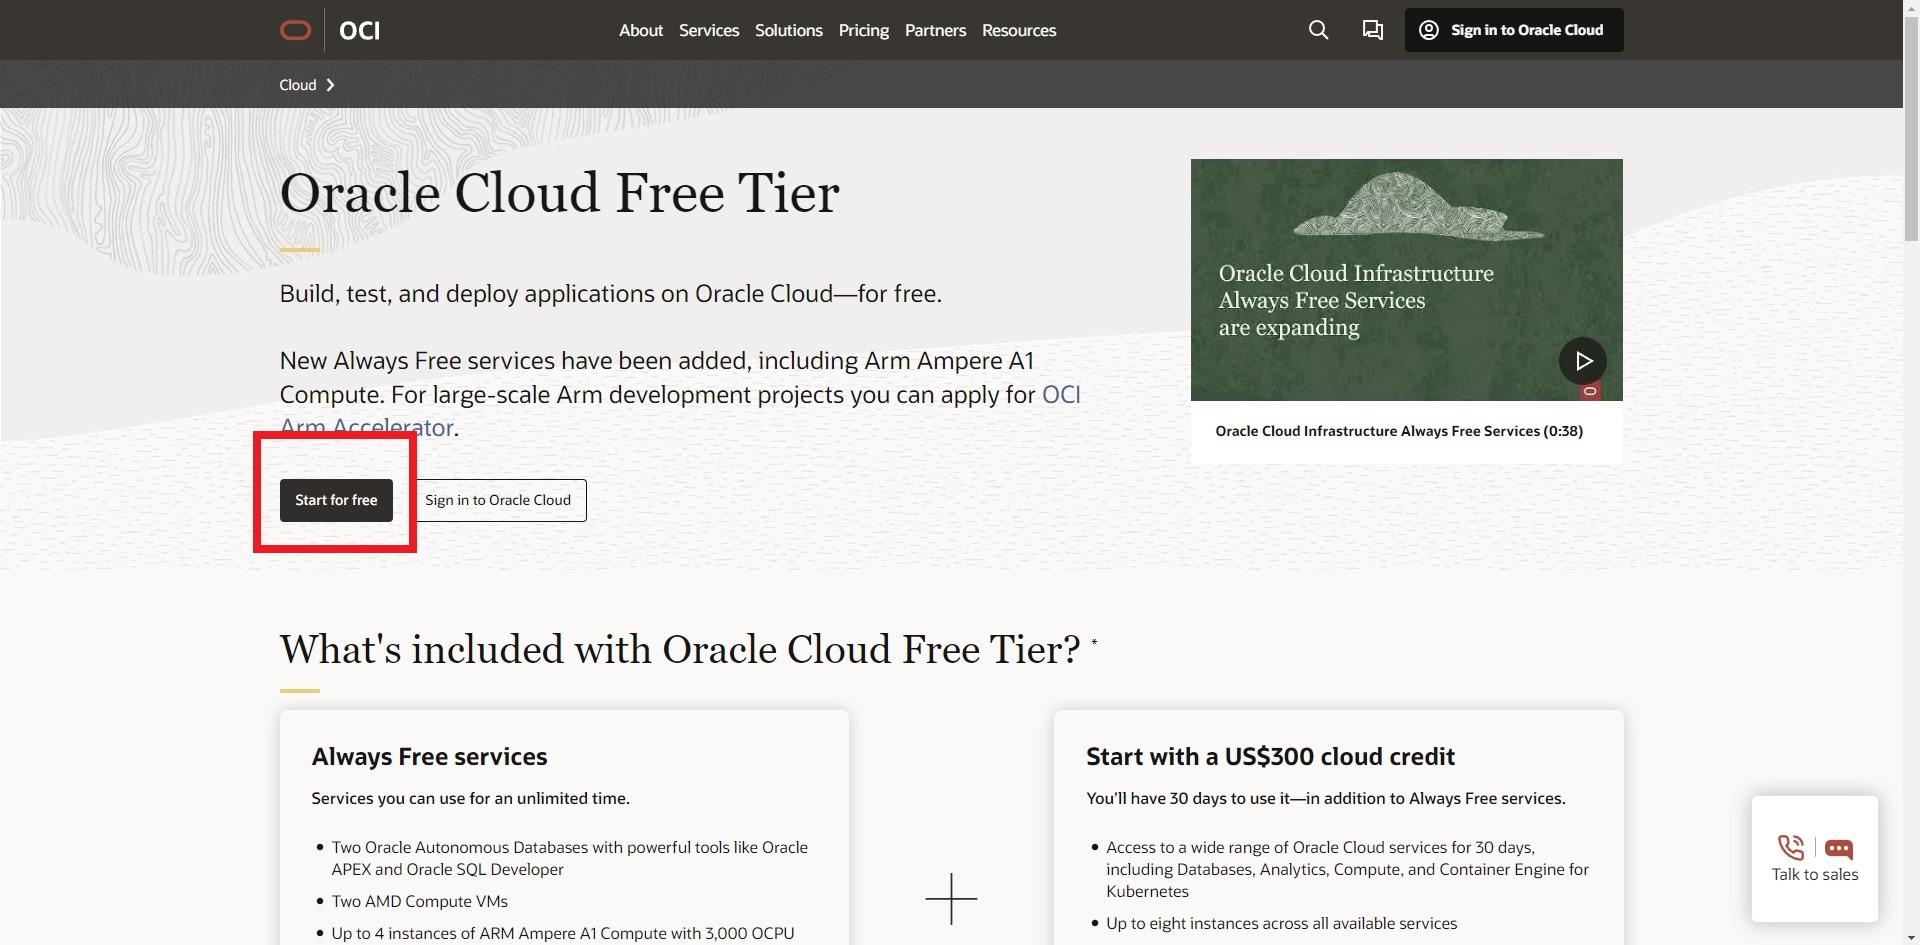
First, head over to Oracle Cloud's official website and sign up for a free account. You will be asked to add your credit card information. But you won't be charged as long as you choose all the 'Always Free' services. They ask for the credit card information to verify you only created one account and not multiple.
Once you've successfully logged in, you will land on the 'Get Started' page where you can view several different options. One of them is 'Create a VM Instance' which stands for a Virtual Machine Instance. The instance in this case is our Minecraft server. Click on it.
When you click on the option, you will begin the process of creating your Oracle Cloud VM instance. In the 'Name' slot, you can name it whatever you like. We've just named it 'Minecraft Server' to keep things simple.
Leave placement as is since Oracle allocates a domain for you by default. You don't have to change anything here.
Next, you need to select the shape and image. This is one of the most important steps, as the image you choose determines whether you can use PufferPanel. PufferPanel is compatible with Ubuntu, so we must choose a compatible image. If you do not plan on using PufferPanel, you can use the default selection, Oracle Linux 8.
For the image, select Ubuntu and the Canonical Ubuntu 20.04 option from the list below
For the shape, select Ampere. Increase the number of OCPUs to 4 and the memory to 24 GB.
For Networking, click the 'Edit' button and leave everything on default. If it is your first time creating the instance, it will automatically create a virtual cloud network. I am using an existing virtual cloud network, which I've already created earlier. The only thing you must ensure is that 'Assign a public IPv4 address' is selected.
The next step is to create a SSH key which will allow you to access the server and modify it as needed. Under the 'Add SSH keys' select 'Generate a key pair for me' and click on 'Save private key.'
Under 'Boot volume,' select 'Use in-transit encryption,' which further secures your data transfer.
Once done, go to the bottom of the page and you should see an option to create. When you click on the create button, you will be redirected to the instance page.
The initial status of the instance will be 'provisioning,' but after a few seconds, it will turn green and say 'running.'
Once the instance is running, you can see all your important information, including the public IP address. Keep note of the public IP, which will be used for everything, from remote access to letting your friends join your server.
Adding Ingress Rules
Next, we will add some ingress rules to ensure all important and relevant ports are open. To do that, click on the subnet link under Primary VNIC section.
When you land on the subnet information page, click on the 'Default security list.'
From here, we can start adding the ingress rules. There are three ports we need to add for both TCP and UDP. 25565 is the main port used by the official Minecraft servers, 8080 is the main port used to access PufferPanel, and 5657 port to access the server files using Secure File Transfer Protocol (SFTP).
Let's add a 25565 port. First, type 0.0.0.0/0 under Source CIDR. After that change, select TCP as the IP Protocol. Finally, type 25565 as the Destination Port Range.
Once you're done, click 'Add ingress Rules' at the bottom of the page to continue adding. You must repeat the same, but change the IP Protocol to UDP this time.
That completes the process for port 25565. Now, you must repeat the same for 8080 and 5657 ports.
That completes our Oracle Cloud server setup. Now, we can move on to remote access.
nextpage
Remote Access & Setup
The server is now live, but we are not even half way done with our server creation. What we've created is an online virtual server. But to work on it and access it, we need PuTTY. PuTTY is SSH client that allows you to remotely and securely connect to your instance.
First, go to the official PuTTY website, download and install the application.
Before you can use PuTTY to access your server remotely, you need to create a PuTTY-compatible private key. This is quite easy and can be done using PuTTYgen. PuTTYgen is a small tool automatically installed with the PuTTY SSH client.
Open up PuTTYgen and click on the 'Load' button.
Navigate to the original SSH key you downloaded while creating your instance on Oracle Cloud and select it.
Once you've loaded the key, you will get a message saying you've successfully imported the key. Press OK. After that, click on 'Save private key' to save a PuTTY-compatible SSH key.
Once saved, you will get a PuTTY private key file.
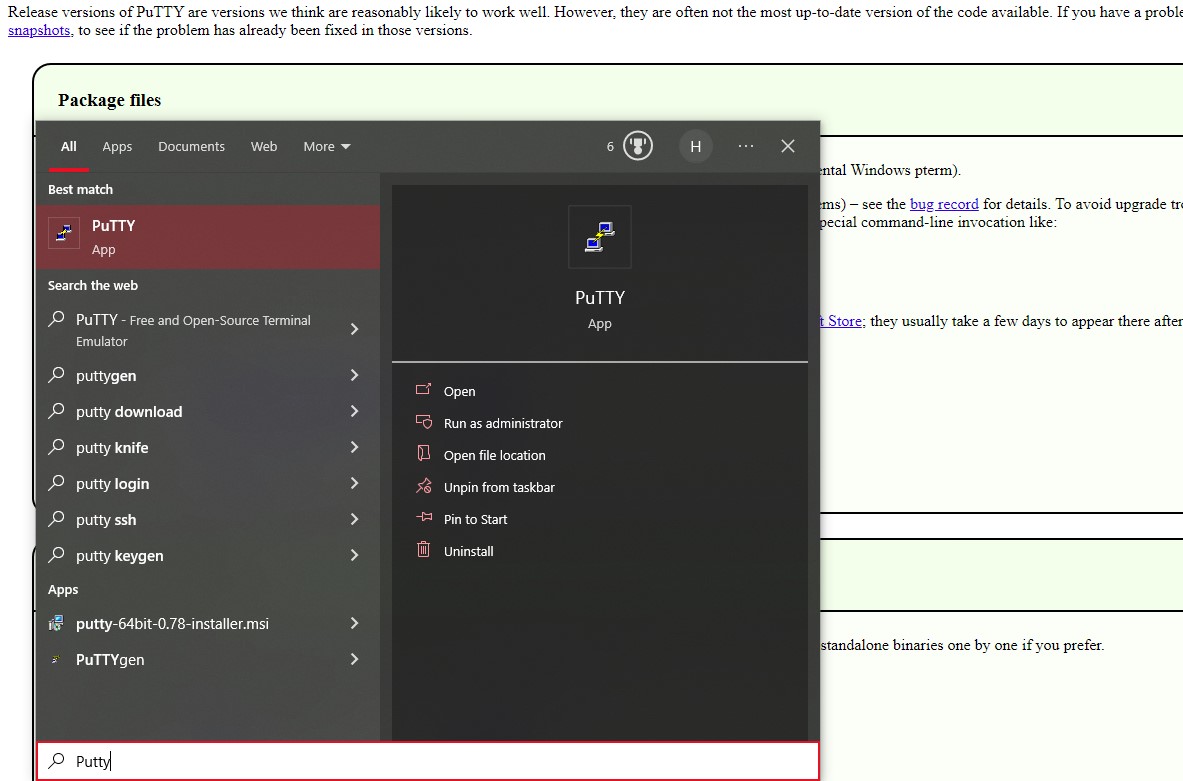
Now that we have the PuTTY key, we can go ahead and open up PuTTY. Open up PuTTY as an administrator and you can find it by searching it in your windows search bar.
Once opened, go to the 'Session' and type in 'ubuntu@yourpublicIP.' This is the same public IP which was generated upon Oracle Cloud instance creation.
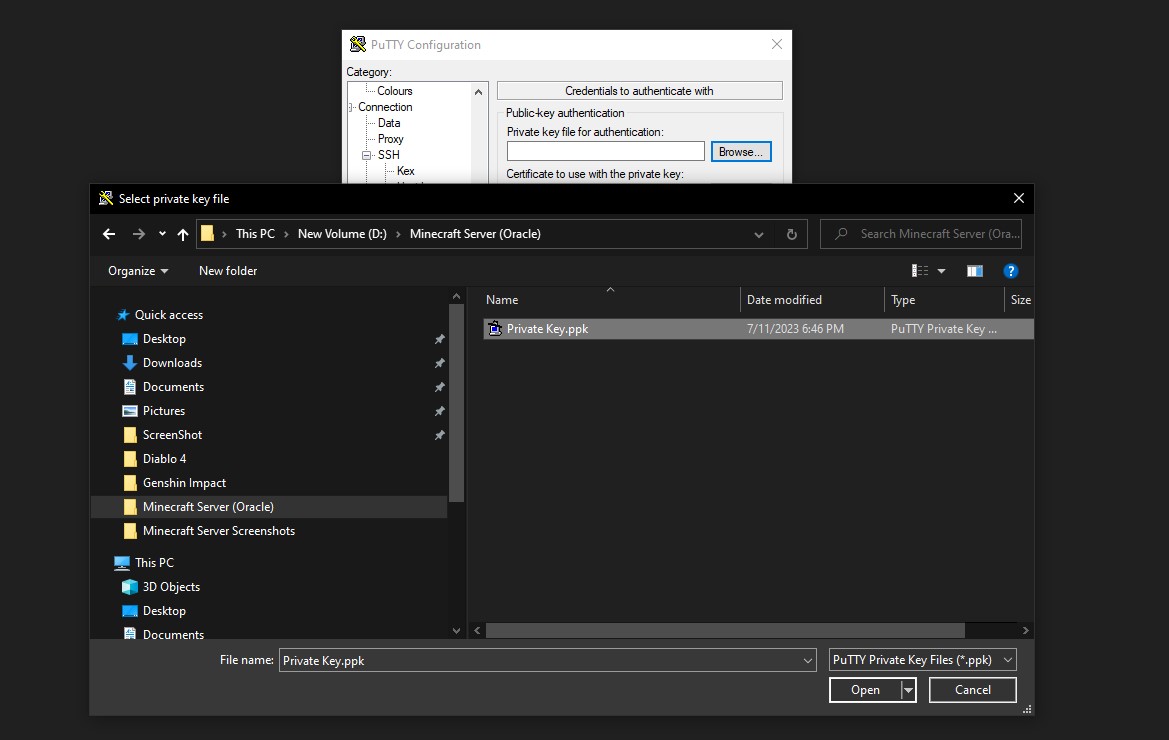
After that navigate to Connection > SSH > Auth > Credentials. Here you need to browse for the PuTTYgen created key to access your server.
Browse to the key which was generated using PuTTYgen and select it.
Once you're done, click on open, and a terminal console will open. You can now access your server remotely from here. You can also enter useful commands and set up everything for your server through this console, which we will do now.
Setting Up Passwords
This is an optional step, but you can setup a password for your sessions. It is best to do it as it can be useful in case you ever lose your private SSH key. It is still good practice to do it, regardless.
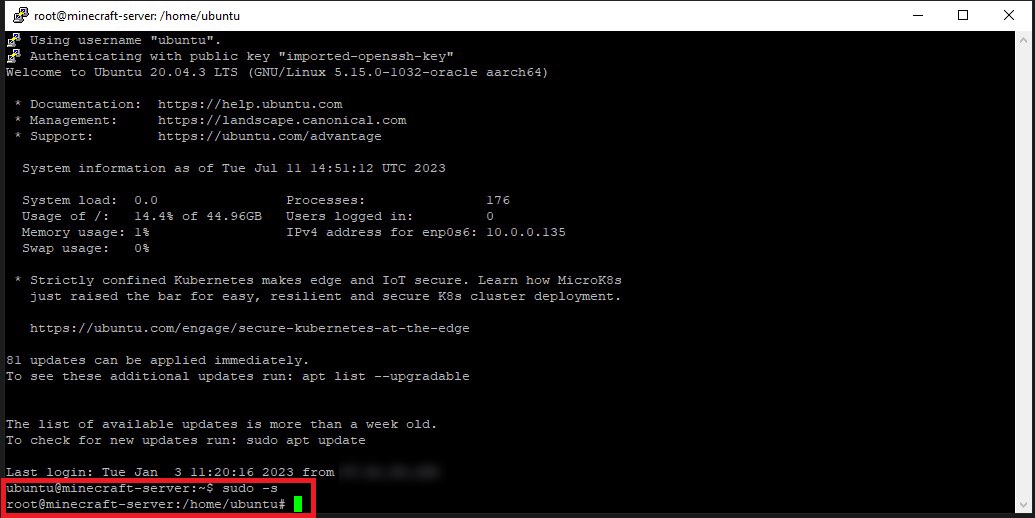
First, type 'sudo -s' to gain root access. It is also worth noting that if you want to paste something in the terminal after copying, you need to right-click. CTRL+V won't work here.
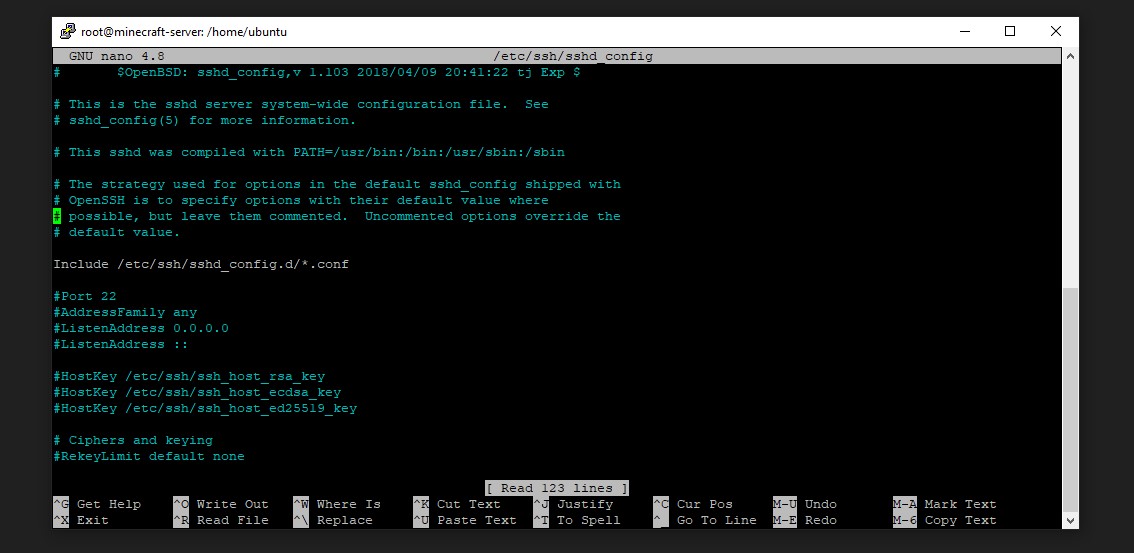
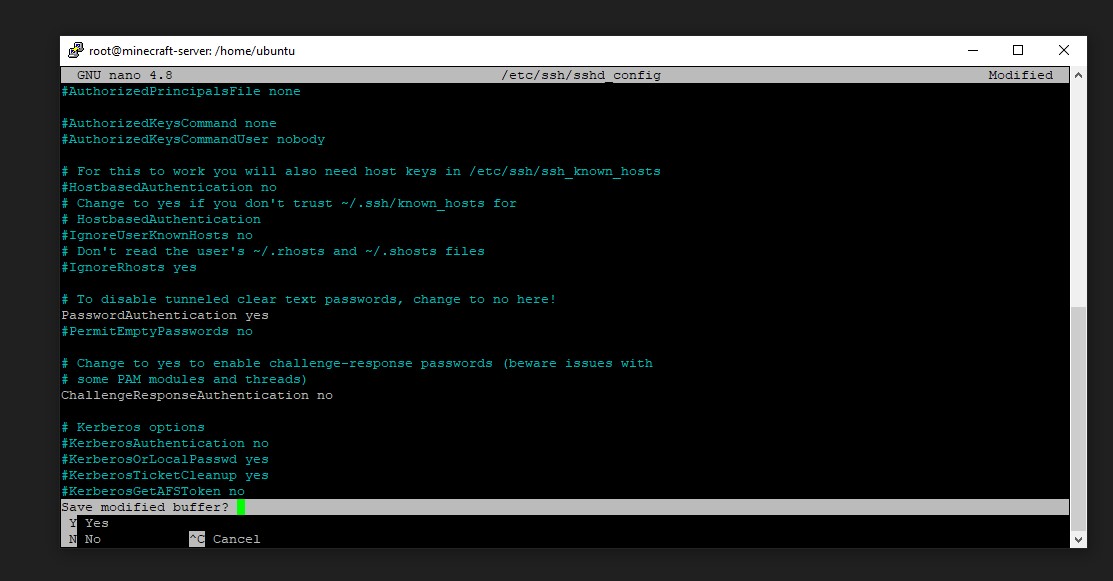
After that type in 'nano /etc/ssh/sshd_config' and you will see the following screen.
Scroll down (by pressing the down button) until you see PasswordAuthentication. There will be a 'No' in front of it. You must change it to a 'Yes.'
Now you can set a password for both ubuntu and root user. To exit this screen, first press CTRL+X. It will then ask whether you want top save modified buffers. When it does, press Y and then enter to exit.
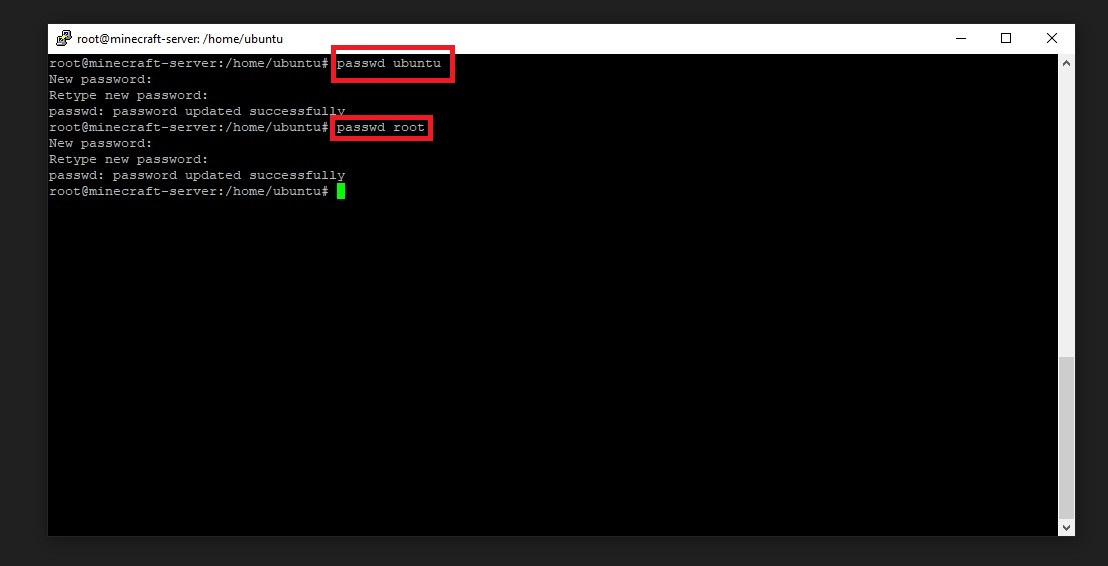
To set the password, type 'passwd ubuntu.' It will show you a new line where it reads 'New Password." You must enter your password and hit enter. Once you've done it, it will ask to retype. Retype it and enter to successfully set a password. You won't be able to see the passwords for security reasons, but they are being typed.
Installing Java
This is one of the most important steps and your server won't work if you do not install Java. For starters, you need to check whether you have Java installed or not.
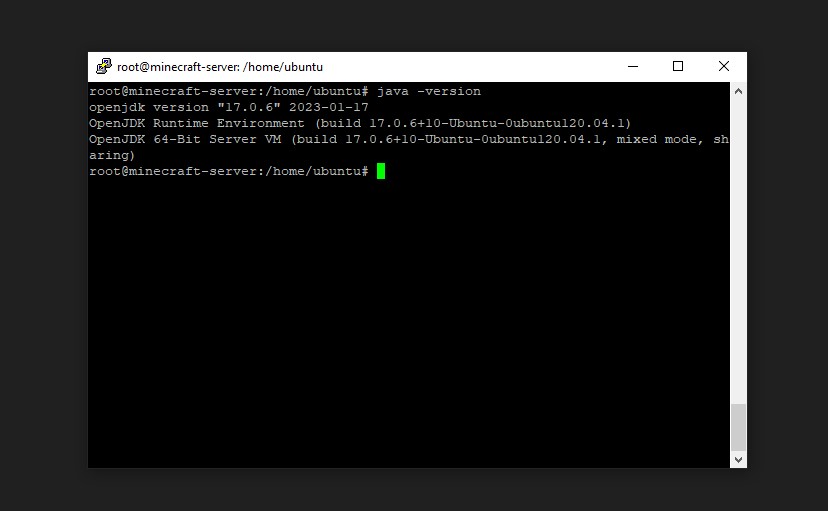
To do that, run this command 'java -version', and if you have Java installed, you will get the following output.
If you do not have Java installed, it will give you the following output (or something similar).
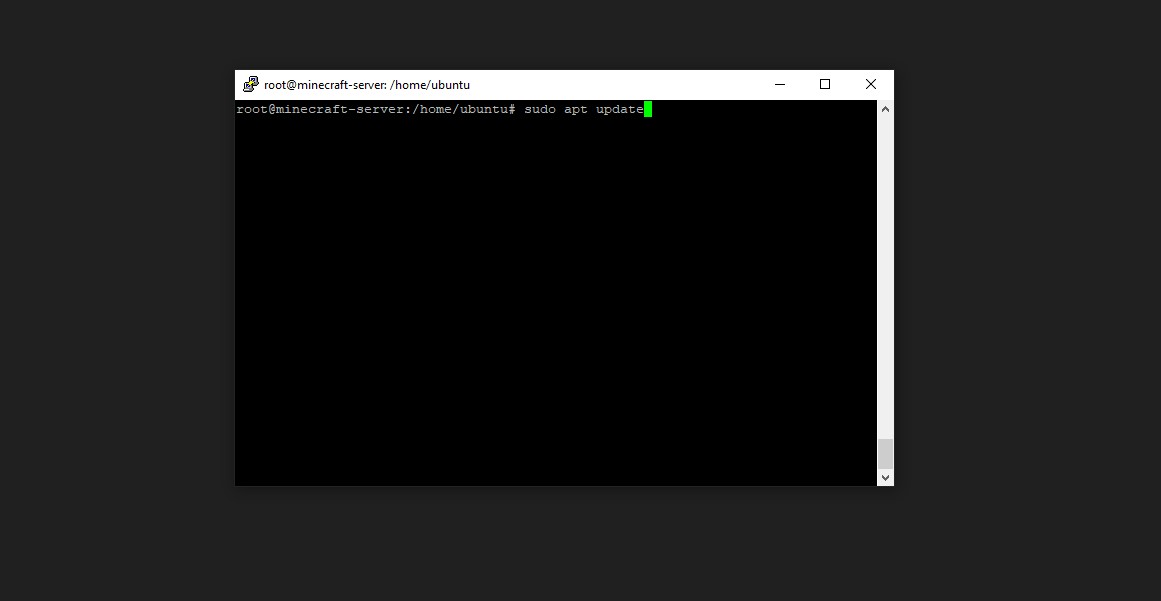
If you do not have, you need to install Java. Here's how you can do that. First, you must update your default Ubuntu OS repository by typing 'sudo apt update'.
When it is done updating, you need to run two more commands to install Java fetched from these repositories.
• To install Java 17 JDK: sudo apt install openjdk-17-jdk
• To install Java 17 JRE: sudo apt install openjdk-17-jre
When they are successfully installed, you can move onto the next step.
Firewall Setup
This is also one of the most important steps in creating your Minecraft server. The firewall determines whether or not your friends will actually be able to connect to your server. We need to open the same ports we added as ingress rules in our Oracle Cloud instance.
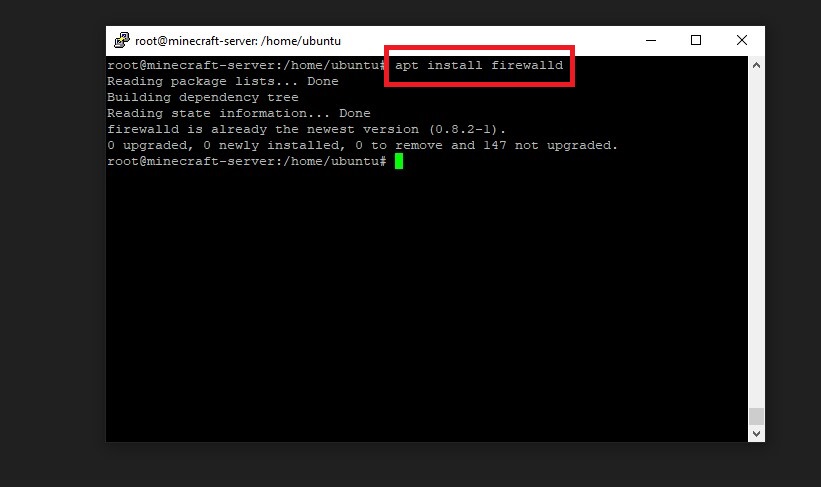
But before we do that, we need to install firewall on our server. To do that, type 'apt install firewalld'
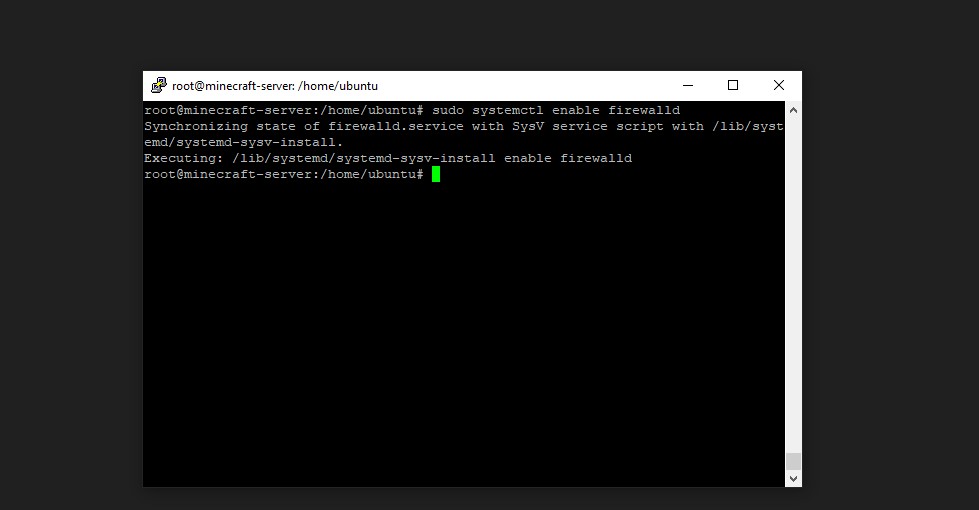
After installing firewall, you need to enable it by running a command 'sudo systemctl enable firewalld'
Once you've installed it, you can run another command 'sudo systemctl start firewalld' just to be sure. And if you want to ensure firewall is running, you can do so by typing 'sudo firewall-cmd --state'
Now we are ready to add the ports in our firewall to enable a smooth connection. To add the ports, you need to run commands in the following format:
• sudo firewall-cmd --permanent --zone=public --add-port=YOURPORT/IPPROTOCOL
The port and the IP protocol will change for each command. You need to run this command for all the ports and each port must be added for both TCP and UDP IP protocols.
For example, for 25565 we will run the following two commands:
• sudo firewall-cmd --permanent --zone=public --add-port=25565/tcp
• sudo firewall-cmd --permanent --zone=public --add-port=25565/udp
And you must repeat the same for ports 8080 and 5657. So you will enter six commands in total.
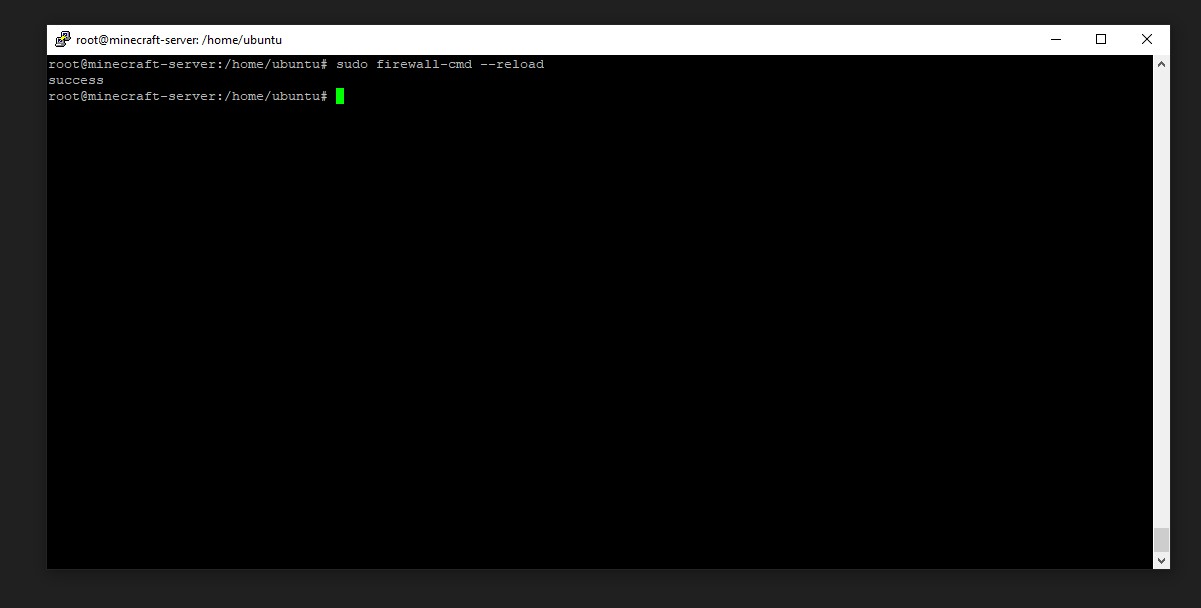
When you're done, it is best to restart your firewall by typing the following command:
• sudo firewall-cmd --reload
PufferPanel & Server Setup
Okay, we're past the hard part, it is a walk in the park from here on out. Now, we need to install PufferPanel and set up our Minecraft server. Once you've installed PufferPanel, you can directly create your Minecraft server from PufferPanel.
Installing PufferPanel
To install PufferPanel, we need to first add the official PufferPanel repository by running the following curl command:
• curl -s https://packagecloud.io/install/repositories/pufferpanel/pufferpanel/script.deb.sh | sudo bash
To install PufferPanel from the repo, run the following command:
• sudo apt-get install pufferpanel
However, we're not done just yet. We need to ensure that PufferPanel is enabled and running. To do that run the following commands:
• sudo systemctl enable pufferpanel
• sudo systemctl start pufferpanel
Finally, you need to add an admin user so you can log into the panel and manage your server. For that, type in the following command:
• pufferpanel user add
You will get a prompt to set your username, email, password, and whether you want the user to be an admin or not. Make sure you type in 'Y' when it asks to confirm you want the user to be an admin. You can review the official PufferPanel installation documents on their website.
To access PufferPanel, go to your browser and type in yourpublicIP:8080. Once again, this is the same public IP you get by creating your Oracle Cloud instance.
Creating Minecraft Server
Once logged into PufferPanel, you can start creating your Minecraft server. First, navigate to the 'Templates' and click on the small icon at the bottom right corner to import a server template.
From the templates drop-down menu, you can select the type of Minecraft server you want to create. I recommend selecting minecraft-paper, as it is widely supported and allows for easy plugin installation.
After that go to the 'Servers' and click on the plus icon to start the server creation.
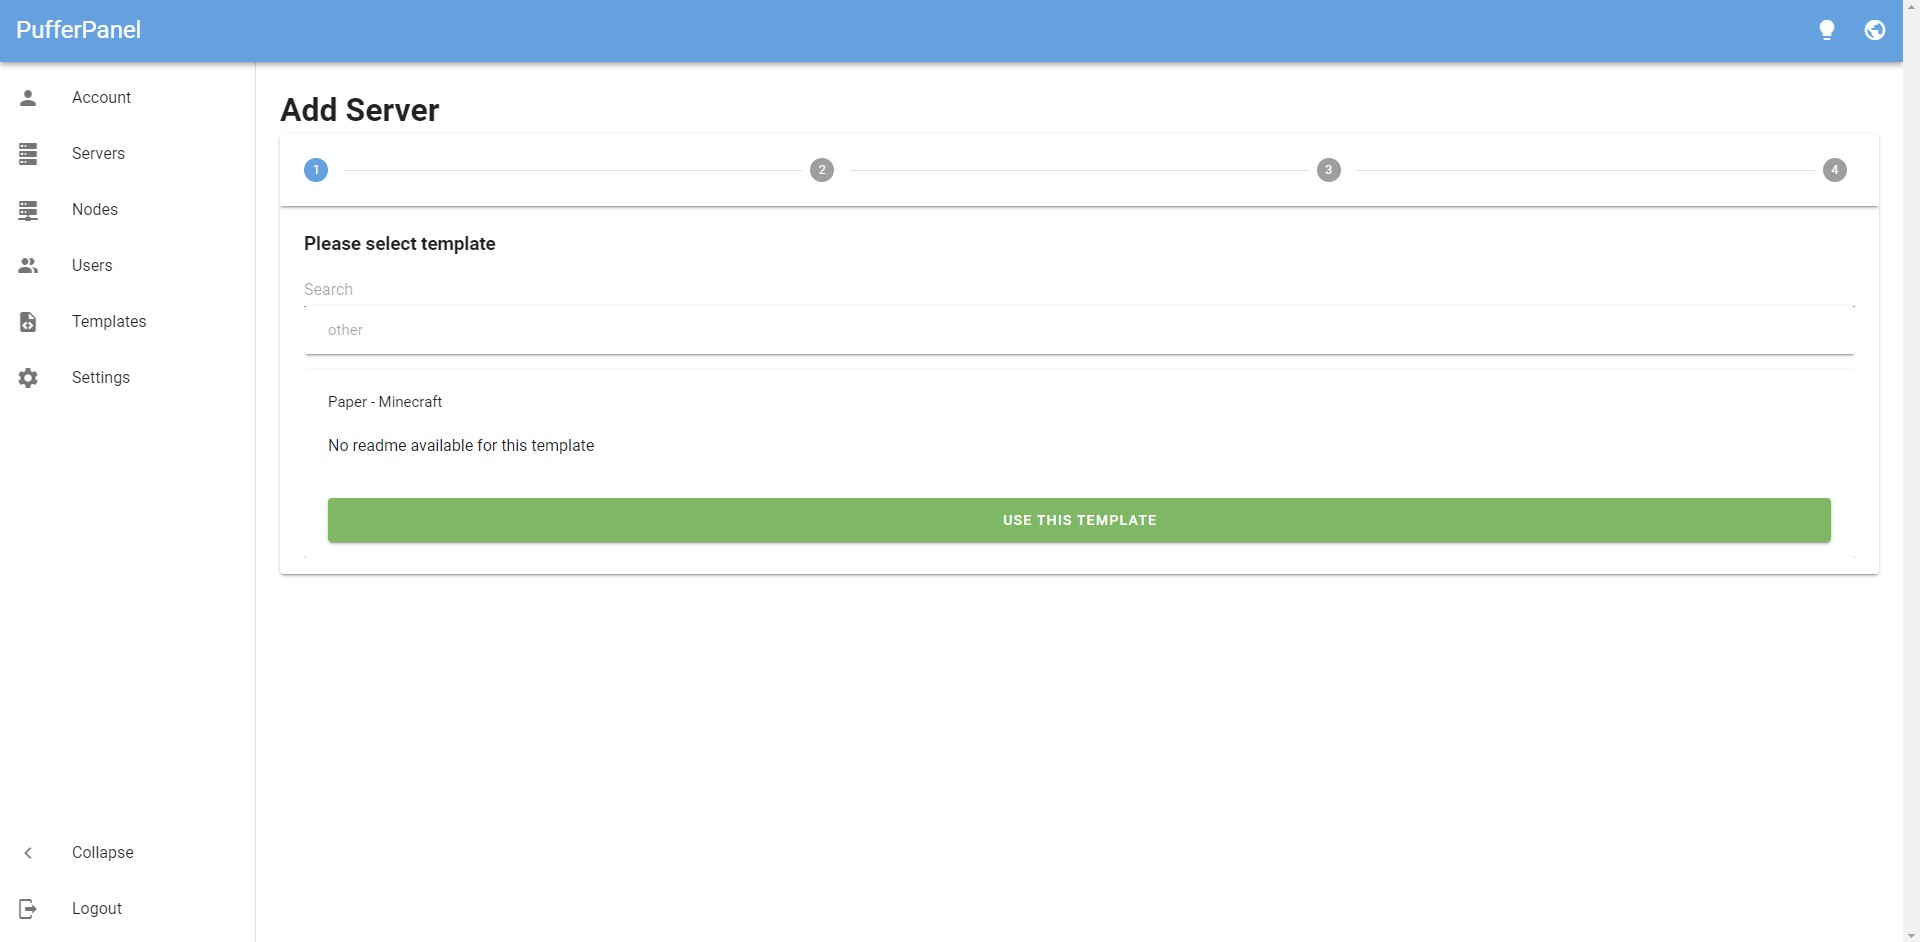
On the first page select 'Paper - Minecraft' template and click on 'Use this template' to continue.
Here name your Minecraft Server whatever you want and continue by clicking on 'Next.'
On the next page, you will be asked to add a user, but you are already added. You can just click on 'Next' and continue.
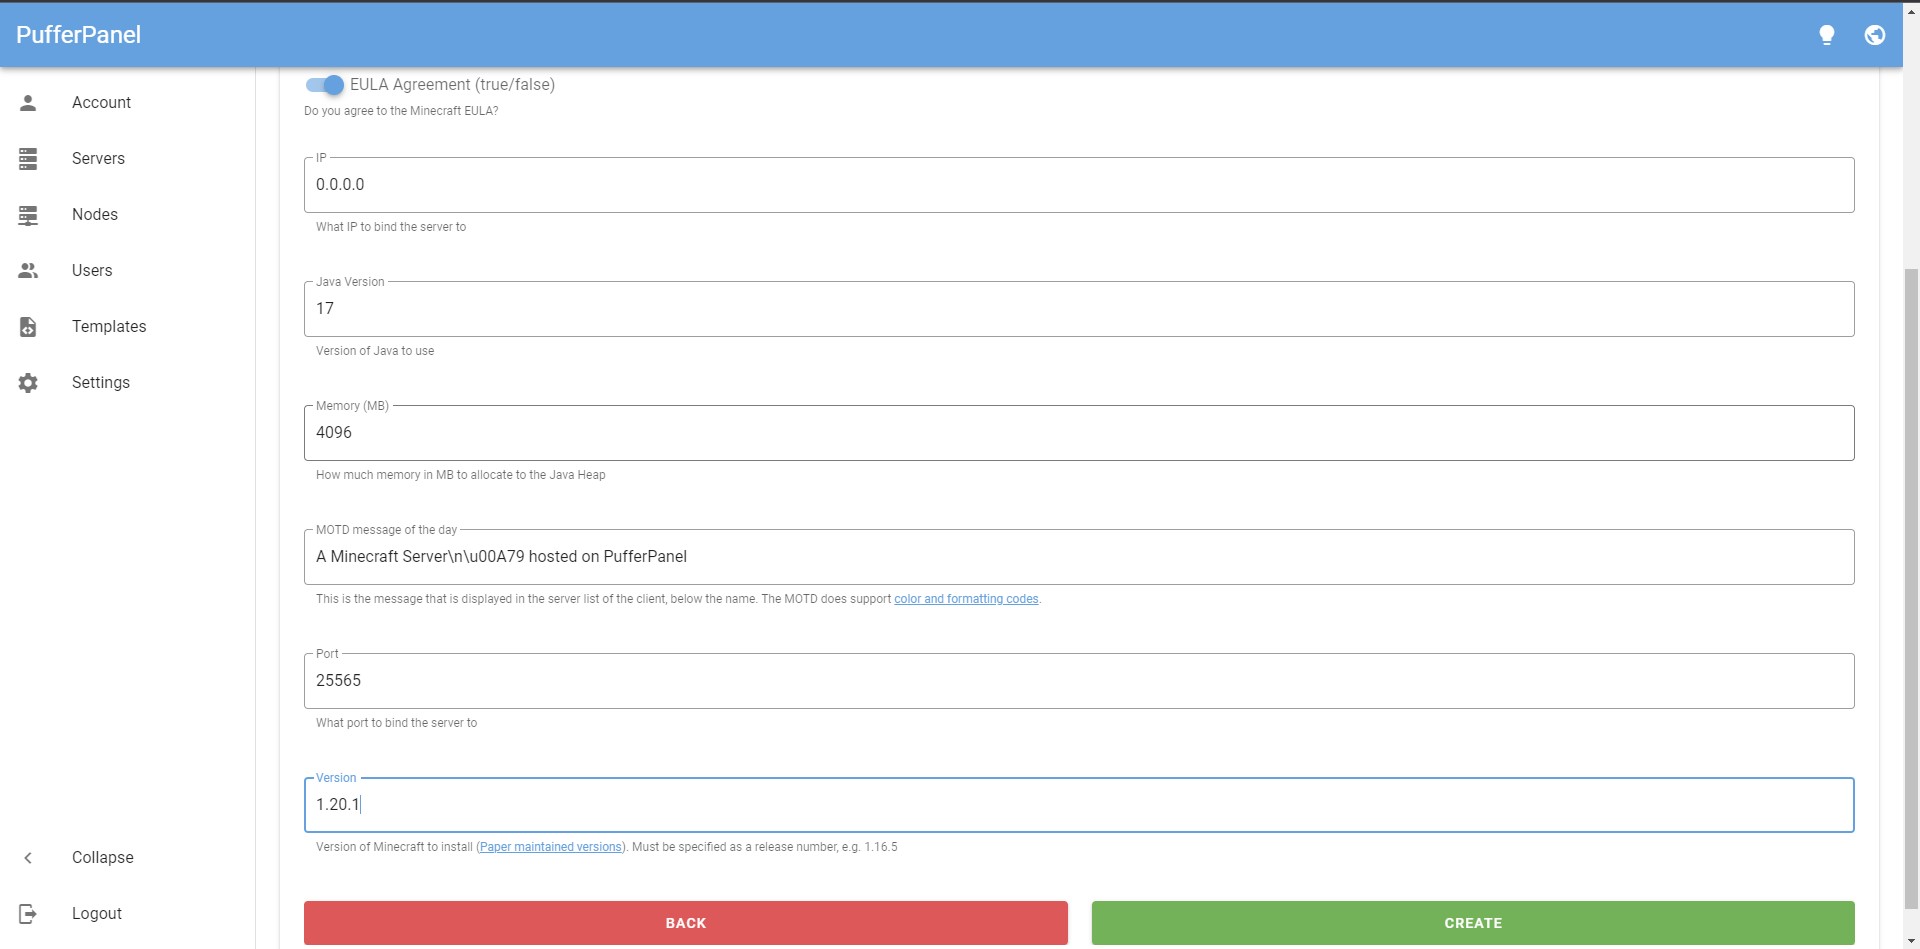
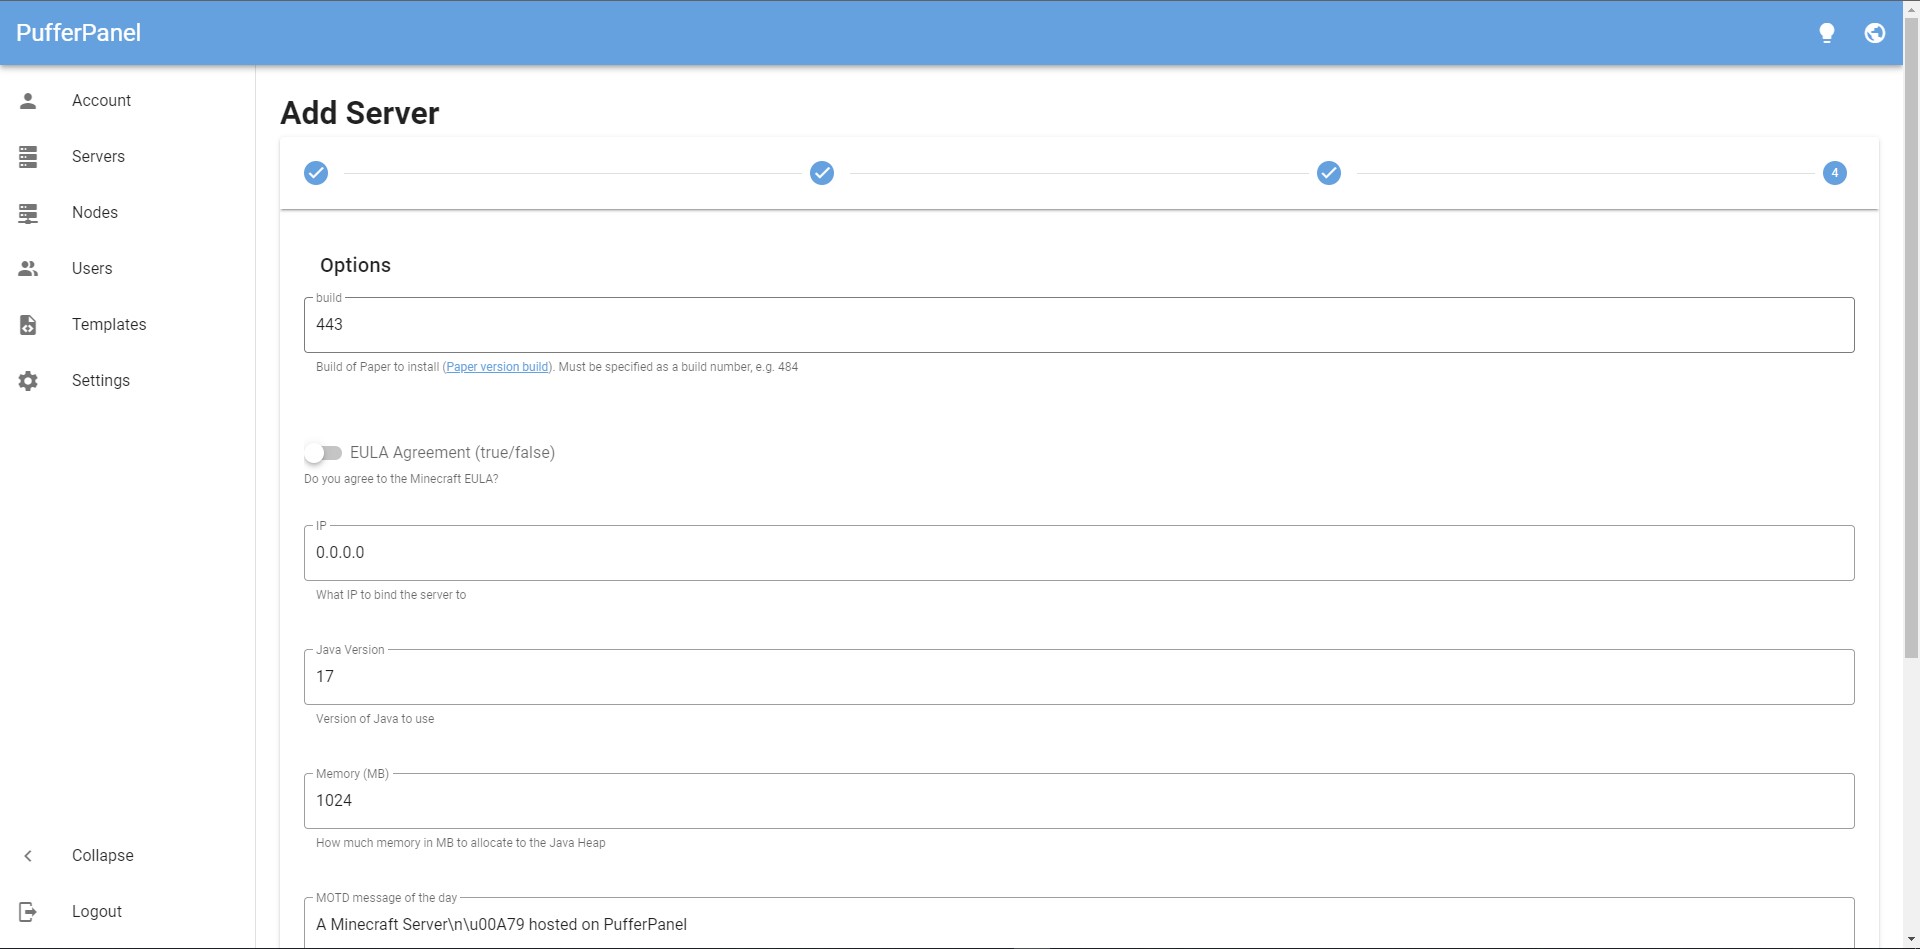
Finally, you get to the main server creation page where you must add proper build number and game version for it to work.
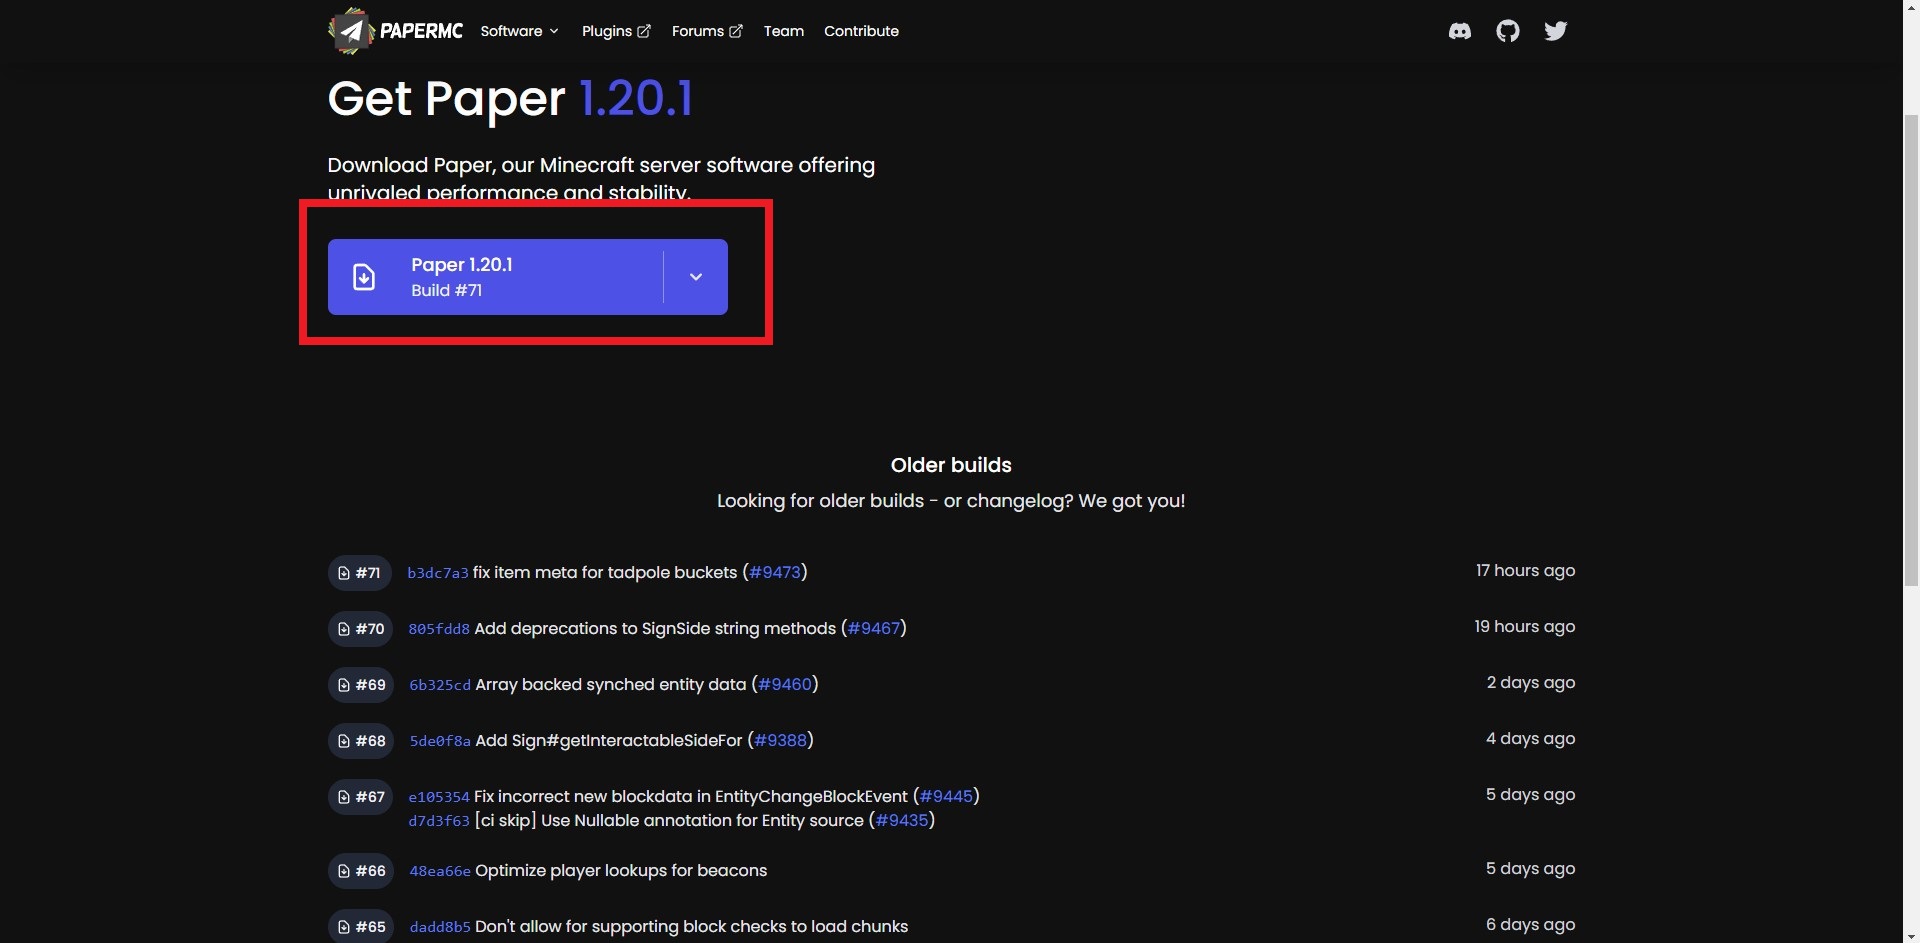
When you click on the 'Paper version build' you will navigate to the official paper website.
Go back to PufferPanel and change your build number to the latest version. For me, it was 71. After that, turn on EULA to accept the EULA agreement.
Leave the IP alone. Change your memory to 4096 MB, port to 25565 (default), and version as per your paper build. For me, for build 71, it was 1.20.1 as seen on the official paper website.
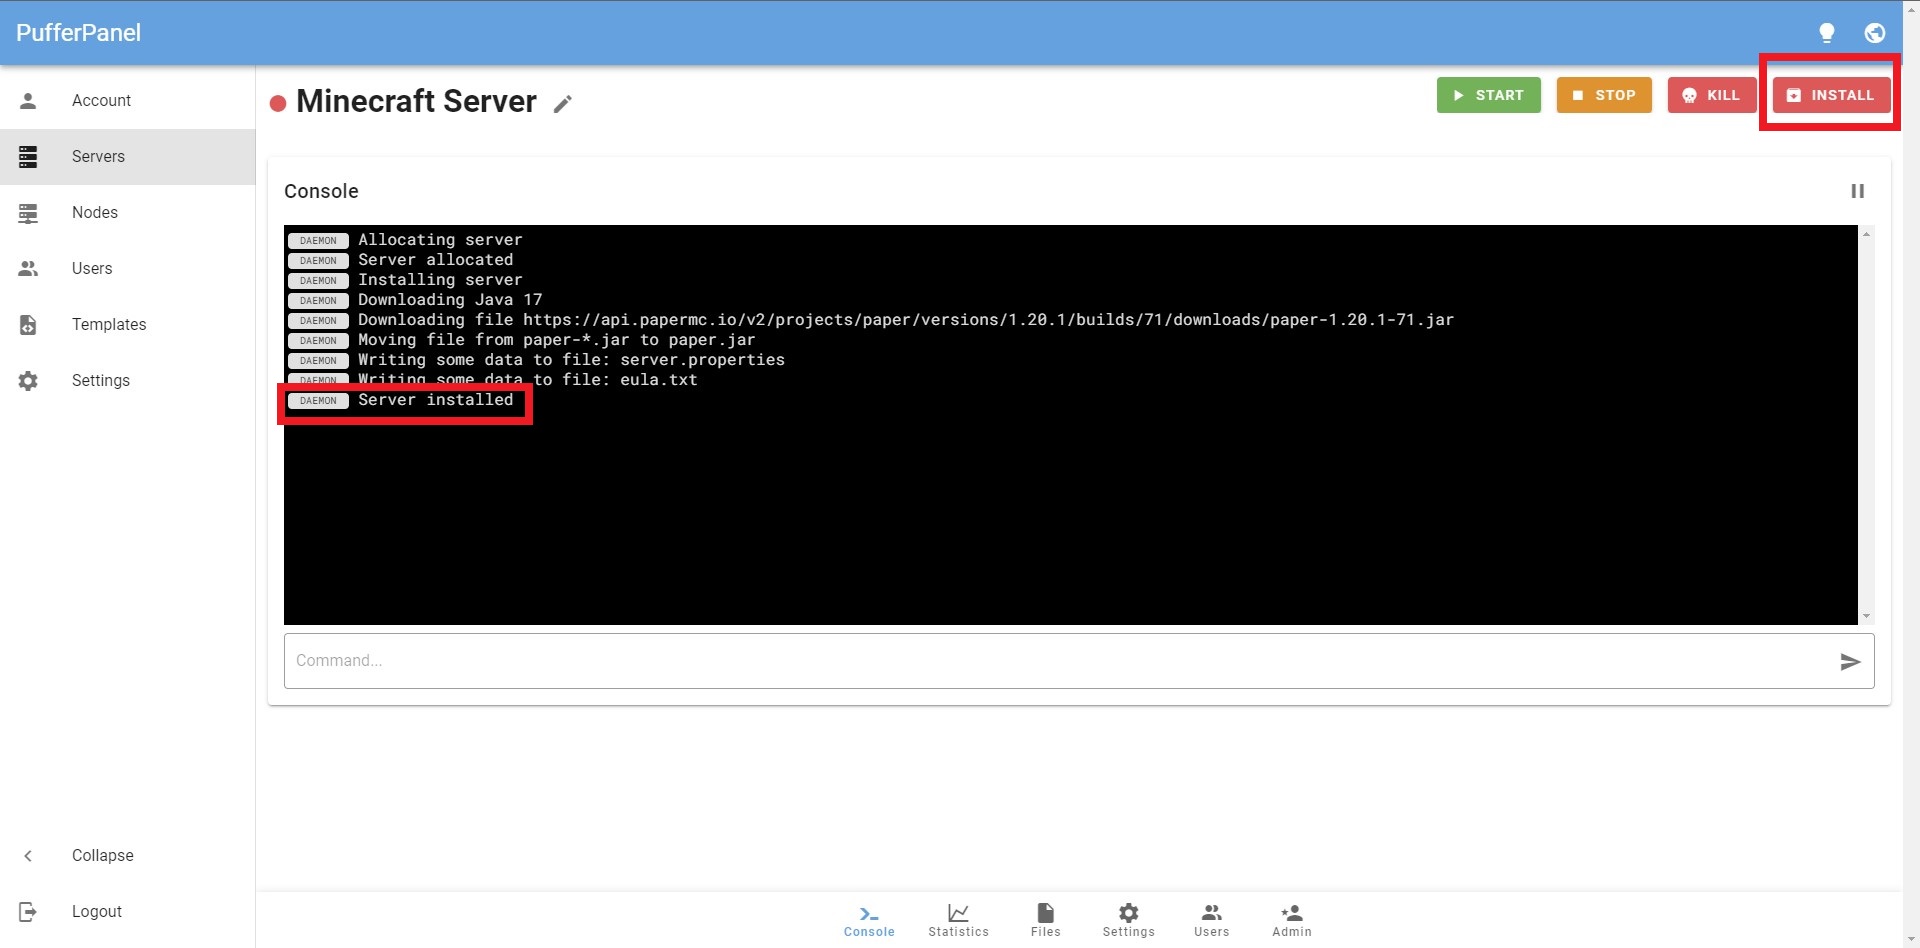
Once done, click on 'create' and it will allocate a server. After that, click on the 'install' button at the top-right corner to install your Minecraft server.
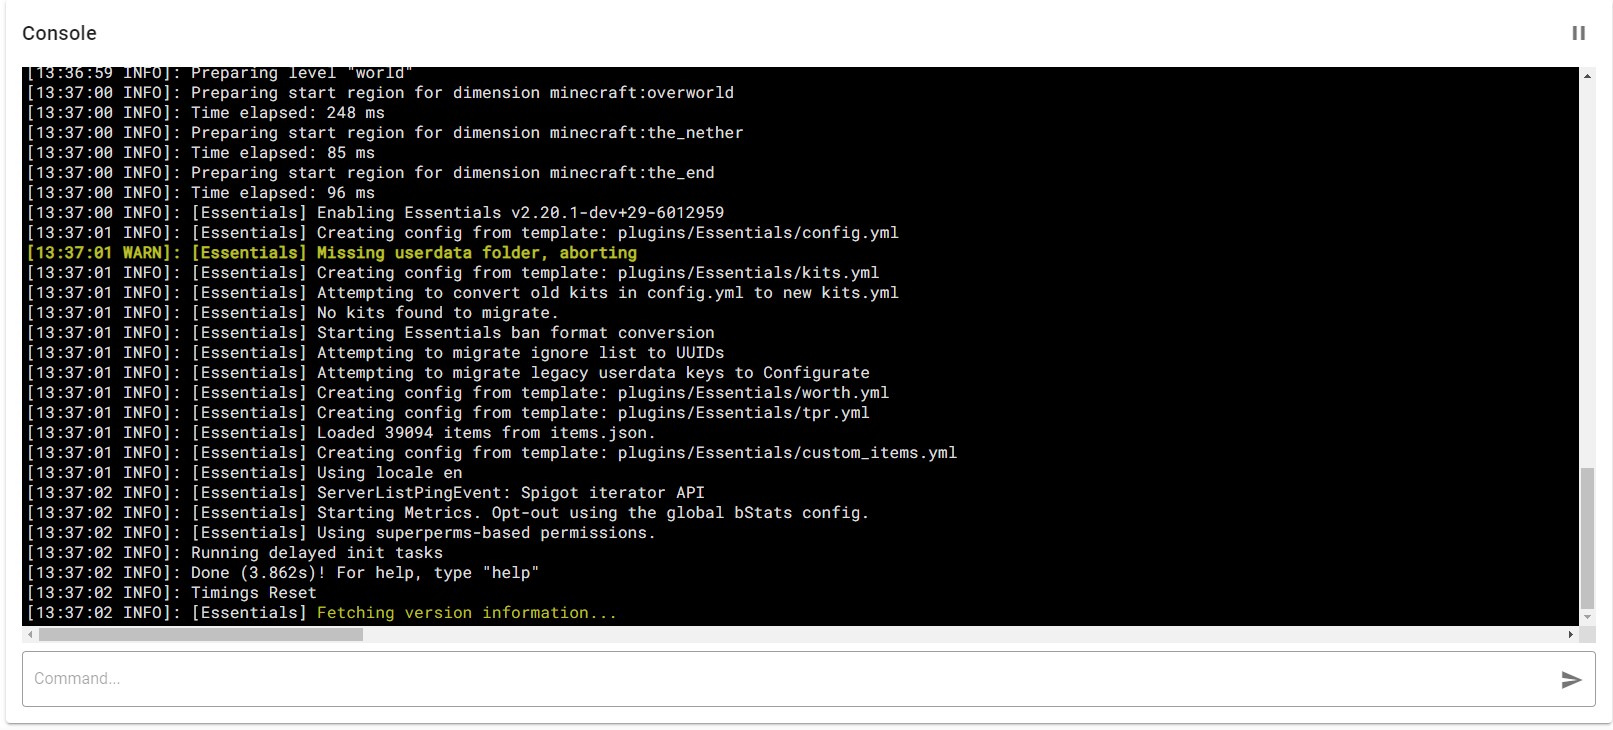
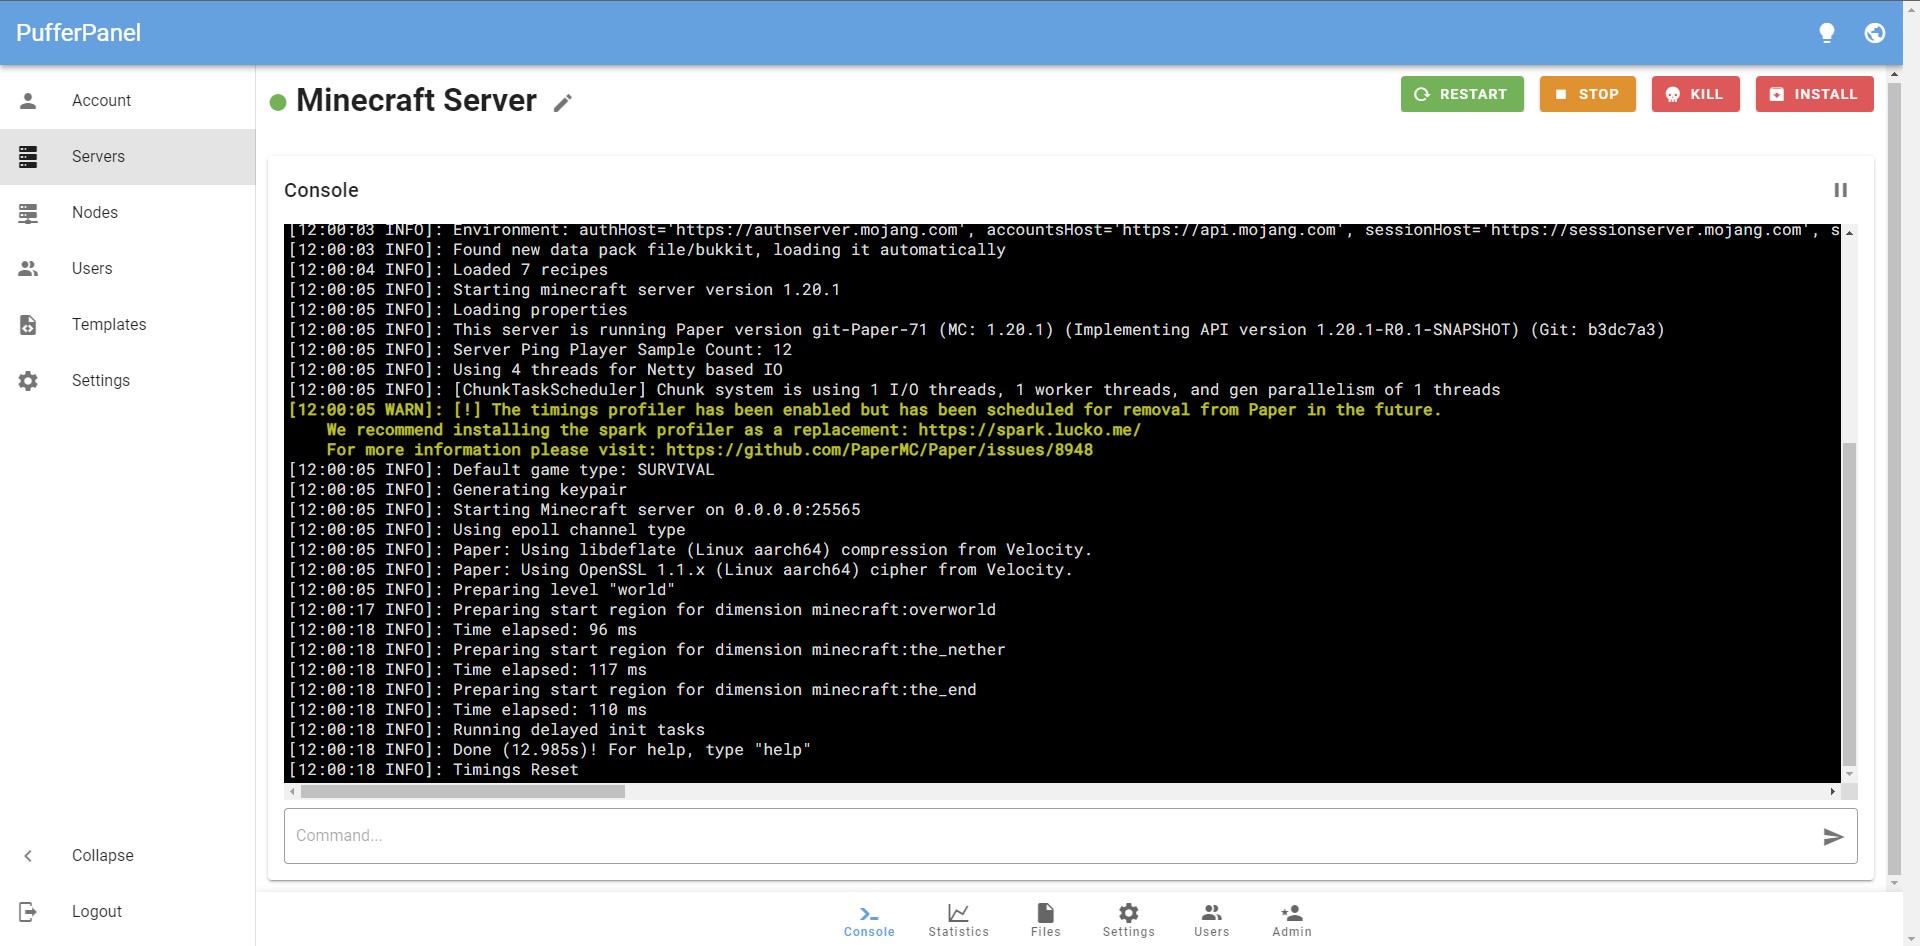
The Minecraft server is now installed, but it is still not running. Click the 'start' button at the top-right corner to start the server.
Joining the Server
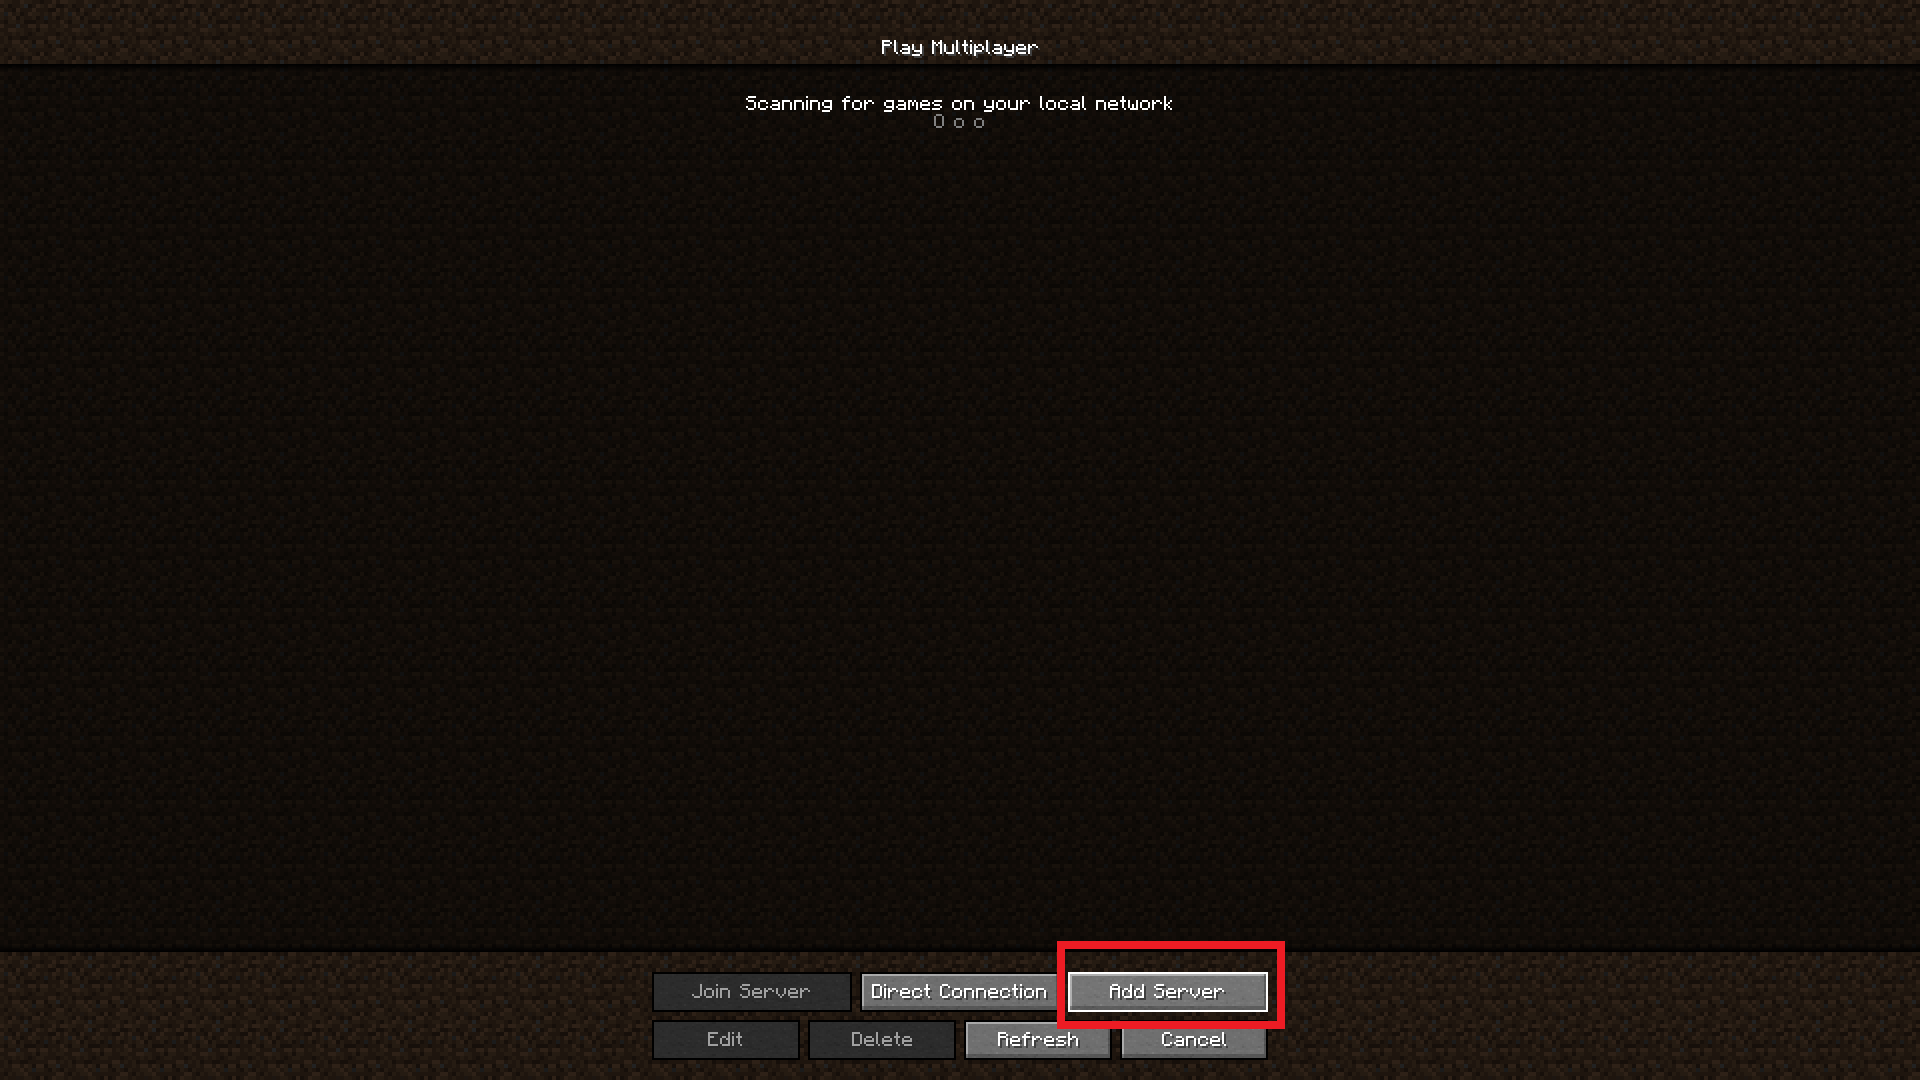
You and your friends can join the server by using the Oracle Cloud public IP and 25565 port. Simply go to Minecraft and open up the Multiplayer section.
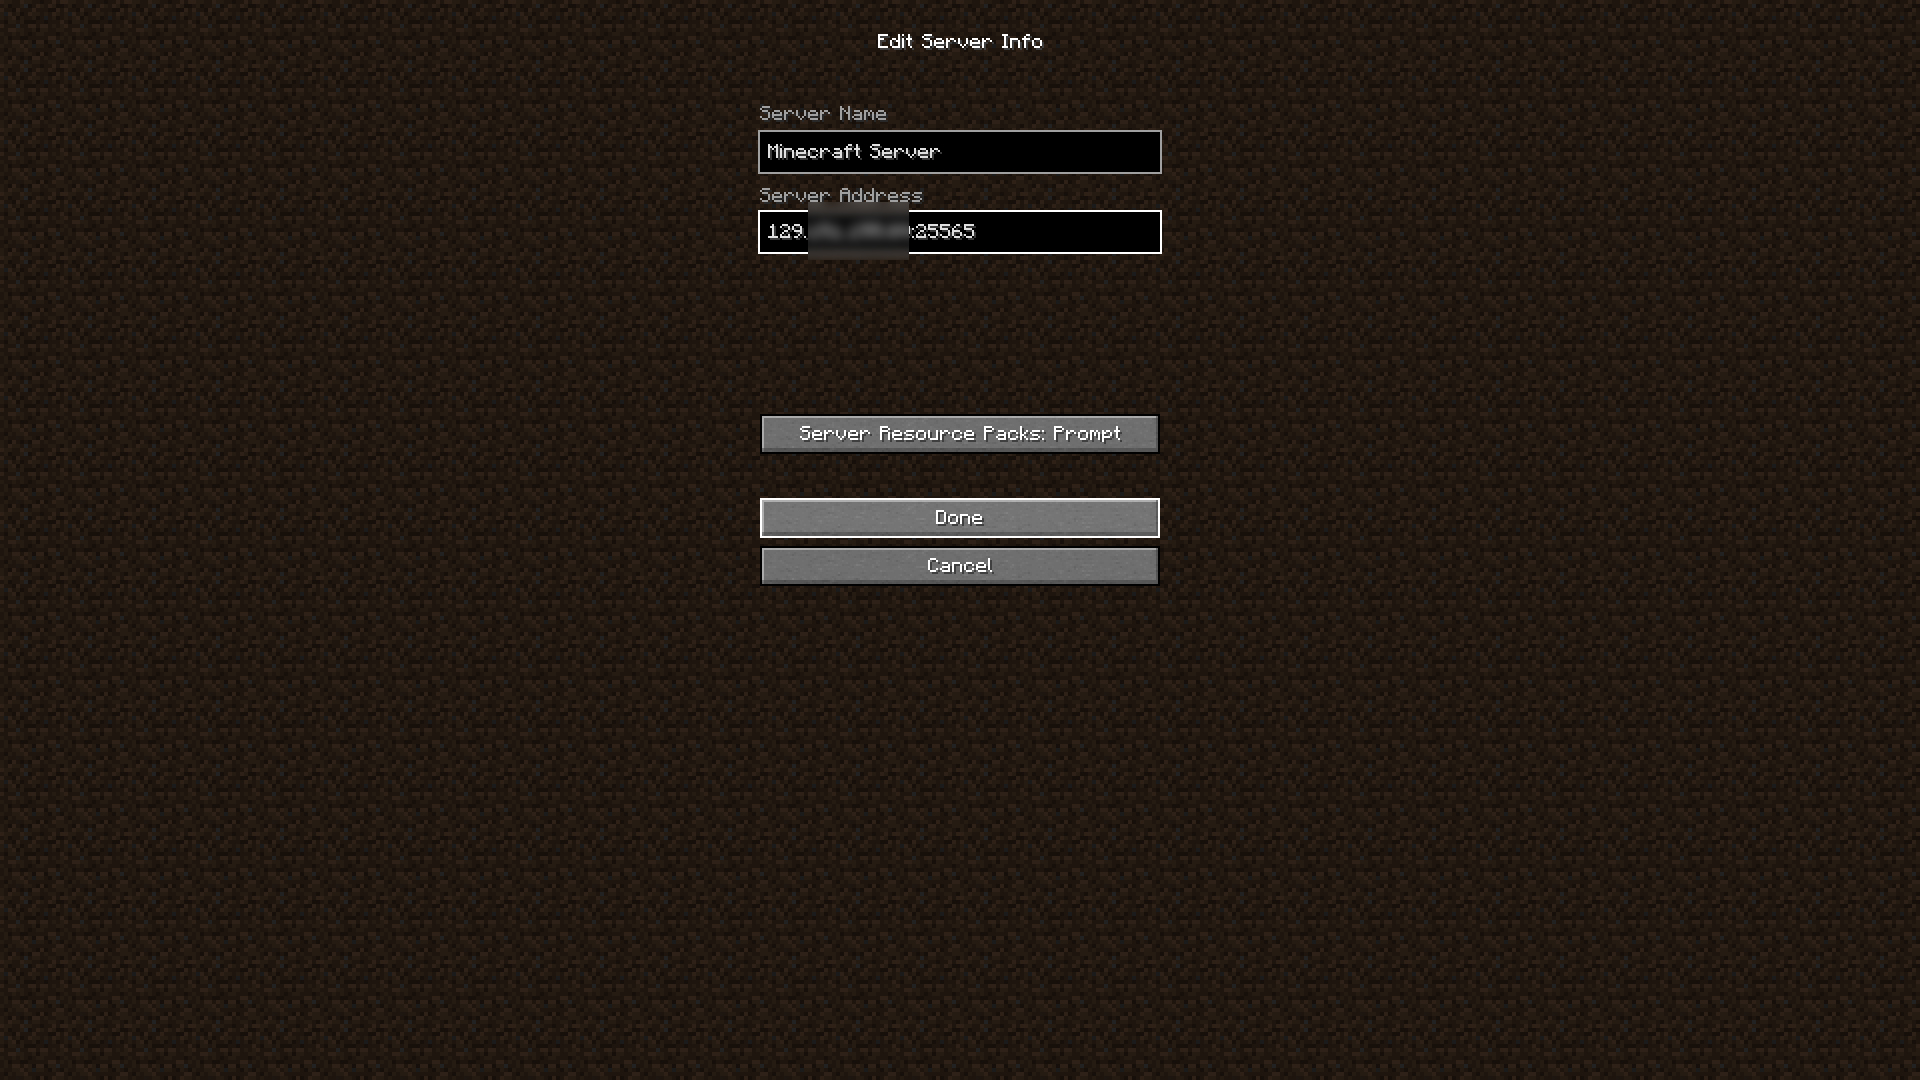
Click on 'Add Server' and name it whatever you want. But for the IP put yourpublicIP:25565. You need to give the same info to your friends for them to join your server.
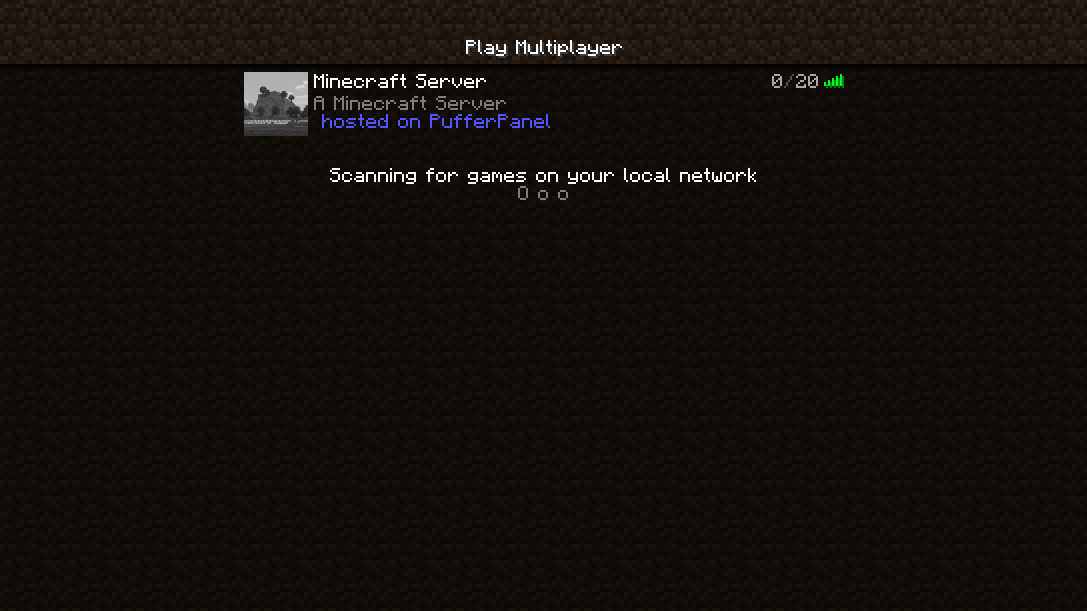
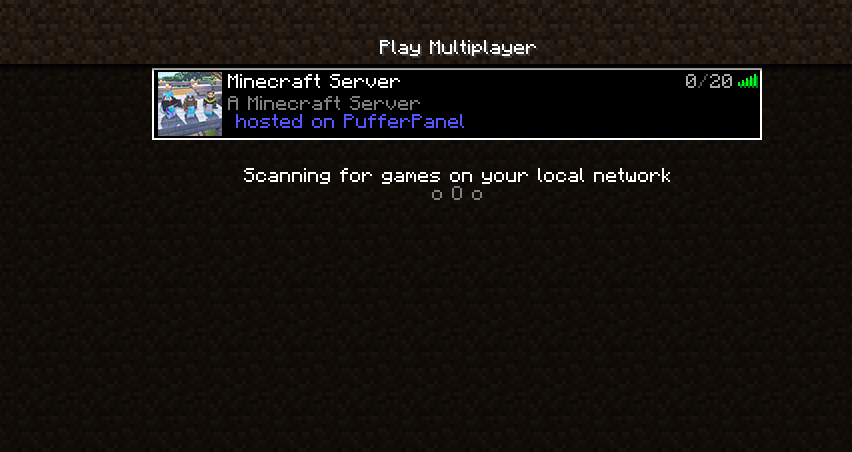
Once done, you will see your Minecraft Server with the message of the day.
nextpage
Server Files Management
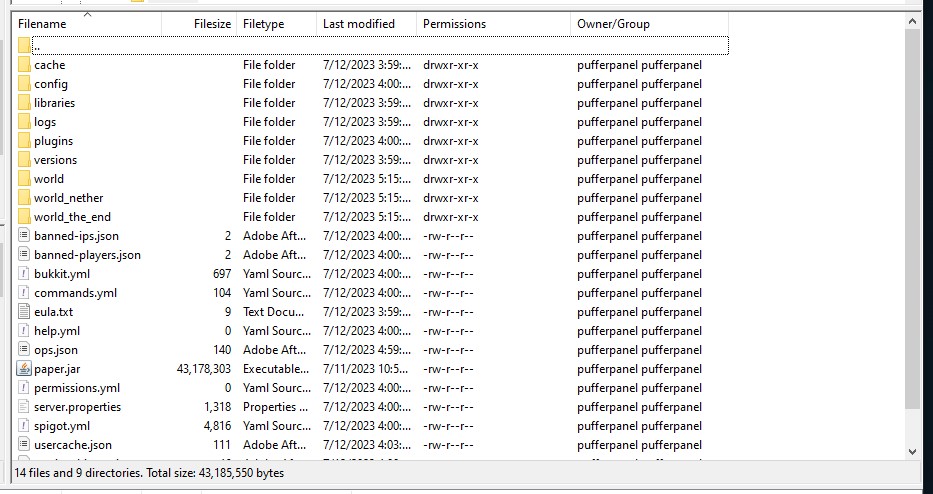
One last essential thing to learn is how to edit the server files. While PufferPanel allows you to edit the server files, you cannot truly edit them to the full extent. You are limited to only viewing some and uploading some plugins. But what if you wanted to completely change the world and upload your existing world to the server? That is where we will use a free SFTP client called FileZilla.
You can download FileZilla by going to their official website. This is the main reason why we port forwarded 5657. It is the main port for PufferPanel's SFTP.
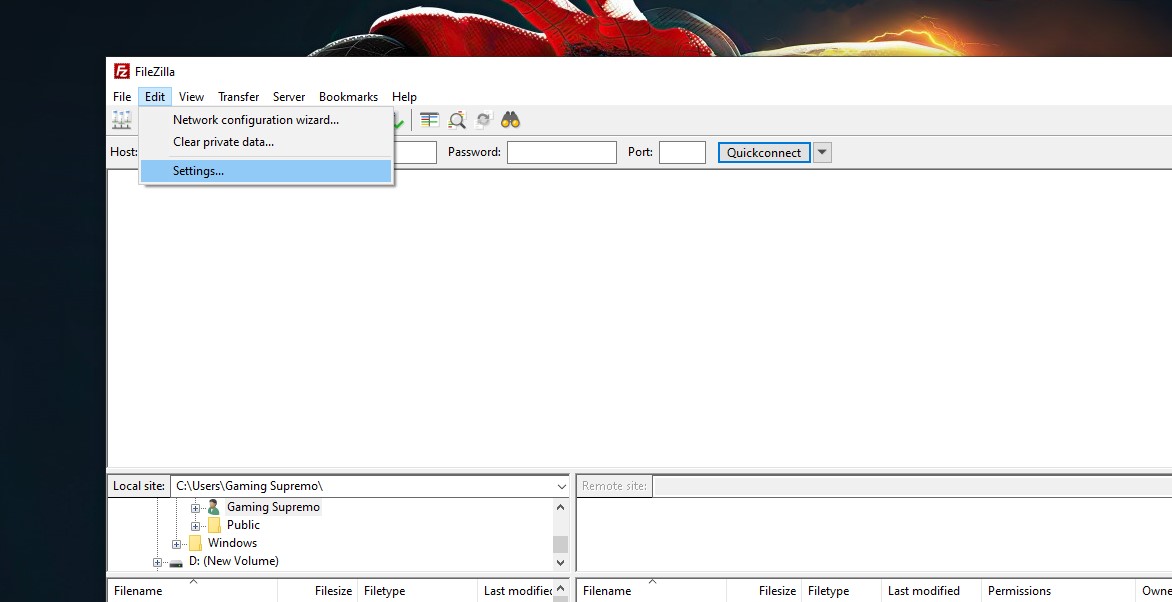
Open FileZilla as an administrator, click on the 'Edit' tab and open up the 'Settings.'
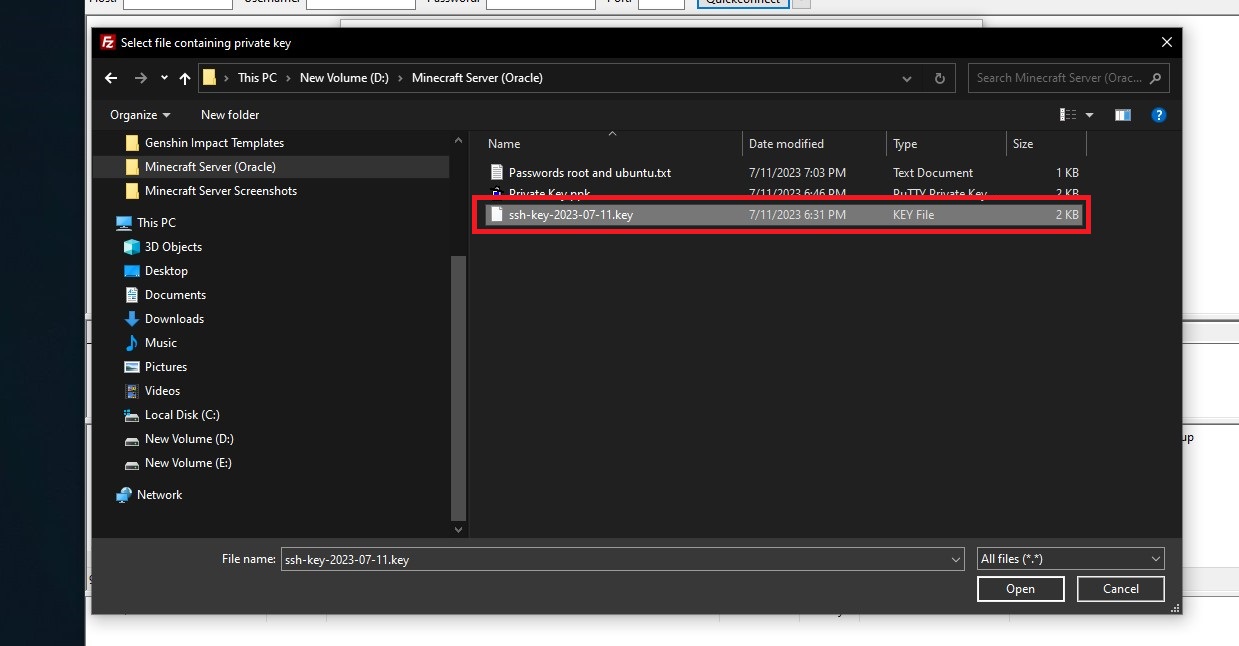
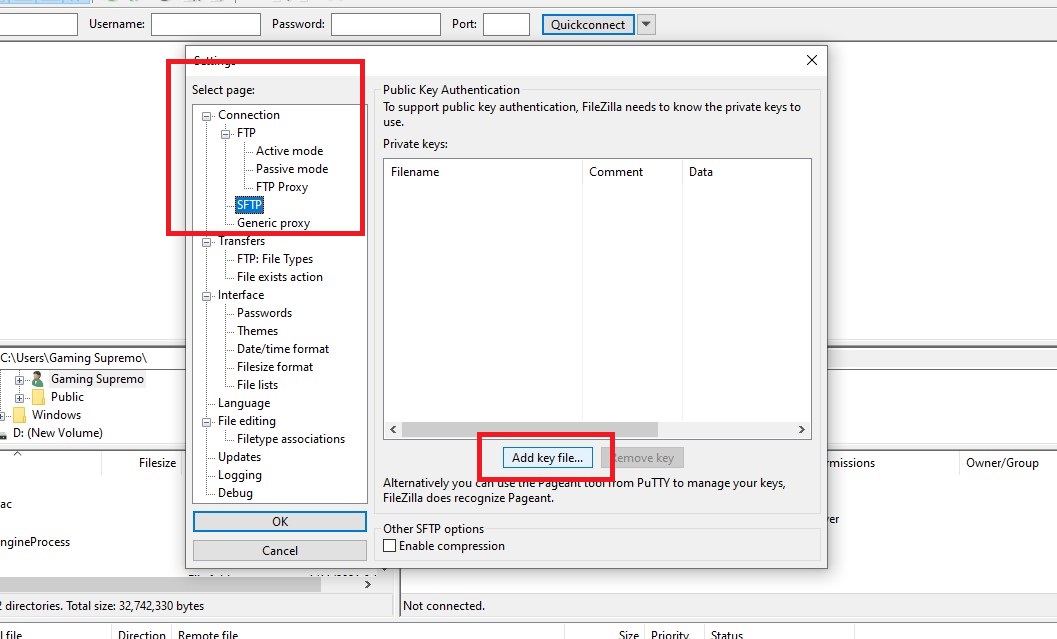
We need to add our SSH key in here to access our server files. Navigate to Connection > SFTP and click 'Add key file.'
Navigate to your original SSH key (without any icon) and not the PuTTYgen key.
Once done, exit out of the settings and go to the main FileZilla screen. From here, you need to enter the following:
• Host: sftp://yourpublicIP • Username: ubuntu • Password: your password you set for ubuntu in the beginning of this guide.
After entering all the credentials, click on 'quickconnect' to access all the files.
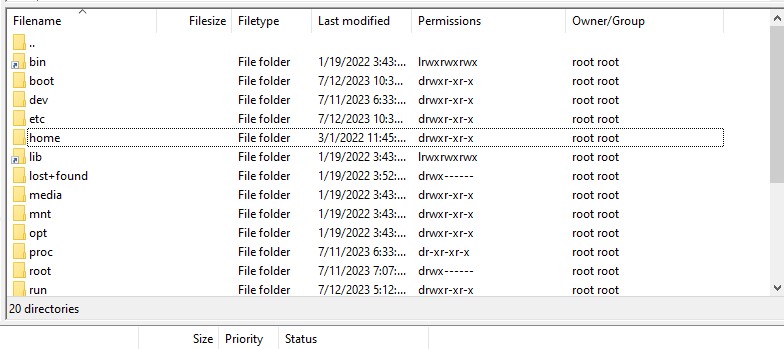
First, you need to navigate to the Minecraft server location. Click on the ".." to go back up the directory.
Keep clicking on the ".." until you see folders called bin, boot, dev, and etc.
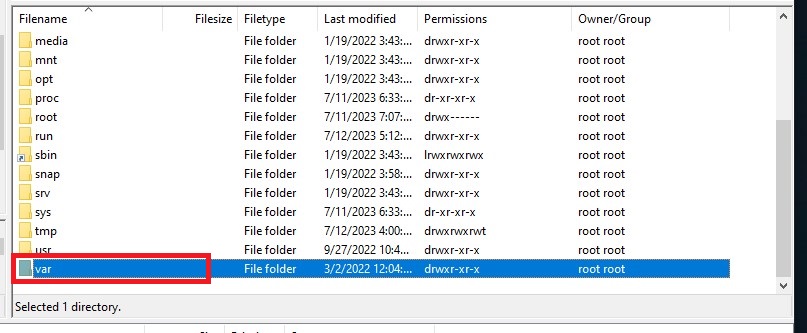
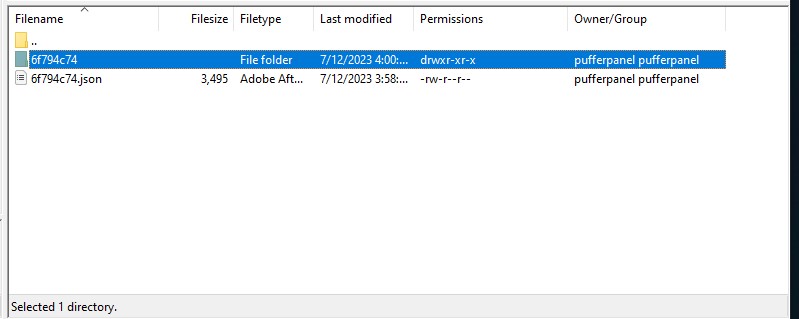
From here you need to navigate to var > lib > pufferpanel > servers > [random string of numbers & texts].
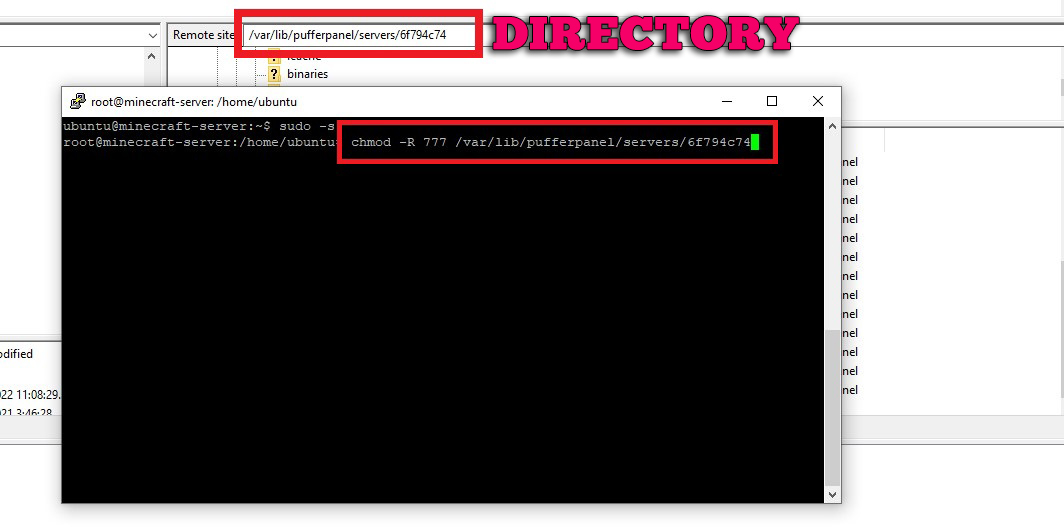
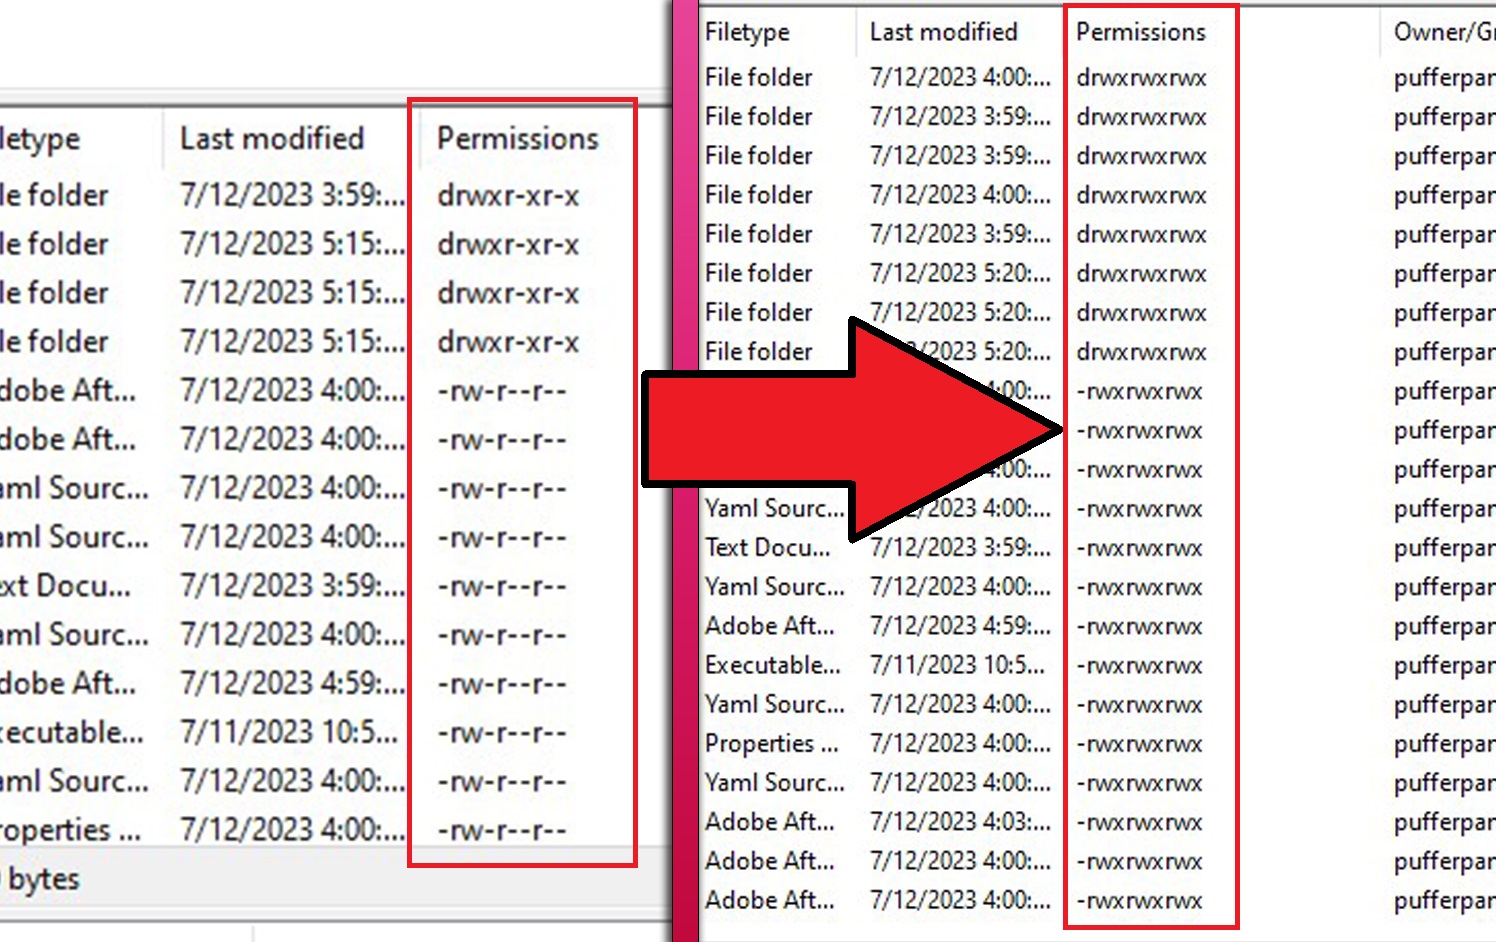
There is one problem here. Whenever you will try to edit any file, you will get an error message saying you do not have the permission. It is very easy to fix that and grant yourself the permissions.
Go back to PuTTY and login as a root user by typing 'sudo -s' just like before. And then use the following command to grant the editing permissions:
• chmod -R 777 [directory]
Once you've run the above command, you will be able to edit the directory.
Installing Plugins
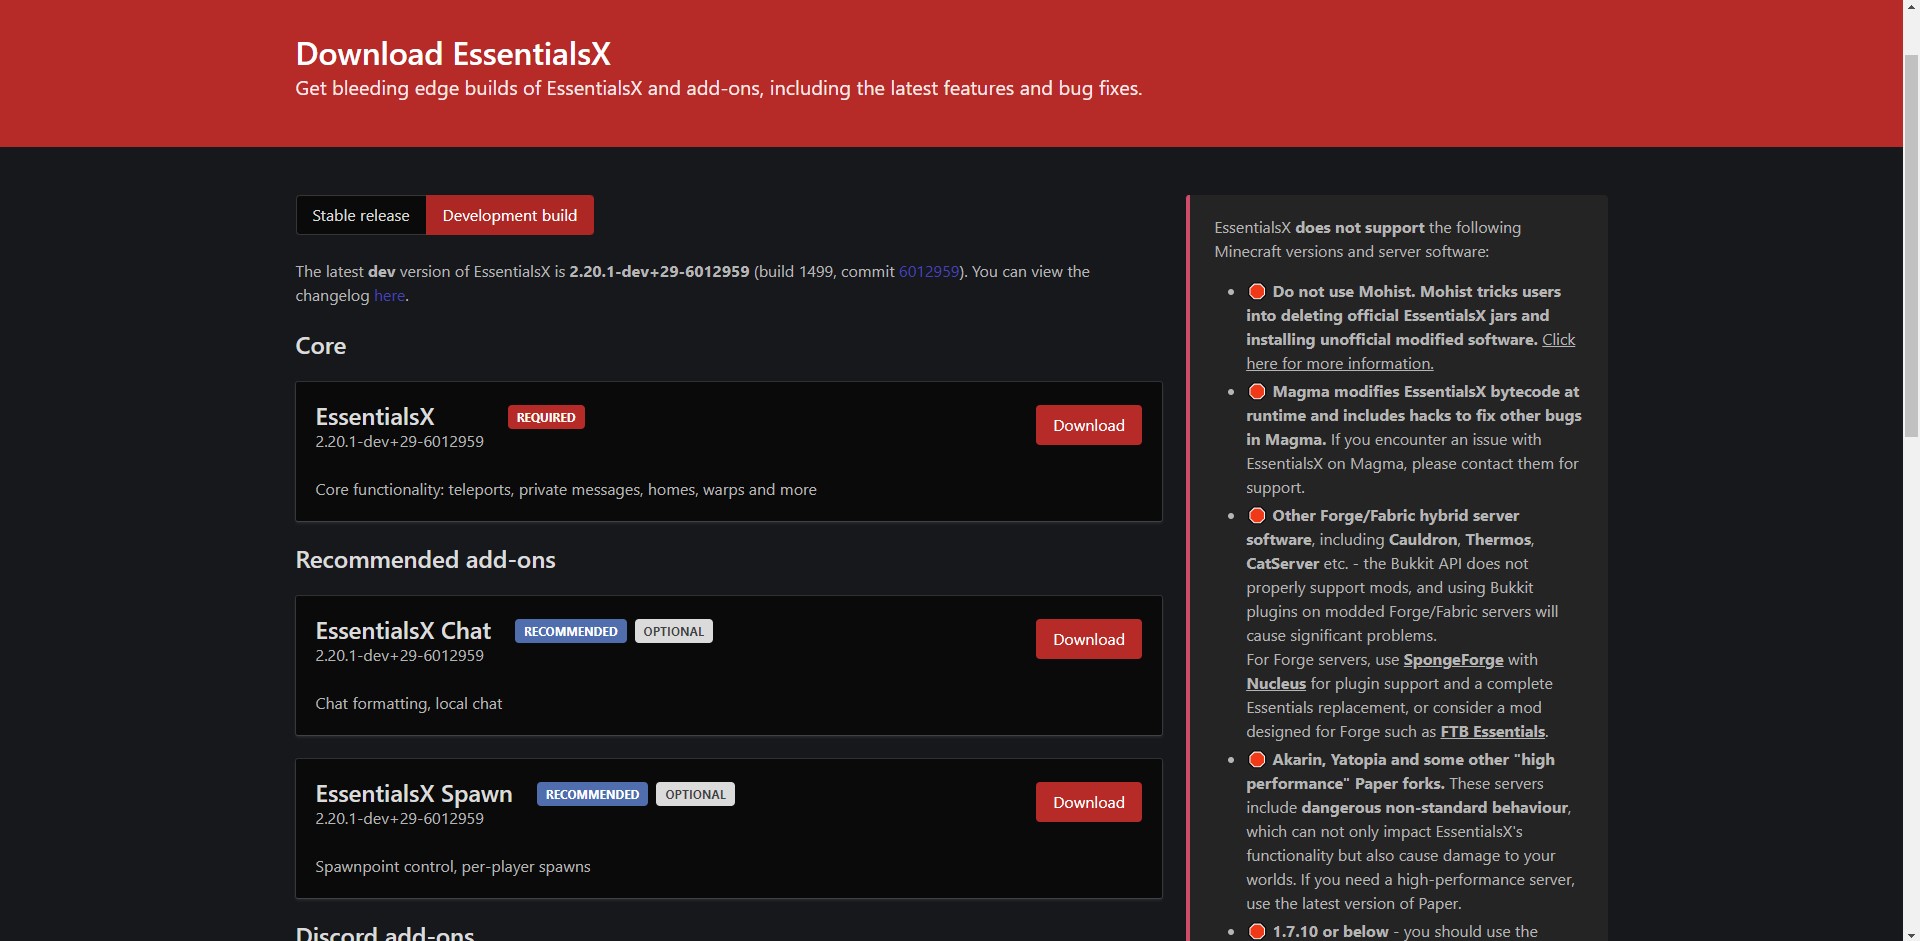
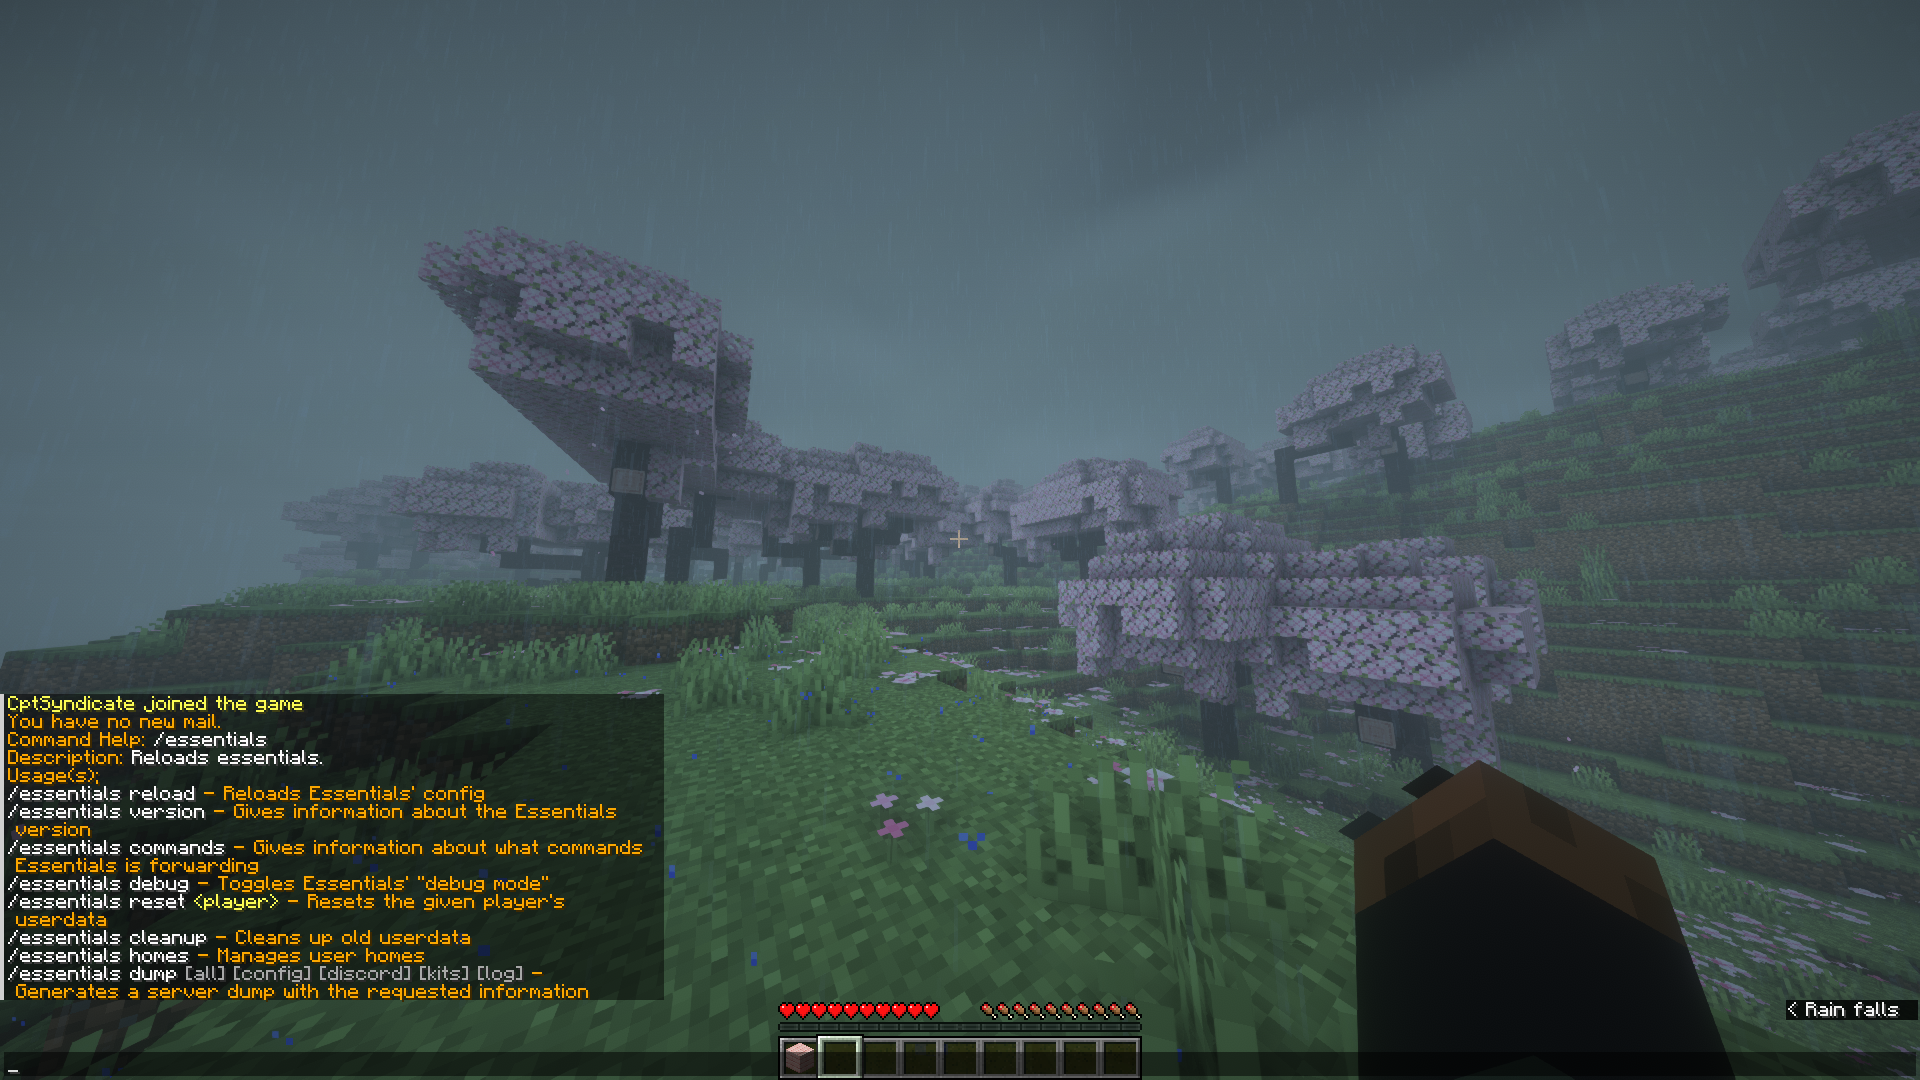
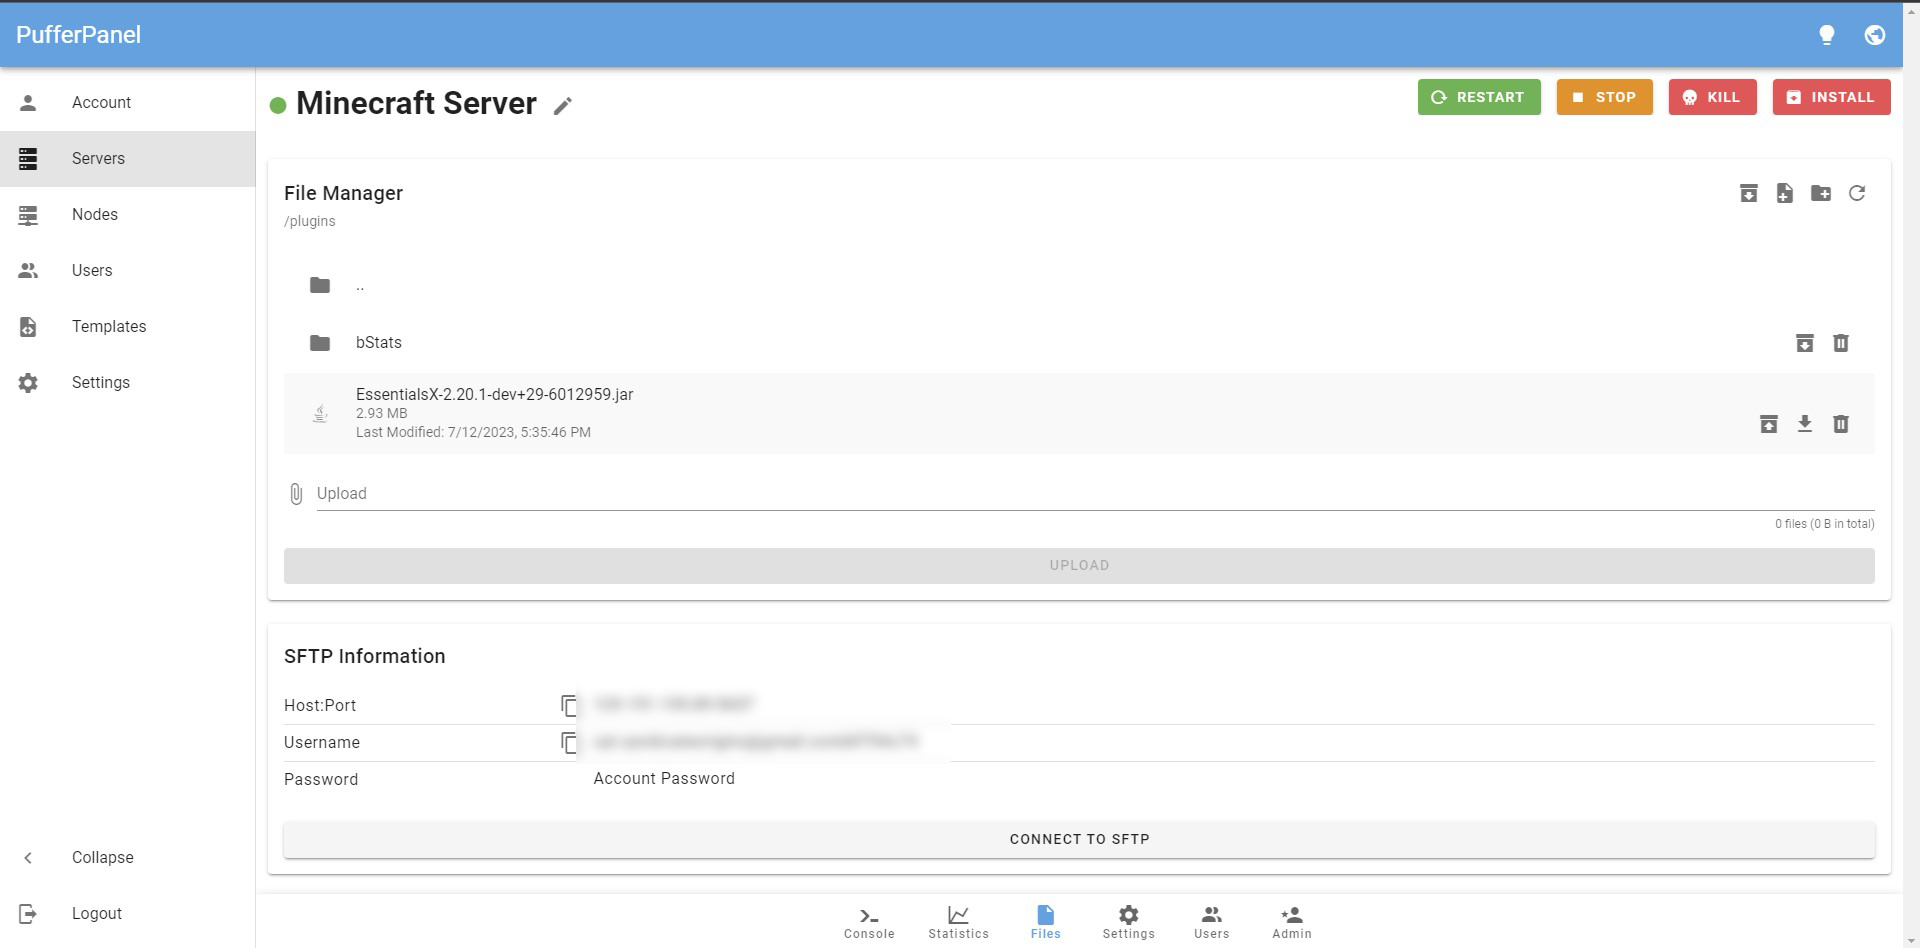
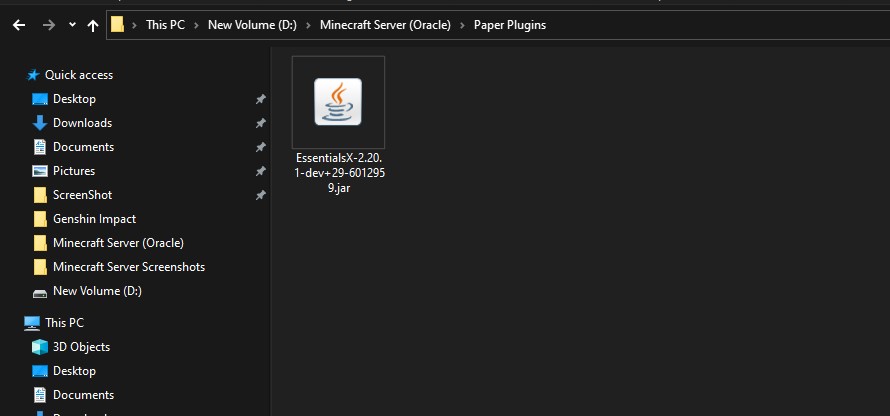
Finally, I'll let you guys know how you can install plugins on your Minecraft server. I will be using the EssentialsX plugin as an example.
Whenever you download a Minecraft plugin, it is always a .jar file.
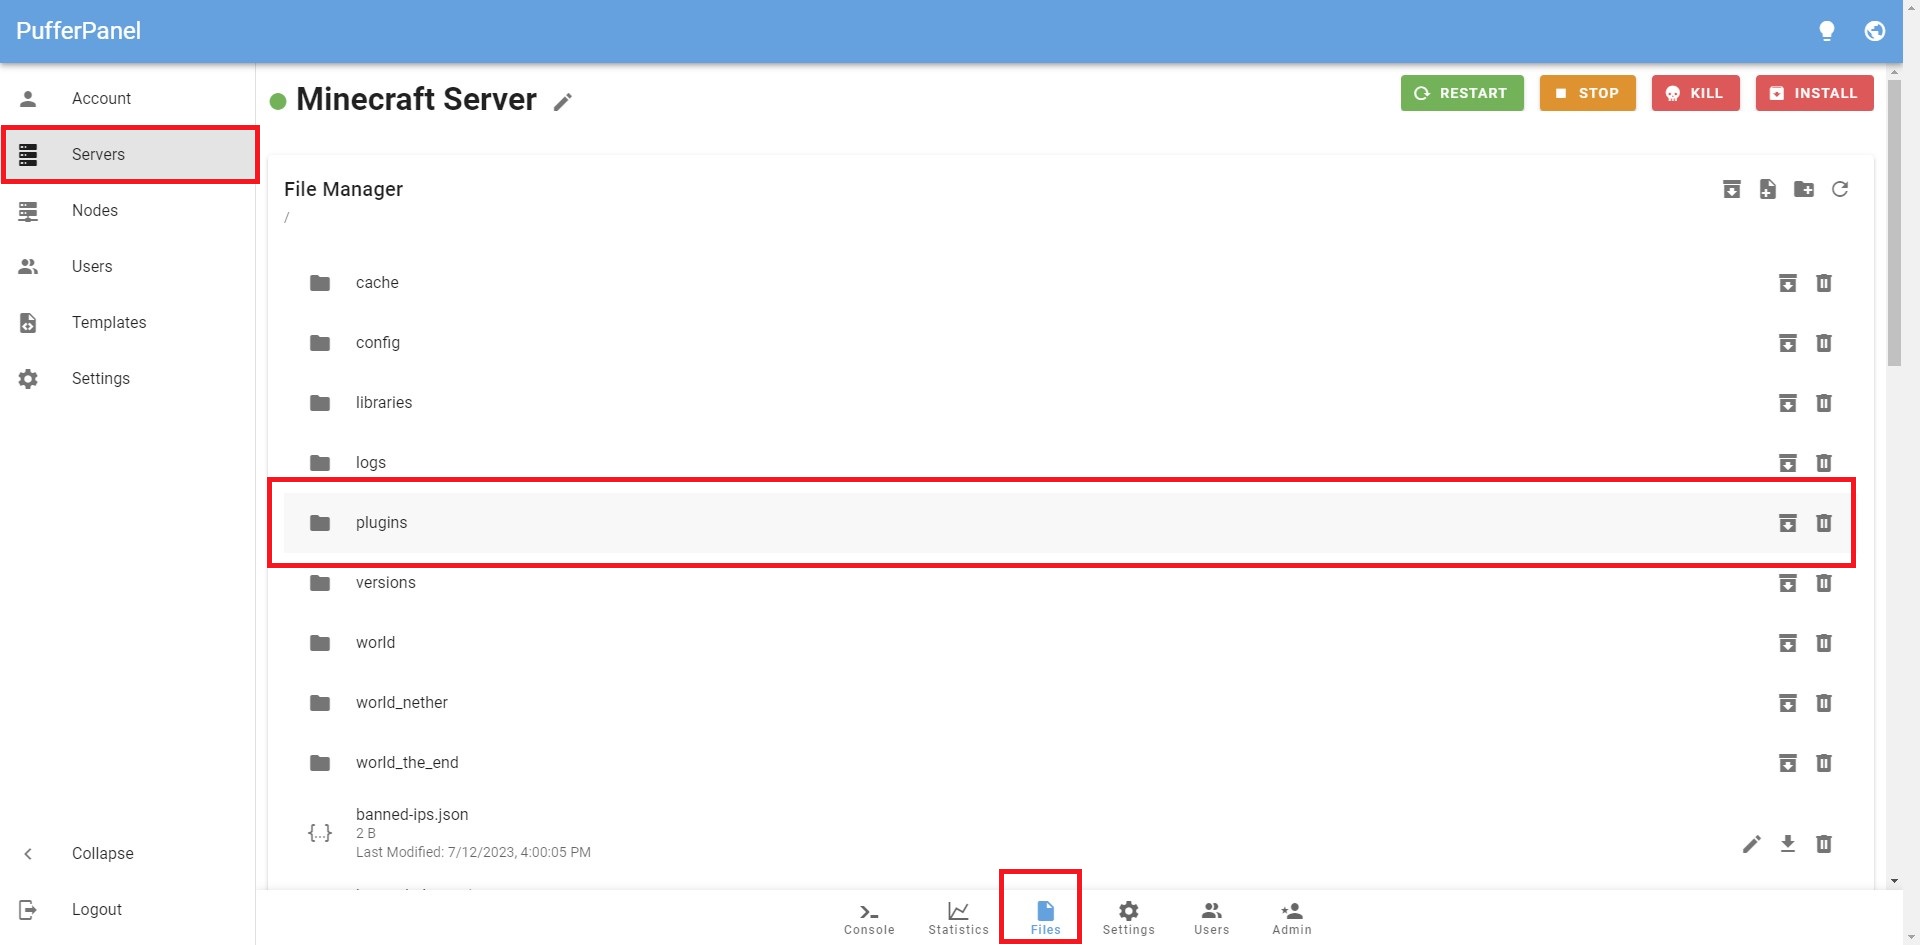
First, go to PufferPanel and navigate to the Files section. You will find a 'Plugins' folder here.
Open the folder and upload the essentials .jar file (or whatever plugin you have).
Remember to restart your server. Note that the restart button can be a bit buggy. You can also just stop the server and start it up again.
Whitelist Friends
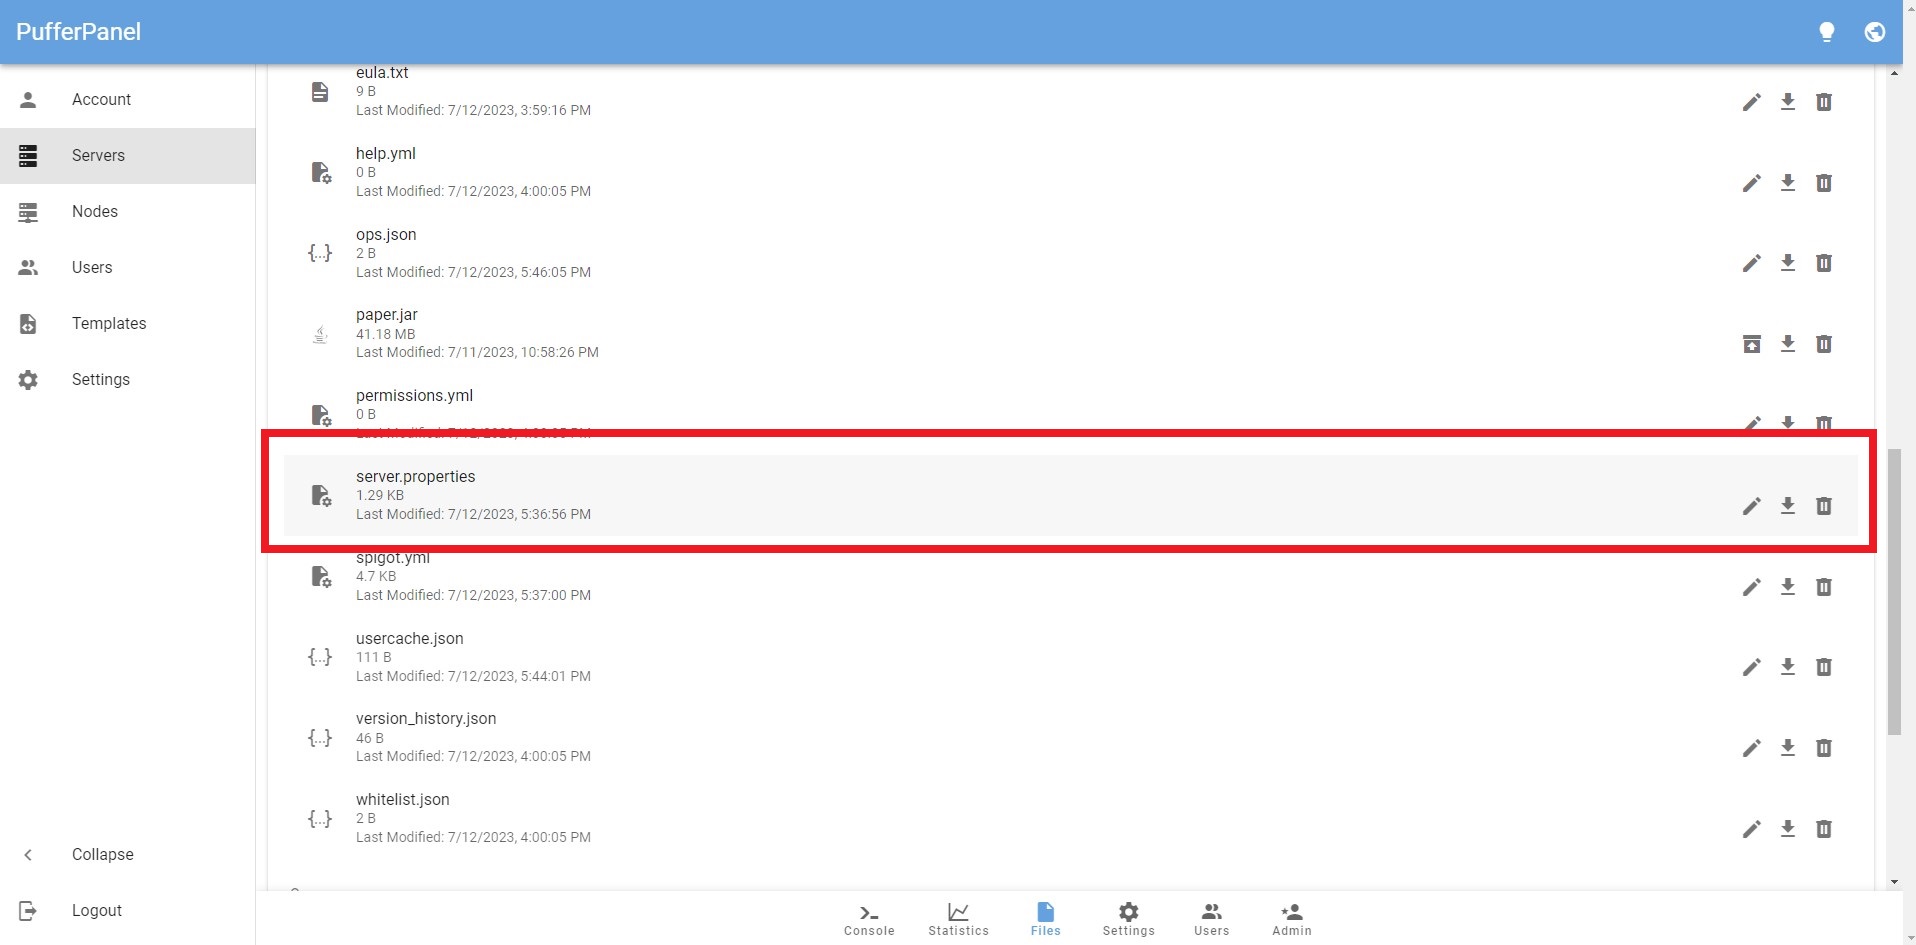
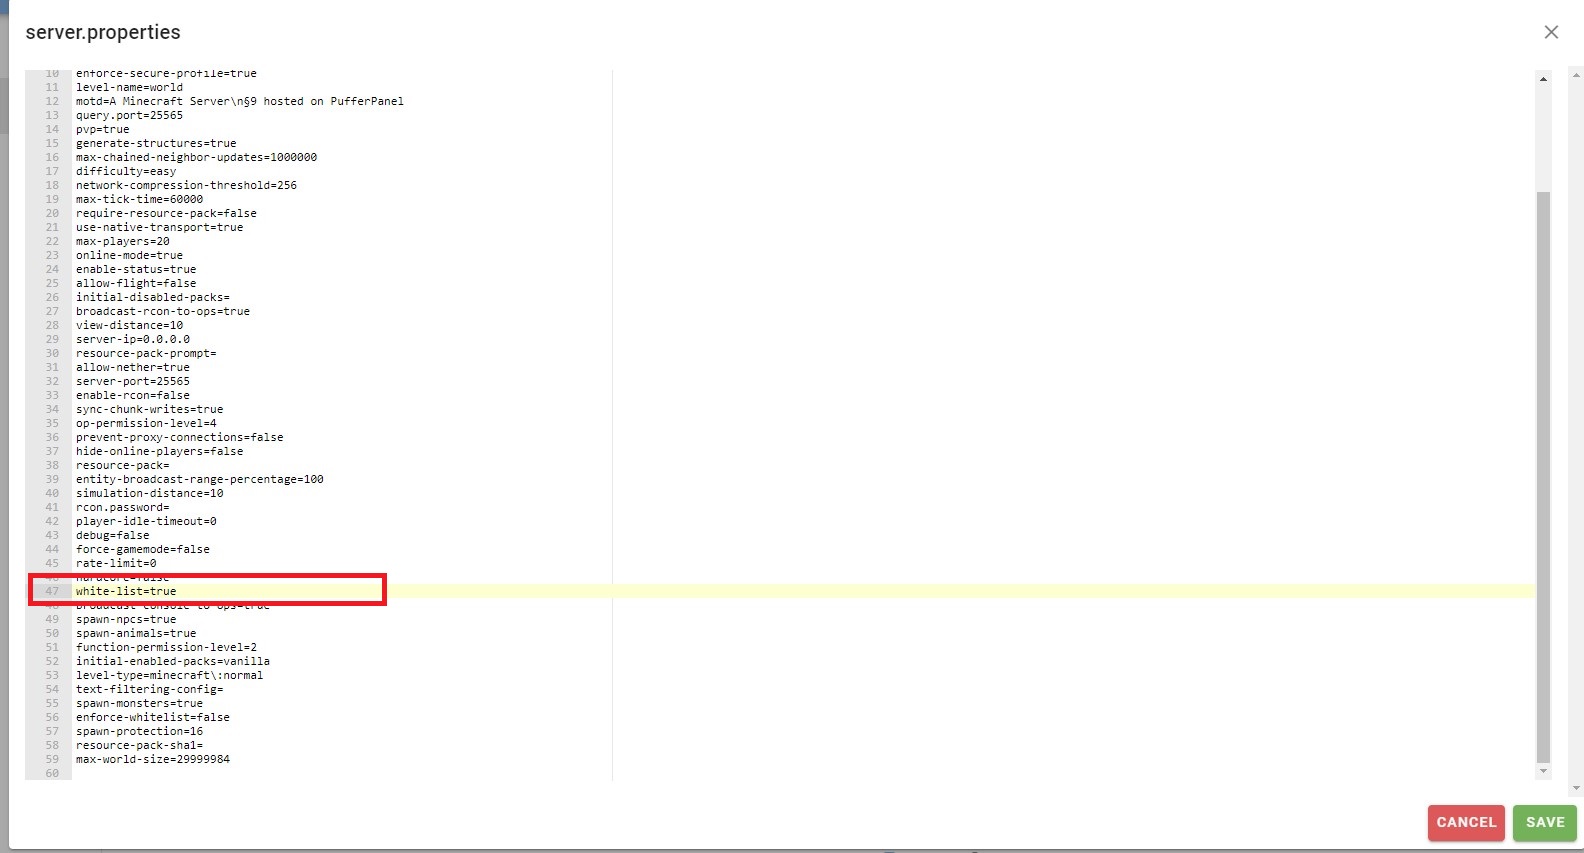
If you want to whitelist your friends, go to files and open up server.properties.
Look for white-list and change it from 'false' to 'true.' Don't forget to save the file.
Next, go to your console and type 'whitelist add username.' Ensure that you enter their usernames correctly, as it is case-sensitive.
You can keep track of your whitelisted players by opening the whitelist.json document in the Files section.
Custom Minecraft Server Icon
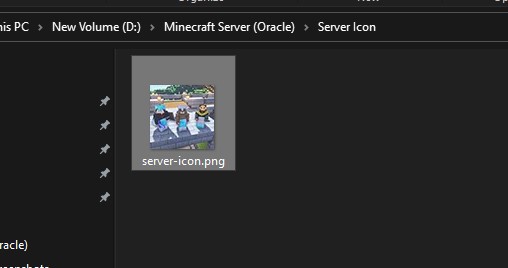
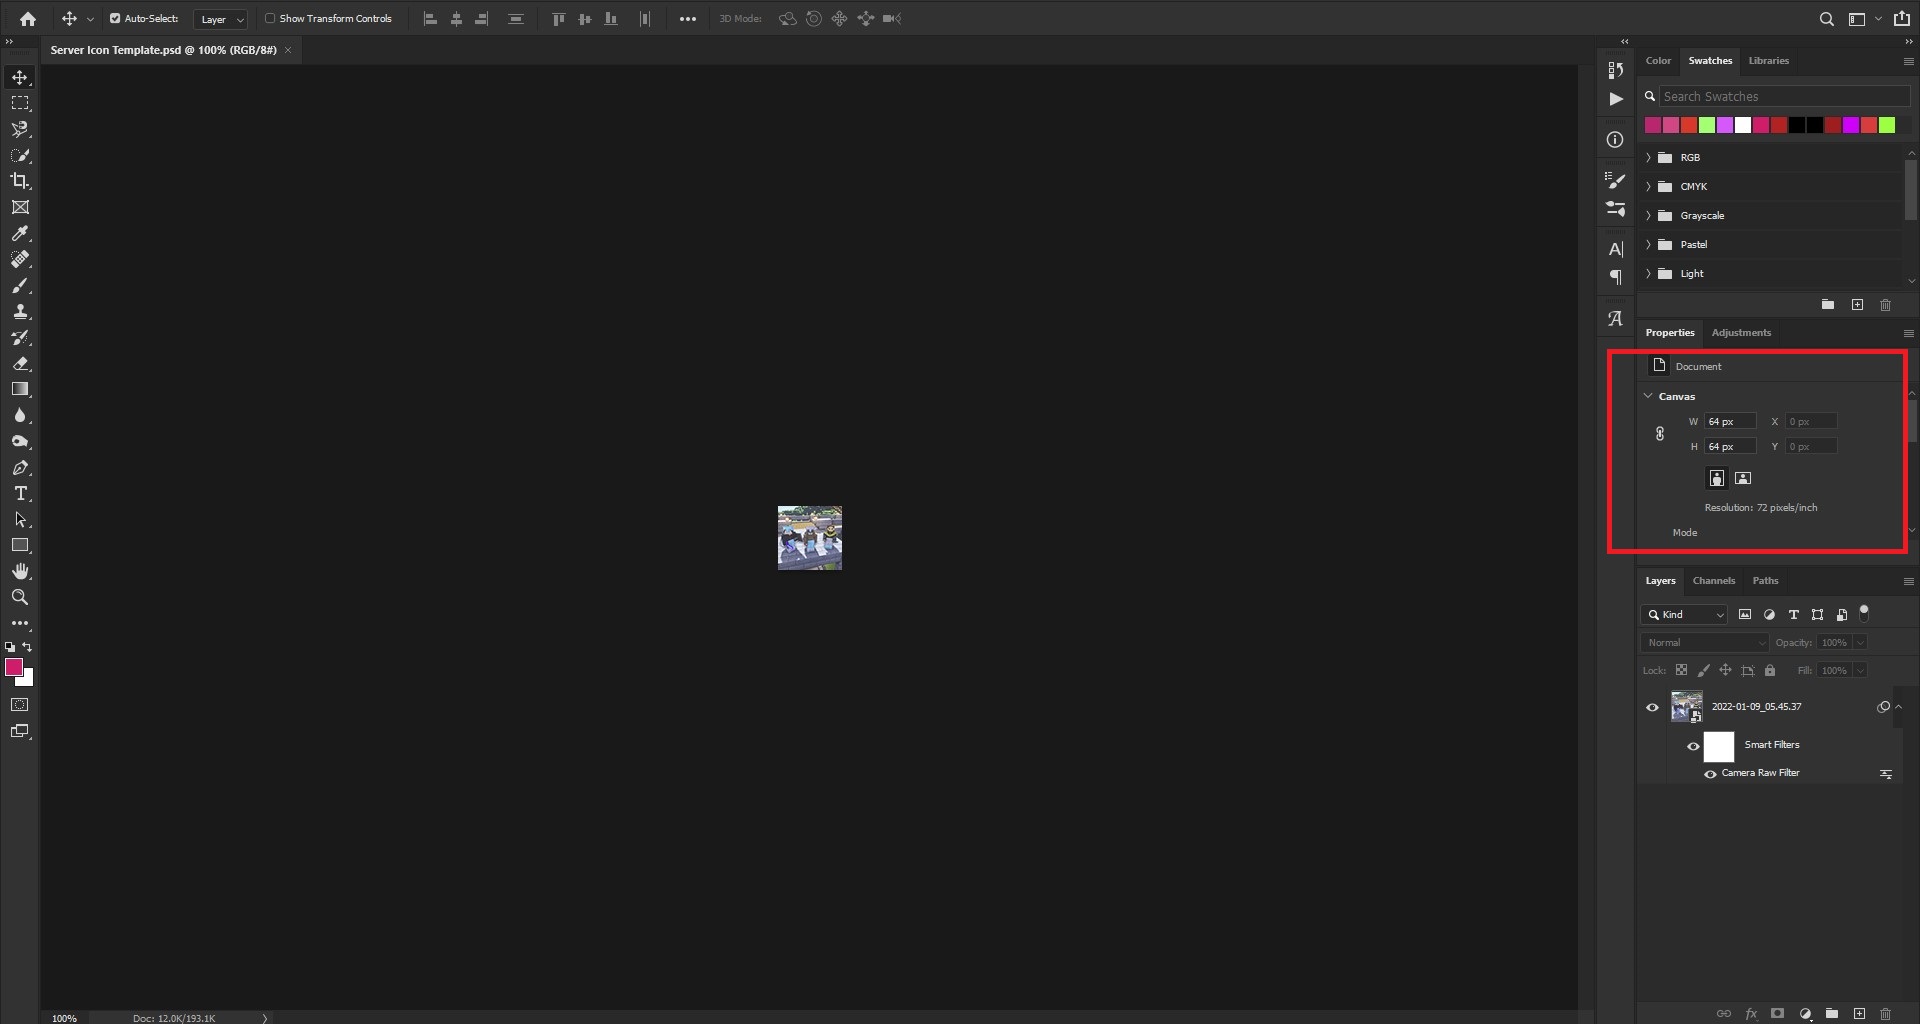
To set a custom Minecraft server icon, you need to find an image that has an aspect ratio of 64x64. You can either find one on google or do it yourself with your own custom image.
To do it yourself, you can either use Photoshop or visit one of many online image resizer tools.
Once you've acquired the image, rename it to 'server-icon' and make sure it is in the .png format or else it won't work.
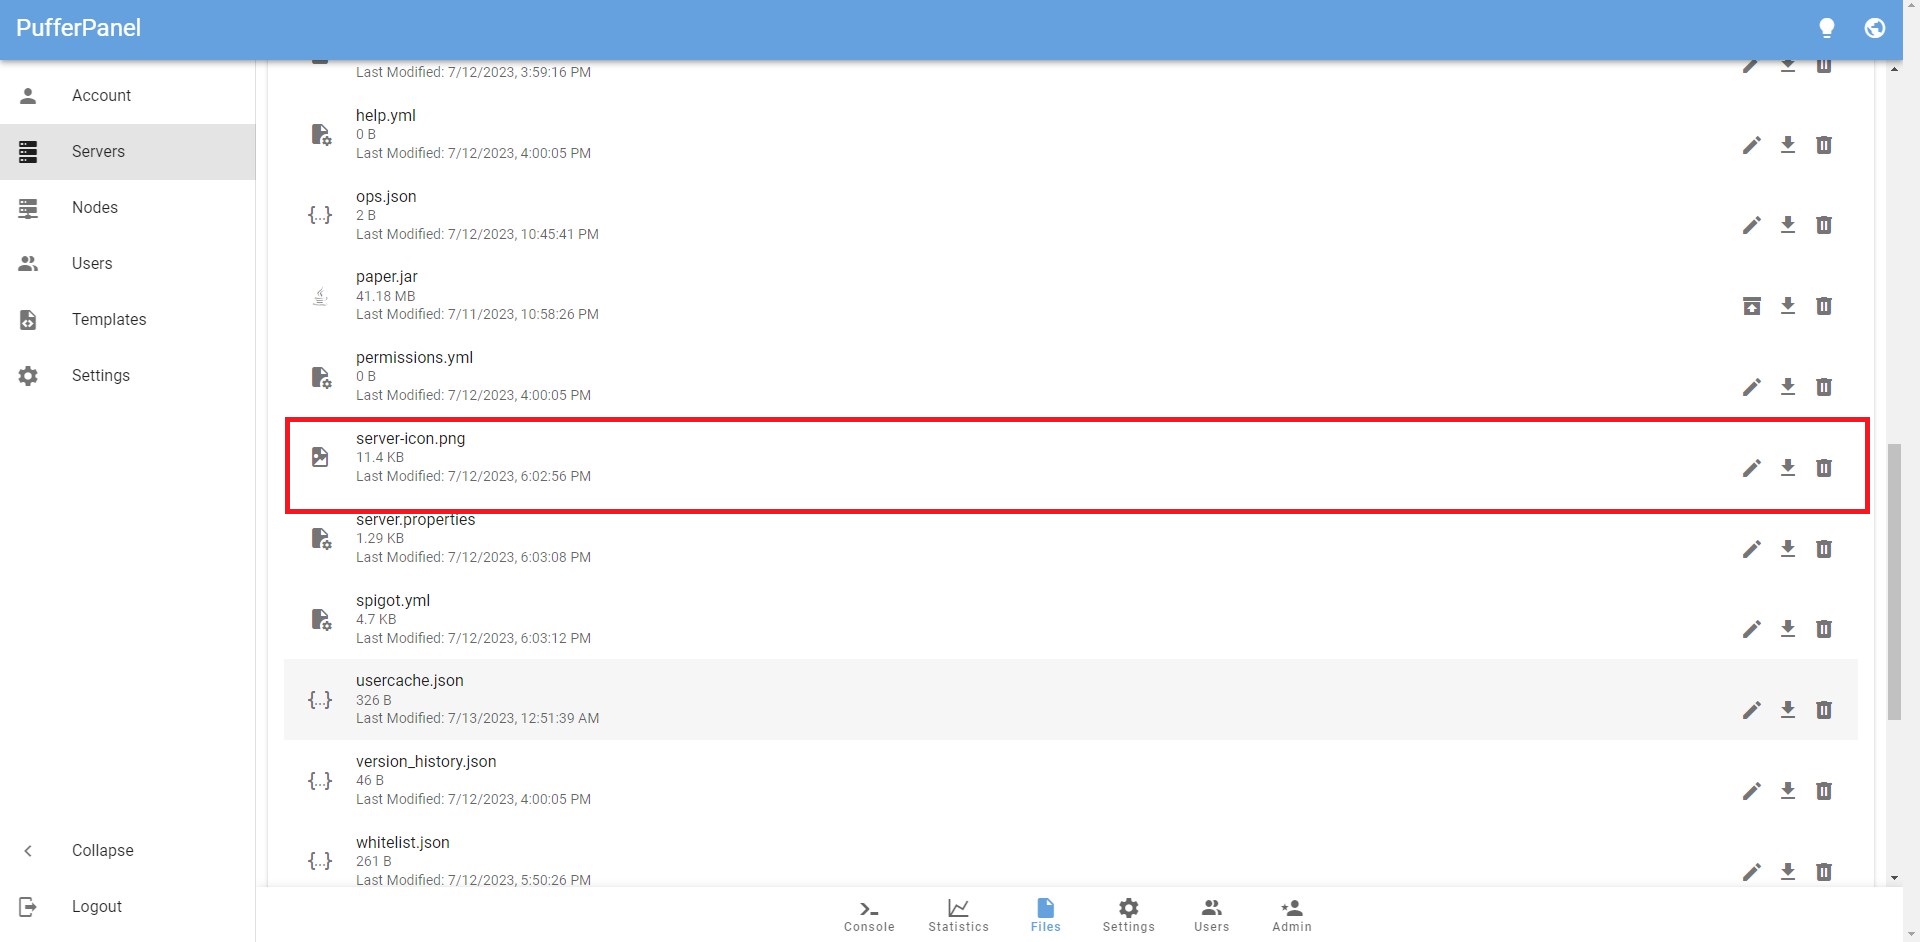
After that go to PufferPanel and navigate to the Files section. Simply, upload your server-icon.png file here and your server icon should update.
SSH Commands Cheat Sheet
This a quick cheat sheet for you to refer to when creating your own server. I've included all the SSH commands used in this guide.
**Root Access**: sudo -s
**GNU Nano Screen**: nano /etc/ssh/sshd_config
**Set Password (Ubuntu)**: passwd ubuntu
**Set Password (Root)**: passwd root
**Check Java**: java -version
**Update Repository**: sudo apt update
**Install Java 17 JDK**: sudo apt install openjdk-17-jdk
**Install Java 17 JRE**: sudo apt install openjdk-17-jre
**Install Firewall**: apt install firewalld
**Enable Firewall**: sudo systemctl enable firewalld
**Start Firewall**: sudo systemctl start firewalld
**Check Firewall Status**: sudo firewall--cmd --state

