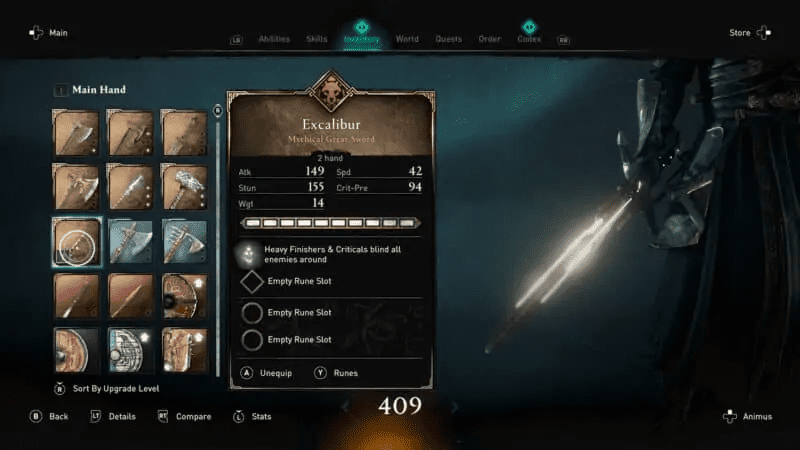
Excalibur (King Arthur’s Sword)
The legendary sword of King Arthur, Excalibur, is one of the most time-consuming legendary weapons to get in Assassin’s Creed: Valhalla. This legendary sword has a distinct perk where you blind all the enemies around you upon successfully landing a heavy finisher or critical. This weapon is excellent for warrior builds who rely on charging the enemies head-on.


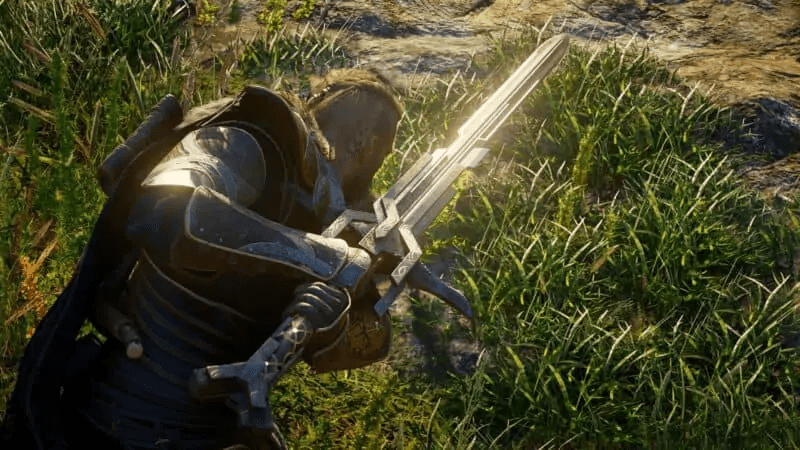

Getting the legendary Excalibur is a bit of a grind. To get hold of the Excalibur, you must find a total of 11 mysterious tablets spread around the vast land of England. While some are found within caverns, others are closely guarded by the Zealots in the Order of the Ancients (or as we know them today – The Templars). These tablets are called the Treasures of Britain.
This greatsword is categorized as one of the ‘end-game’ weapons due to the sheer amount of time it takes to obtain it, and the high power level. You can obtain the tablets inside the caverns, even at around power level 220+, as the majority of these caverns are not guarded. All you need to do is clear the puzzles and pathways to reach the tablets.
The Zealots, on the other hand, are a different story. You must be closer to at least power level 300 to be able to take on the Zealots, or else you will surely feel like you are playing Dark Souls (Yes, you will die instantly if your power level is low!).
There are 11 tablets in total, and these tablets are spread around different regions of England. The following are the locations of all the tablets in each region:
East Anglia
Grime’s Grave – Mysterious Hilt Tablet
There is only one tablet in all of East Anglia called the Mysterious Hilt Tablet. You can find the Mysterious Hilt Tablet inside Grime’s Grave, located along the western border of East Anglia south of Brisleah Farm.
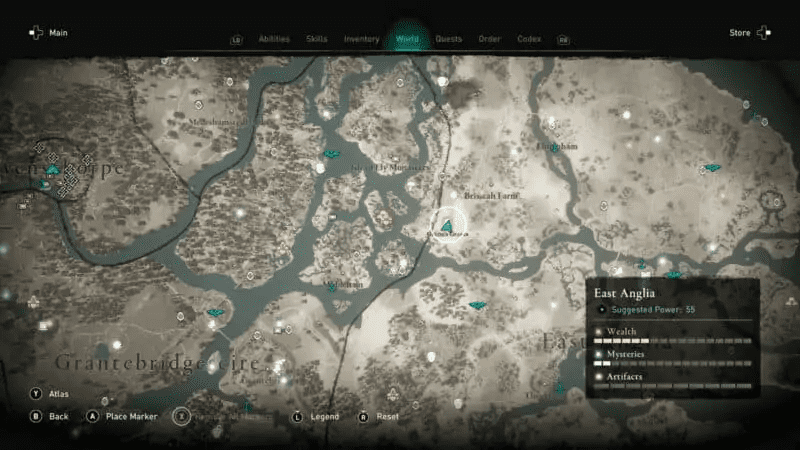
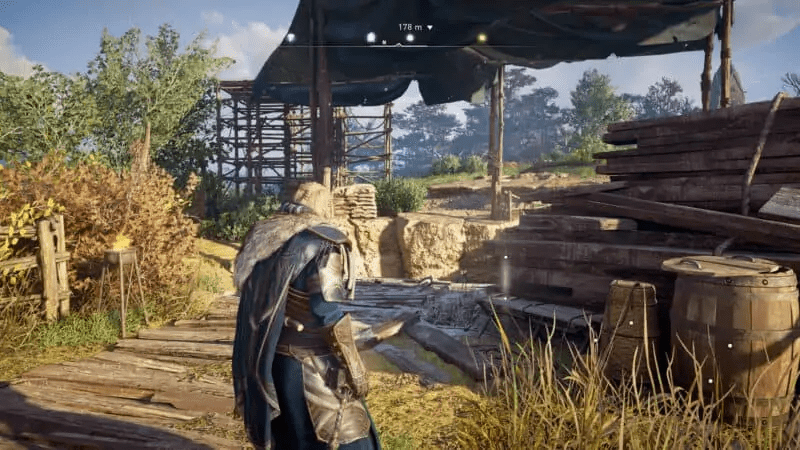
There will be a huge dive into the cave. To get inside the cave, you must jump and reach the bottom of the hole.
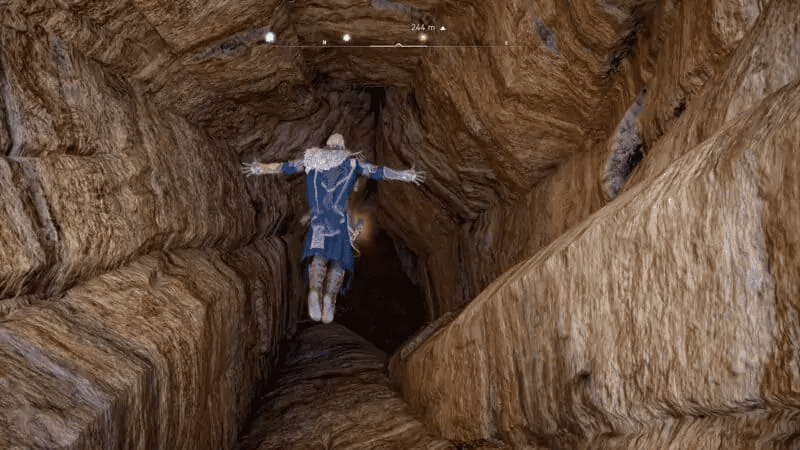
Once at the bottom, continue to move forward into the cave. You may go left or right for extra loot, but if you are only interested in the tablet, continue forward through the middle doorway.
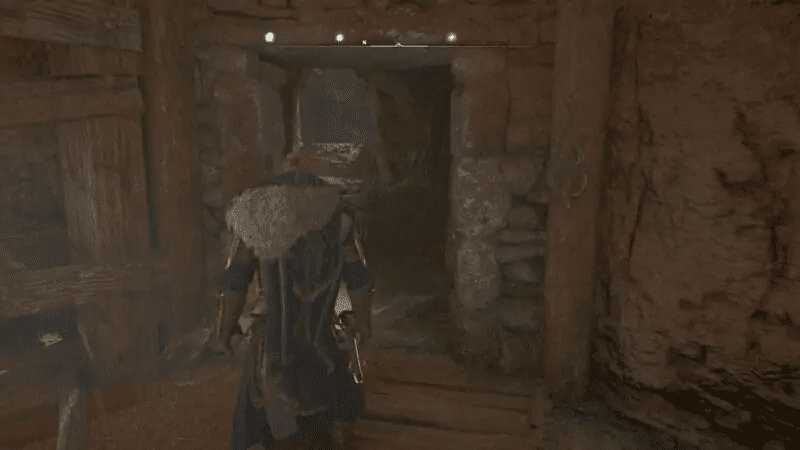
There will be a linear path from here onwards, filled with obstacles. Parkour across the obstacles until you reached a cursed area. You will get a message that you’ve entered a cursed place.
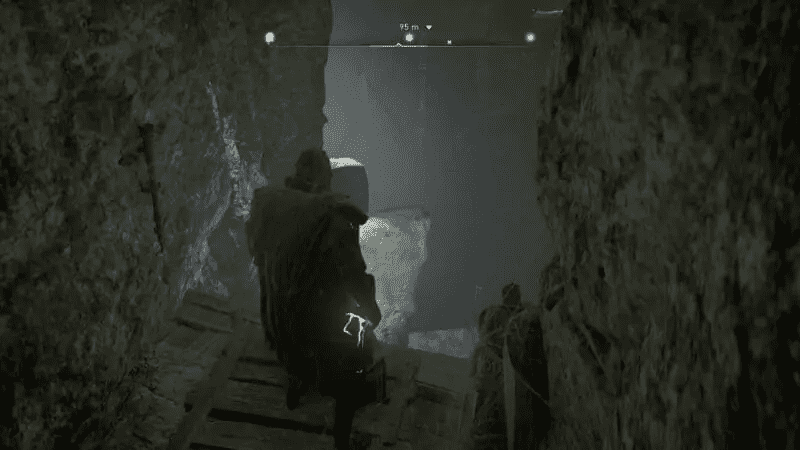
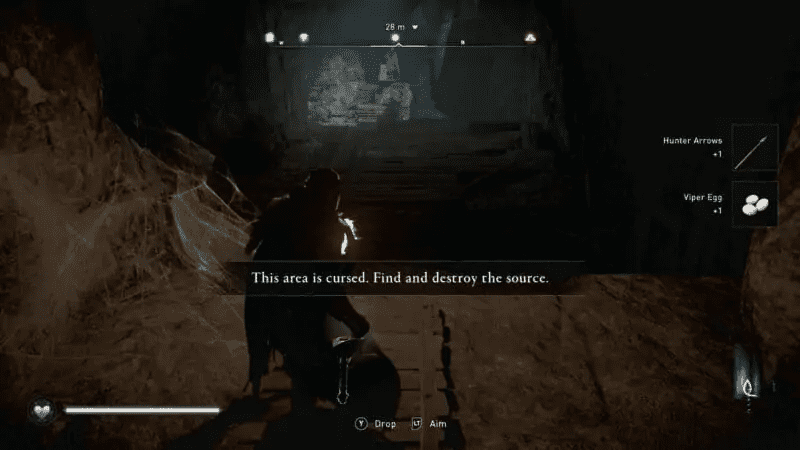
You need to find a source of the curse and destroy it. Continue forward, and you will descend into the cursed area, a large open room with water inside. Look behind the central pillar to find a glowing skull and destroy it. Upon destroying the curse, you will get a message confirming the curse has been destroyed.
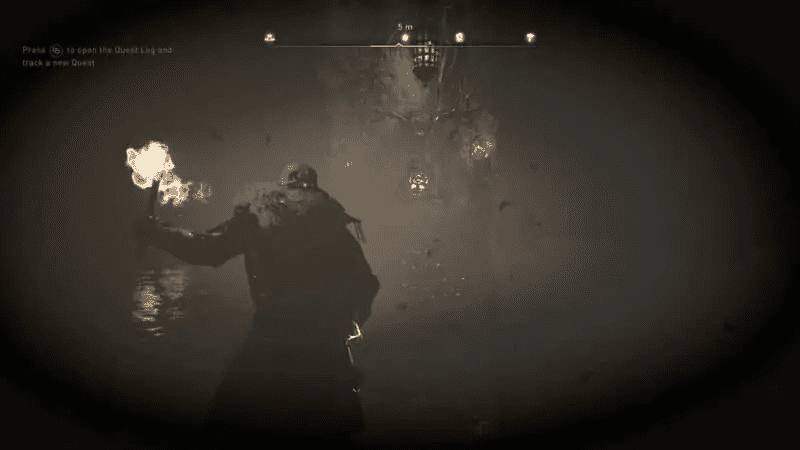
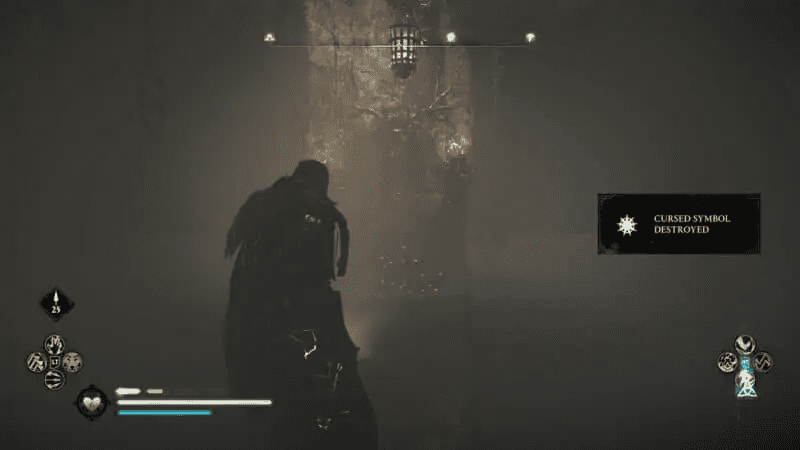
Continue progressing through the cave by taking a set of ladders ahead of you.
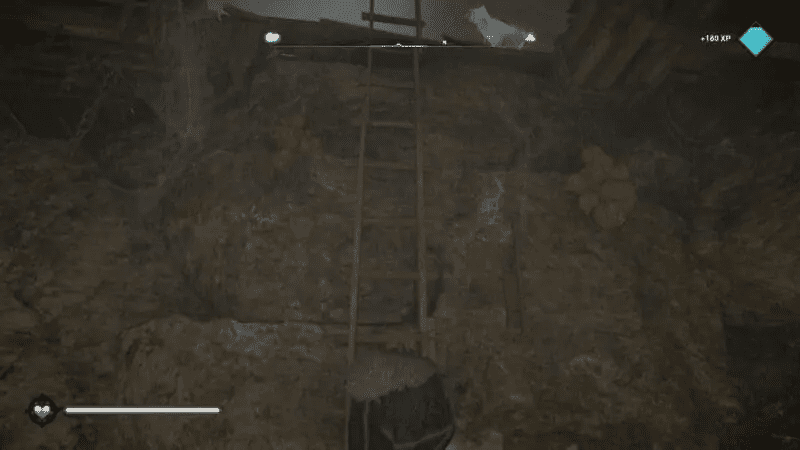
You need to continue moving through the obstacles in a linear path until you reach the end of the cave.
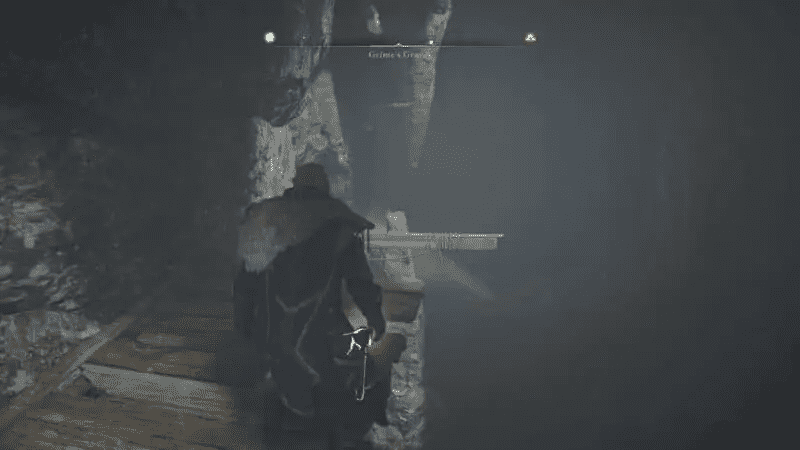
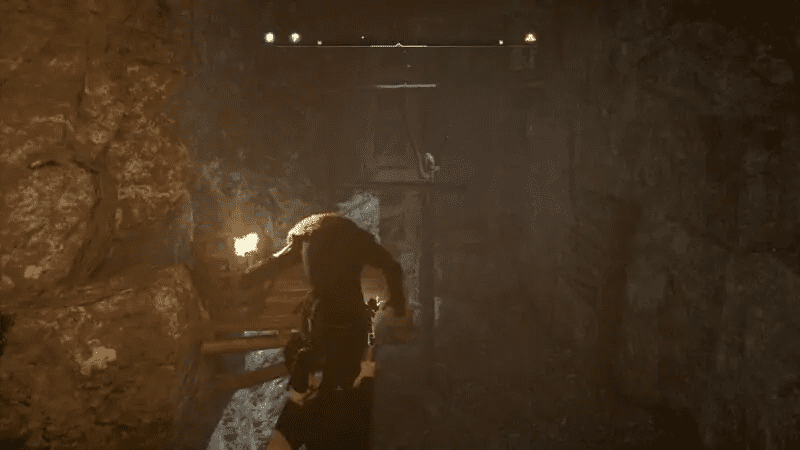
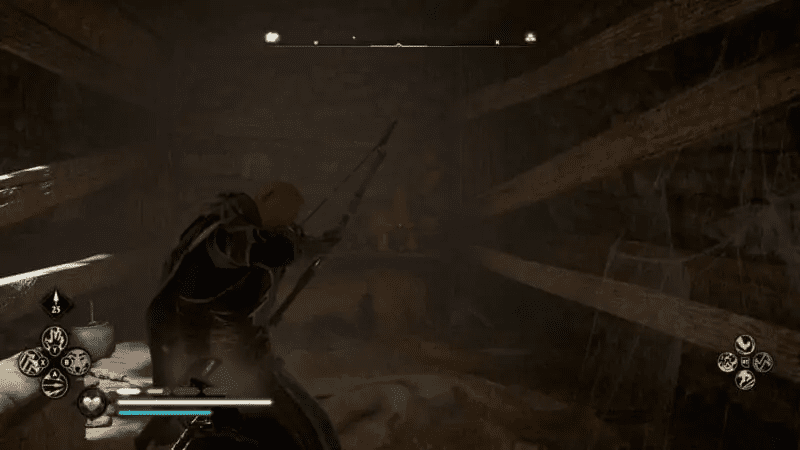
You will notice a table at the end of the cave with an Opal and some red pots. Use your bow and arrow to destroy the pots on the table to reveal the Mysterious Hilt Tablet.
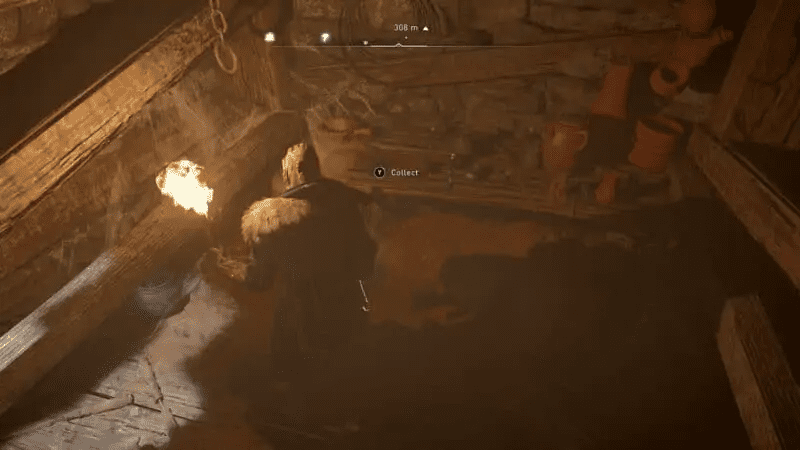
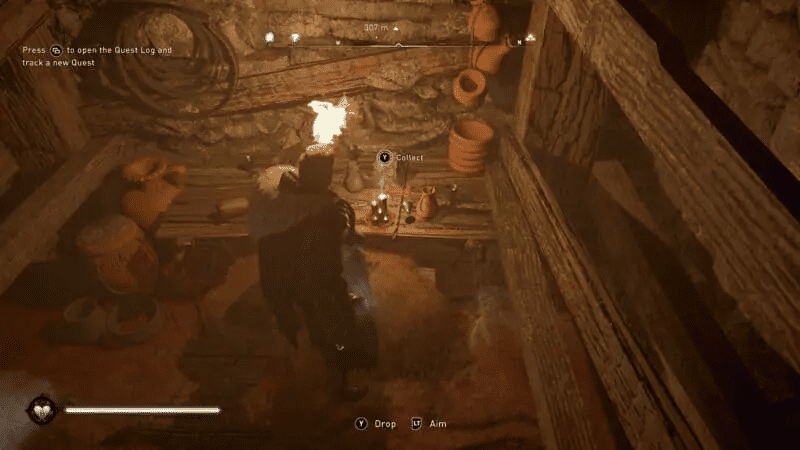
When you successfully collect the tablet, you will get a confirmation message that you’ve collected a ‘Treasure of Britain.’
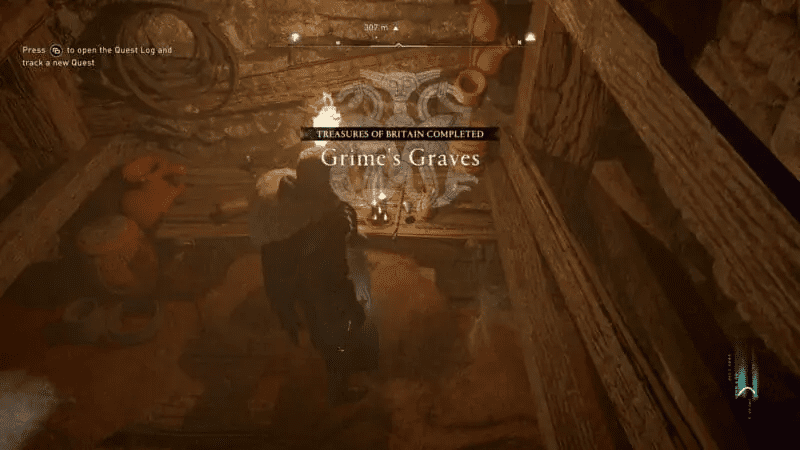
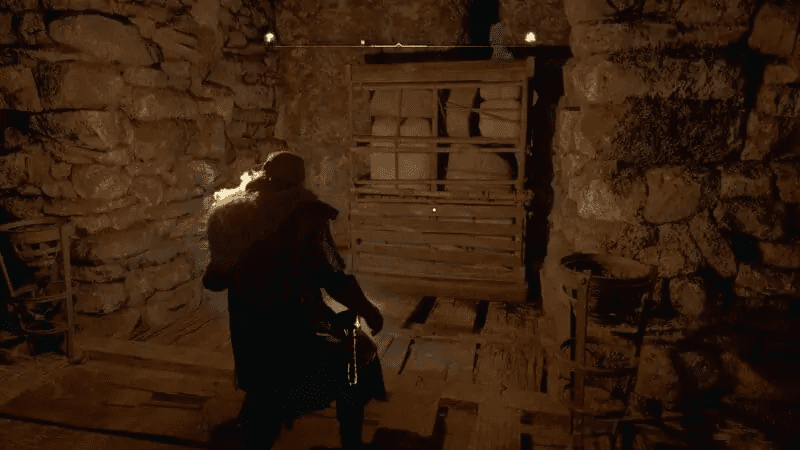
Look to your right, and you will find a moveable shelf. Move it and go through the gap to exit the cave.
Suthsexe
Two tablets can be found in Suthesexe – Mysterious Knife Tablet and Mysterious Cauldron Tablet.
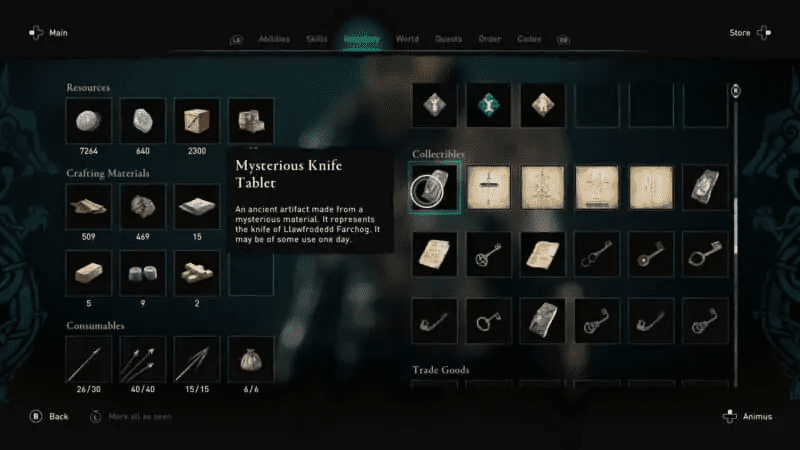
Zealot Hrothgar – Mysterious Knife Tablet
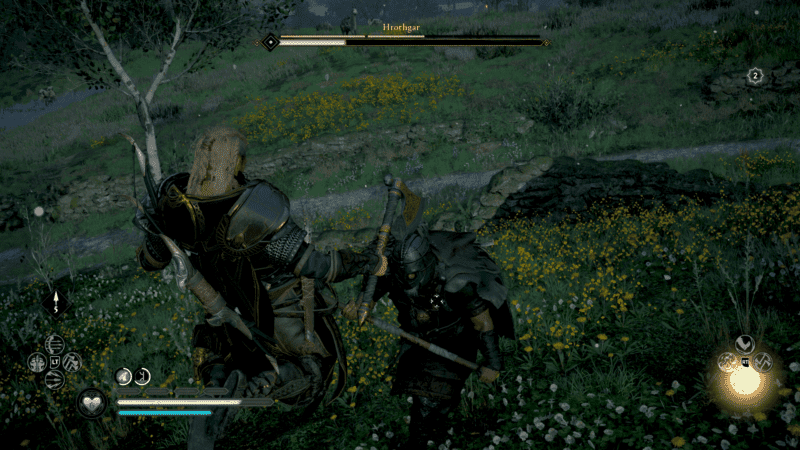
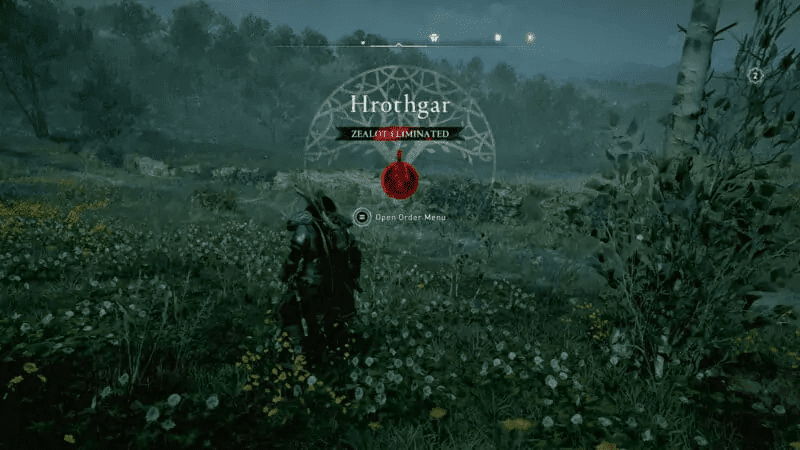
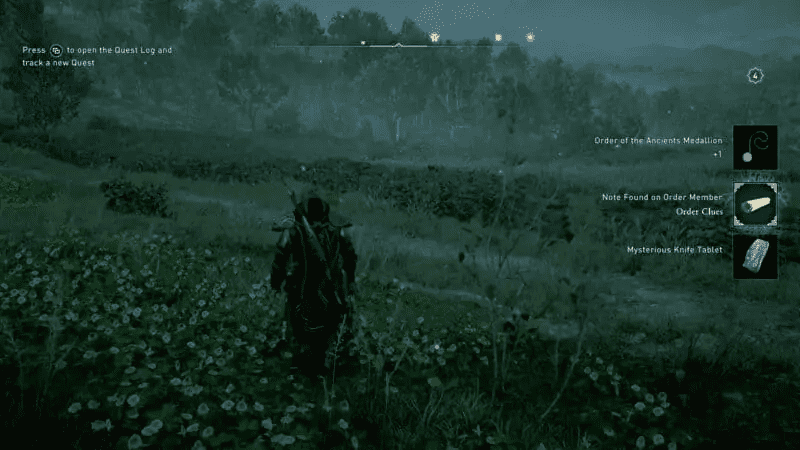
You need to eliminate the Zealot named Hrothgar to get this tablet. He is found in the southern section of Suthsexe. The location shown in the map below isn’t exact because the Zealot is wandering in the southern part of Suthsexe and can be anywhere around the area. You just need to be somewhere near the shown location or area, and the Zealot icon will show up on the map indicating the location clearly.
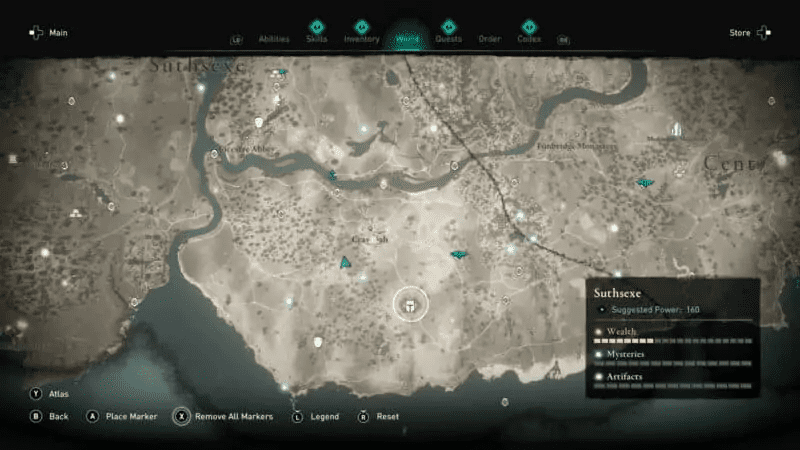
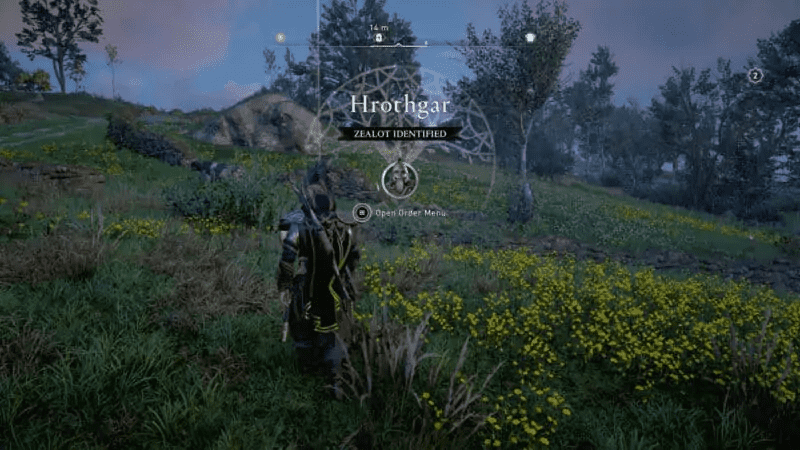
You must kill the Zealot to obtain the tablet from him.
Santlache Mine – Mysterious Cauldron Tablet
The tablet can be found inside the Santlache Mine located on the southeastern border of Suthsexe, east of Crawleah.
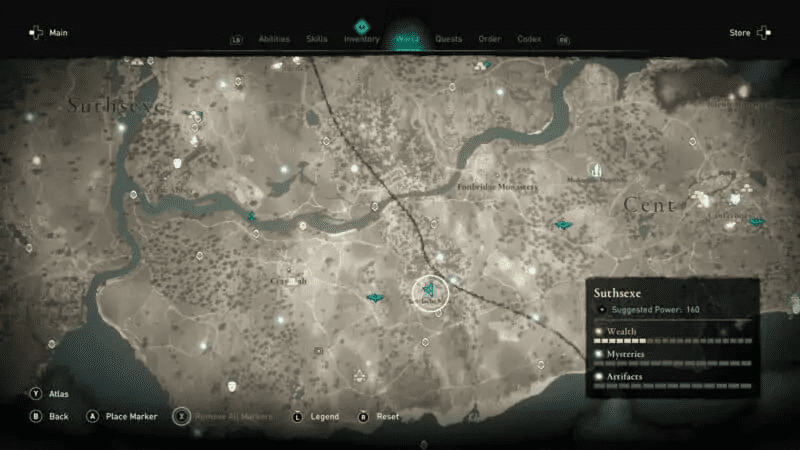
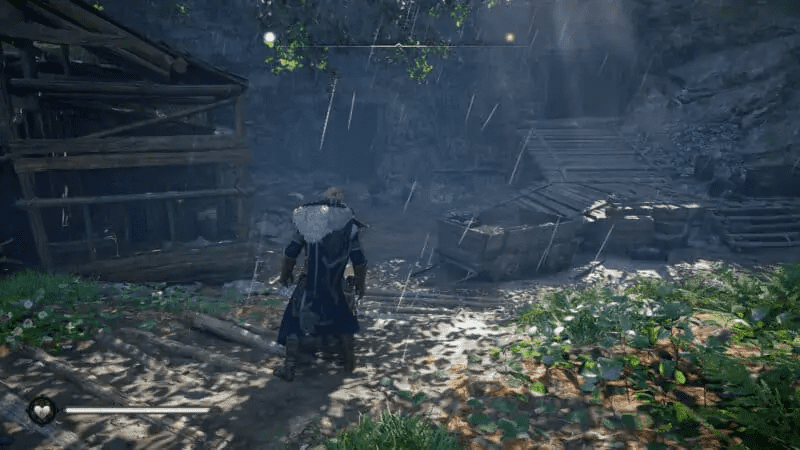
Enter the mine via the elevated ramp on the right and continue moving forward through the middle doorway.
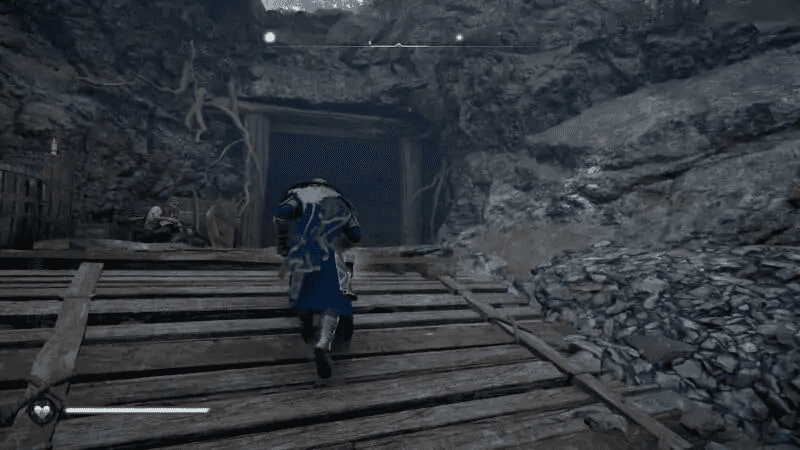
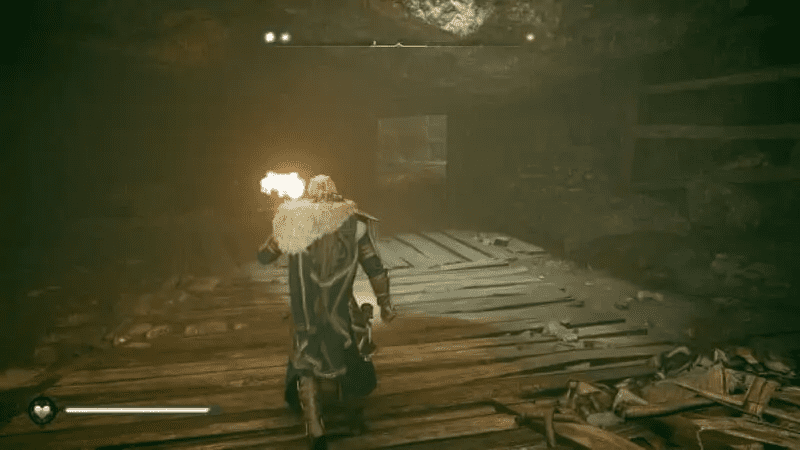
You will immediately turn right, and you will see a destroyable wall or obstruction with an oil jar placed next to it conveniently. Shoot the oil jar to cause an explosion and blast open the doorway.
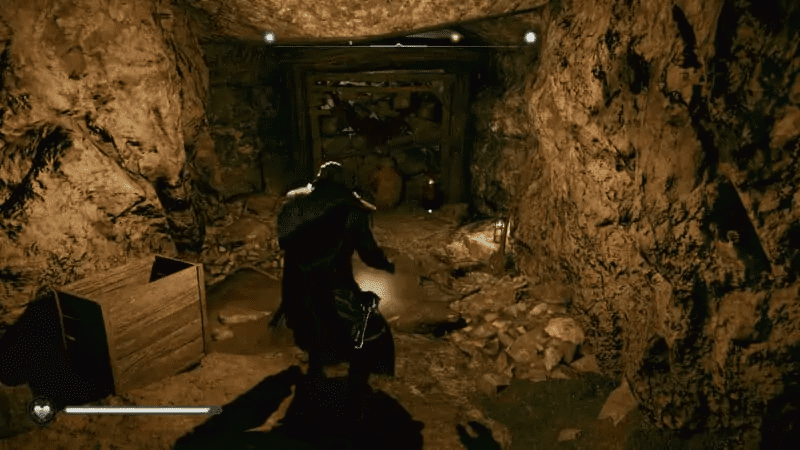
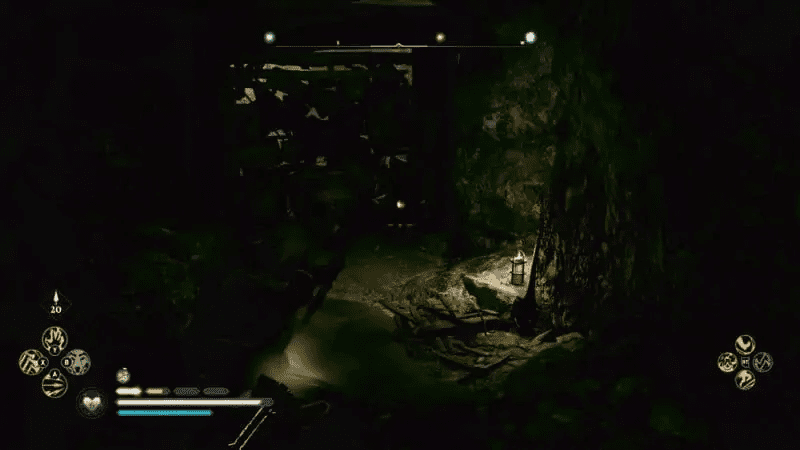
Once opened, continue moving forward through the new path and parkour your way ahead.
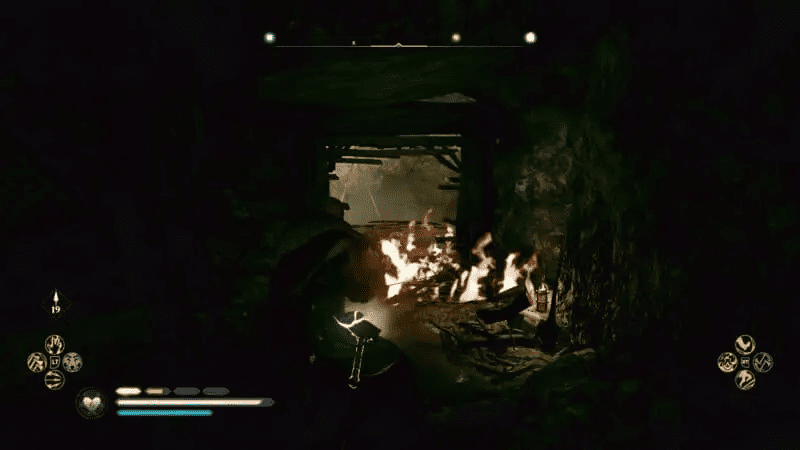
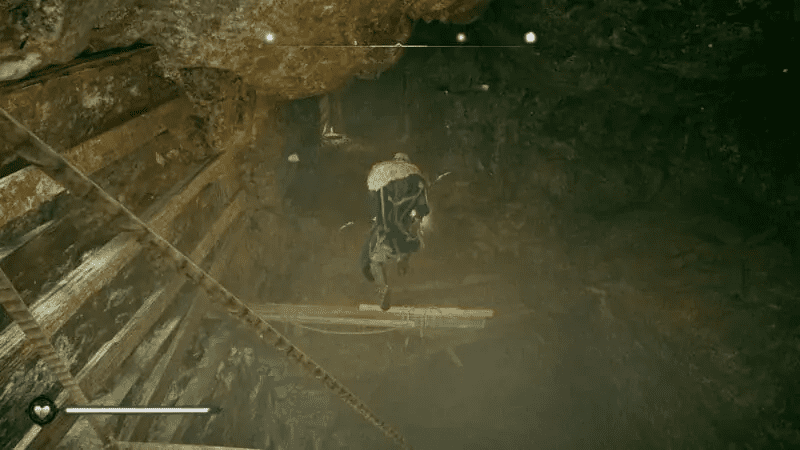
You will eventually run into a dead end. But, there will be a small hole at the bottom of the wall to your left just before the dead end. Go through it and continue moving forward.
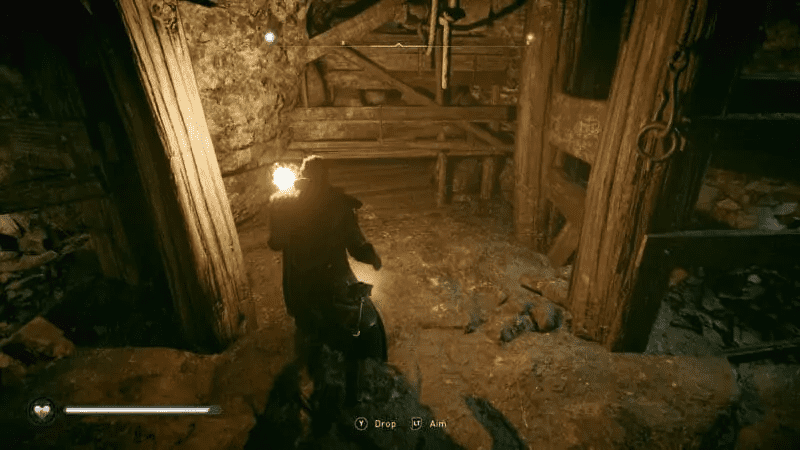
You will eventually enter a room with a moveable shelf and a ladder in the middle of the room. You won’t be able to reach the ladder. Move the shelf next to the ladder and use it to reach the ladder and climb up.
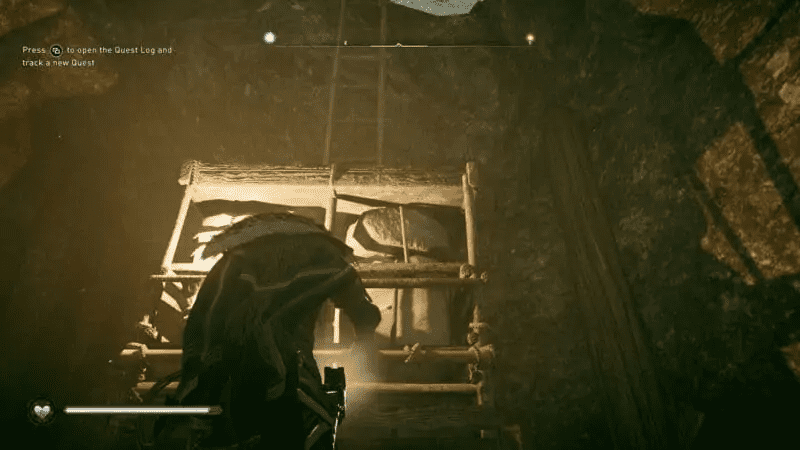
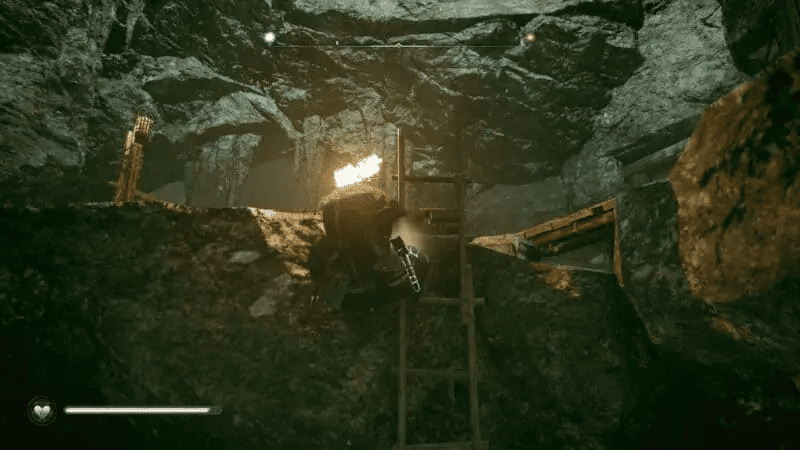
Continue using your parkour skills to move forward until you reach another set of locked ladders. Use your bow and arrow to unlock the ladder and extend it.
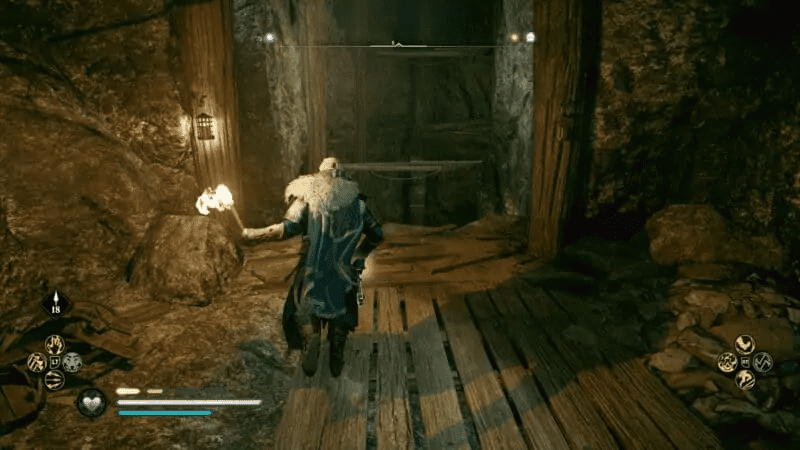
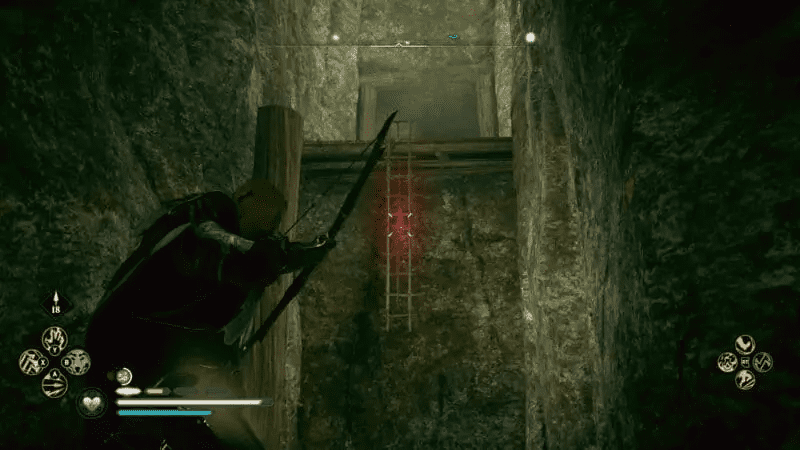
Climb the ladder and continue moving forward until you see another wooden wall with a hole at the base. Slide through the hole.
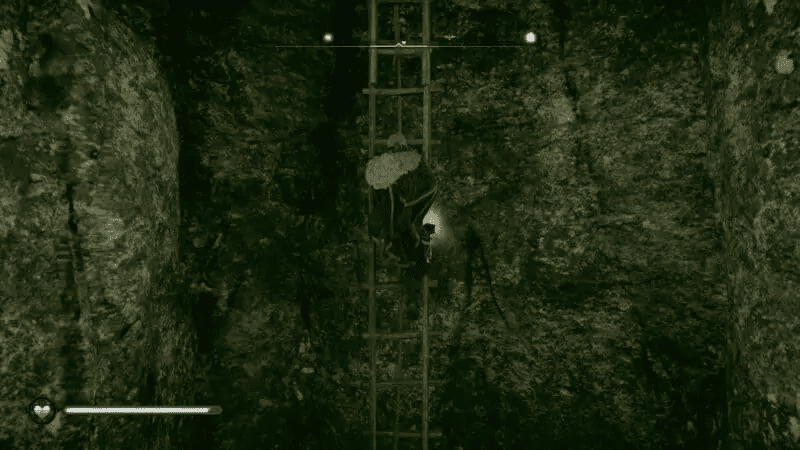
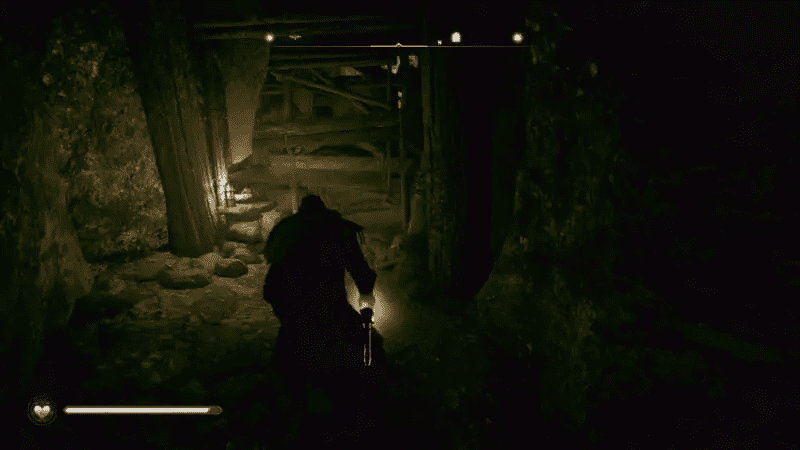
As you move forward, you will eventually end up in an open area with a zipline. Use the zipline to cross a huge gap.
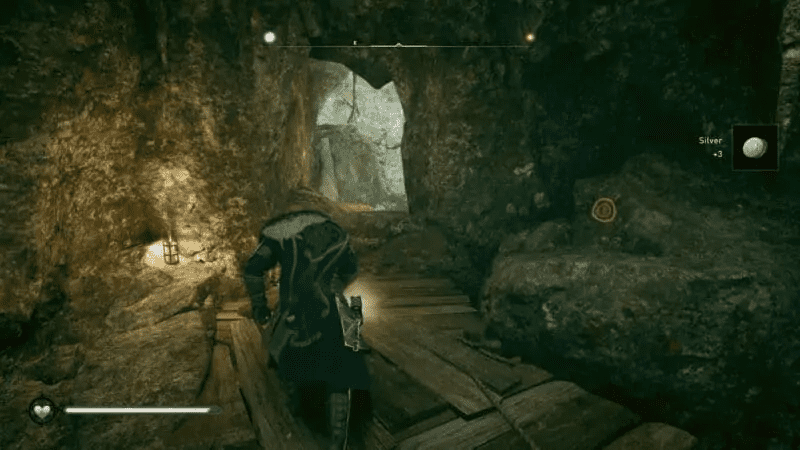
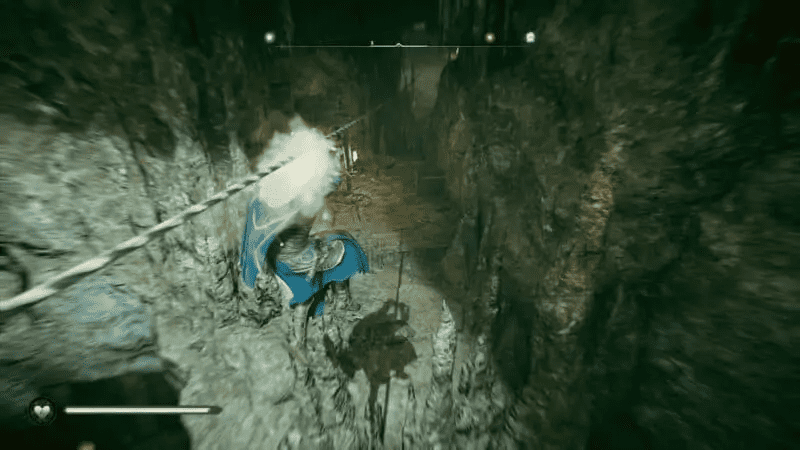
Once you’re across, you will see another obstruction ahead of you that can be destroyed.
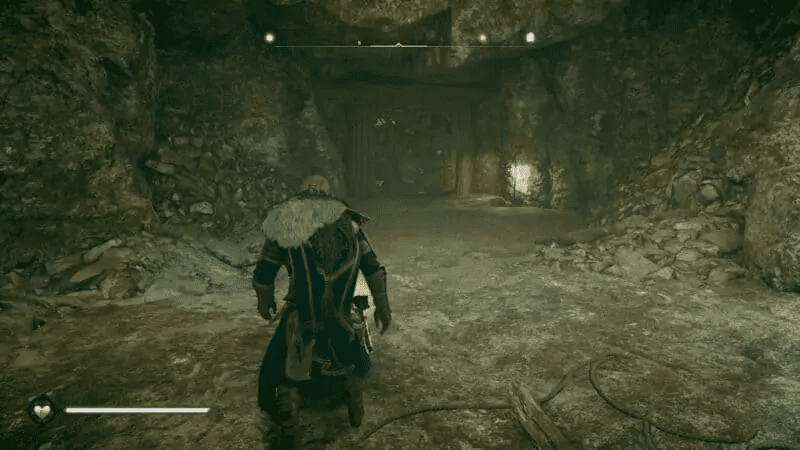
You can either use your Incendiary Powder Trap ability or grab the oil jar to your left.
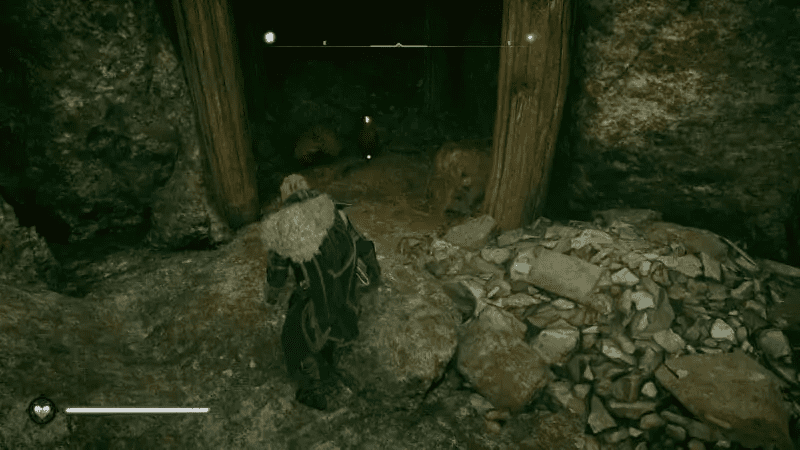
Place the oil jar next to the obstruction and use your bow and arrow to destroy it.
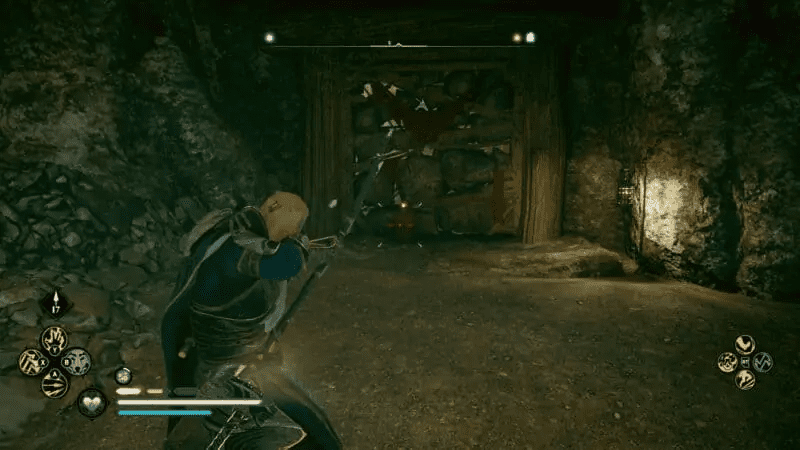
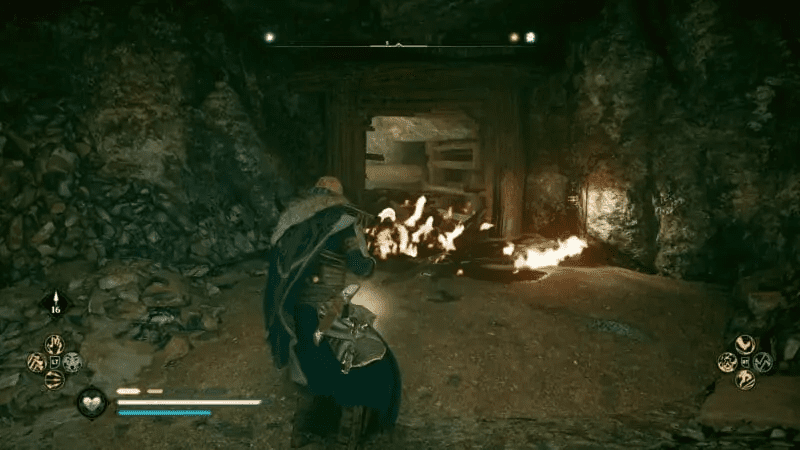
Go through, and you will eventually come across another gap that you can slide through. Slide through it and descend deeper into the cave.
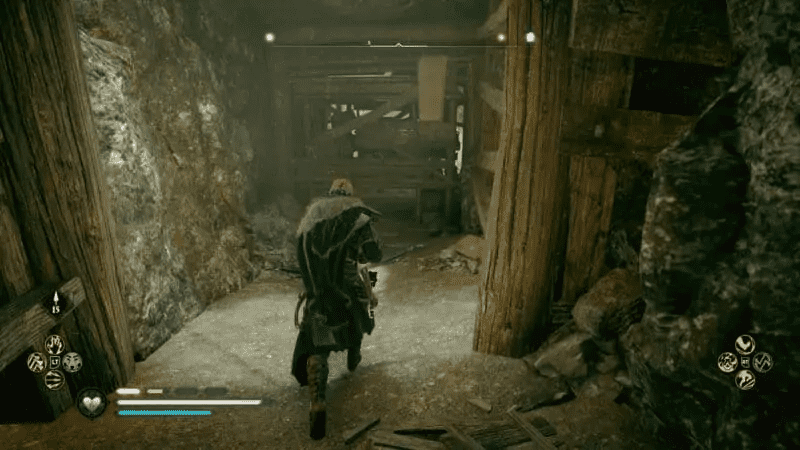
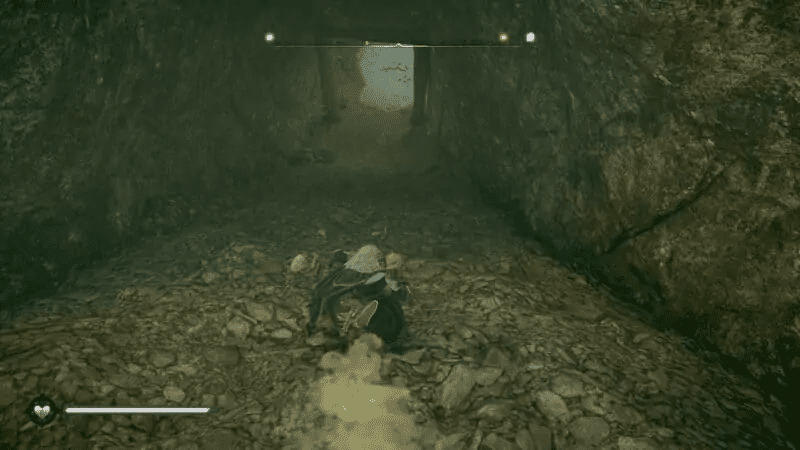
You will end up in a room with a turbine and a platform beside it.
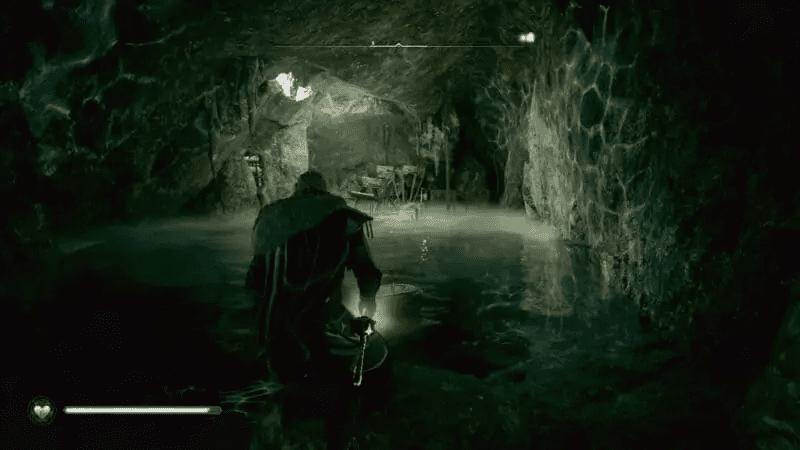
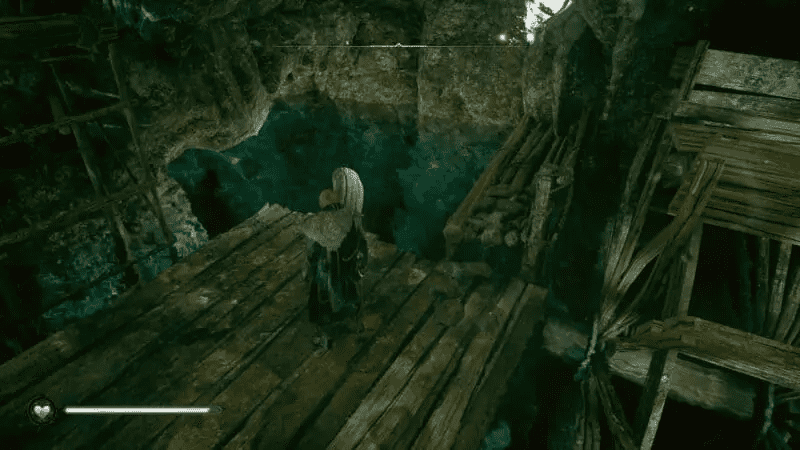
Dive underwater and swim in a linear path until you come across a wooden board blocking your path.
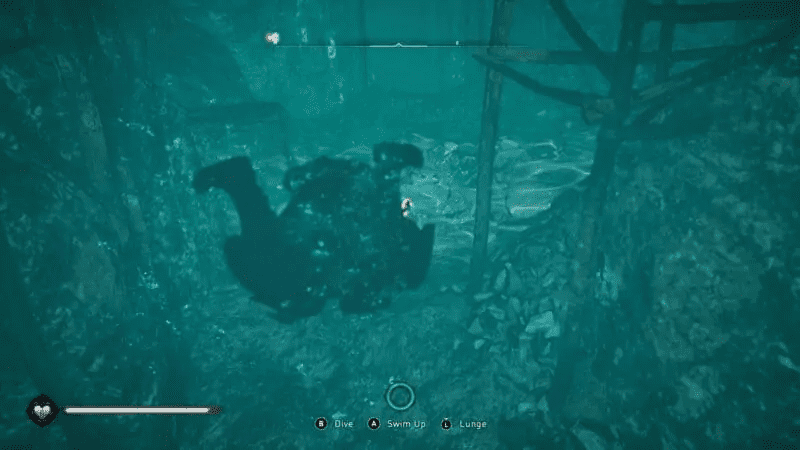
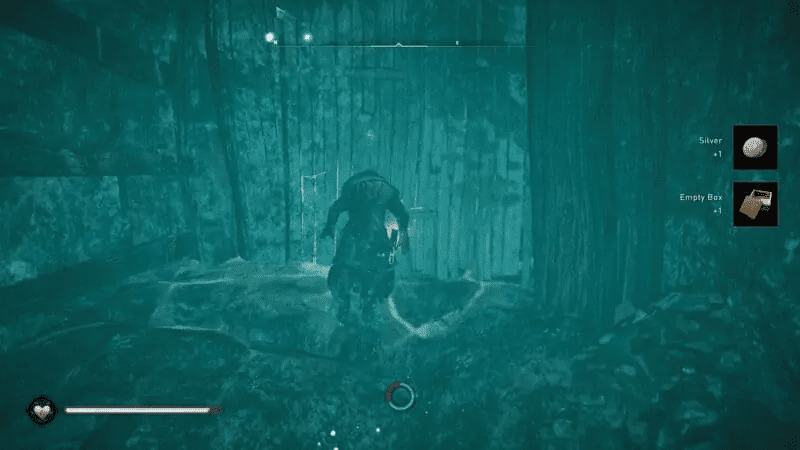
Break the board by attacking it, and continue to swim forward until you come out of the other side.
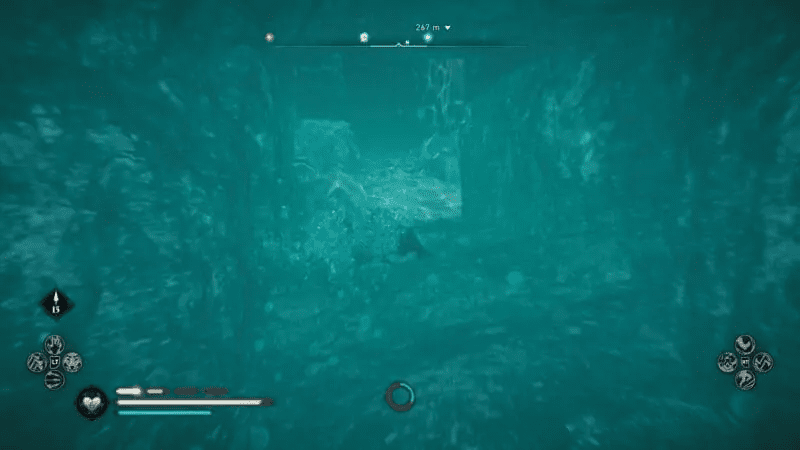
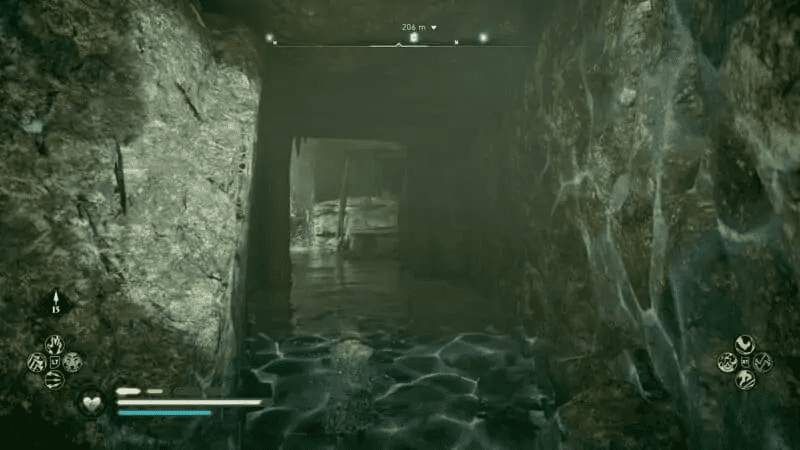
Move forward a bit, and you will notice a large circular room with a central stone structure surrounded by a waterfall. And there will be a Mysterious Cauldron Tablet resting in the middle of the structure.
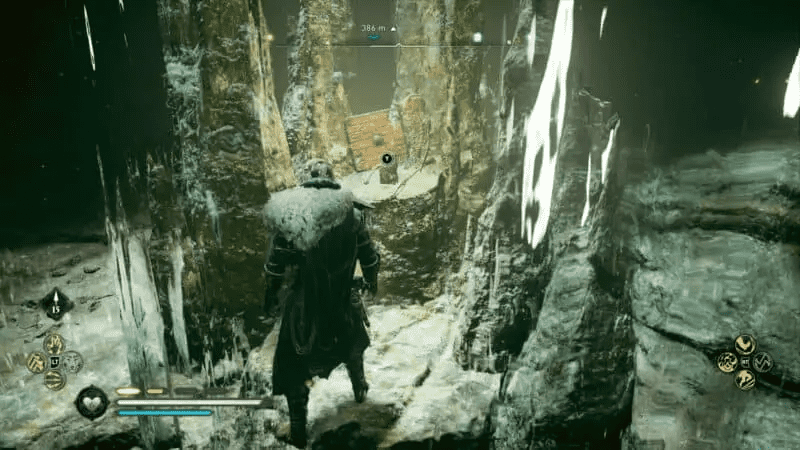

Cent
There are two mysterious tablets in Cent – Mysterious Halter Tablet. and Mysterious Chessboard Tablet.
Zealot Woden – Mysterious Halter Tablet
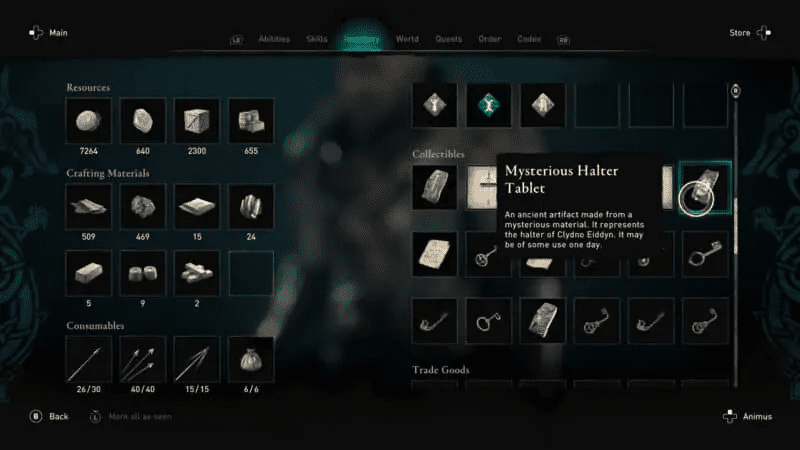
The Mysterious Halter Tablet is obtained by killing a powerful Zealot called Woden.
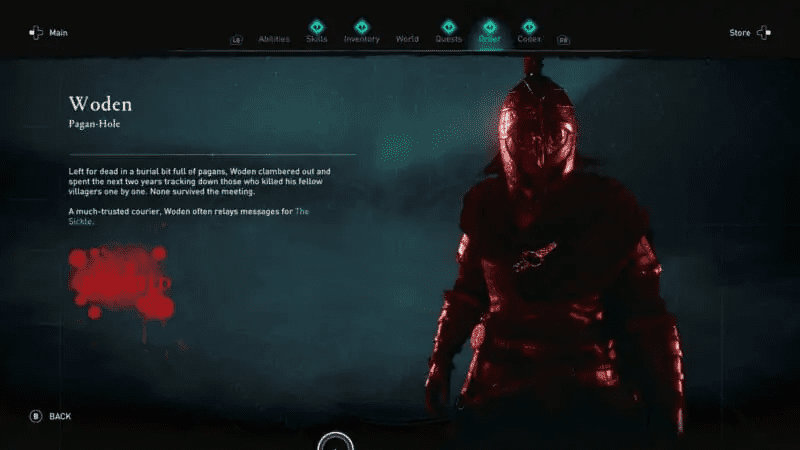
You can find Zealot Woden roaming the land west of Beamasfield near the main road.
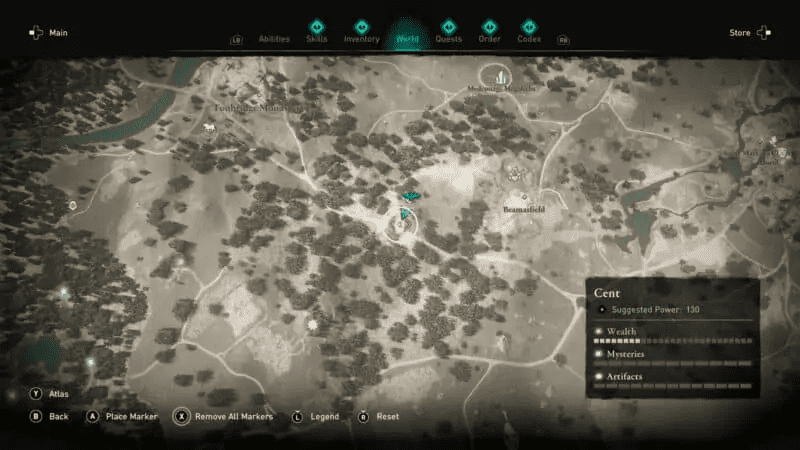
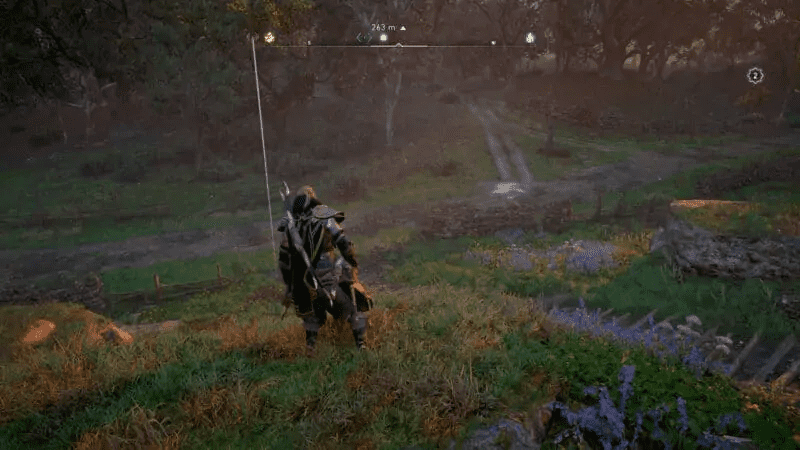
Note that just like the previous Zealot Hrothgar, you will get an icon show up on your map once you are in the vicinity of the shown location. Unfortunately, we had already killed the Zealot sometime during our ventures and couldn’t get the image of the Zealot.
Eliminate the Zealot Woden to obtain the Mysterious Halter Tablet.
Cavern of Trials – Mysterious Chessboard Tablet
This is one of the most confusing and intimidating caverns when you first enter it. But, it only seems that way. In reality, all you have to do is collect the keys in all the different rooms located inside and progress deeper into the cavern.
You need to make your way to the Cavern of Trials located near the eastern shore of Cent. There will be a regular abandoned house with a secret entrance inside that leads to the Cavern of Trials.
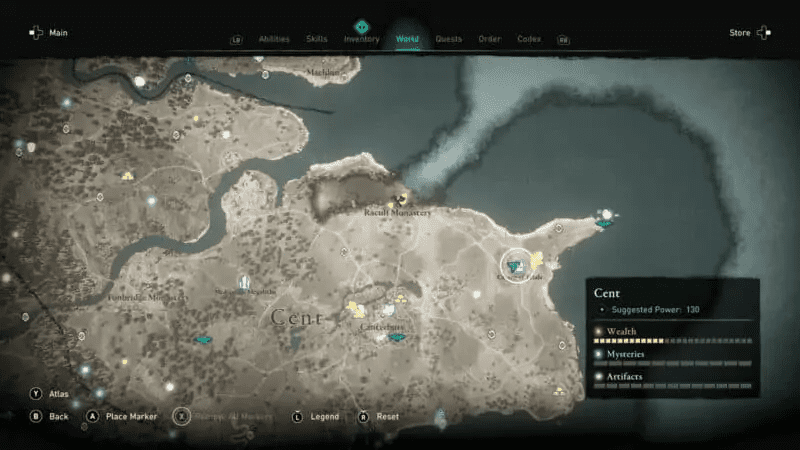
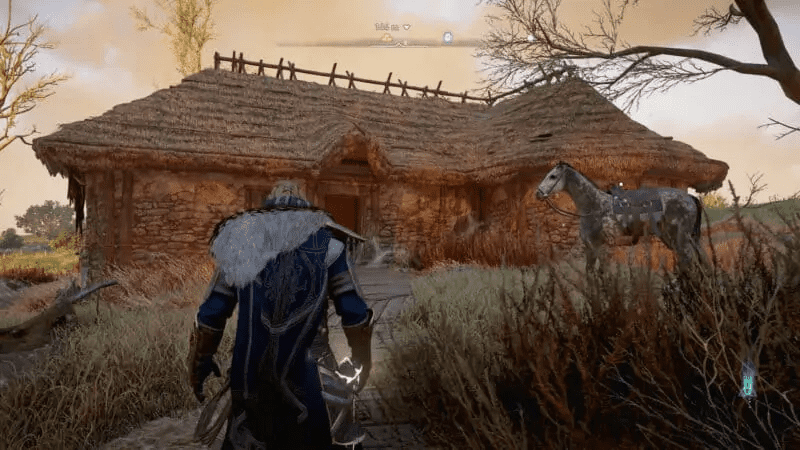
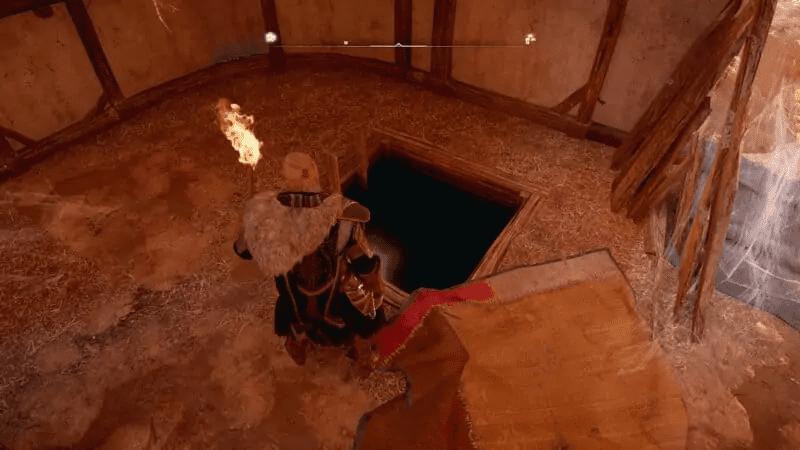
Go inside the house and turn right to find a hole in the floor that will lead you to the Cavern of Trials.
Once underground, move forward until you come across some points blocking a small hole at the base of the wall. Destroy the pots and slide through the gap.
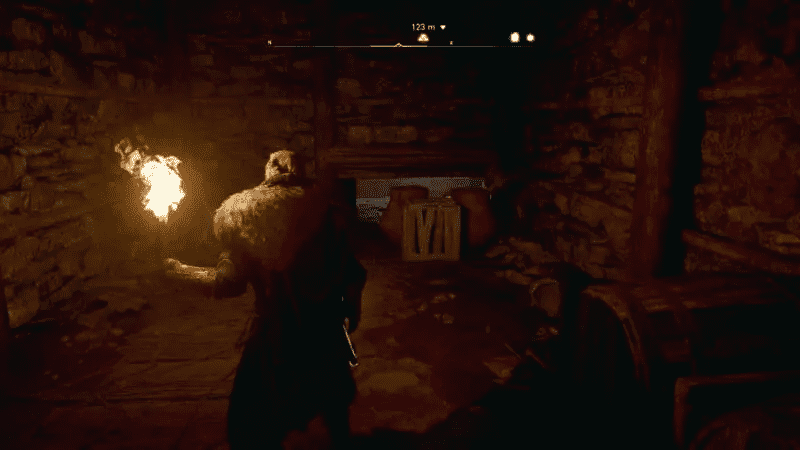
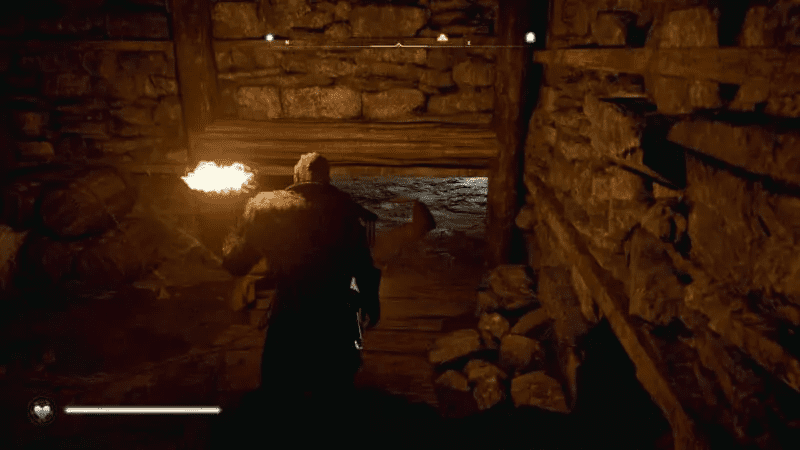
Go through the hole and descend deeper into the cavern. You will come across a small jump with a hanging key called ‘The Key of Courage’ and a locked door across.
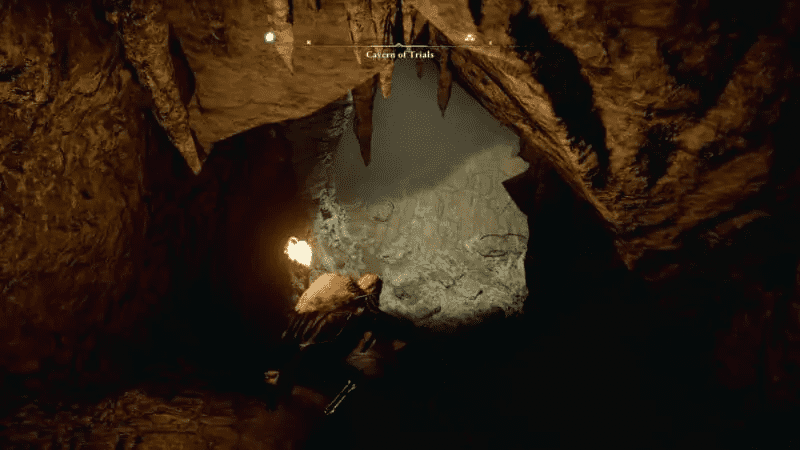
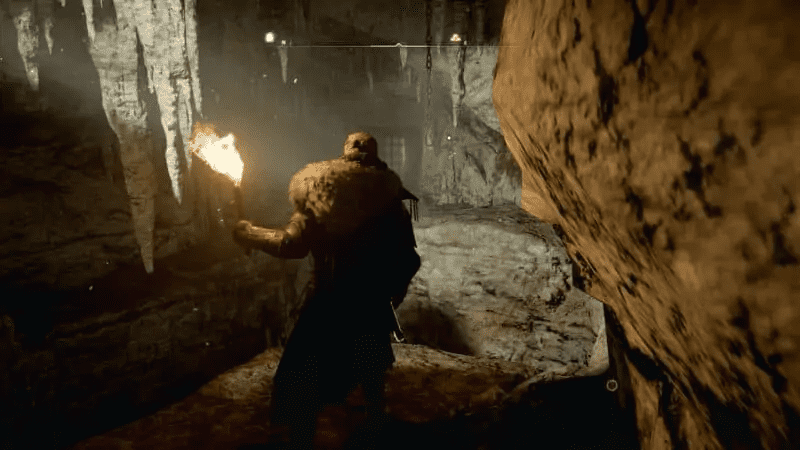
Jump across and collect the hanging key as you are jumping. Use this key to unlock the door ahead of you, and you will enter yet another open area, the central hub of the cavern.
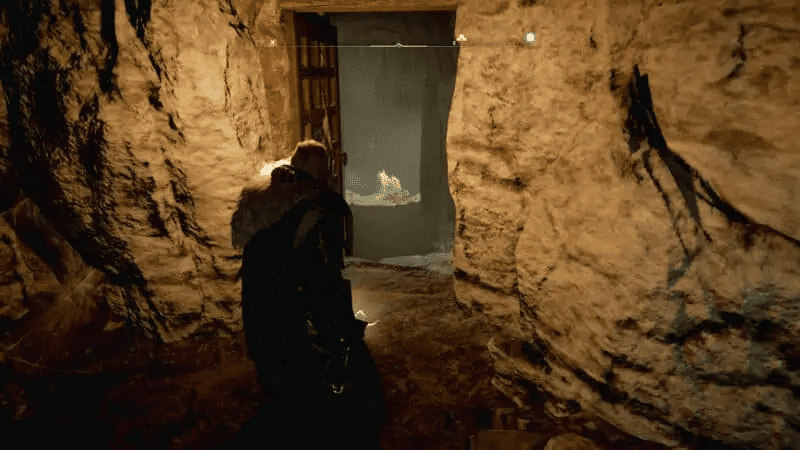
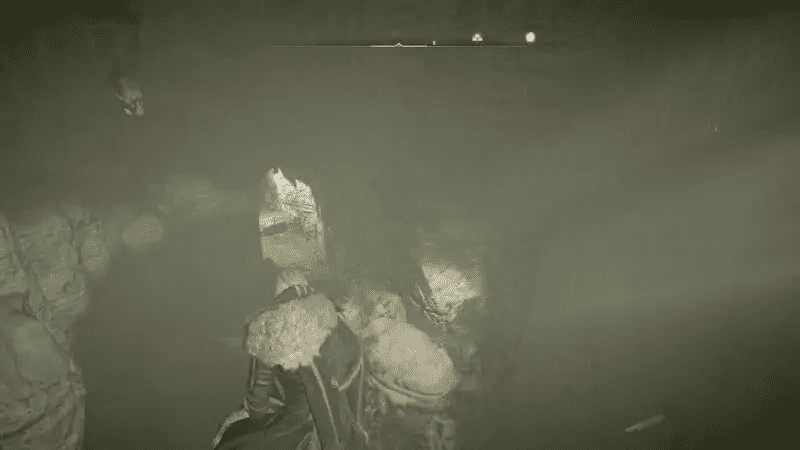
Jump down into the opening that you see in the image above and continue to reach an open room with another hanging key called the ‘Key of Balance’ and some stalagmites that you can climb and jump across.
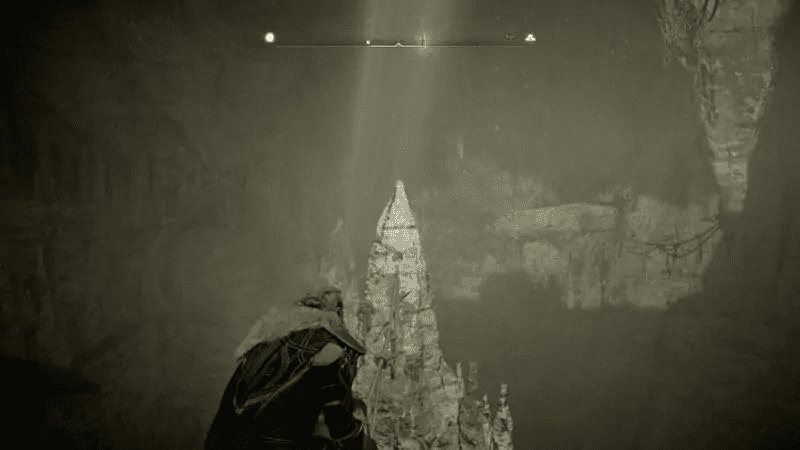
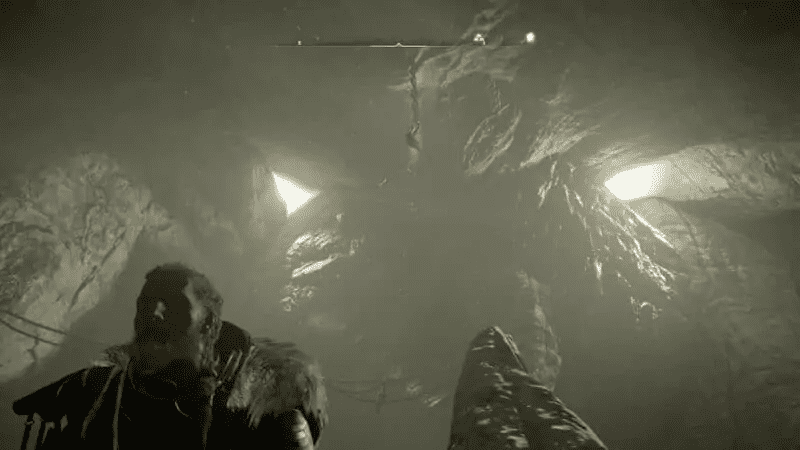
Continue climbing up, and you will eventually reach an overhanging rope.
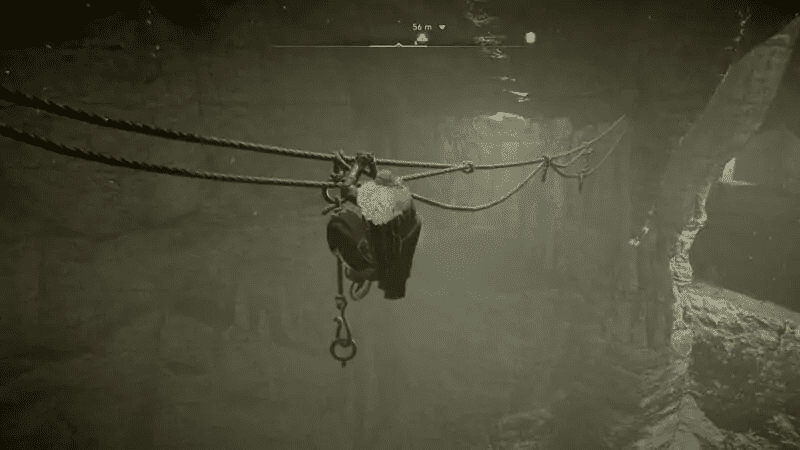
Climb up on the rope and face towards the hanging key. Jump towards the key and collect it as soon as you are near the key.
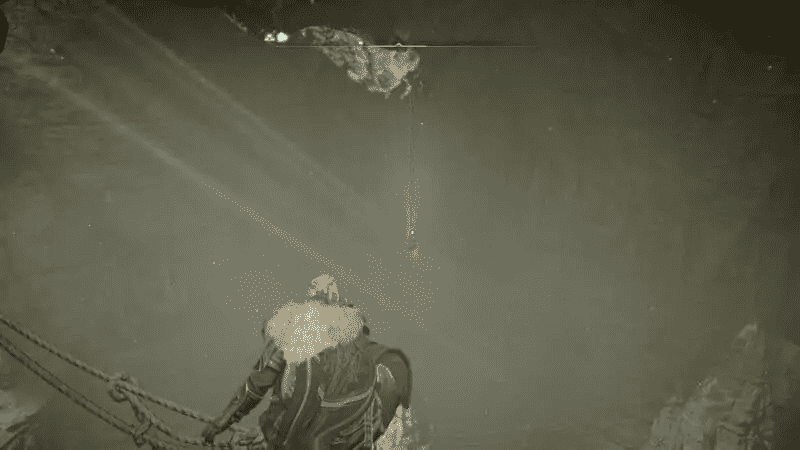
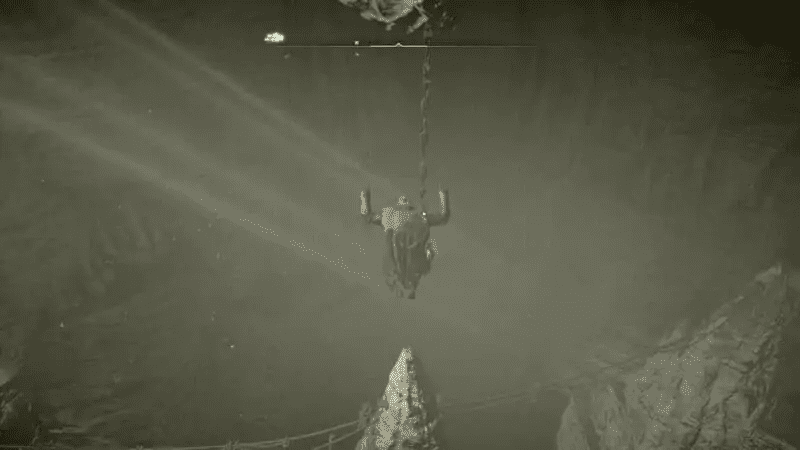
Go back to the central hub by exiting this area via the same way you came in from. Turn left, and you will see another pathway leading to a second room. Continue down the path, and you will reach a room with a hanging wooden board.
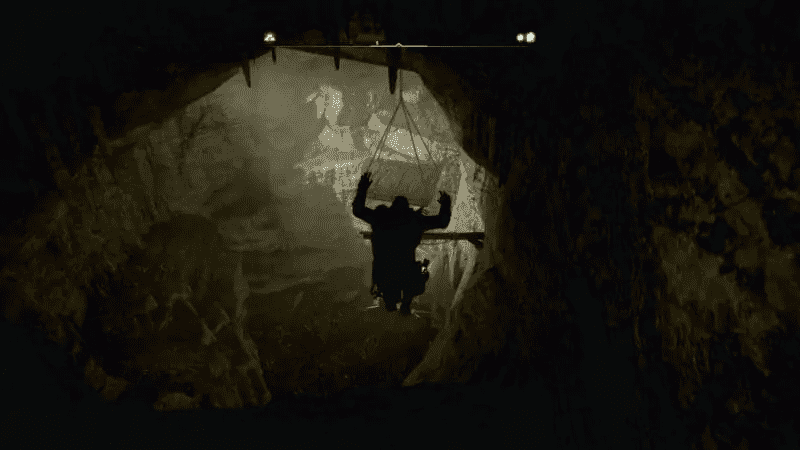
Continue moving forward as it is a linear path, and slide across a small gap in the wall, after which you will reach another open area with a hanging key called the ‘Key of Agility.’
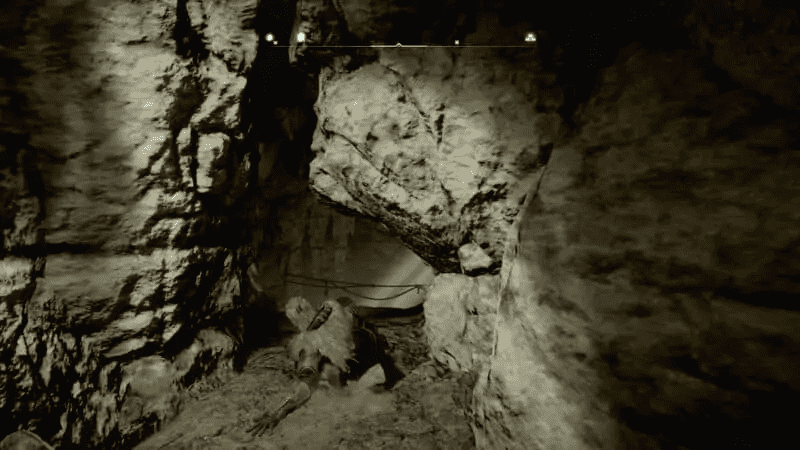
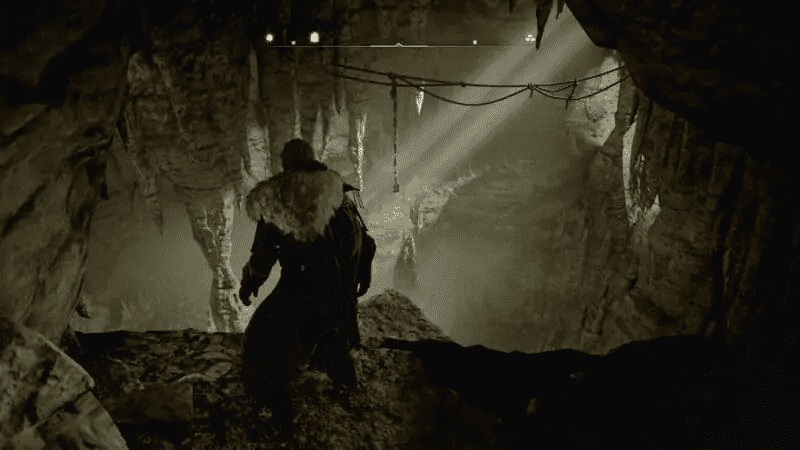
It is fairly simple to get this key, just slide forward, jump across straight ahead and collect the ‘Key of Agility.’
Continue moving forward in this room, and to the right, you will find a moveable rock blocking an exit.
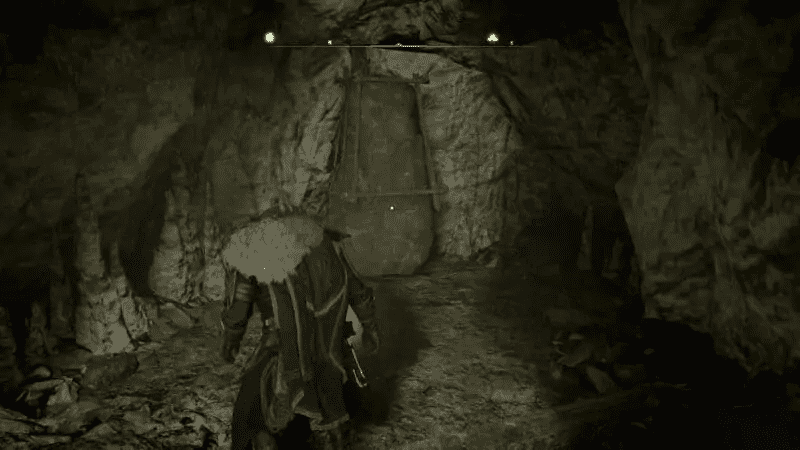
Move the rock, and you will reveal an exit to another area that sort of looks like another central hub.
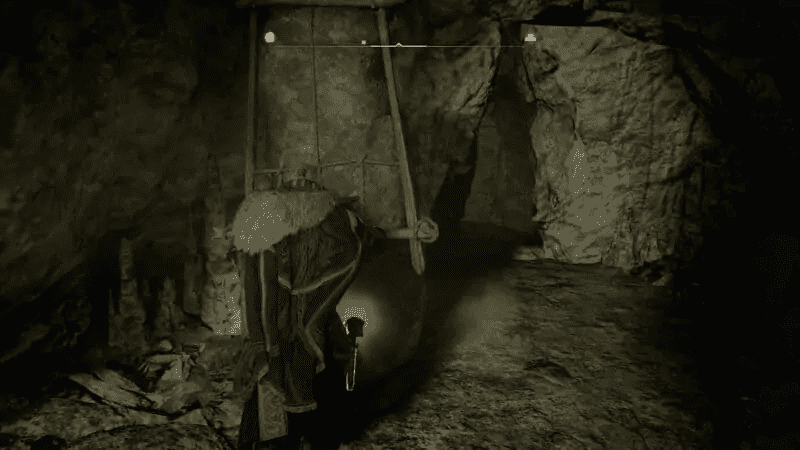
In this new area, you will find yet another pathway leading to a new room with another hanging key called ‘Key of Dexterity.’
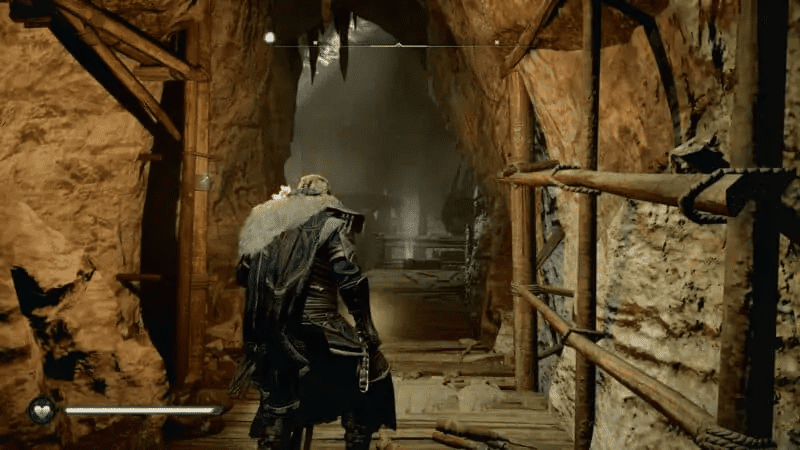
Head inside, and you will find a hanging load, shoot the weight to clear the path ahead of you.
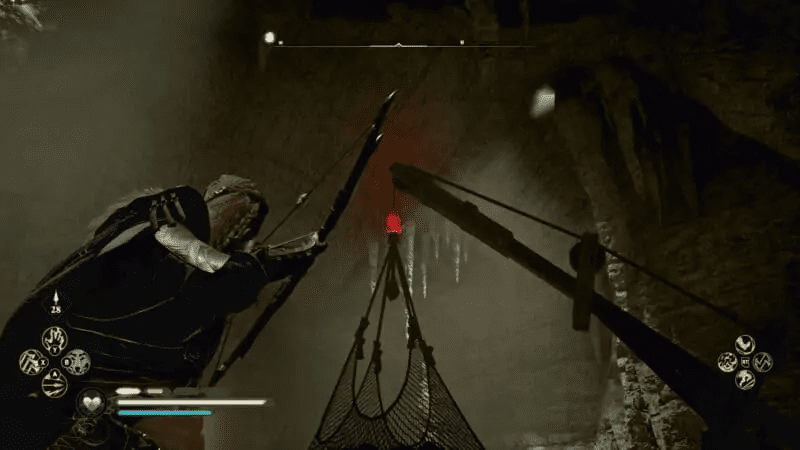
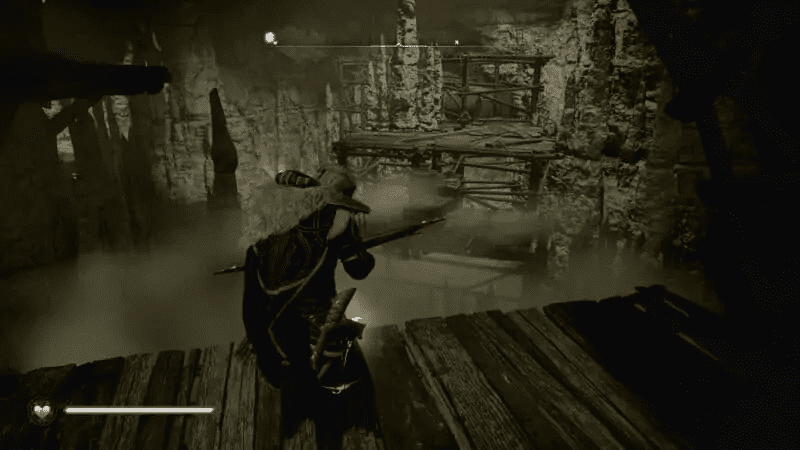
Following the path ahead, you will find another hanging load. Shoot it as well and continue moving forward.
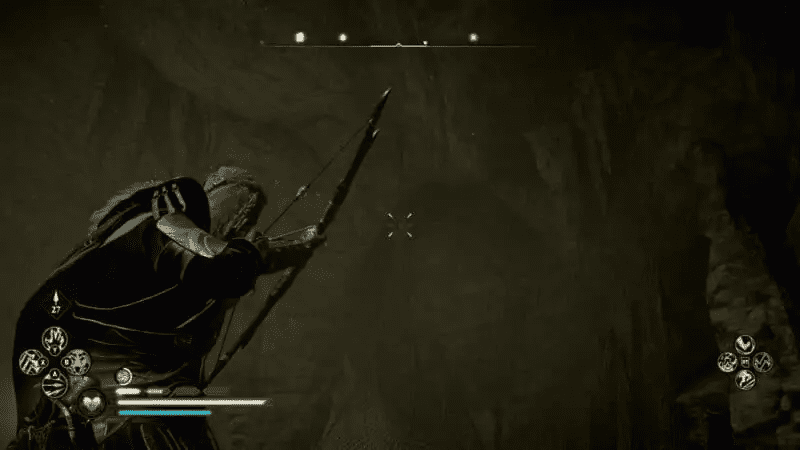
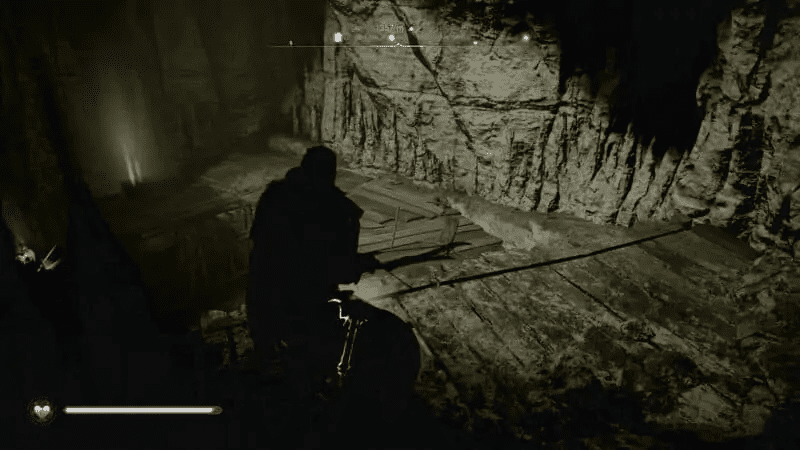
You will reach a dead end with a ladder to your left. You can unlock this ladder to extend its reach by shooting its lock. Use your eagle vision to highlight the lock in red if you cannot see it properly in the cave.
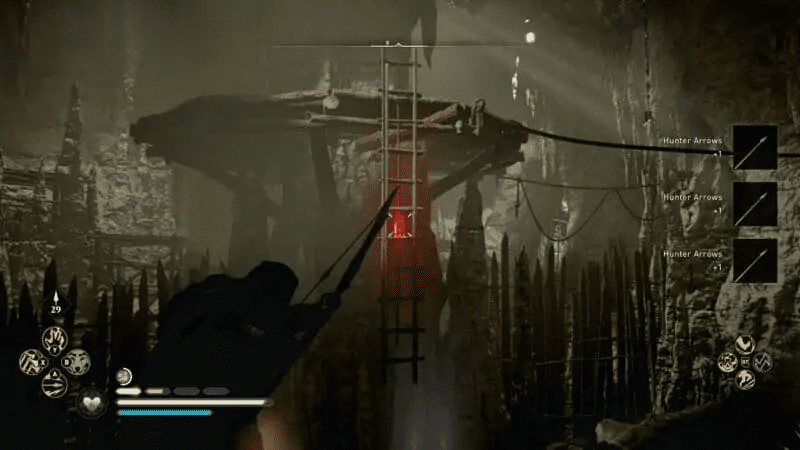
Climb up the ladder, and you will be up on the central wooden platform of this room. You will also notice a hanging key (Key of Dexterity) in front of you that you can collect by jumping across from over the hanging rope connected to the wooden platform.
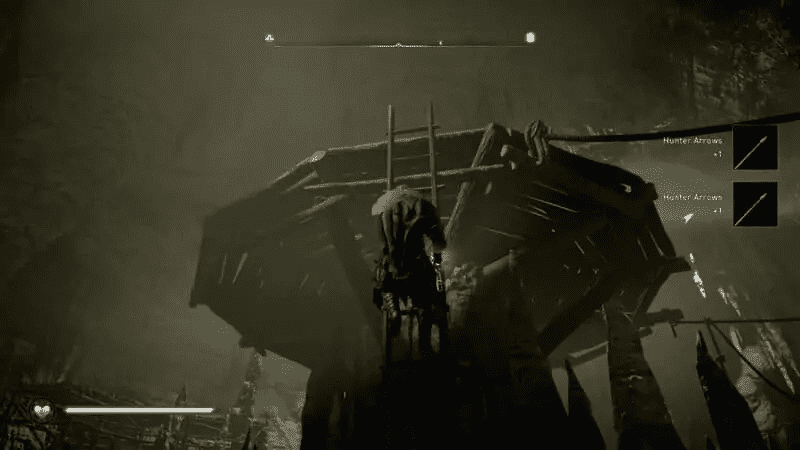
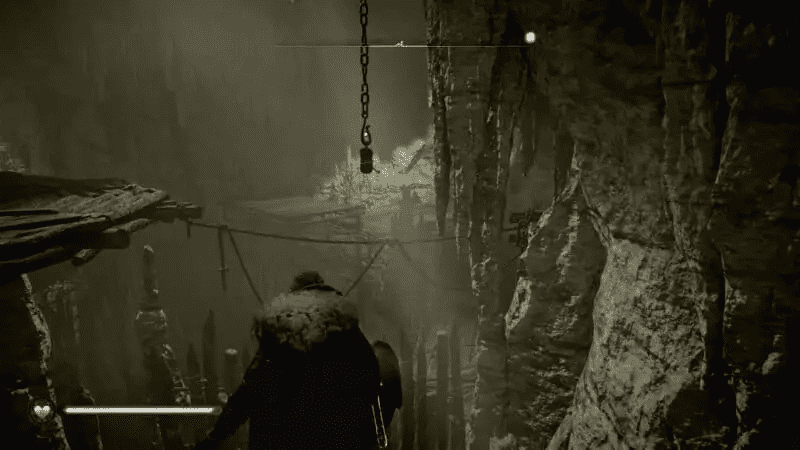
After collecting the key, you will loop back around to the entrance of this room. Exit via the same route you came in and descend to the central hub’s very bottom level.
You will find a locked door at the bottom of the hub that can be unlocked since we’ve already collected all three required keys.
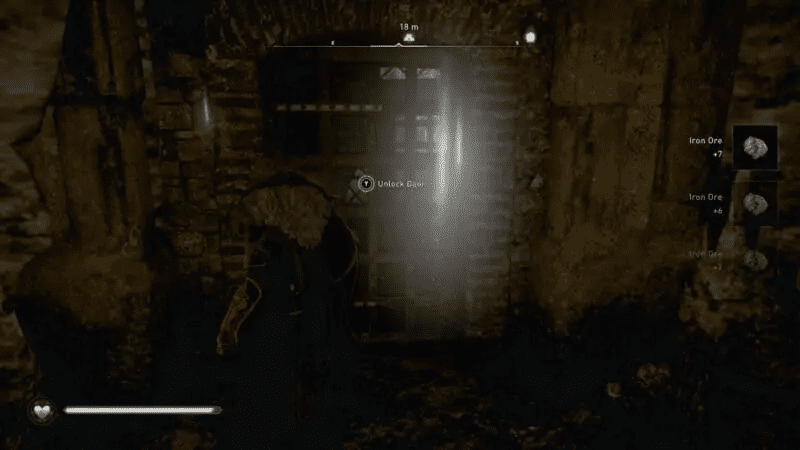
Unlock this door, and there will be another one right after the first one; use your second key to unlock it.
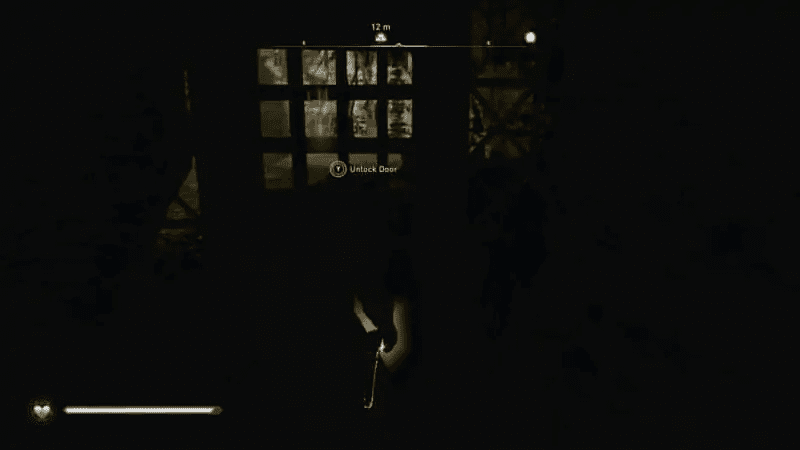
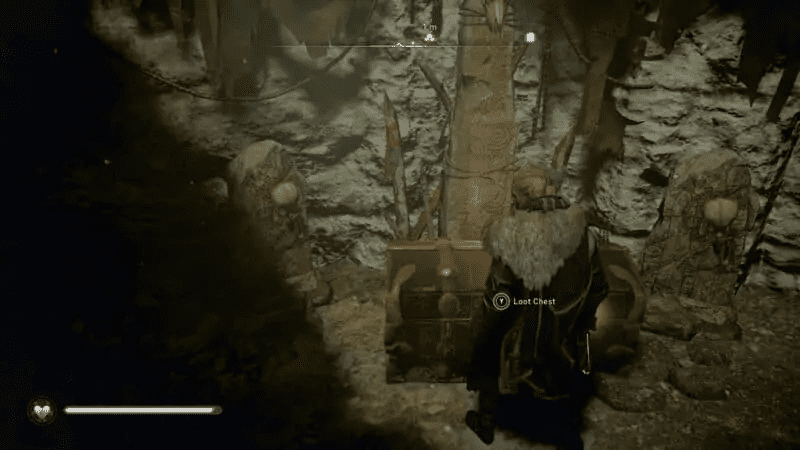
Unlocking the second door will lead you to a room with a loot chest containing some nickel ingots.
You will find another locked door that can be unlocked to your left using your third and final key.
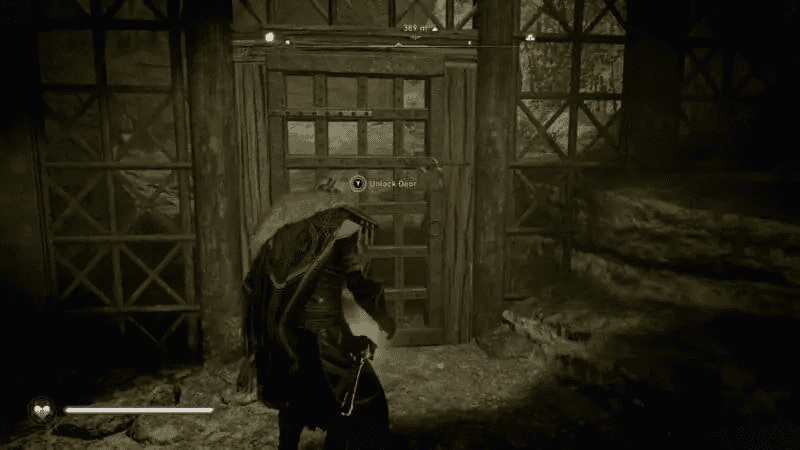
Unlock and go through the door, following the path until you reach a dead end with a moveable rock.
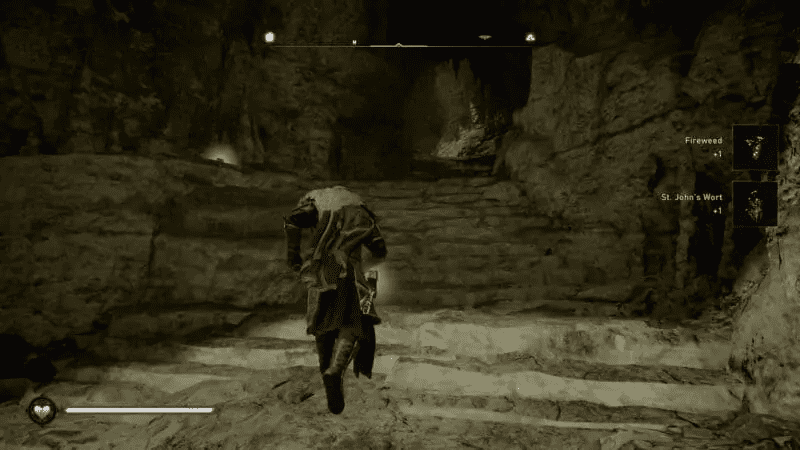
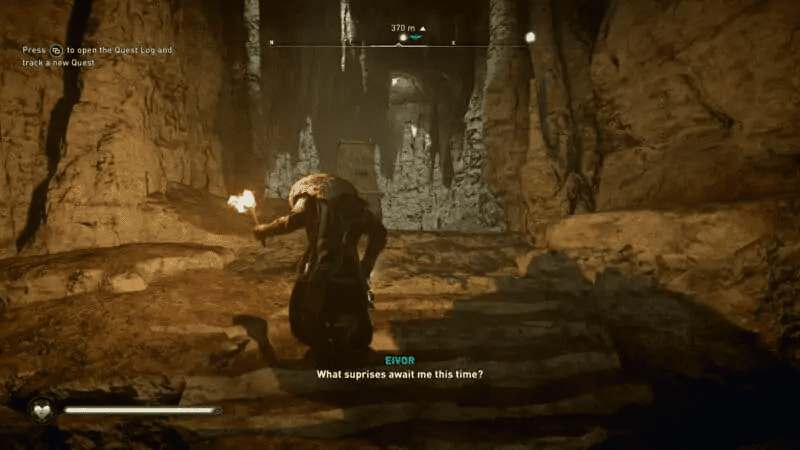
Push the moveable rock against the dead-end (stalagmites) and climb on top of it. Now, you can jump across to the other side.
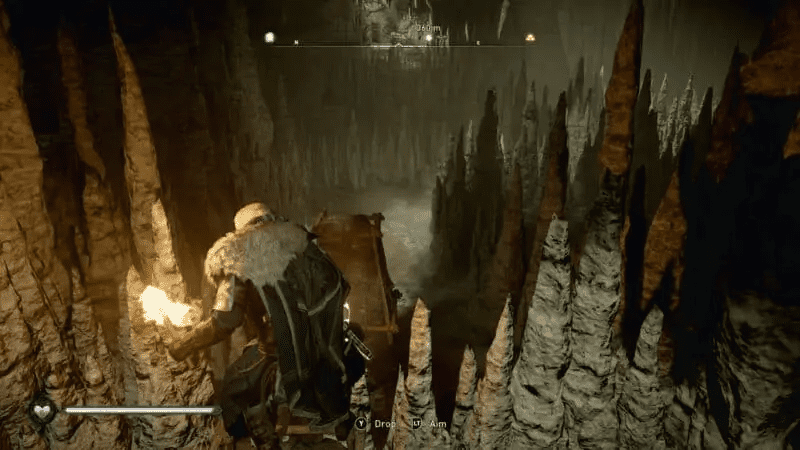
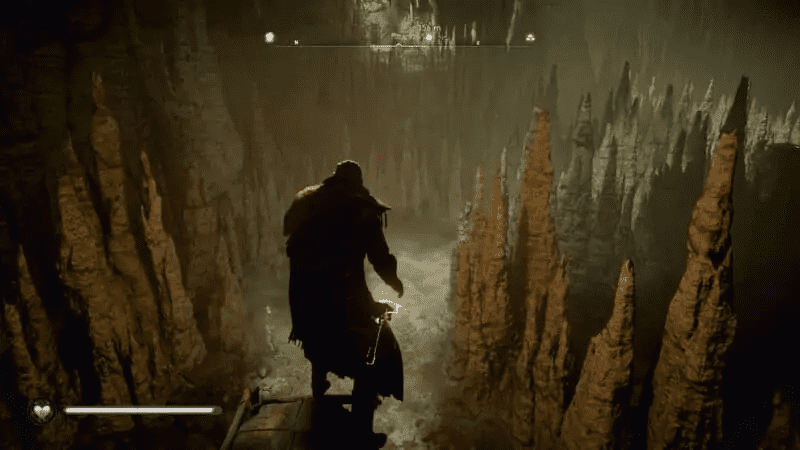
Move the rock on the other side to another dead end at the end of the path. When it is against the dead-end, jump on top of it and continue moving forward by jumping across to the other side.
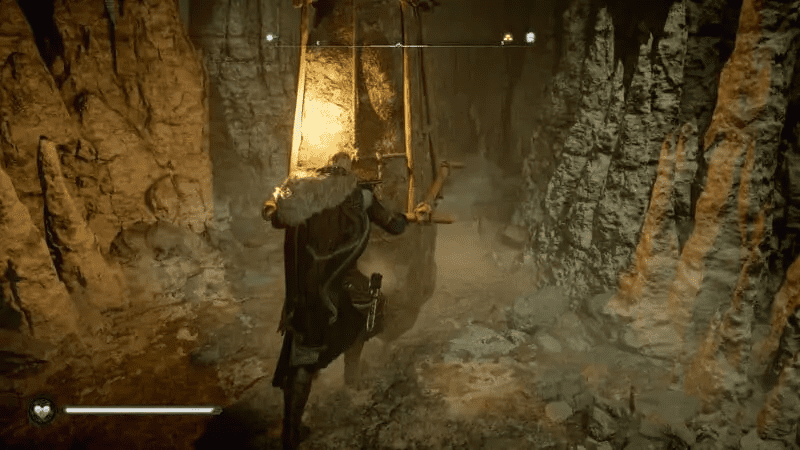
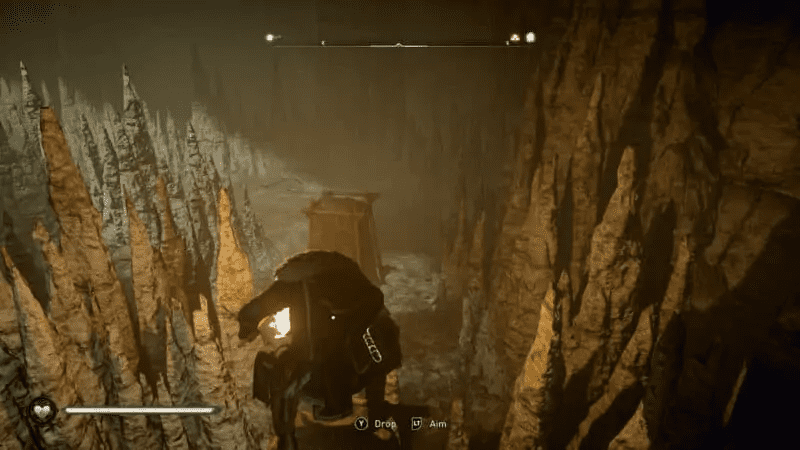
Continue to do the same until you’re at the base of a set of stairs. You will only do this three times.
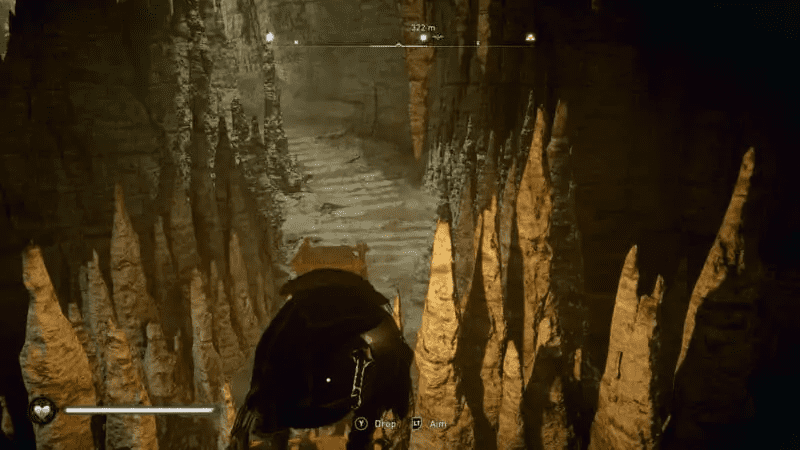
Go to the top of the stairs, and you will find the Mysterious Chessboard Tablet and a hanging key above it, called the ‘Key of Wit.’
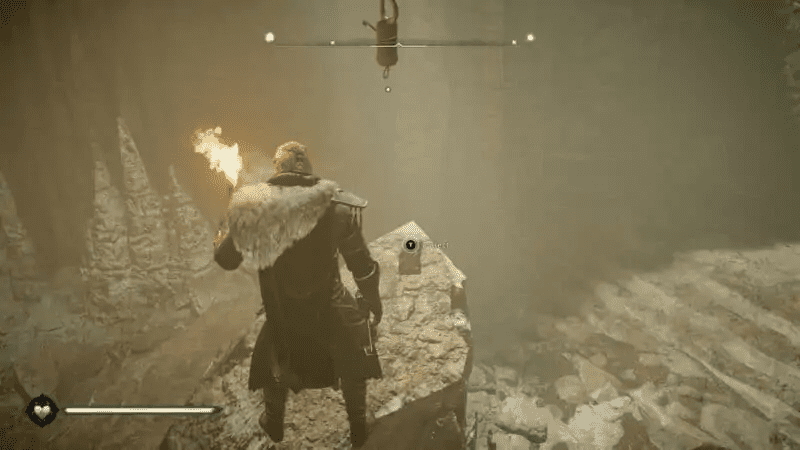
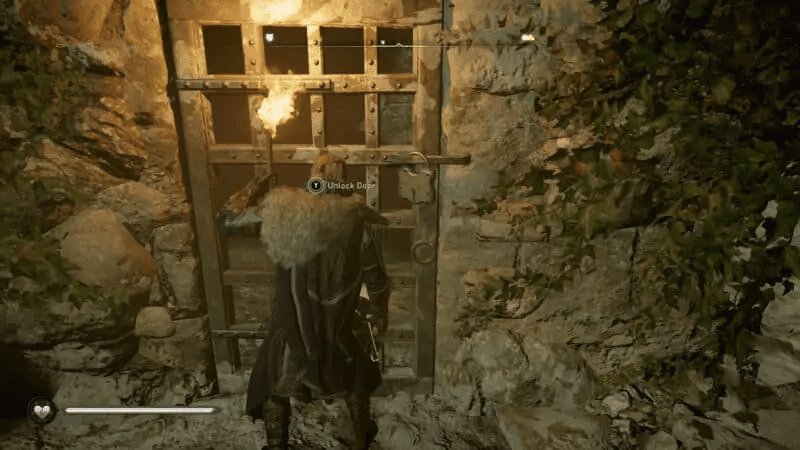
Collect the tablet and the key. Use the key to open the locked door ahead and continue to exit the Cavern of Trials.
Essexe
You can find two tablets in Essexe – The Mysterious Chariot Tablet and the Mysterious Horn Tablet.
Zealot Heike – Mysterious Chariot Tablet
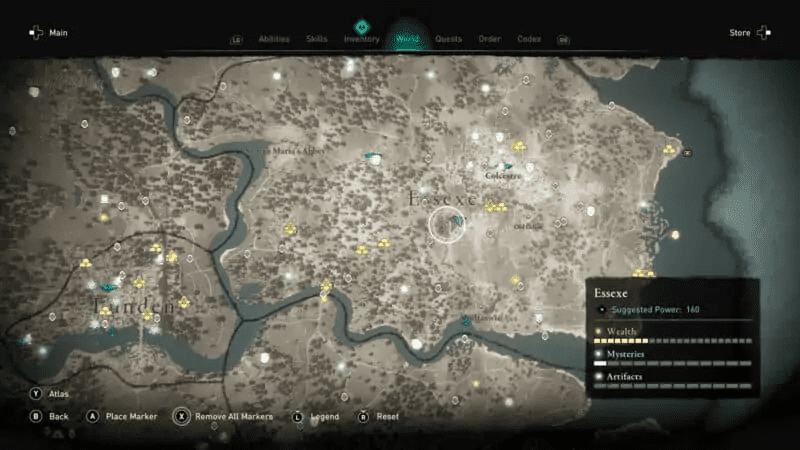
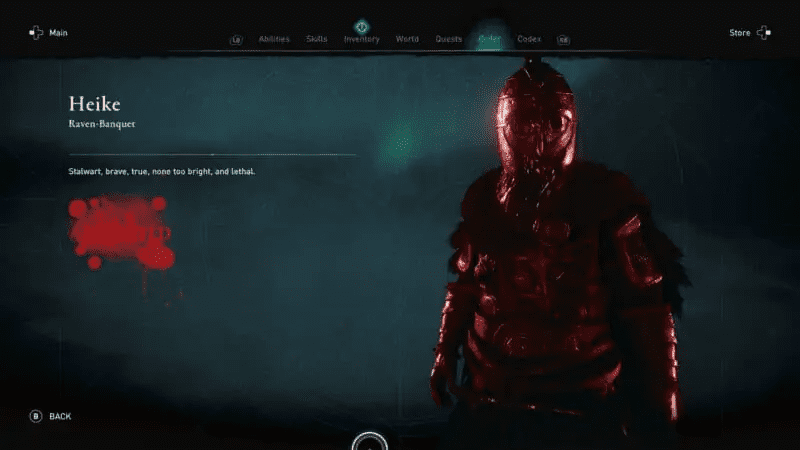
The Mysterious Chariot Tablet is acquired by killing a Zealot named Heike found just southwest of Colcestre in Essexe. The Zealot is going to be roaming the central part of Essexe. Whenever you are in the general vicinity marked below, you will get a Zealot icon on your map, so don’t stress too much about the Zealots. They always eventually show up on the map.
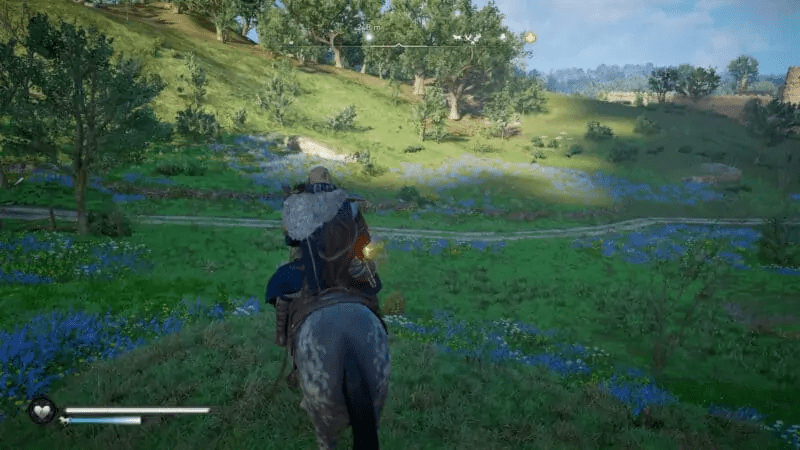
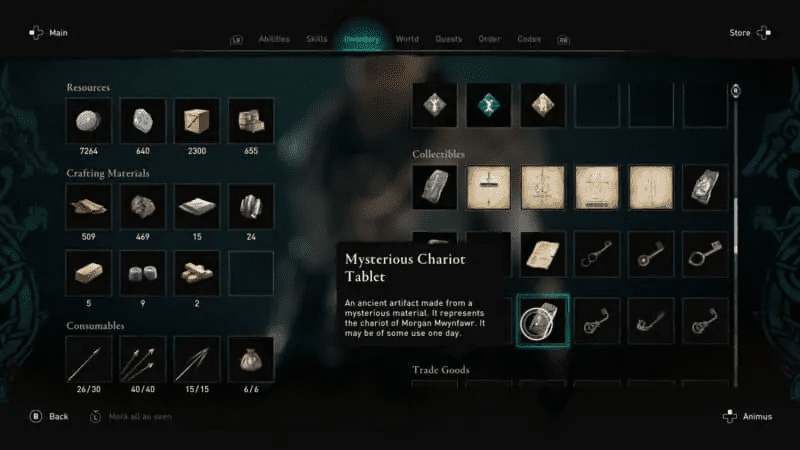
After defeating the Zealot, loot his body to acquire the Mysterious Chariot Tablet.
Old Cellar – Mysterious Horn Tablet
The Mysterious Horn Tablet is found in an Old Cellar located in Essexe. The Old Cellar is southeast of Colcestre.
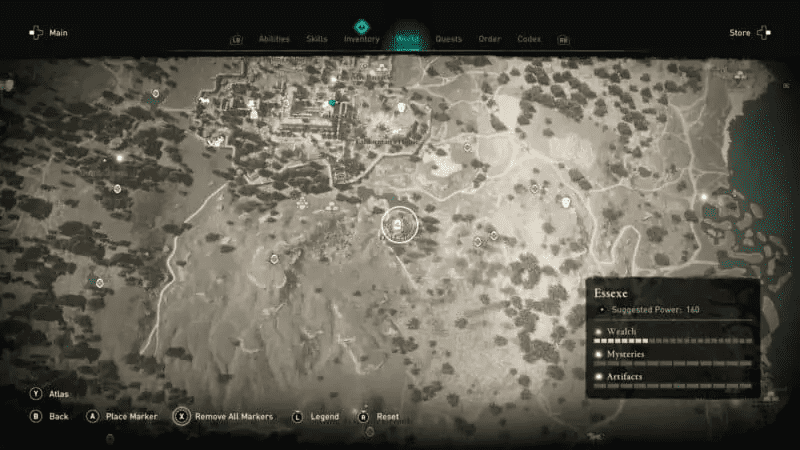
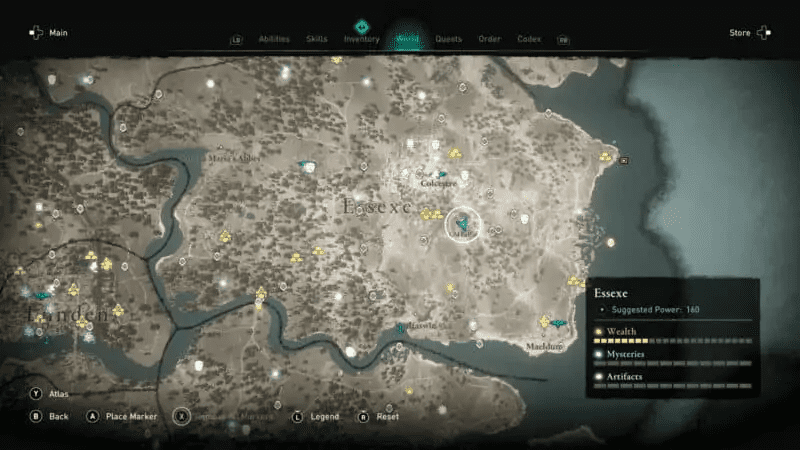
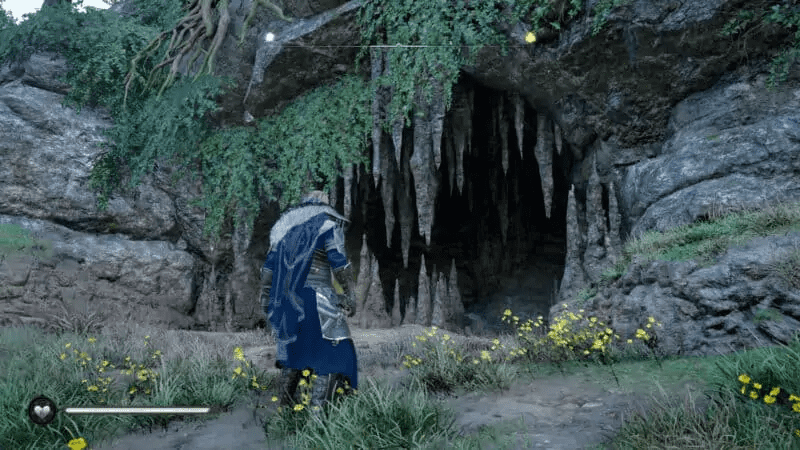
Enter the cave and continue to parkour your way through the caver. It is a linear path without any left or right branches. There are no intersections, so it’ll be easy to get to the end.
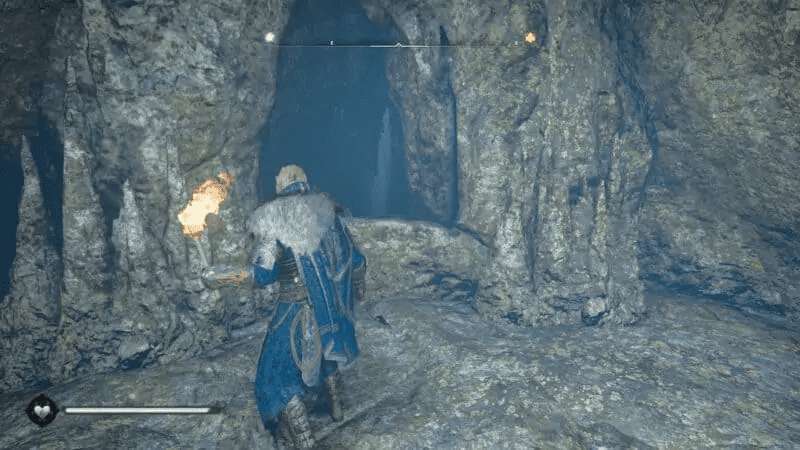
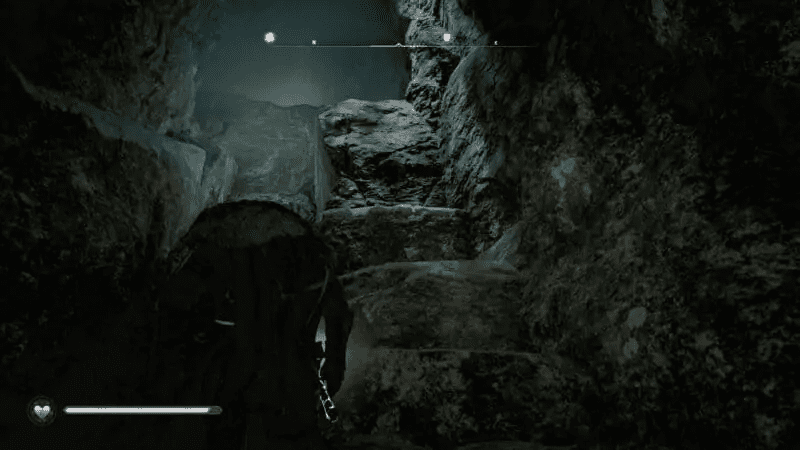
You will also find a lot of iron ores on your way to the Old Cellar.
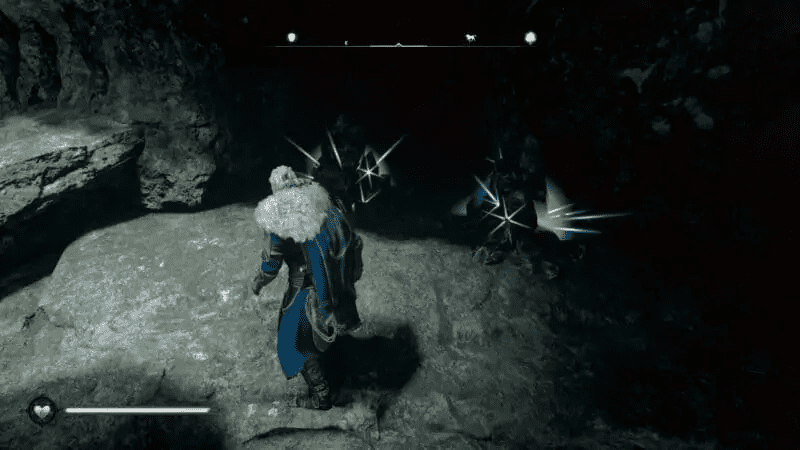
Keep moving forward, and you will find a ledge to your right to continue ahead. Go through the ledge and go through a narrow gap in the wall ahead of you.
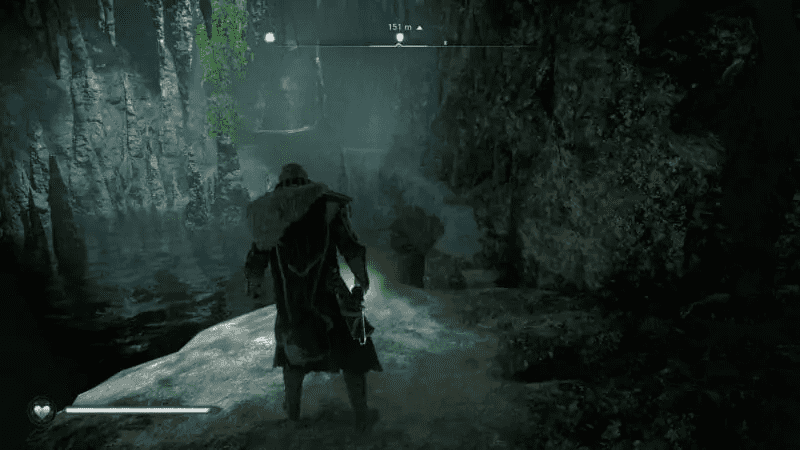
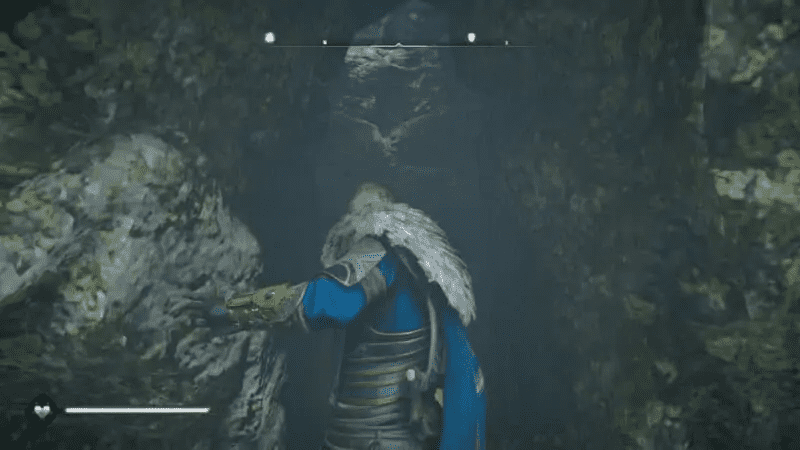
Then you will come across a small hole at the bottom of a wall. Slide through it, and you will reach the Old Cellar.
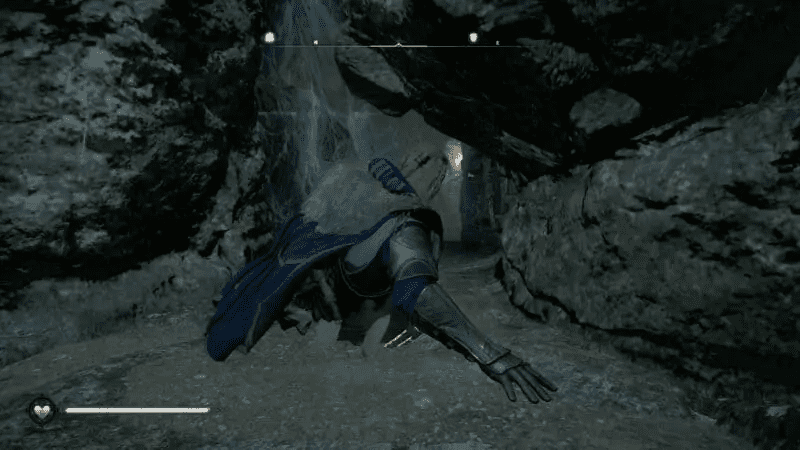
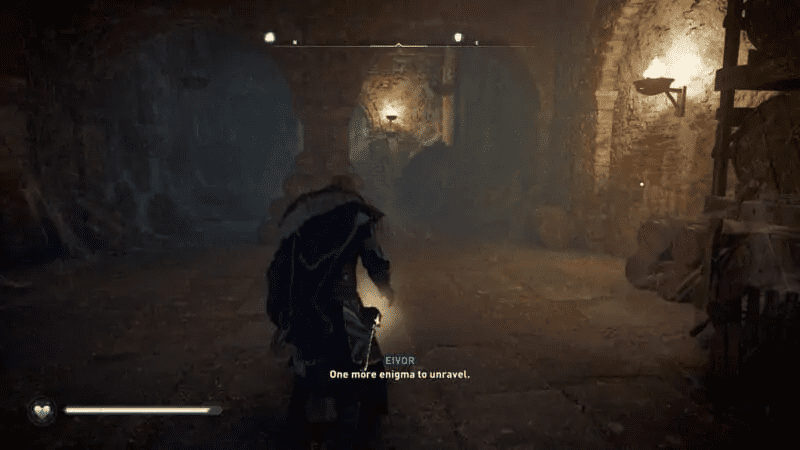
Continue ahead and climb up the stairs to reach a wine cellar with a lot of wine stored in huge barrels. The tablet will be in the middle of the room underground. But, you won’t be able to reach it just yet.
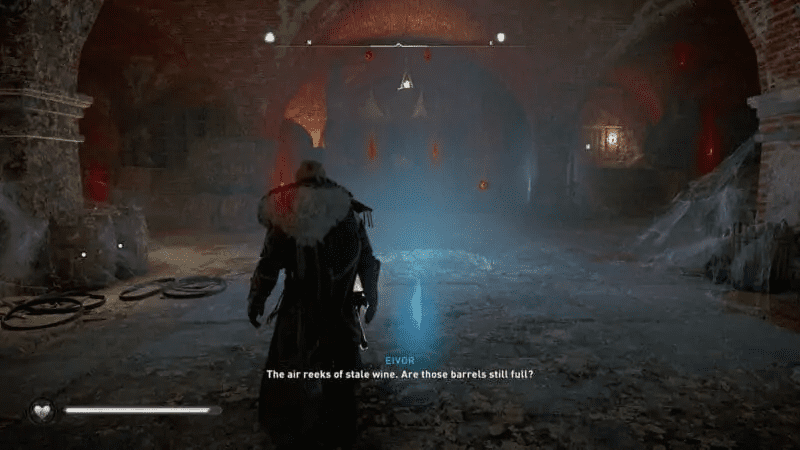
Use your eagle vision to highlight the barrels and their weak points in red color. You need to shoot 8-9 barrels in their weak spot to leak the wine.
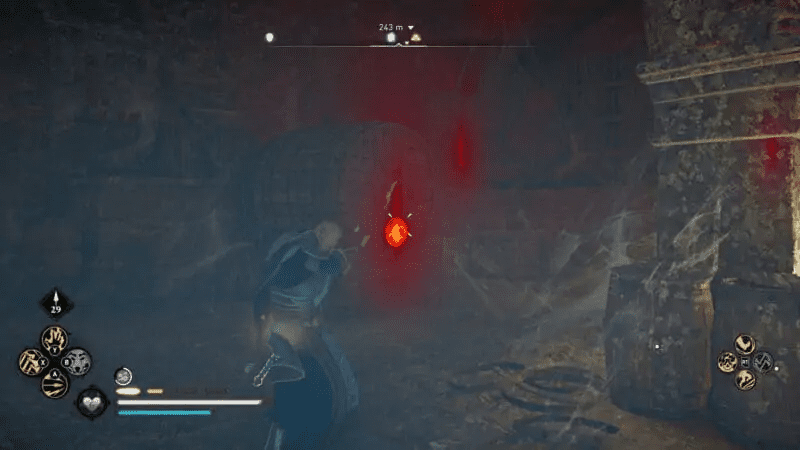
Keep shooting until Eivor says that “The wine has filled the shaft, bearing my prize with it. I should be able to reach it now.”
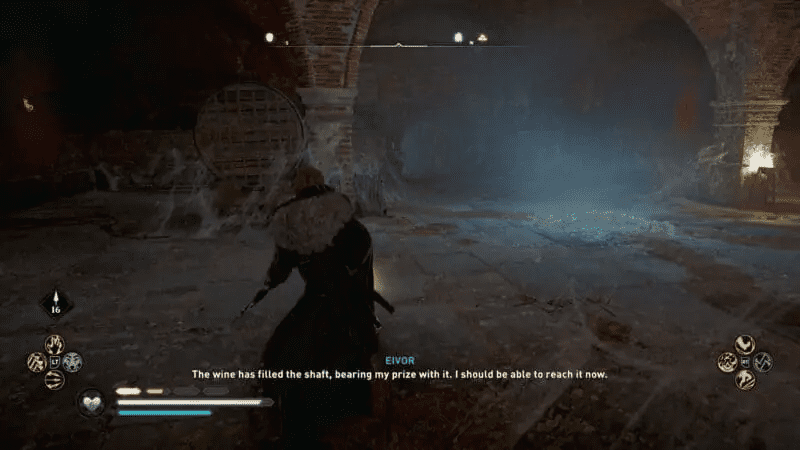
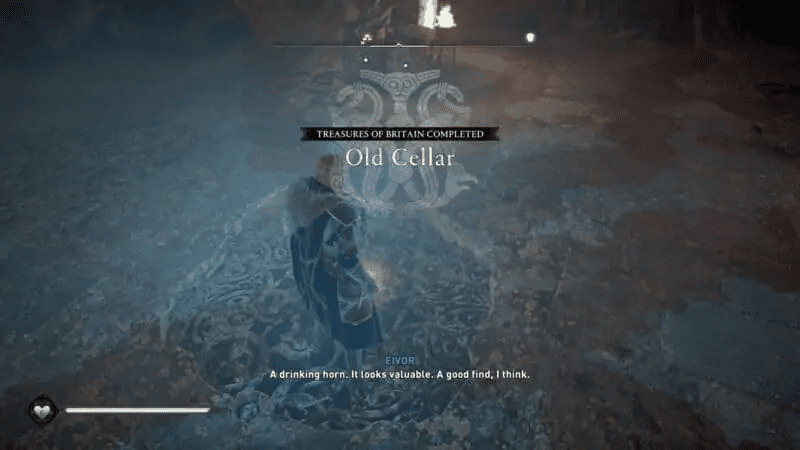
Go back to the middle of the room, and you will notice that his time, you will be able to pick up the Mysterious Horn Tablet.
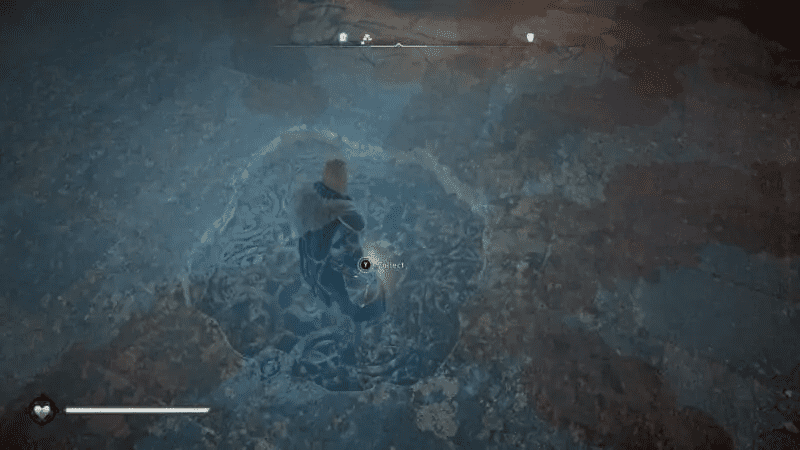
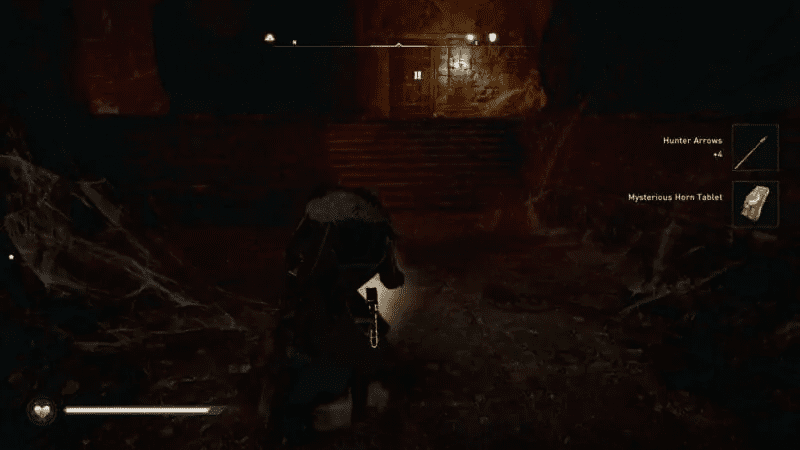
Once you’ve collected the tablet, you will proceed towards the barred door ahead of you and exit the Old Cellar. You can either shoot the lock or melee it to open the door.
Snotinghamscire
You can find only one mysterious tablet in Snotinghamscire called the Mysterious Whetstone Tablet.
Deoraby Spar Cavern – Mysterious Whetstone Tablet
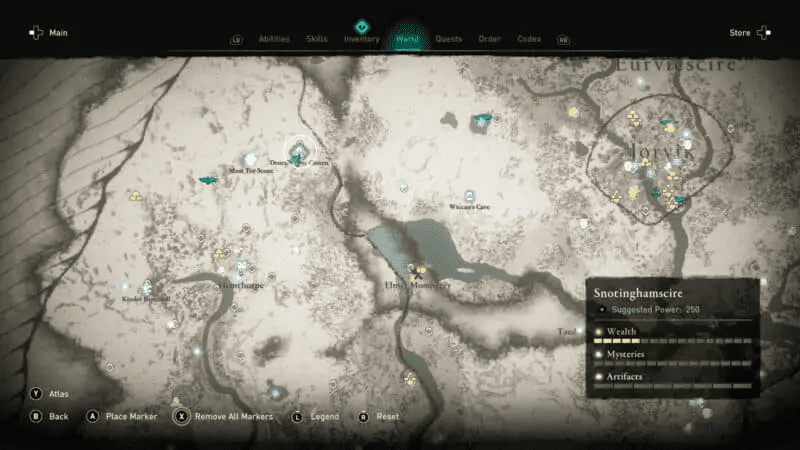
The Mysterious Whetstone Tablet is found inside the Deoraby Spar Cavern located along the northernmost border of Snotinghamscire and Eurviscire. The Cavern is slightly northeast of Hemthorpe.
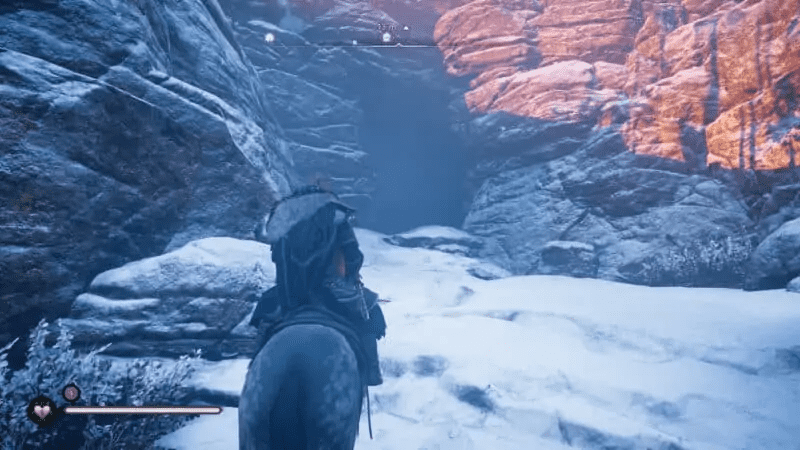
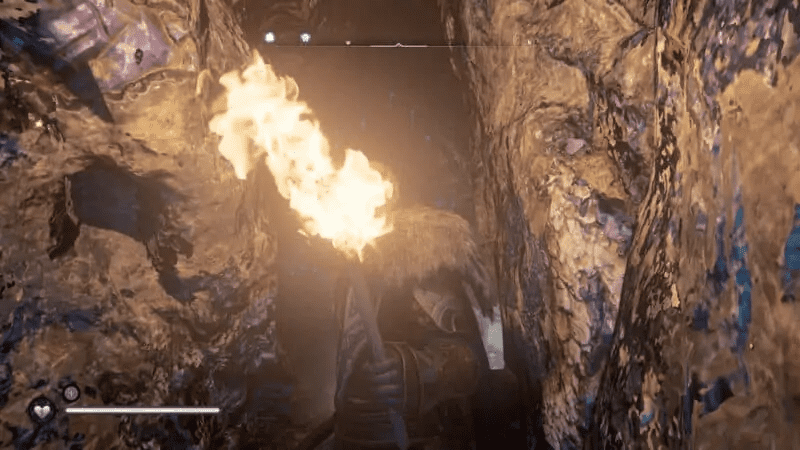
When you enter the cave for the first time, you will notice a blueish tint all over the rocks, and it might look like it is a dead end.
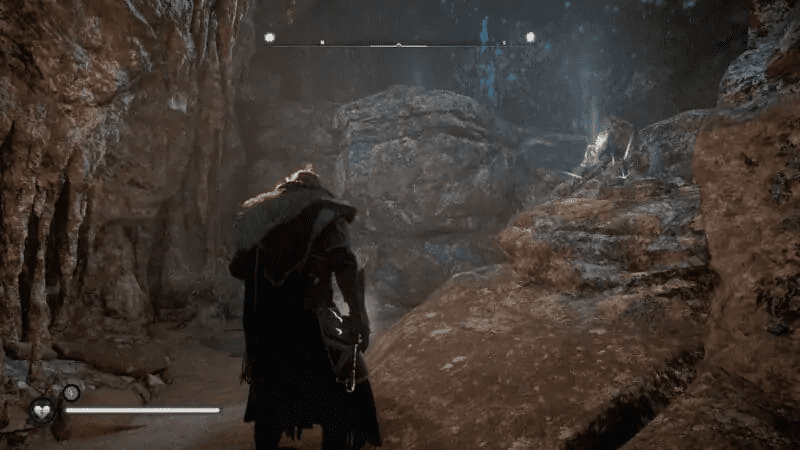
Climb up on the rock in front of you and turn around to find a ledge that you can climb to continue forward. It’s a bit tricky to find if you don’t know where to look for it.
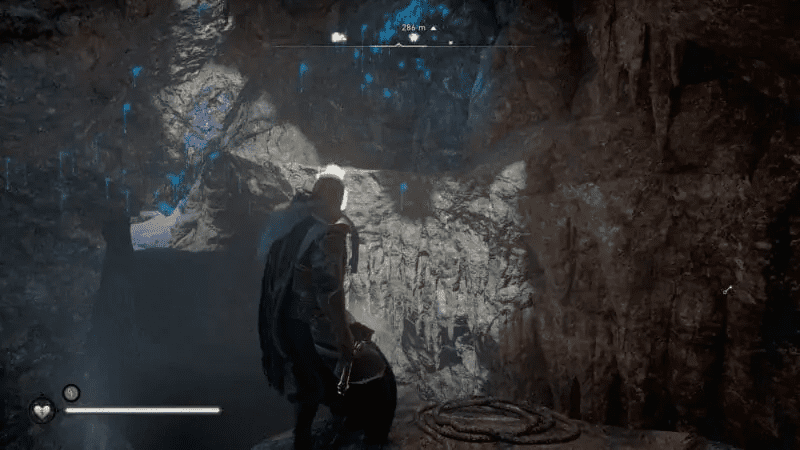
There will be a narrow gap in the wall. Squeeze through it, and you will enter a room with some loot and a key to a door in the same room.
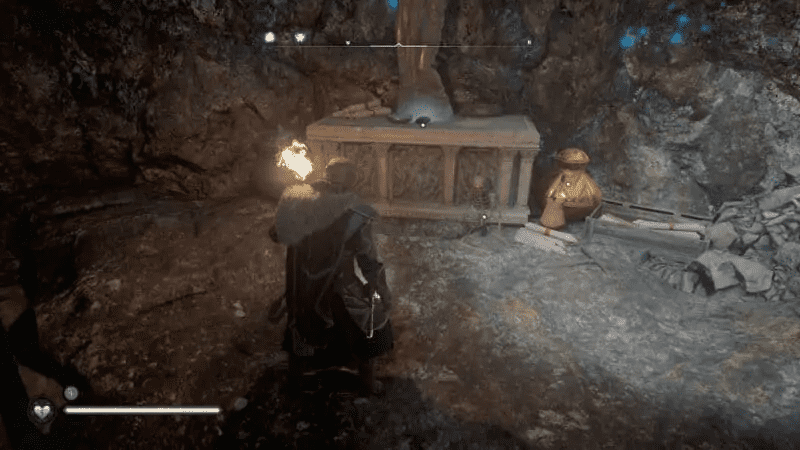
Turn right, and you will find a locked door.
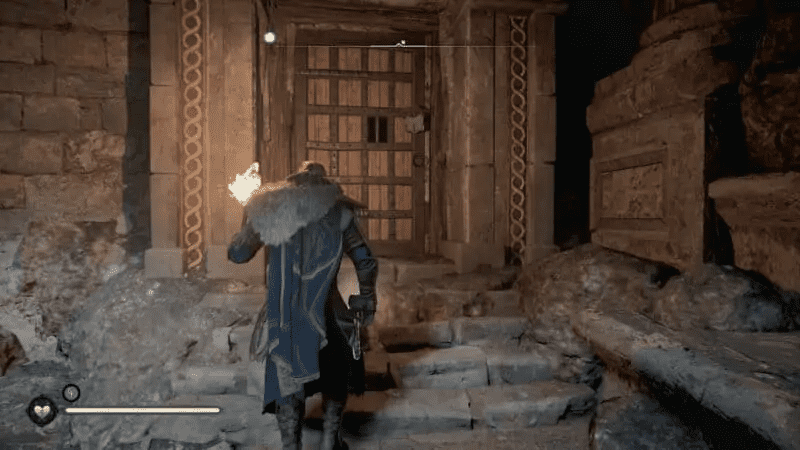
Use the key that you collected to unlock it and go through it.
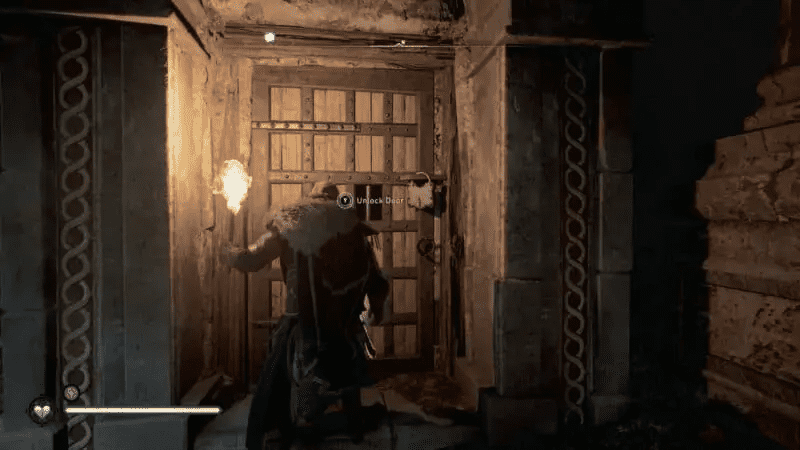
Once through the door, you will reach an open area with a huge hole in the middle of the room.
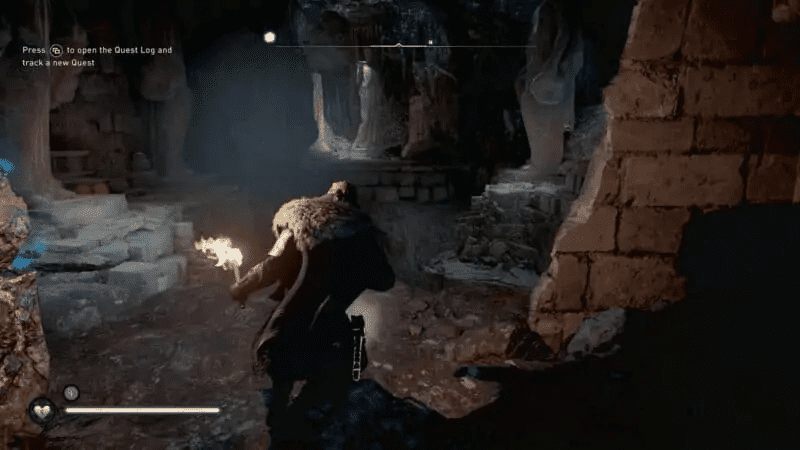
Go left and climb up the statue. Go across to the other side and jump down.
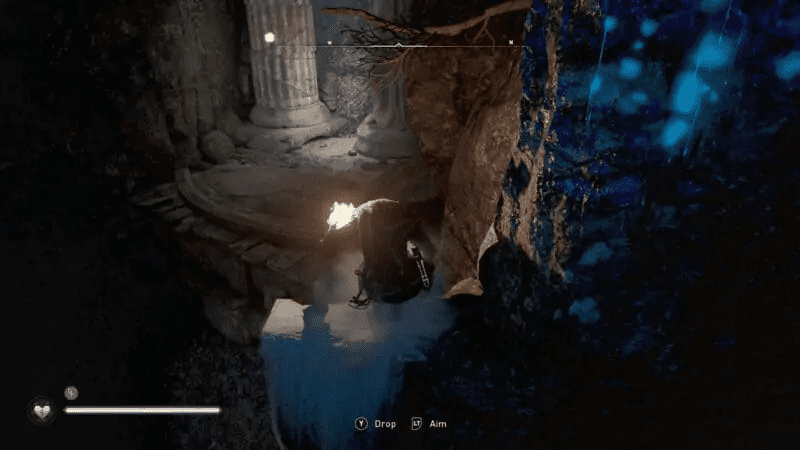
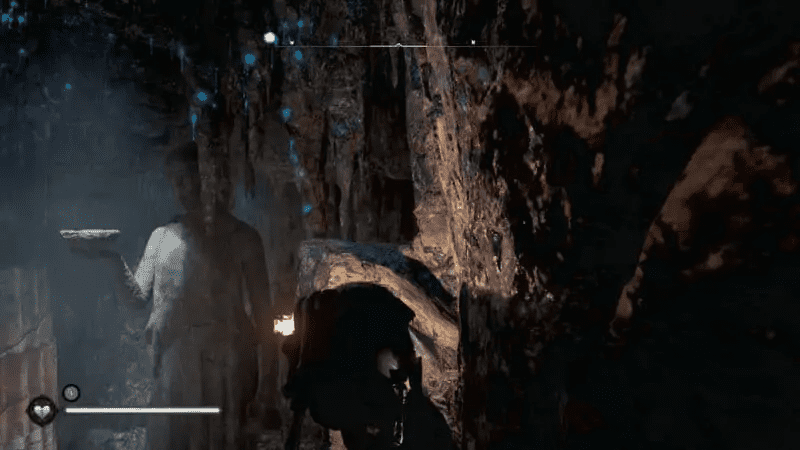
Jump on the statue ahead of you and jump across to the loot chest.
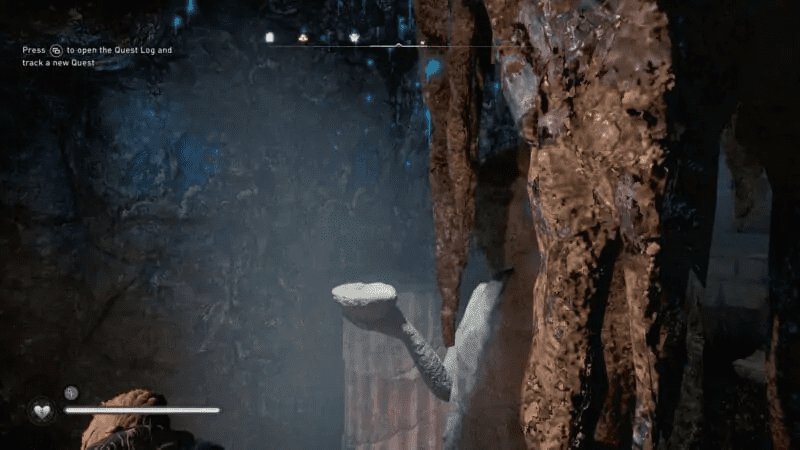
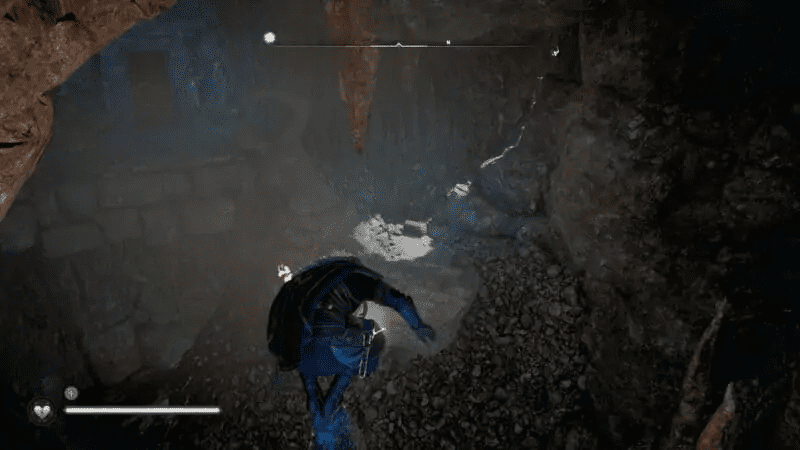
Once on the ground, continue parkouring through the fallen statue and across. You will come across another doorway with a small set of stairs leading inside a room.
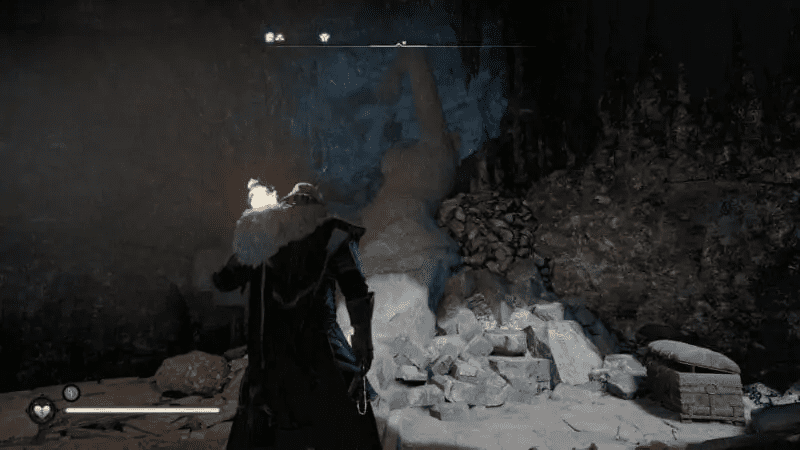
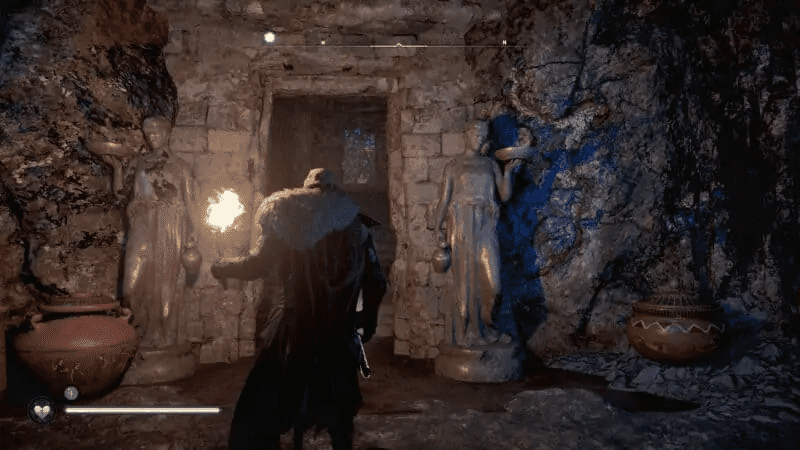
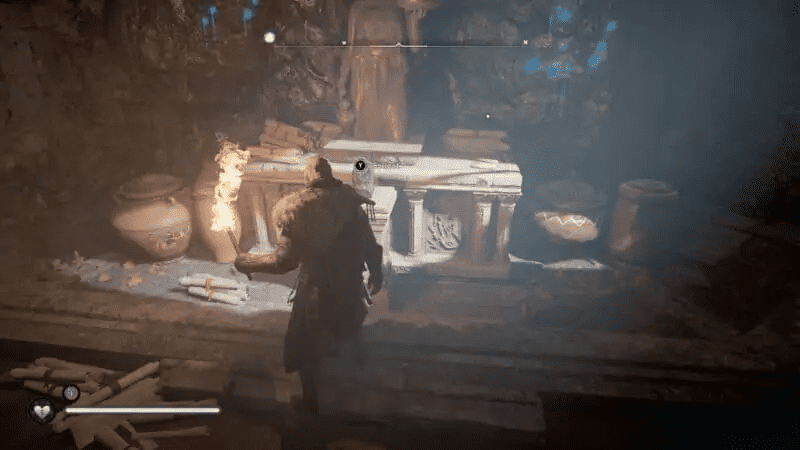
Head inside the room, and you will find a Mysterious Whetstone Tablet on a pedestal at the end of the room.
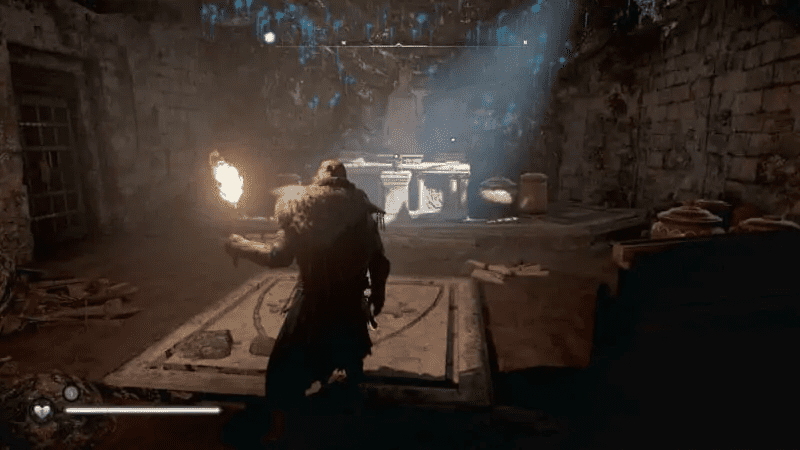
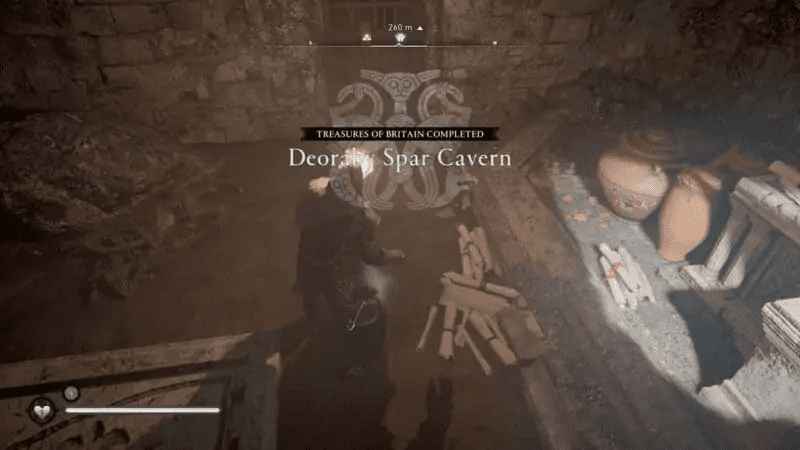
Collect the tablet, and you will get a notification that you’ve successfully collected the ‘Treasure of Britain.’
Eurviscire
You can find only one tablet in Eurviscire called the Mysterious Crock and Dish Tablet.
Wiccan’s Cave – Mysterious Crock and Dish Tablet
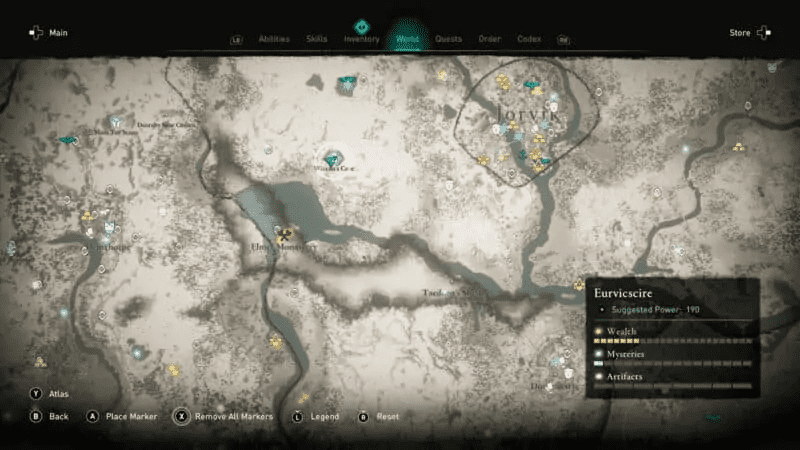
The Mysterious Crock and Dish Tablet is found inside Wiccan’s Cave, located west of Jorvik in Eurviscire. The cave is directly north of Elmet Monastery.
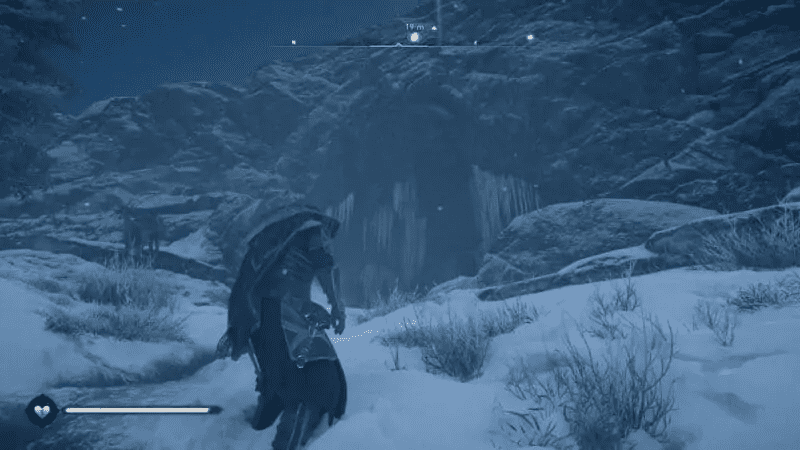
When you enter the cave, there will be a ridge on the wall to your right you can climb up and parkour across the right wall.
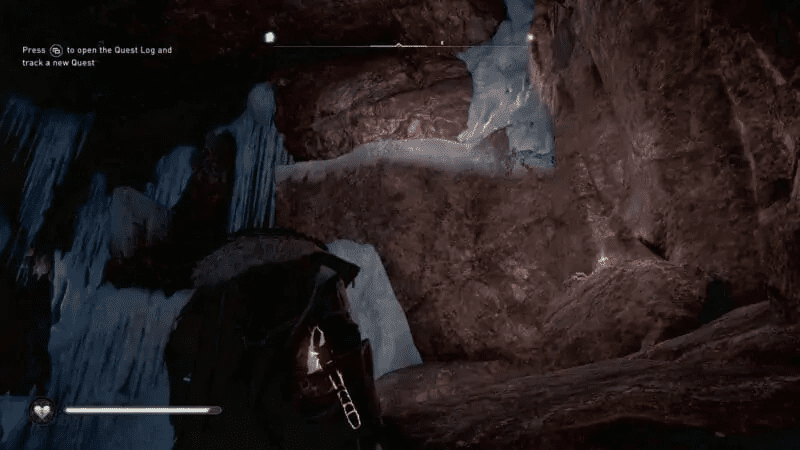
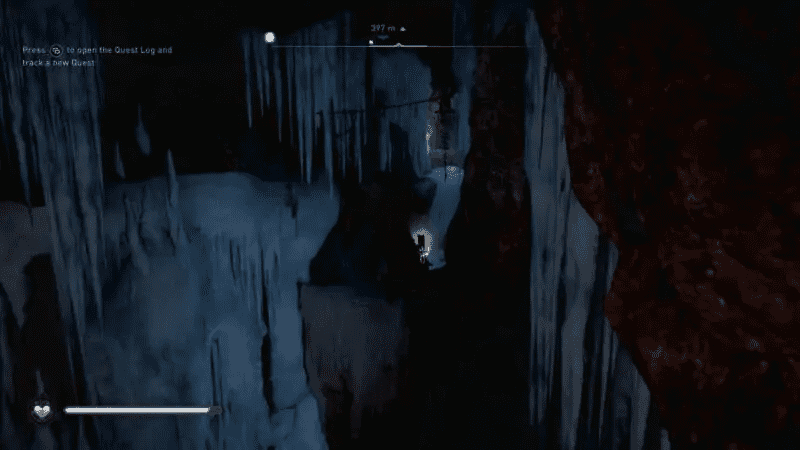
Keep moving forward in a straight path until you come across a room with a big tree in the middle of the room.
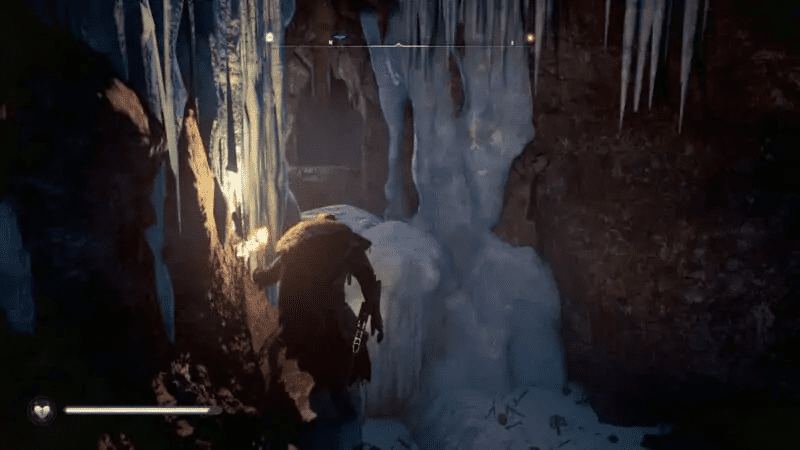
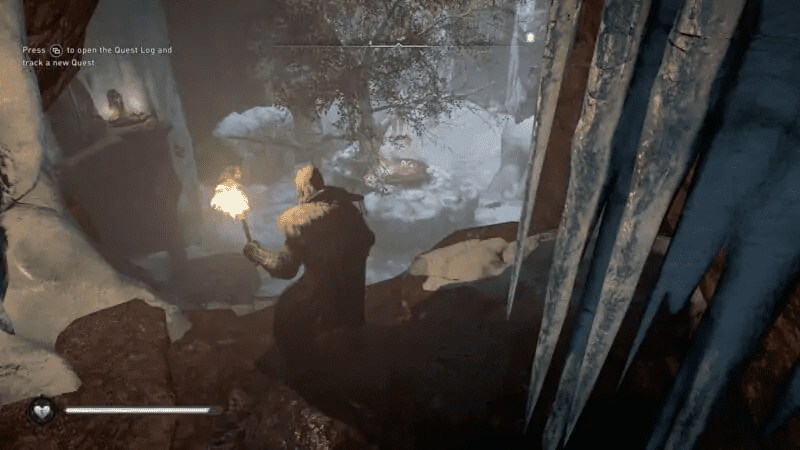
Jump down, and climb the tree branches to move forward into the cave. There will be a path in front of you that you can jump on from the tree branch.
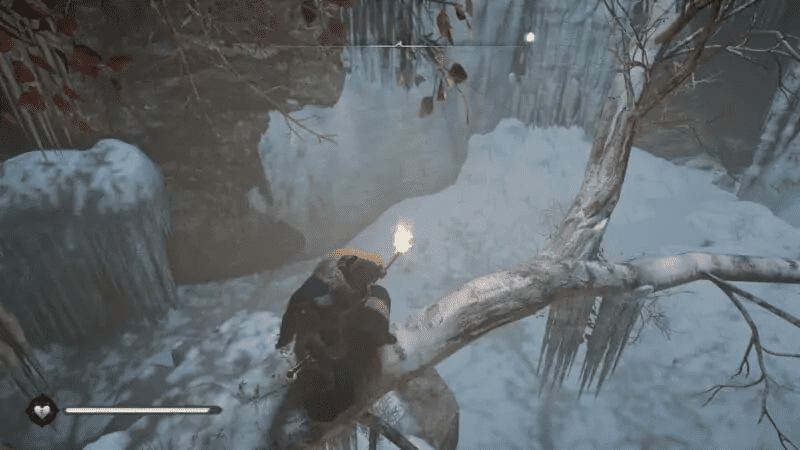
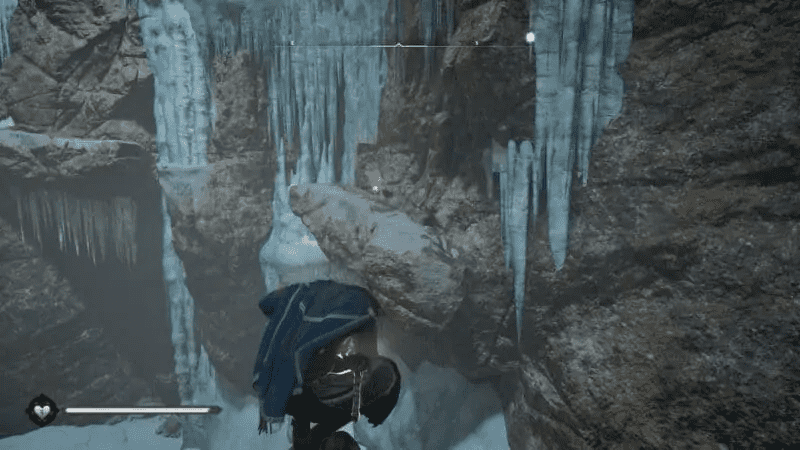
Continue following the path ahead until you reach a narrow gap in the wall. Squeeze through the gap to reach a “ritual” room.
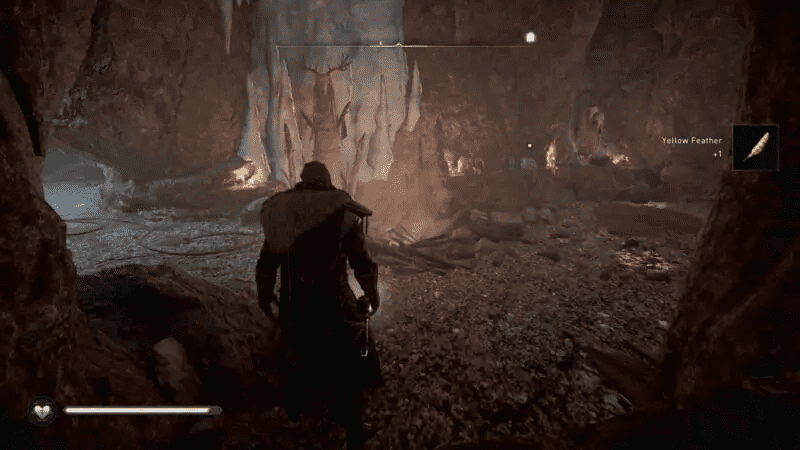
At this point, any normal person would continue moving forward, taking the obvious path to the left. But, it is wrong. Go right, and you will notice an ice wall. Destroy it to reveal a secret passage. You can destroy it using your bow and arrow.
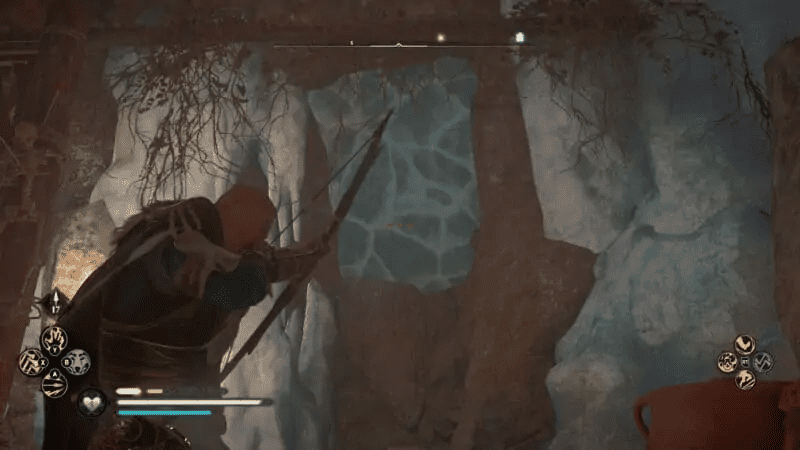
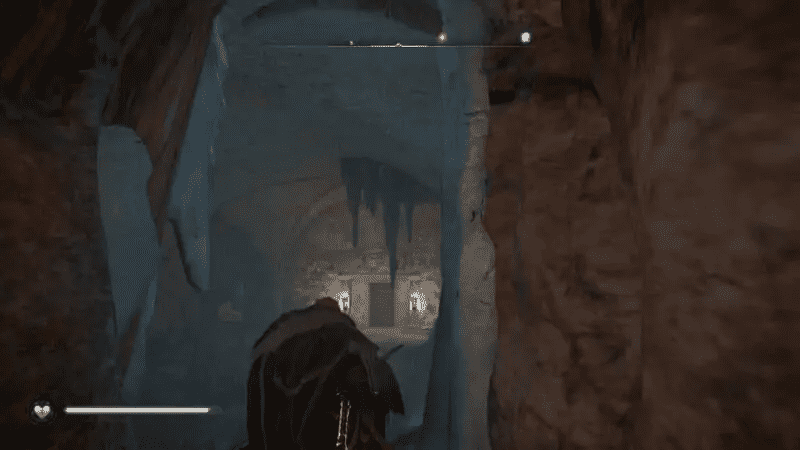
You will find a door in the middle and two pathways in this secret area – one to the right and the other to the left.
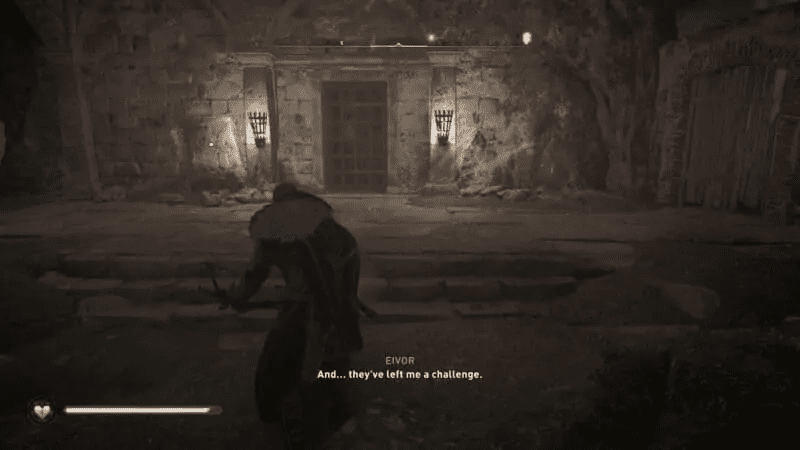
Go right through the wooden door, and you will find a number of Roosters.
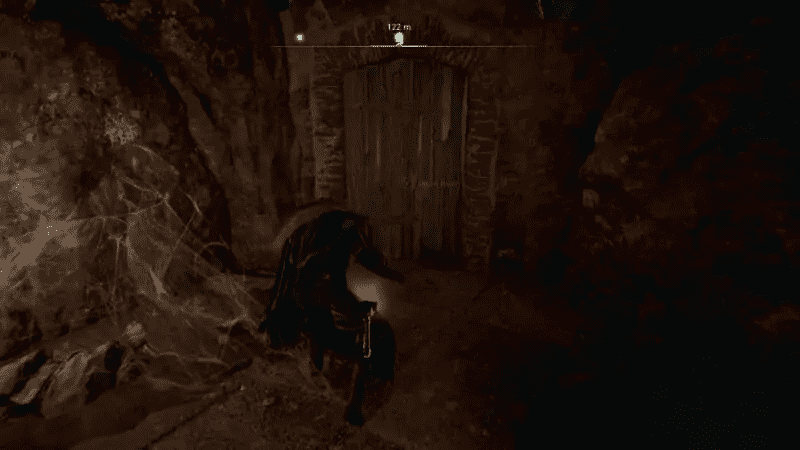
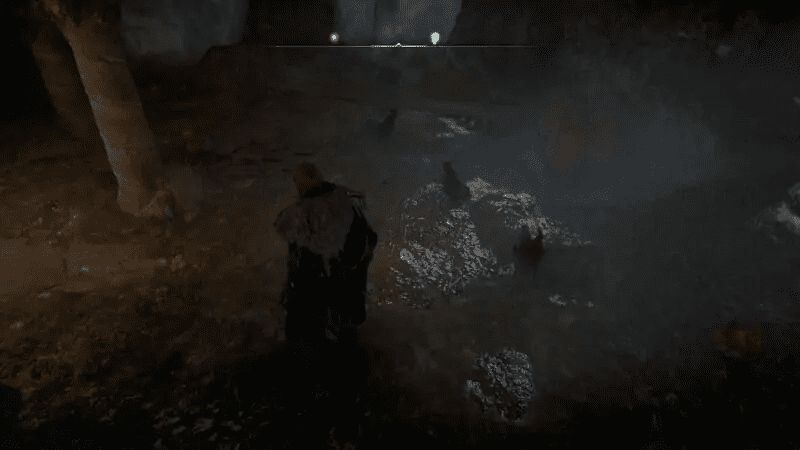
There will be some wooden crates and a wooden board blocking up a view of the room to your left, which is accessed via the middle door in the central room.
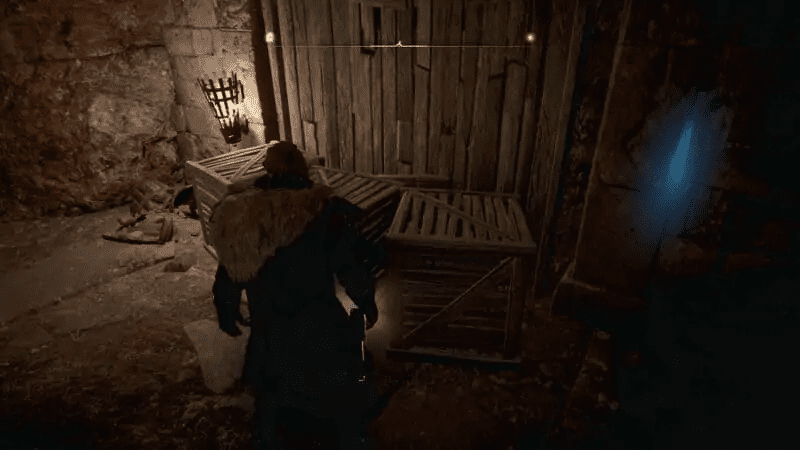
Break the crates and the board, but be careful as it will aggravate the Roosters, and they all will attack you as a group.
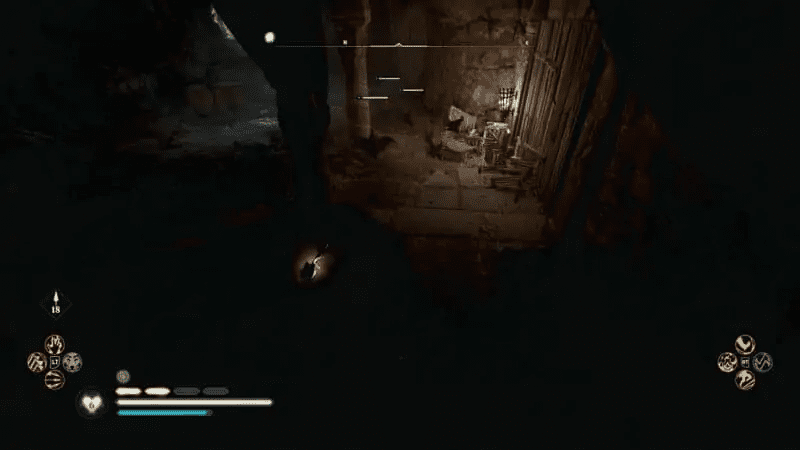
There will be a metal railing beyond the wooden board, but you can shoot the oil jar across the room to destroy the obstruction, accessible through the room to the left.
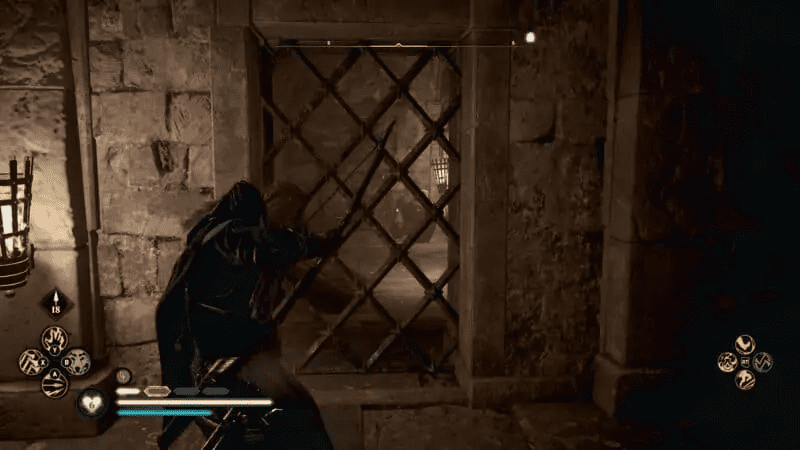
Go back to the central room, and go left. You will find two boars here. Kill them.
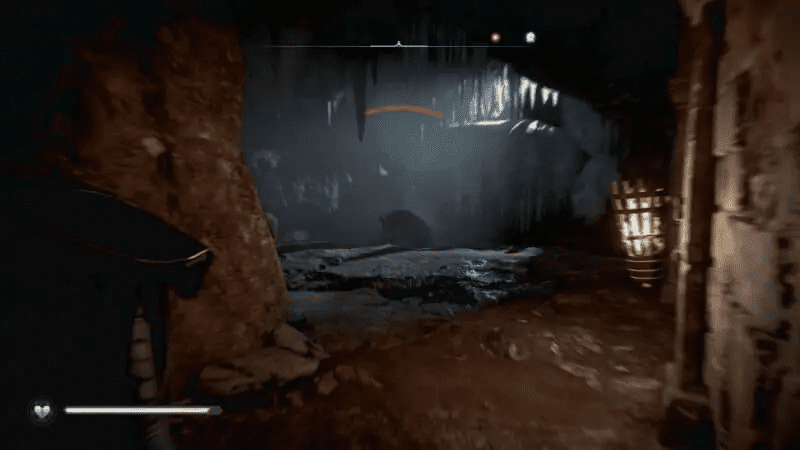
Look to your right, and you will find the railing, which previously had an obstruction blocking the view, destroyed. You will now have a better angle of the barred door. Use your bow and arrow to shoot open the door.
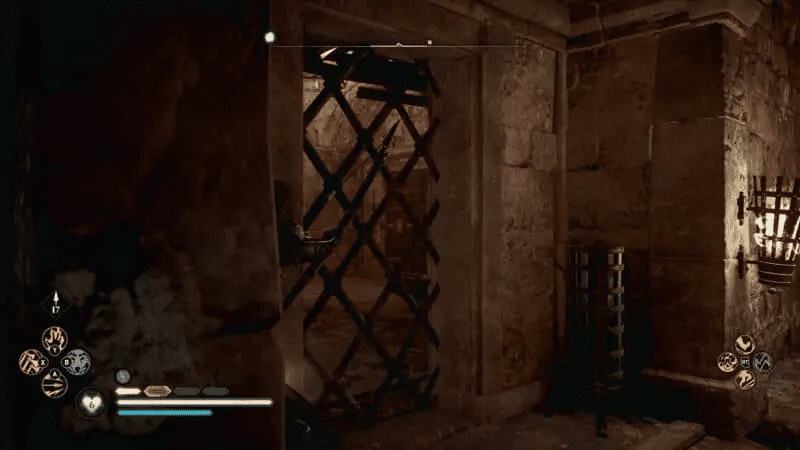
Now, you may return to the central room and access the middle door. It will be unlocked at this point.
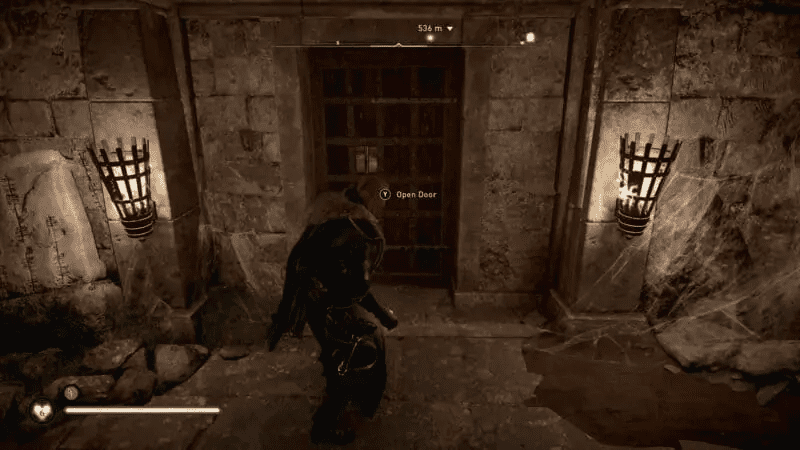
Go inside the room, and you will find the tablet on the floor.
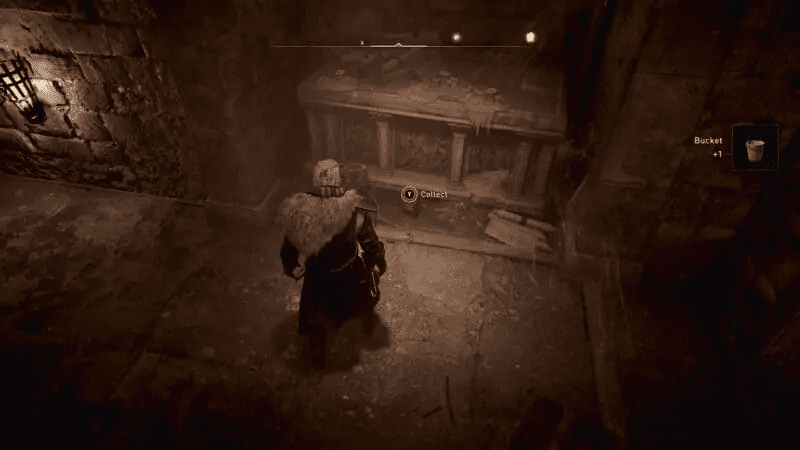
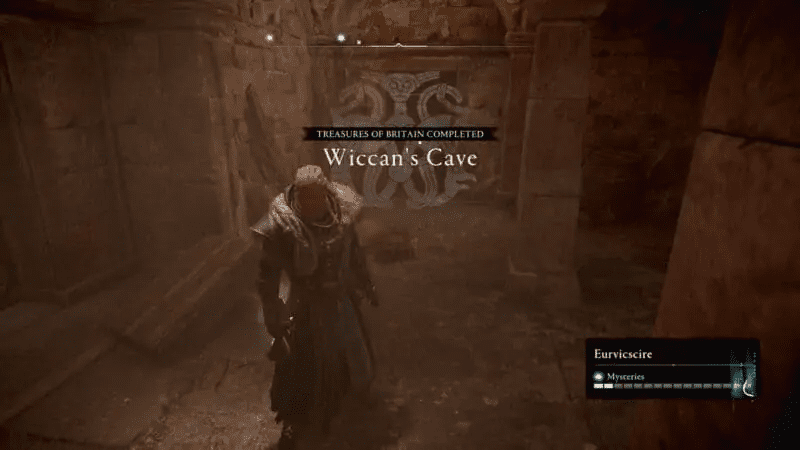
Now, you may go left from the “ritual” room to exit the cavern.
Hamtunscire
You can find two mysterious tablets in Hamtunscire – Mysterious Mantle Tablet and Mysterious Coat Tablet.
Red Lichen Cavern – Mysterious Mantle Tablet
Mysterious Mantle Tablet is obtained by exploring the Red Lichen Cavern located just east of Wincestre in the Hamtunscire region.
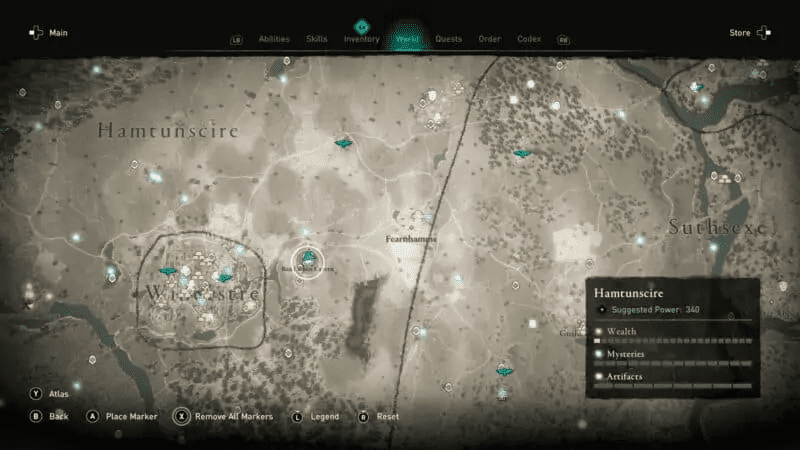
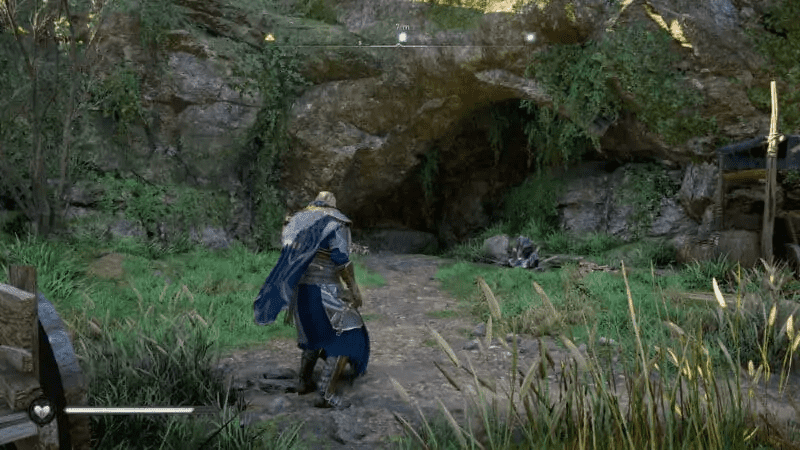
Enter the cave and continue moving forward until you come across a small hole you can slide through.
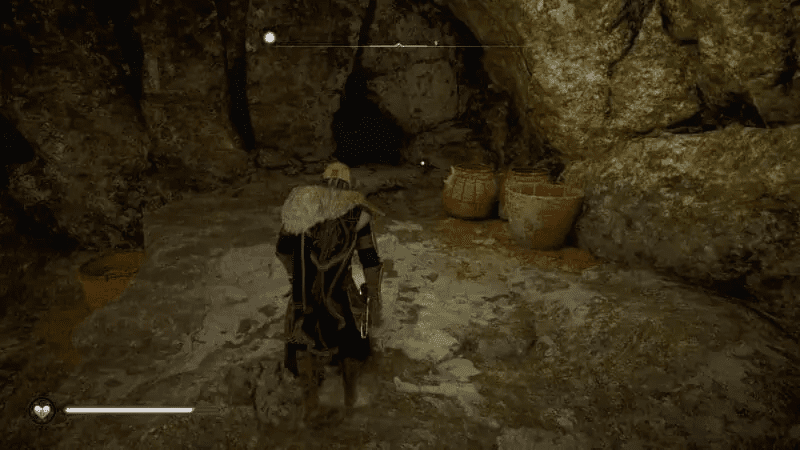
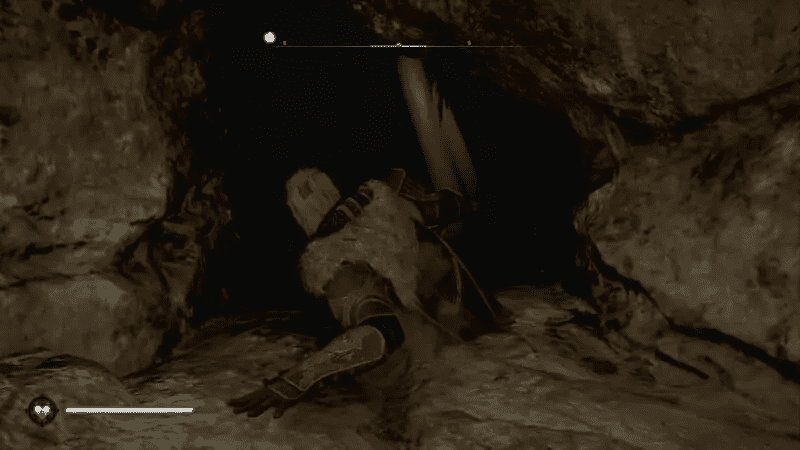
The whole pathway, like most of the caverns, is linear. Keep moving forward until you turn right and jump on the suspended wooden platform to jump across the large pit.
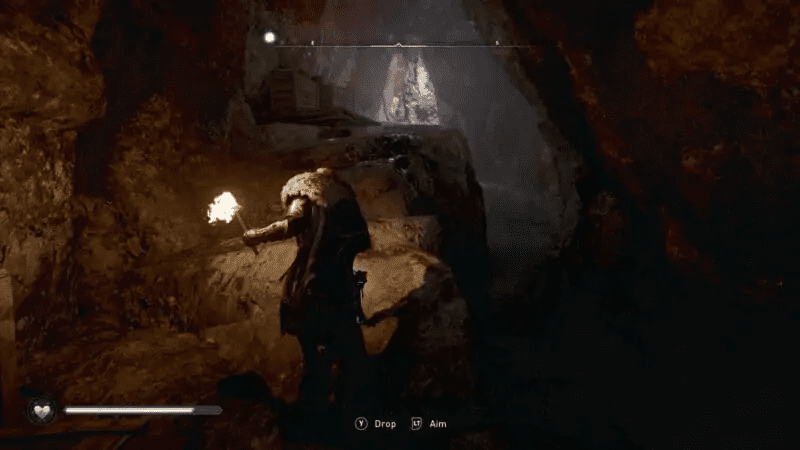
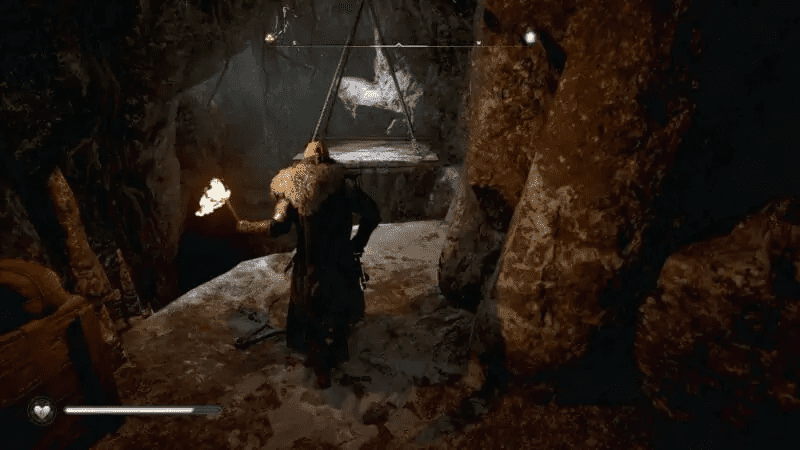
Keep parkouring across until you jump on a branch/root coming out of the rock.
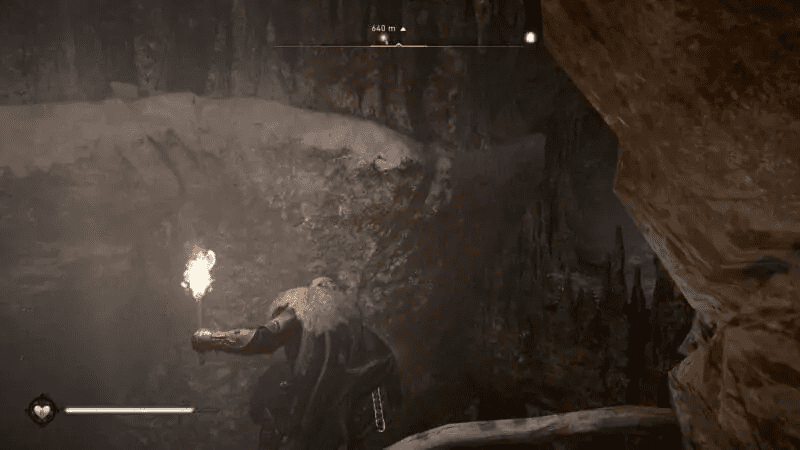
Continue to jump across on the ledge and keep moving right across the stalagmites. Once you’ve crossed the stalagmites, jump down to the tunnel ahead of you.
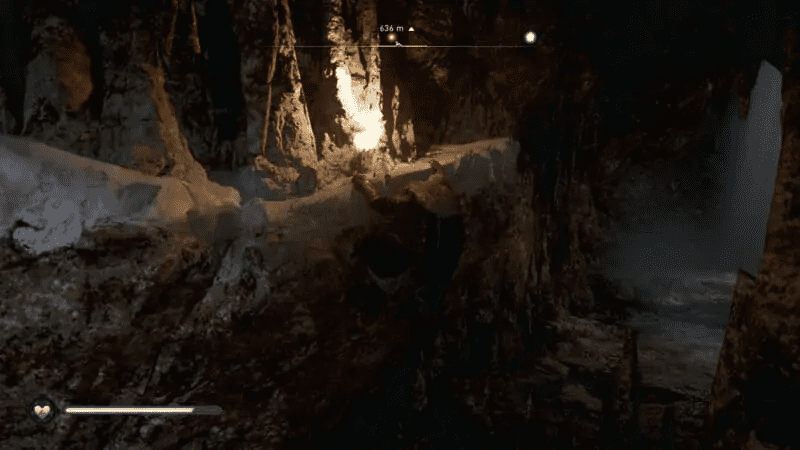
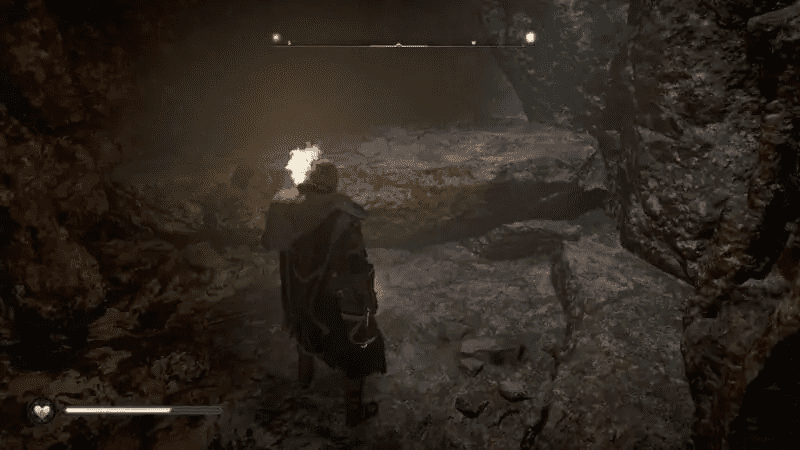
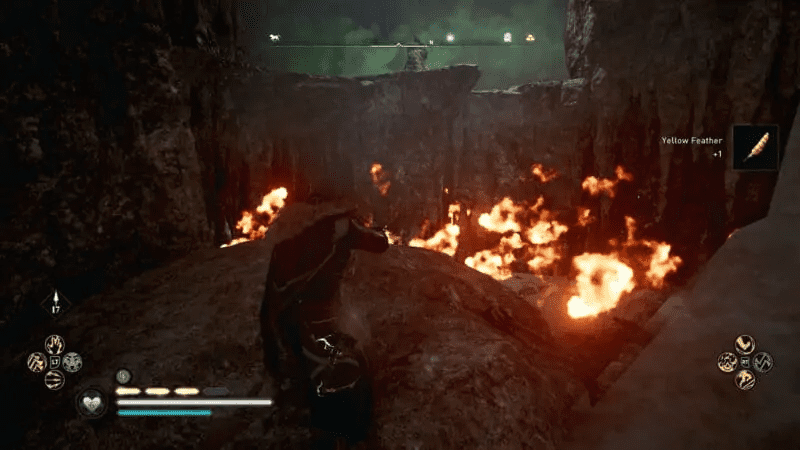
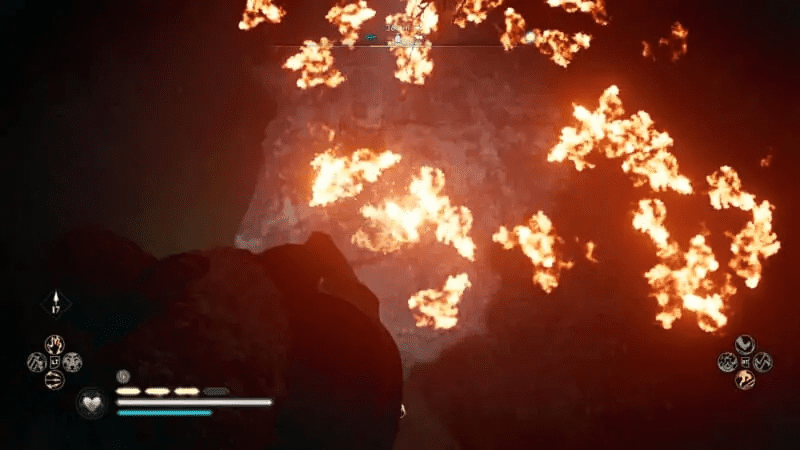
Moving forward, you will find a lot of green poisonous gas. You can get rid of the gas by throwing a torch and quickly going across the affected area as the gas regenerates shortly after.
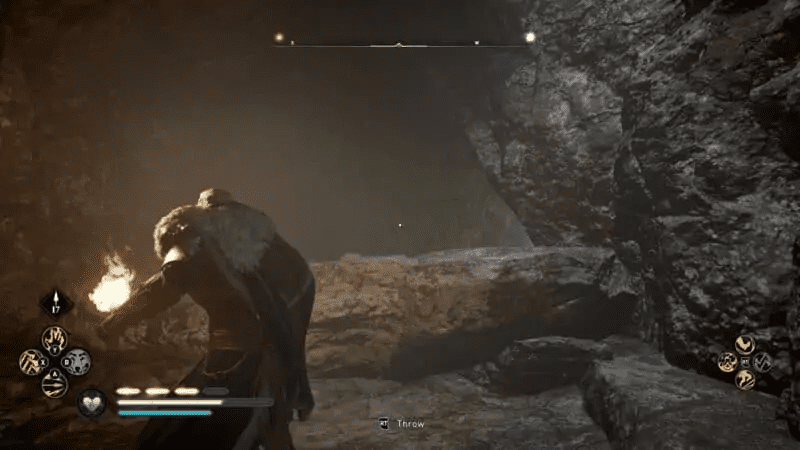
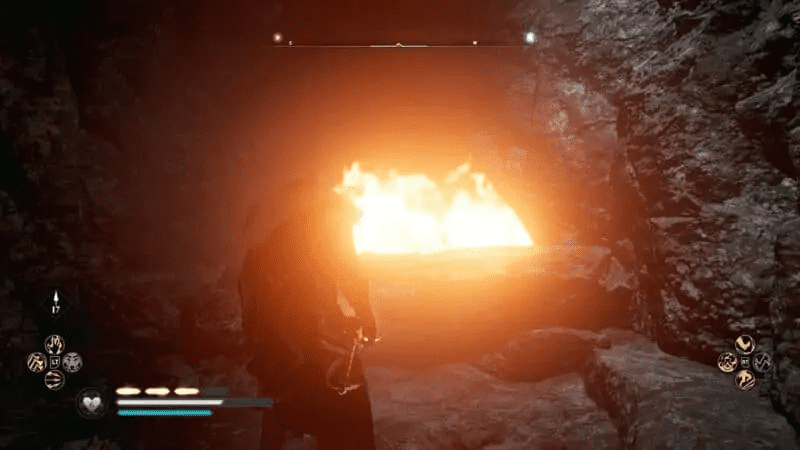
Continue going deeper into the cave, and you will come across a spiral path up to the ledge that you can grab and shimmy across. But, before jumping over to the vault, throw another torch at the poisonous gas to clear your path.
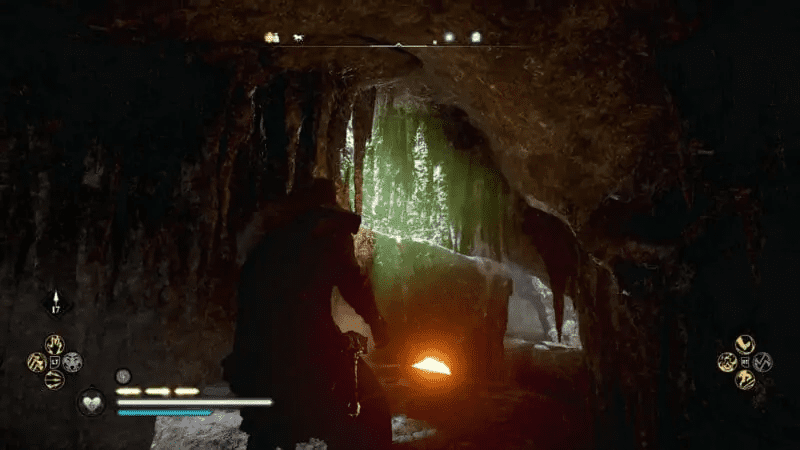
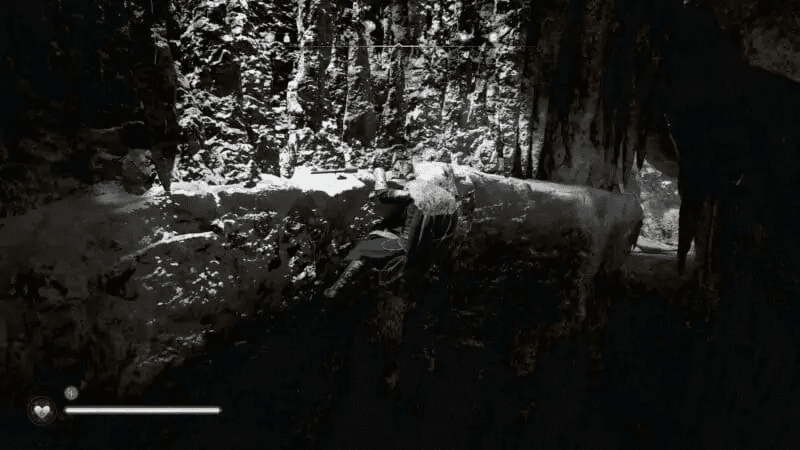
Continue moving forward by clearing the poisonous gas ahead of you until you reach another big open room filled with poisonous gas all around.
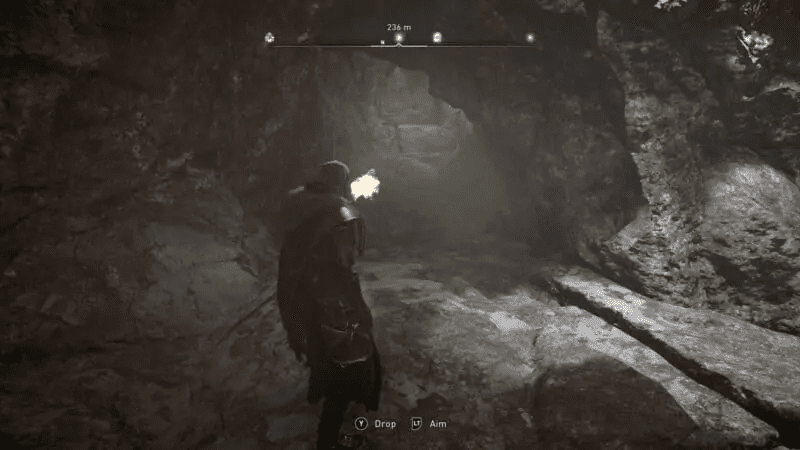
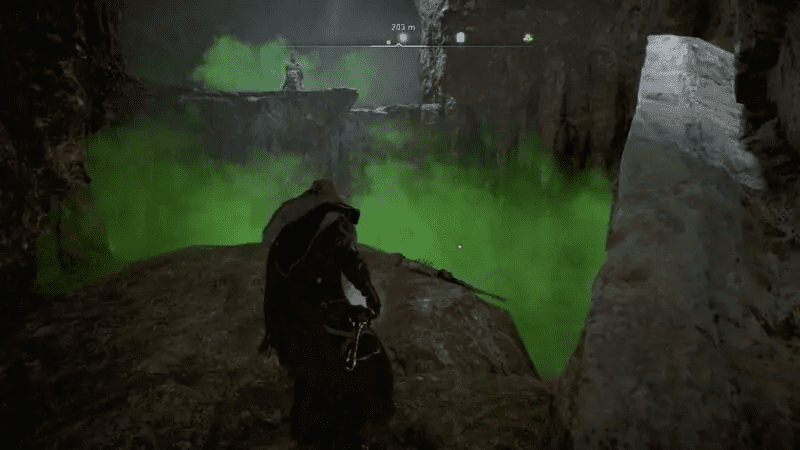
Clear the gas ahead of you by throwing a torch in it, and jump across using the ledge to your right.
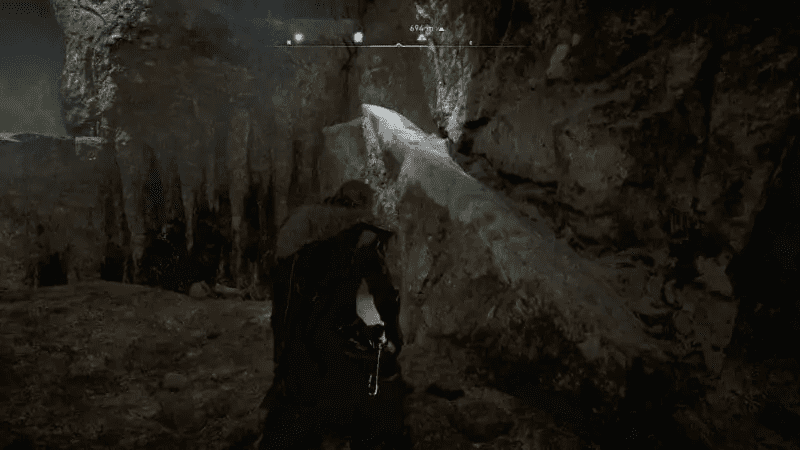
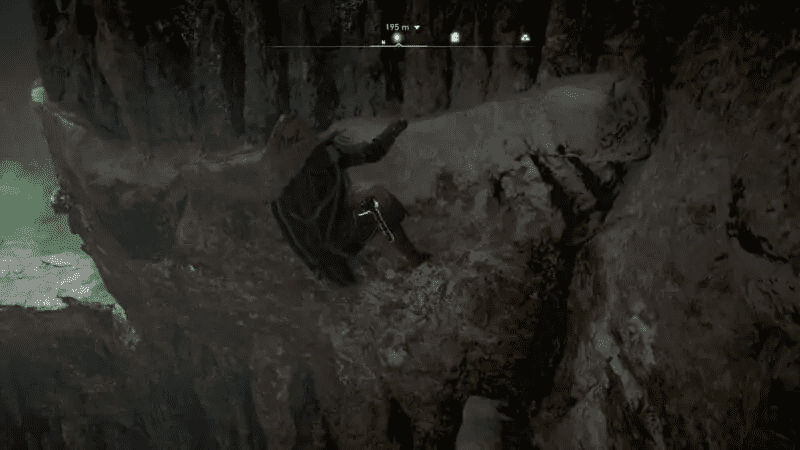
When you reach the end of the ledge, clear the gas below you by throwing another torch as the tablet is surrounded by poisonous gas.
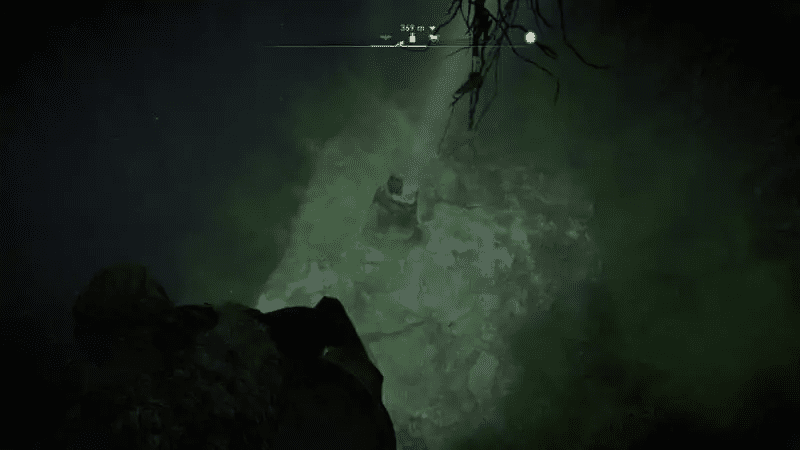
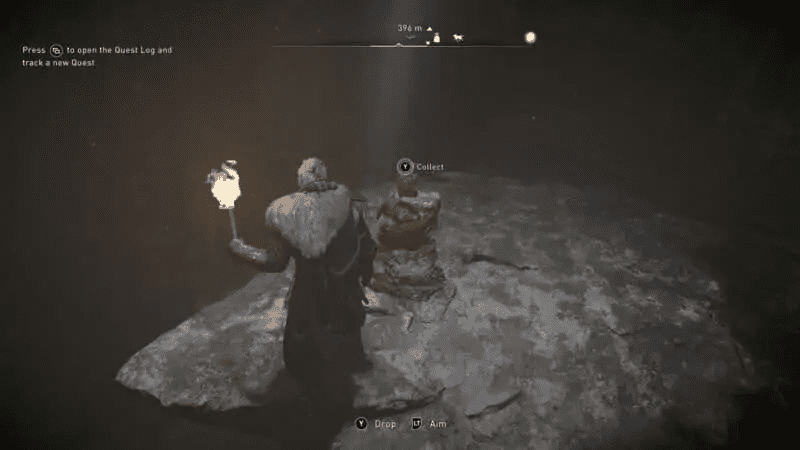
Continue moving forward to exit the cavern.
Wocig – Mysterious Coat Tablet
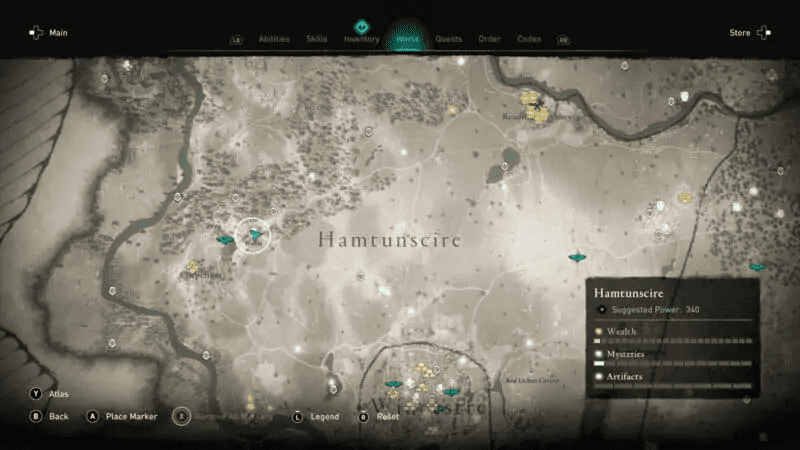
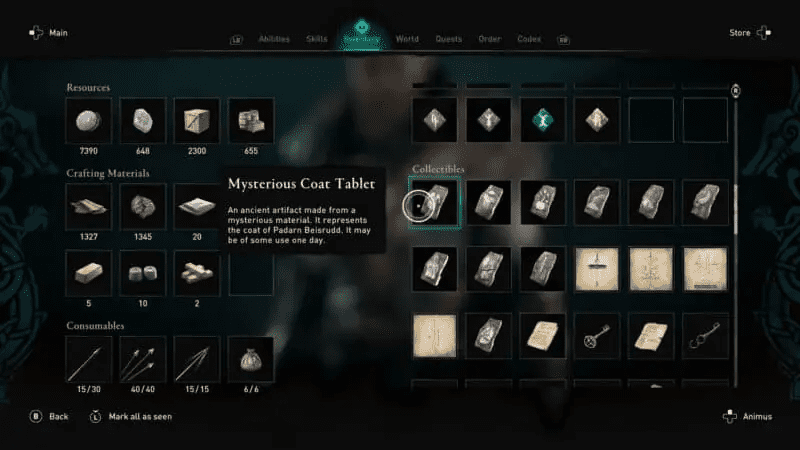
Mysterious Coat Tablet is found inside Wocig cave located near the western section of Hamtunscire, slightly northwest of Chepeham.
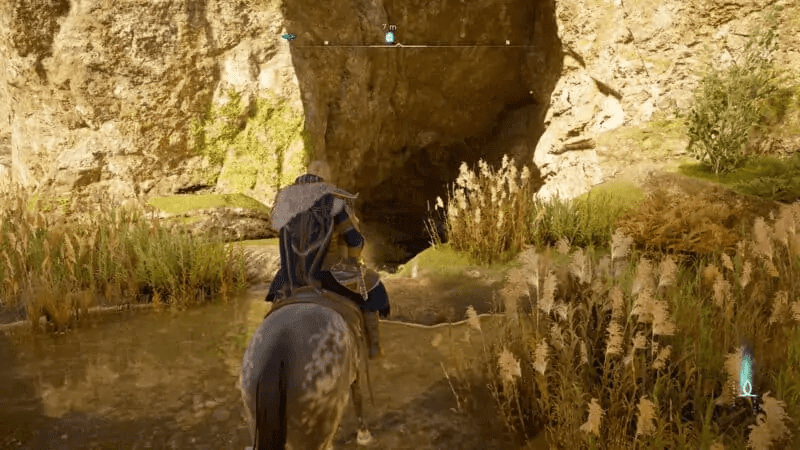
Continue inside the cave, and you will find a small dock with a boat docked on it.
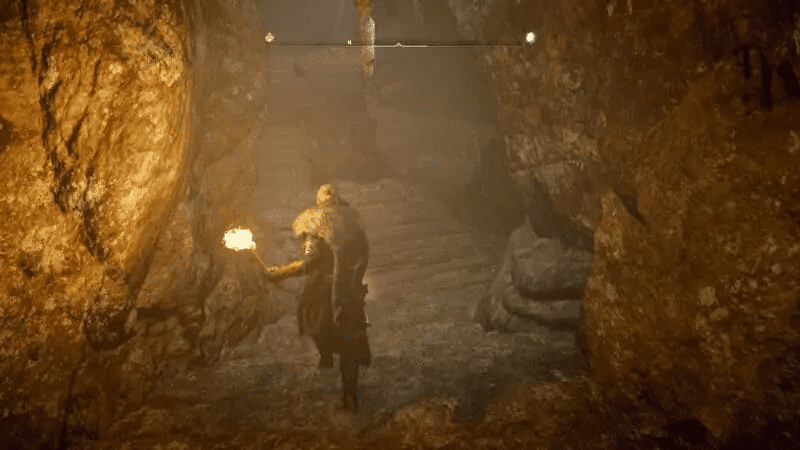
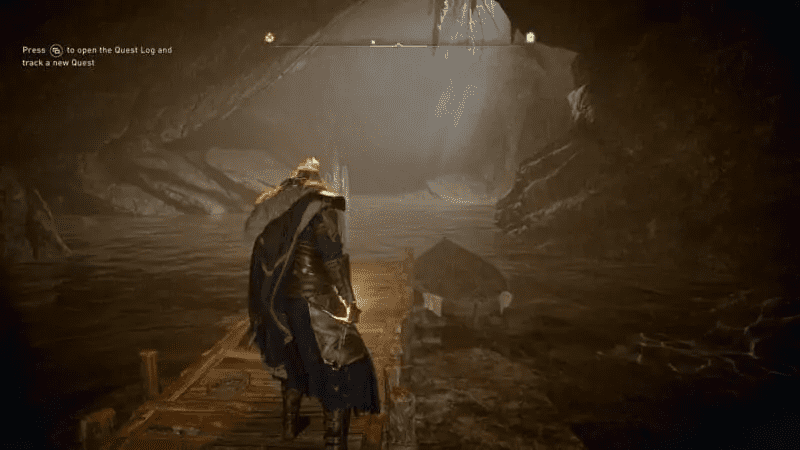
Hop on the boat and drive the boat, following the path to your left. Continue to drive forward until you hit a dead-end.
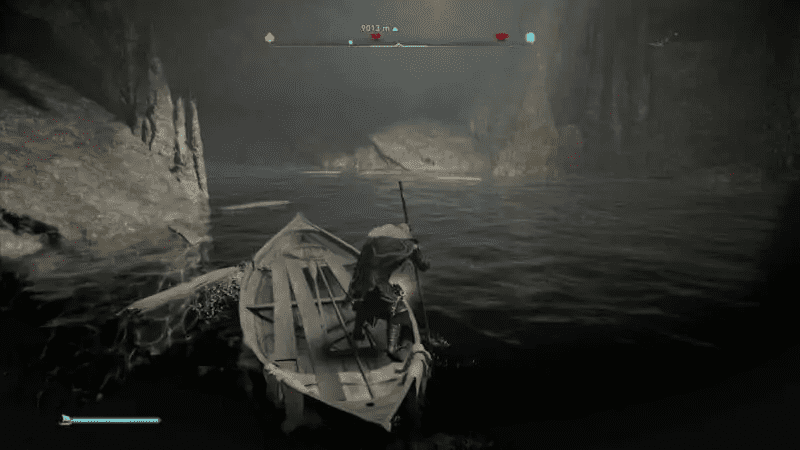
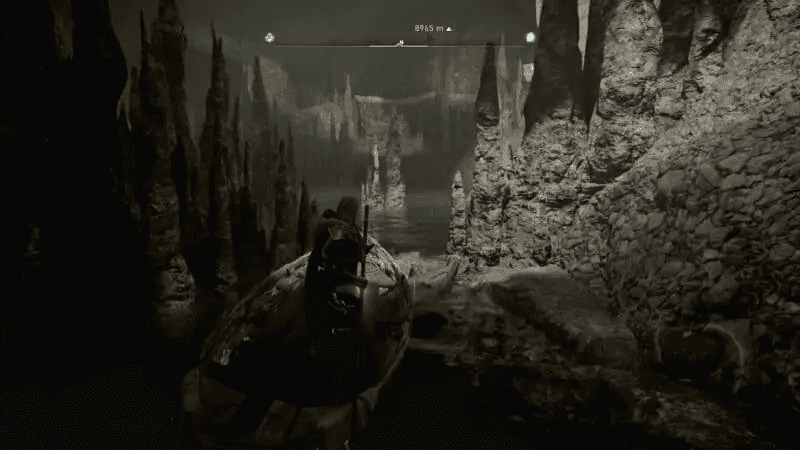
Leave the boat, and look to your right to find some shackles/handles on the wall. Climb up using the handles and continue to the next area.
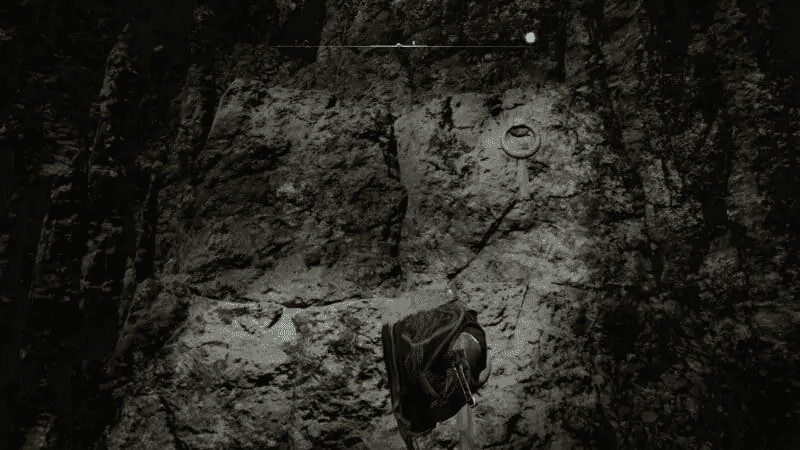
Use the ledges and ridges to continue moving up in a clockwise direction until you reach the top of the cavern.
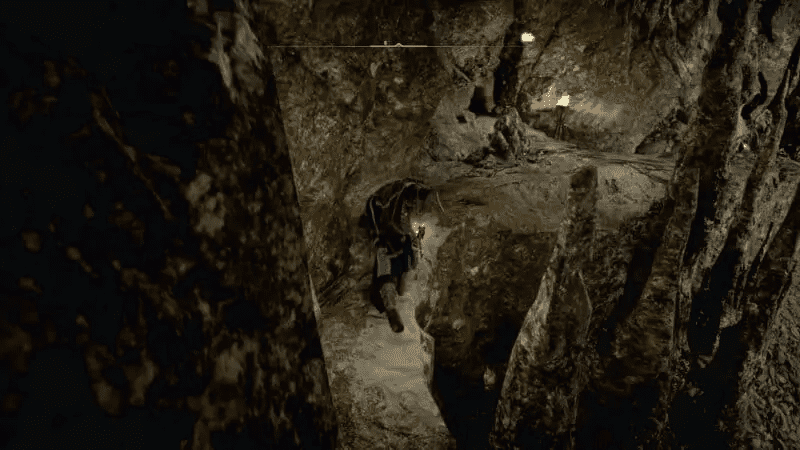
Once you’re at the top, you will be at the entrance of a pitch dark room filled with spilled oil all over. there will also be a lot of oil jars. Be careful not to use your torch here, or else you can easily get burned.
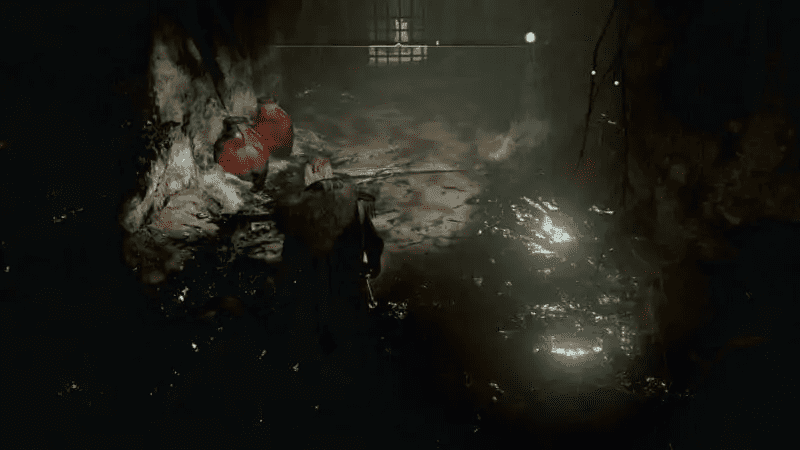
There is another room to your left, but for now, continue forward and reach the end of the room. Look through the railing, and shoot the oil jars on the left side of the room by a destroyable obstruction at the bottom of the wall.
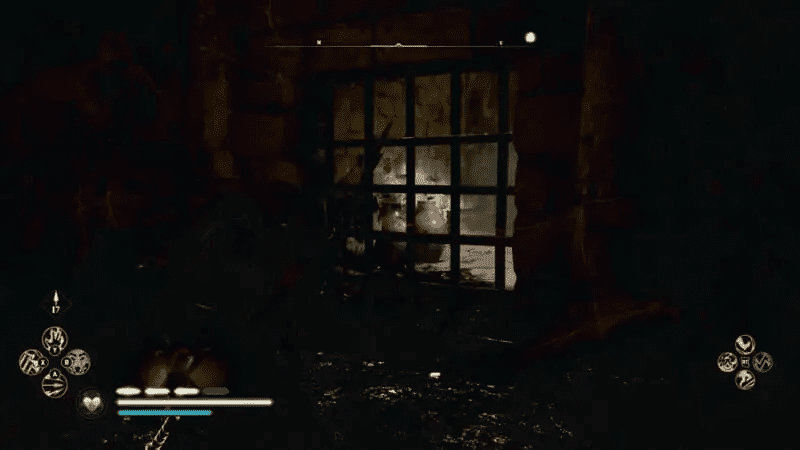
Once destroyed, quickly run back outside as the fire will engulf this whole area thanks to the spilled oil. Wait for the fire to settle down, and then head inside the room to the left. You can now slide through the small hole at the bottom of the hall located at the end of this room.
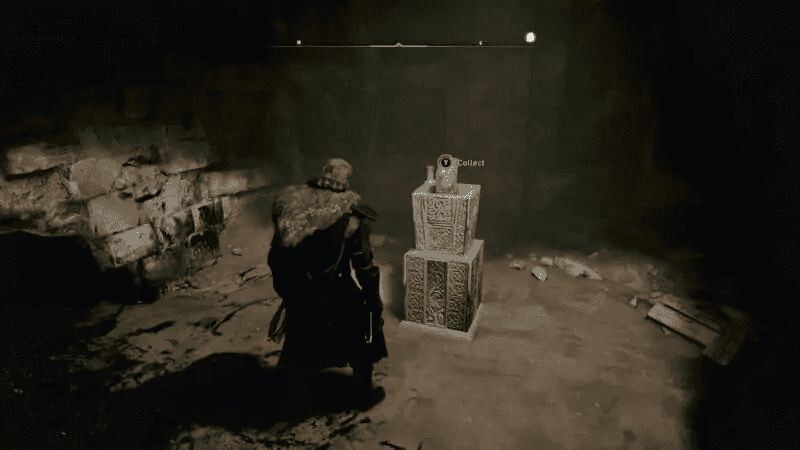
Slide through to enter the room with the Mysterious Coat Tablet resting on a pedestal.
Wielding The Excalibur
After collecting all 11 tablets, you are now finally ready to acquire the legendary Excalibur.
The legendary greatsword is resting in Myrddin’s Cave, located in Hamtunscire.
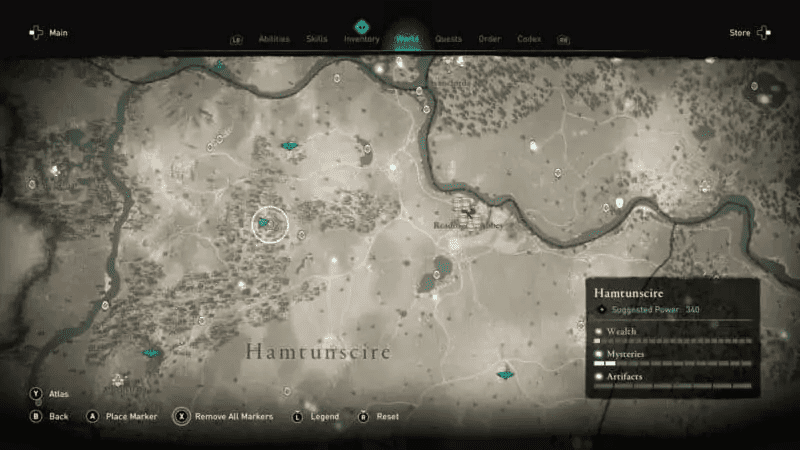
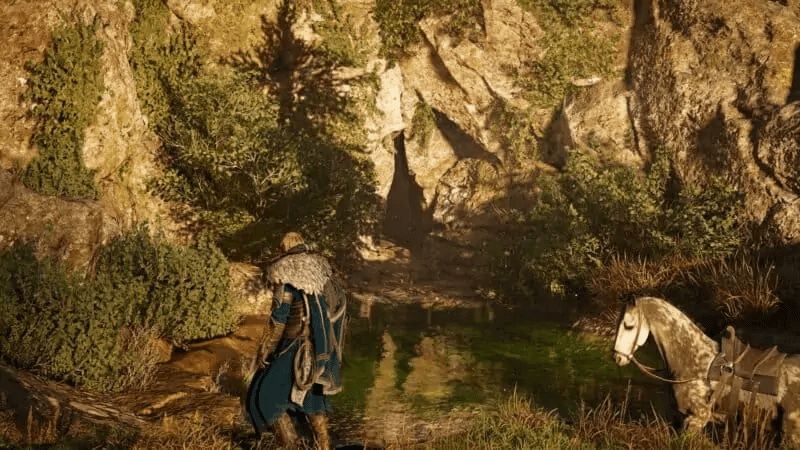
Enter the cave and keep moving forward by parkouring across the linear path.
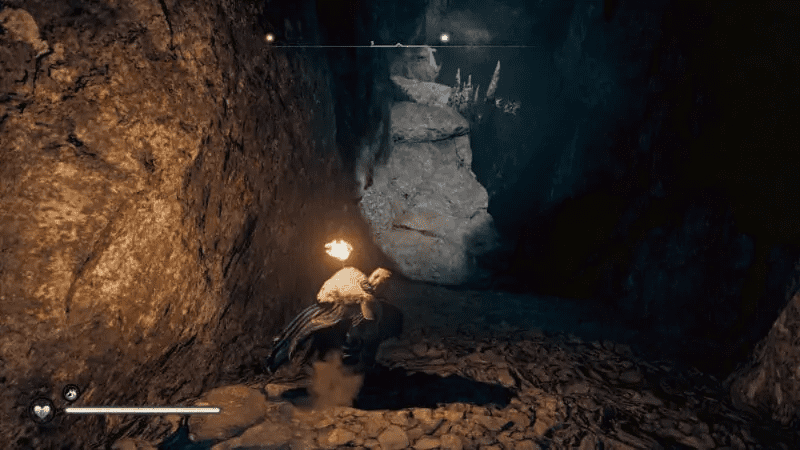
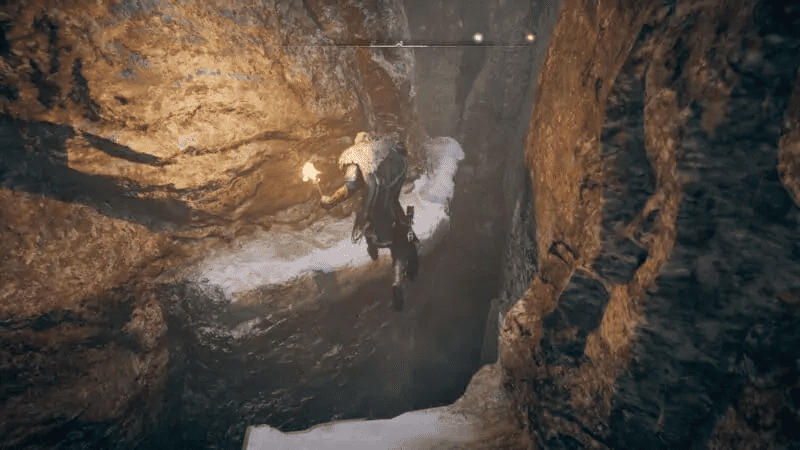
After a bit, you will come across a huge fall that you can dive into.
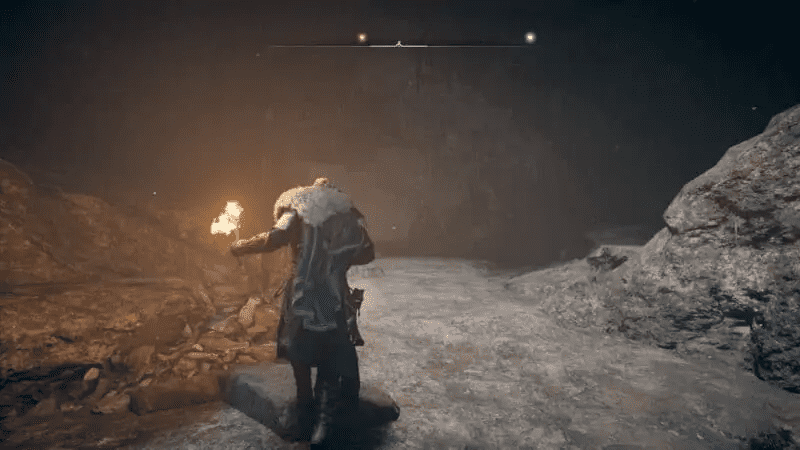
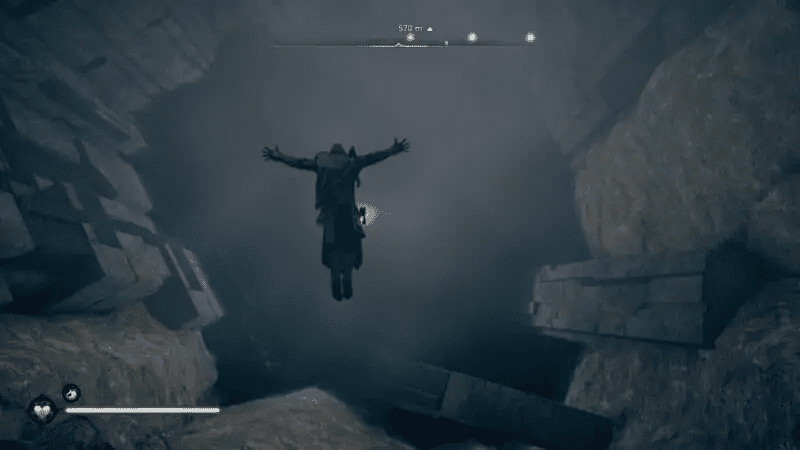
Dive deep underwater, and you will find a small gap taking you to the other side of the entrance.
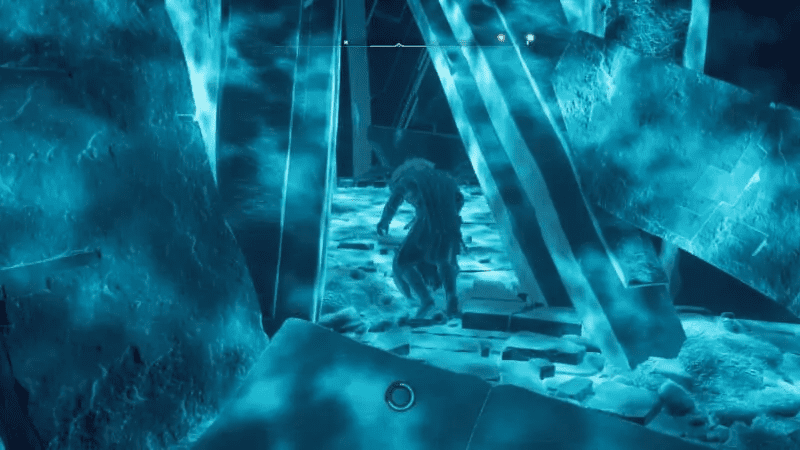
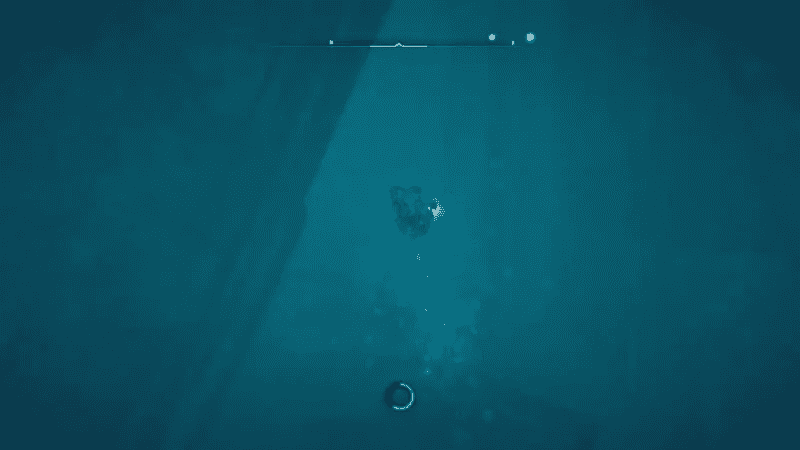
Swim up to the surface and continue to move forward.
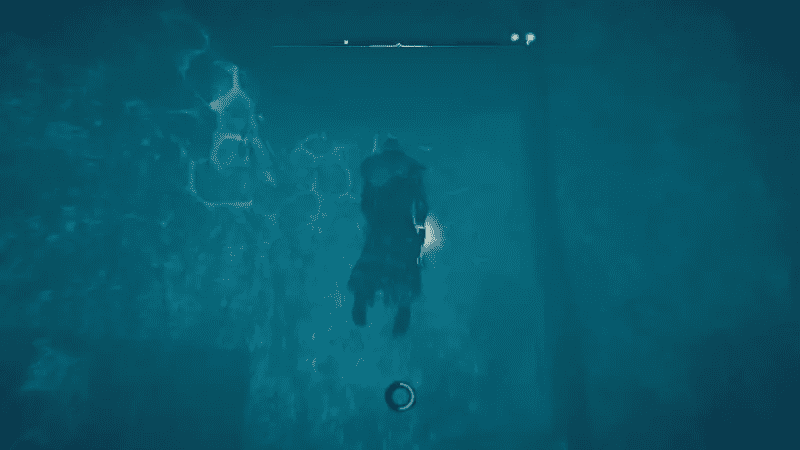
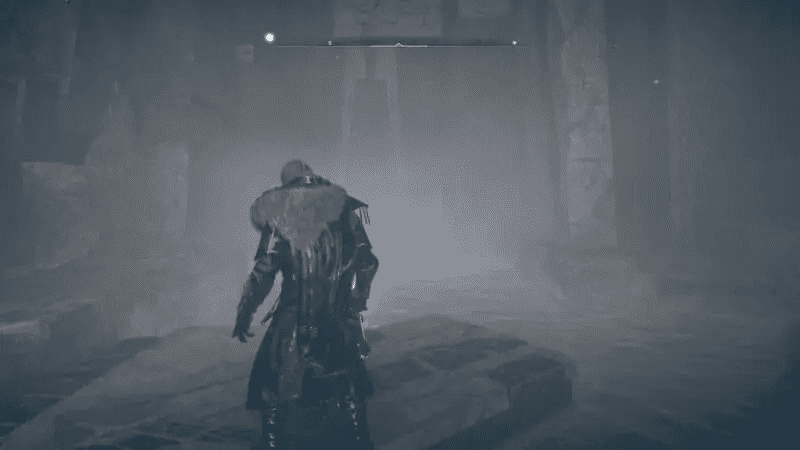
As you move forward, you will start to realize that the architecture is Isu architecture. The design and style of the interior resemble that of the Isu design.
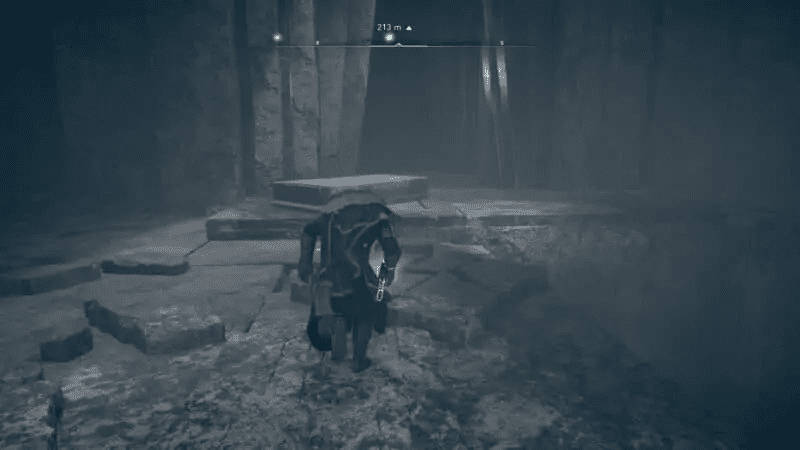
Continue moving forward to a large open area. The sword is in the center of this large open room.
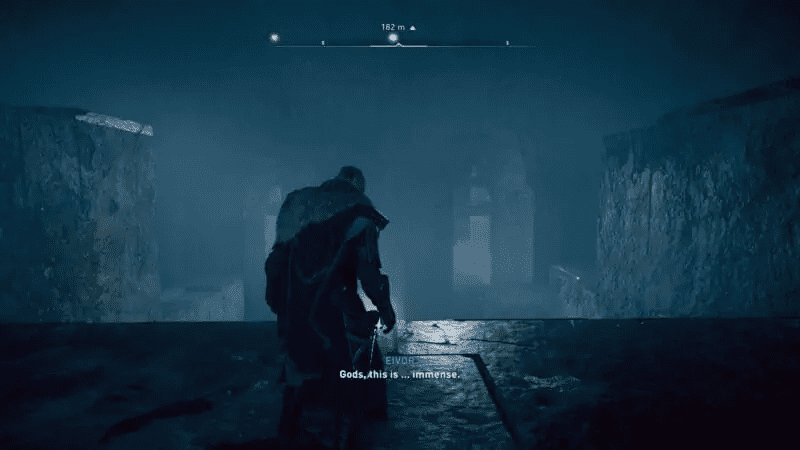
Use the pillars to the right to jump across to the center of the room where the sword resides.
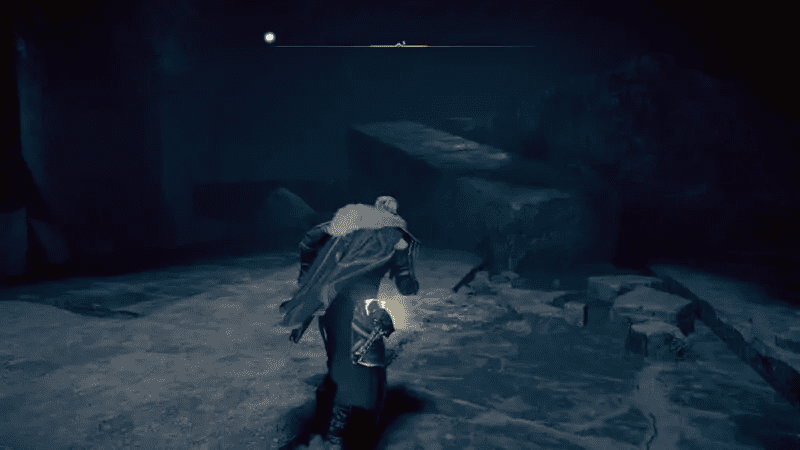
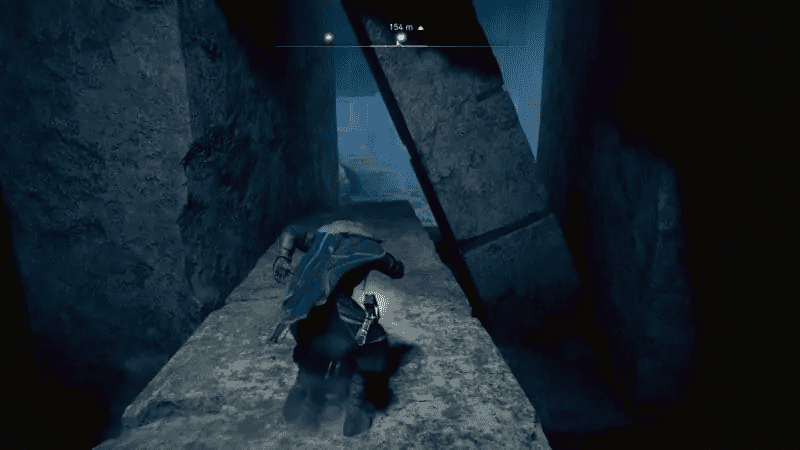
You will reach the center, where you will find 12 pillars standing tall in a circle.
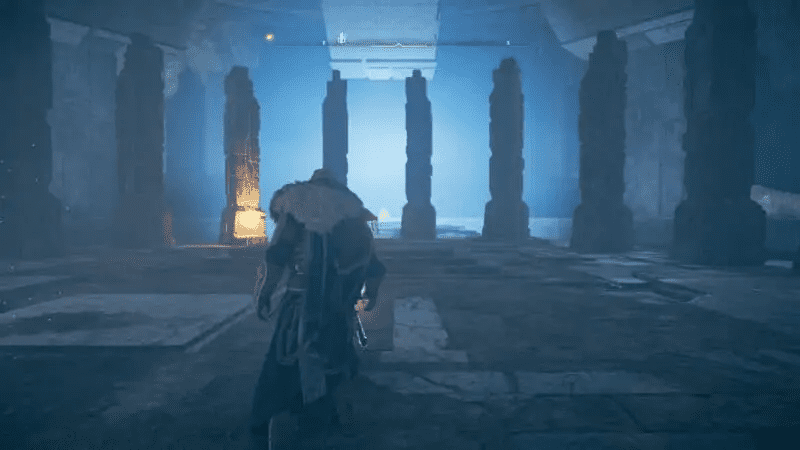
One of the pillars will already have a mysterious tablet inside it.
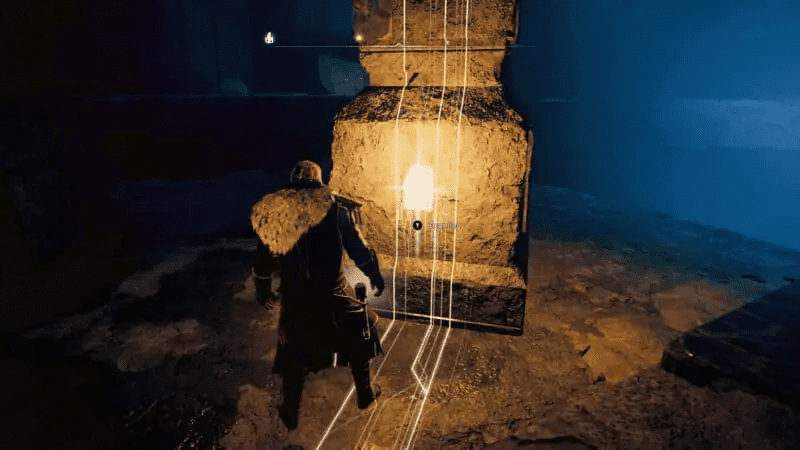
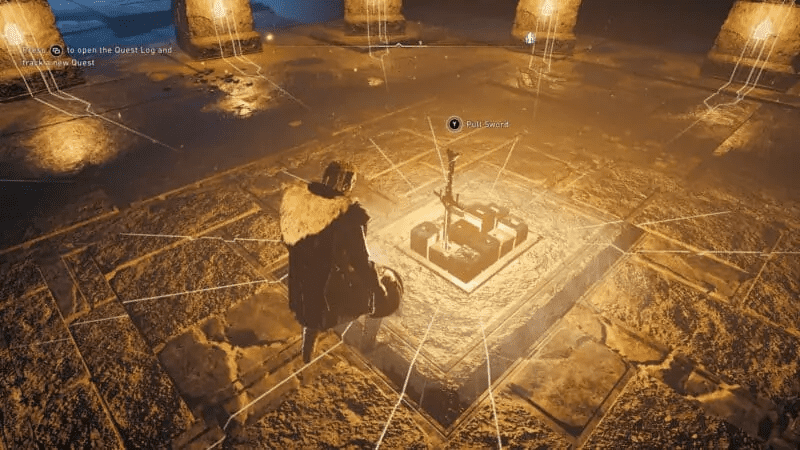
You will find the Excalibur sword in the middle, you will be able to interact with it, but you won’t be able to take it out until you insert all the mysterious tablets.
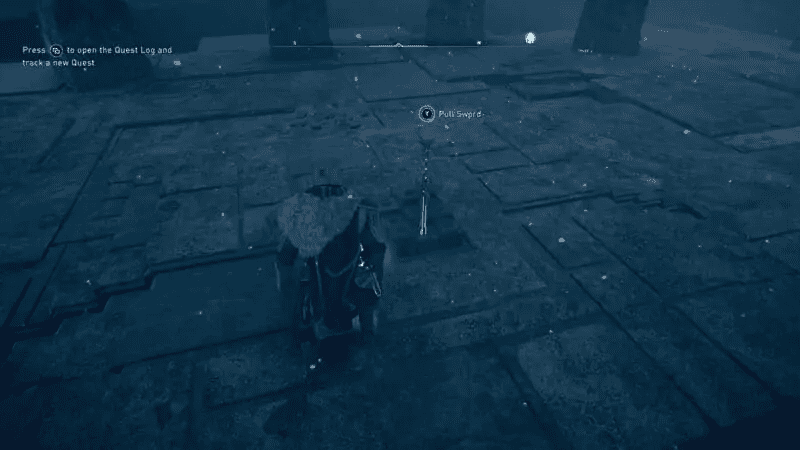
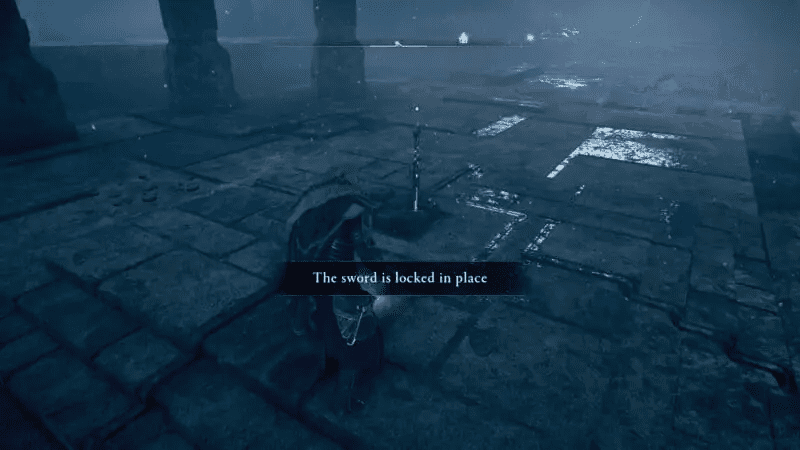
Insert the tablets in all the remaining pillars. You do not have to worry about which tablet goes into which pillar. Approach the pillars, and you will get a prompt to insert the tablet. Eivor will automatically insert the mysterious tablet to its corresponding pillar.
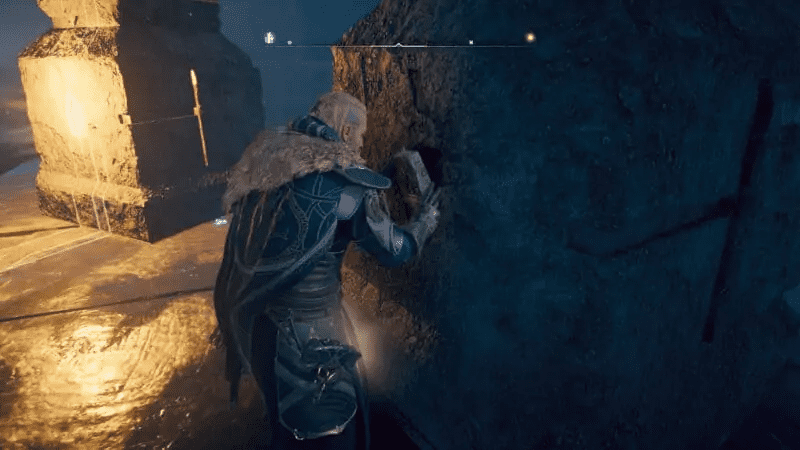
Once you’ve inserted all the mysterious tablets, the pillars will light up.
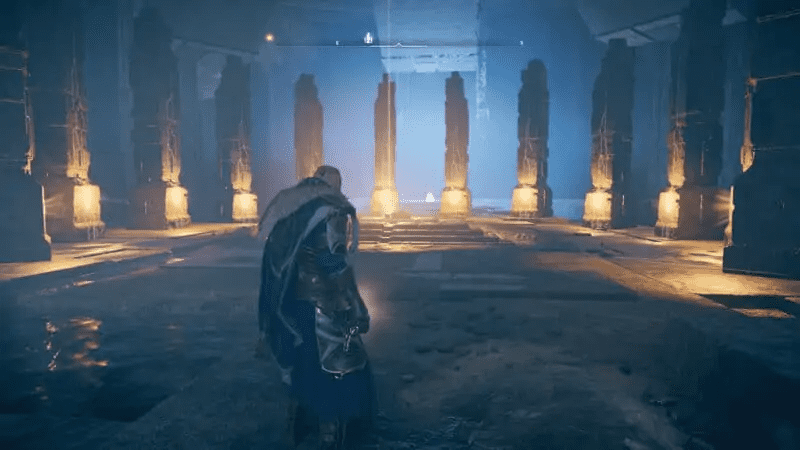
The Excalibur sword in the middle will also light up with a beam shining down on it.
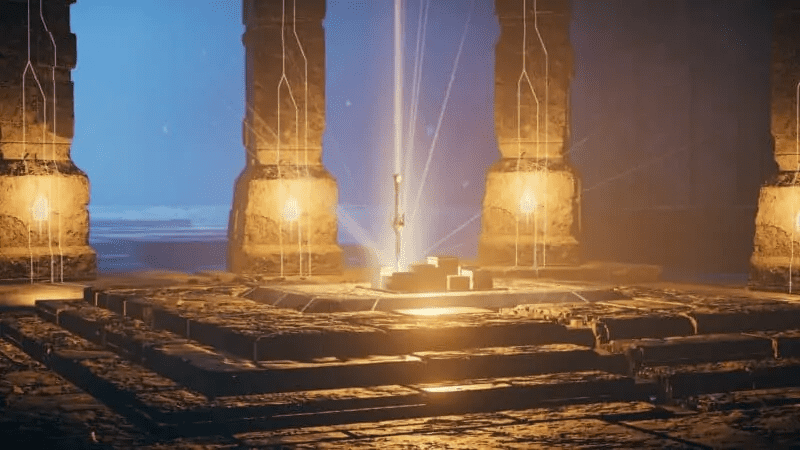
Now, you will be able to pull the sword out.

The following are the stats and perks of the legendary Excalibur.
