Spectral Anomalies (a.k.a The Diary Step)
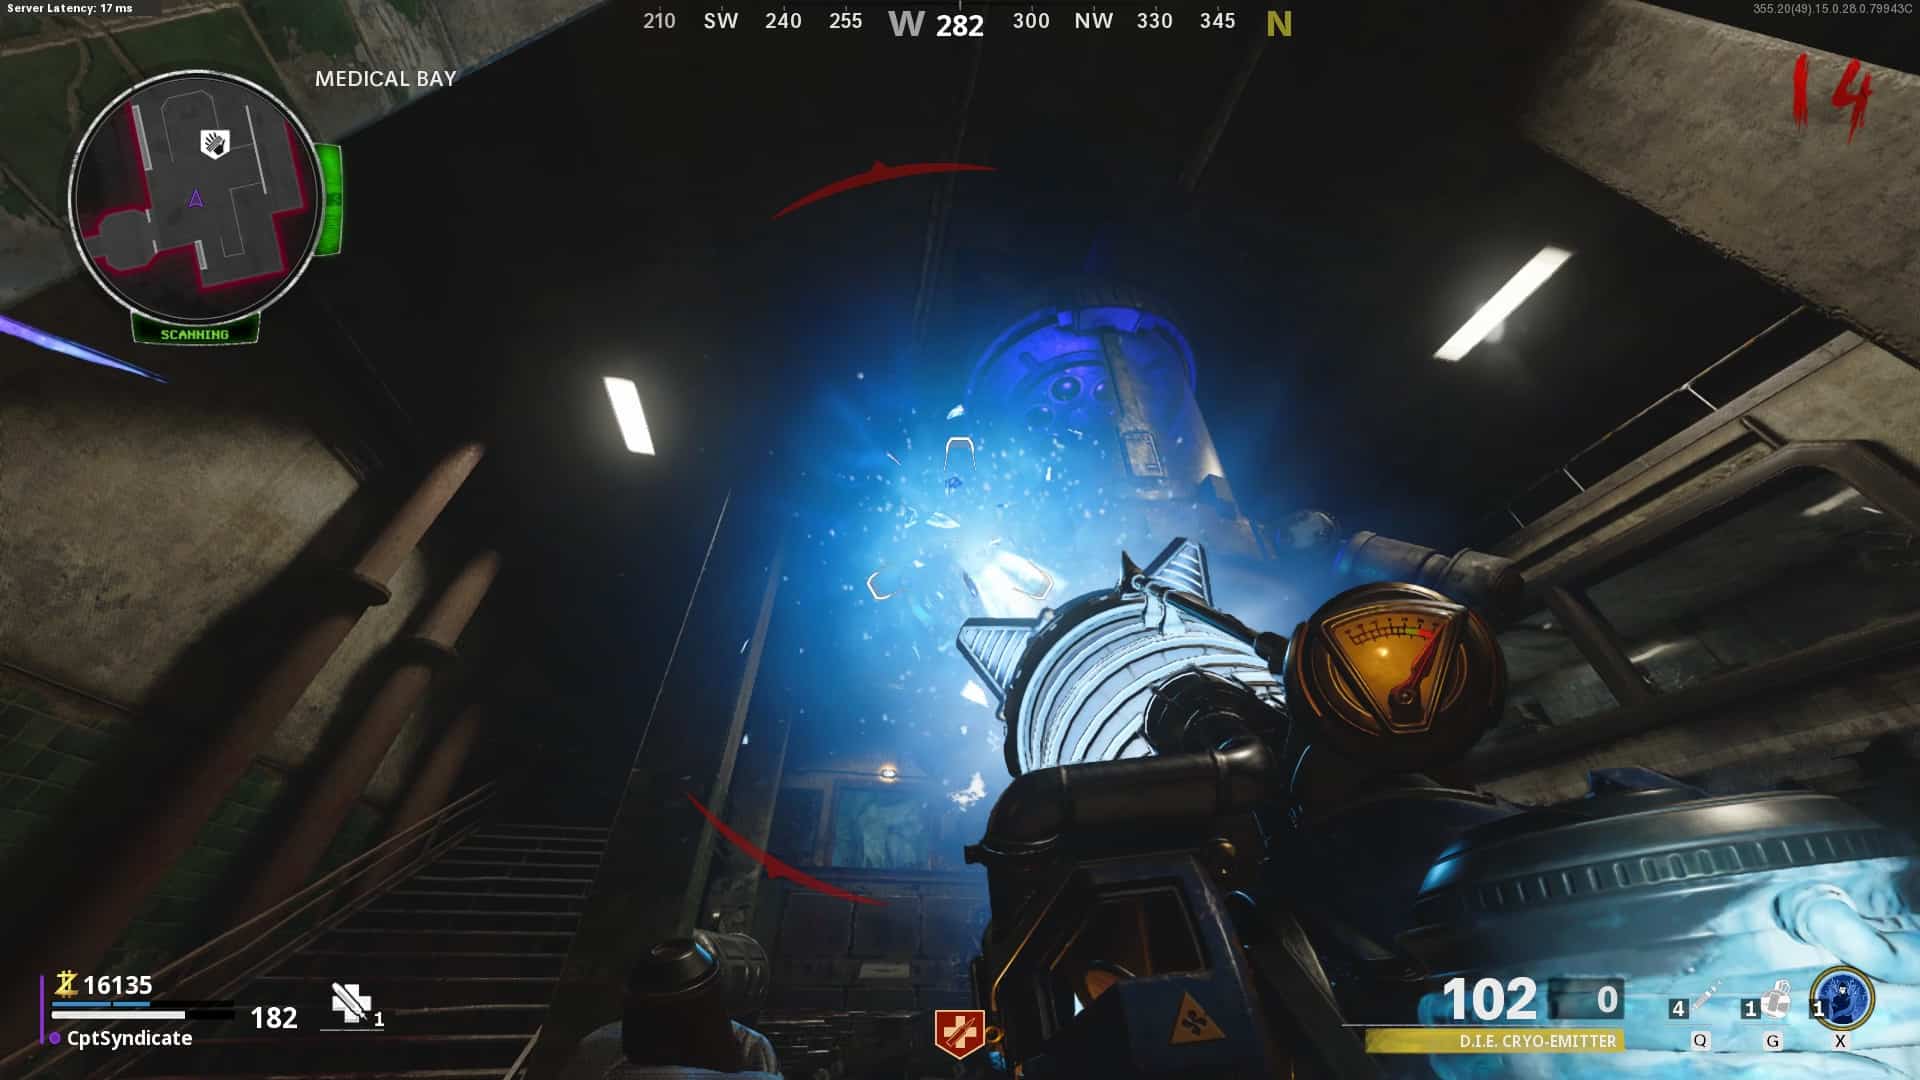
Now that you have the Aetherscope make your way to the next anomaly, which will be in the Medical Bay.
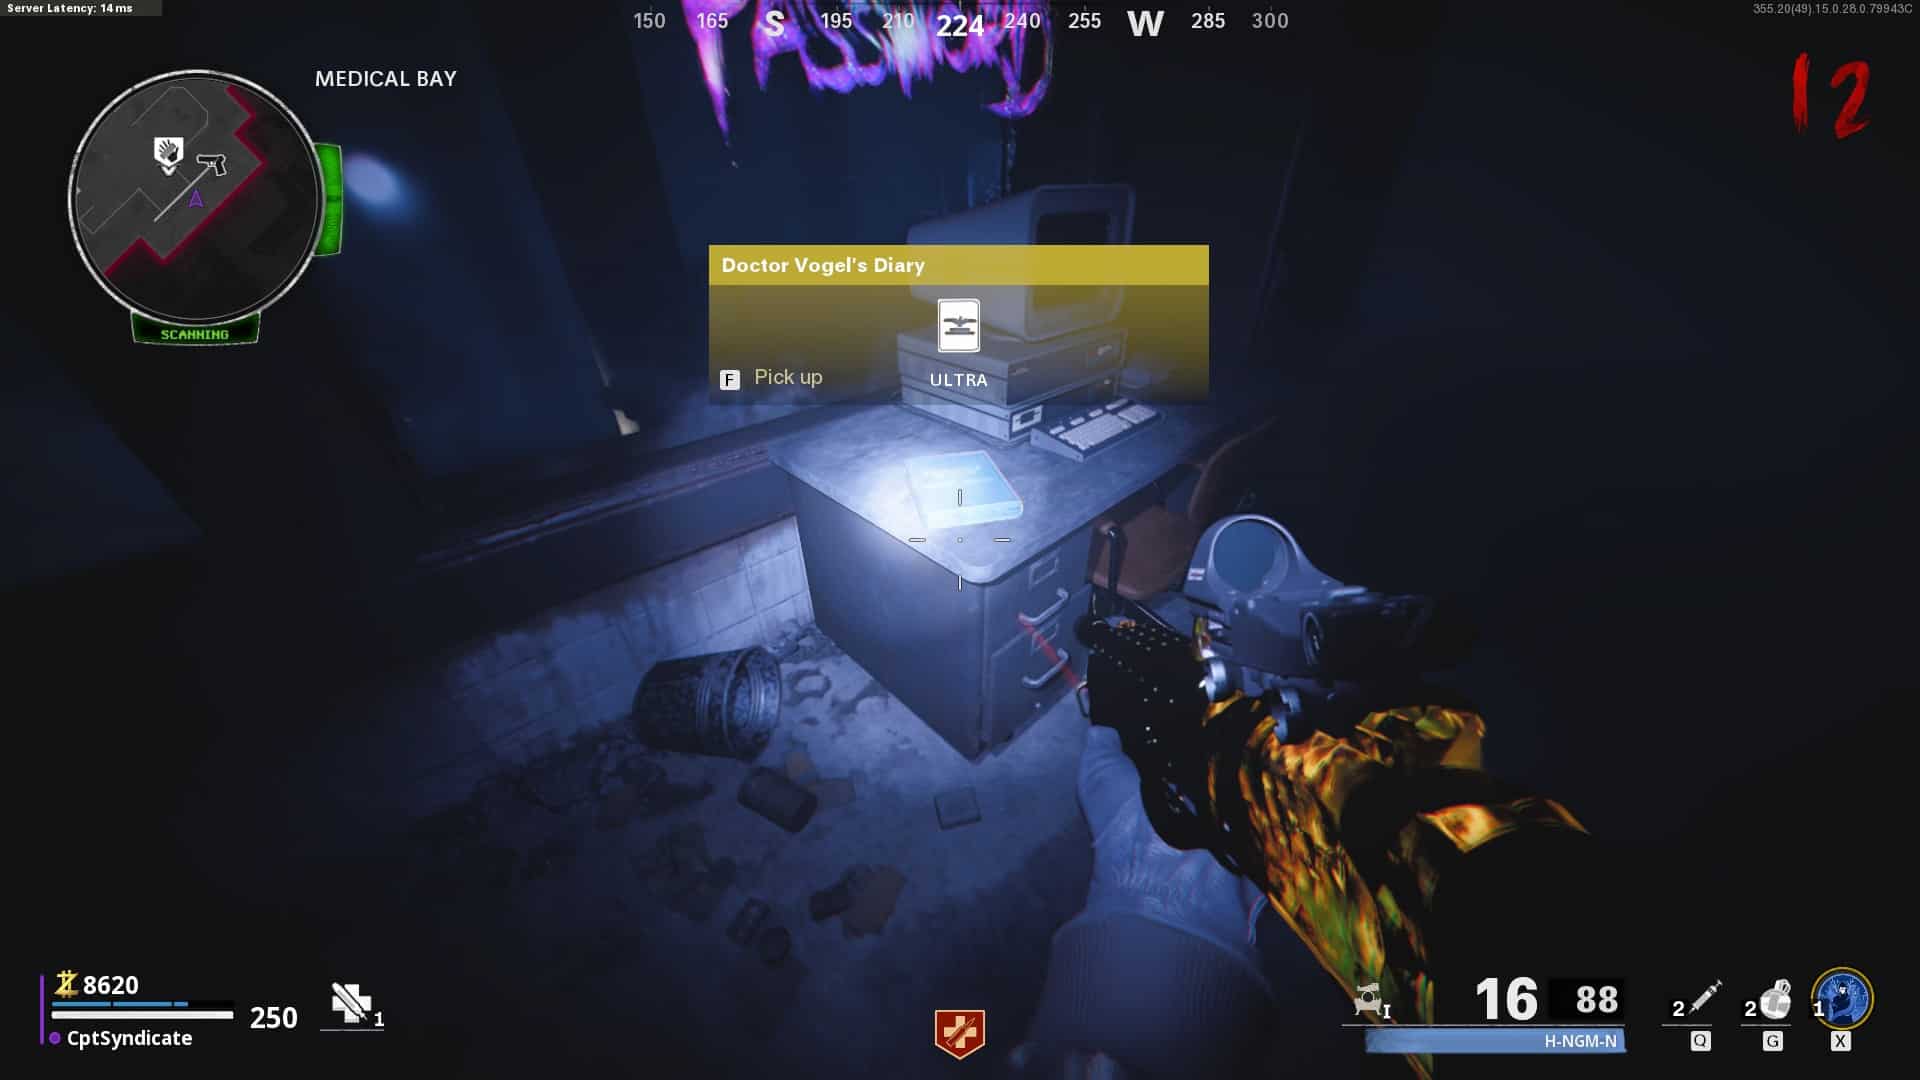
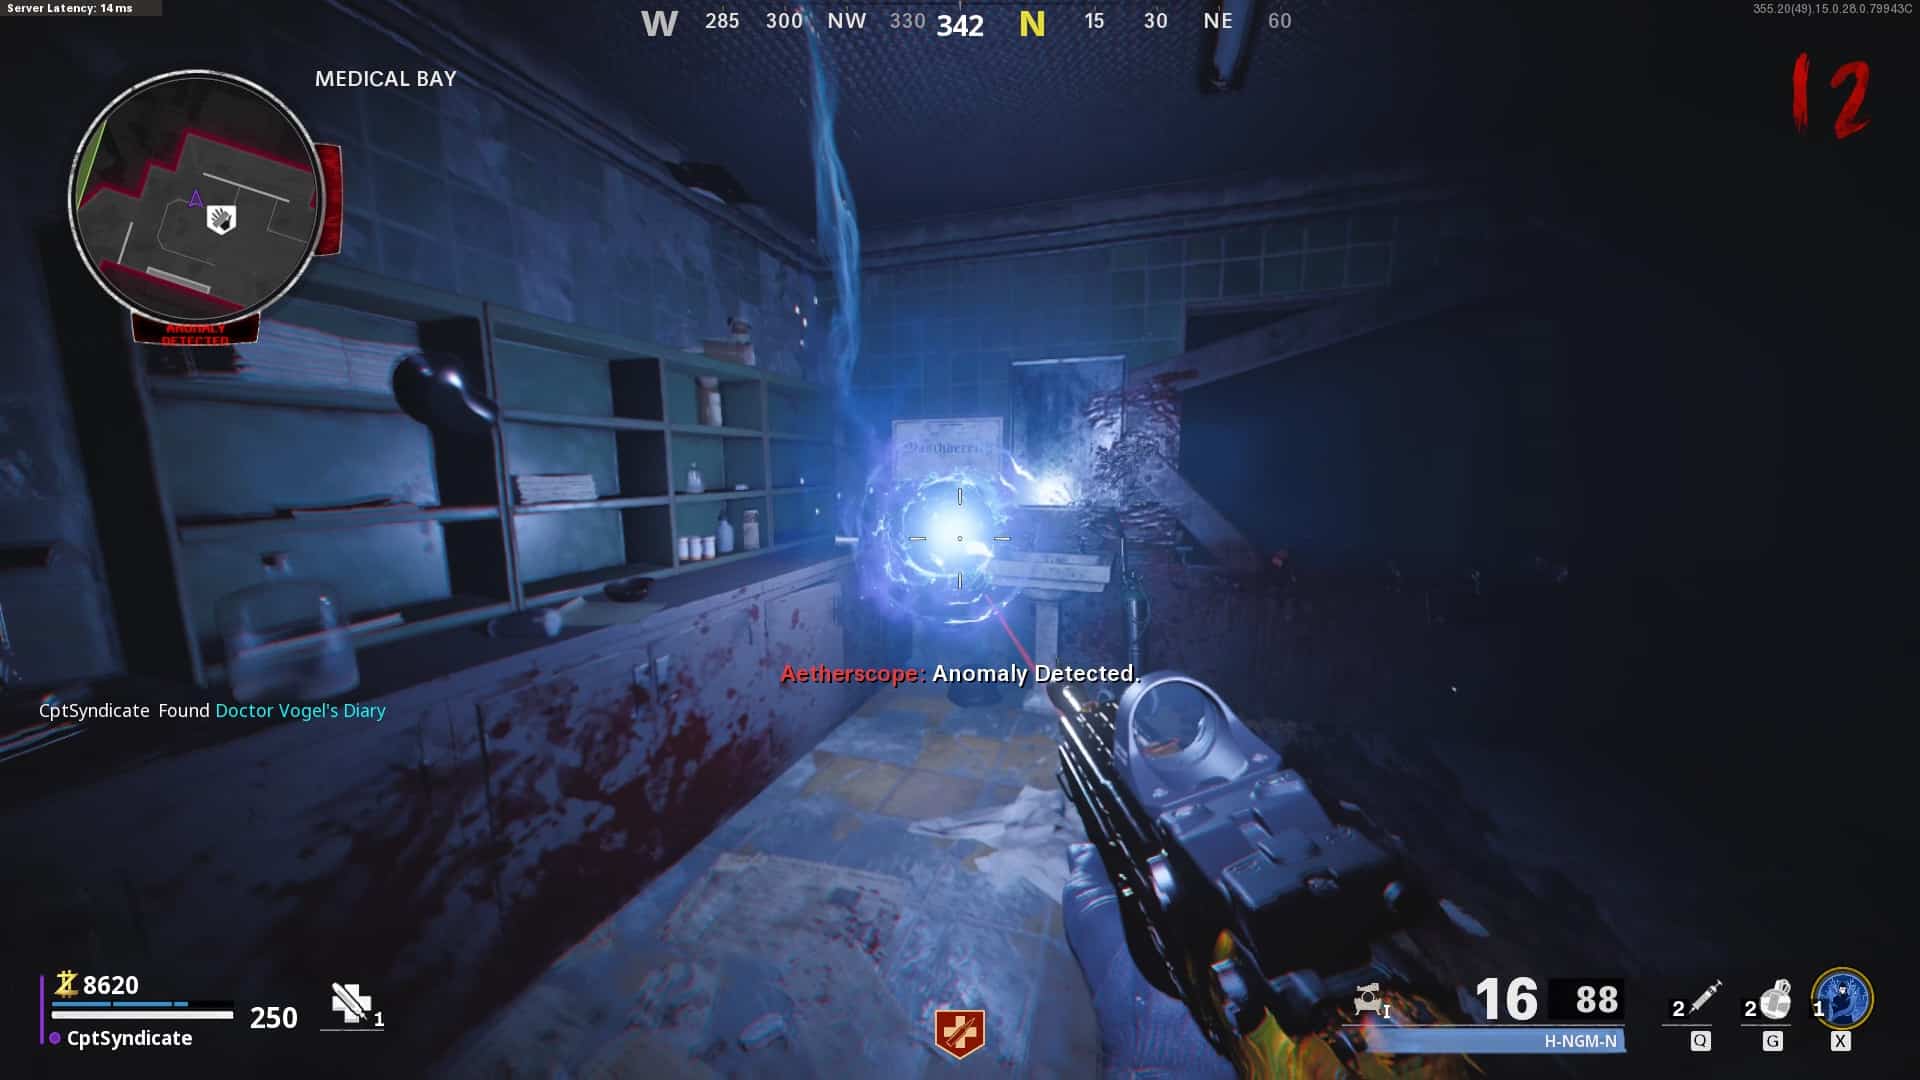
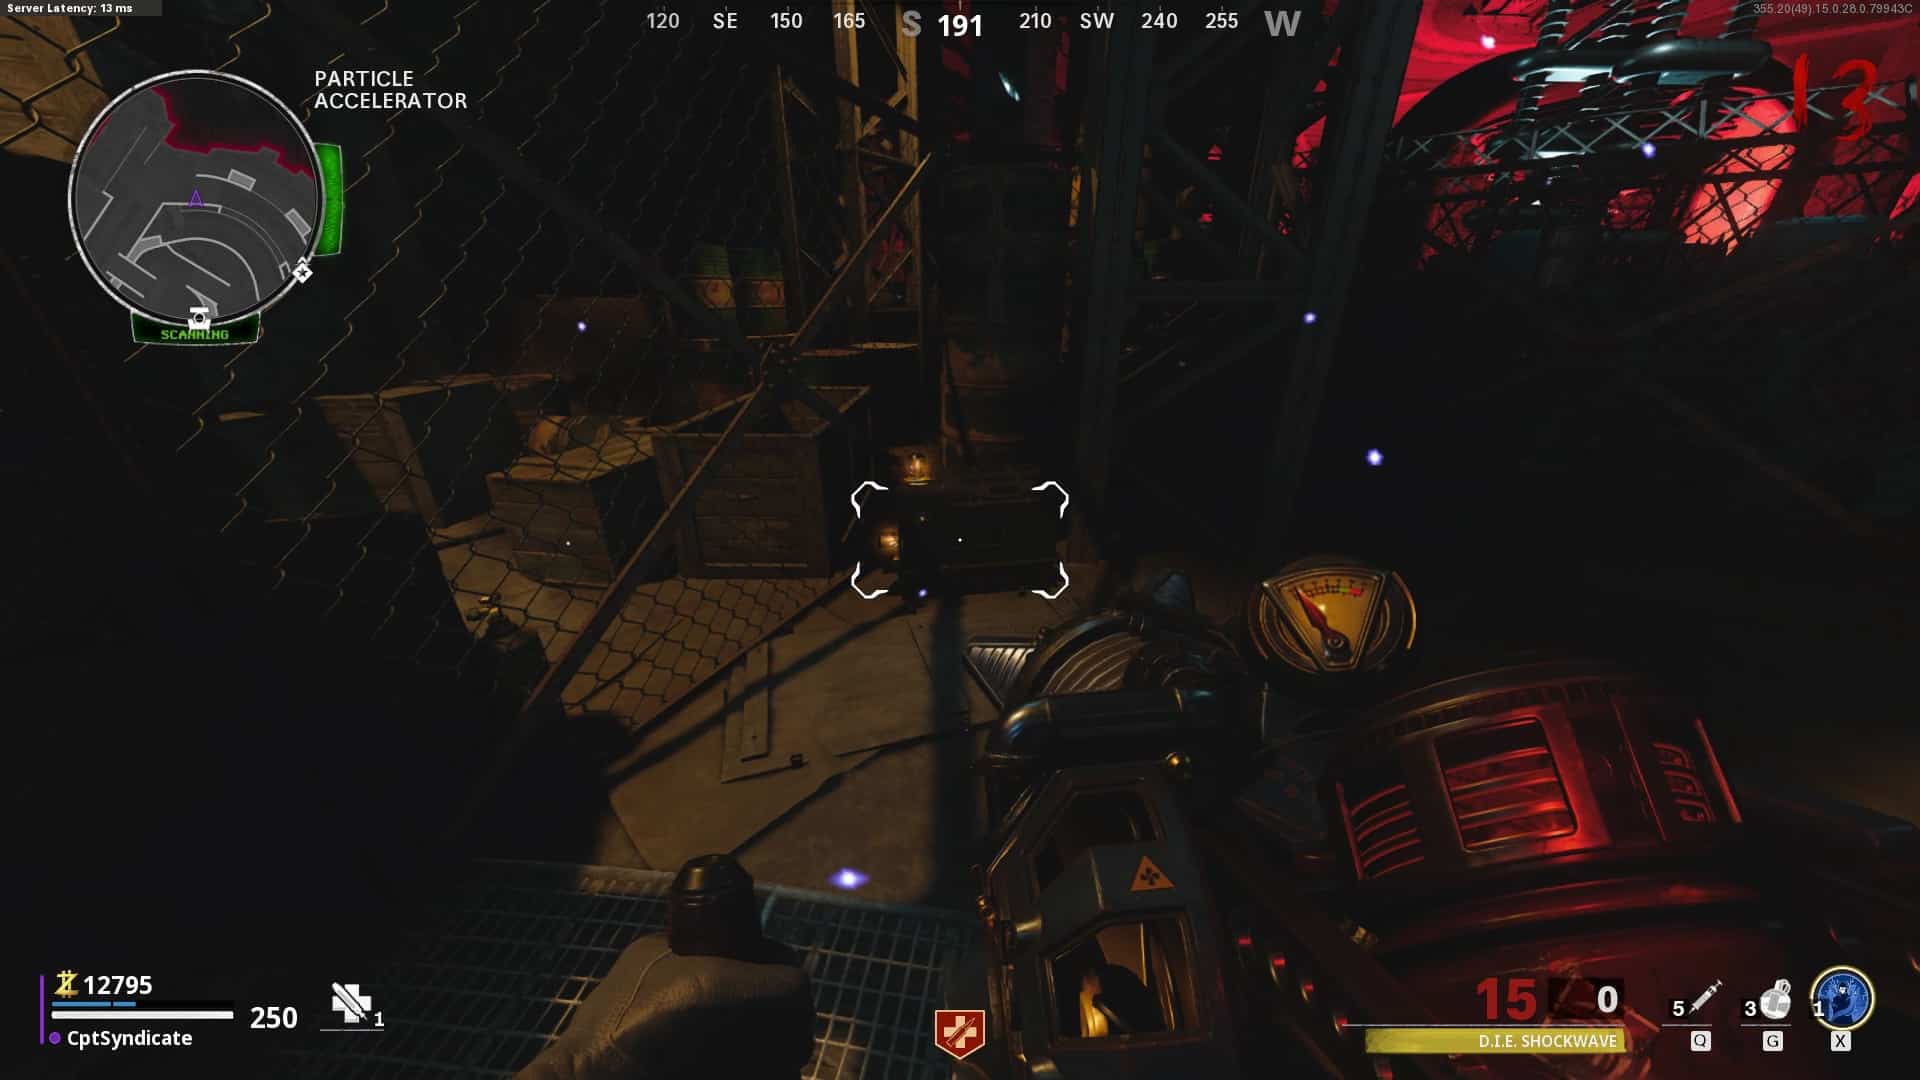
Teleport to the Dark Aether and go to the side-office or computer room. There will be a diary next to the computer. It belongs to Dr. Vogul. Pick it up.
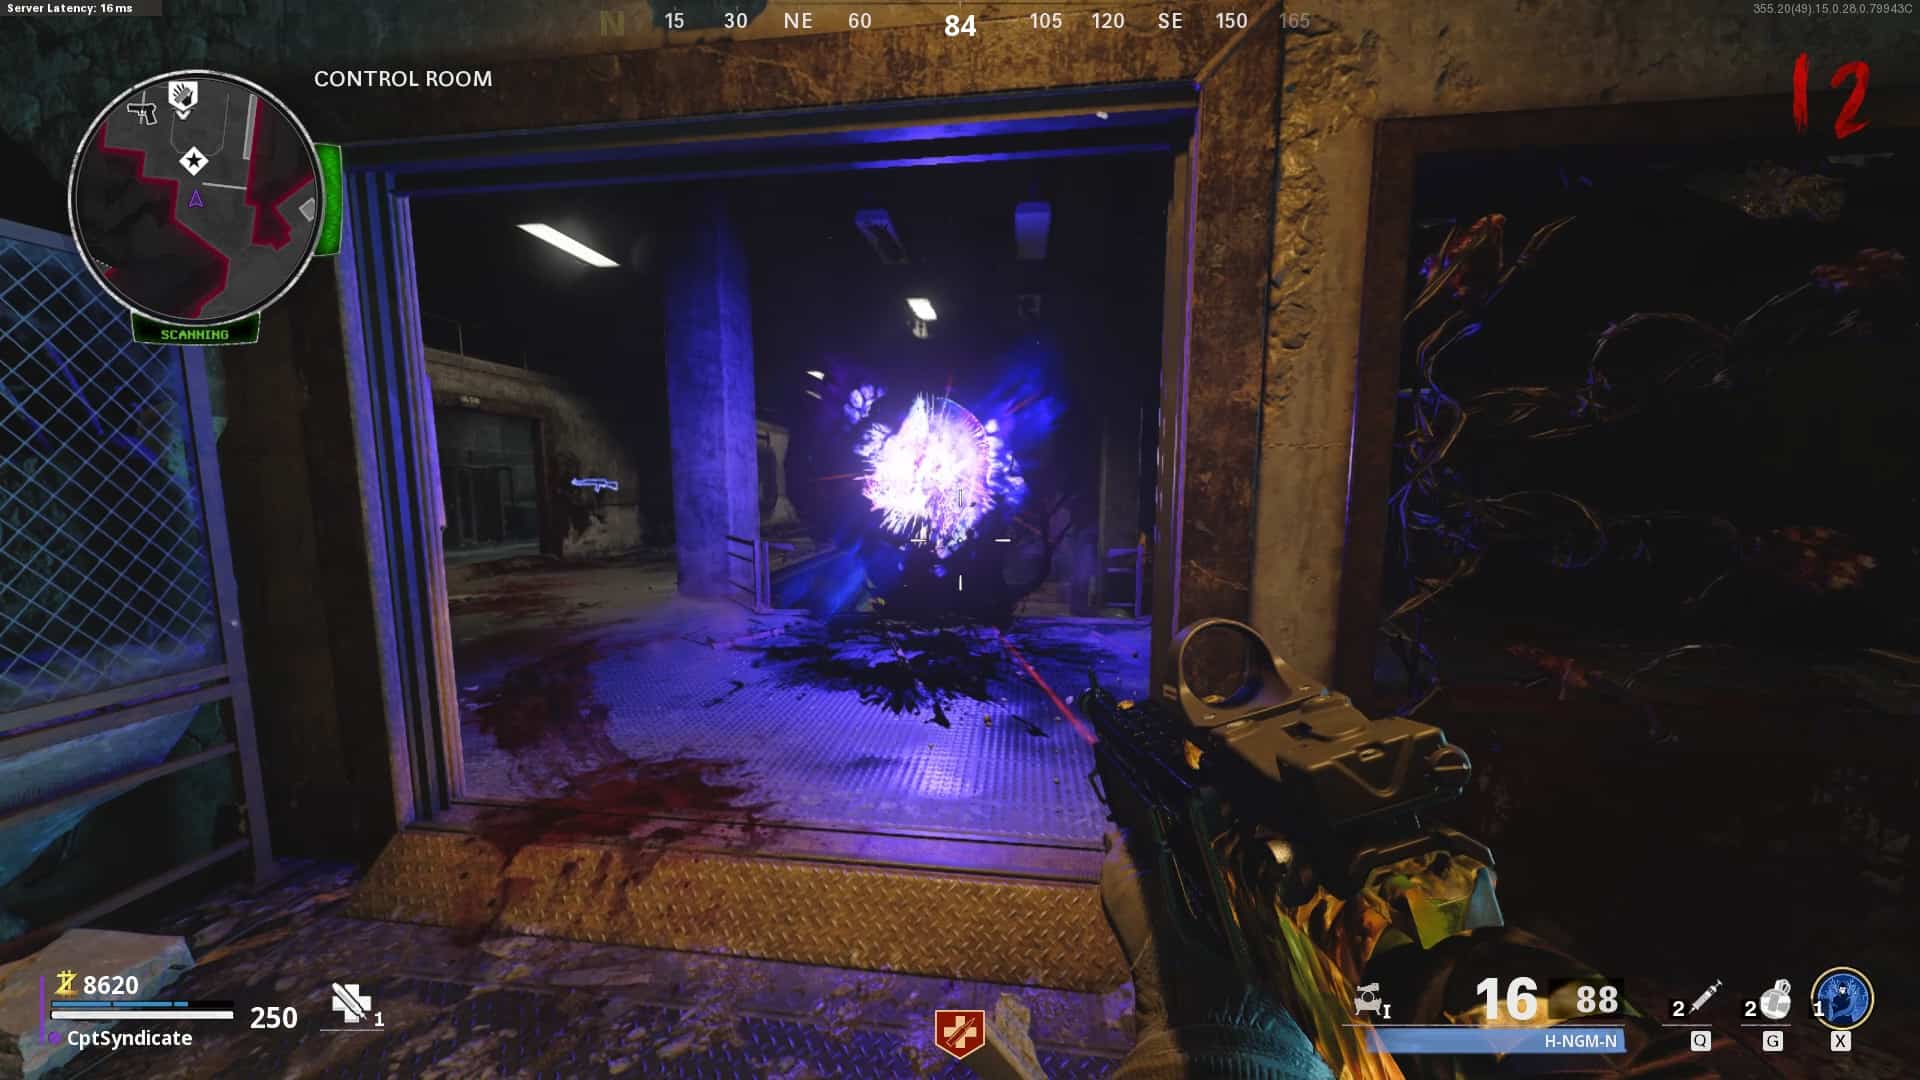
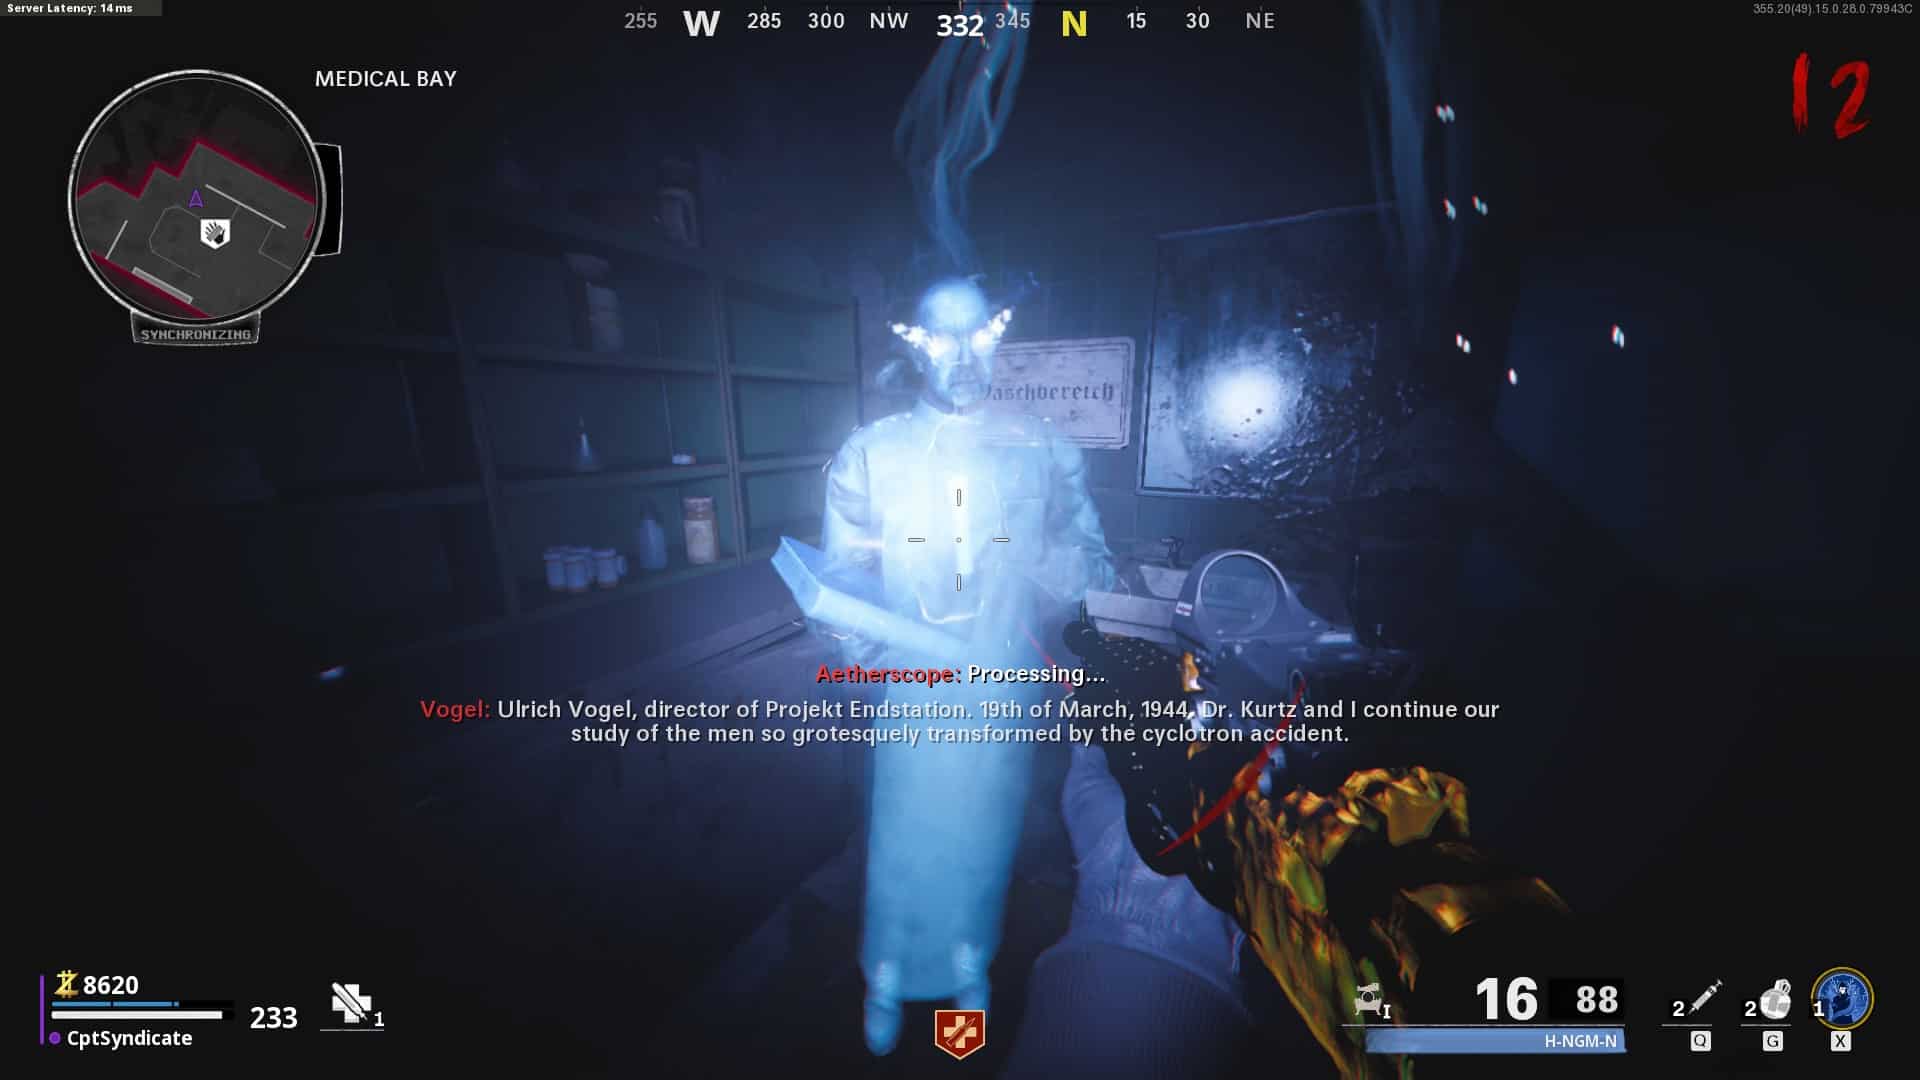
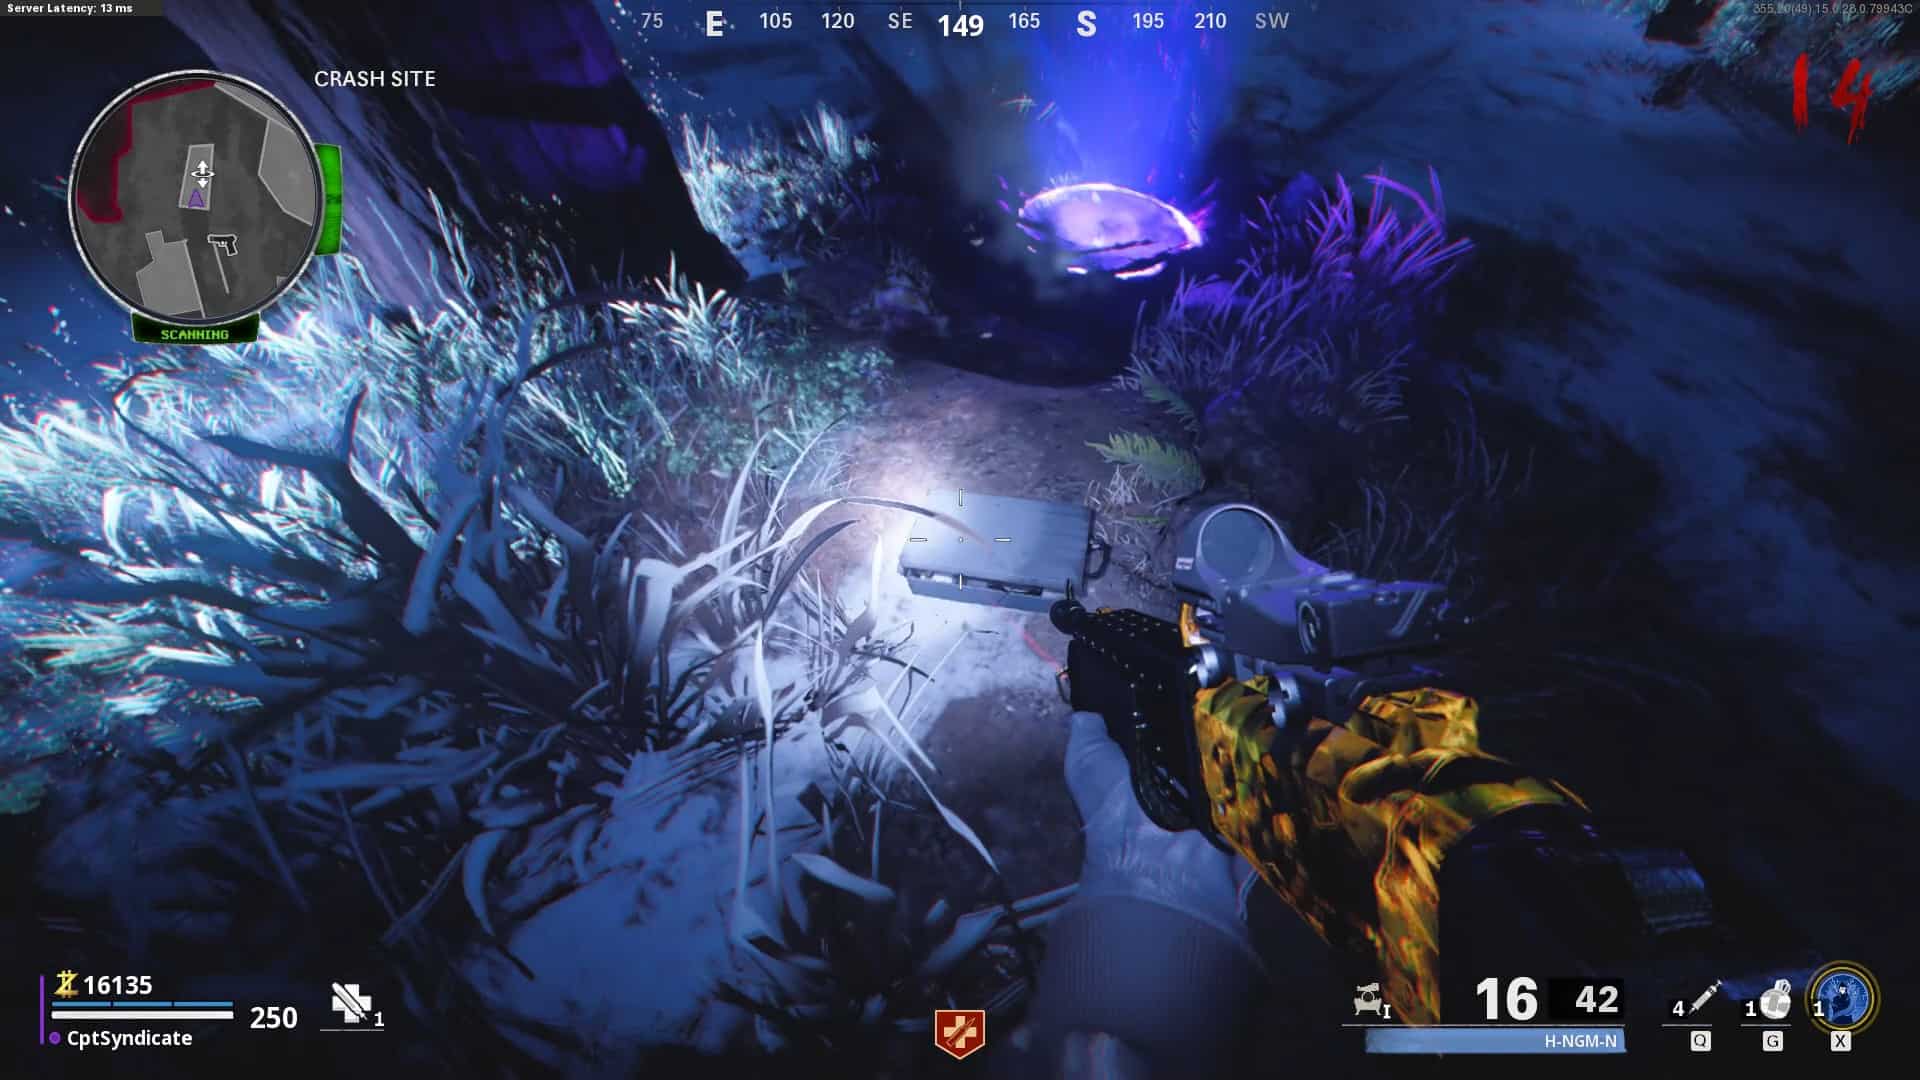
After picking up the Diary, jump directly below the platform, and an anomaly will materialize. It will be a blue orb that you can interact with to make a ghostly Dr. Vogul appear. Interact with him again to give him the diary and he will start narrating what he had been working on. It is a story sequence. While Dr. Vogul is speaking, the zombies won’t hurt you.
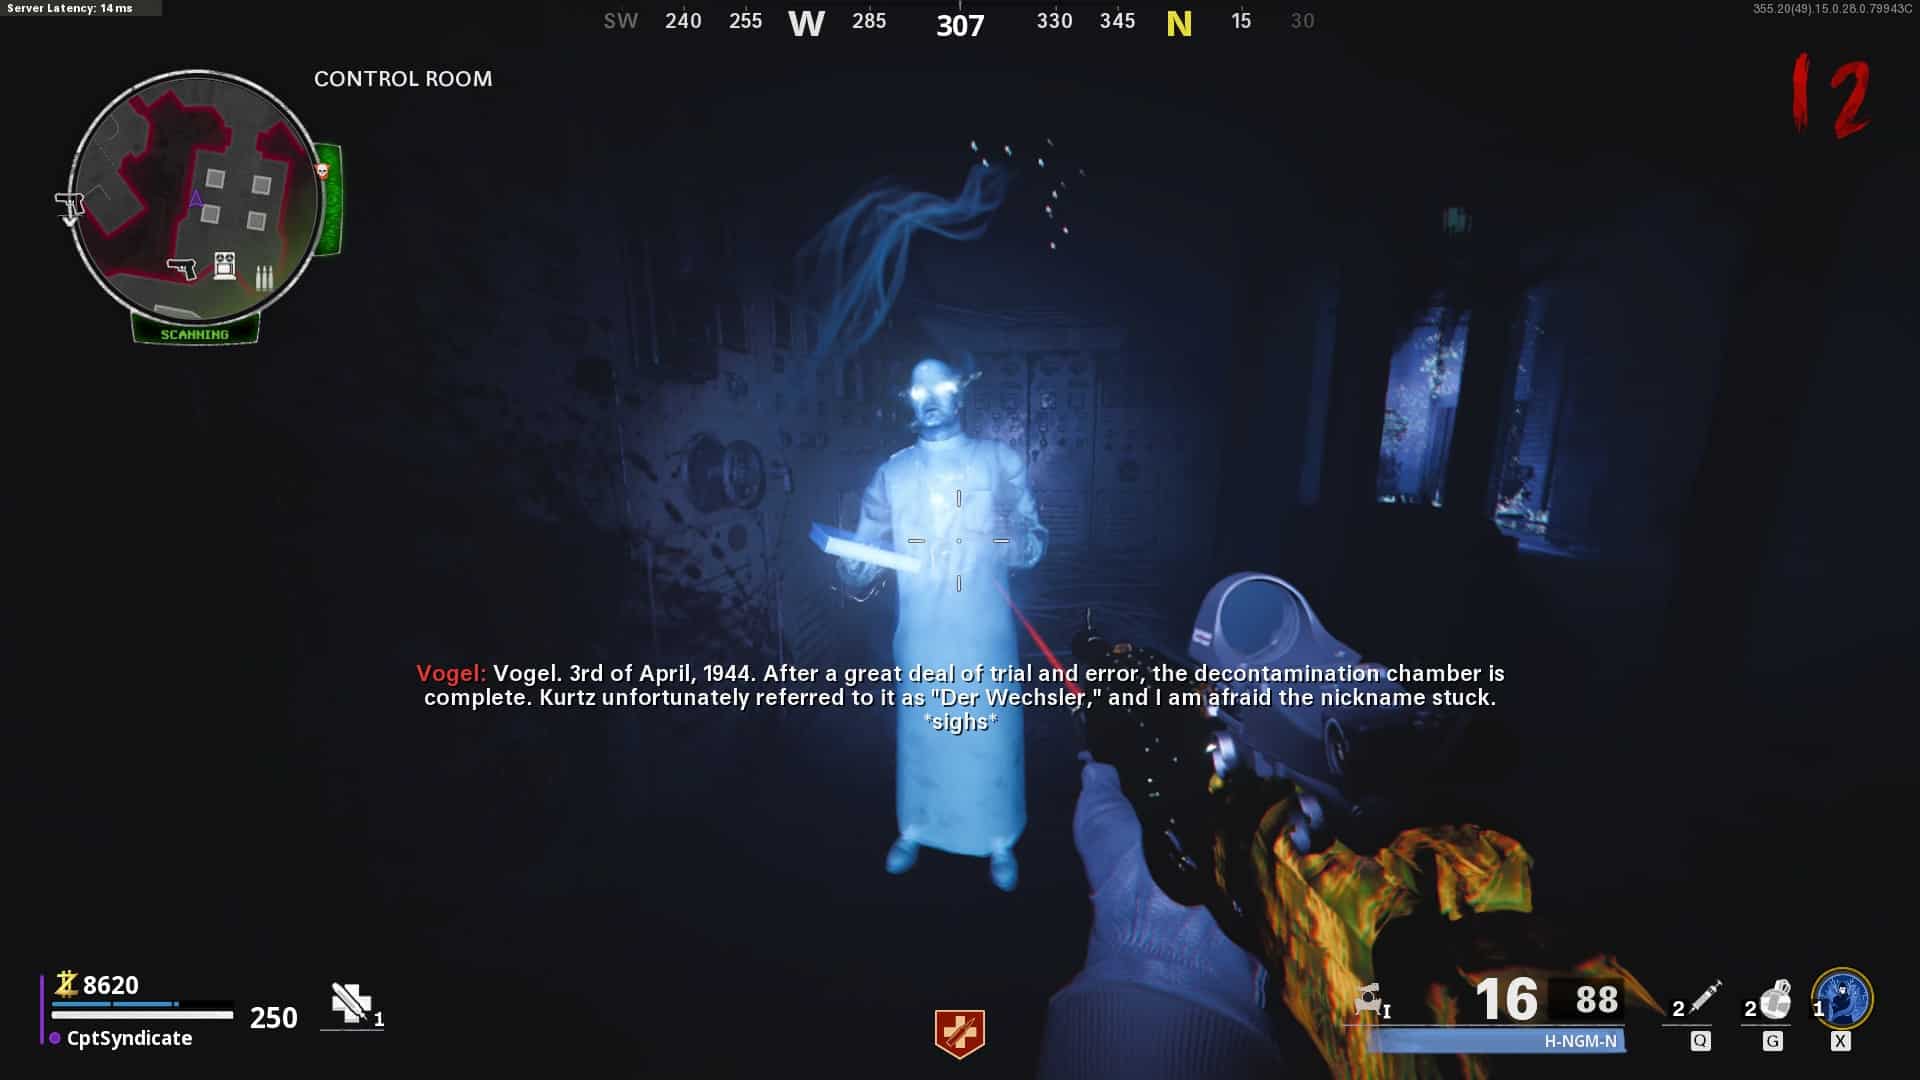
Now go to the control room (the challenges computer room) and look for another anomaly by the right wall. Interact with it twice as well.
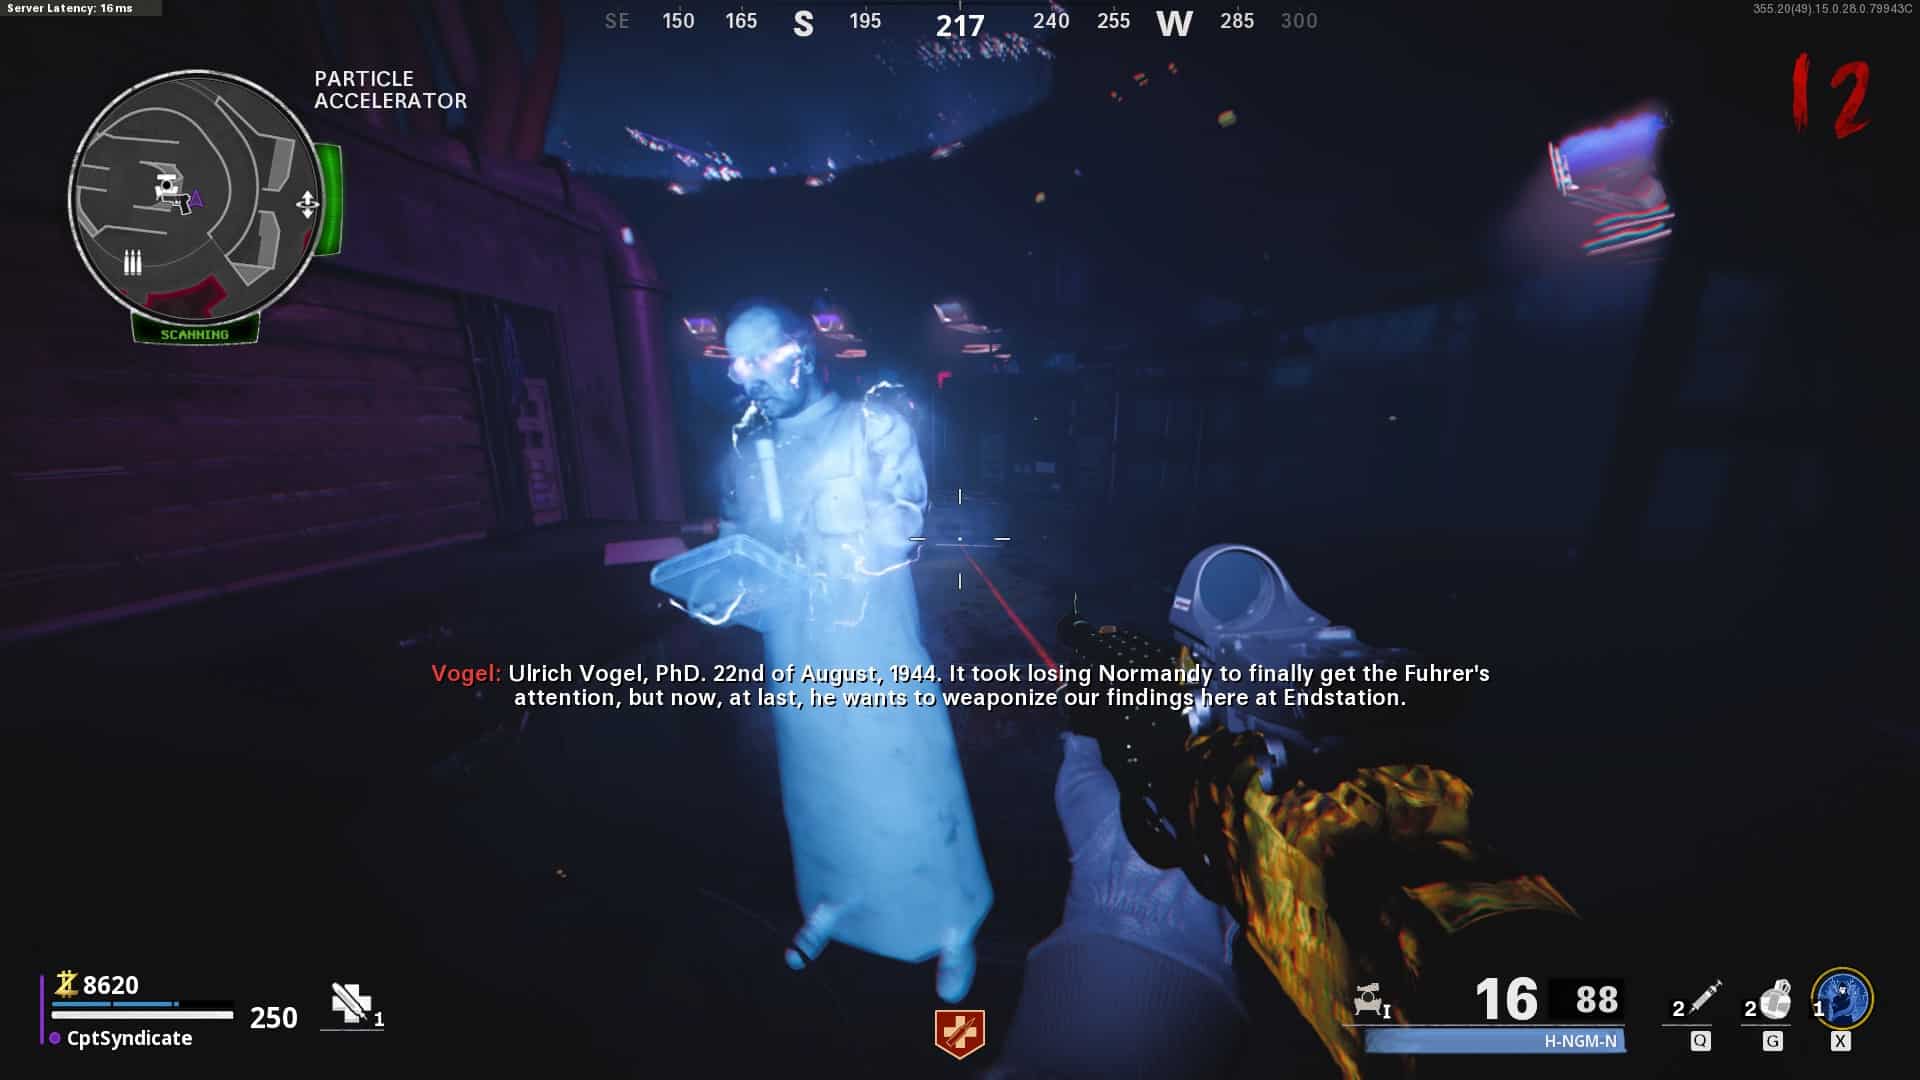
The final anomaly will be by the workbench below the Pack-A-Punch machine. Interact with it and a Megaton will appear. Kill the Megaton if you wish to. Note that you can listen to Dr. Vogul, but it will take up too much of your time, and after listening to the second spectral anomaly sequence, you will be teleported back to the real world.
Then you will need another portal to appear, which is possible after either killing a few zombies or by flipping rounds. We want to avoid flipping rounds as much as we can so advise you to quickly go through all three anomalies and then head to the computer room in the Medical Bay again.
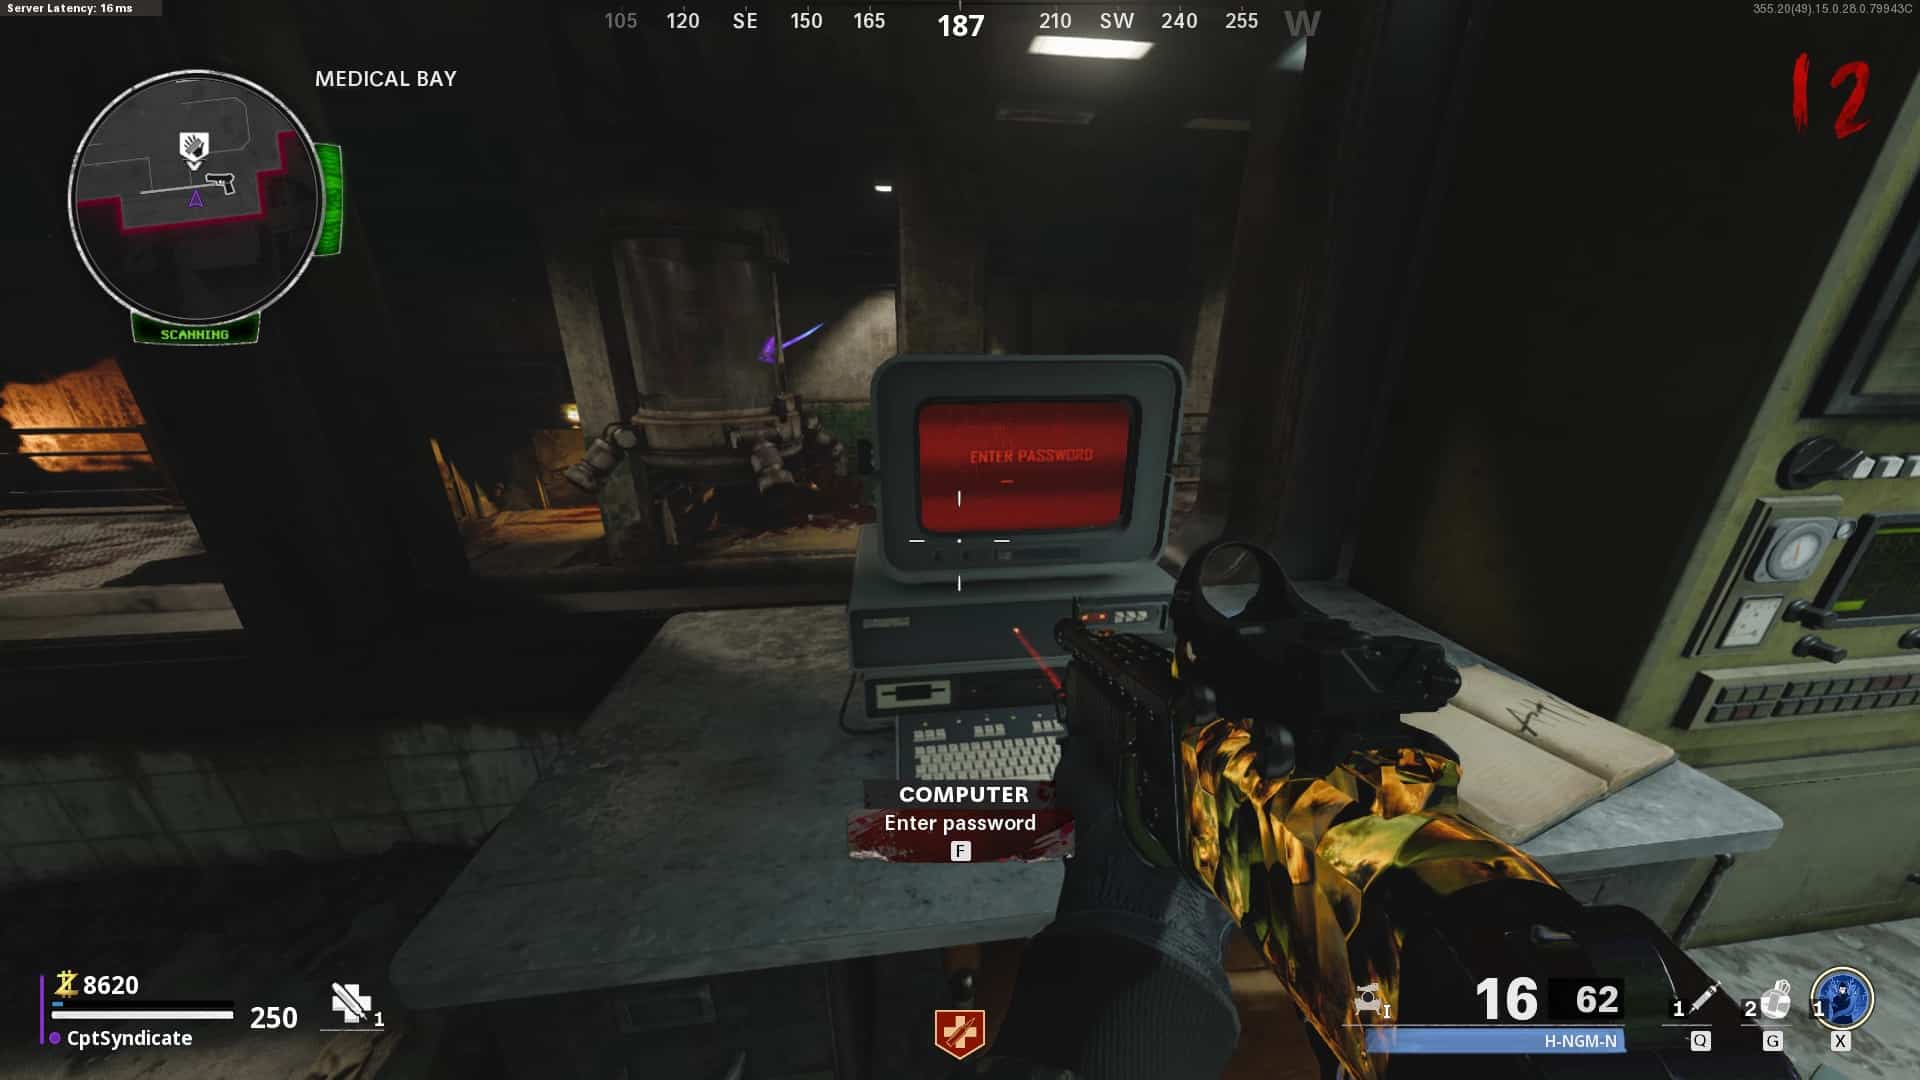
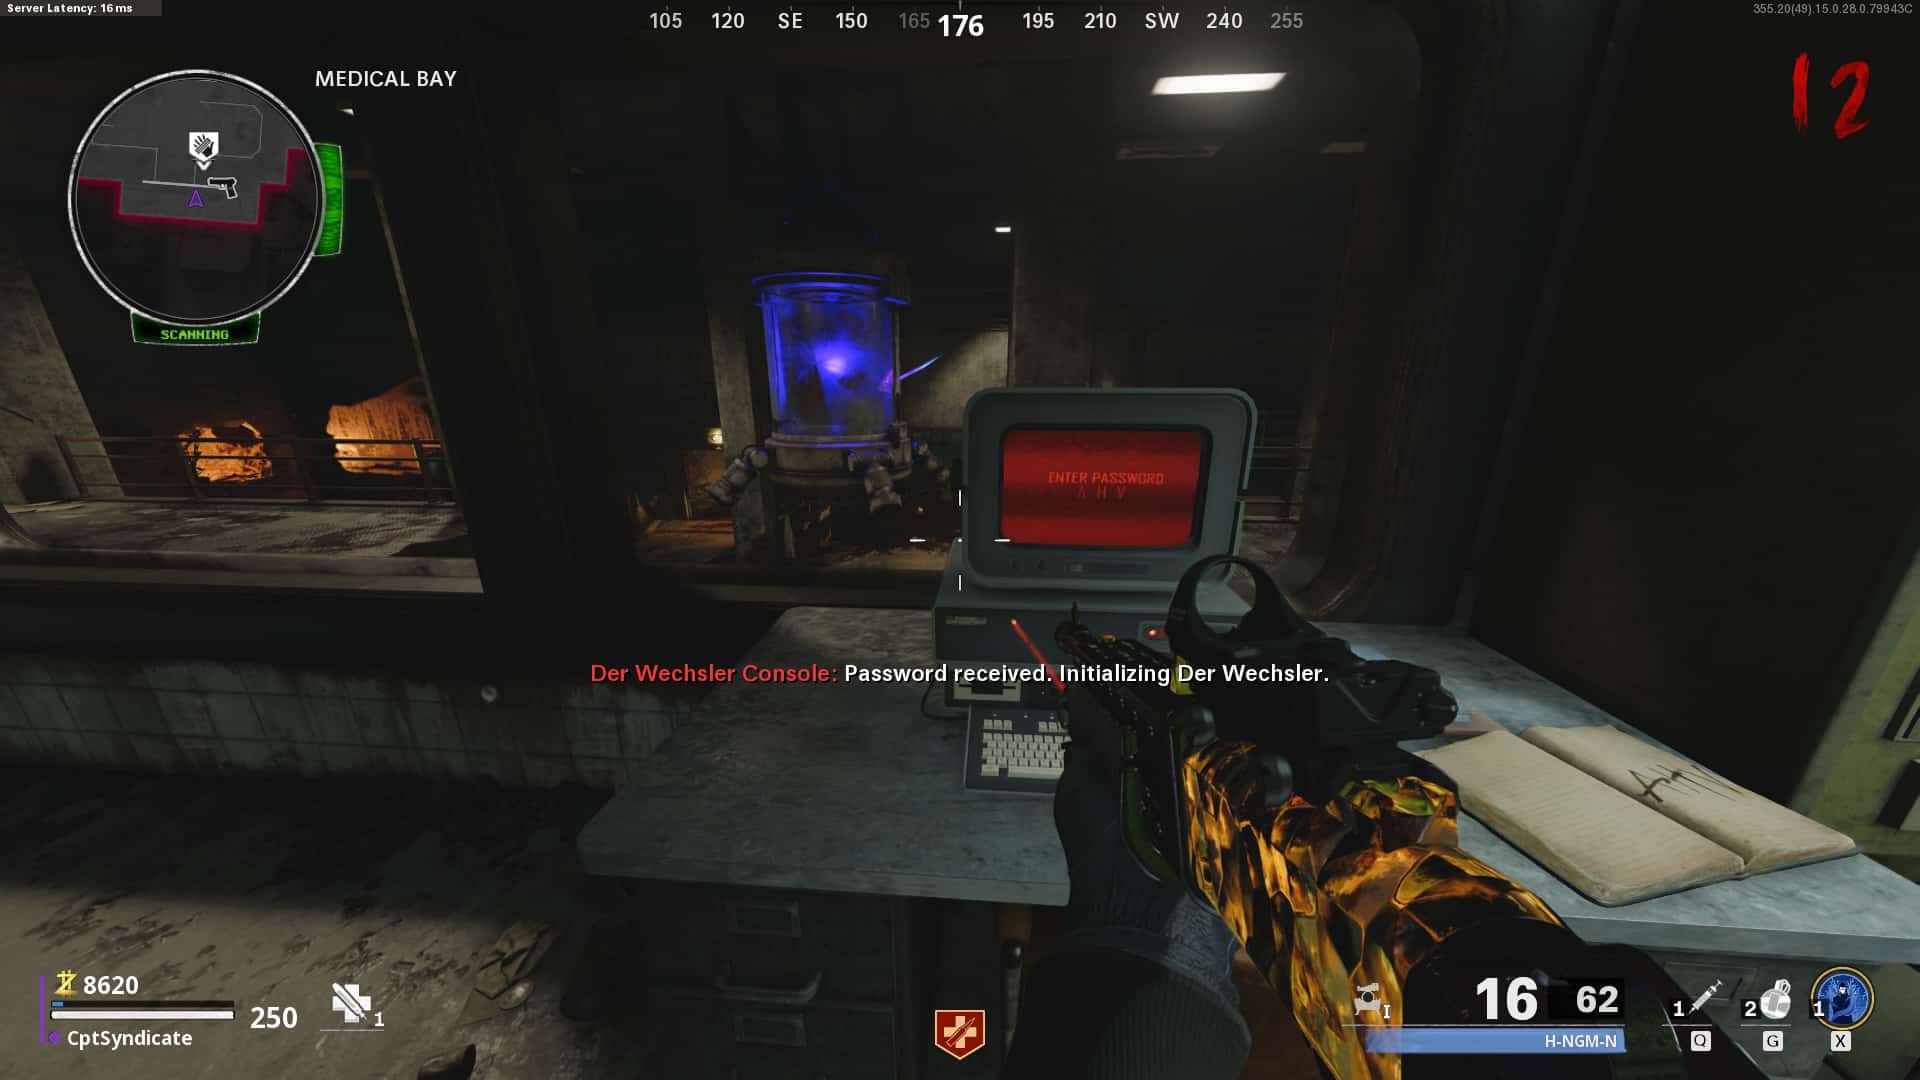
Once Dr. Vogul is done talking you will be teleported back to the real world, and by now, you should be back in the computer room. Interact with the computer and you will put in a password.
But the machine or the container hanging in the middle of the room will not boot up because it won’t have enough power. It is now up to us to restore the power in that hanging container. For that, however, we need all four wonder weapon upgrades unlocked. So let’s unlock the other two, since we have already completed the Diary Step.
D.I.E Electroblot (Electric Upgrade)
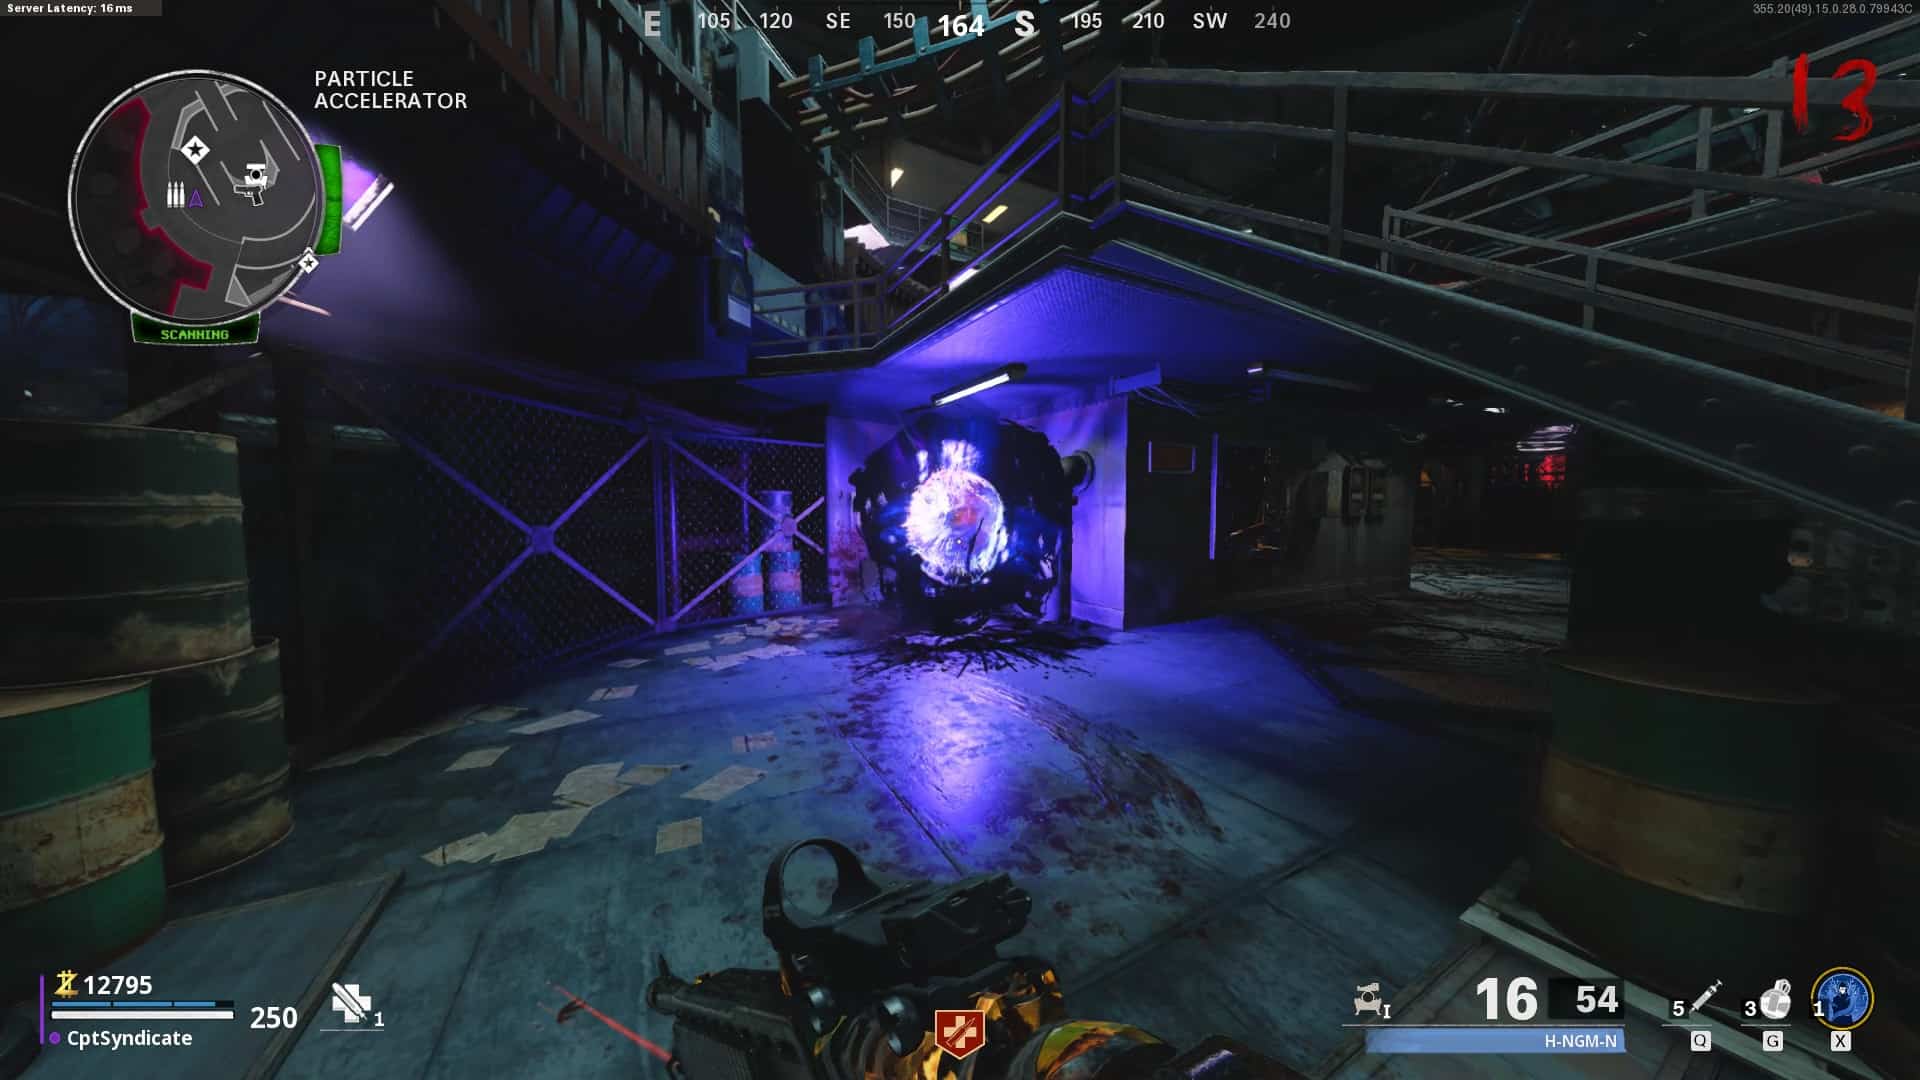
You will notice that there is a new portal under the Pack-A-Punch room stairs. To get the electric upgrade, you must go through this portal only, or else it won’t work. You need to find three crystals that appear in the Dark Aether once you go through this portal.
These crystals must be absorbed using your wonder weapon and transferred to the ammunition box in the Pack-A-Punch room. The crystal locations are always the same but they can only be absorbed and transferred one at a time.
The following are all the locations:
-
- Plane Crash Site
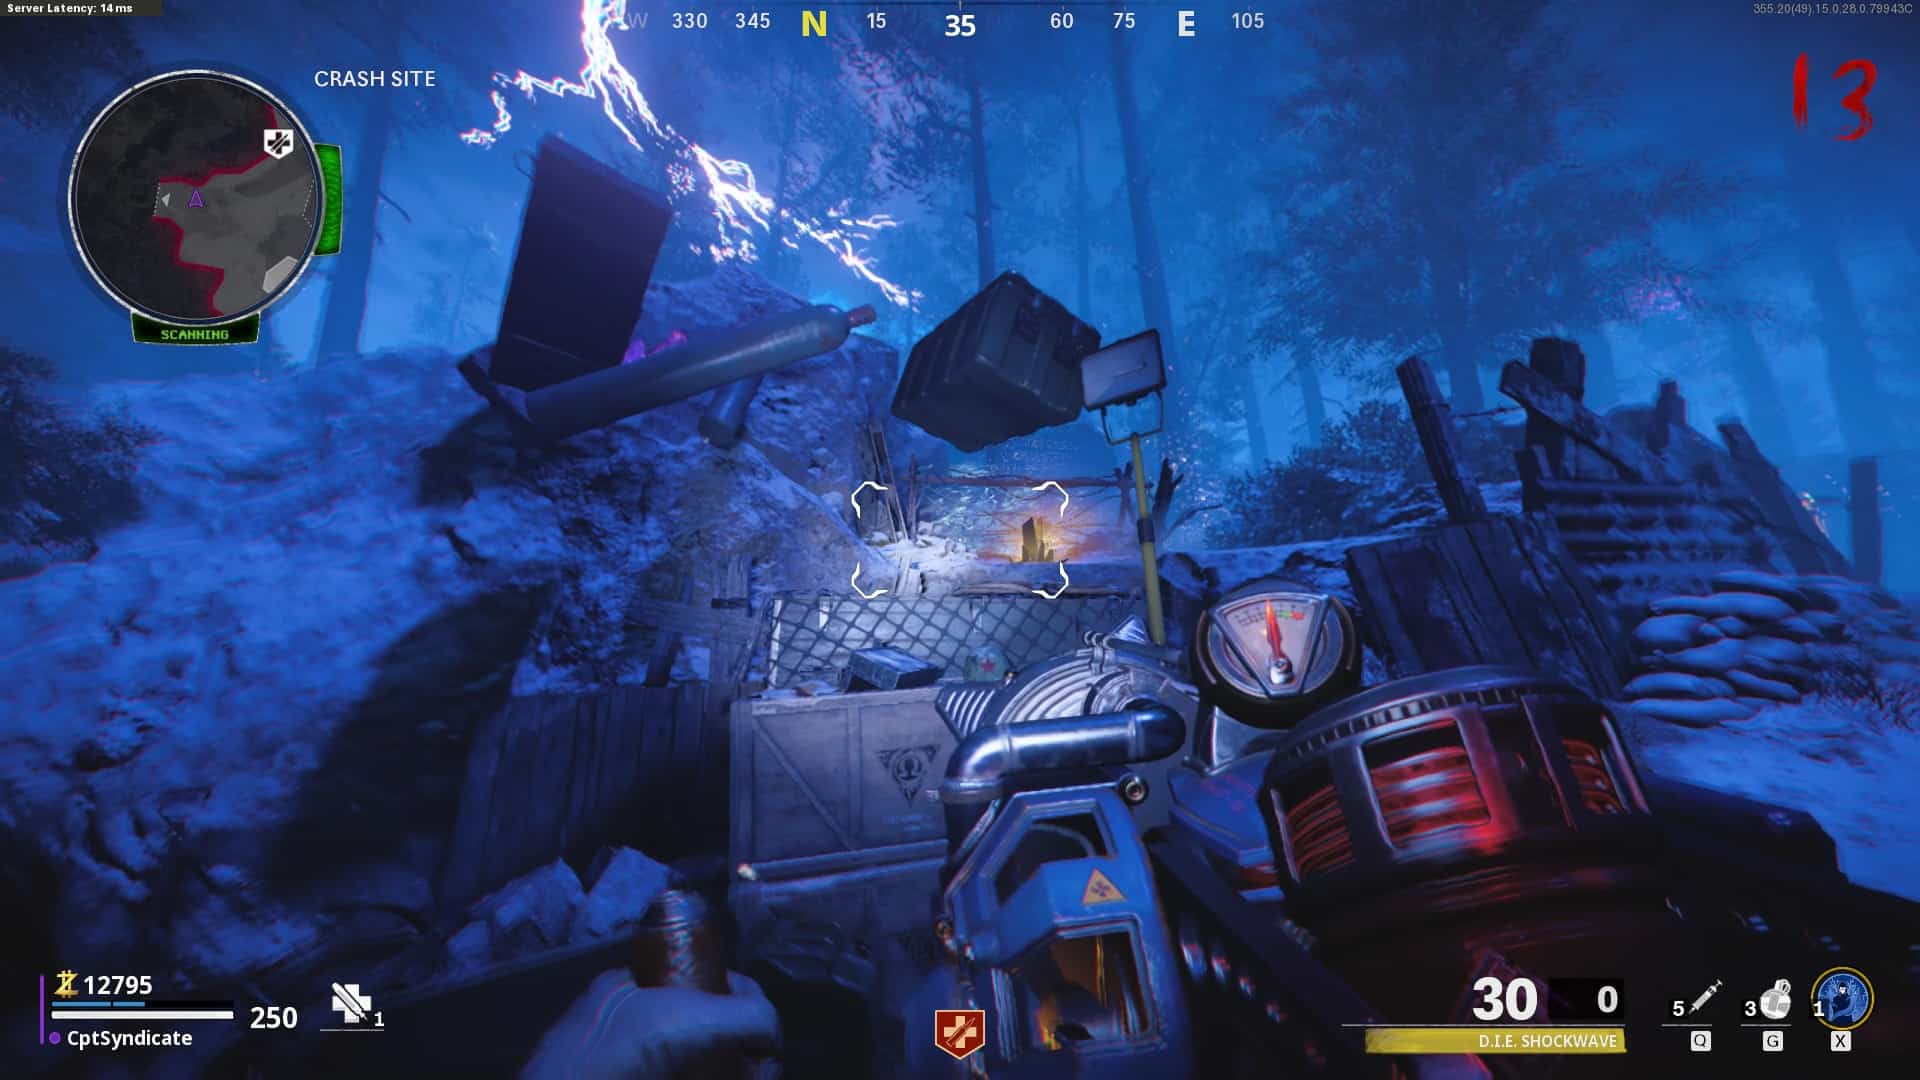
Go through the portal and then make your way back up to the tunnel through the facility entrance. From here, go right, and you will be at the plane crash site area. You will see a yellow glowing crystal to your left as soon as you exit the tunnel.
Use your wonder weapon to absorb the energy from that crystal and bring it back to the Pack-A-Punch room. Go to the far right corner of the bottom floor of the Pack-A-Punch room, just to the right side of the workbench, and you will find another ammunition box. Shoot it to discharge the energy from the crystals into one of three tubes on the box. The tube will light up, indicating that you’ve done this step correctly.
-
- Pond Area
After going back into the portal under the Pack-A-Punch room stairs, make your way back to the tunnel through the facility entrance and turn left. You will exit and reach the pond area.
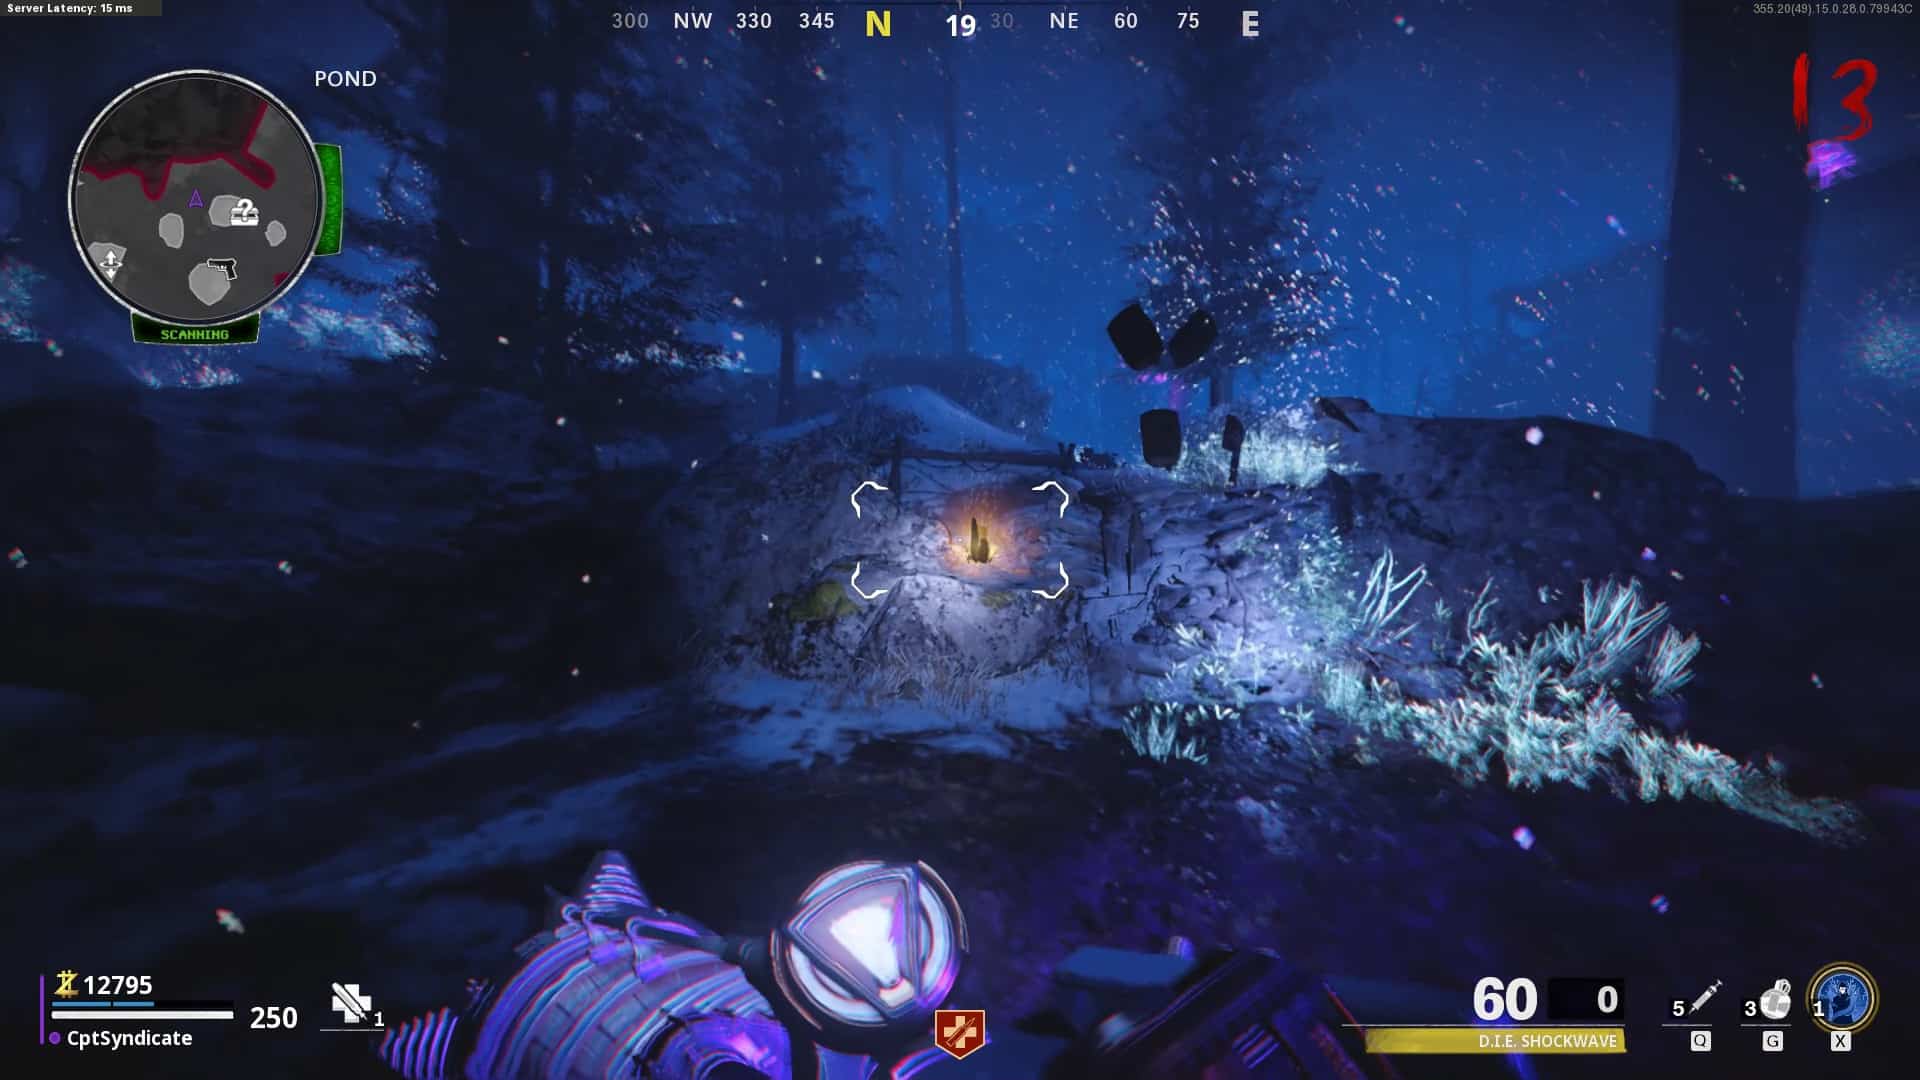
Here look to your left, and you will see another crystal on the big rock.
-
- Top of Nacht Der Untoten
The last one is on top of Nacht, where the Wunderfizz Perk Machine is located. The crystal will be on the right side of the machine outside the accessible area. Absorb it and bring it back to the ammunition box.
Once you’ve done all three you will have unlocked the Electric Upgrade. You can access this upgrade anytime by going to the ammunition box in the far right corner of the workbench in the Pack-A-Punch room.
D.I.E Thermophasic Upgrade (Fire Upgrade)
On to our fourth and final upgrade, that is, the Fire Upgrade. You will now notice that another anomaly has appeared in the pond area. This new anomaly or portal will be next to the tree where we collected the liquid nitrogen from earlier, for the Ice Upgrade.
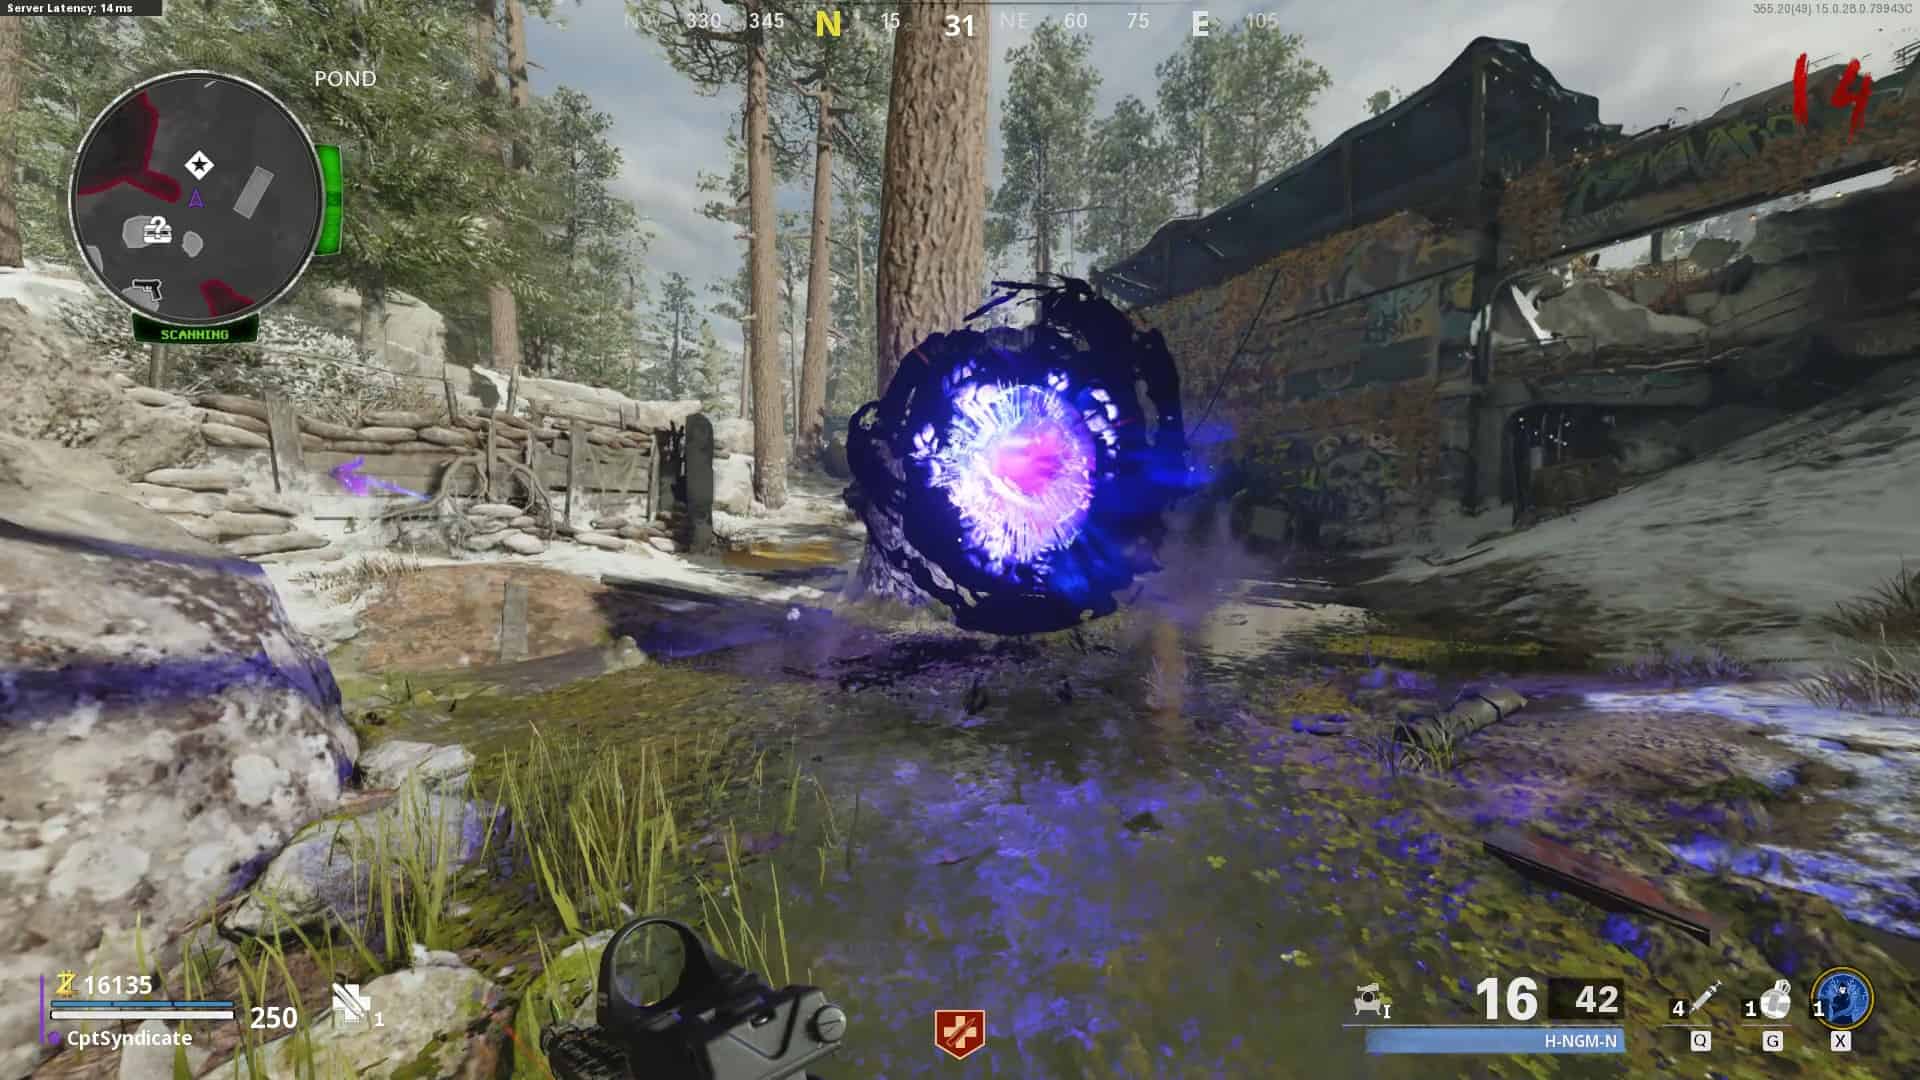
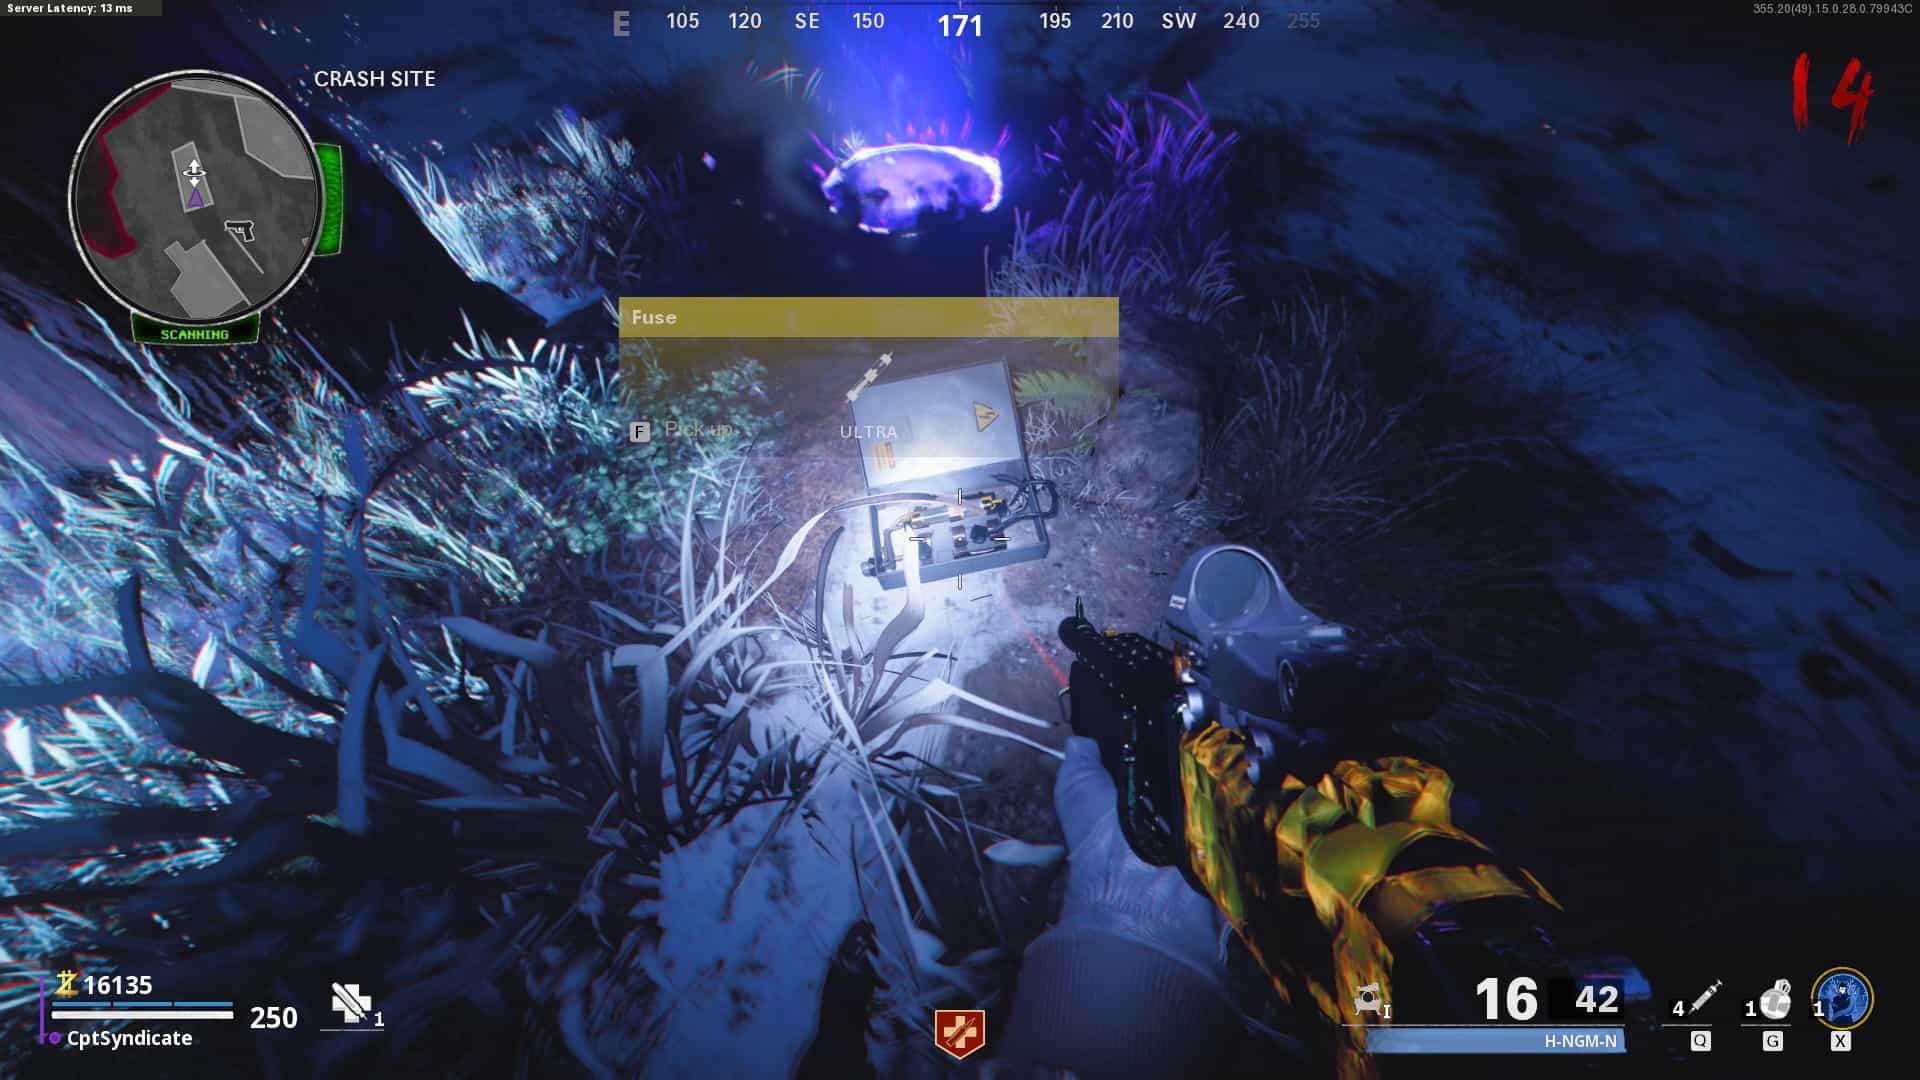
Go through the portal and make your way to the plane crash site. There will be a floating plane that was originally not floating in the real world.

Look below the floating plane, and there will be a fuse box. Either shoot it or melee it to open it up. It will reveal a fuse that you can collect.
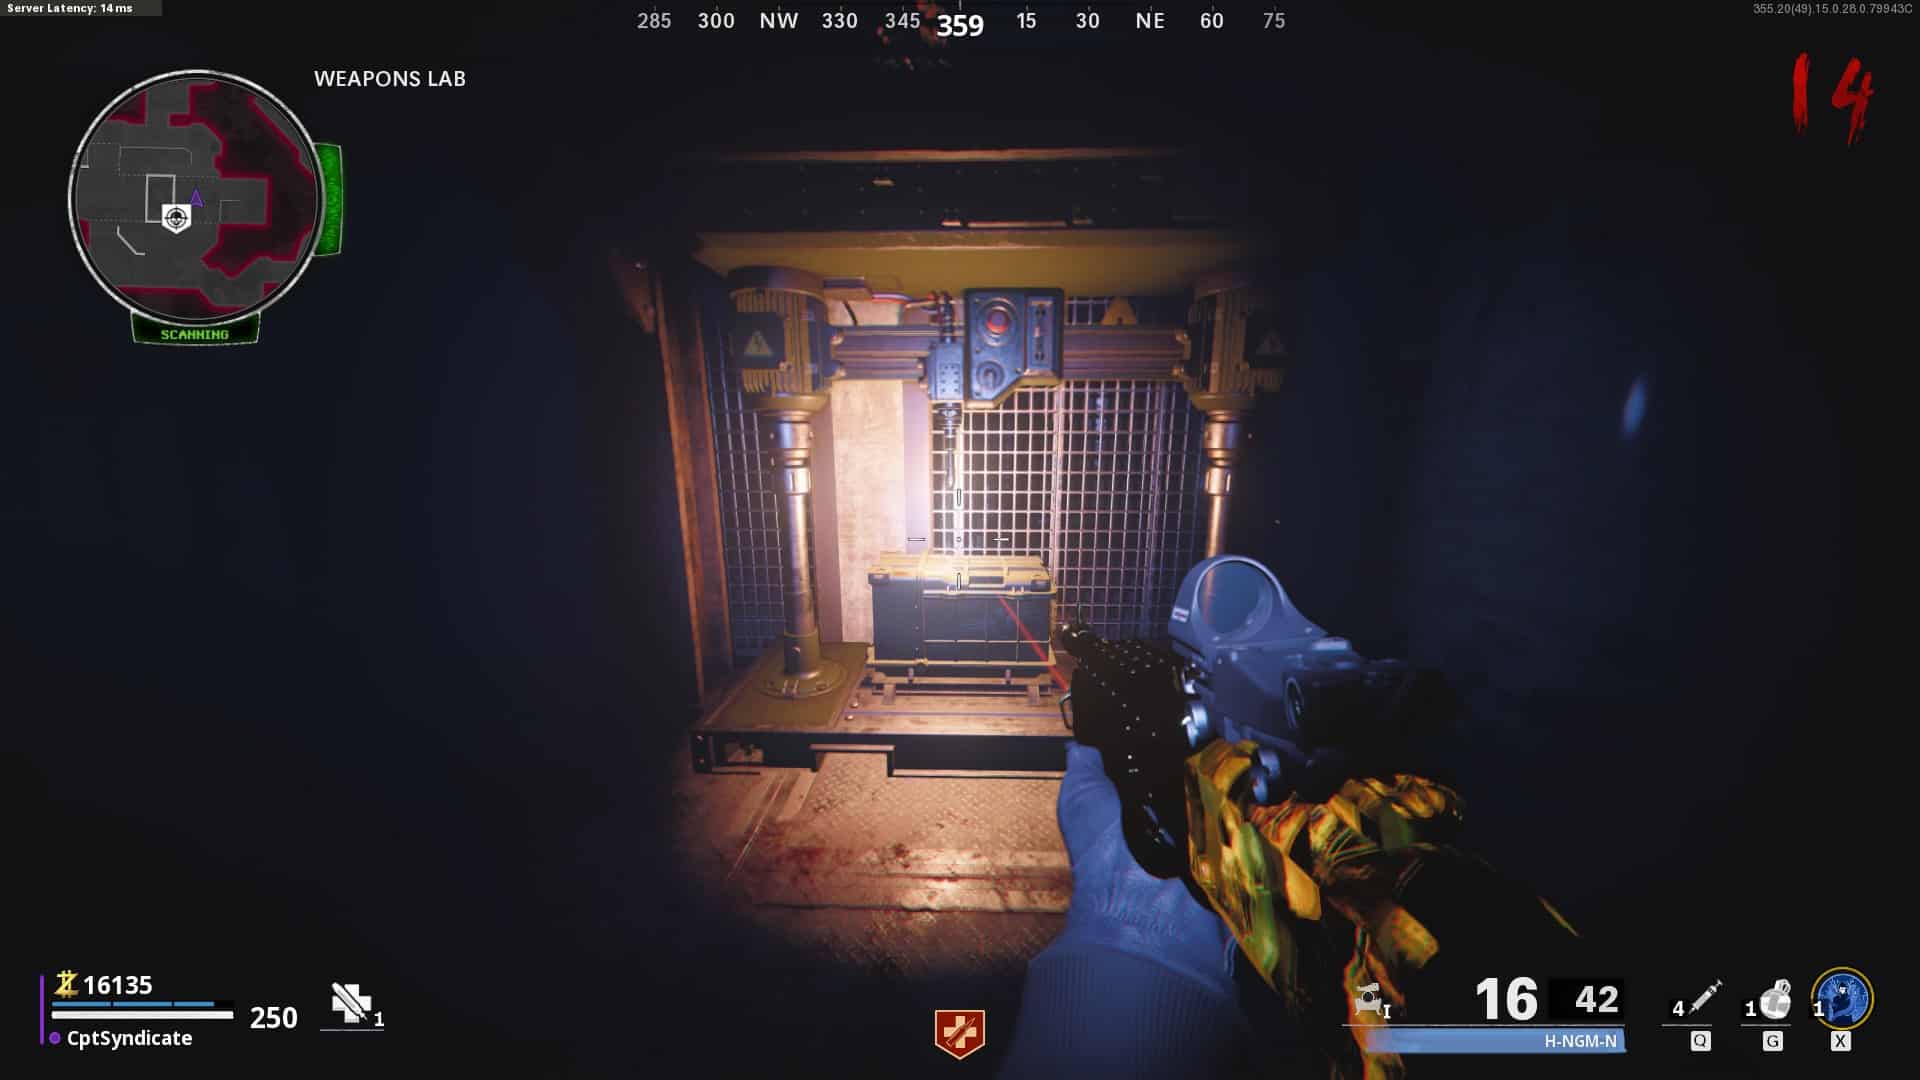
Take this fuse back to the Weapons Lab and descend to the lower level. You will see a plasma cutter with an ammunition box on it. Insert the fuse into the plasma cutter, and it will cut open that box. Once it is done, you will be teleported back to the real world.
Go back to the pond area and check the back of the truck. There should be a box that will give you the Fire Upgrade. This box was locked before doing the plasma cutter step.

Now you have all four wonder weapon upgrades.
Restore Power Using The Four Upgrades
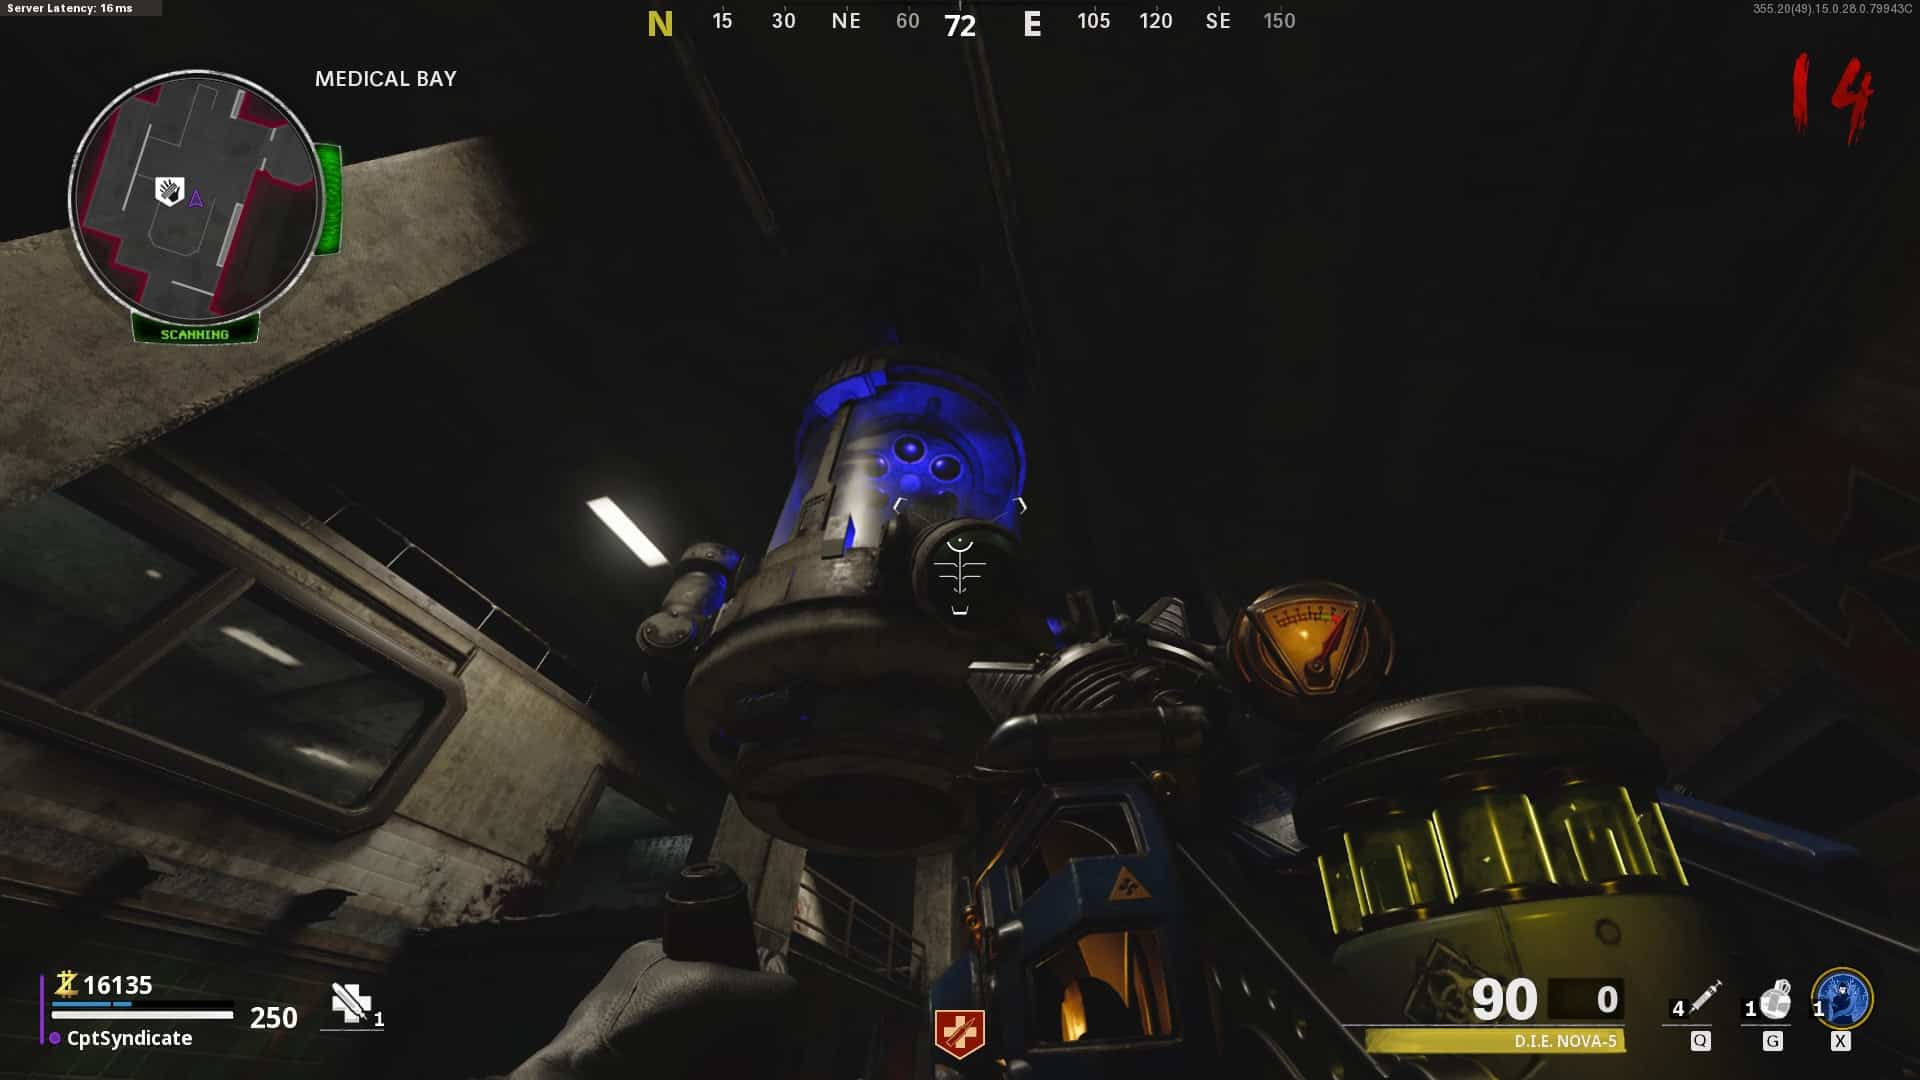
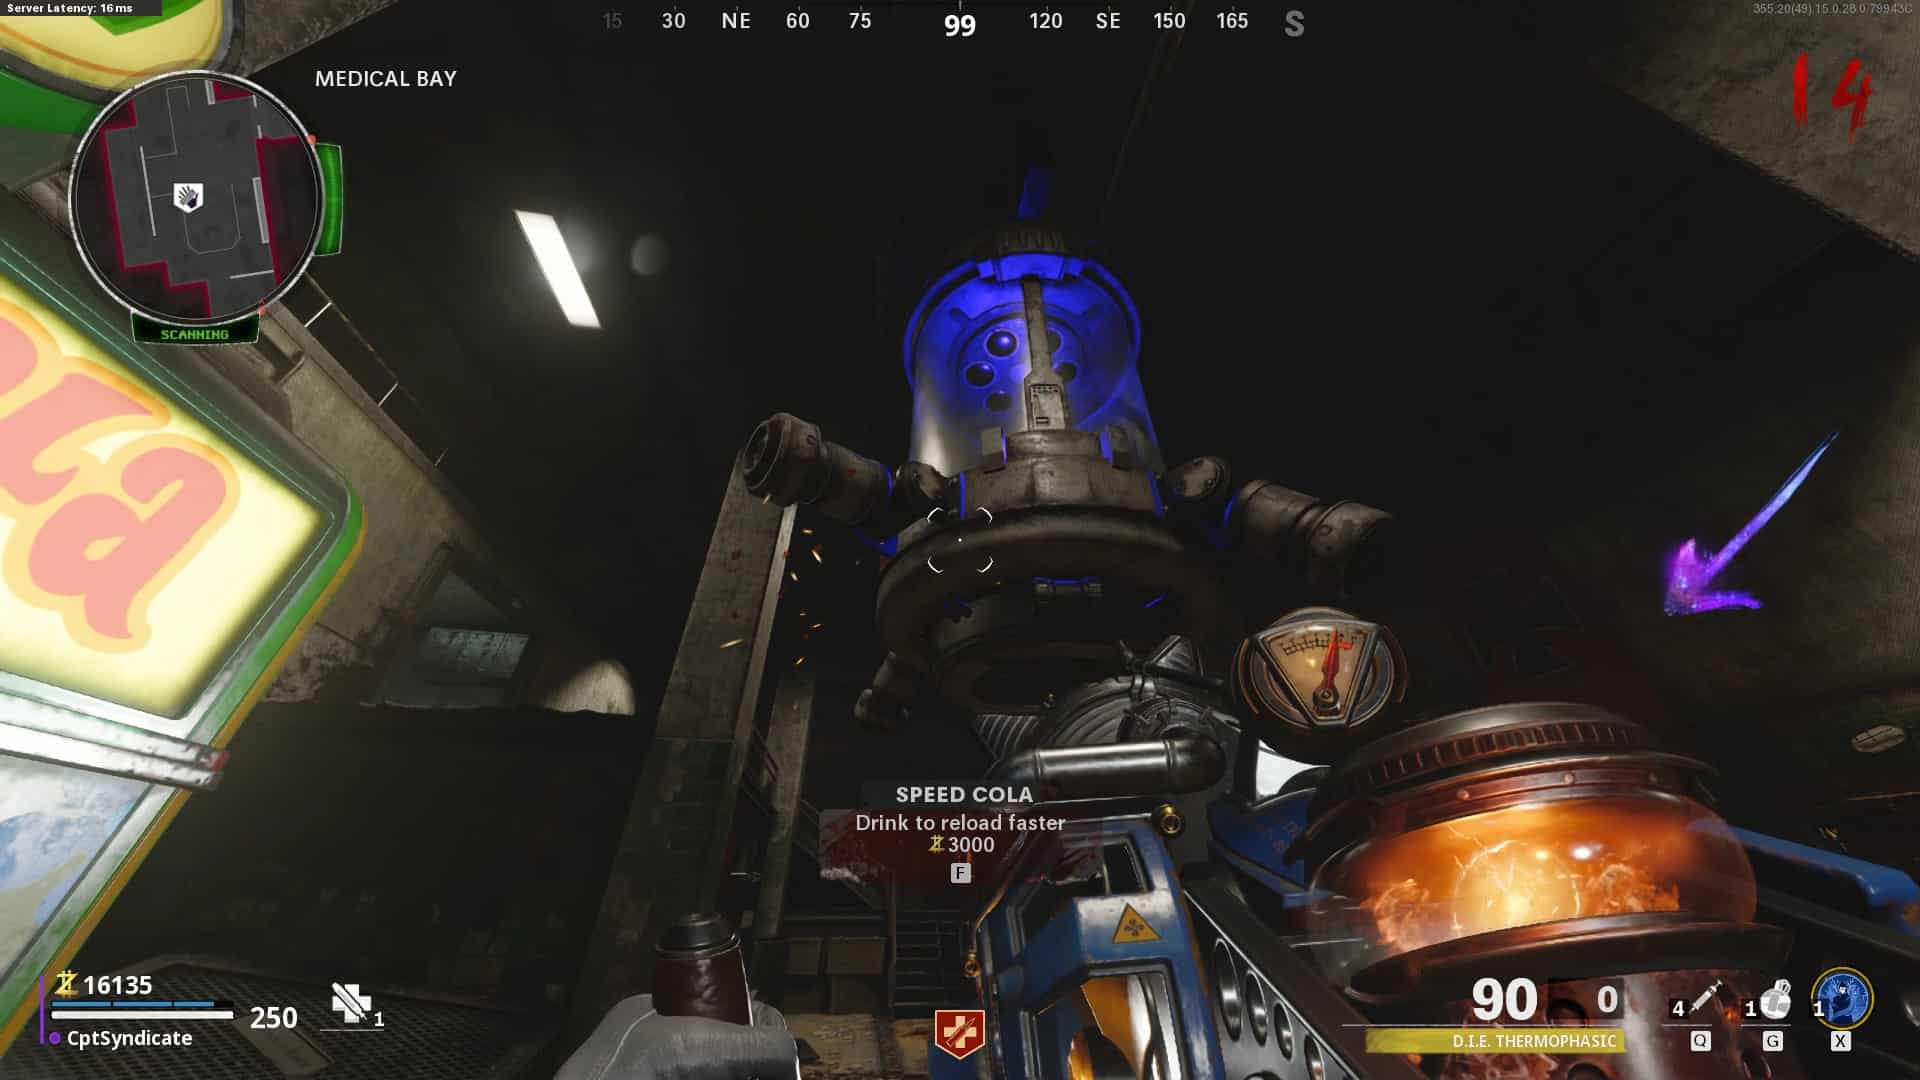
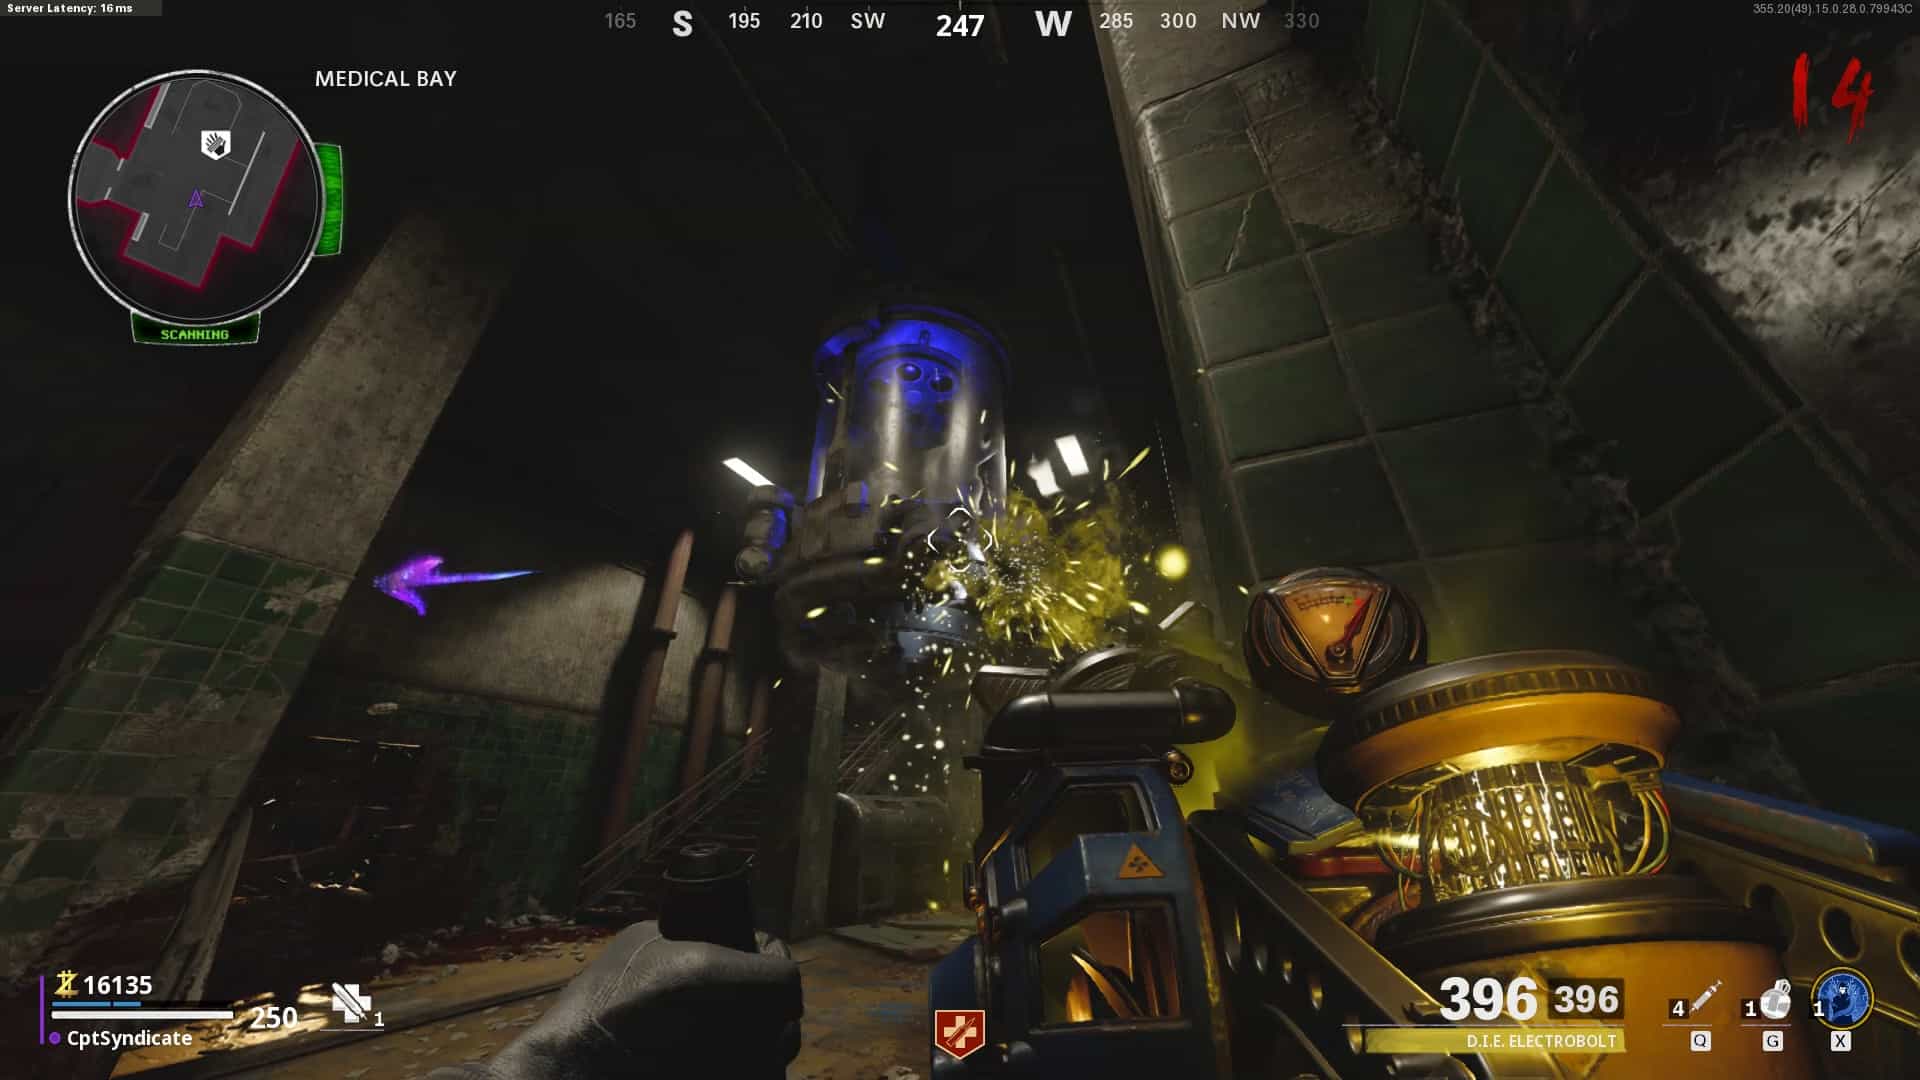
Now you must use the four unlocked elemental upgrades to restore power to the hanging container in Medical Bay.
This is done by firing each ammo type at each leg of the container. Once you shoot the leg with its correct ammo type, it will be lifted.
This is how the order goes (if you are looking at the container entering the medical bay from the tunnel entrance side):
-
- The right leg will be raised using the Nova 5 Upgrade (Poison Upgrade)
-
- The left leg will be raised using the Thermophasic Upgrade (Fire Upgrade)
-
- Then, on the other side, the right leg will be raised using the Electrobolt Upgrade (Electric Upgrade)
-
- The left leg will be raised using the Cryo-Emitter Upgrade (Ice Upgrade)