‘Silently the Butterfly Crosses the Valley’ is a secret world quest introduced in Genshin Impact 4.4 with the addition of the new sub-region, Chenyu Vale. This world quest is not marked on the map, and you don’t get the regular blue quest marker either. You must go to a specified location to start it. In this guide, we show you how to start the quest and how to find all the butterflies.
Pre-requirement
There is only one pre-requirement, which is also an optional pre-requirement. There is a secret location that you must go to at the end of this quest to complete it. It is called Adeptus’s Repose, unlocked once you’ve completed ‘An Ancient Sacrifice of Sacred Brocade,’ the last act of the main world quest called ‘Chenyu’s Blessings of the Sunken Jade.’
However, even if you haven’t completed the pre-required quest, you can get there as the game gives you a temporary teleporter to get to Adeptus’s Repose. But once you’ve completed this quest, you will teleport out of that location and need to complete An Ancient Sacrifice of Sacred Brocade quest to access that area permanently. It is locked behind a green barrier at Yaodie Valley if you don’t complete it.
Quest Start
To start this quest, you must go to an underground cave called Lingshu Courtyard. Once you enter the cave, proceed deeper until you get a cutscene where you meet a Carefree Simulacrum.
After the cutscene, walk closer to the butterfly, which will fly to one of the hanging cauldrons. Your quest will start from here, and you must do the same with five more butterflies.
Butterfly 1
Continue following the wooden platform forward until you come across some enemy Fungi. Take them out, and an exquisite chest will spawn. Go towards the chest and jump down. Pick up the cauldron using your adeptal energy and place it on the platform next to the big stone cauldron with another small cauldron.
Once the green barrier disappears, pick up the cauldron from inside and place it on a platform next to the green barrier big stone cauldron with a butterfly. Pick up the second cauldron and place it on the second platform next to the big stone cauldron with the butterfly, and the green barrier will vanish.
Go to the butterfly and follow it until it goes into one of the hanging cauldrons.
Butterfly 2
Keep following the road to the next location, where you can find the second butterfly. When you get to the second location, you will notice a couple of pink butterflies bunched together by a stone cauldron statue. Interact with them, and they will scatter. You need to go to each butterfly scattered around this area to retrieve them and send the last butterfly to the cauldron. The first butterfly is by some stone cauldron statues directly behind you.
The second is right next to you by some stone formations.
The third is inside the big stone cauldron.
The last one is on the tall, steep rock pillar. You can activate the green Windmill mechanism to create a wind current and glide up to the butterfly.
Once you’ve retrieved all four, an exquisite chest will spawn with the last butterfly that will fly to the hanging cauldron upon getting near it.
Butterfly 3
Continue moving forward, and you will come across a drop. One butterfly is at the bottom, but don’t jump down yet. Go across the steep fall, and you will find a room blocked by a huge spider web wall.
Destroy the explosive barrels next to the web wall to destroy it and enter the area. You will see a lot of Hilichurl training equipment. Destroy the equipment by shooting at one of the explosive barrels, and many Hilichurls and Lawachurls will spawn.
Take them all out, and an orange butterfly will spawn. Get close to the butterfly and follow it until it flies to one of the hanging cauldrons.
Butterfly 4
After that, jump down and you will see a mural on the wall. You need to imitate this mural. First, pick up the Sacred Simulacrum using your adeptal energy and place it on the illuminated platform. After that, climb up on the rock pillar until you see a butterfly come out of the mural on the wall.
Go to the butterfly and follow it until it flies to one of the hanging cauldrons.
Butterfly 5
The final butterfly can be obtained by starting a time trial challenge right next to you as soon as you finish getting the fourth butterfly. Complete the time trial challenge and collect the yellow particles to get the final butterfly.
Ancient Tree Branch
Once you’ve acquired the final butterfly, return to the Carefree Sacred Simulacrum and talk to it. After the cutscene, go to the ancient tree in the middle and interact with the glowing point to collect an Ancient Tree Branch.
Adeptus’s Repose
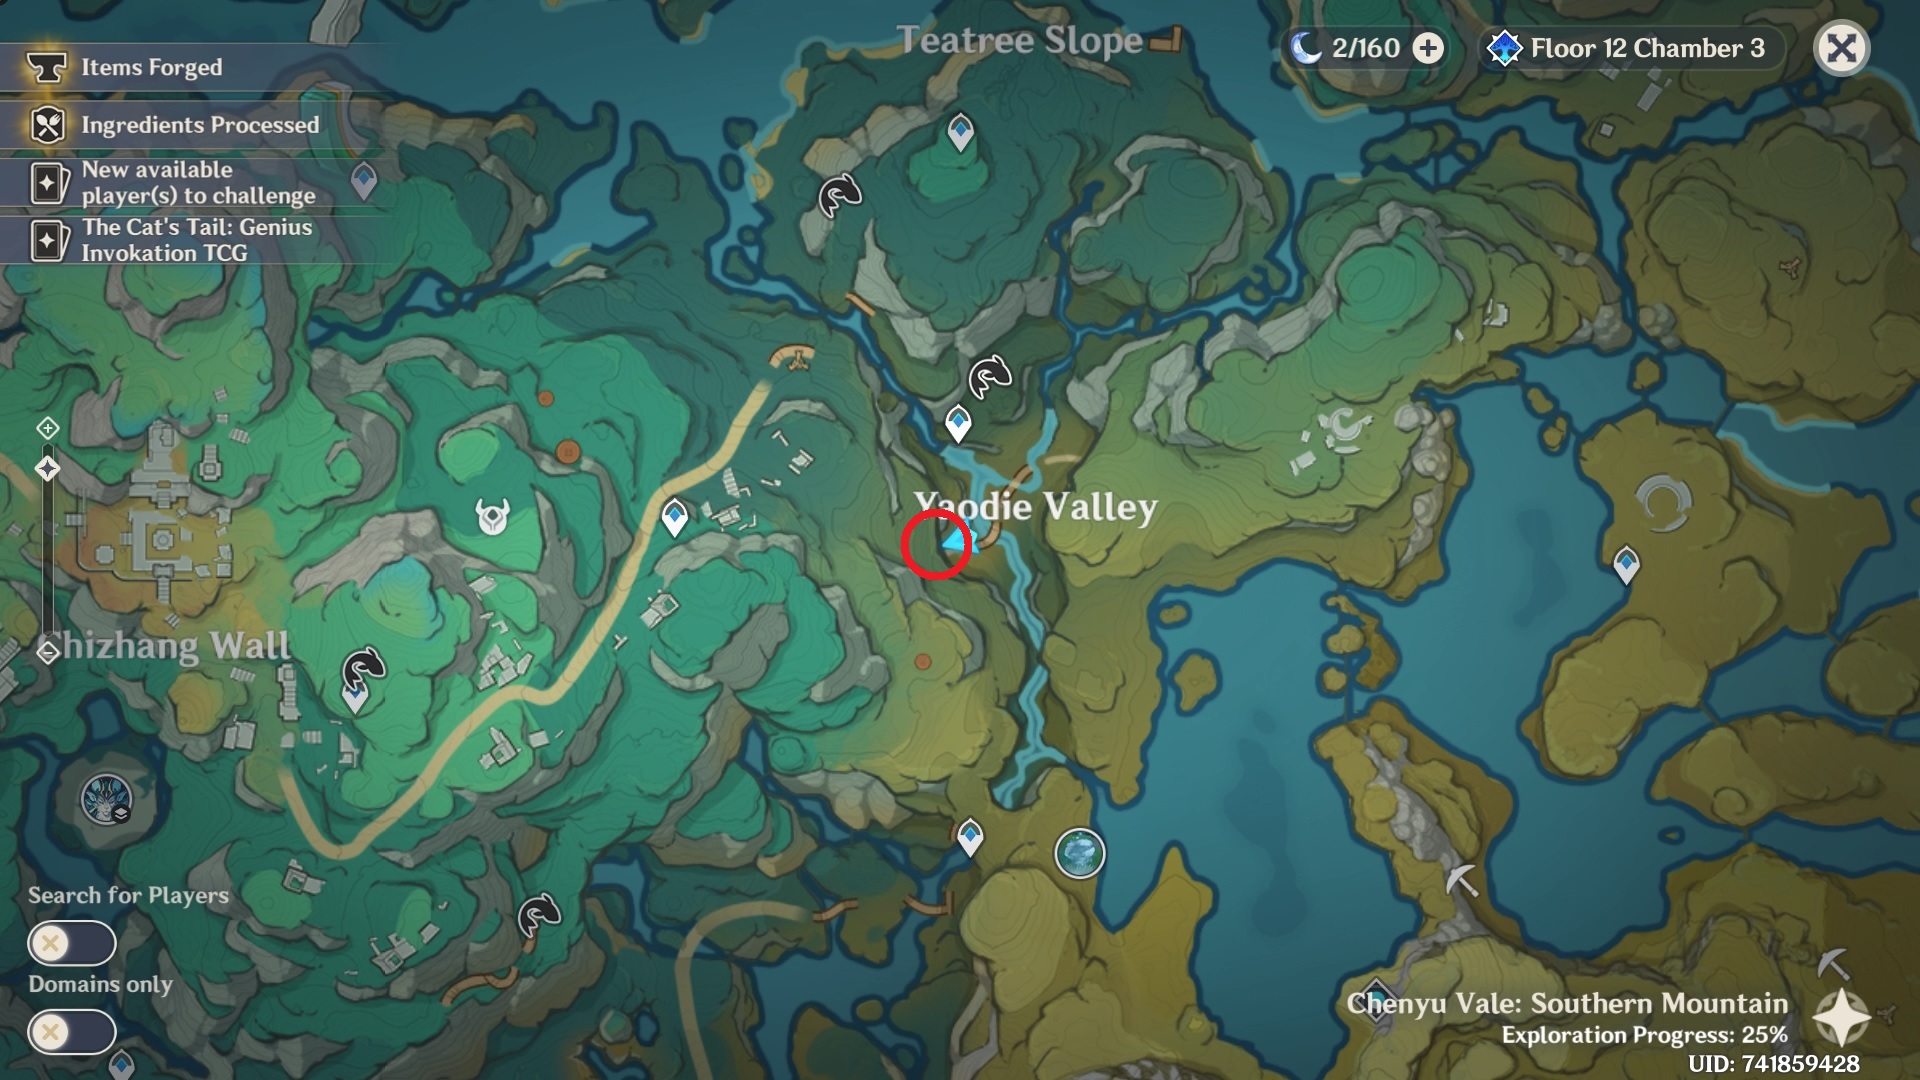
This is the part where you can teleport to the Yaodie Valley teleport waypoint right outside Adeptus’s Repose if you’ve completed the pre-required quest or teleport there using the butterfly teleporter. In any case, it is much faster to teleport using the butterfly teleporter created for you once you’ve picked up the Ancient Treet Branch.
When you pick up the branch, you will notice a small ripple effect in the water with butterflies flying over it. Interact with the ripple effect, and you will be teleported to Adeptus’s Repose.
Once you’re at the location, interact with the medicine jar with the butterflies and use the Ancient Tree Branch to remove a green barrier and unlock the hidden vault.
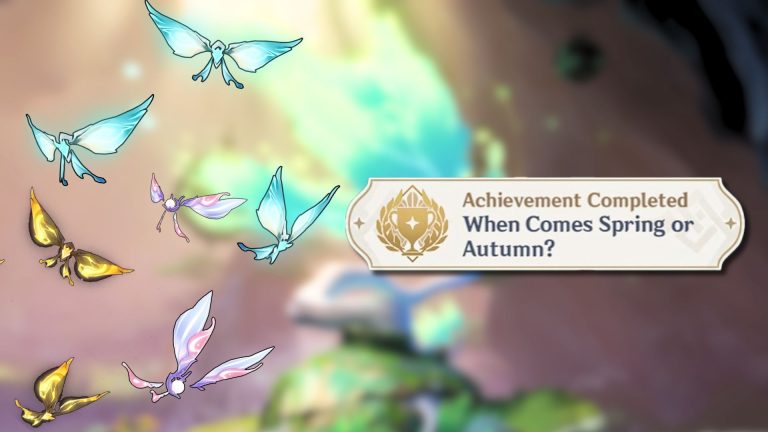
Head inside the vault and read the Ancient Text to get a secret achievement and complete this quest. You need to read Ancient Text (I) to effectively complete this quest and get a secret achievement called ‘When Comes Spring or Autumn?’
And that concludes this hidden world quest. Remember, the first three murals are collected as part of Chenyu’s Blessings of the Sunken Jade main world quest, so ensure you complete that as well.