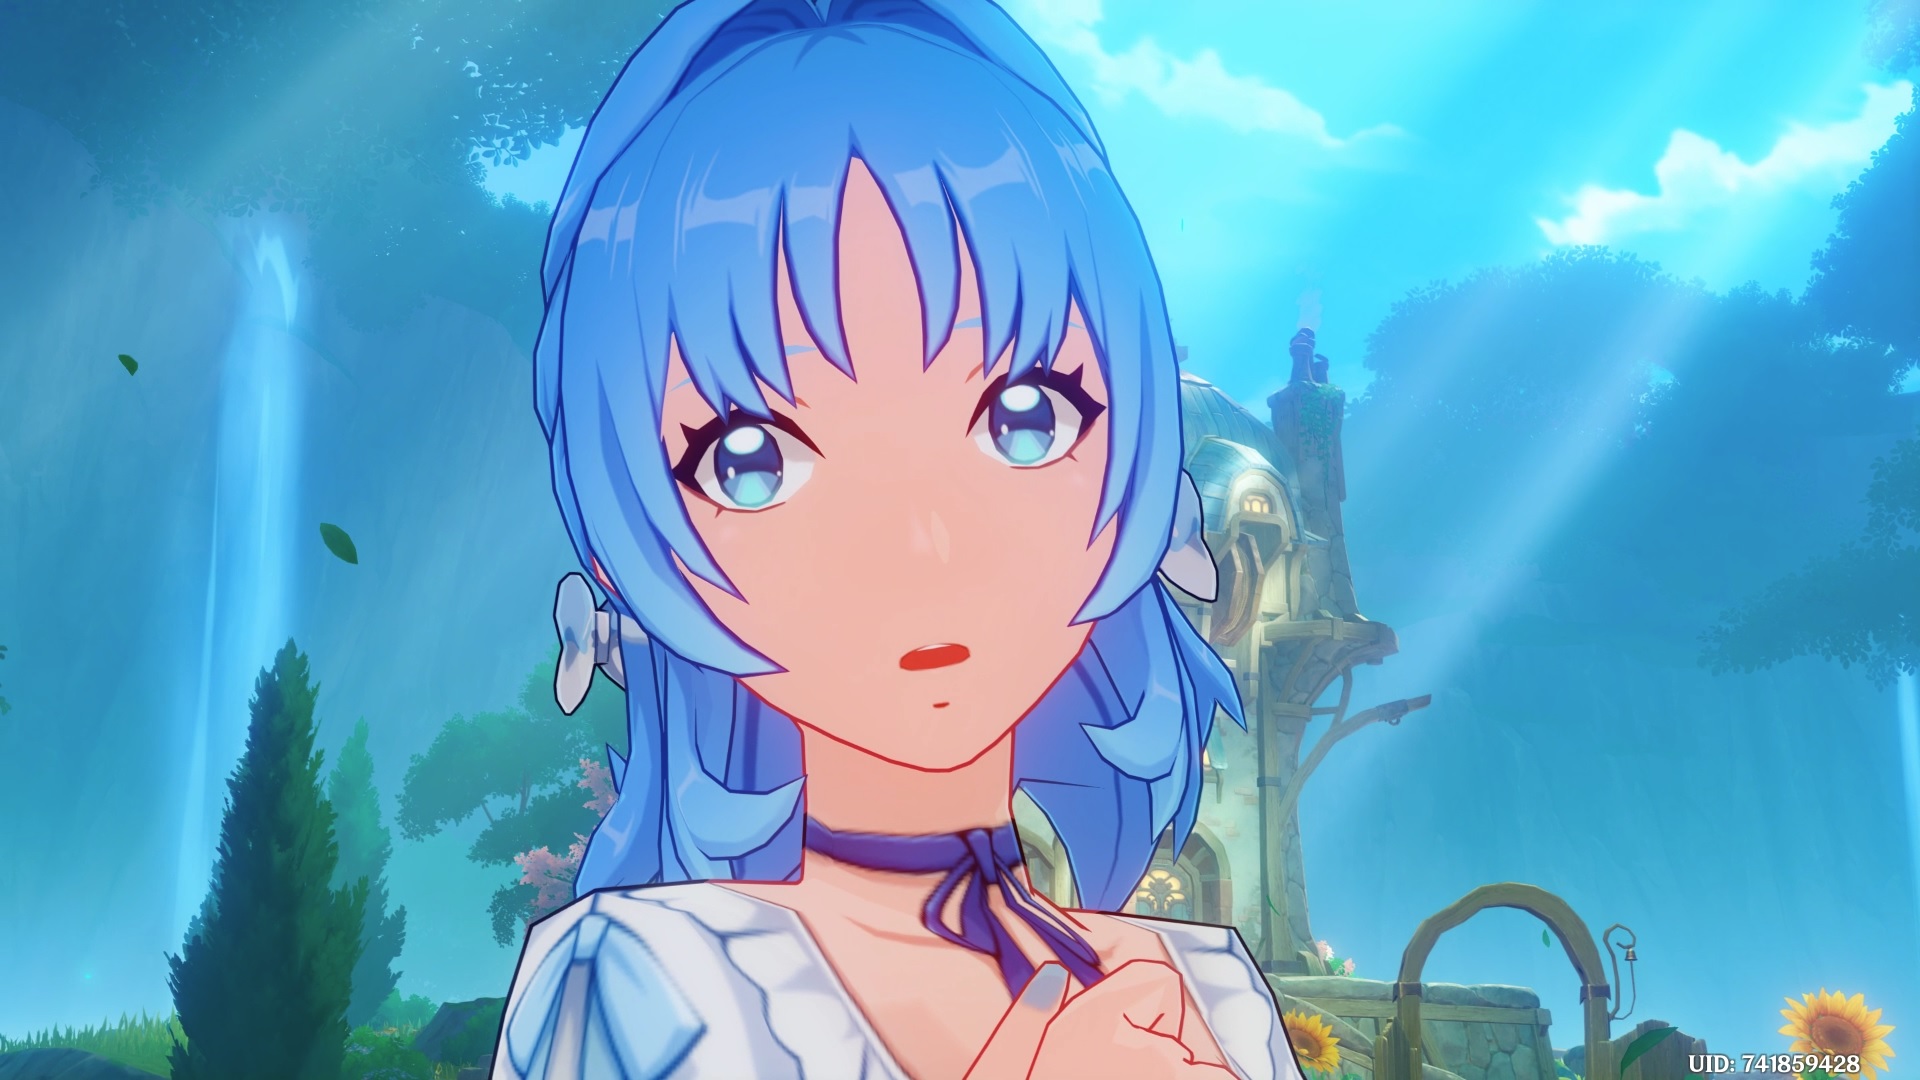
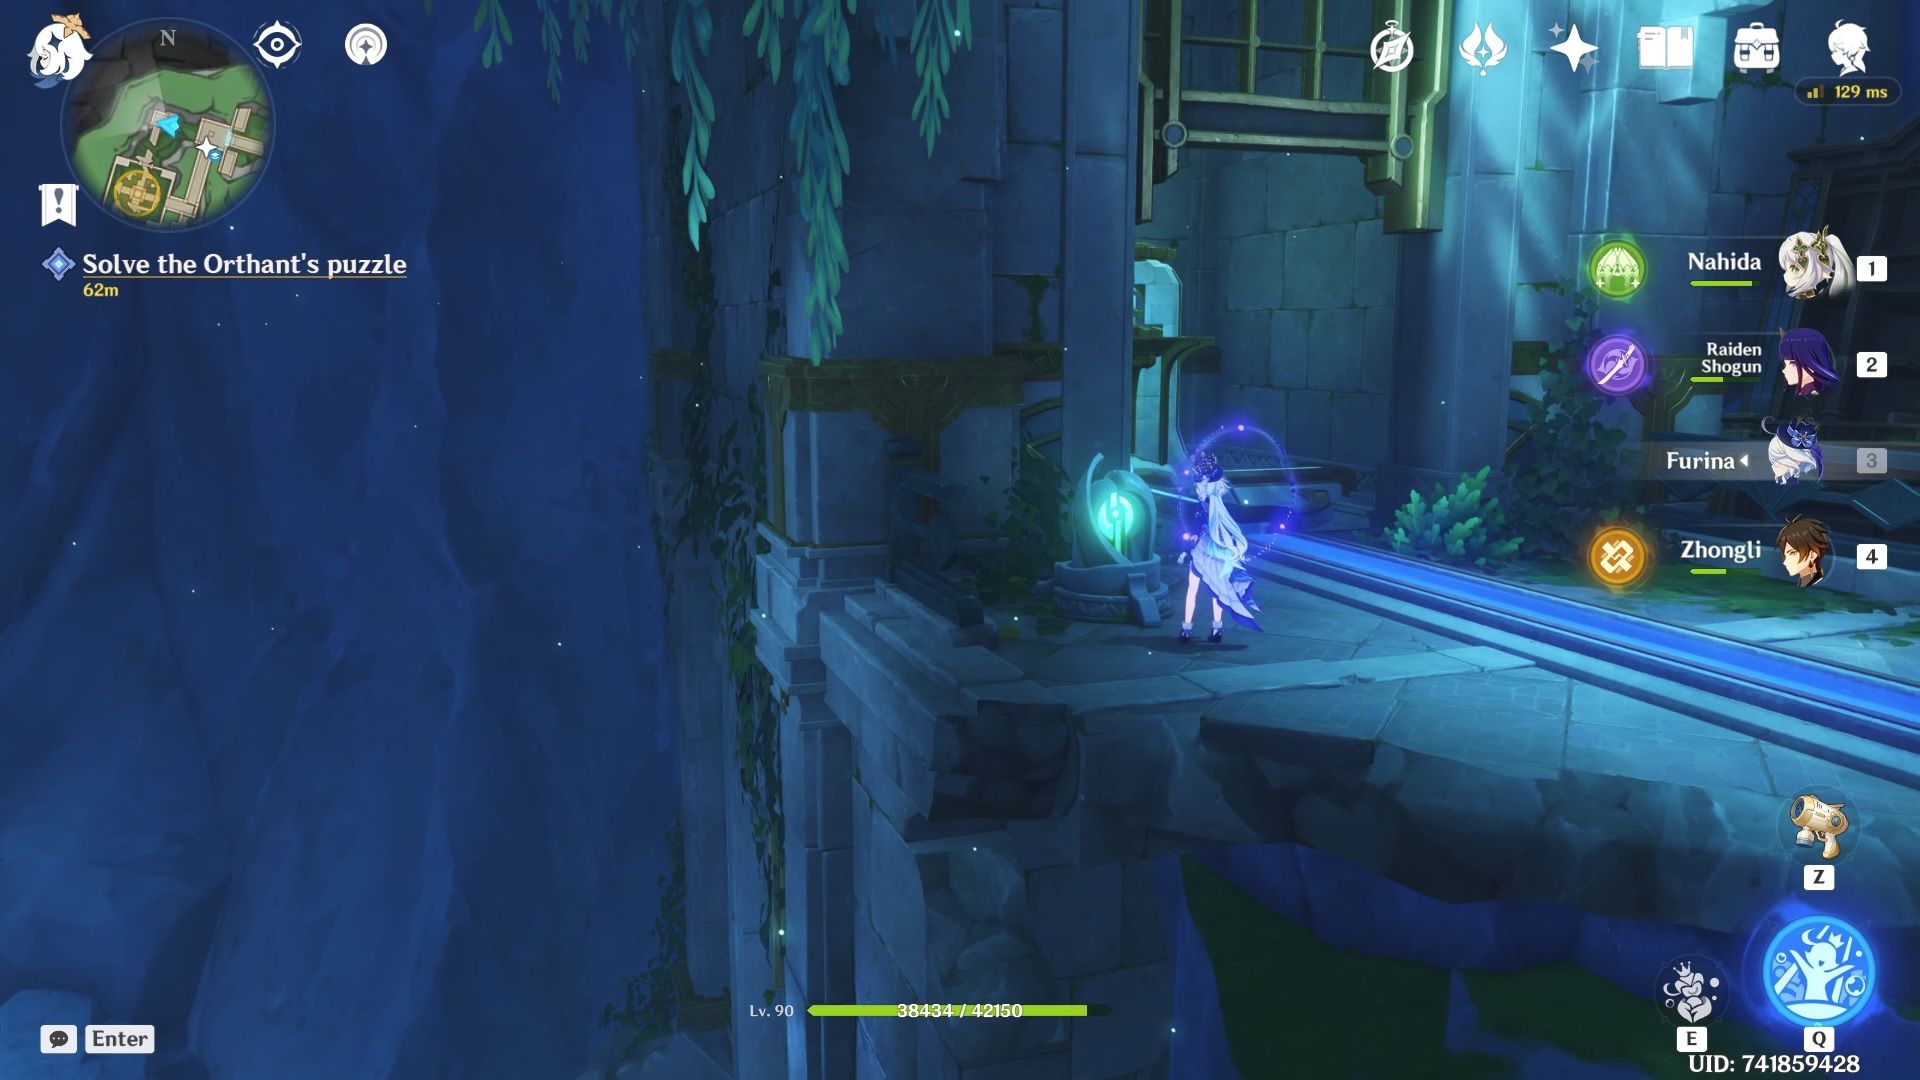
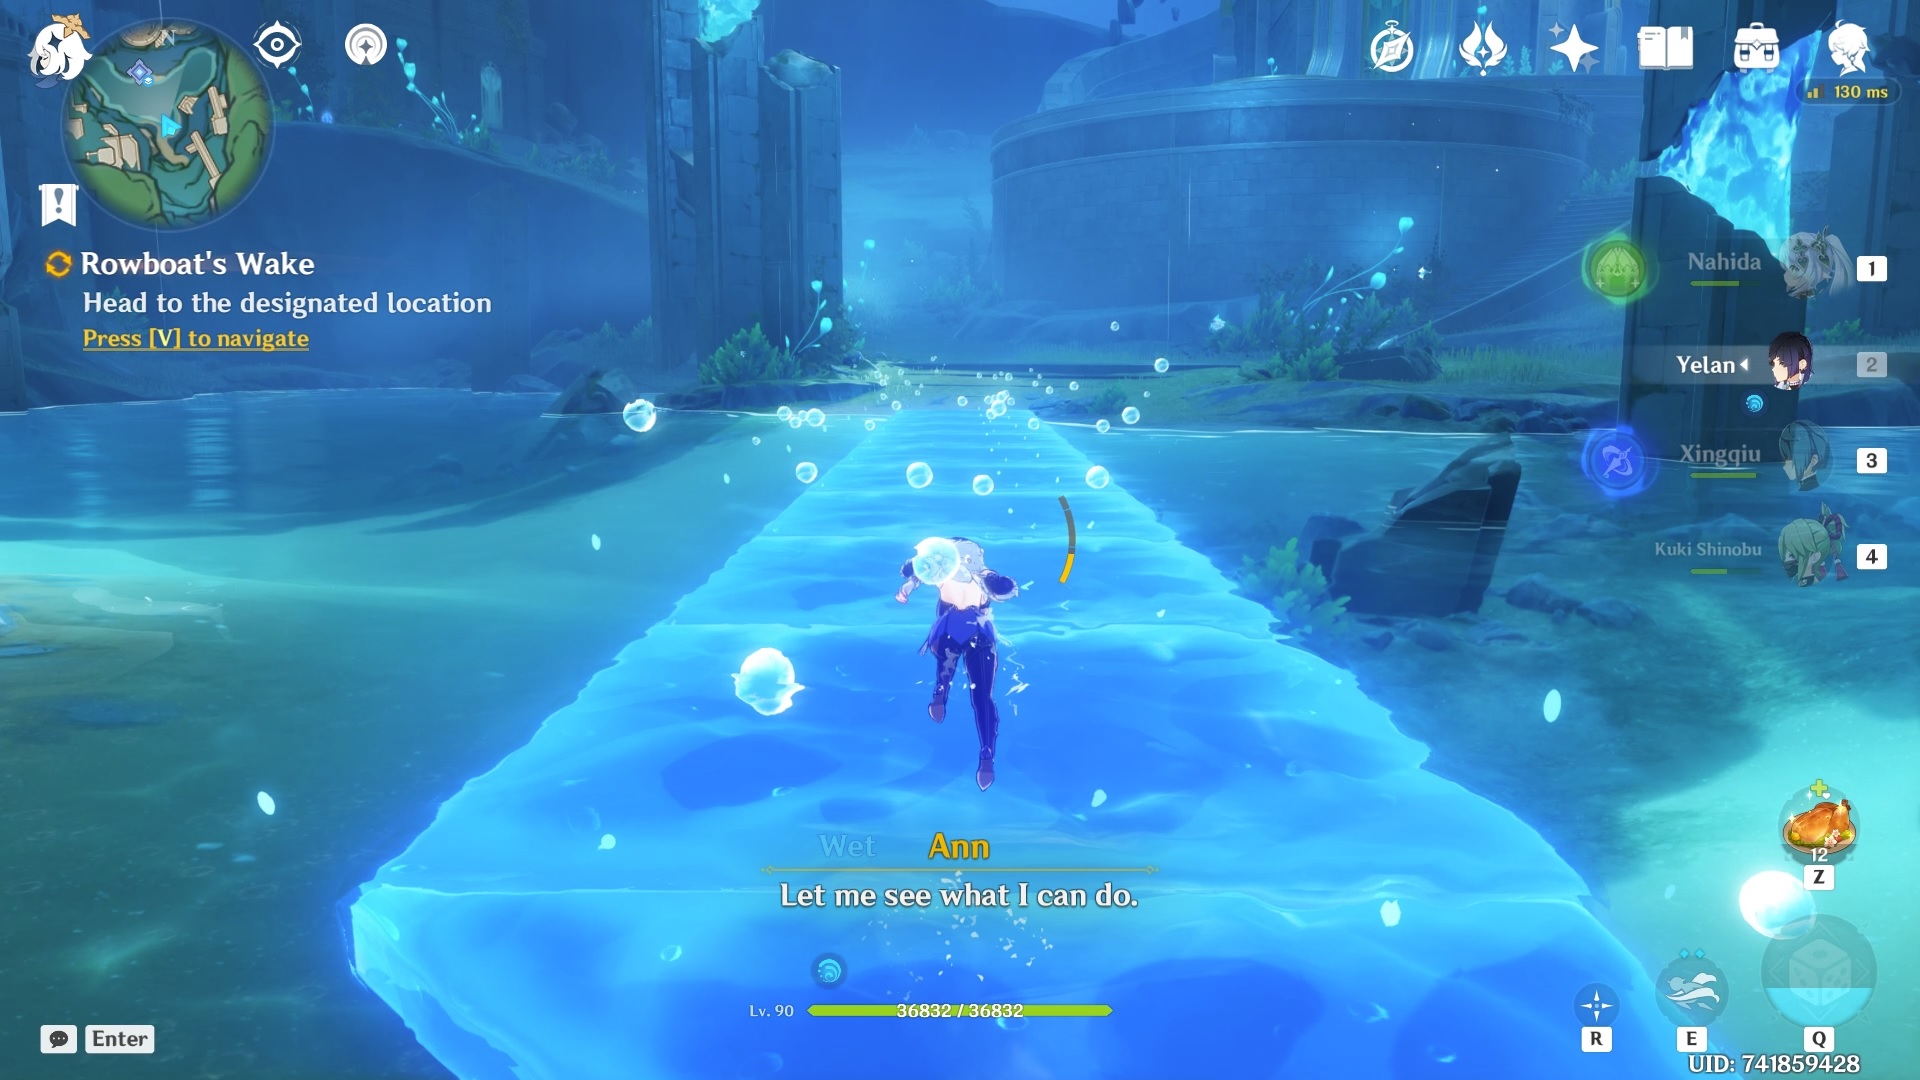
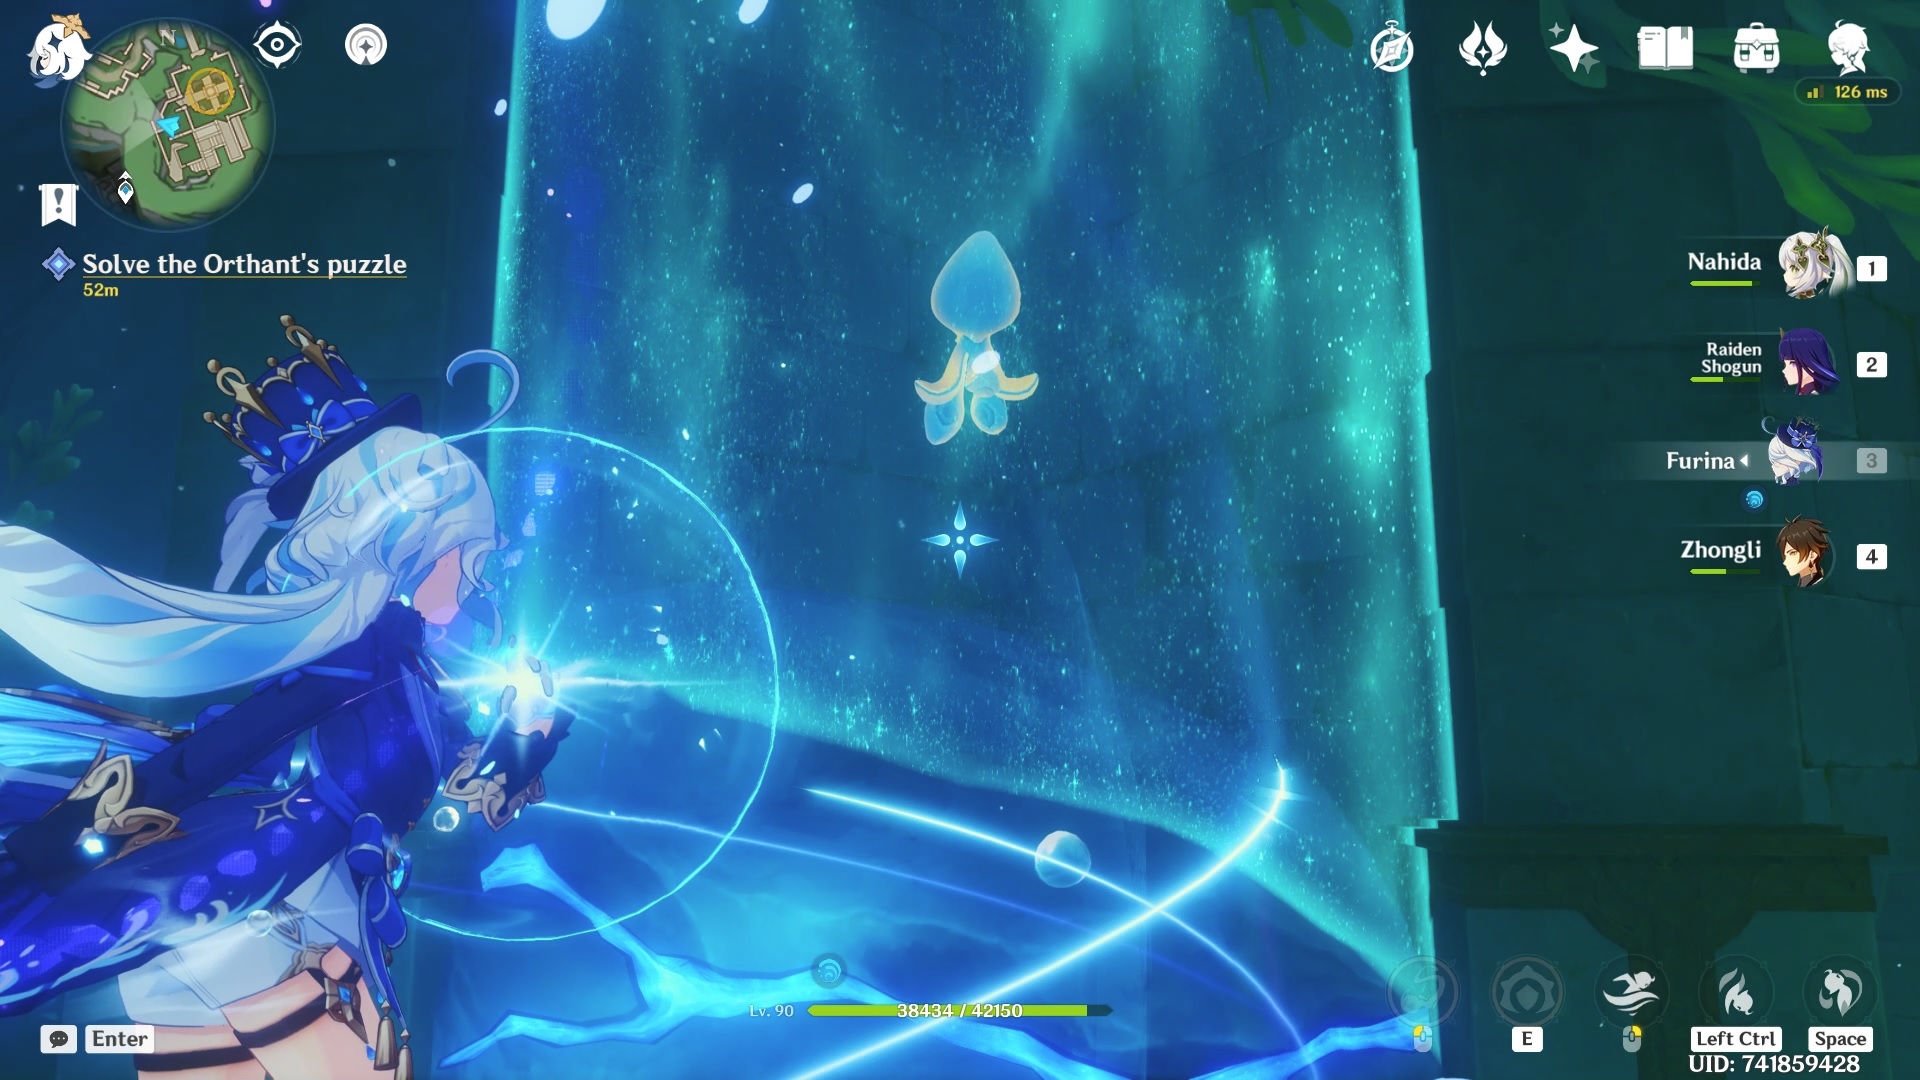
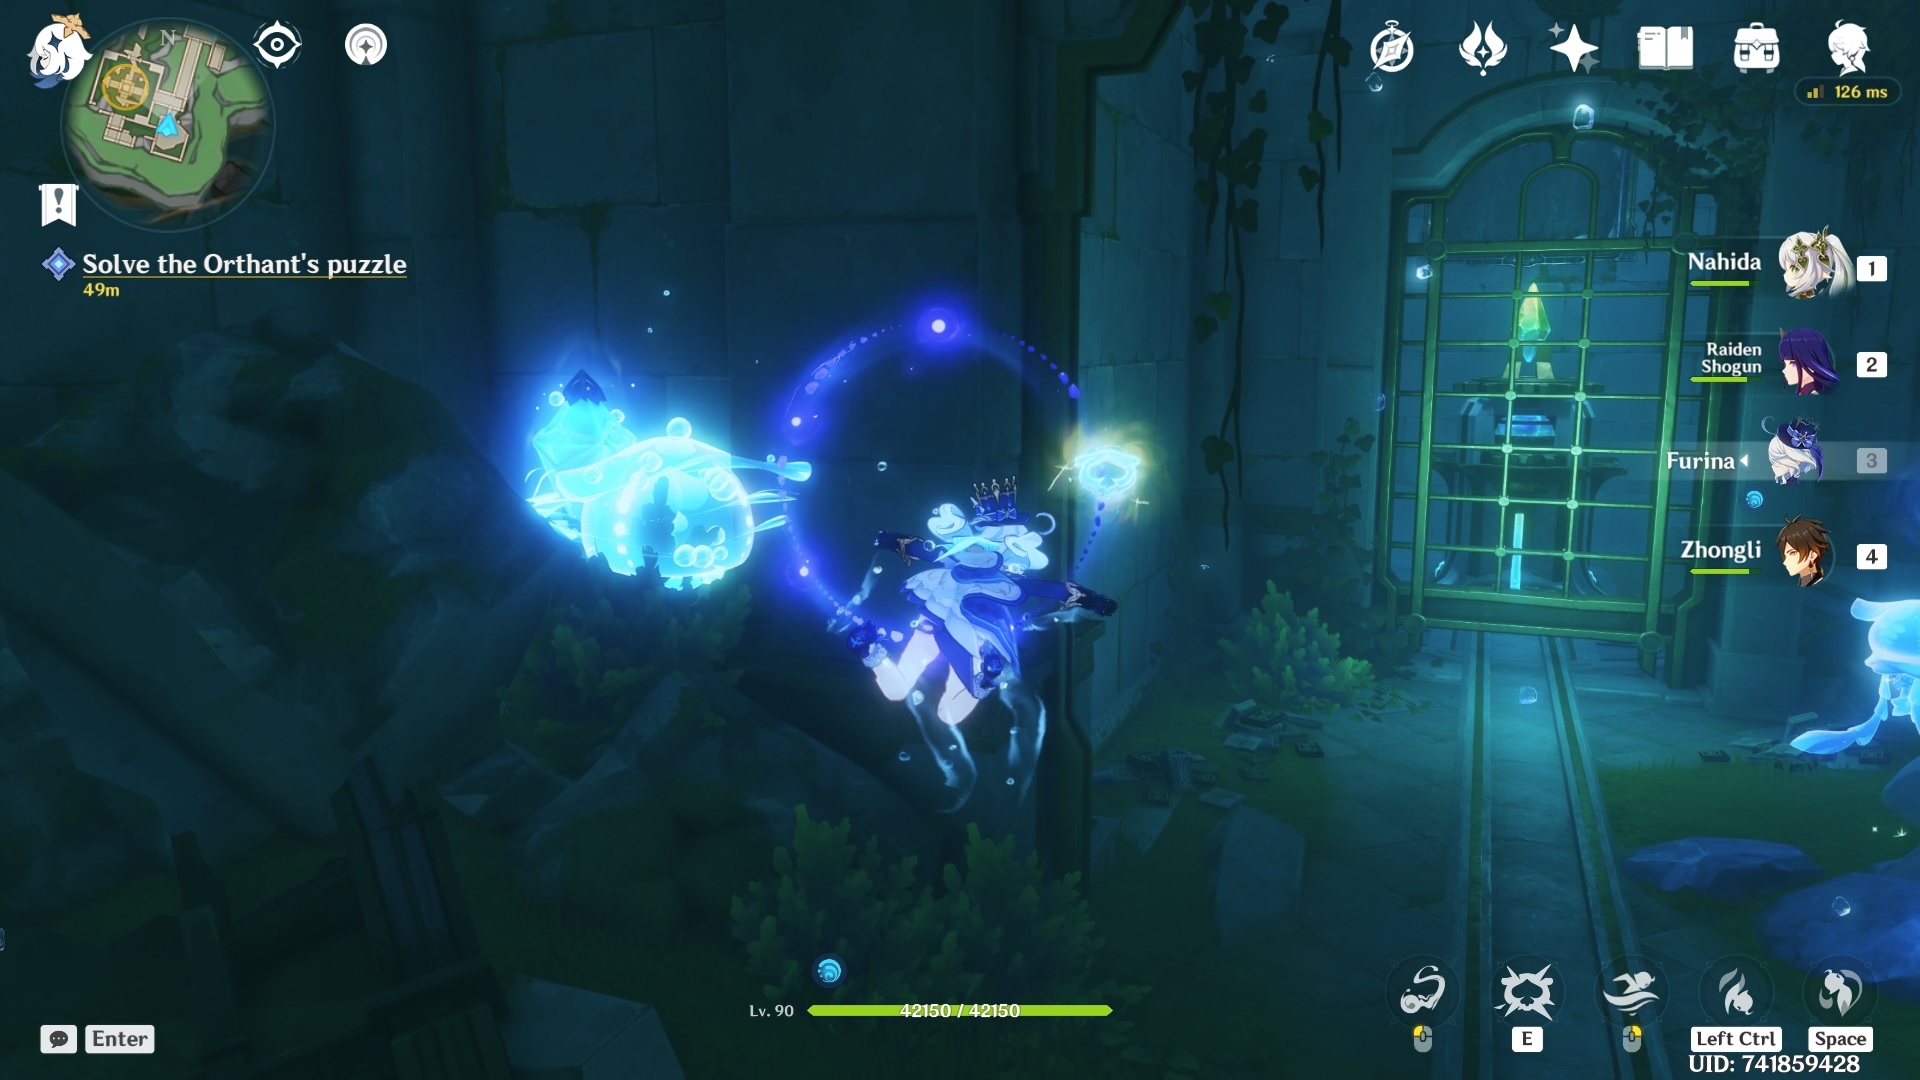
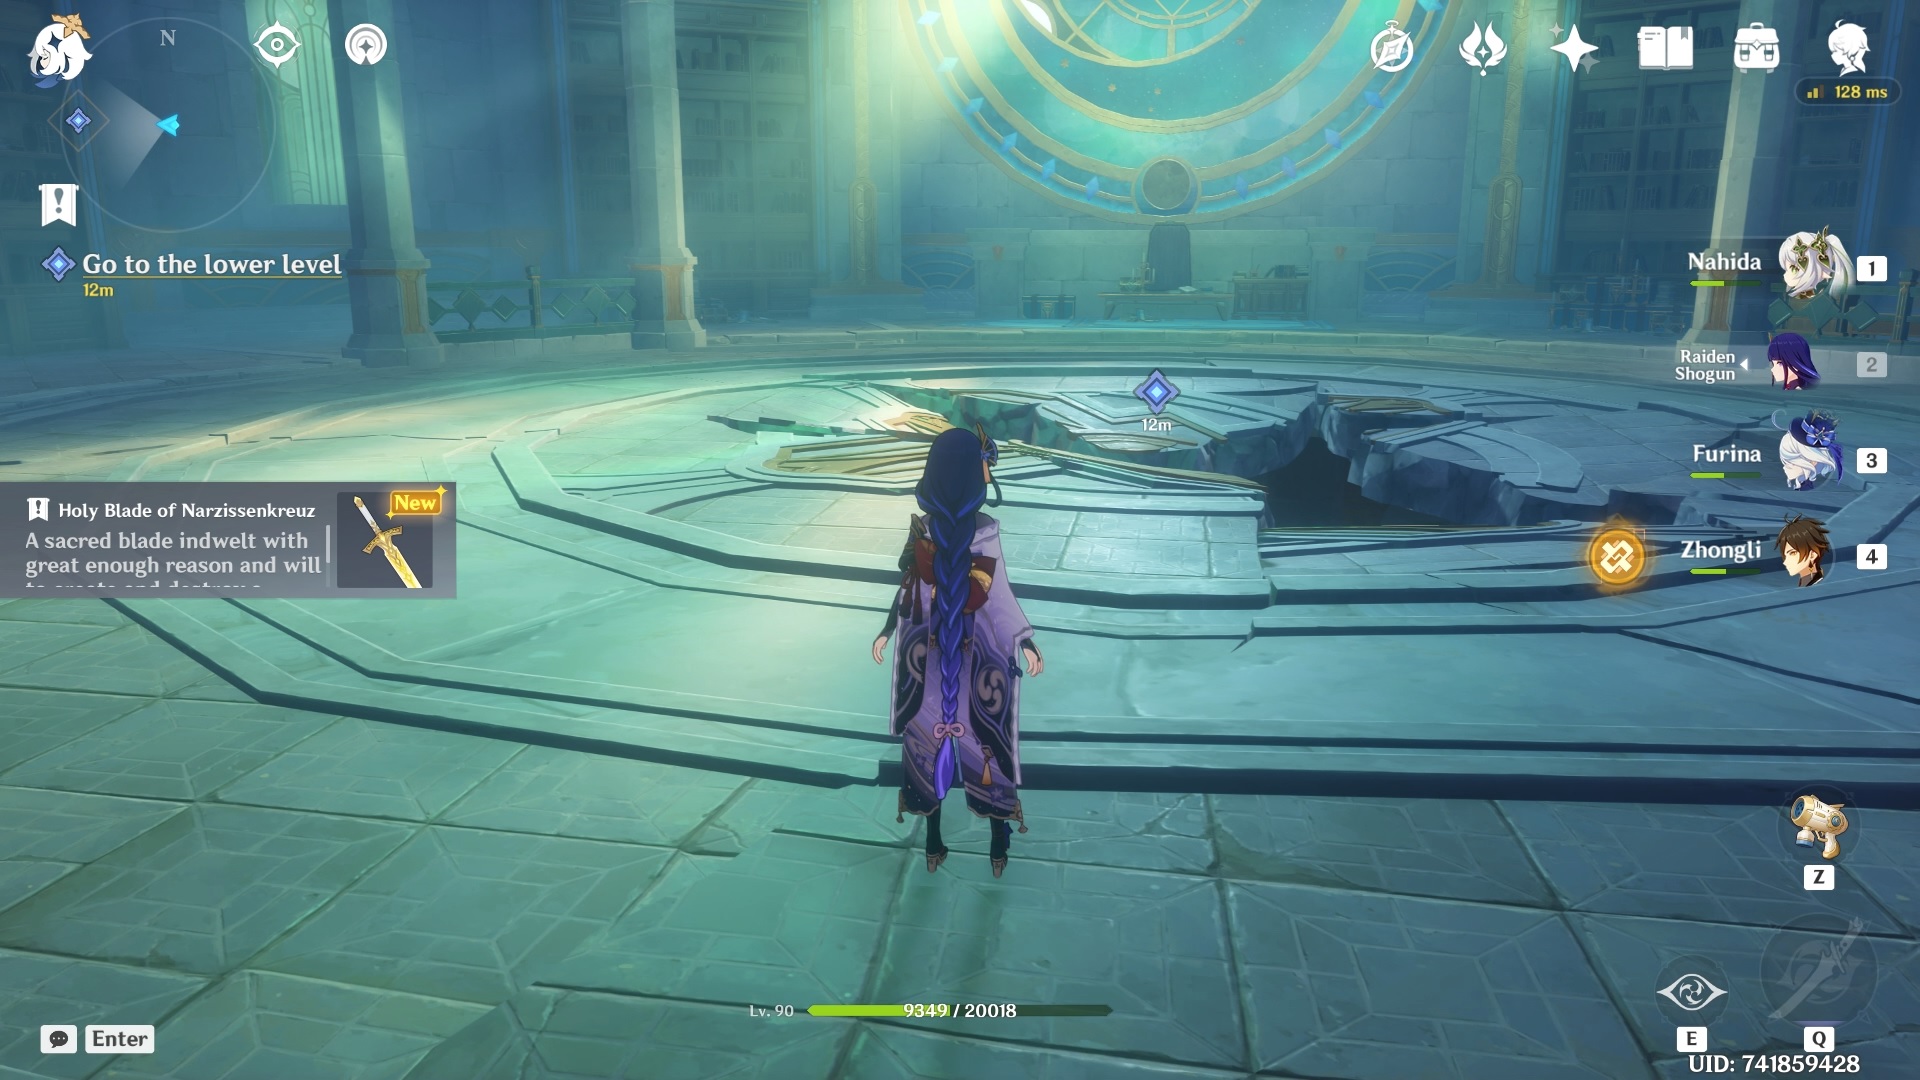
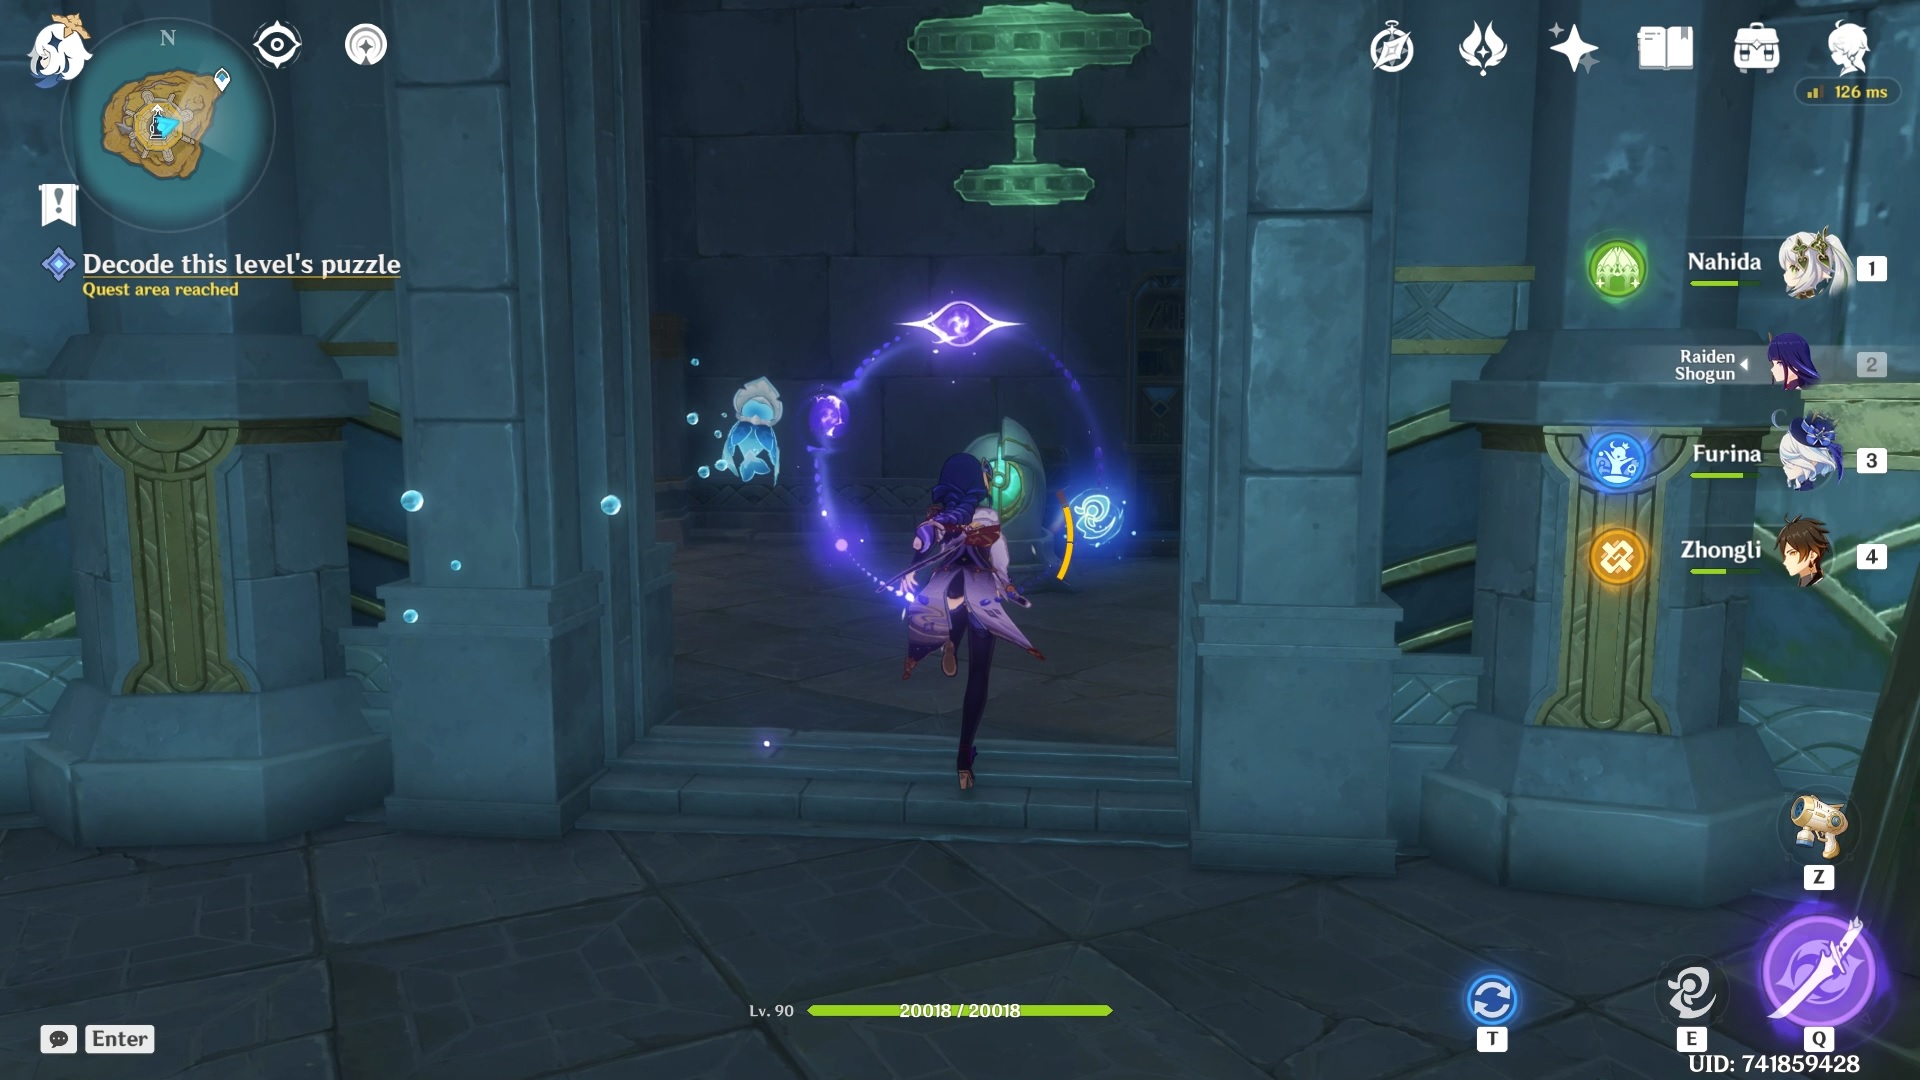
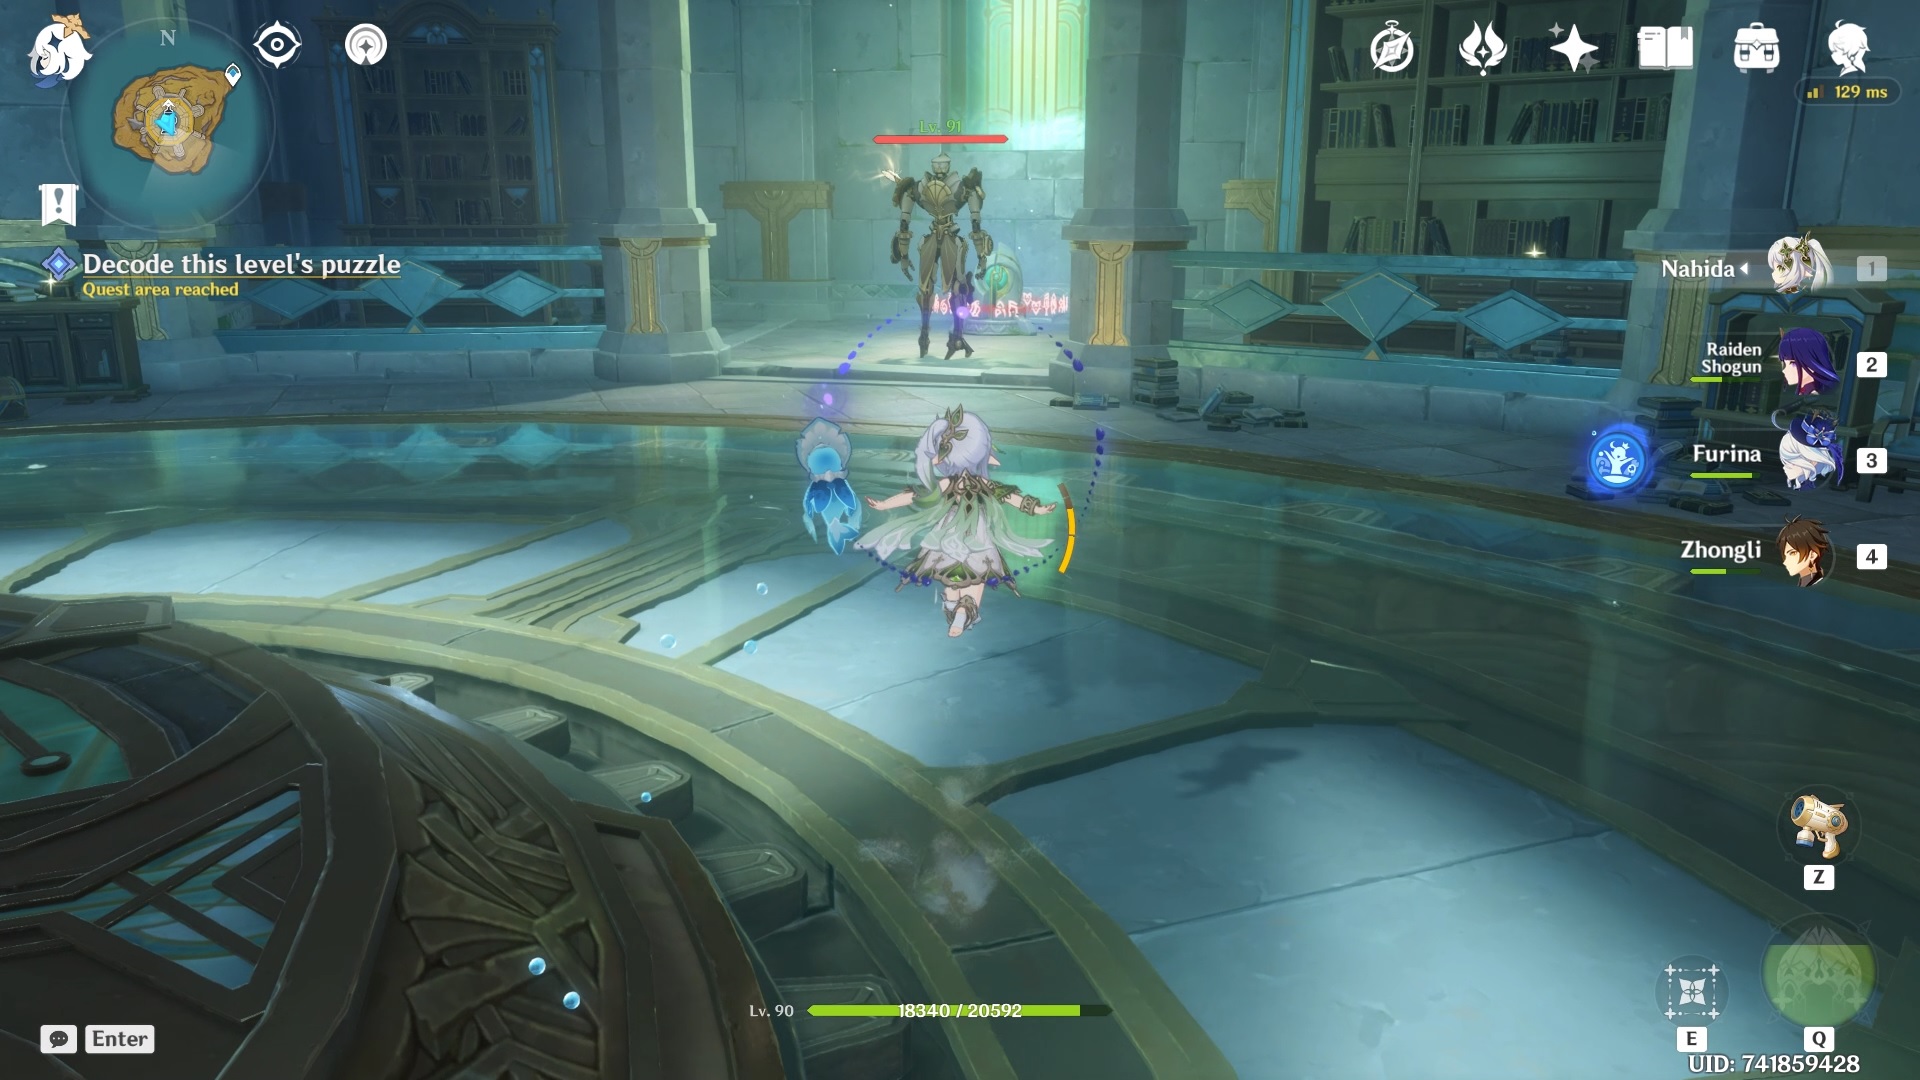
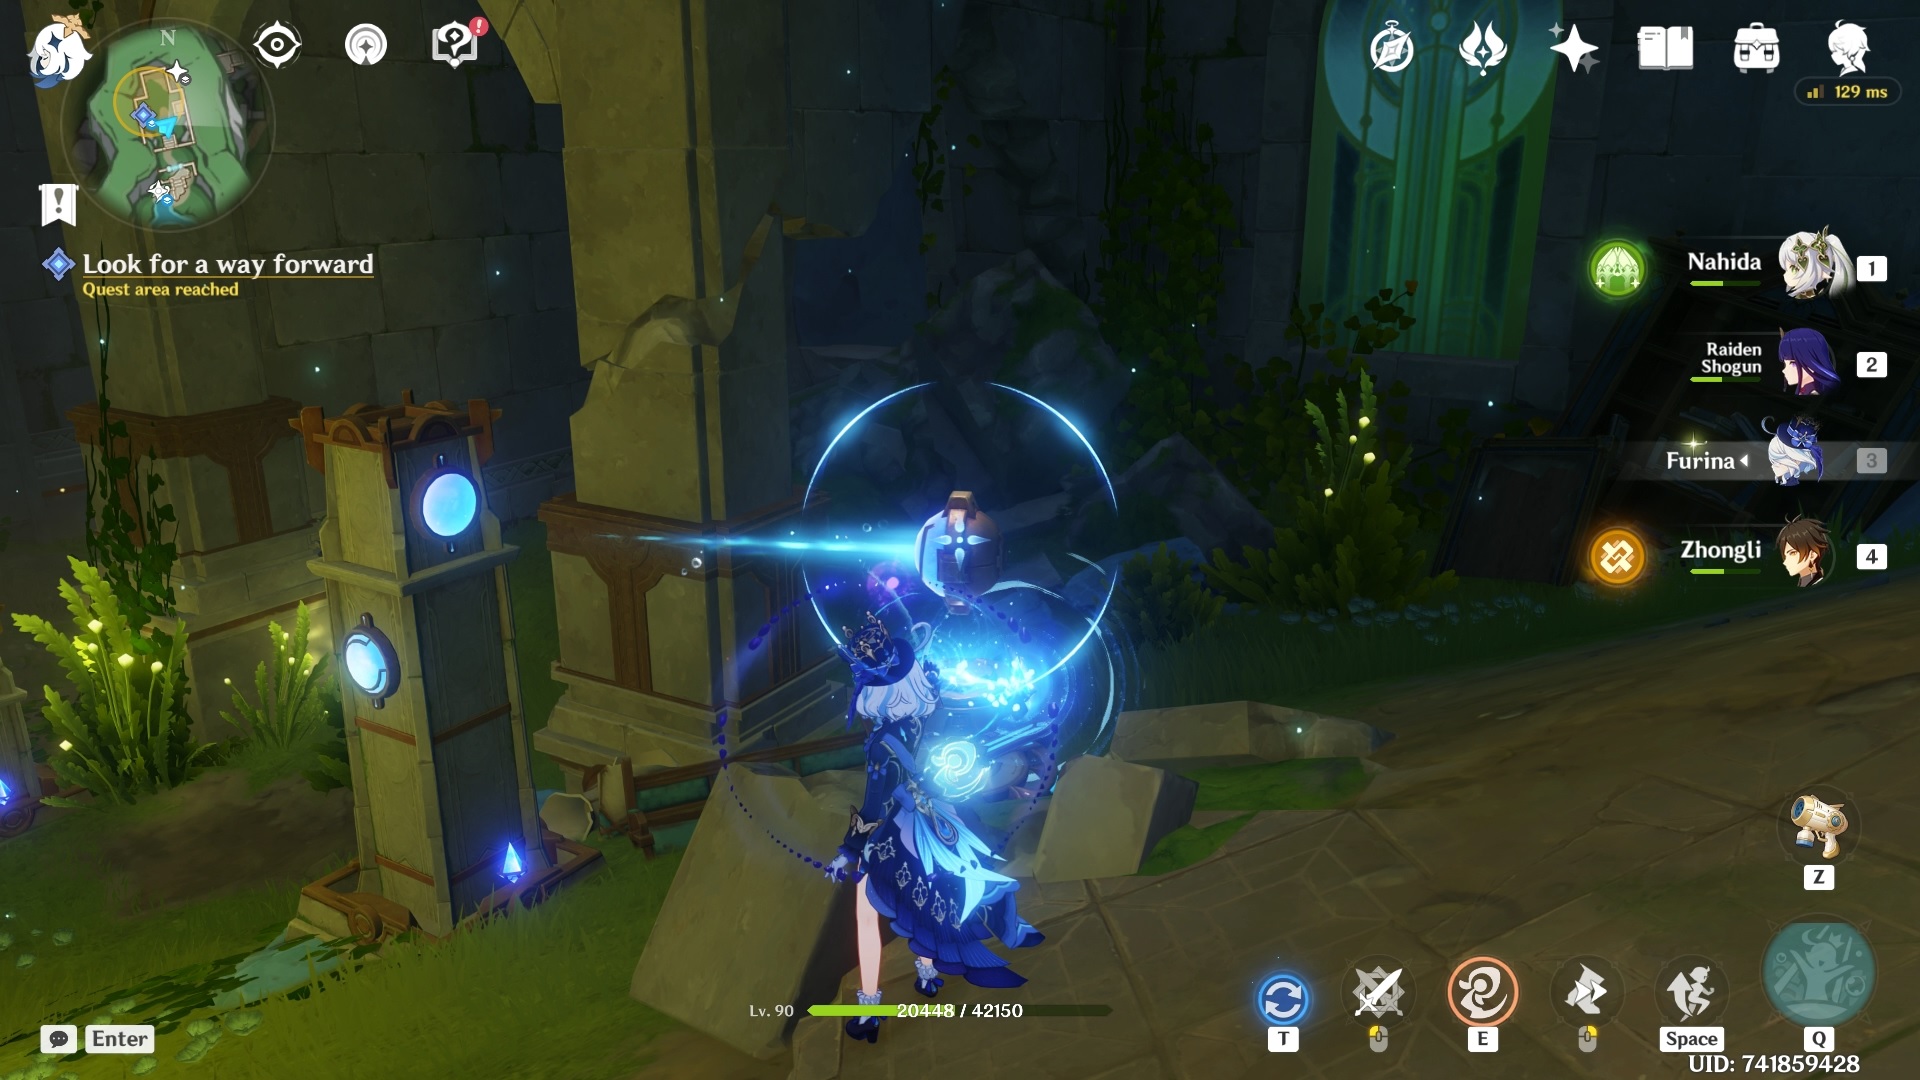
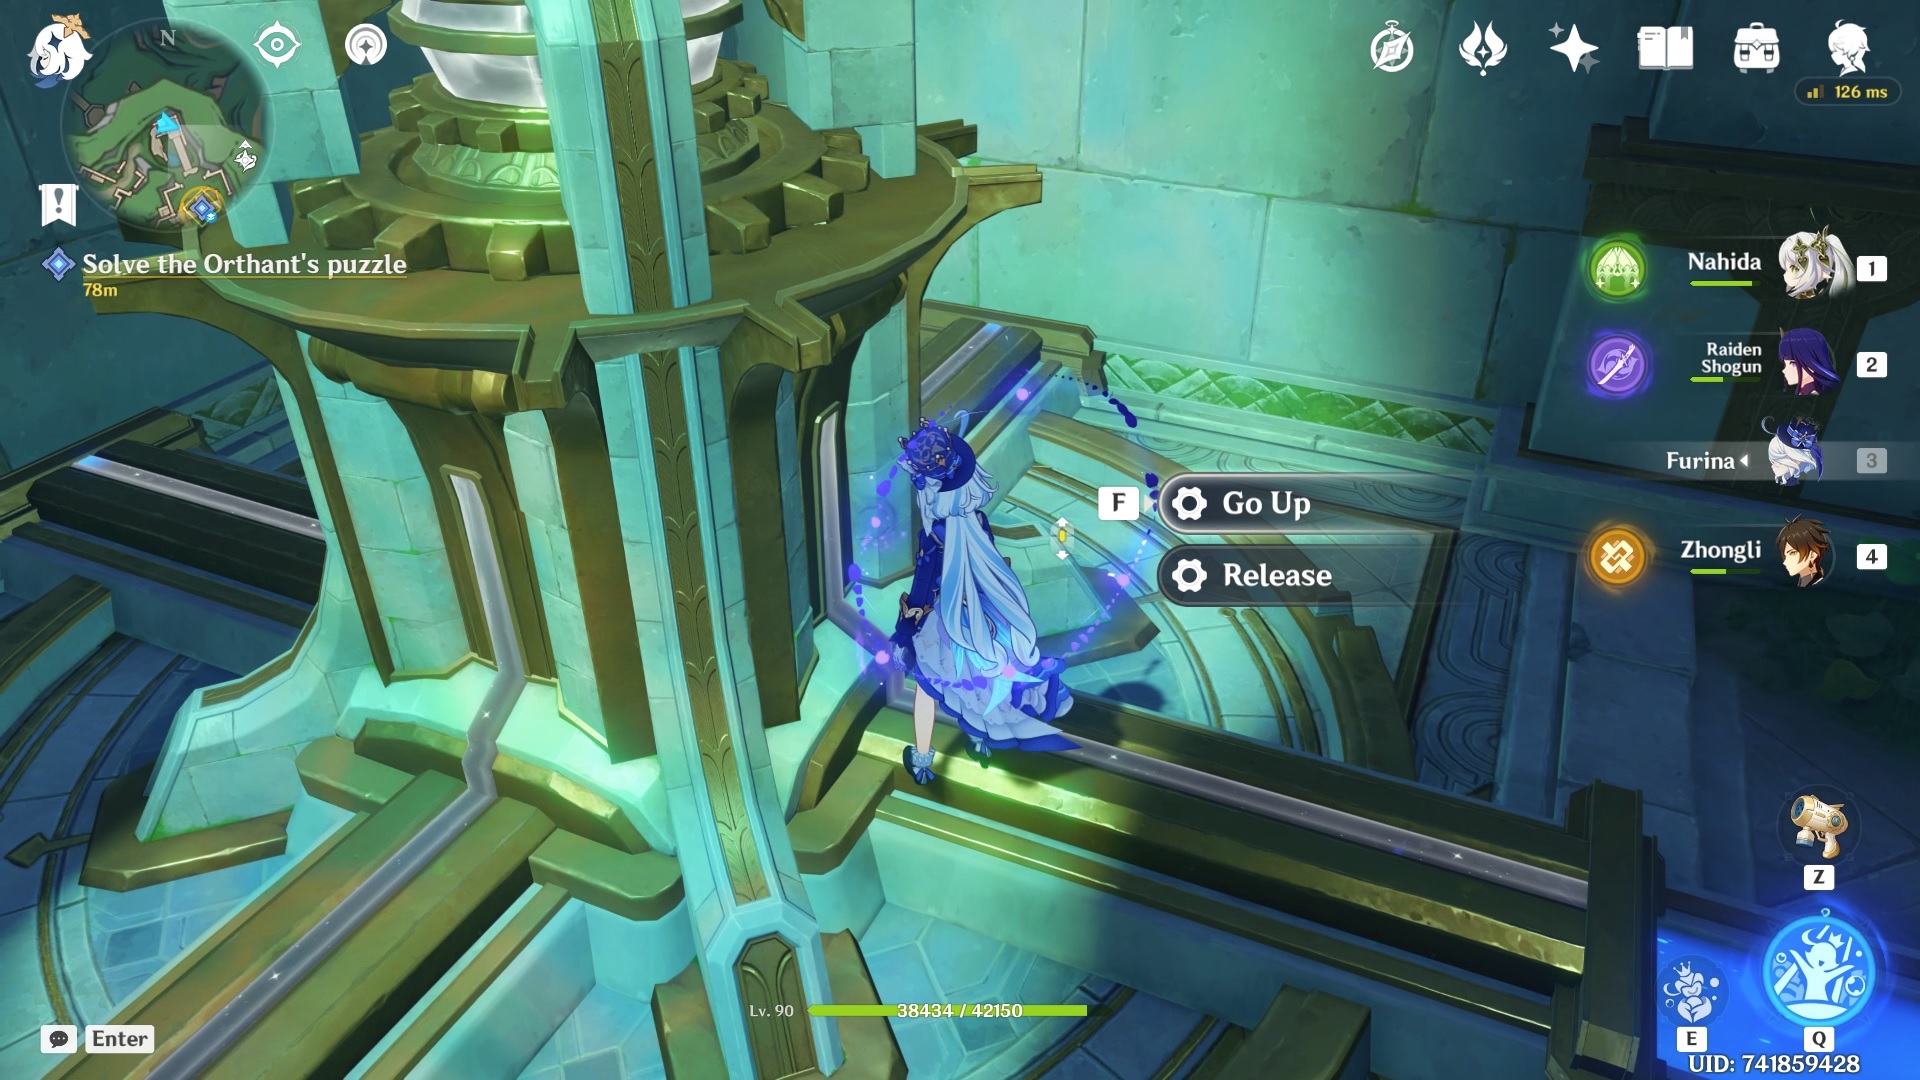
In The Wake of Narcissus is the final world quest revolving around the Narzissenkreuz Ordo in Genshin Impact, which finally concludes the story of the members of this order. The world quest has four acts, each with its own series of puzzles and sub-quests. In this guide, we cover all four acts and the solutions to all the puzzles you will encounter. For better visual reference, you can also find a video guide for each act.
How to unlock the quest?
To unlock this quest, you must have completed the pre-requisite quests, which are as follows:
[Ancient Colors](https://youtu.be/2Rgrdd2Tnek)
[Ann of the Narzissenkreuz](https://youtu.be/OcxotxDZNBk)
Unfinished Comedy
As mentioned before, this world quest has four acts, and completing all four rewards players with primogems, achievements, and the Holy Blade of Narzissenkreuz.
Act 1 - Search in the Algae Sea
To start this quest, you must return to the Narzissenkreuz Ordo, the secret underwater base in the Institute of Natural Philosophy. You will see a blue main world quest marker on the ordo icon.
When you return to the Ordo, you will find Caterpillar, Seymour, and Ann. When you approach them, a cutscene will play, after which you will get a brainstorming association mini-game where you must interpret and deduce who Mary-Ann is.
Here's how you can successfully solve this association mini-game: Interpret 'The name Mary-Ann' Interpret 'The Oceanid Creatures in Annapausis...' Interpret 'The Mary-Ann in Annapausis' Associate 'The Mary-Ann in Annapausis...' with 'There are Oceanids in Annapausis...' Interpret 'The enigmatic Mary-Ann' Submit 'The enigmatic Mary-Ann' as the conclusion.
Once you've completed the association game, talk to everyone present in the room.
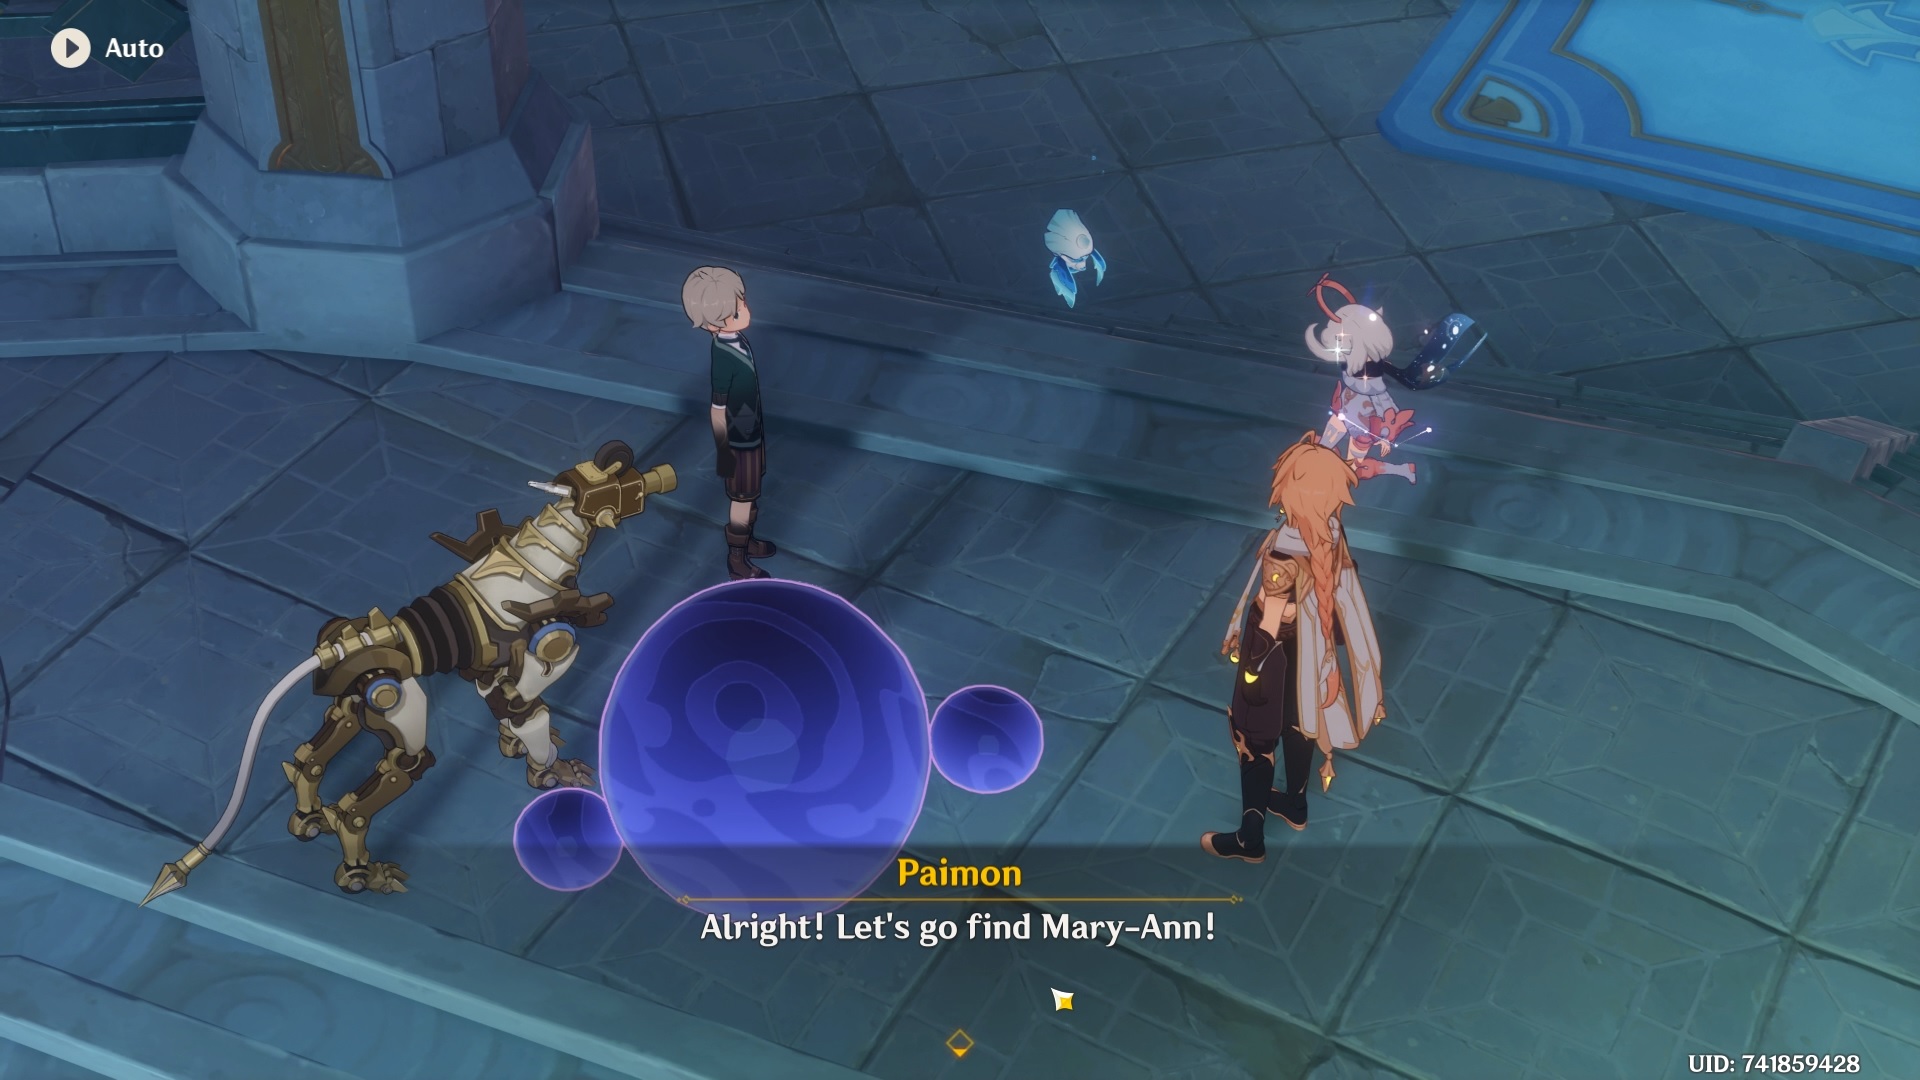
After speaking to everyone, speak with Caterpillar. You will then be asked to go back to Annapausis.
When you get to Annapausis, you will get another cutscene, after which you can enter the tower through the main door.
They will get into a fight with you. Defeat them to continue.
After defeating Jak and Al, a bubble will spawn in the middle of the room.
When you get to the top, you will realize that the teleporter that was here earlier is no longer there.
You must return to the Narzissenkreuz Ordo and play another association game with Caterpillar.
Here's how you can complete this association mini-game. Interpret 'The Talkative Mary-Ann' Interpret 'The Memories of the Narzissenkreuz Institute' Interpret 'Mary-Ann Guillotine's memories' Associate 'Marry-Ann Guillotine's memories' with 'Mary-Ann Guillotine' Interpret 'Mary-Ann is that younger sister' Interpret 'The memories of waiting in the ruins' Interpret 'Director Lyris's Memories' Associate 'Director Lyris's Memories' with 'The Red Empress Lyris' Interpret 'Mary-Ann is Lyris' Associate 'Mary-Ann is Lyris' with 'Mary-Ann is that younger sister' Interpret 'The identities are contradicting then' Interpret 'Lyris's Abilities' Associate 'The Red Empress Lyris' with 'Lyris's Abilities' Interpret 'Dissolving the personality and will' Interpret and submit 'Lyris and Ann' as the conclusion
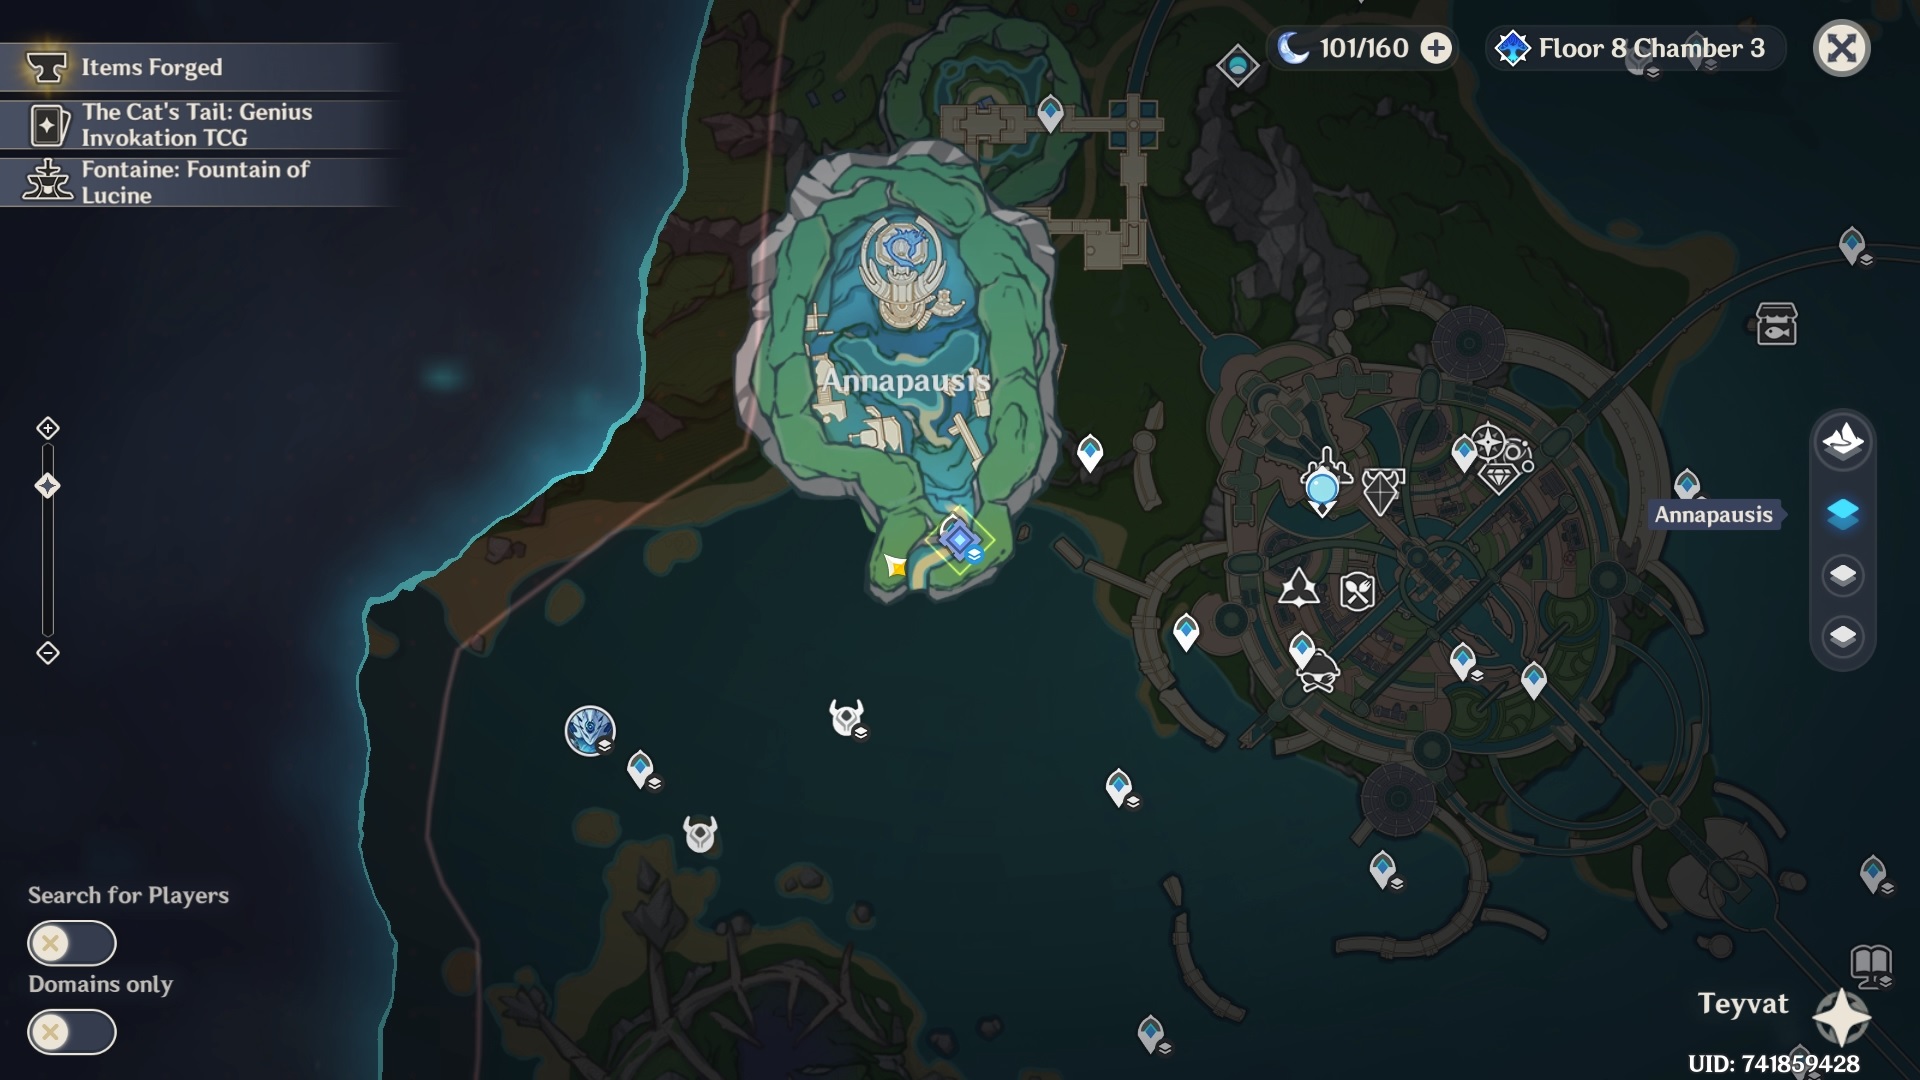
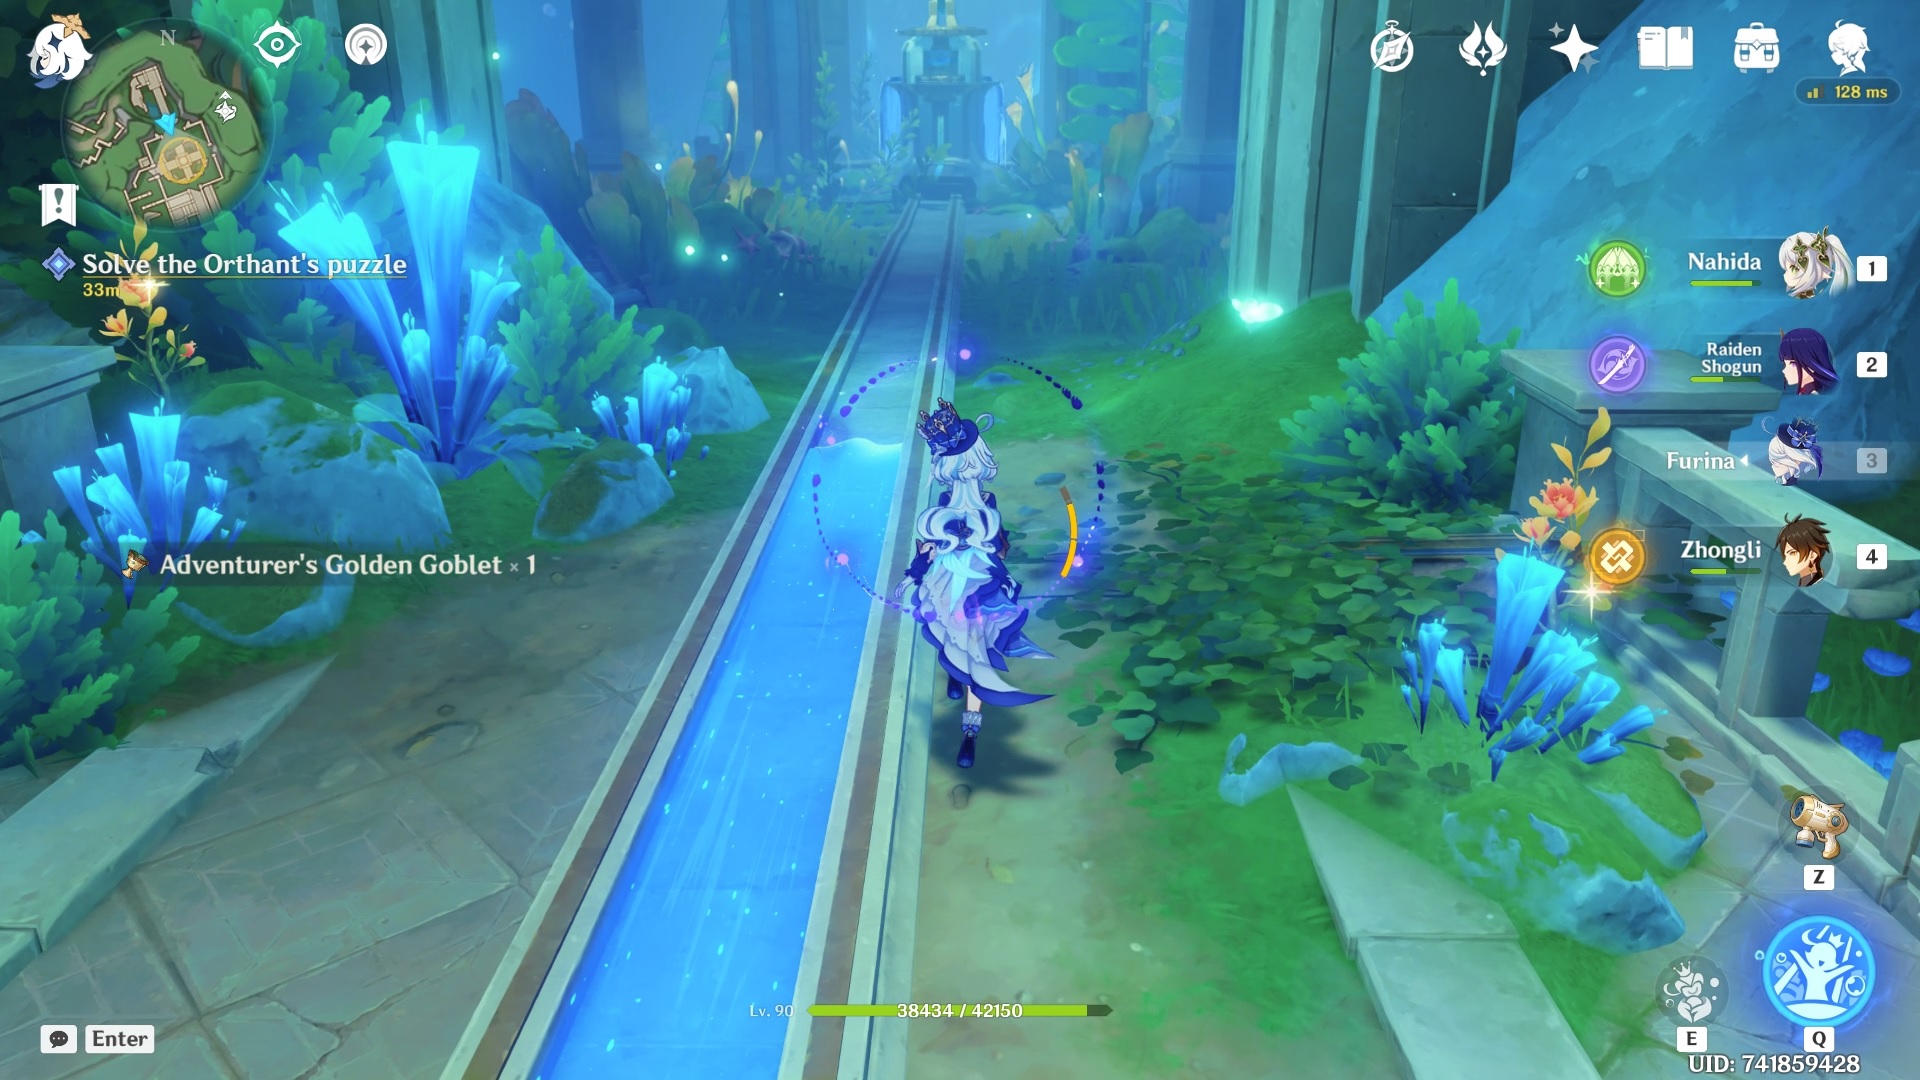
After completing the association game, you will need to go to the marked location which is a small island directly north of the Tower of Gestalt.
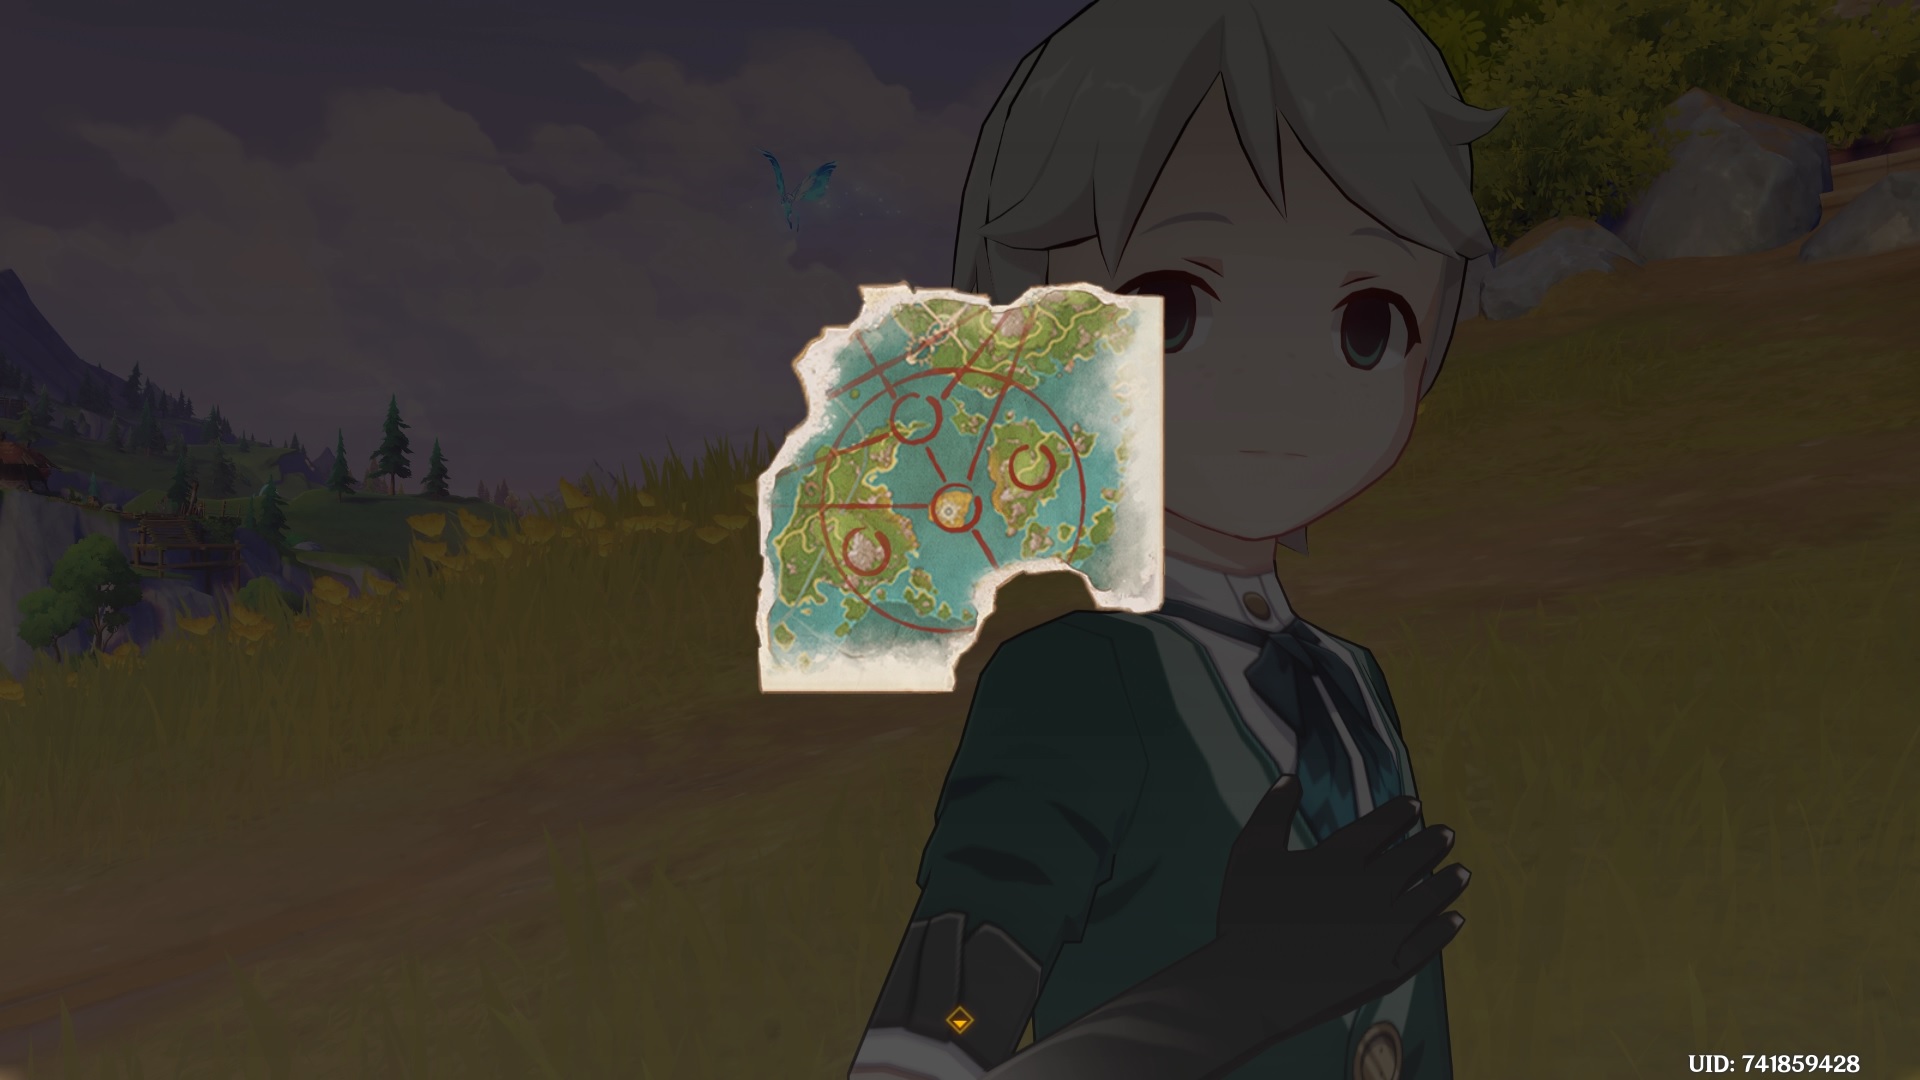
You will get a small cutscene and a picture representing the four seals around the area when you get to the location. You must find these four seals and unlock them to complete Act 1.
Let's see how to solve the puzzles associated with each seal, starting with Muse's Mother, which is at the location you just arrived at.
Seal 1 - Muse's Mother
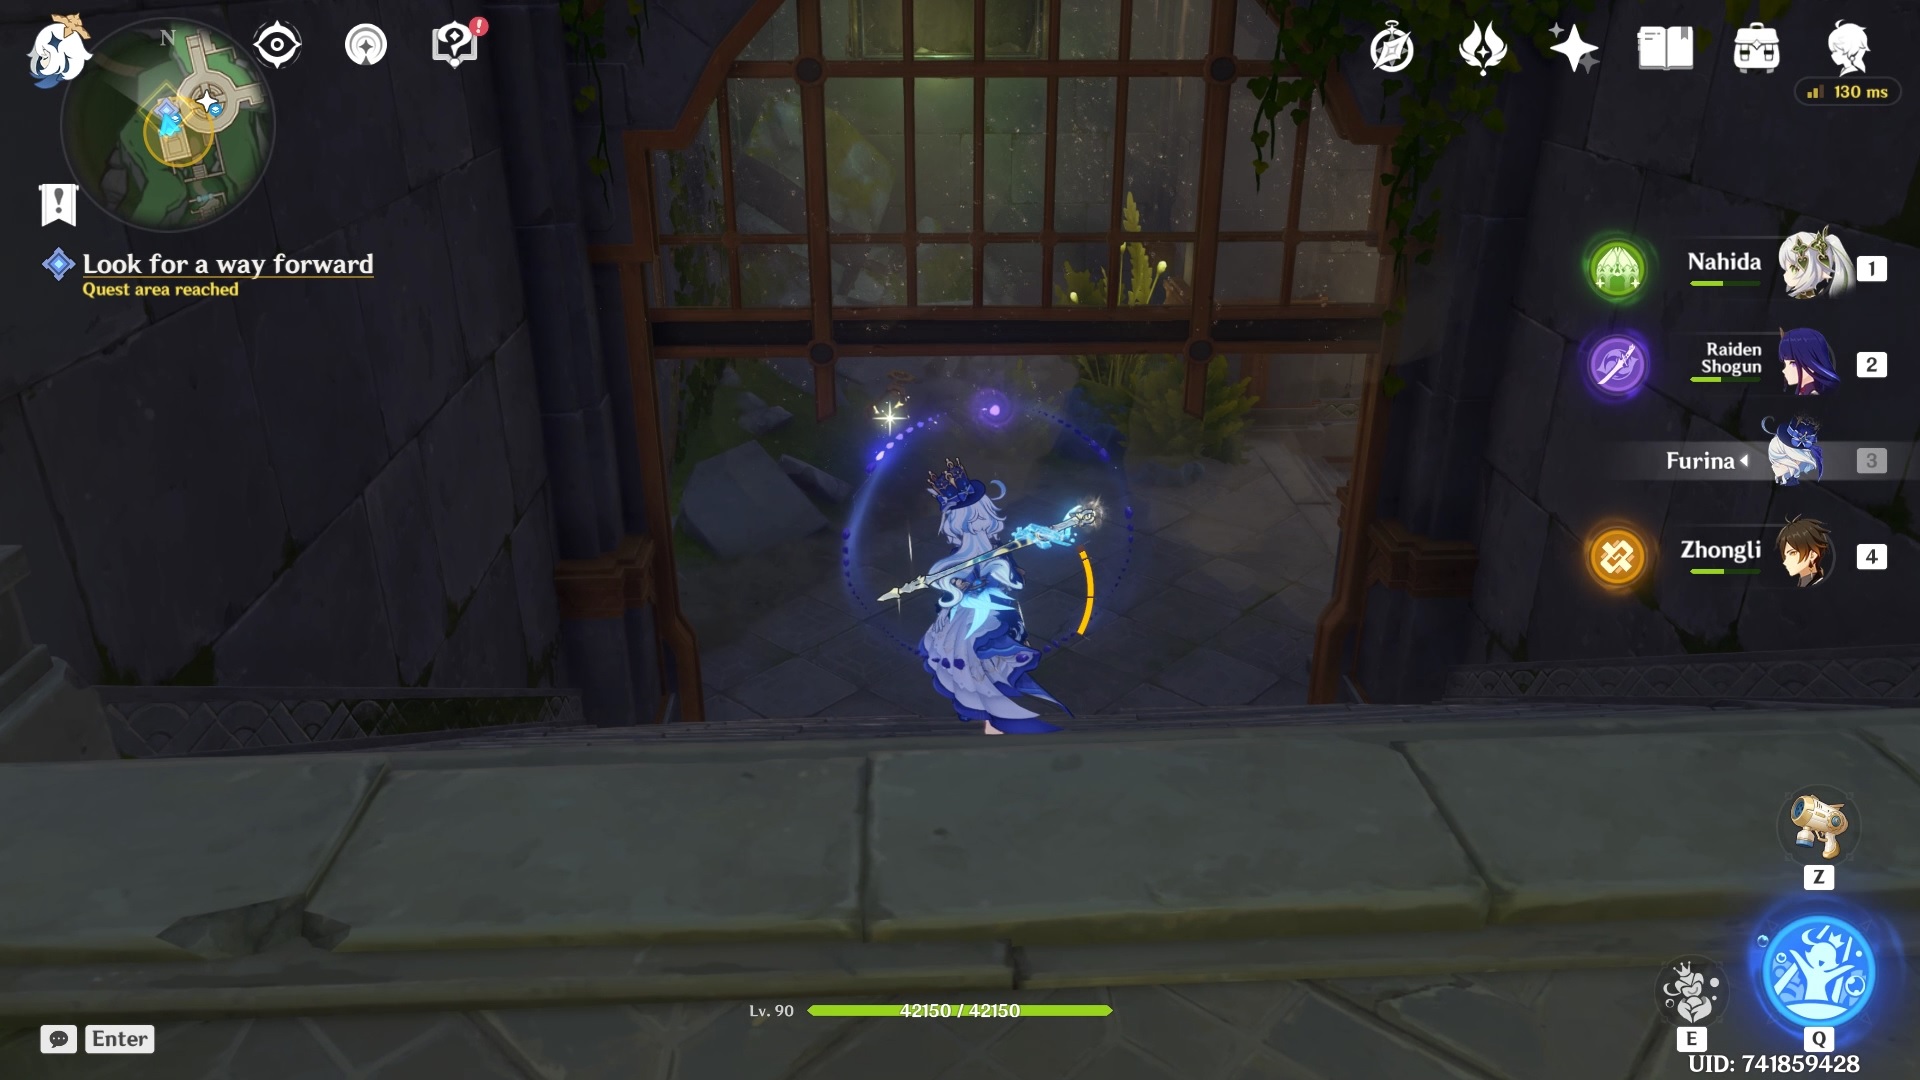
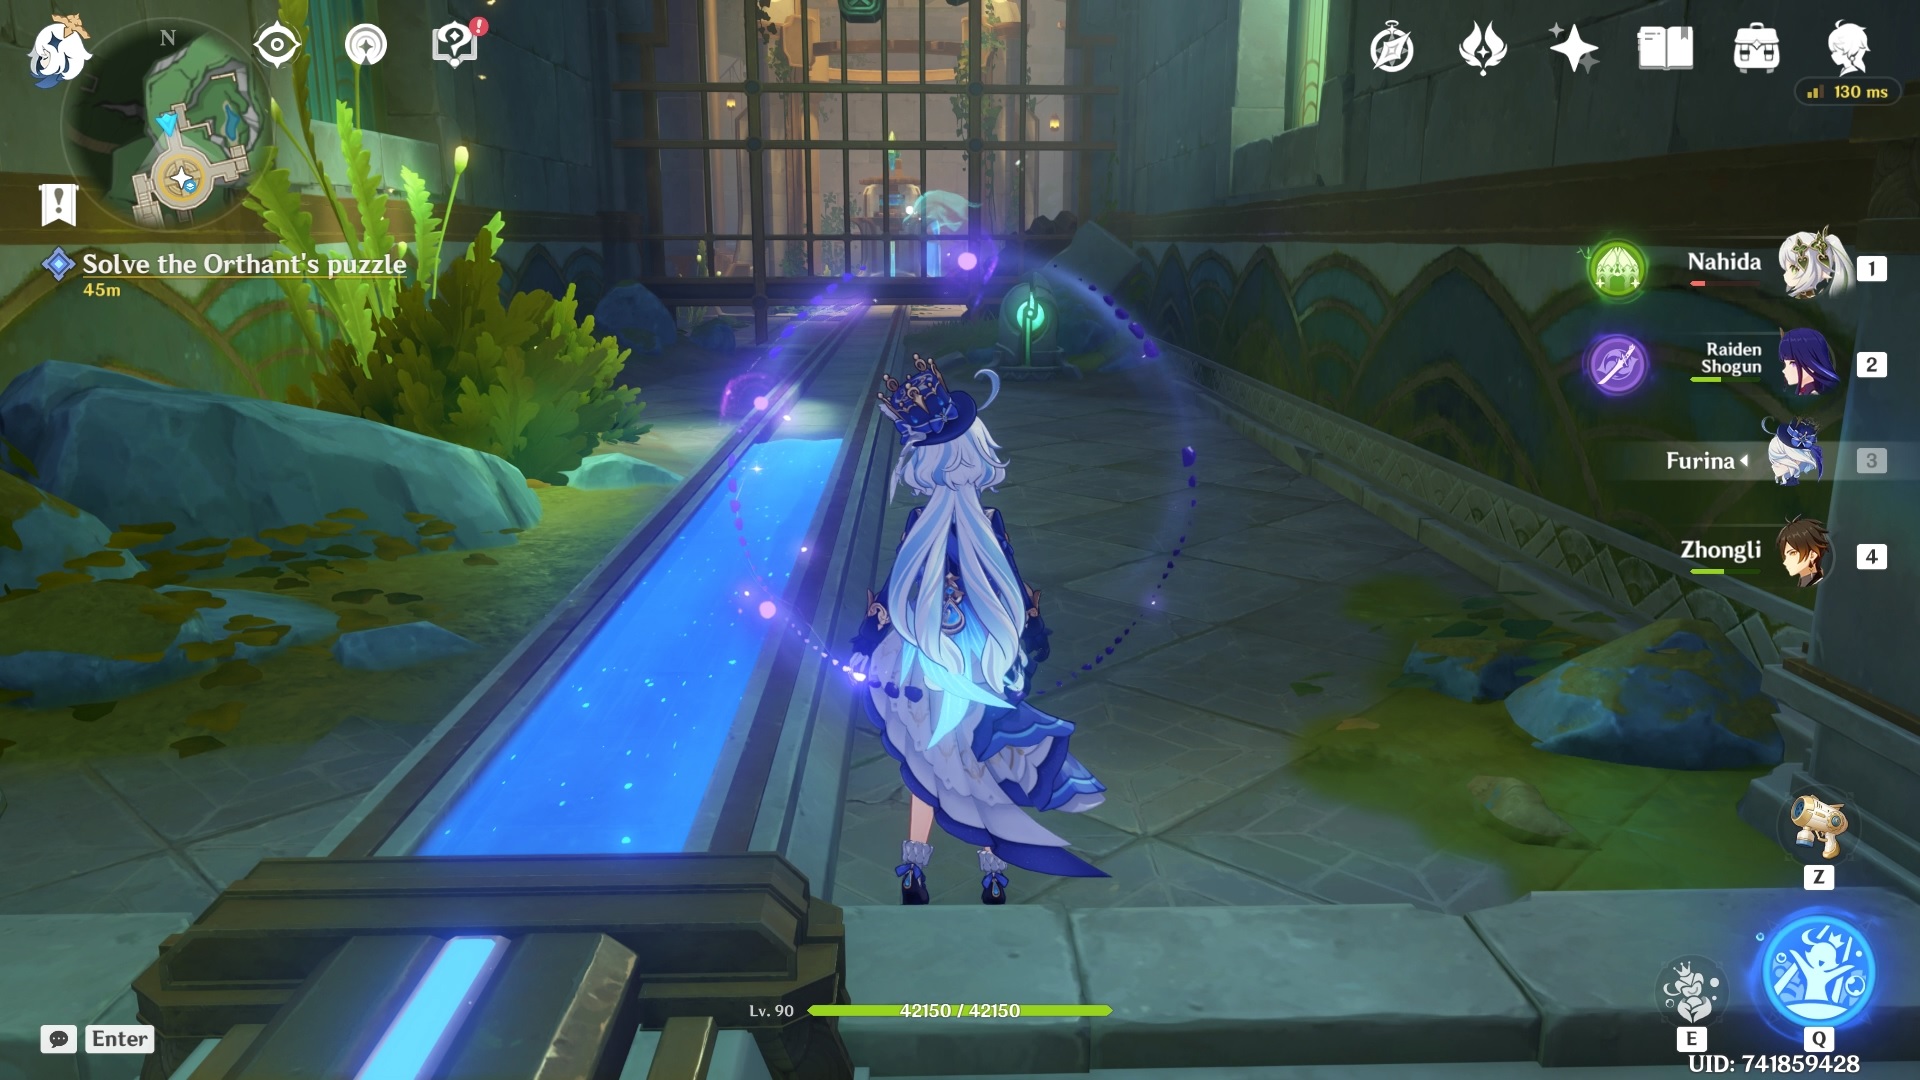
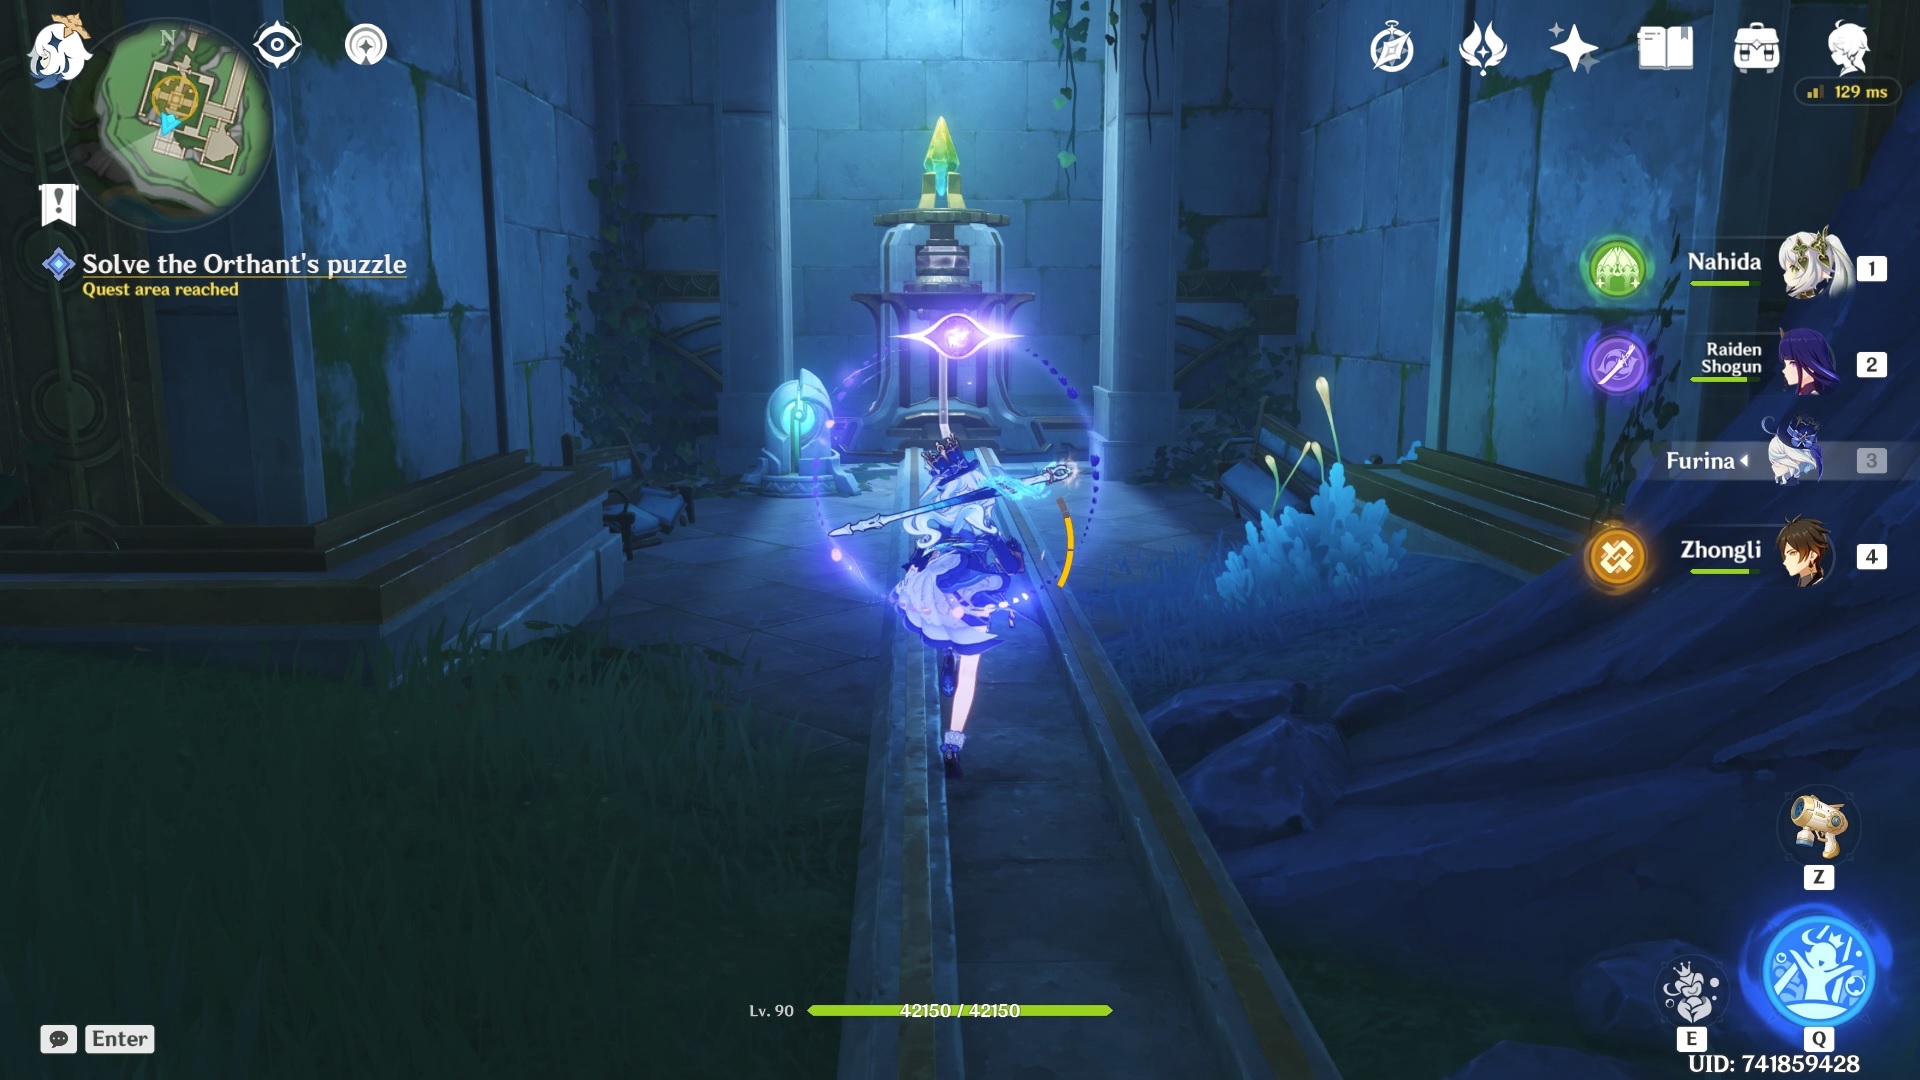
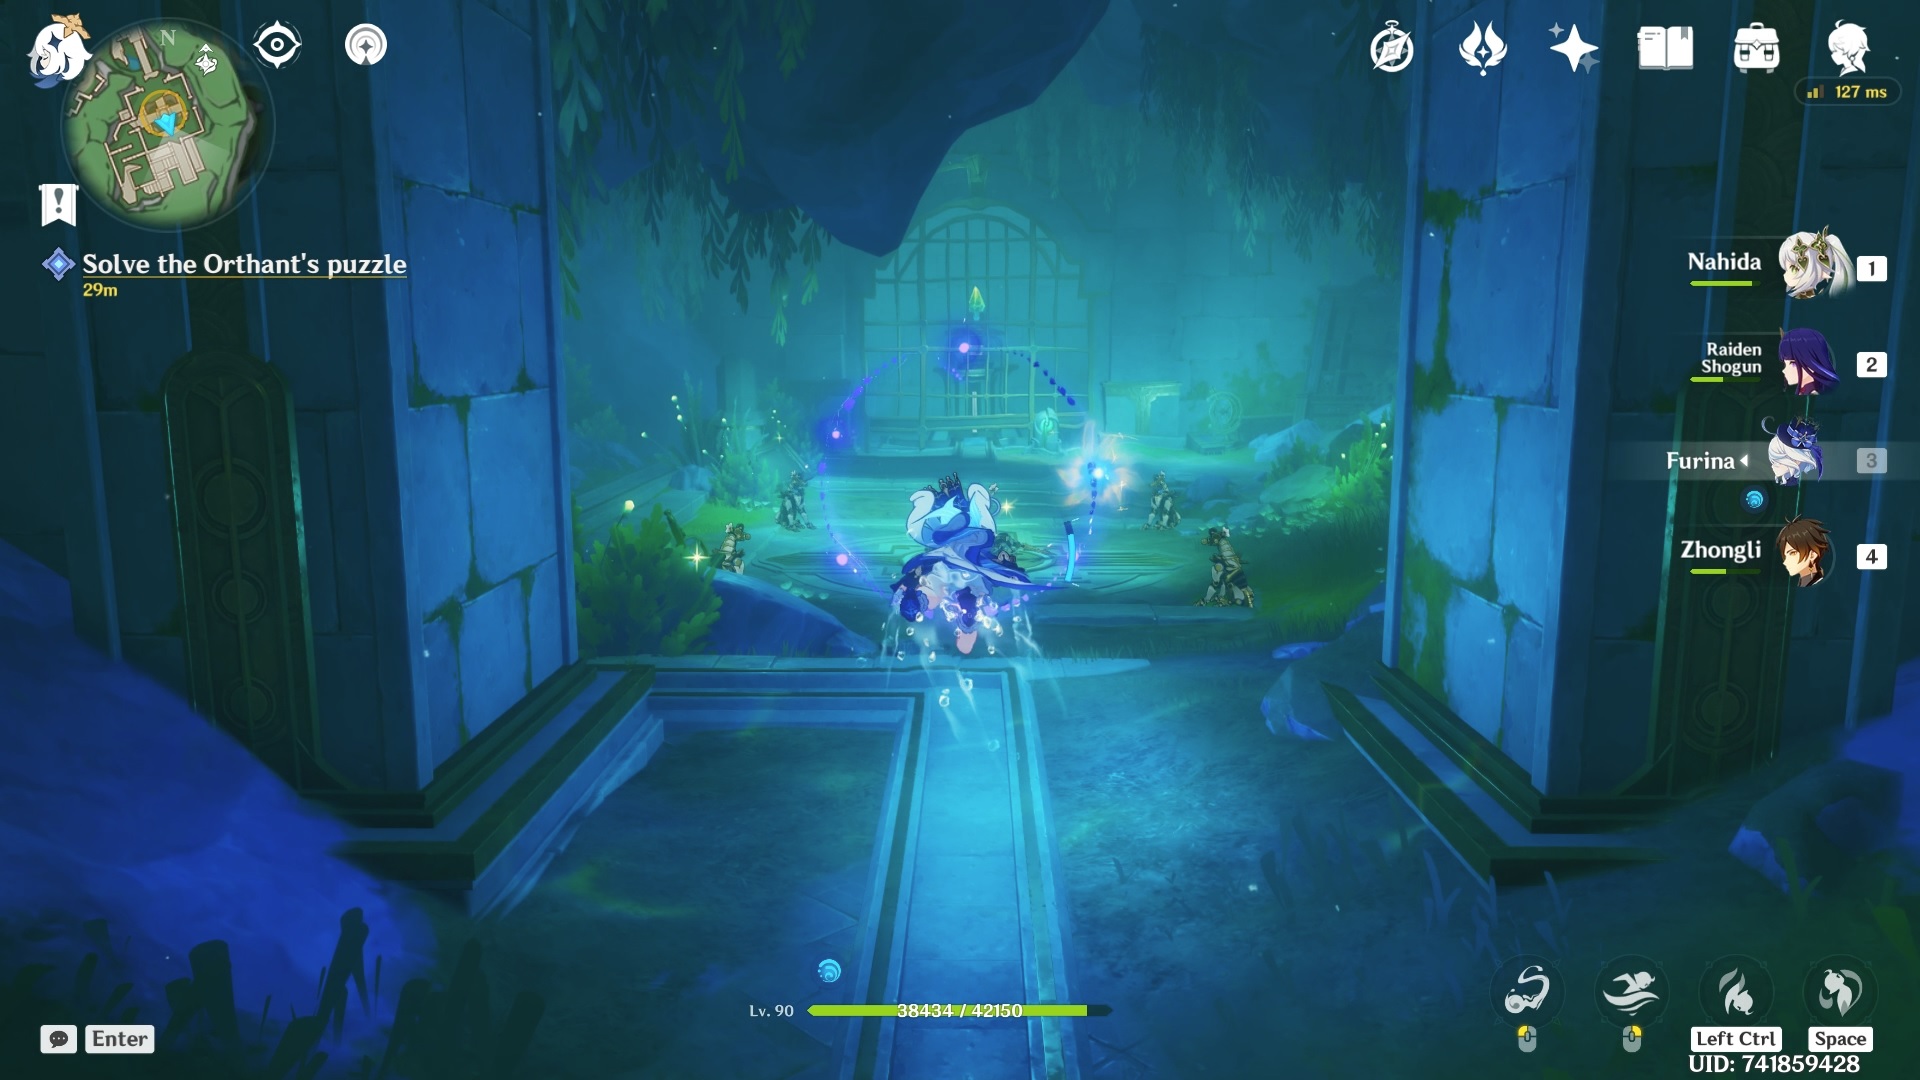
Go towards the ruins ahead of you, with the stairs leading to an underground area.
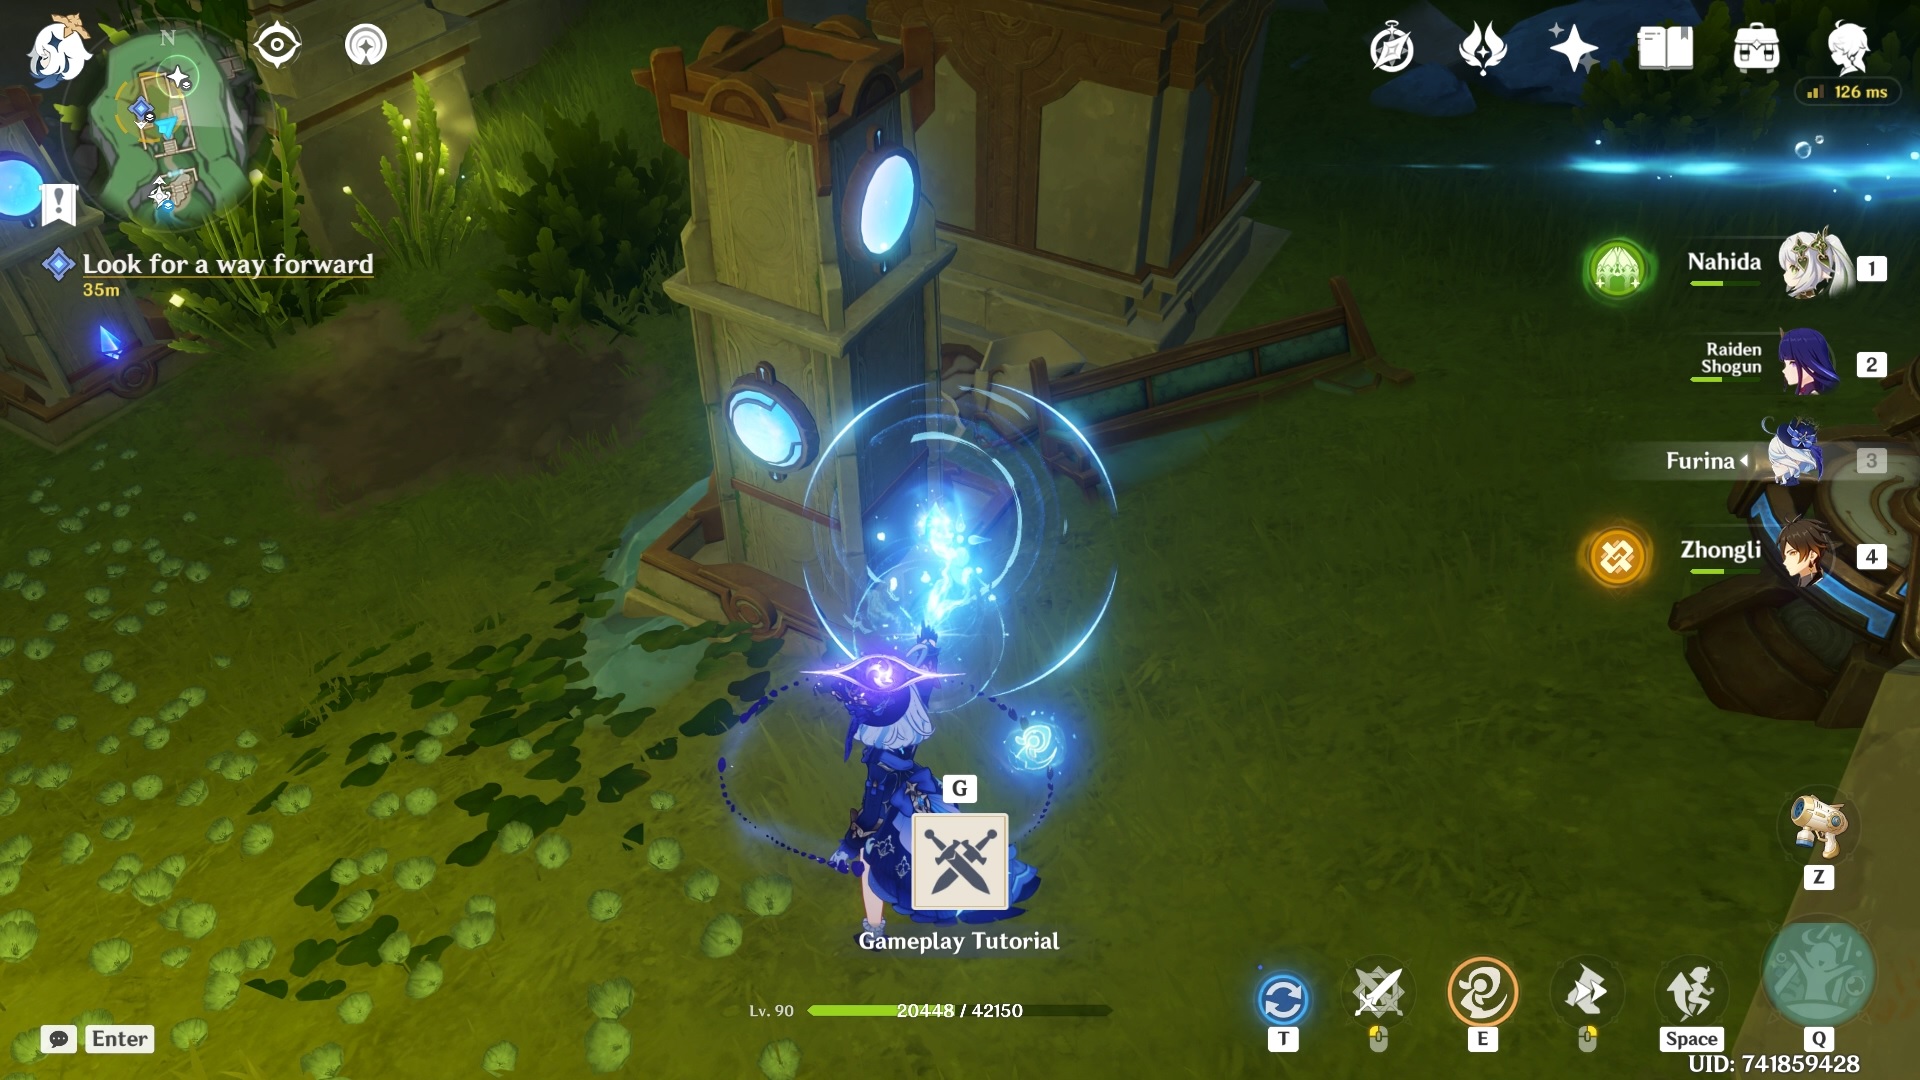
You will see a blue orb that gives you the Ball Octopus ability.
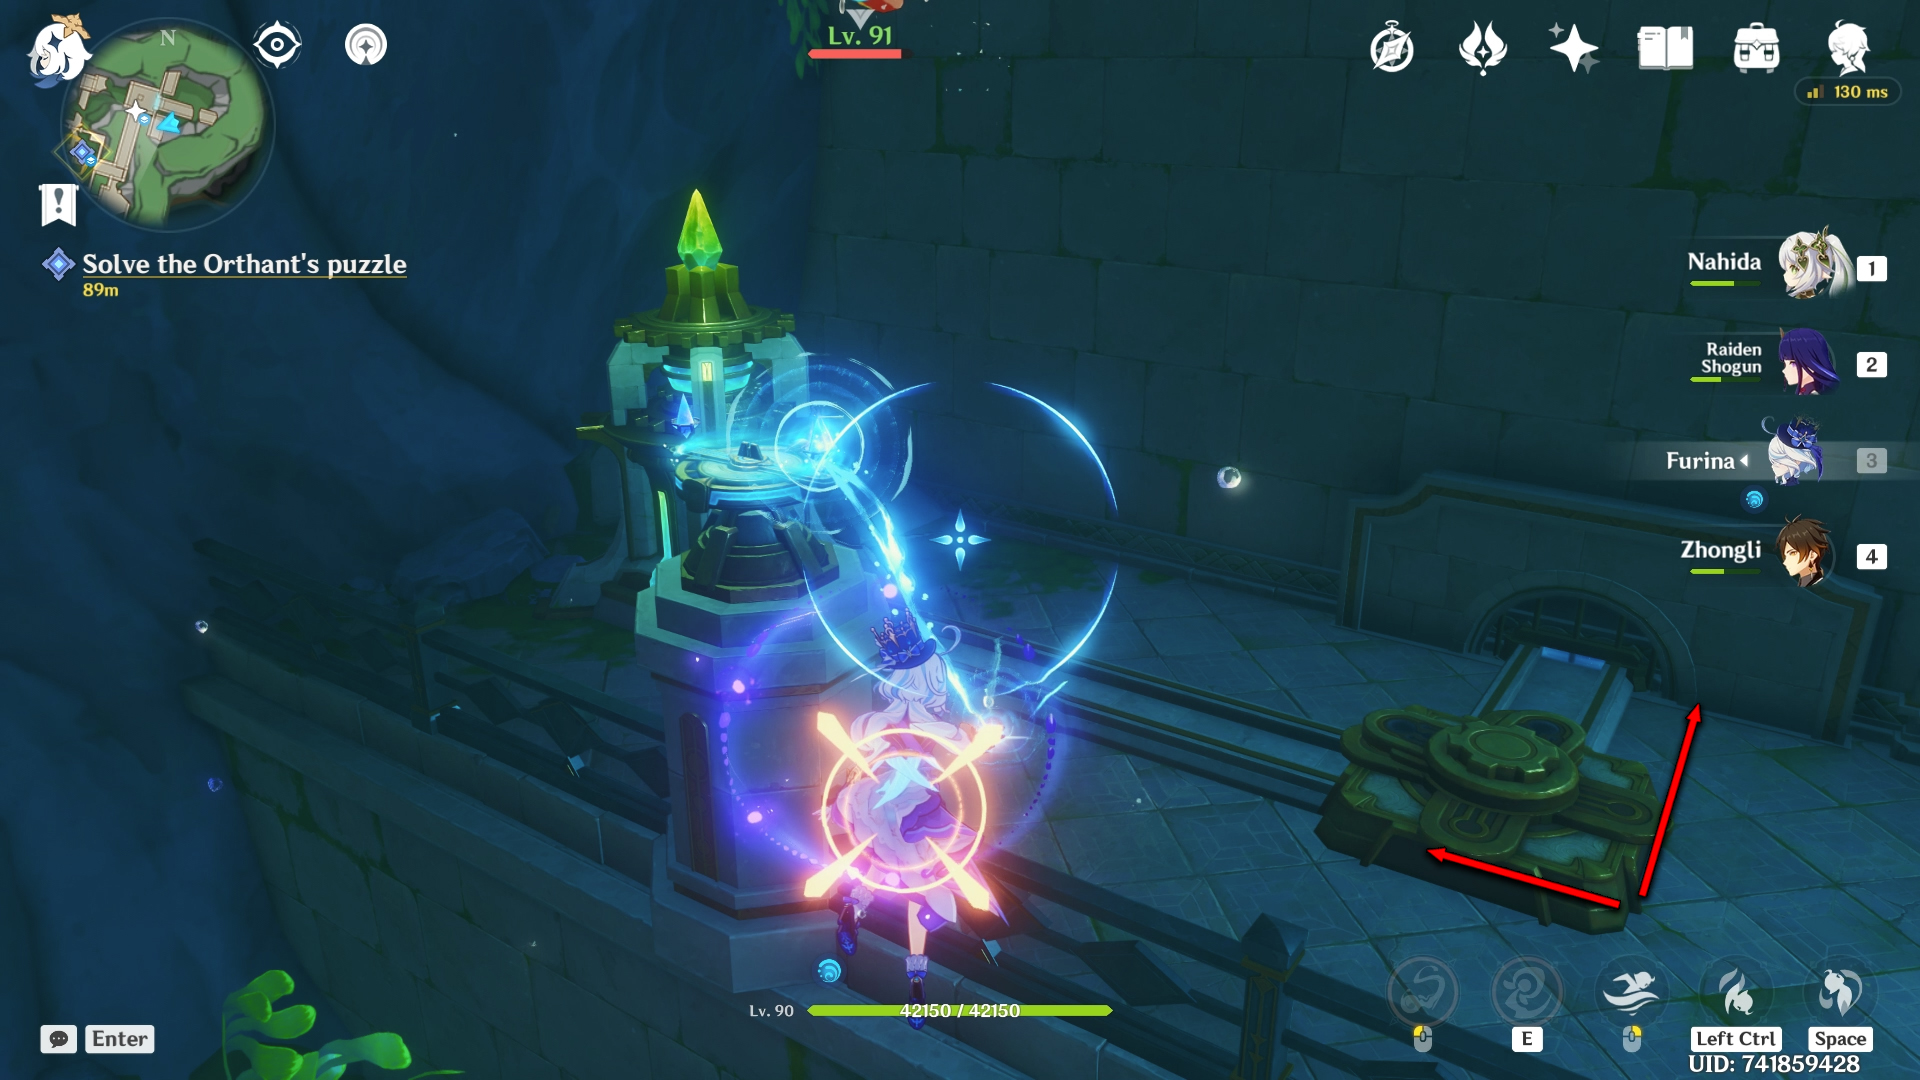
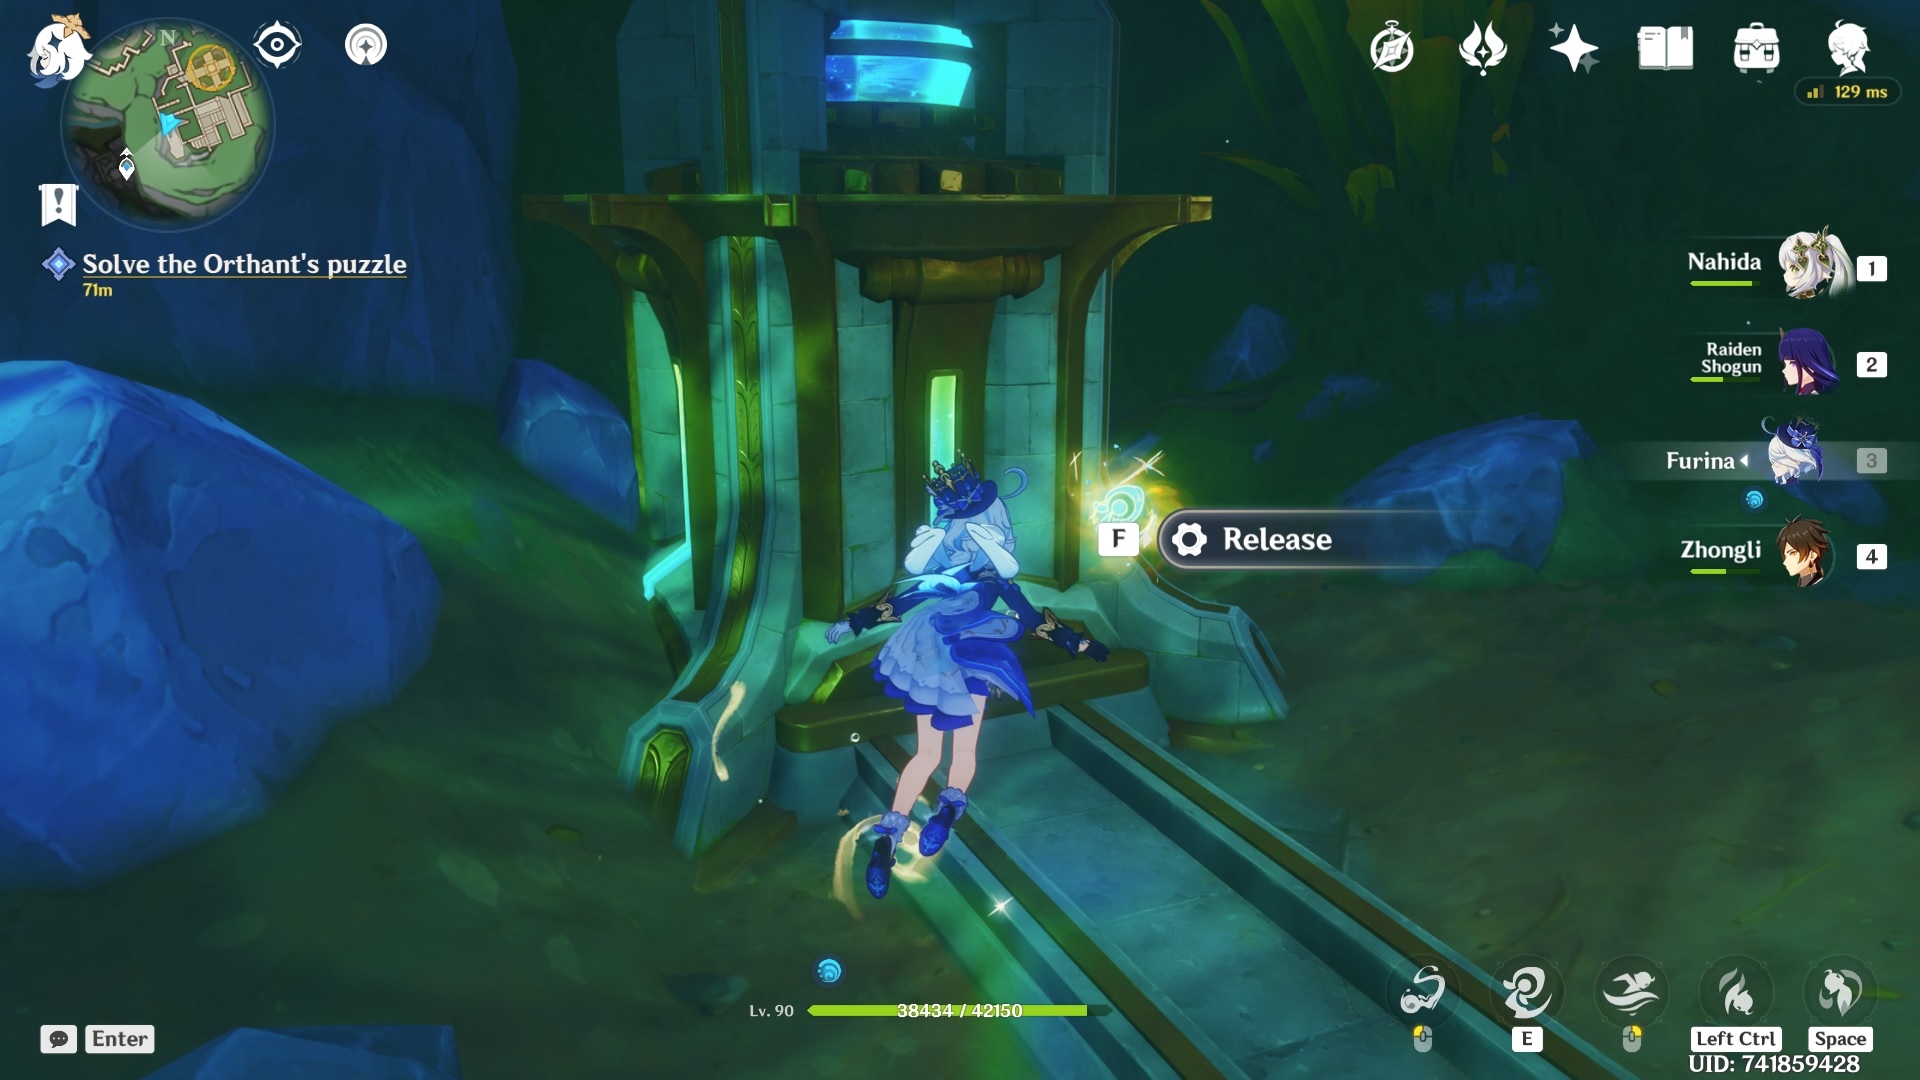
You will see a circular mechanism called a feather valve with a small blue crystal node on it. You can use the power of the Ball Octopus on these small crystal nodes.
If you stop applying the octopus ability to the node, the valve will slowly revert to its original position. So make sure you position yourself near the grater to jump down quickly.
Once you pass through the opened grate, you will see another locked grate with two feather valves this time.
Get the Ball Octopus power and first completely turn the valve on the left (when looking standing by the blue orb altar), and then the valve on the right.
This allows the valve on the left to revert to its original position much later than the one on the right, giving you room to jump down before both grates return to their original closed position.
Continue moving forward until you get a cutscene.
There is a large machine in the middle of the room.
First, go north of the machine and eliminate the two enemies guarding another machine inside a small room.
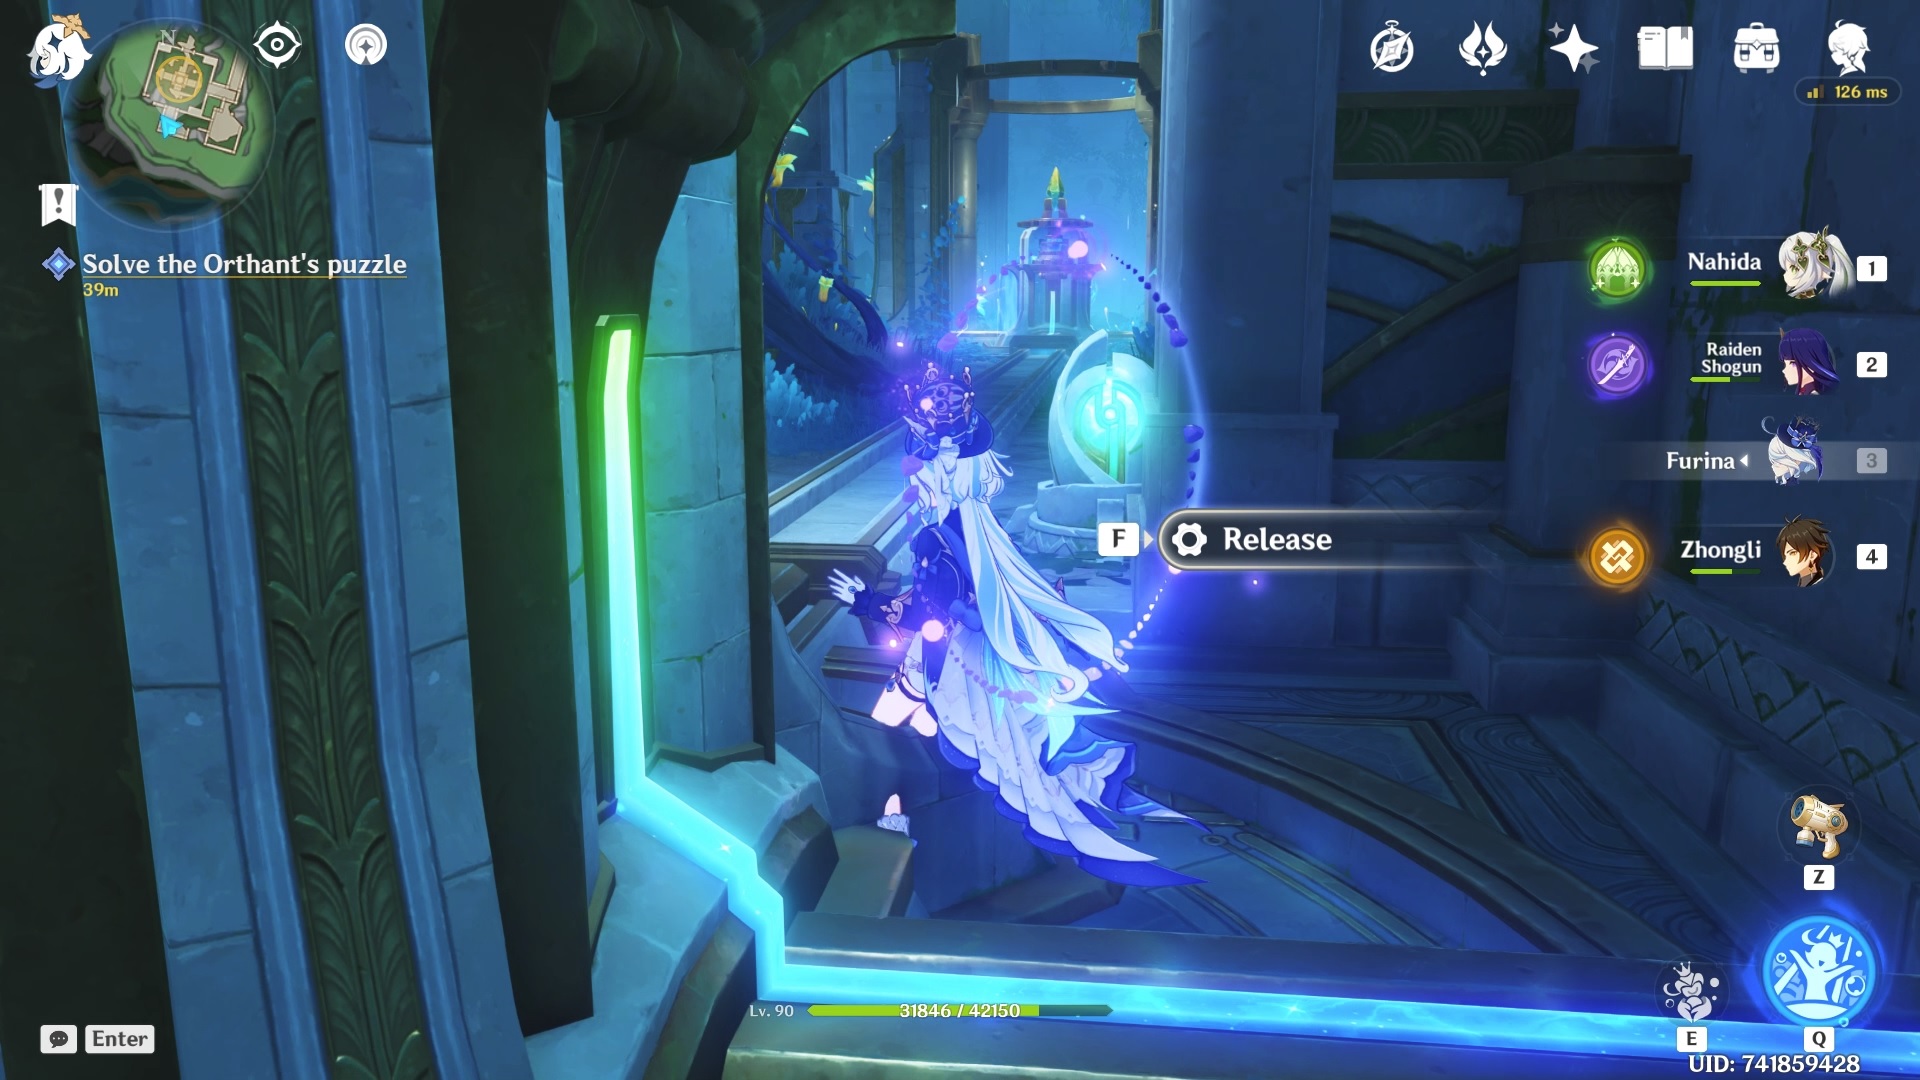
Go to the machine and interact with it to release the energy and let it flow to the central machine.
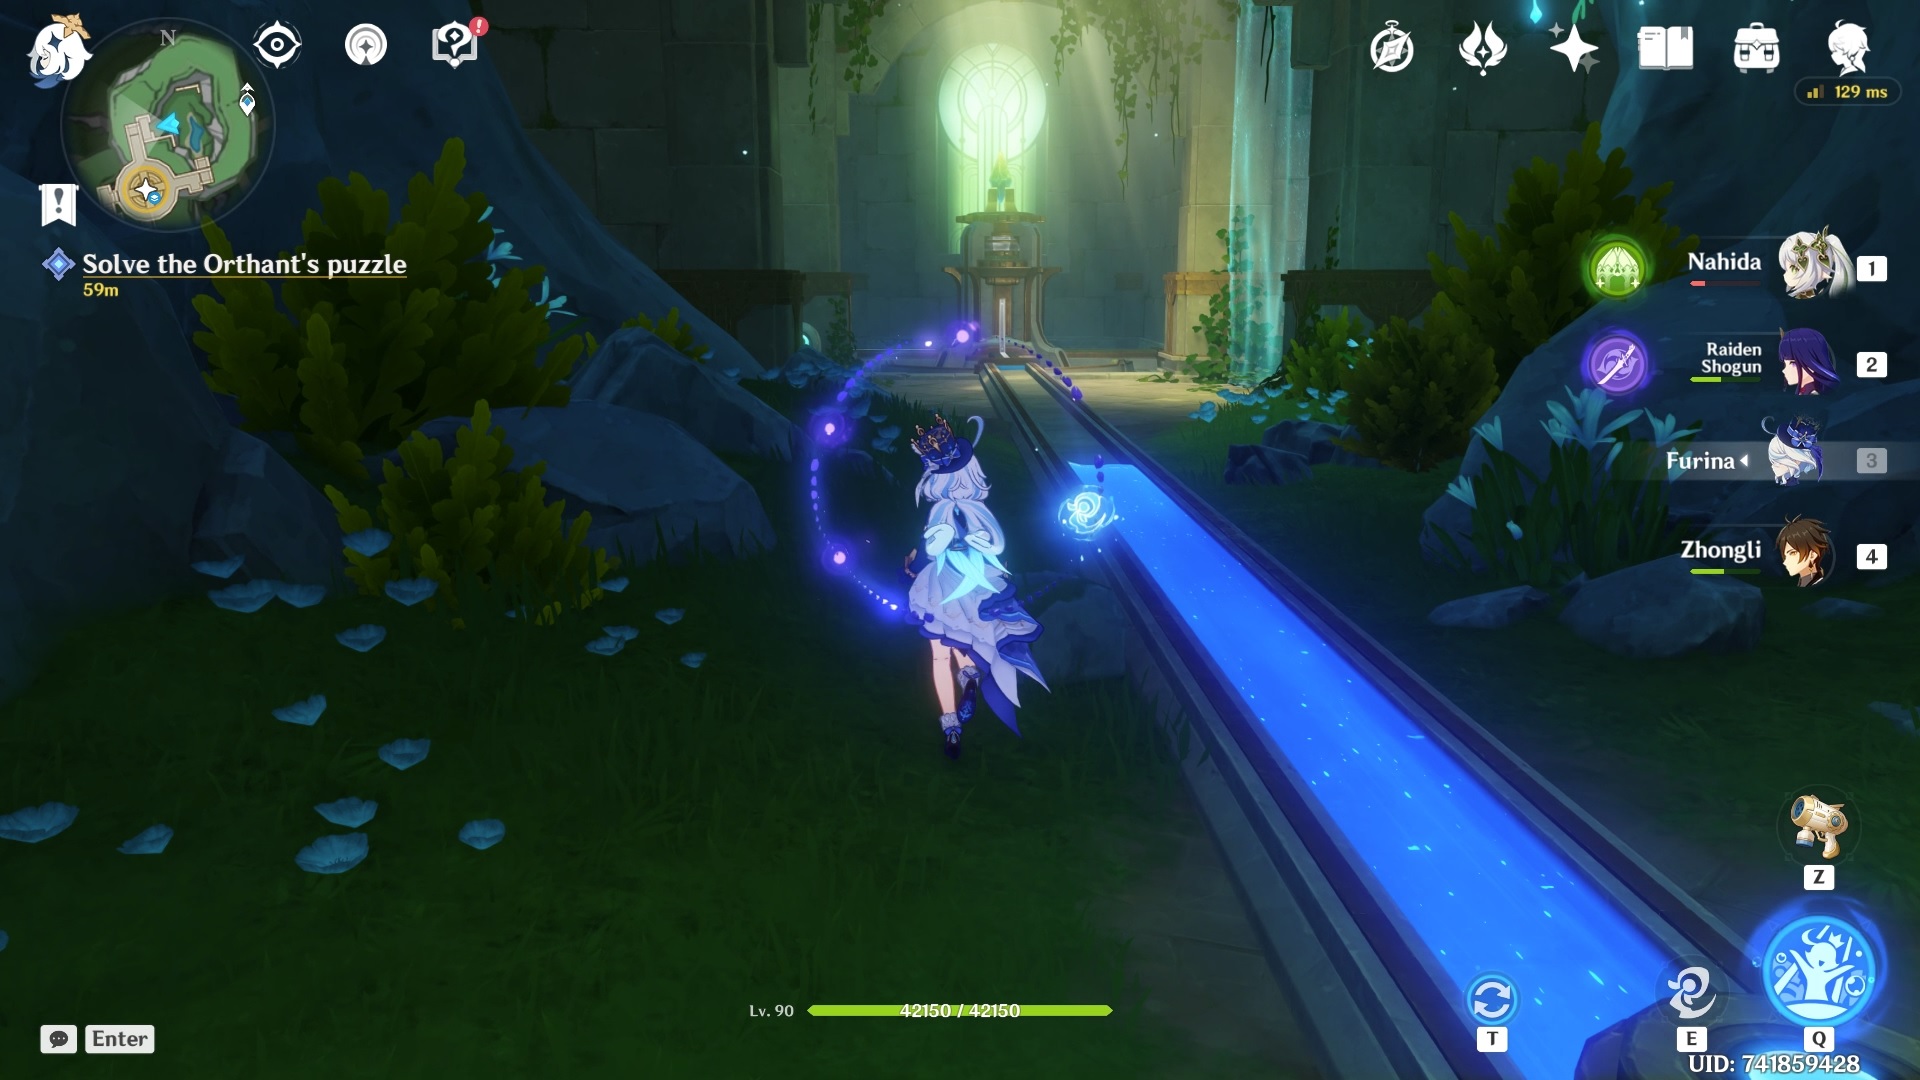
You can see the blue energy flowing on the ground.
Now, we solve the puzzle located on the east side of the large machine. First, pick up the Ball Octopus power (south of the central machine).
Go to the puzzle east of the central machine and hit the blue crystal mechanism to unseal the lock.
After unlocking, use the Octopus power on the feather valve to lift the laser up.
Once it is high enough or above the unsealed lock, hit the blue crystal again to lock it in place.
The laser will descend and line up with the grey orb. It will charge it up and open the locked gate. Go to the machine and you will get an option to "Go down."
Stand in the middle of the locked gate and another feather valve.
In this room, the puzzle is already solved by default.
When you're back up, release the energy so that it flows into the central machine.
You will notice a yellow glowing object on top of the green crystal resting on the central machine.
This will initiate a cutscene and the whole room will be flooded with water.
After this finishes, you can go to the next seal which is the Meteoric Lance.
Seal 2 - Meteoric Lance
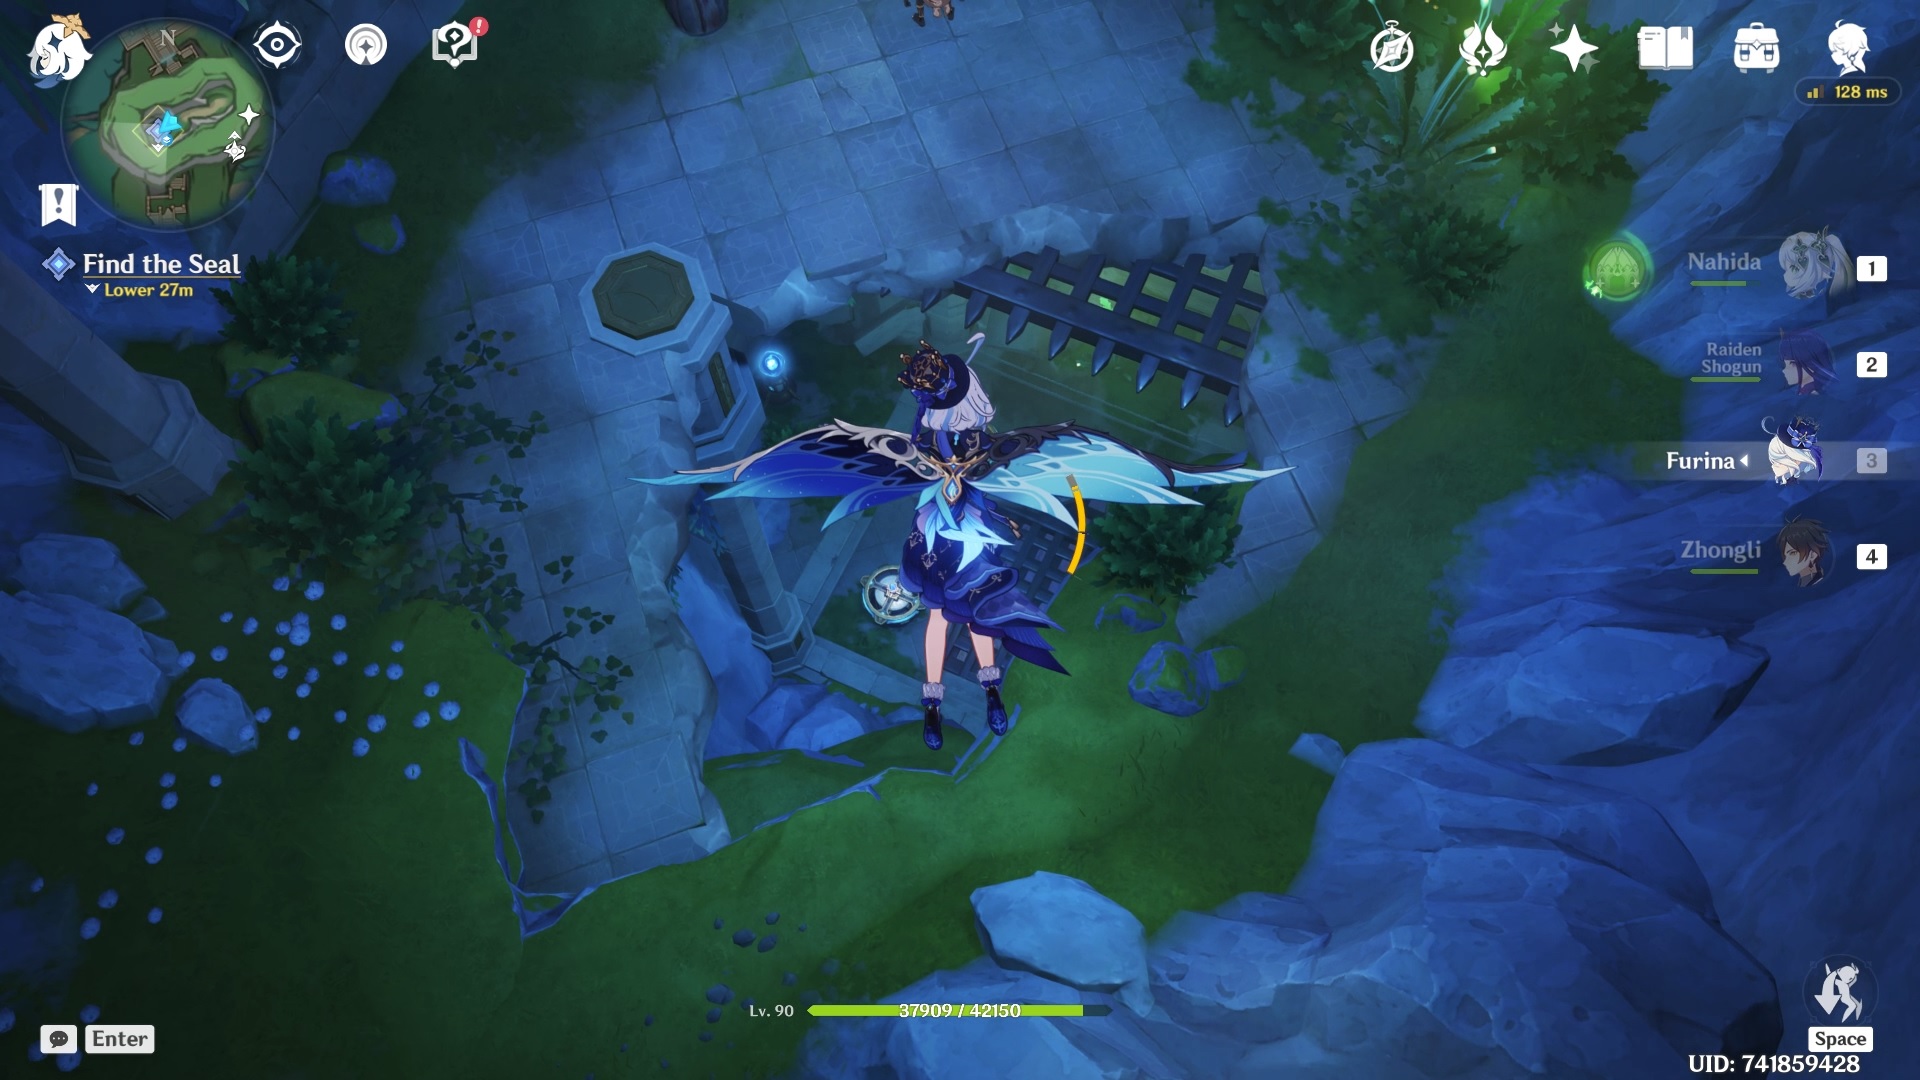
The second seal is under Fort Charybdis Ruins. There is a cave entrance on the side of the cliff.
Go inside and keep moving forward until you get a small cutscene. For this puzzle, you need to first release the orbs by defeating the Meka, which is guarding and holding the orbs around them.
Once the Meka is defeated, the grey orbs will move towards the door. One on the right side and the other on the left side.
First, grab the Ball Octopus power resting by the stairs.
You can use it to power the blue crystal nodes on the two pillars.
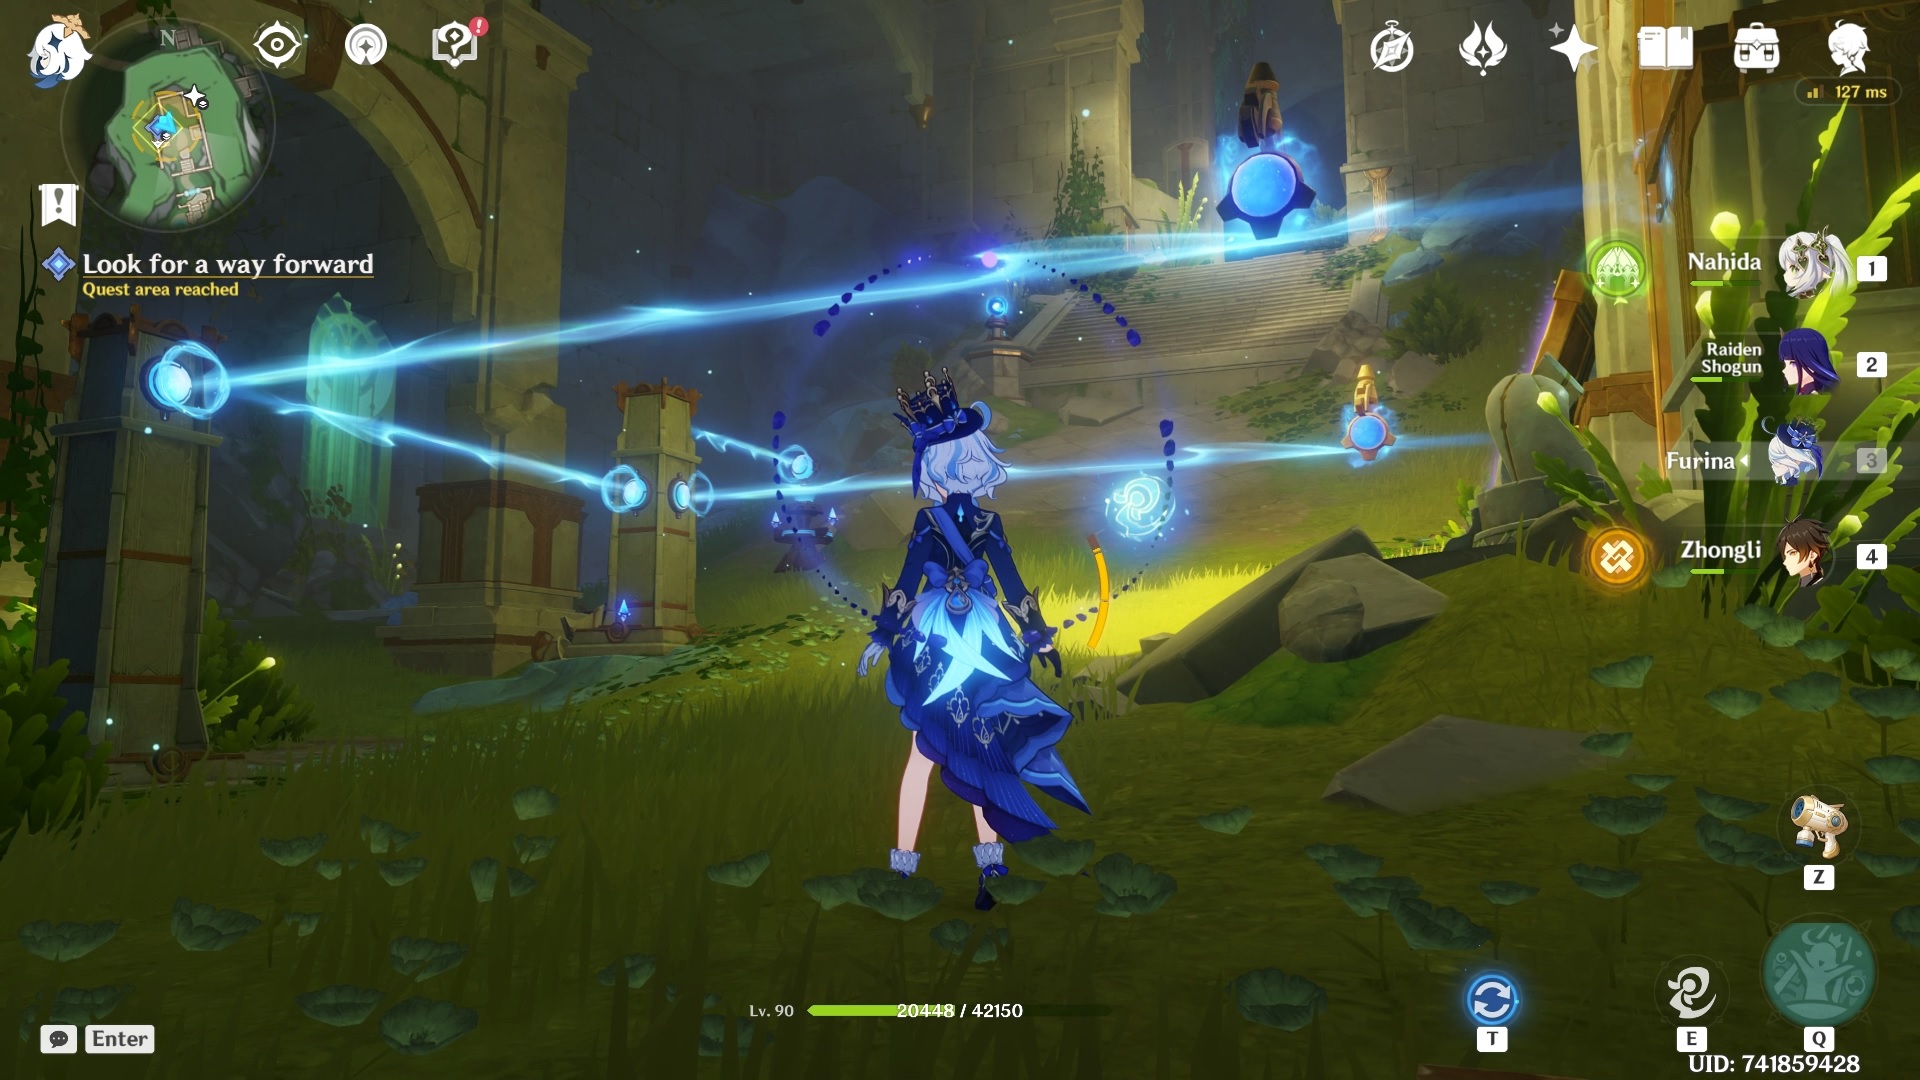
First use the ability on the laser to straighten it and make it face towards the pillars.
After that, bring the first pillar high enough so that the circular shape at the top of the pillar lines up with the laser.
Repeat the same with the second pillar and bring it up just enough so the laser coming from the left side of the first pillar hits the circular orb of the second pillar, powering it up.
Once done, both grey orbs will be charged, and the gate will open.
Activate the lift to go deeper.
When you get down, you will find a Meka. Defeat it and then proceed.
This is another quick puzzle. First, hit the blue crystal to open the first door and close the second.
After that, hit the crystal (now orange in color) again and quickly run through the first door as it will close.
Note that you can also use a bow character, making it even easier.
Continue going down the stairs, and you will enter a room with another central machine.
First, go east and pick up the Ball Octopus ability once again.
Use the ability on the left pillar and bring it down. You need to bring it all the way to the bottom since it is slower and will take its time to come back up.
Quickly turn to the pillar on your right and repeat the same.
Once both orbs are charged, the gate will open.
Use the lift machine to go down.
Go to the valve on the side of the machine and rotate it so that the directional wheels are facing the right way for the energy flow.
You just need to keep an eye out for the first one. If that one is correctly aligned with the path, the rest will also automatically be aligned.
Once the correct path has been set, release the energy to direct it towards the second lift machine.
Go to the lift machine and go up. When you get back on top, release the energy so that it goes to the central machine.
Activate the mechanism by the gate to open it and follow the seelee.
First, grab the Xenochromatic Hunter Ray's power and eliminate the enemies in the area.
Once you kill the enemies, the Ball Octopus is released.
First, rotate the western valve until the directional wheels are facing, as shown in the image below.
Once the front two wheels are positioned, as shown above, rotate the eastern valve to position them to match the pathway.
When you're done, release, and the energy will flow towards the next machine.
Meanwhile, get Hunter Ray's power and cut through the grass before you.
Go through the water barrier and use the lift machine to return to the central machine level.
When you're back up, release the energy to be redirected into the central machine, some Meka guard dogs will spawn. Eliminate them.
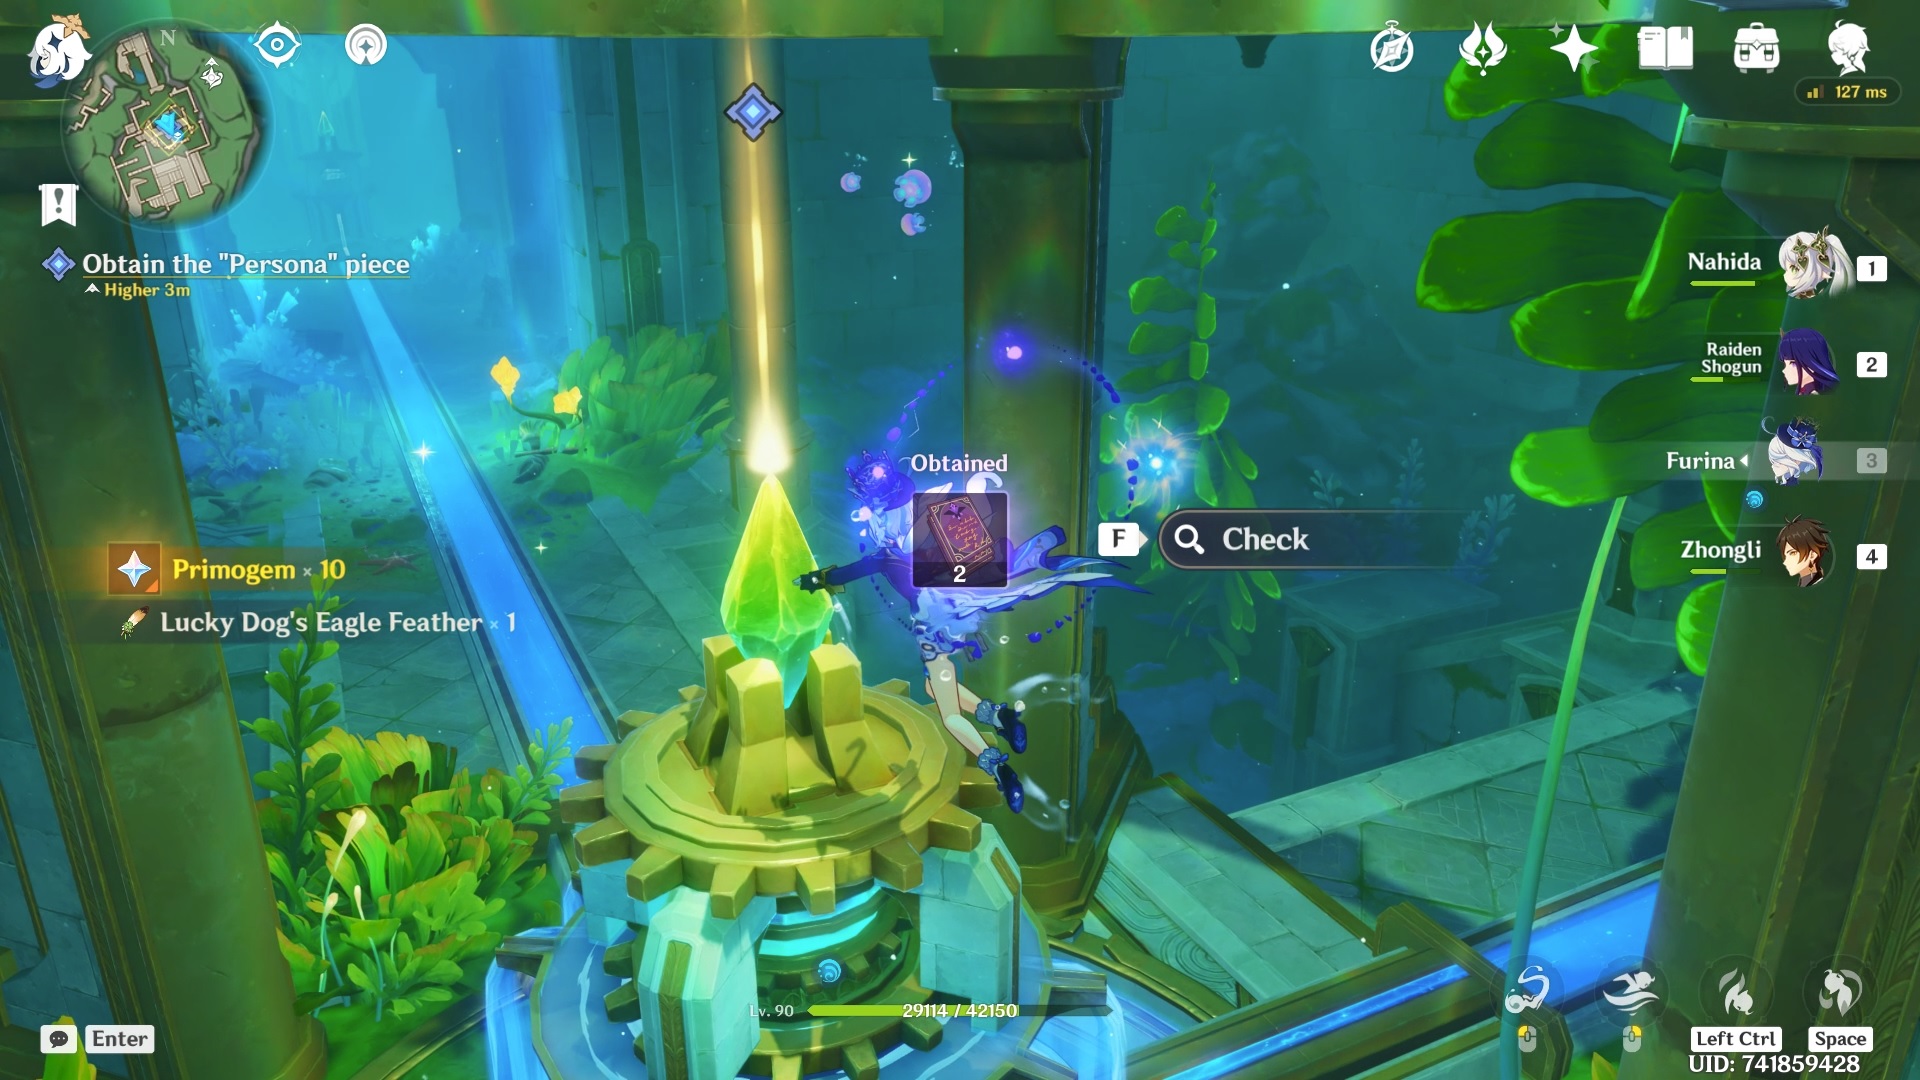
A luxurious chest will also spawn. You can now check the green crystal on the machine to complete this puzzle.
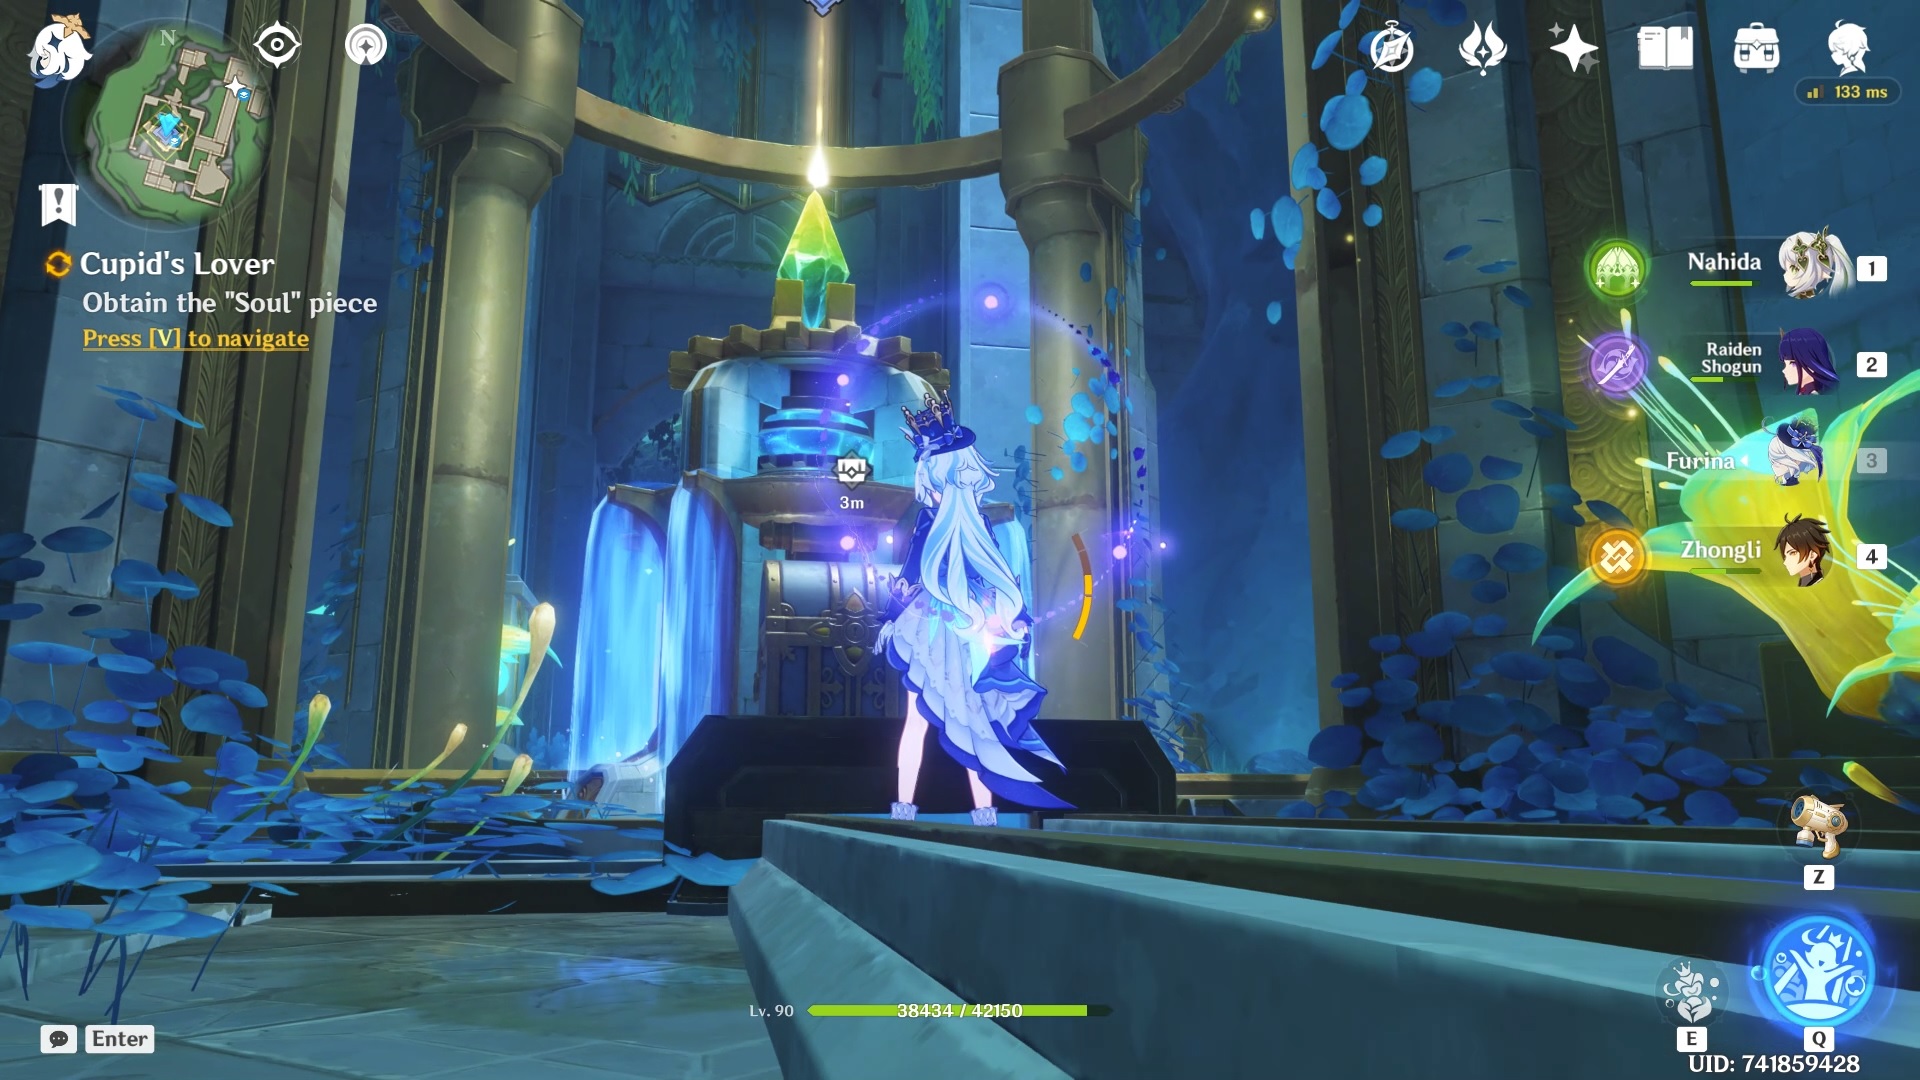
Seal 3 - Cupid's Lover
The third seal is under the East Slopes of Mont Automnequi.
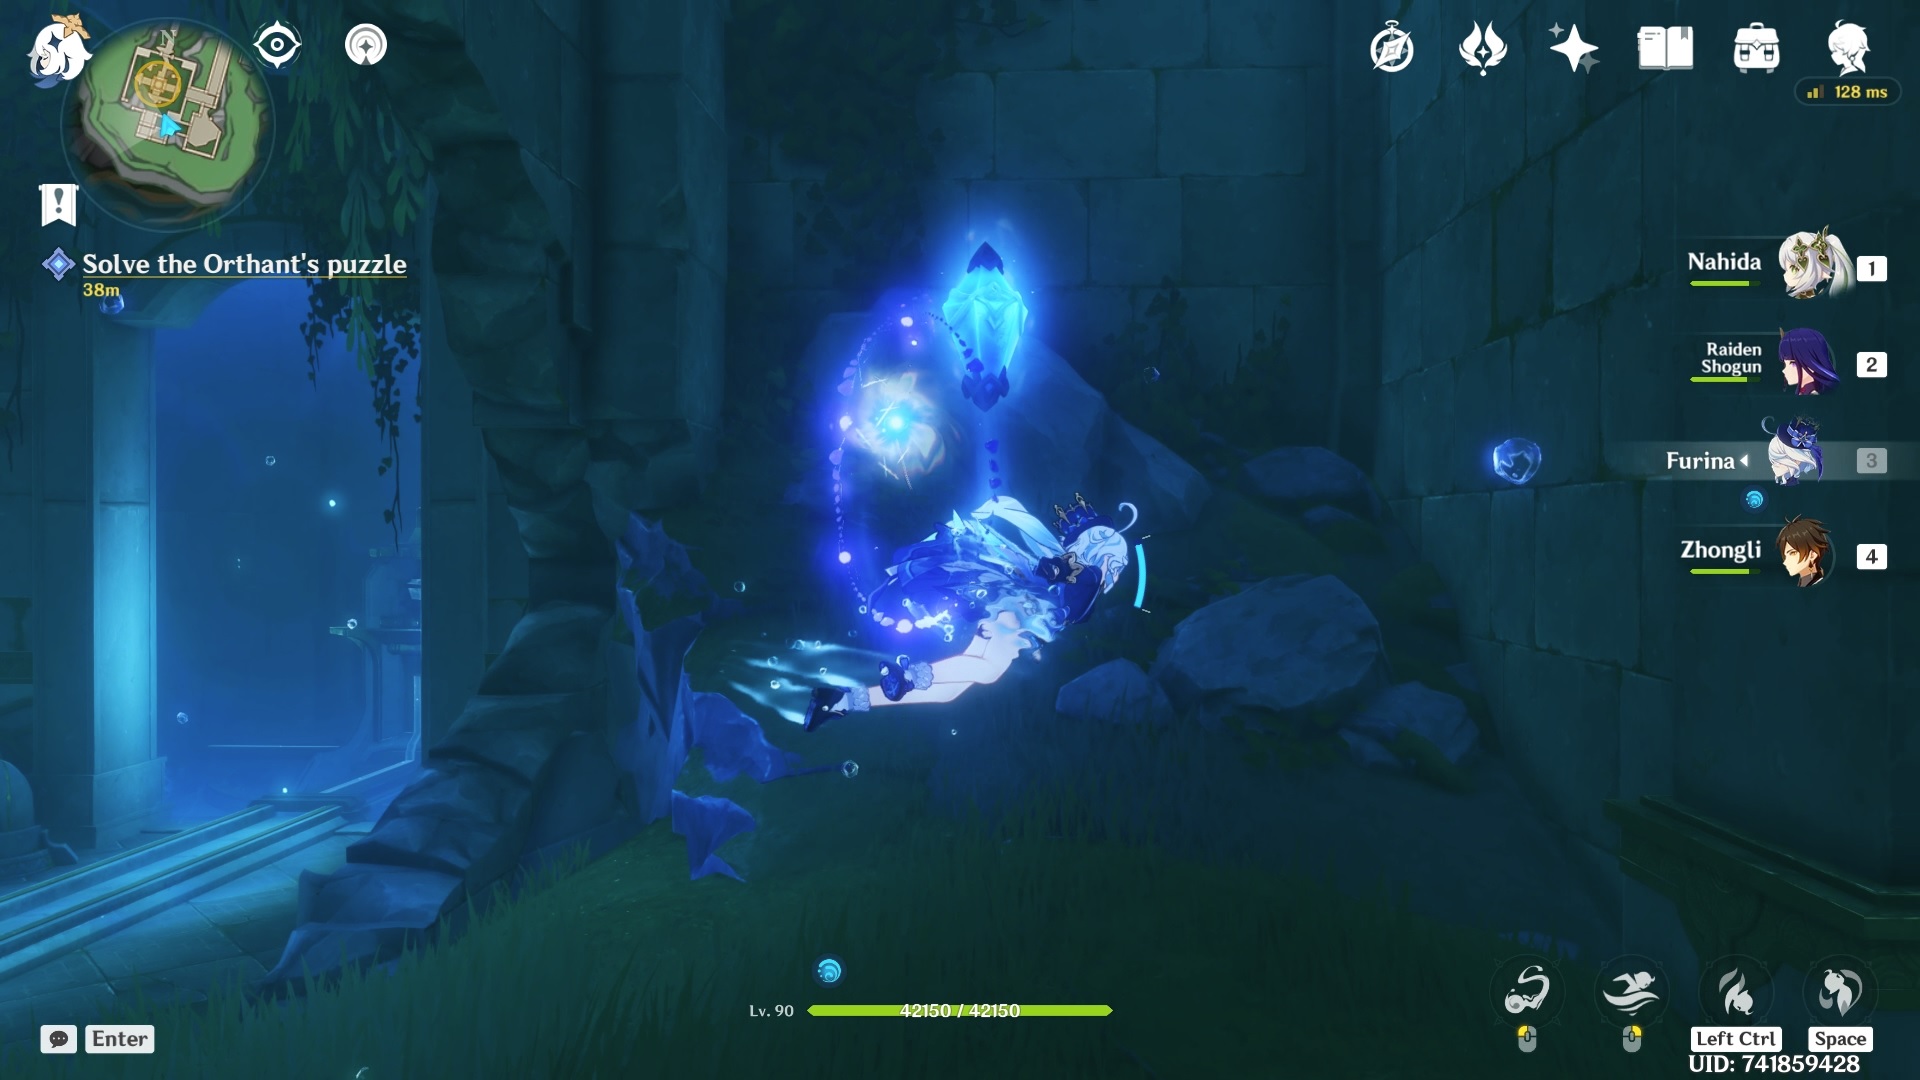
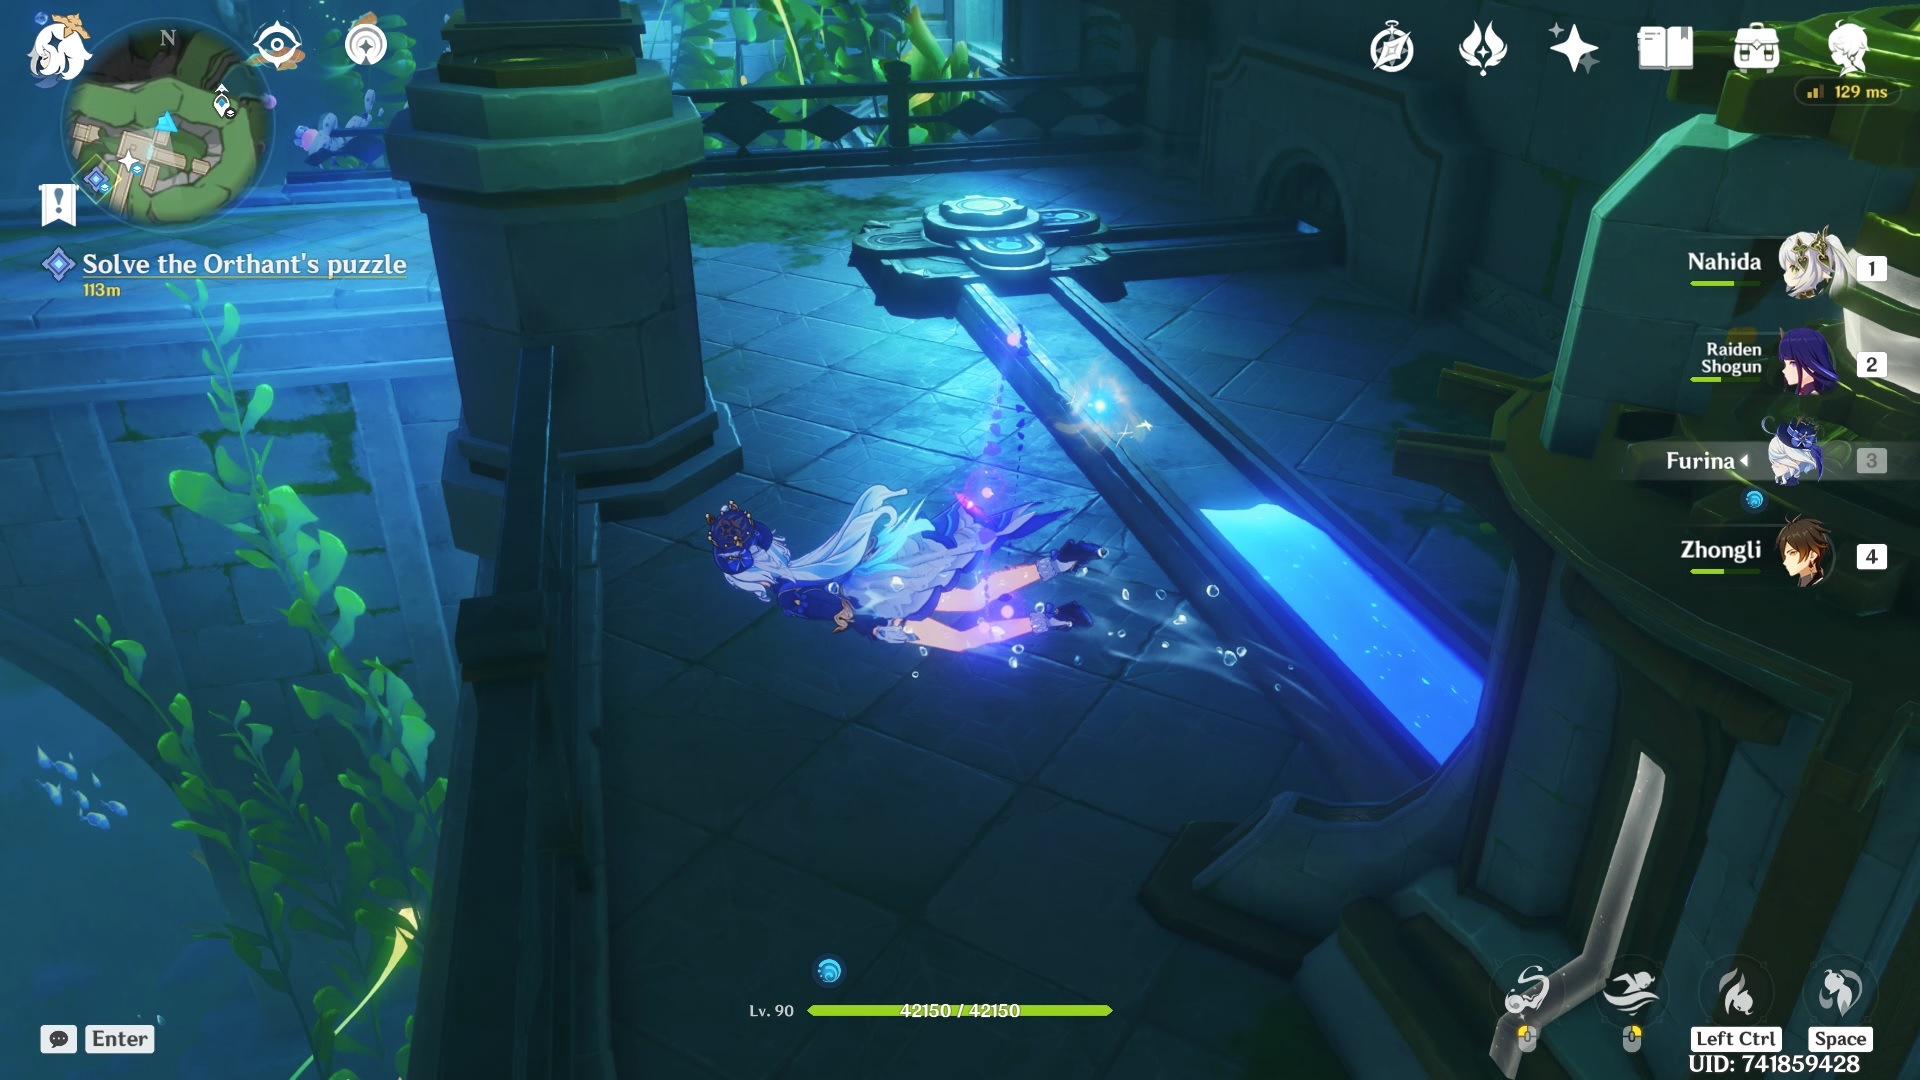
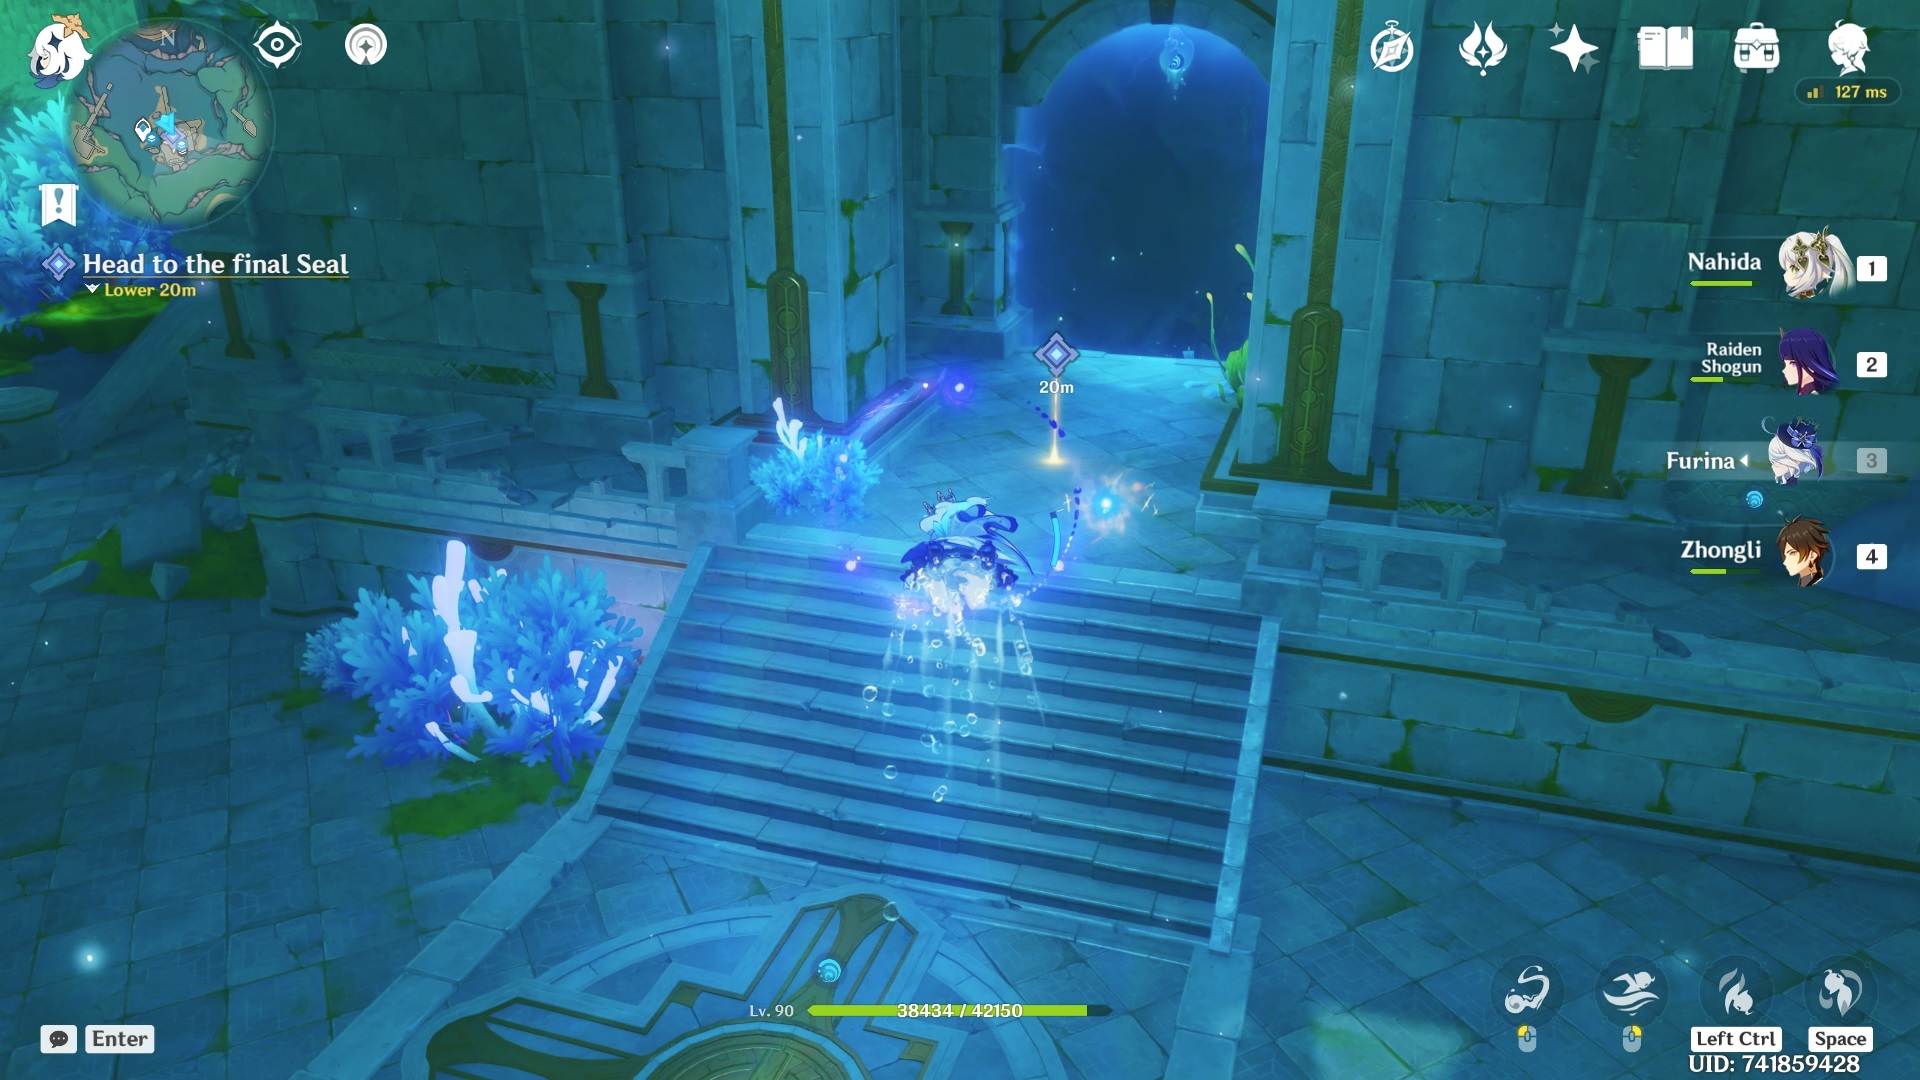
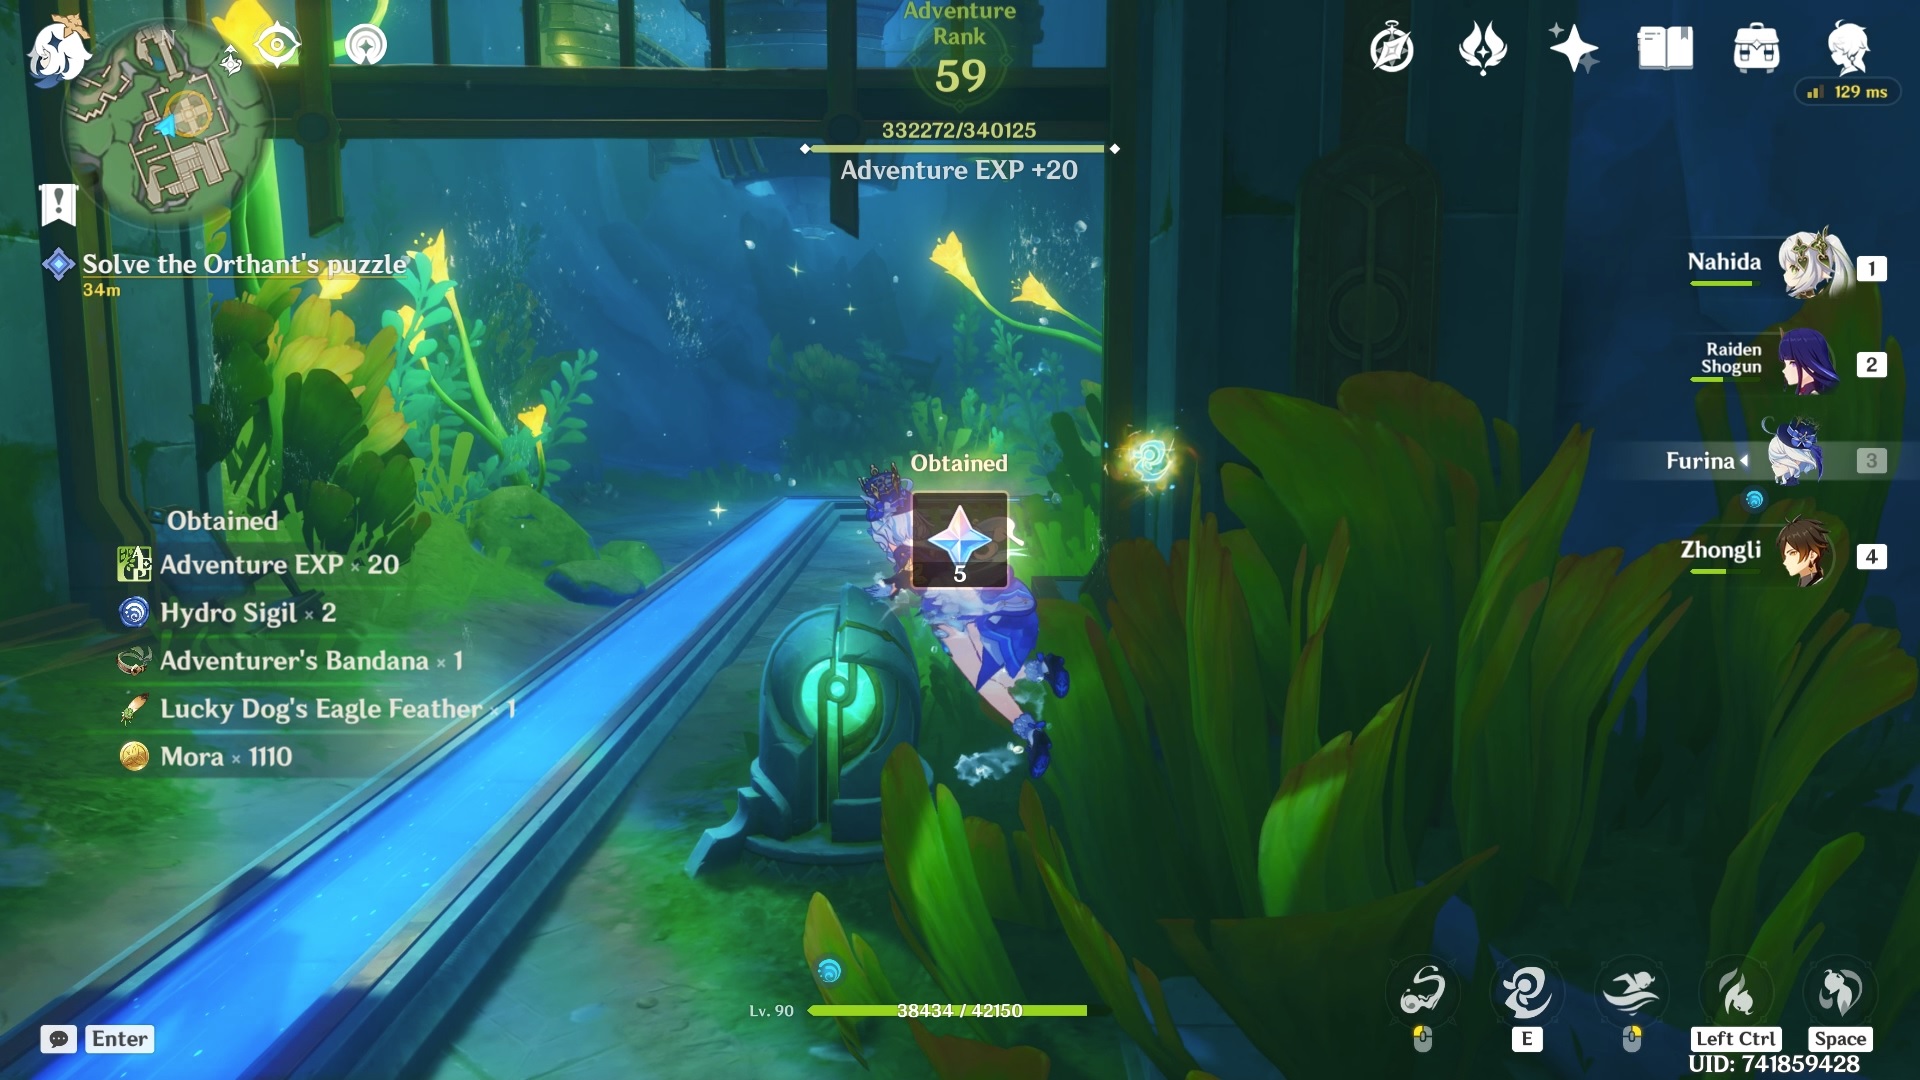
You need to dive underwater to proceed when you get inside this area. Keep swimming until you come across an open area with underwater ruins and a broken bridge.
There is also an underwater enemy canon always shooting at you. So be careful.
First, go to the right side of the barrier and release the energy flow from the machine.
Then get the Xenochromatic Ball Octopus power from the Octopus near the cannon that is trying to shoot you down all the time.
After getting the power, go to the left side of the barrier and rotate the valve to align the directional wheel on the floor.
When aligned, release the energy to redirect it and remove the barrier.
Go through the water barrier and release the energy from the machine you see as soon as you're through the barrier.
Unfortunately, The door that leads to the second lift machine is locked.
Grab the Ball Octopus power from the mini altar by the first machine and jump down on the left side of the locked door.
Continue moving forward, and you will see another central machine.
From the central machine, go straight (south direction) and go down using the lift machine ahead of you.
Once you reach the bottom level, go through the water barrier and you will find a blue crystal mechanism.
When you're through, you will find two more locked gates with an energy machine.
When you hit the orange-colored crystal, the first door will open but the second door leading to the machine will close.
Go through the first door and press your skill button to explode the Jellyfish power.
Release the energy from the machine. When you do that, all the water in this area will be drained.
After that, go back to the lift machine as it has already gained the energy.
Then, go to the lift machine to the east and go up.
When you reach the upper level, you will find another energy machine across the corridor.
You will also find the Special Key on the window ledge directly behind the corridor machine.
When you release the energy, another Meka enemy will spawn. Take them out and continue.
After getting back to the lower level, release the energy to send it to the central machine.
Now, go north, back to where the final energy lift machine is.
Open the gate using the Special Key and take the lift machine down. Release the energy to redirect it to the central machine and you're done with the third seal.
Now, we can move on to the final seal.
Seal 4 - Thalia and Melpomene
The final location of the seal is in the underwater ruins south of the Tower of Gestalt.
There is a water barrier that separates this area from the sea. Go through the barrier and continue going deeper.
You will get a cutscene. Wait for the cutscene to be over and continue. You will come inside a room with another energy machine.
You will find a small drop with some Meka guards and another machine at the bottom.
Release the energy and continue going forward by taking the left path. You will find a lift machine here.
Once you've reached the upper level, release the energy to send it to the central machine inside the water through the water barrier ahead of you.
Go through the water barrier and swim under the central machine. Go south and you will enter a room with several deactivated Meka guard dogs.
You will arrive at another place where you need to solve yet another puzzle.
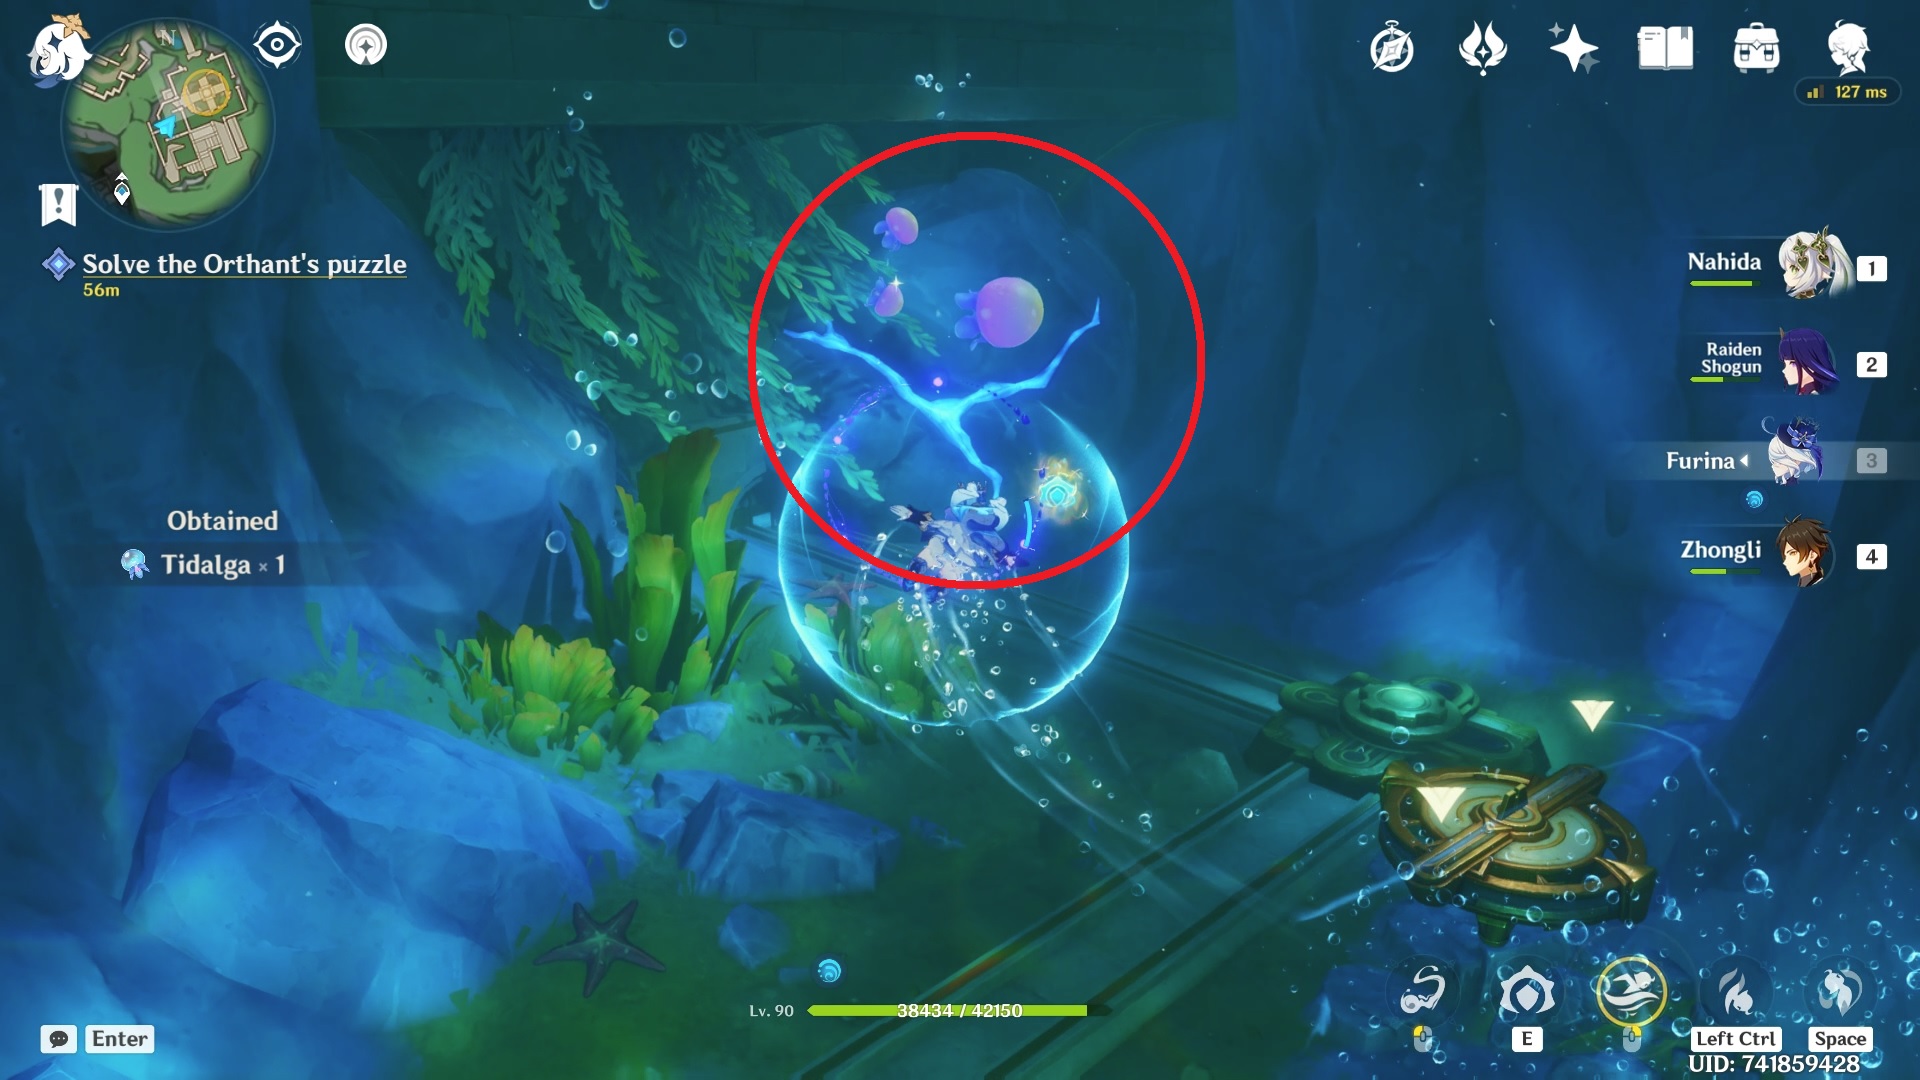
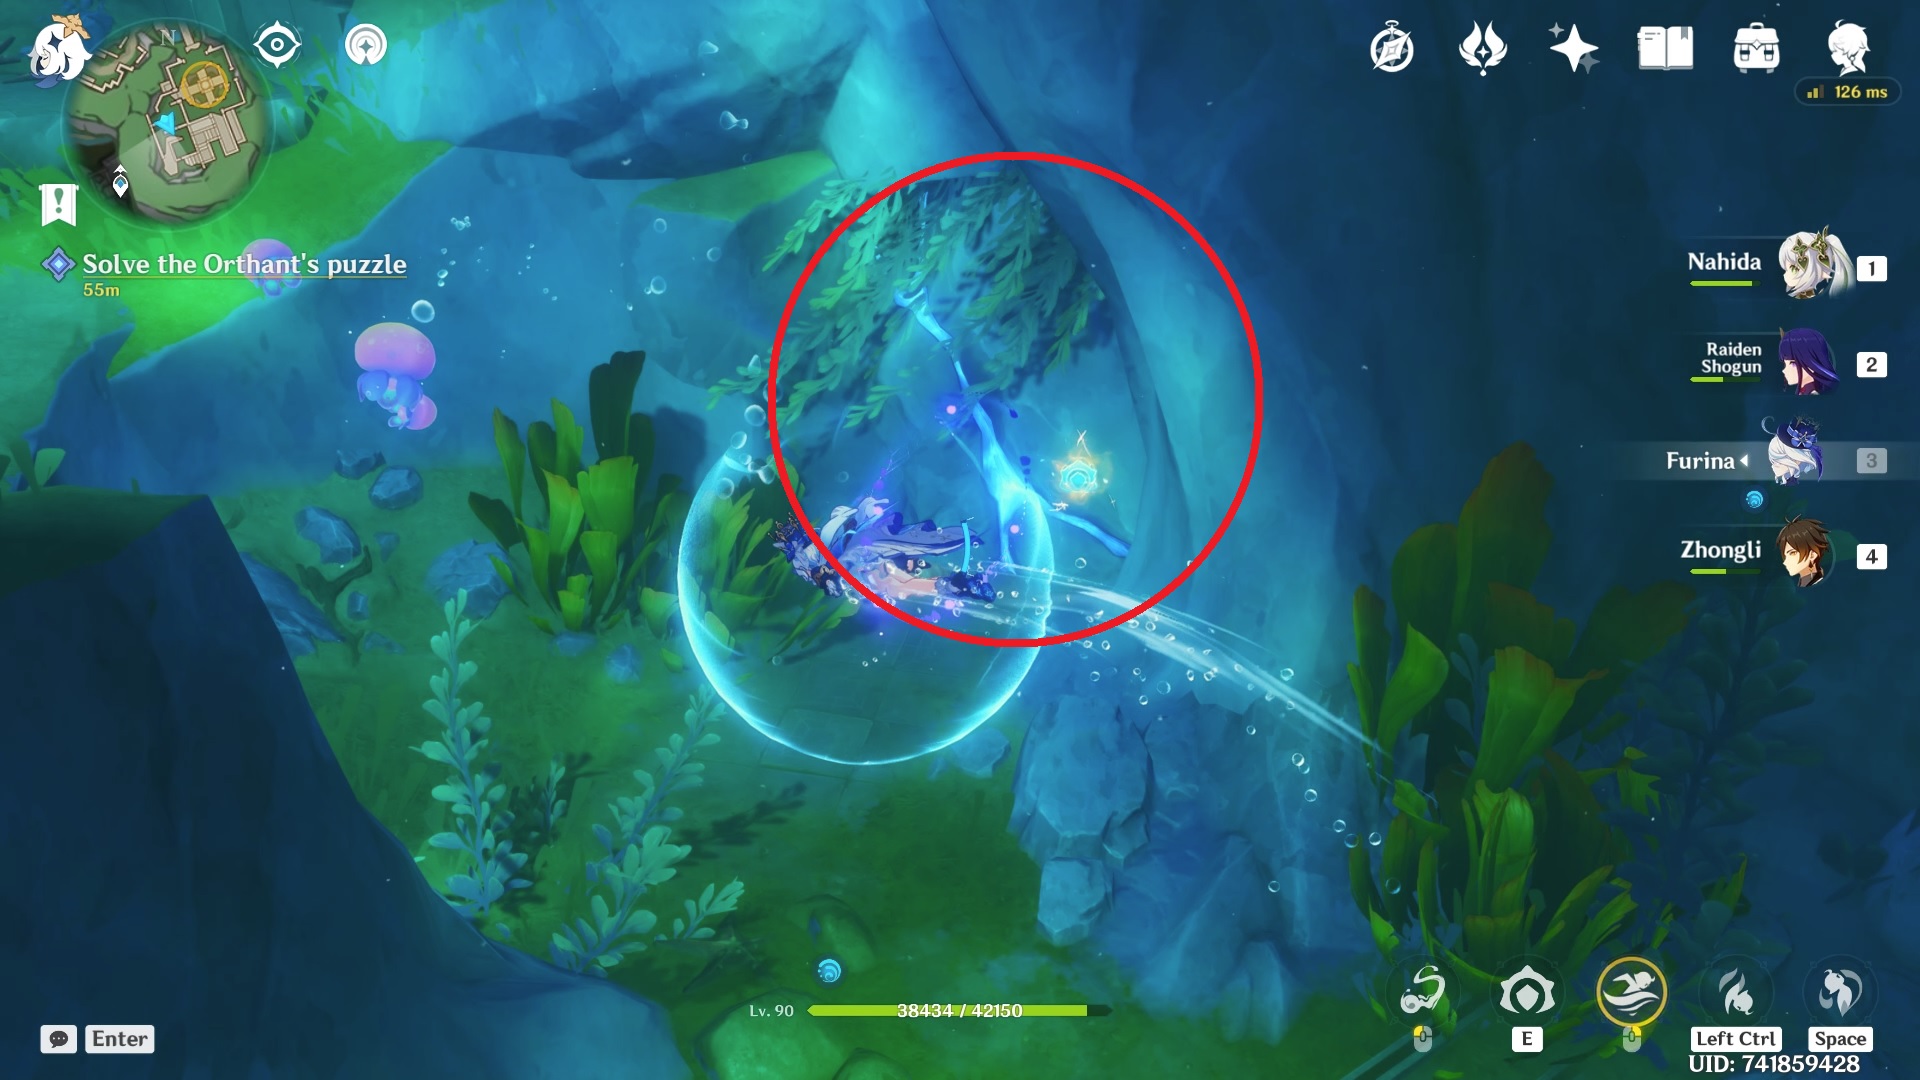
First, grab the scuttle crab power to destroy the boulder at the base of the barrier to release the Ball Octopus.
Before getting the Ball Octopus' power, destroy the rest of the boulders to reveal everything related to the puzzle. There are two more boulders here.
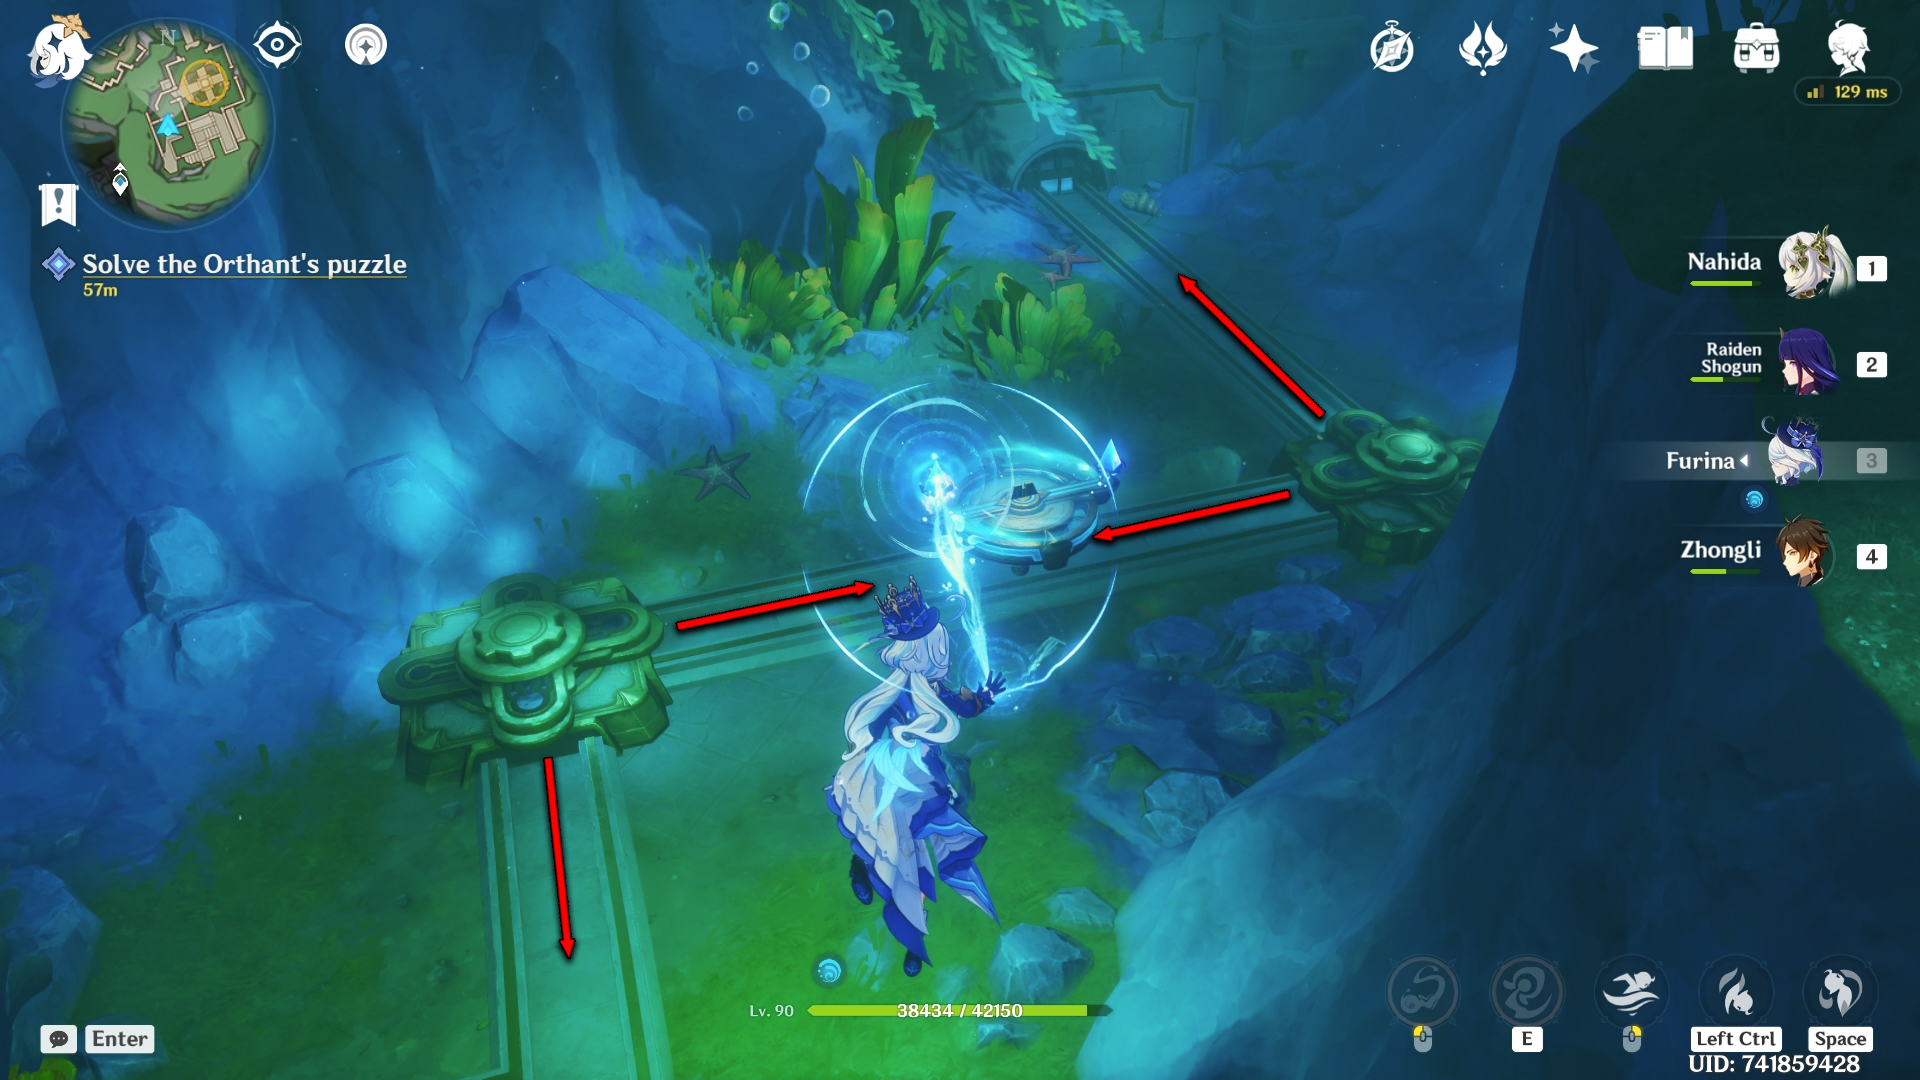
And the other directly below the open energy machine. This one has the crystal nodes for the regulator valve which will be used to change the direction of the directional wheels to correct the path of the energy flow.
Get the Octopus' power and rotate the valve until the direction of the wheels matches the path of the energy flow.
Now, go to the energy machine and release the energy.
After that, go to the open energy machine and release the energy from there too.
Go through the water barrier to your right and defeat multiple waves of enemies.
Use the lift to go up and release the energy to direct it towards the central machine.
This time when you interact with the top of the machine, you will be teleported to the top of the Tower of Gestalt.
Jakob Boss Fight
When you get to the top of the tower, you will get an option to enter the tower.
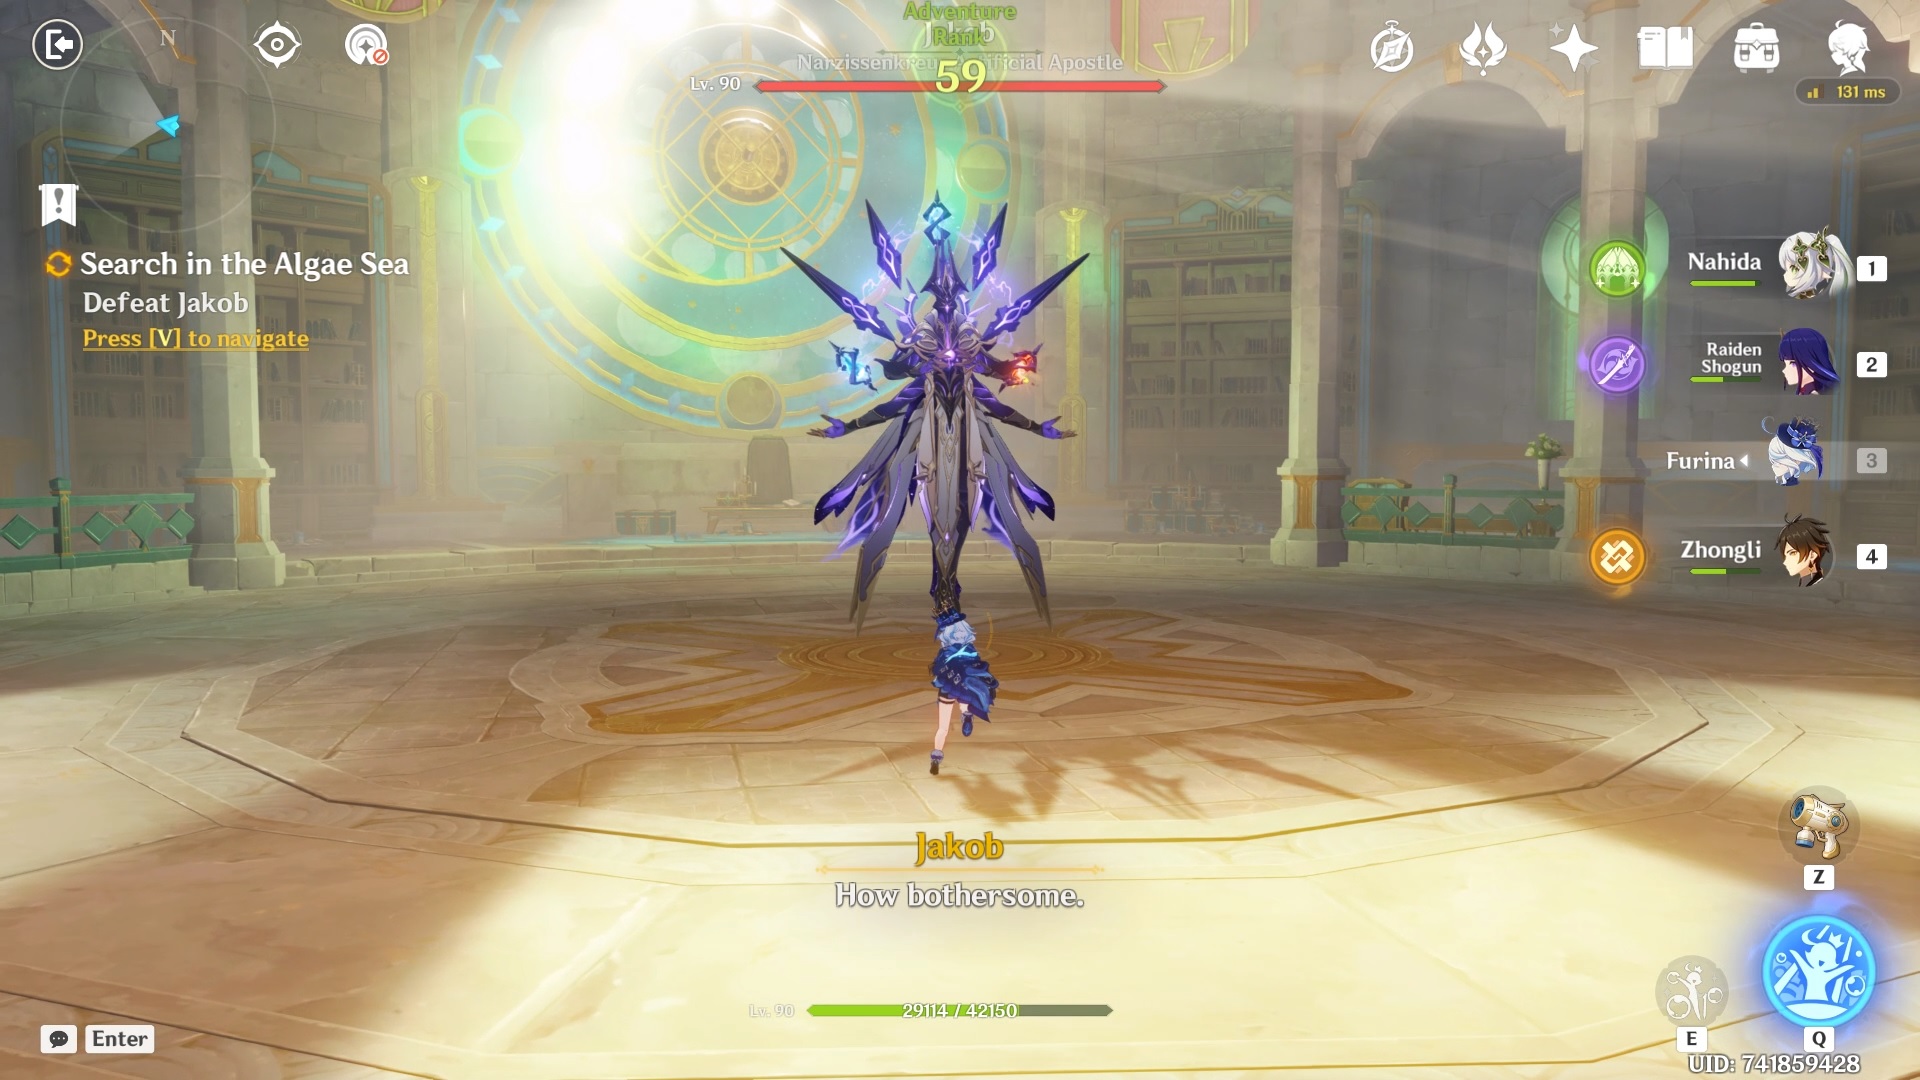
After the cutscene, a boss fight against the Abyss version of Jakob will ensue.
After the cutscene, you will get another option to go deeper through the broken floor.
Act 2 - Savior's Wake
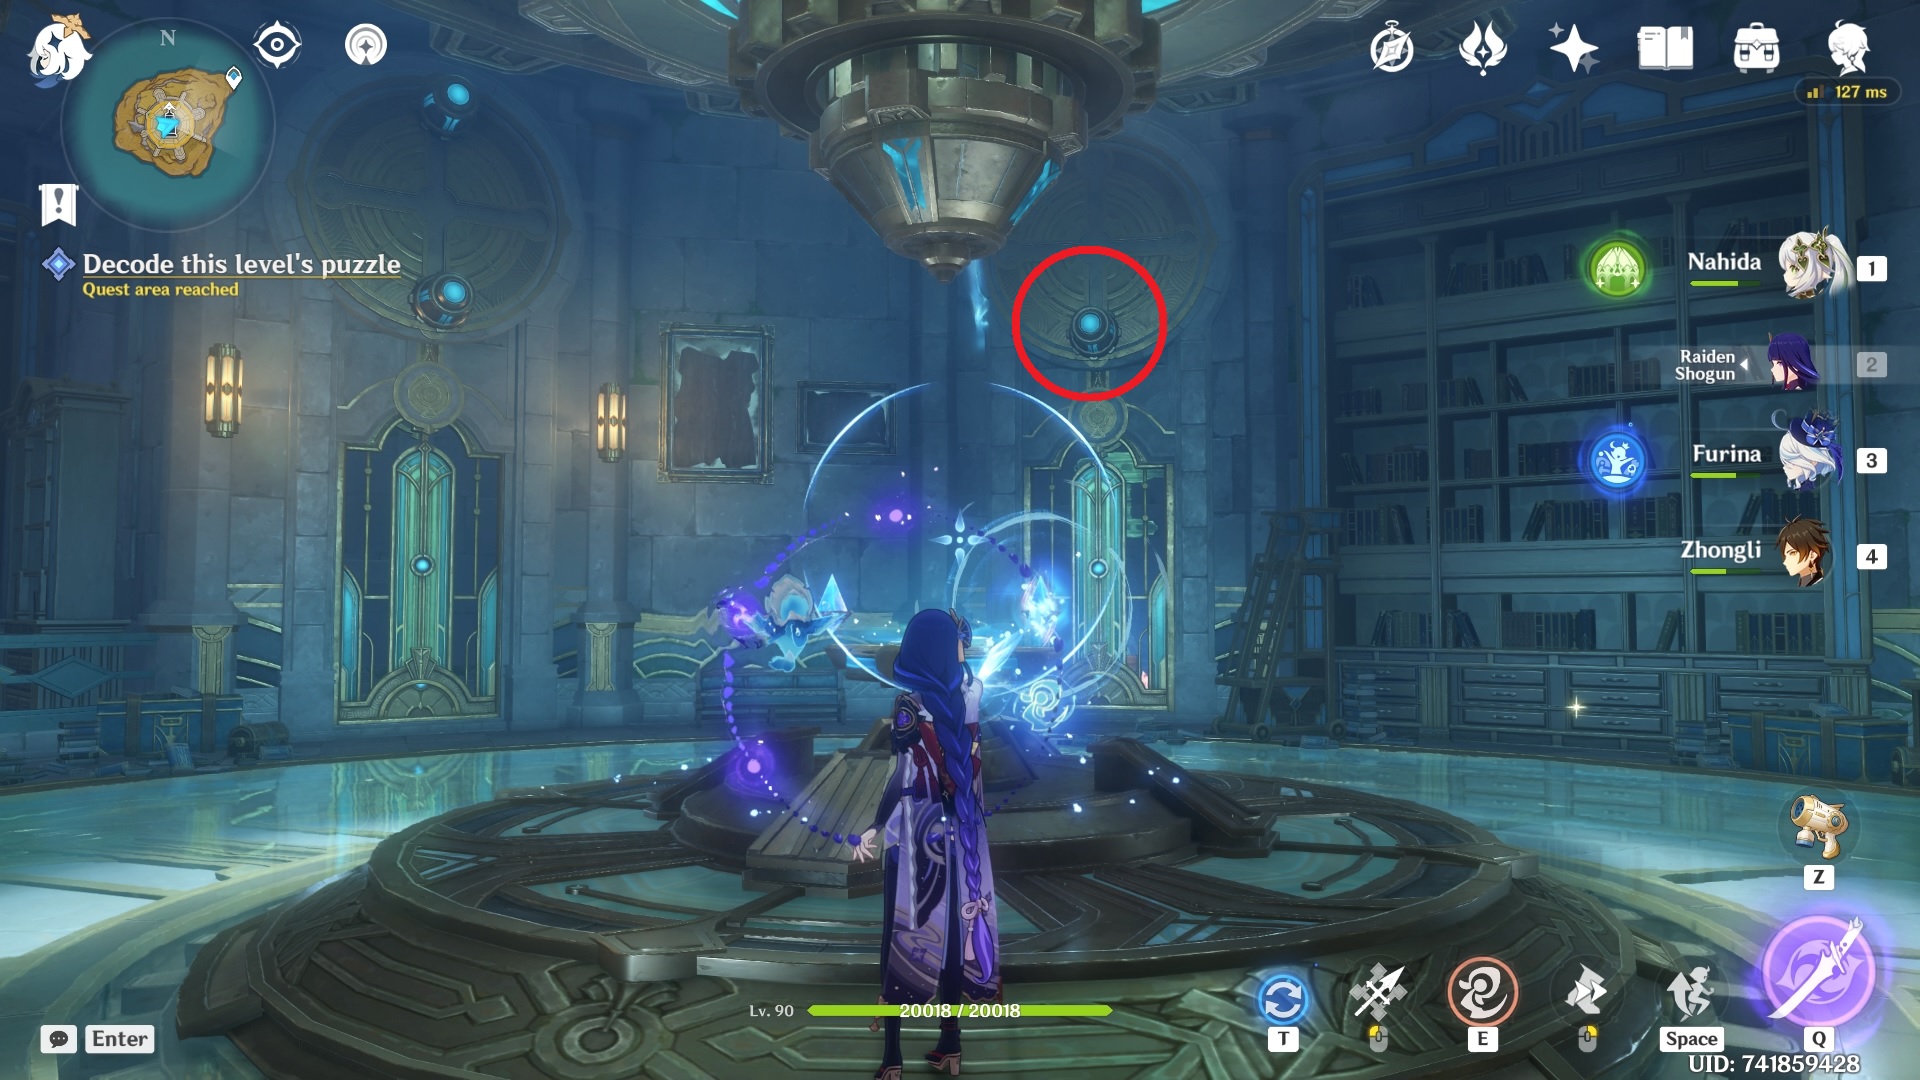
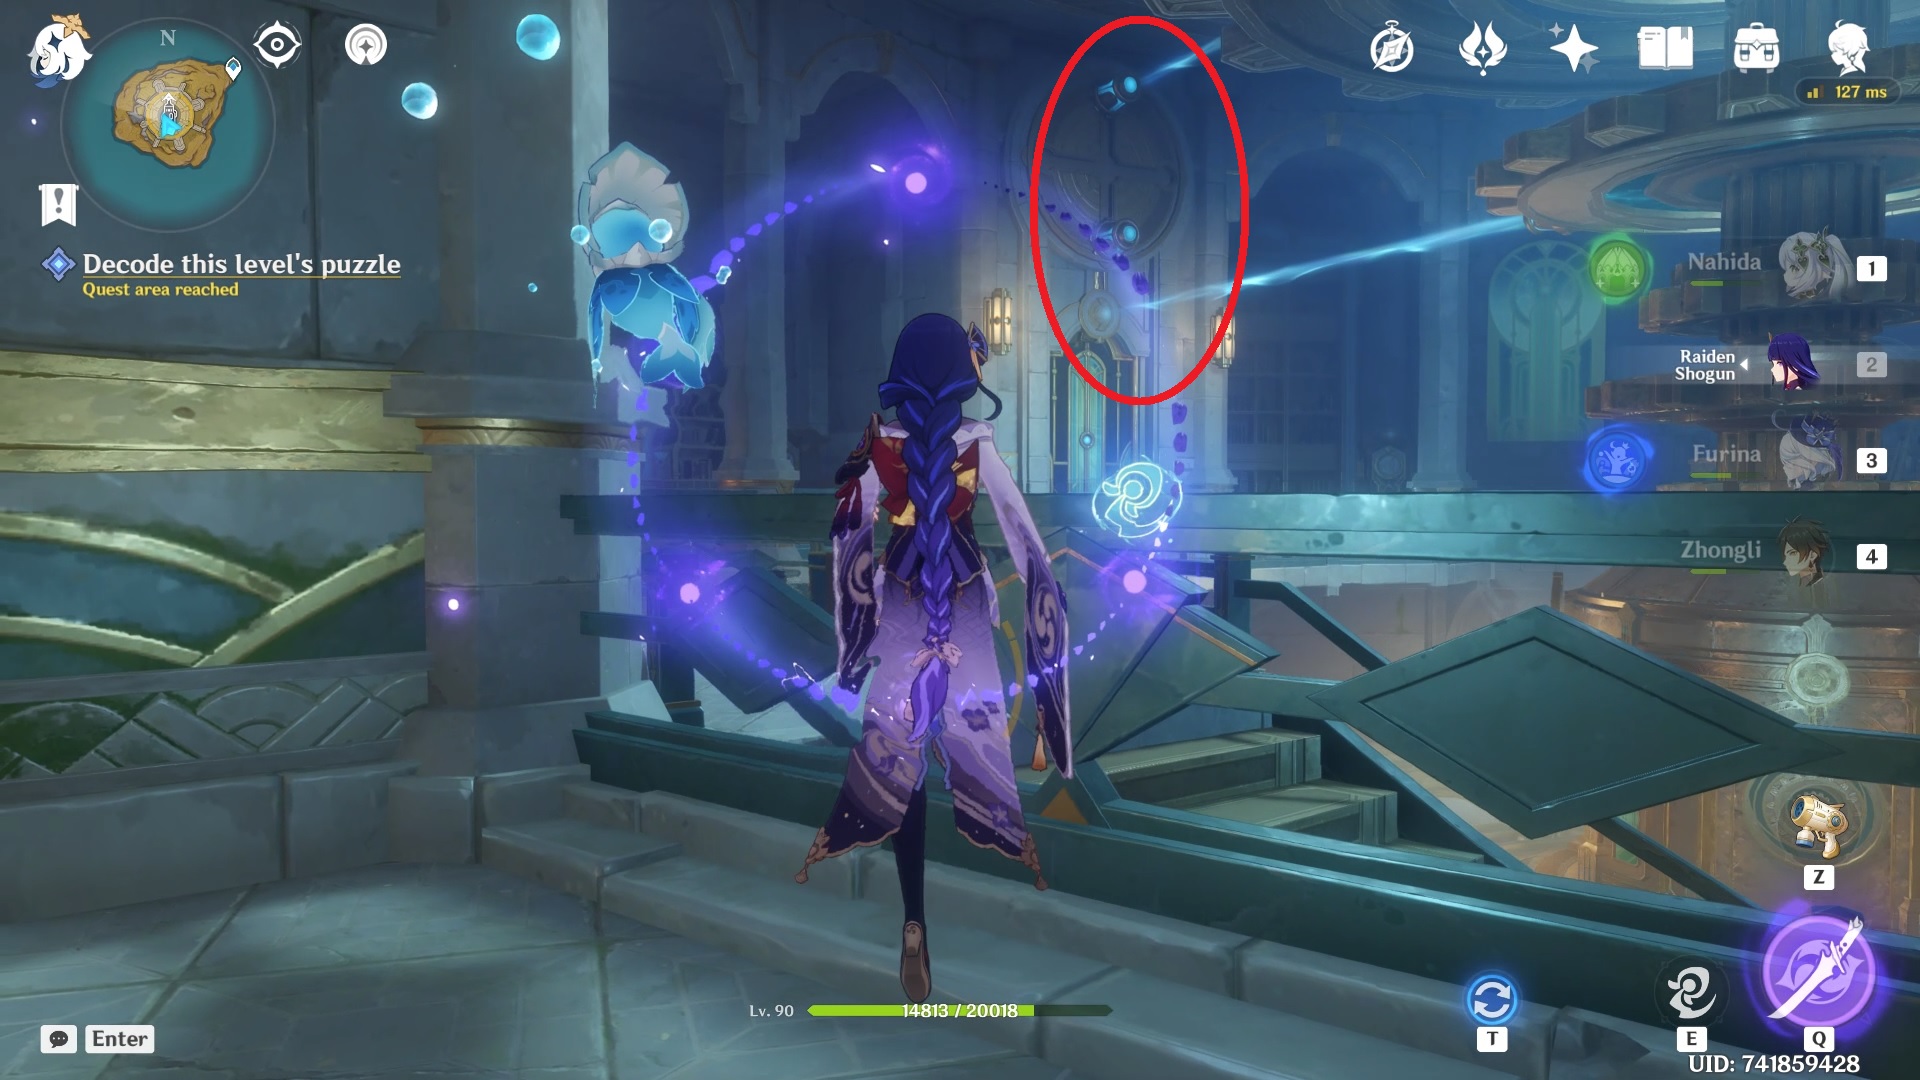
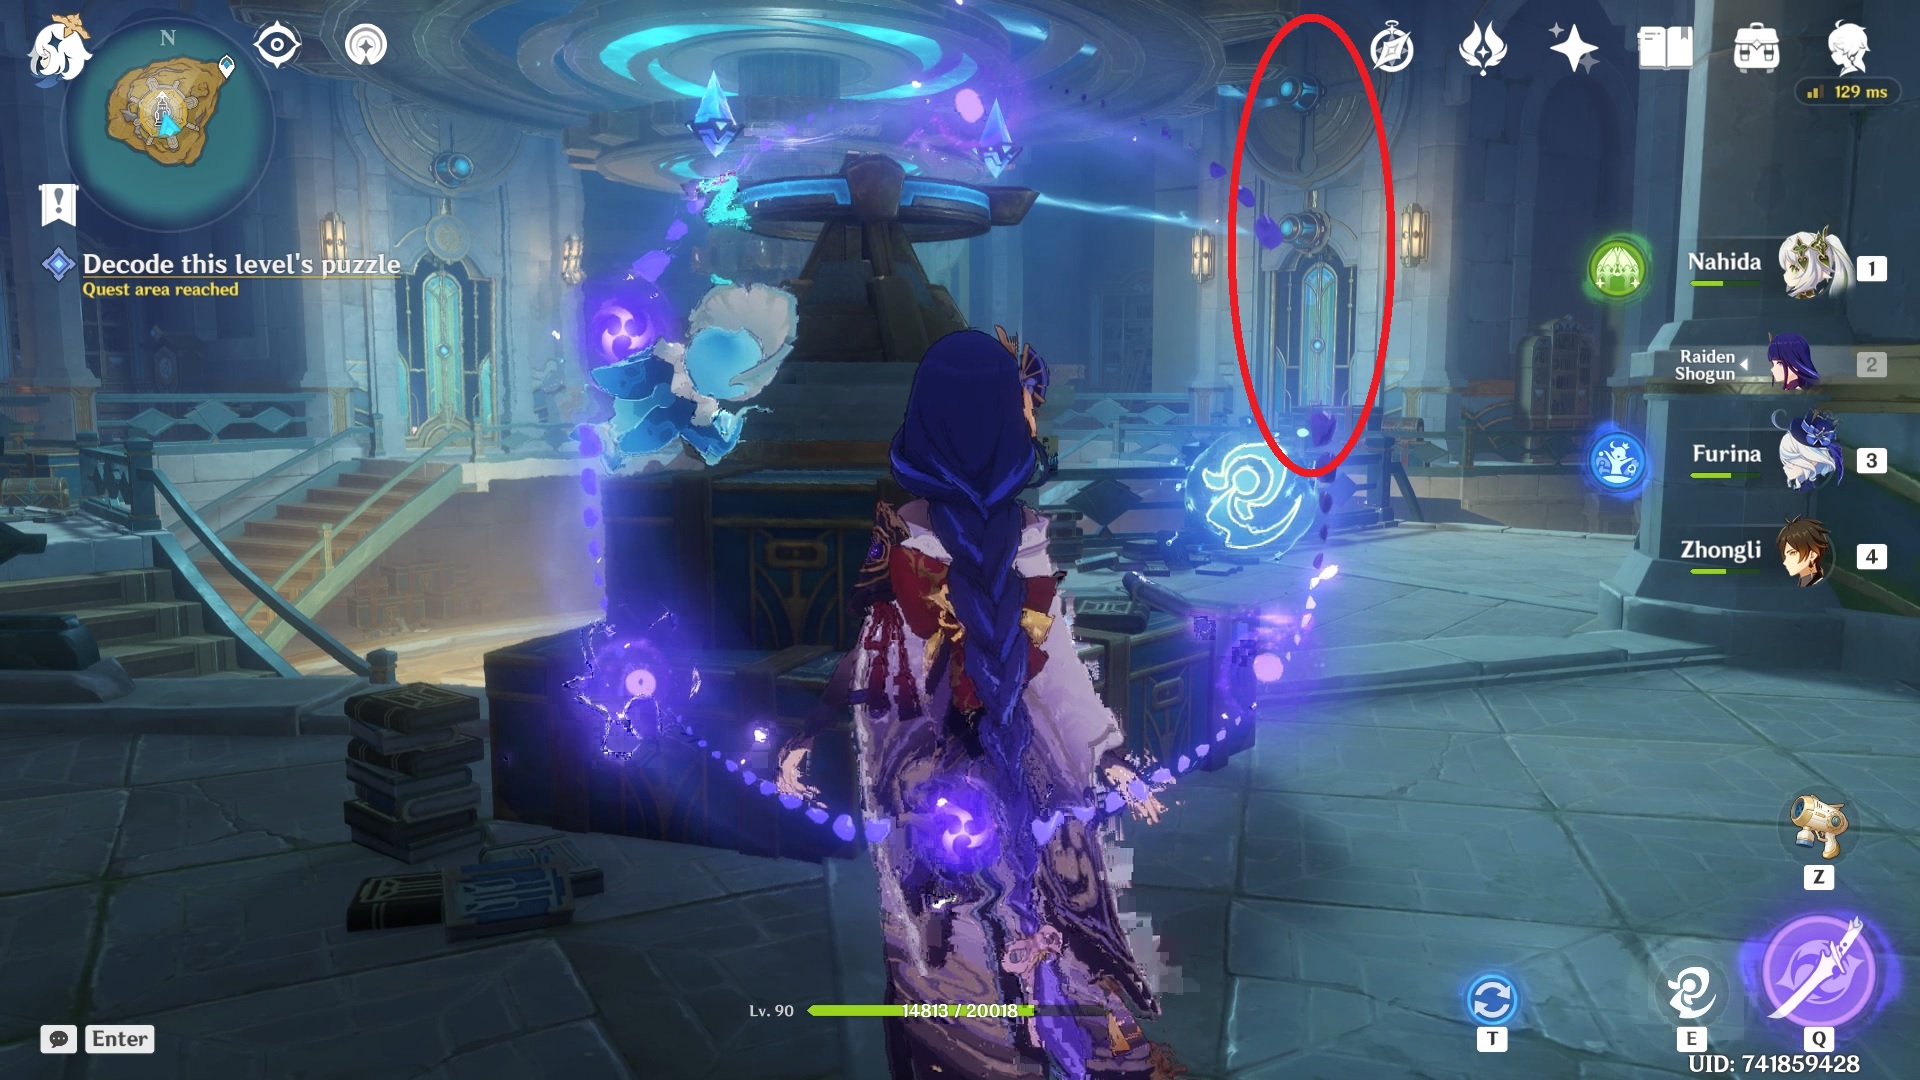
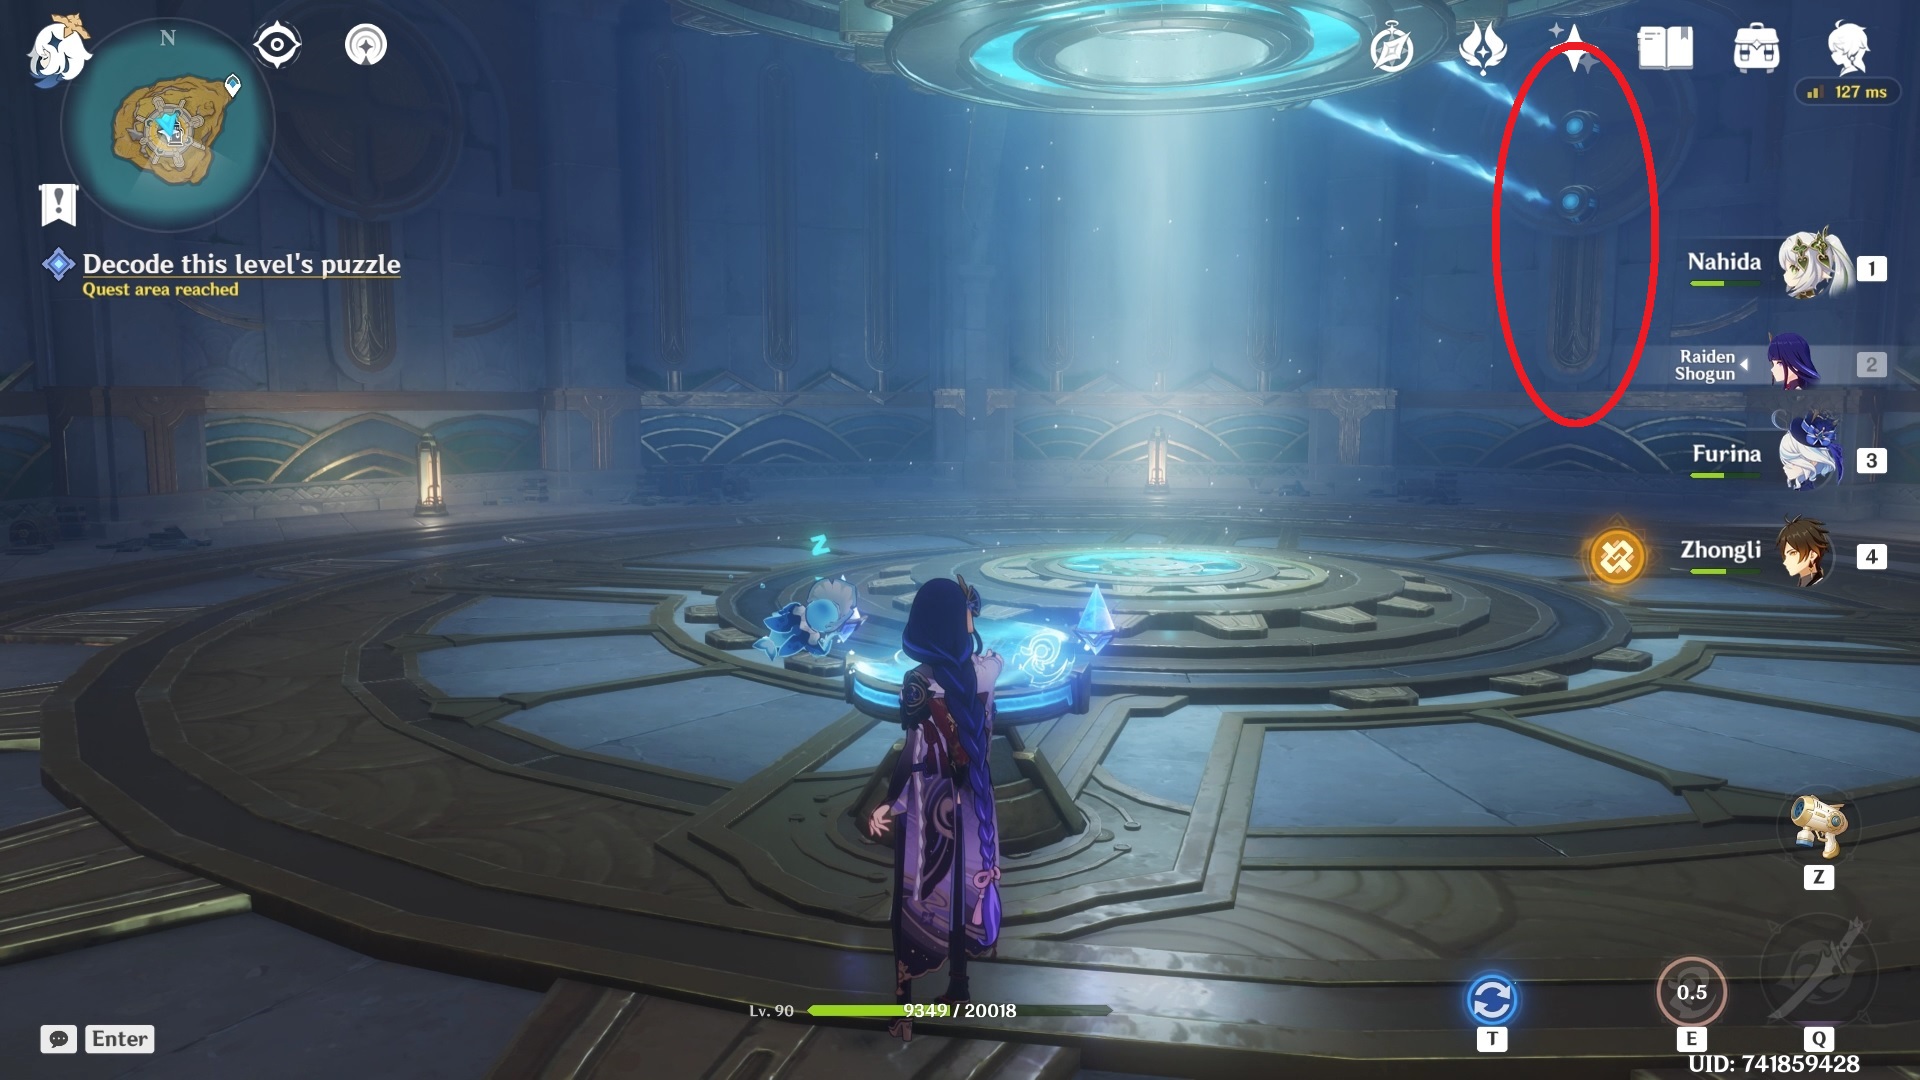
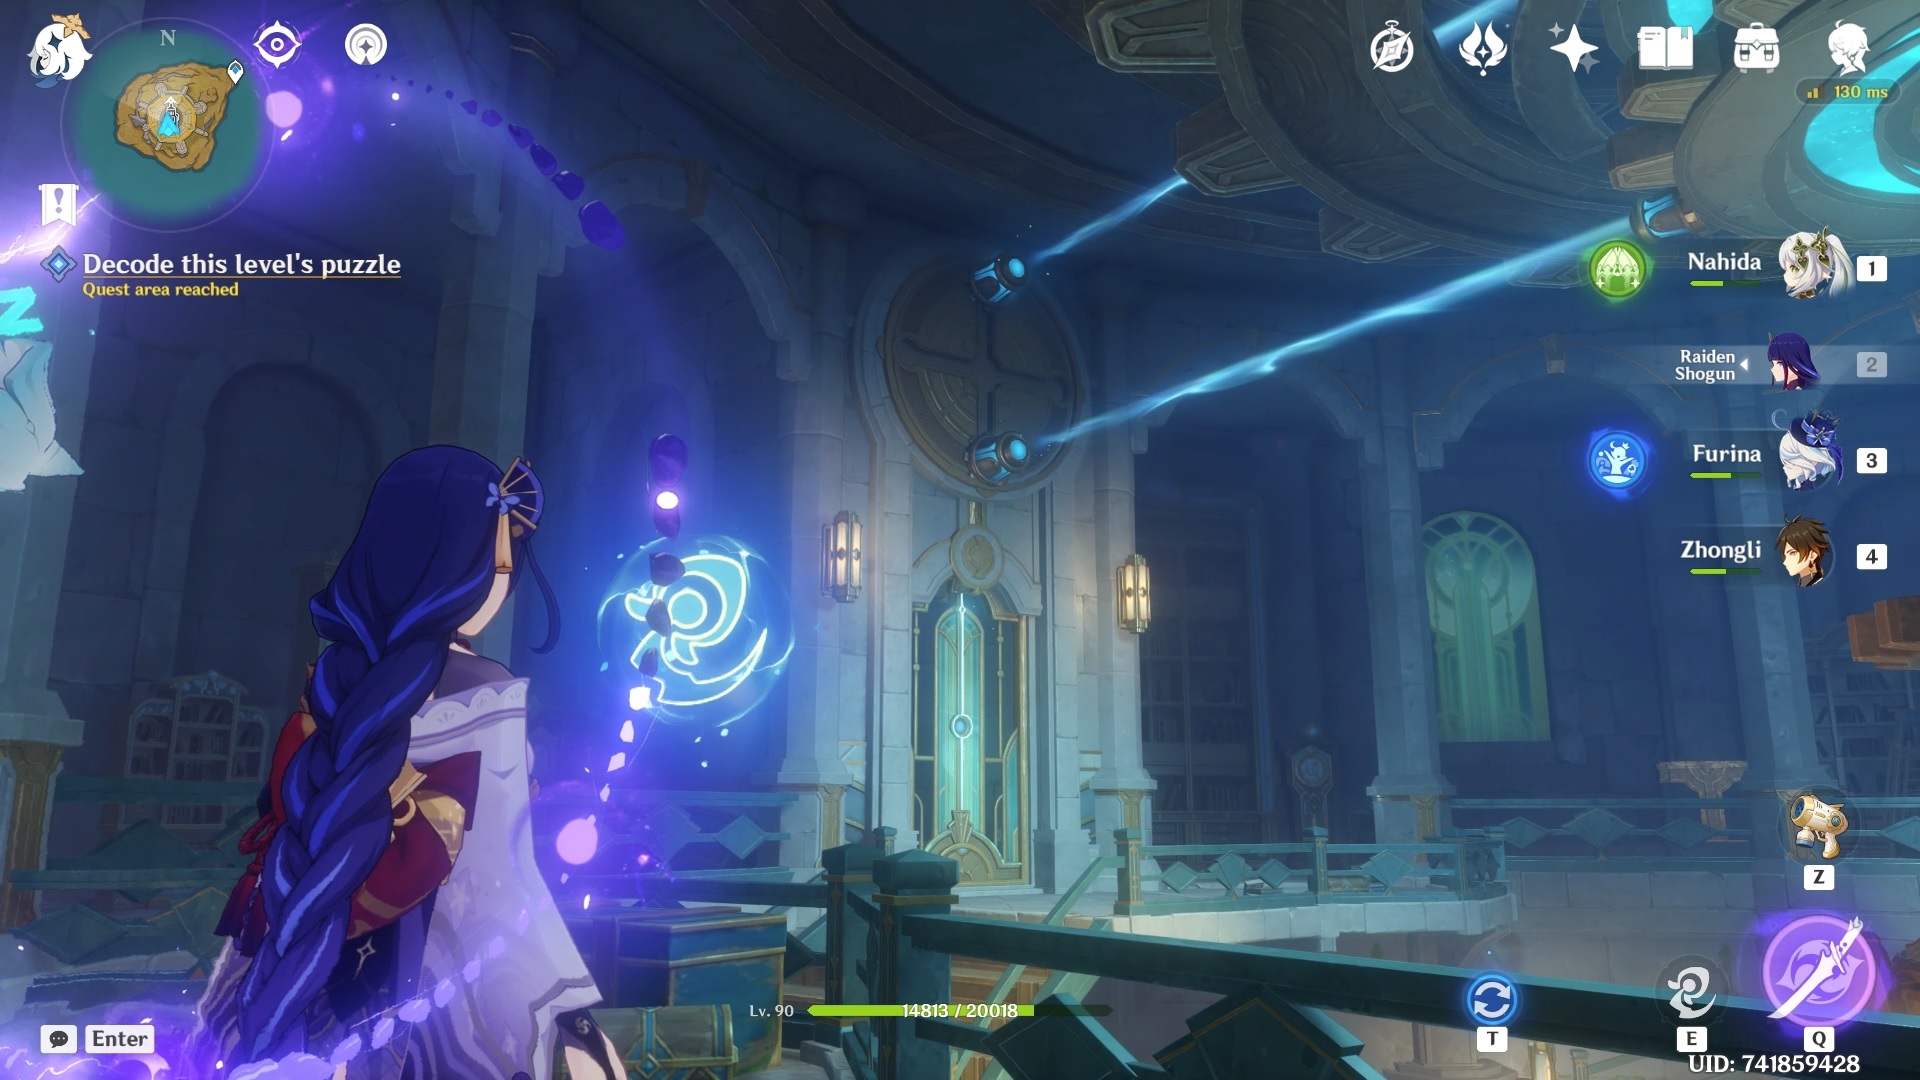
Pick up the Xenochromatic Ball Octopus power and use it on the valve to move the mechanism mounted on the ceiling. The mechanism has two lasers. Rotate it until they line up with the two blue orbs on the wall before you.
Skip one level and go to the floor below when you're out. You will find another elevator.
You will now enter the Tower of Gestalt once again. However, now you need to keep going to a lower level by solving puzzles on each floor.
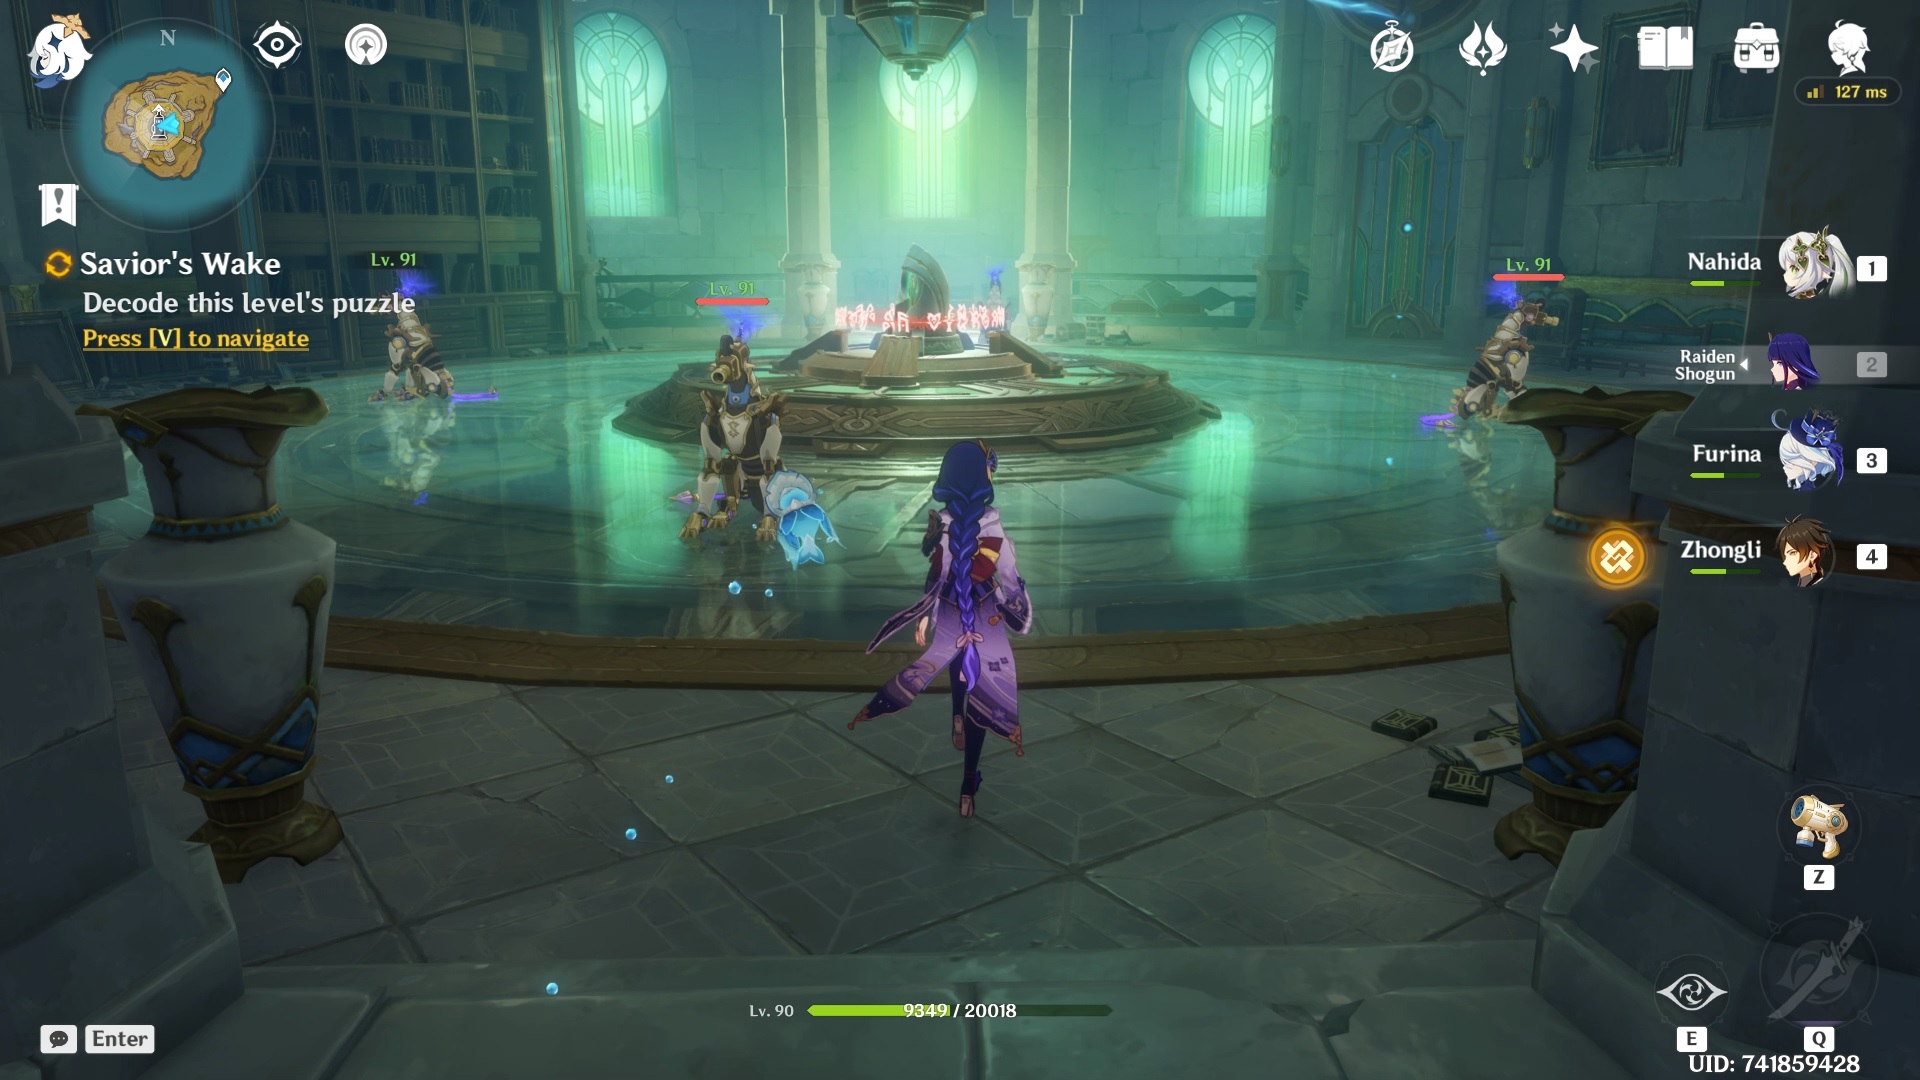
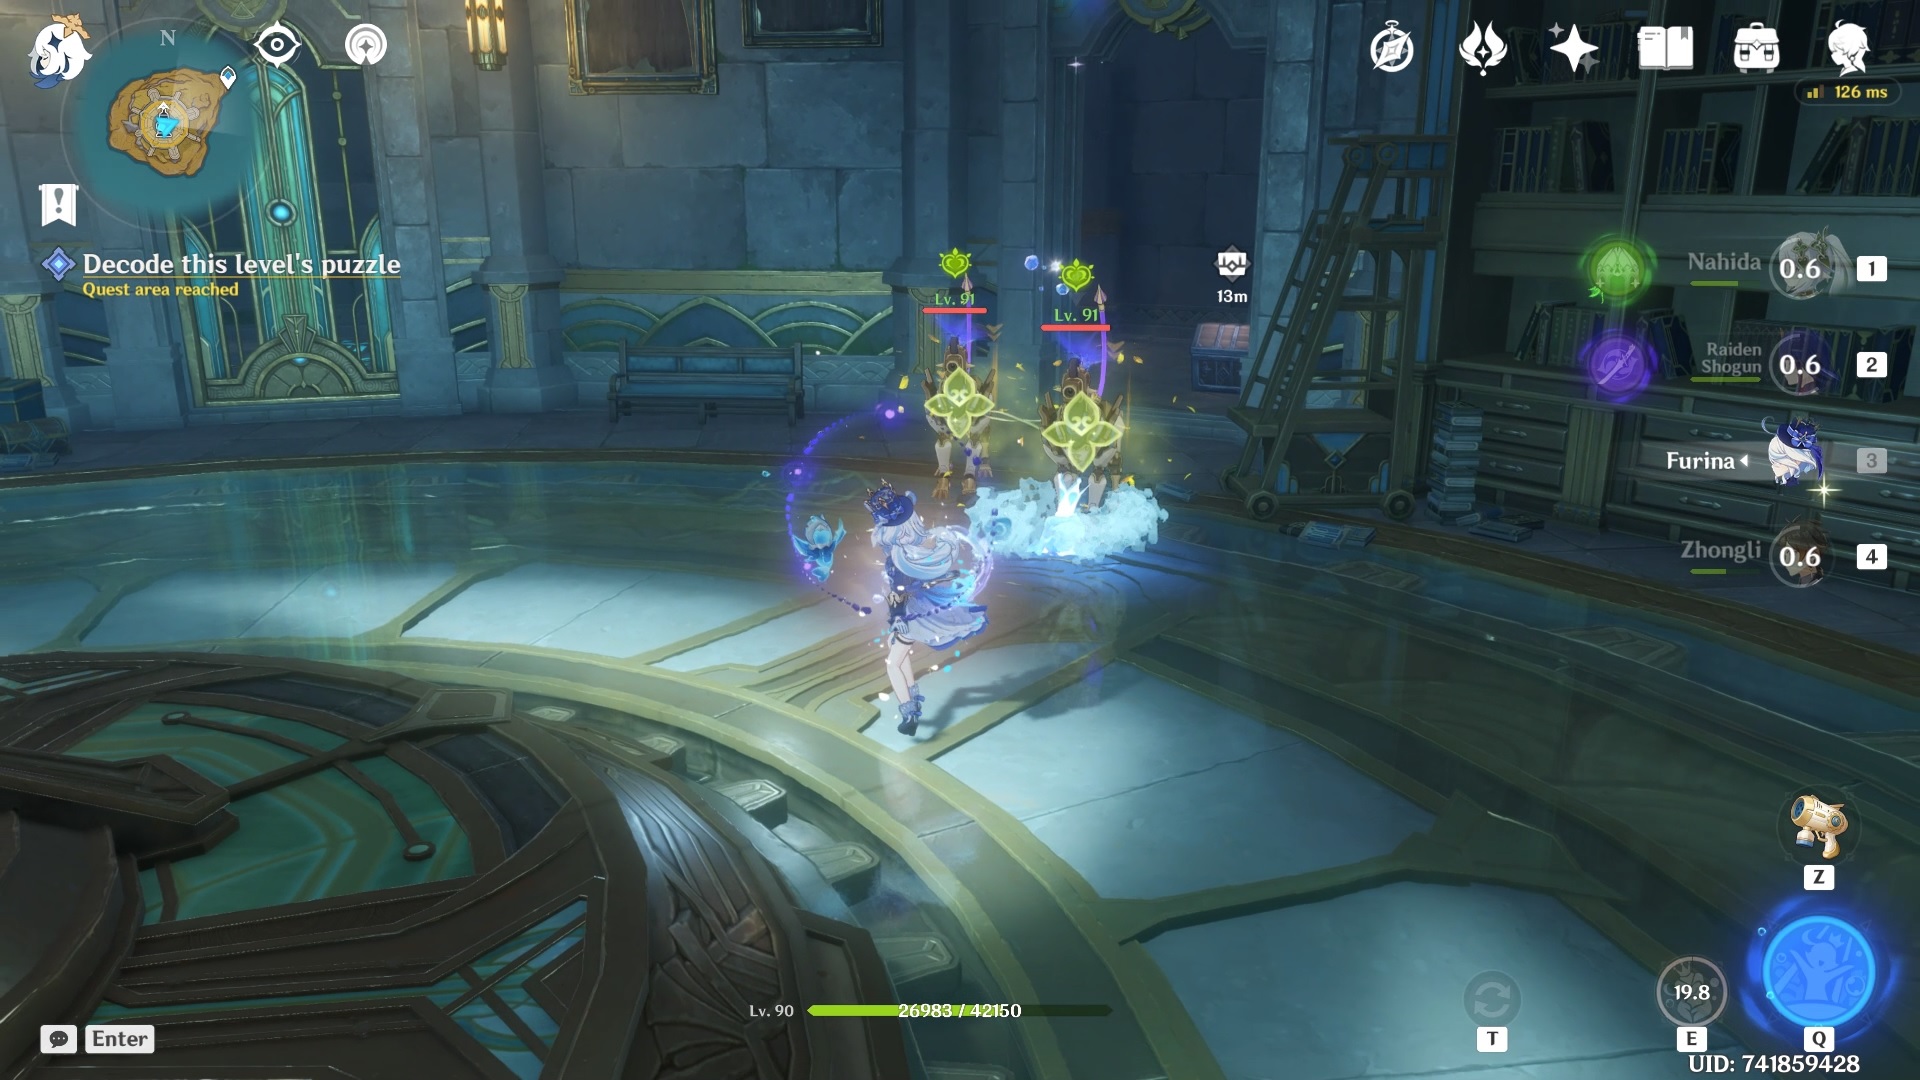
The first floor is straightforward. Defeat all the Meka guard dogs and activate the mechanism in the middle.
The door on the right will open up.
On this floor, first defeat the Meka guard by the mechanism on your right and activate it.
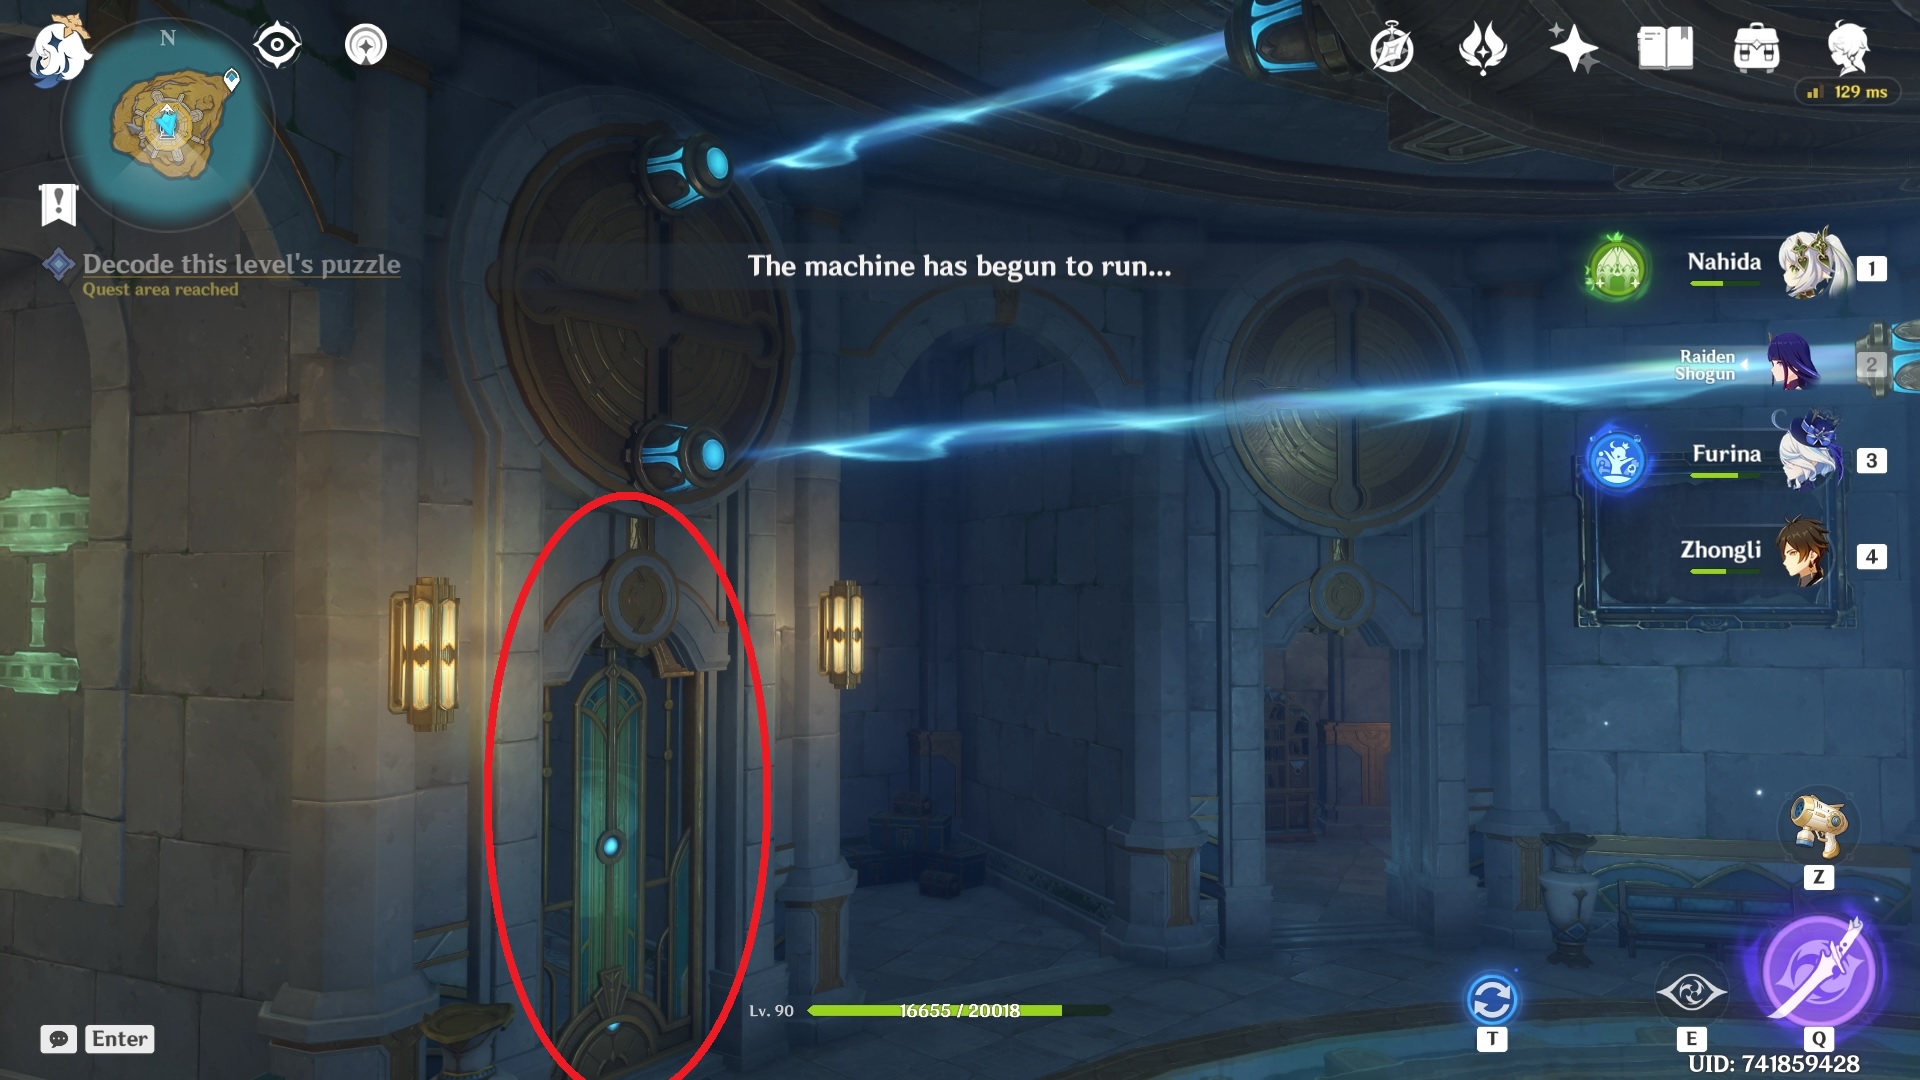
Grab the Xenochromatic Ball Octopus power and rotate the valve in the middle to align the laser with the orb to unlock the door on the right.
When you open the door to the room on the right, some Meka guard dogs will come out of the room.
Do not activate the button inside the room.
After aligning the lower gear, disconnect it by activating the mechanism inside the room to your right so that the bottom laser stays in position.
Once disconnected, continue rotating the valve so that the upper gear also aligns with the laser to open the door.
You will find two Meka guards here. Defeat them and activate the mechanism in the middle.
It will open up the door to your left.
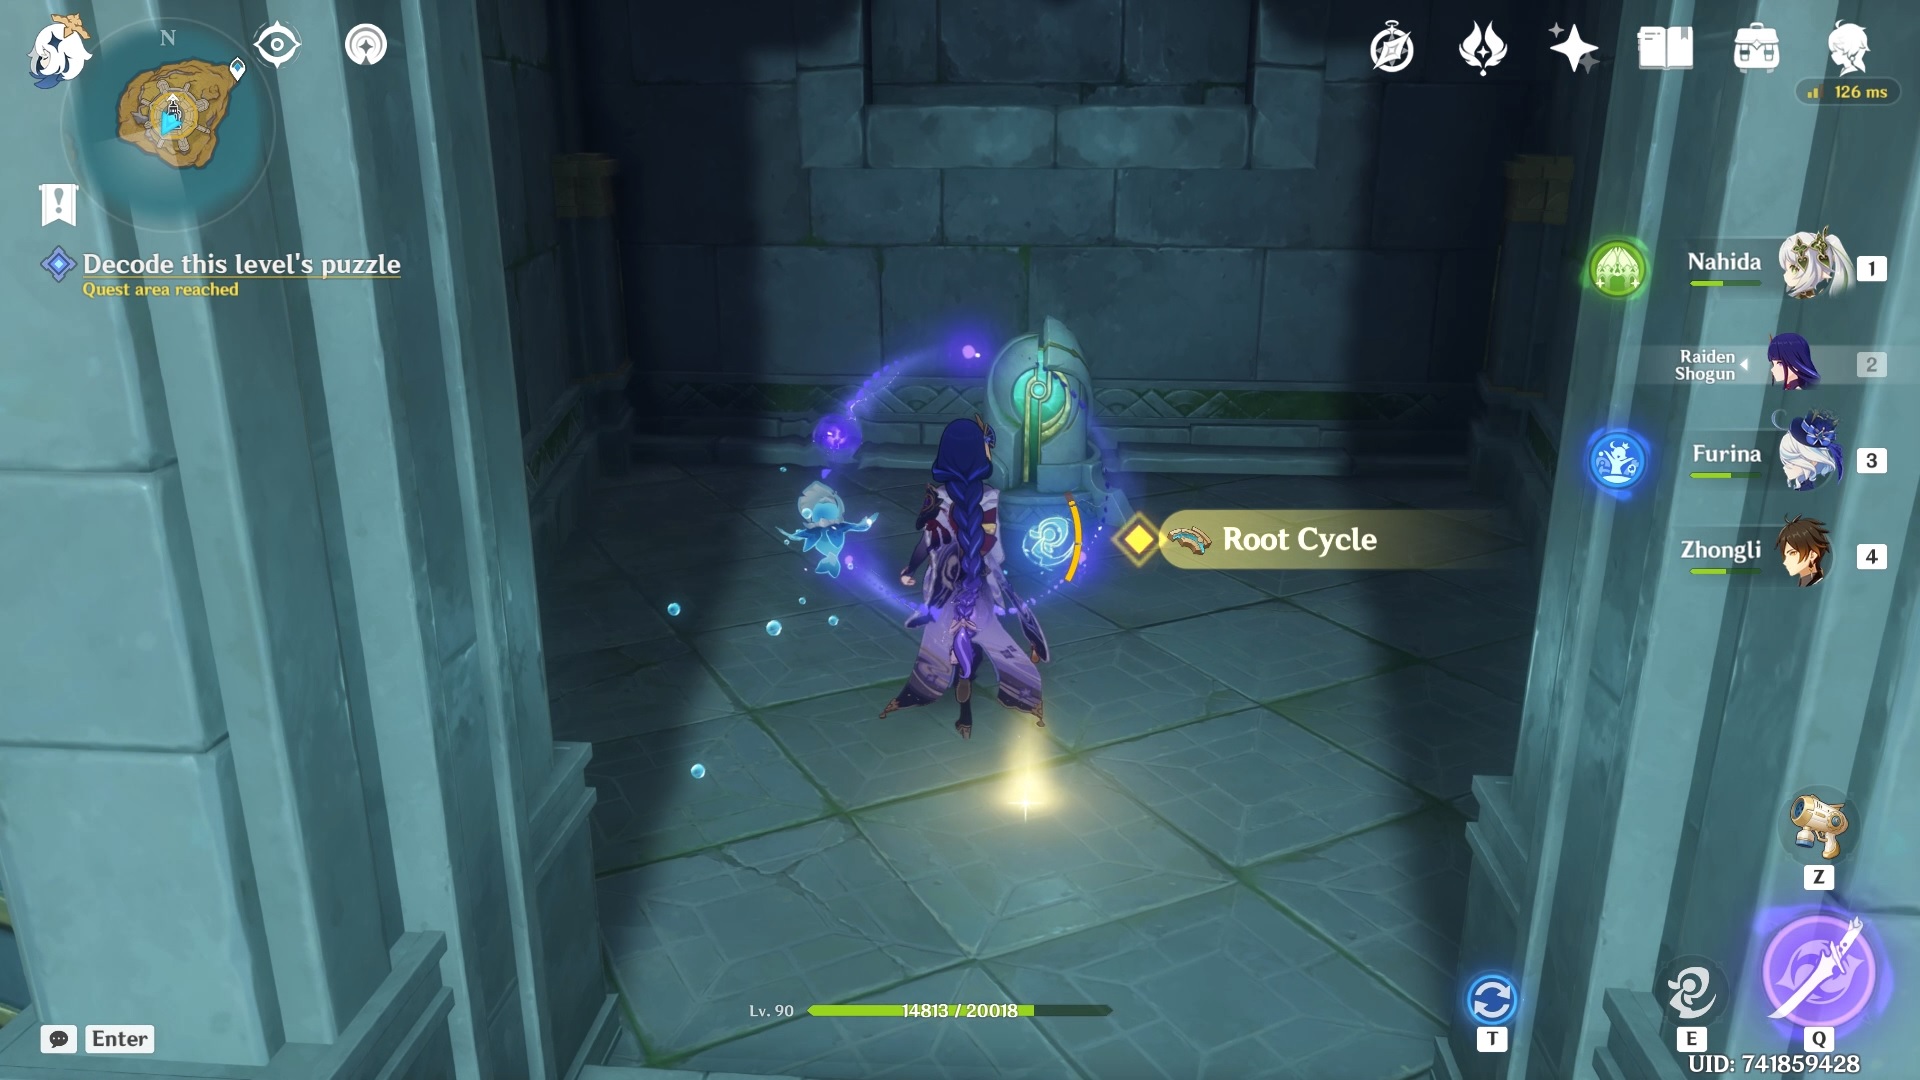
The last floor has three doors. Each has a "root cycle" which we can insert into the elevator in the middle of the room to make it functional.
We need to open up all three doors by rotating the ceiling mechanism with the lasers. Two of the rooms (right and left) also has a mechanism to disconnect or connect the gears which can get confusing.
Here's how you can solve this puzzle.
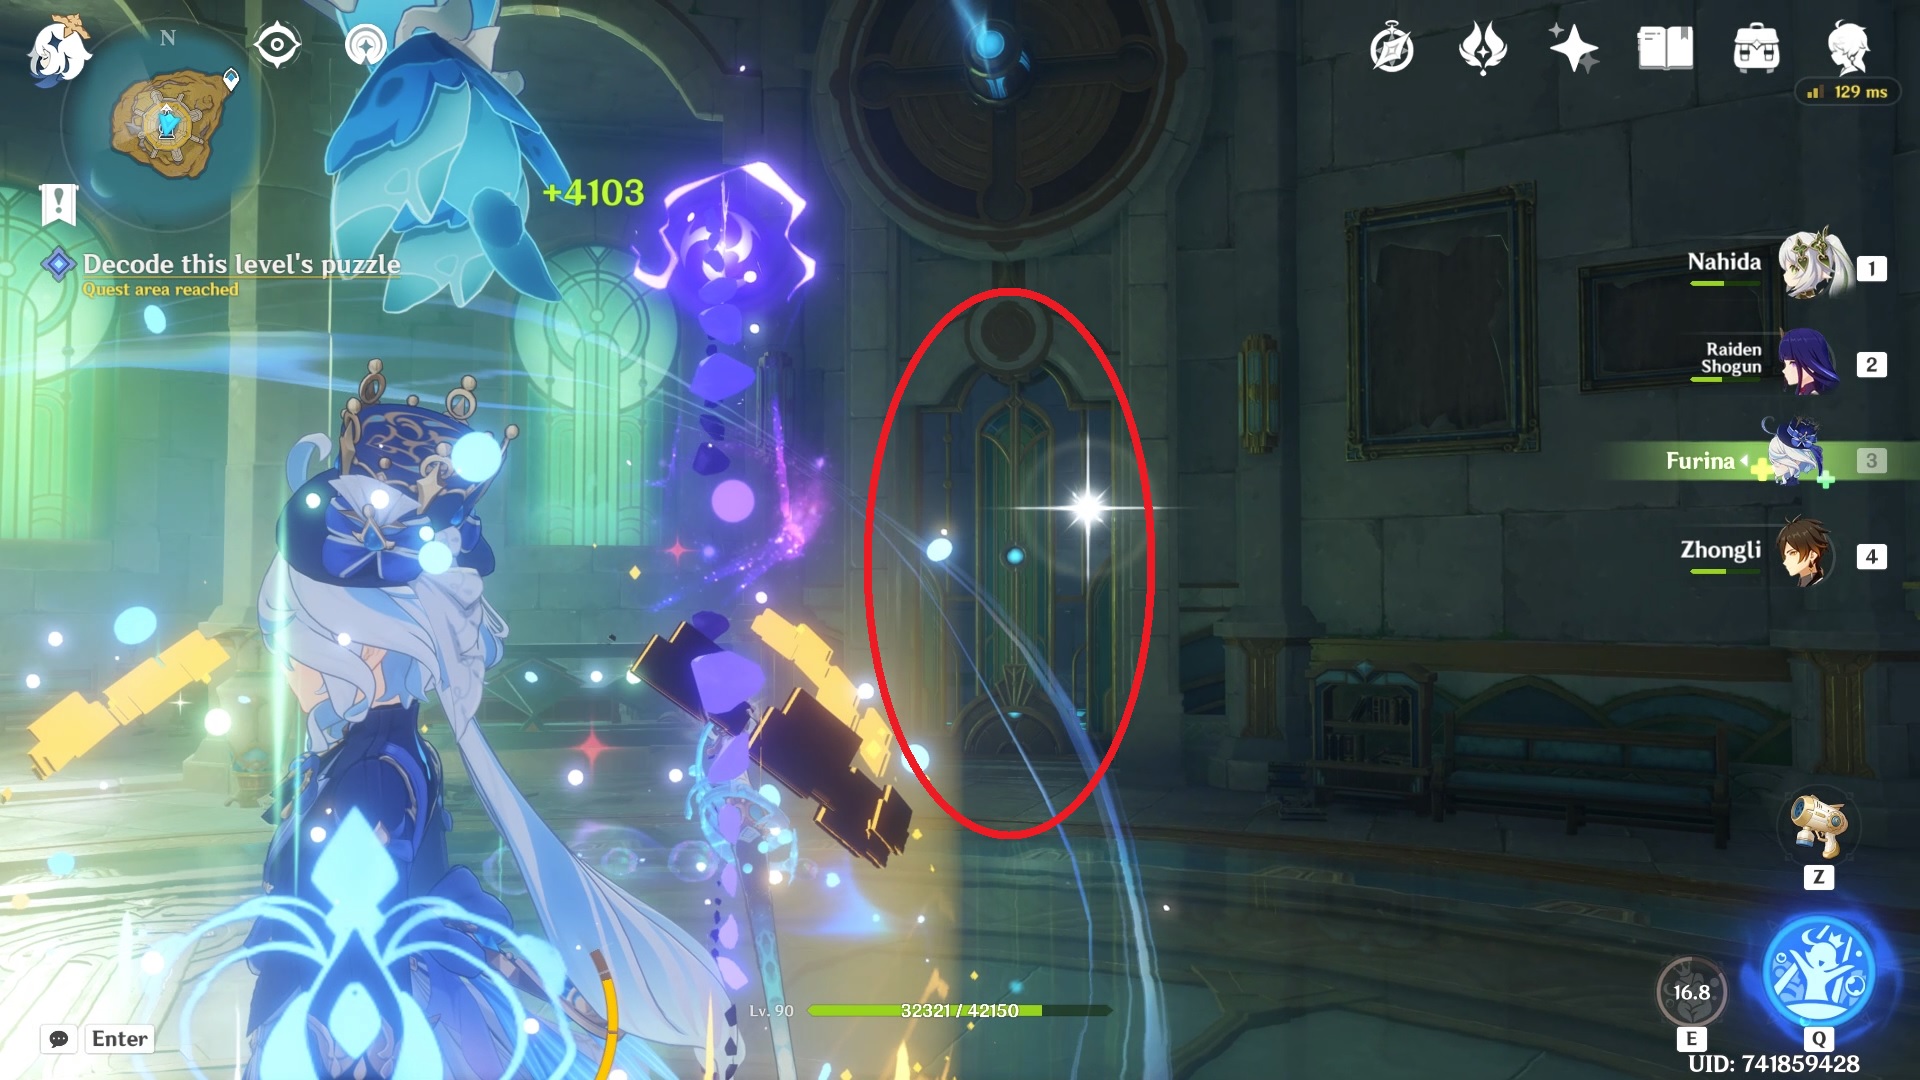
When you enter the final floor, turn left and open the room to the right by rotating the level using the Ball Octopus power. Luckily, the top and the bottom lasers already align with the orbs above the door to the right.
Once opened, enter the room and pick up the first "root cycle."
Go back to the valve and rotate it to align the laser to open the door to your left for another mechanism and "root cycle."
Enter the room, pick up the "root cycle" and activate the mechanism to reconnect the lower gear.
Next, rotate the valve so that the lower most laser is in line with the bottom orb of the middle room.
Now, keep rotating the valve until the topmost laser is in line with the top orb of the middle door.
Go to the room on the left, activate the mechanism to connect the lower gear, and bring it up so that the lower orb is also getting shot at by the laser.
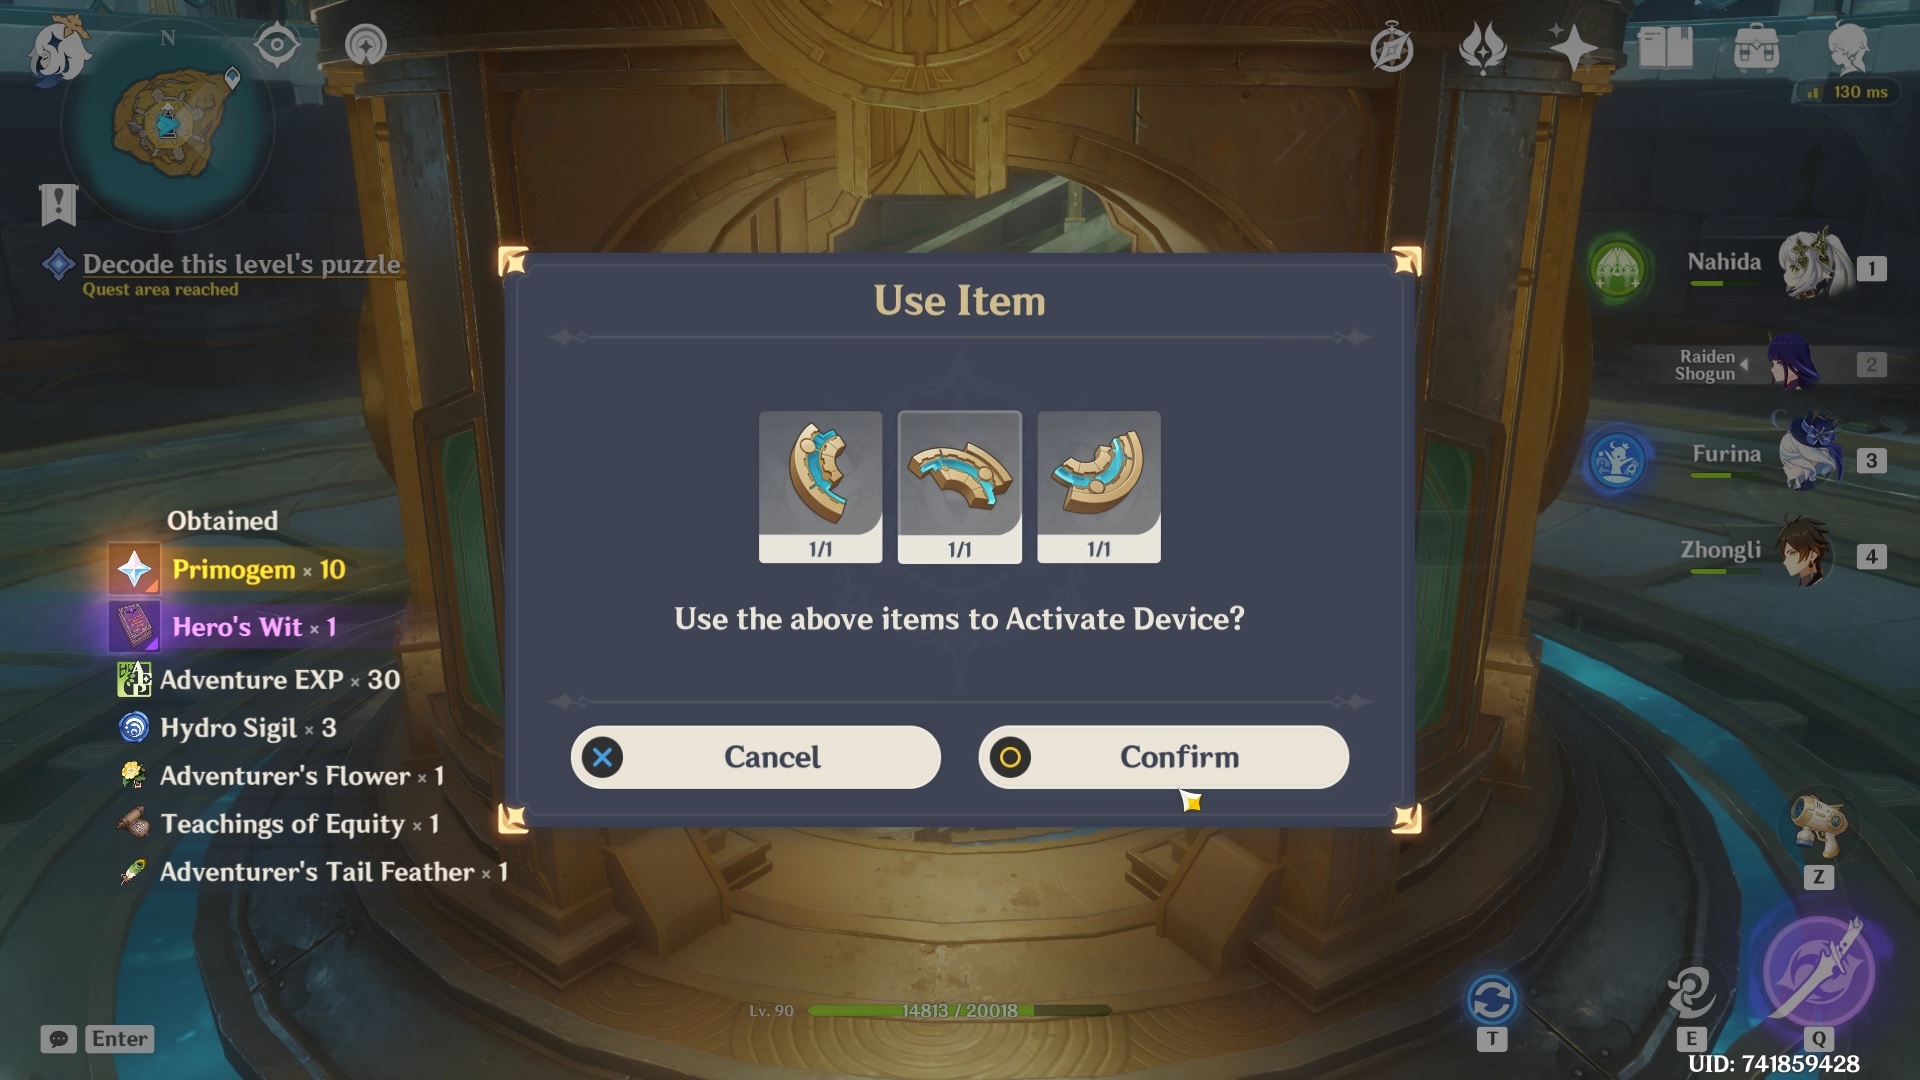
Get the third "root cycle" and insert all three inside the lift in the center to go lower.
When you get to the bottom, you just need to talk to all four characters in the room before you can proceed.
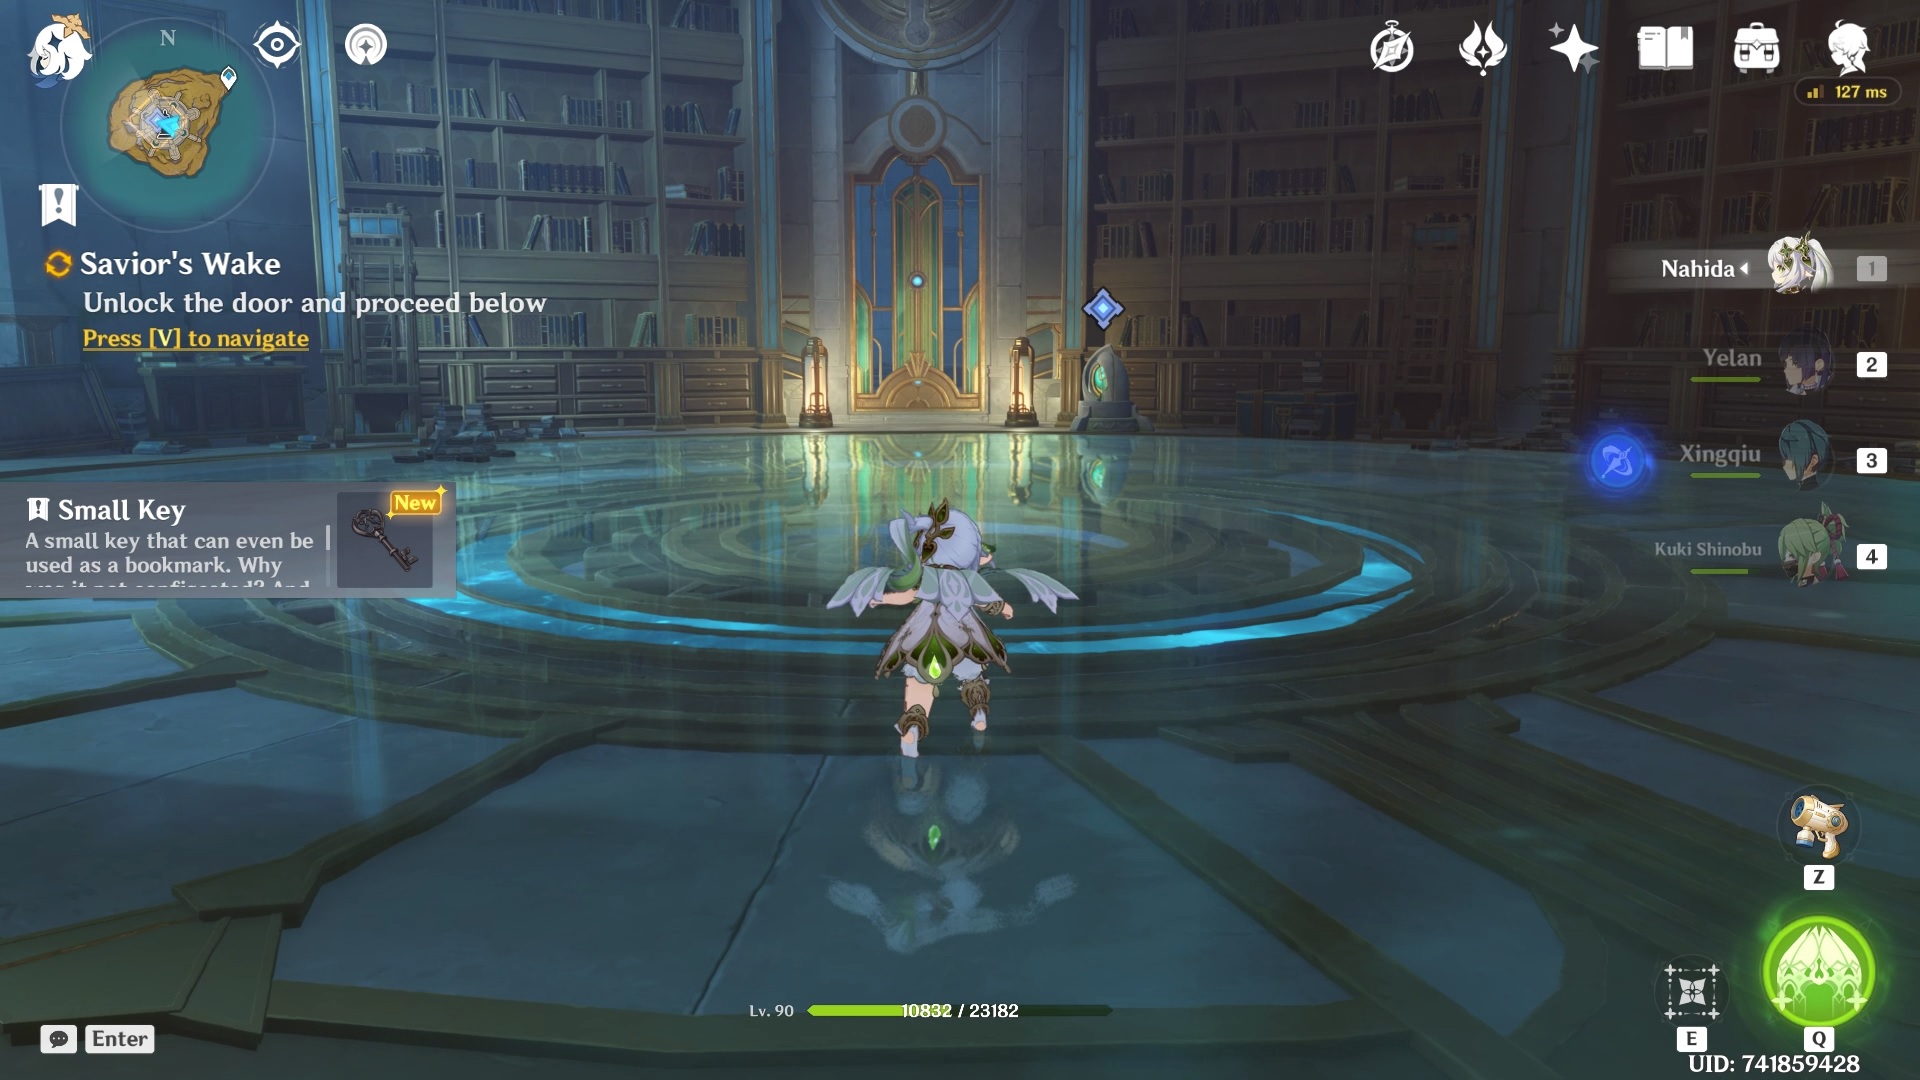
When you're done talking to all four characters, you will be asked to talk to Caterpillar again and he will give you a Small Key to unlock the next door.
After a short cutscene, you need to activate the platform in the middle to break the seal.
Multiple waves of Meka enemies will spawn.
Act 3 - Waking From the Great Dream
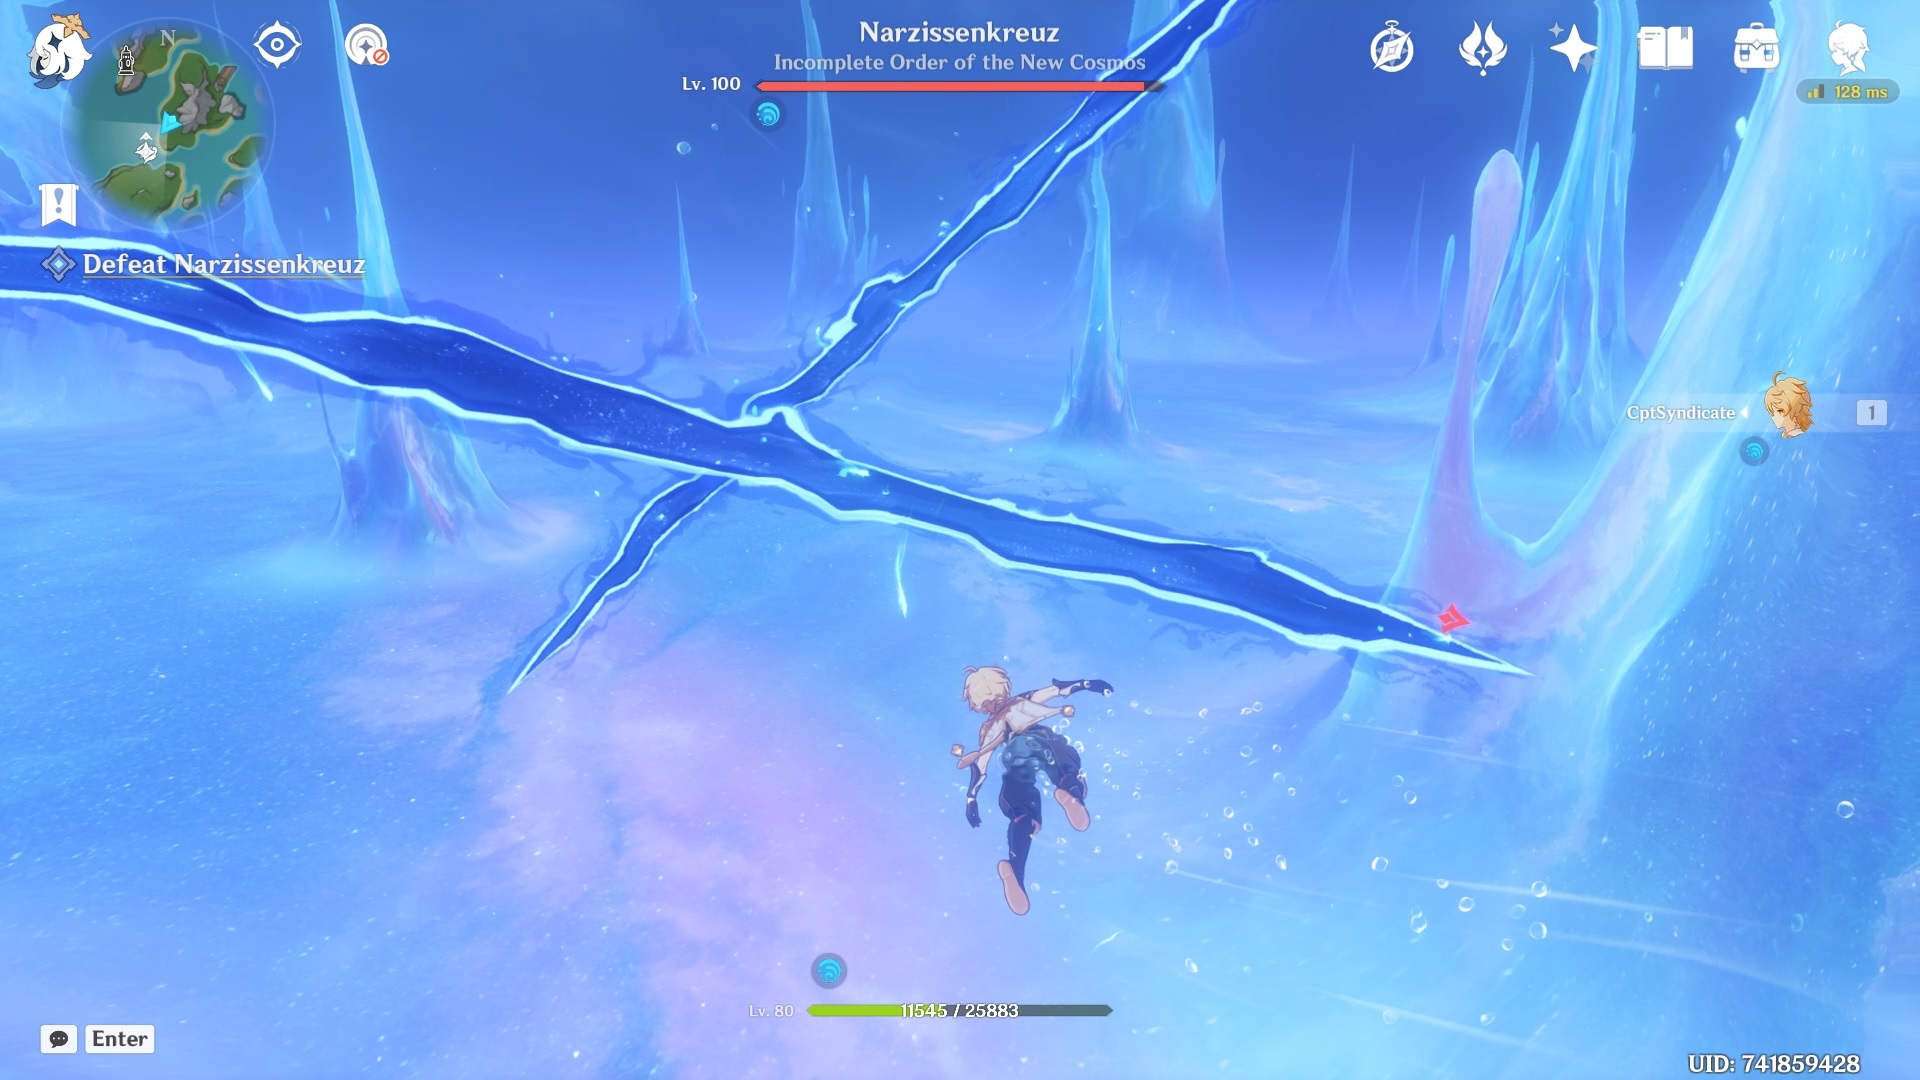
The third act is mainly the boss fight against Narzissenkreuz himself. We don't have any puzzles in this act. When you start Act 3, you will be at the entrance of the Primordial Sea.
When you get to the arena on the ground, Narzissenkreuz will spawn.
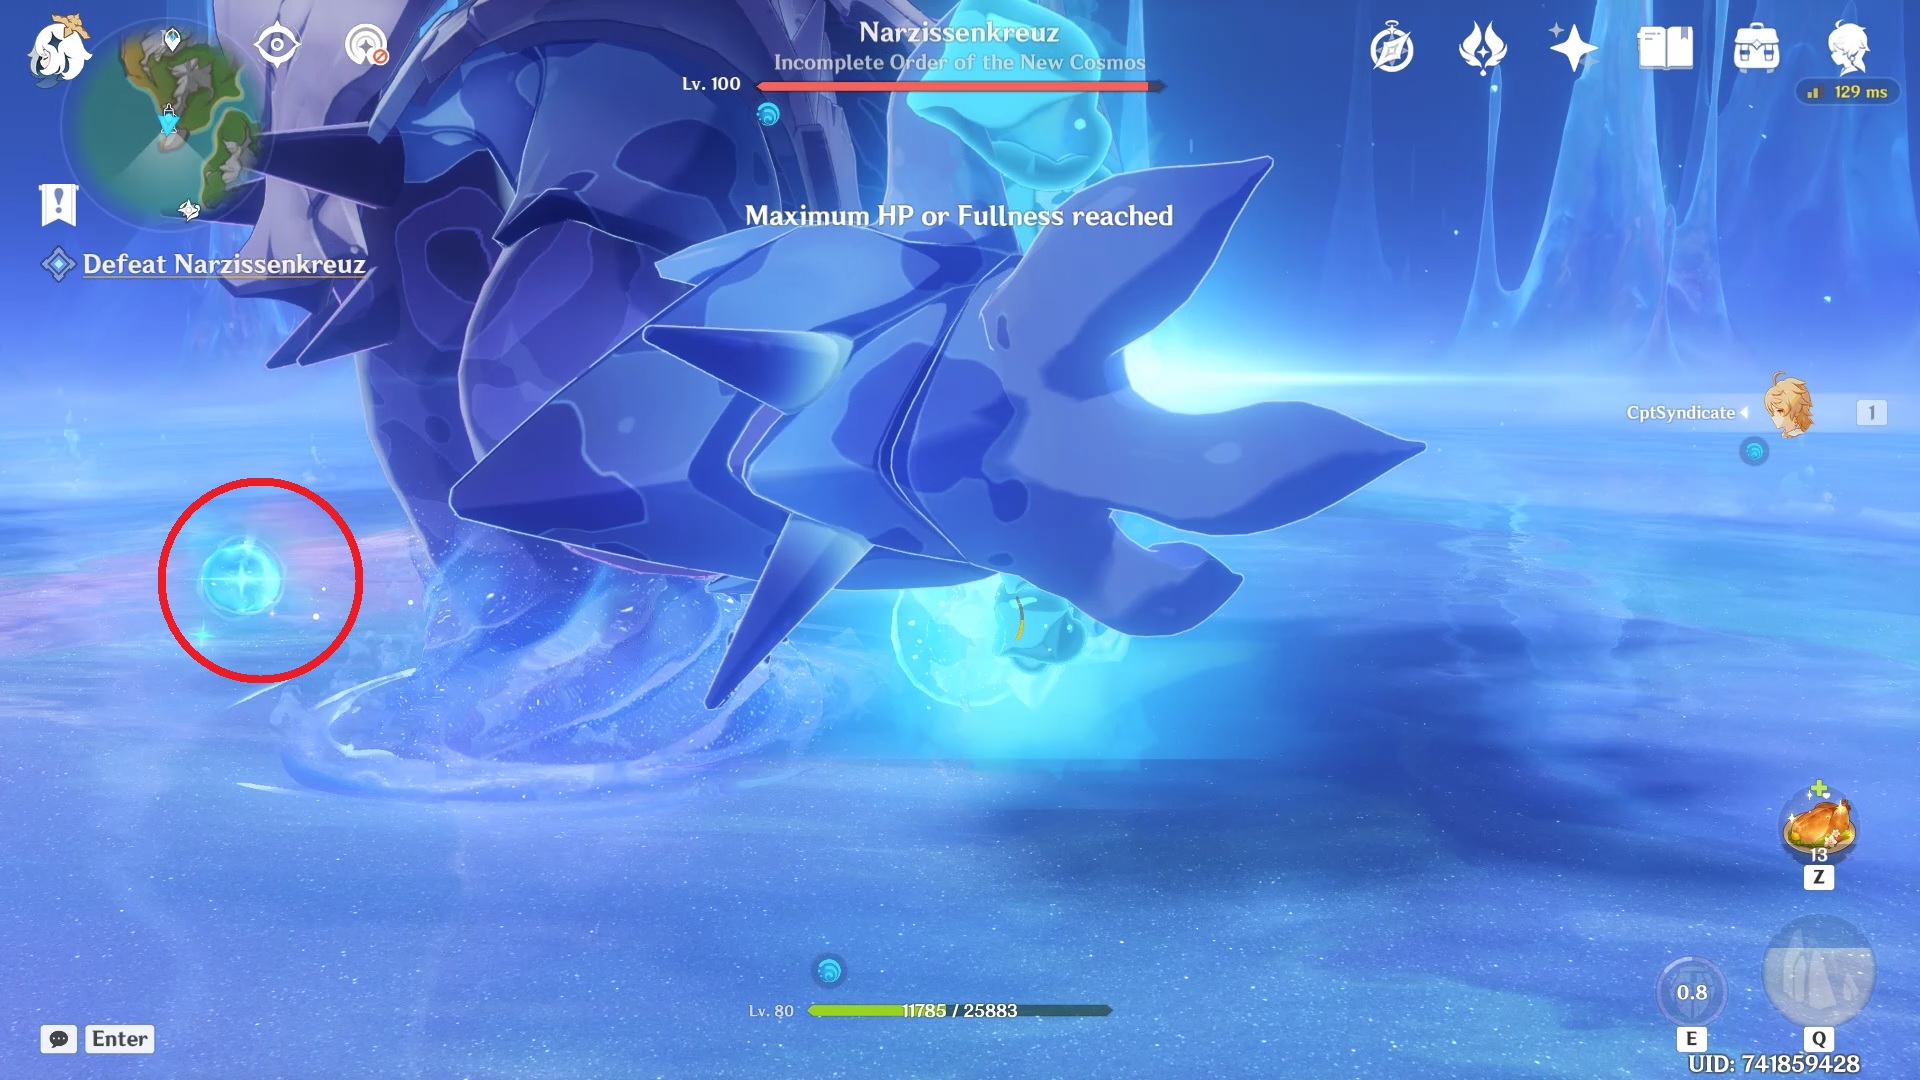
It is best to stock up on food to replenish your health, at least for the first half of the fight, where you cannot damage the boss.
In the first phase of the boss fight, you need to survive until you can damage the boss.
Keep hitting Narzissenkreuz while surviving until you get an option to enter a water current.
Enter the water current and dodge the incoming rifts as they also deal some damage.
After getting the bubble, you can damage the boss using your charged attacks.
You don't have to be so close to the boss, as the charged attack is a ranged attack. It sends slashes, dealing damage.
Uniting the original members of the Ordo ends Act 3 of this quest and starts Act 4, Rowboat's Wake.
Act 4 - Rowboat's Wake
After the dialogue with the members of the Narzissenkreuz Ordo, you need to return to Annapausis to finally confront Mary-Ann and get her out of her "eternal dream."
When you get back to Annapausis, the game will automatically create a path for you to get to the marked location.
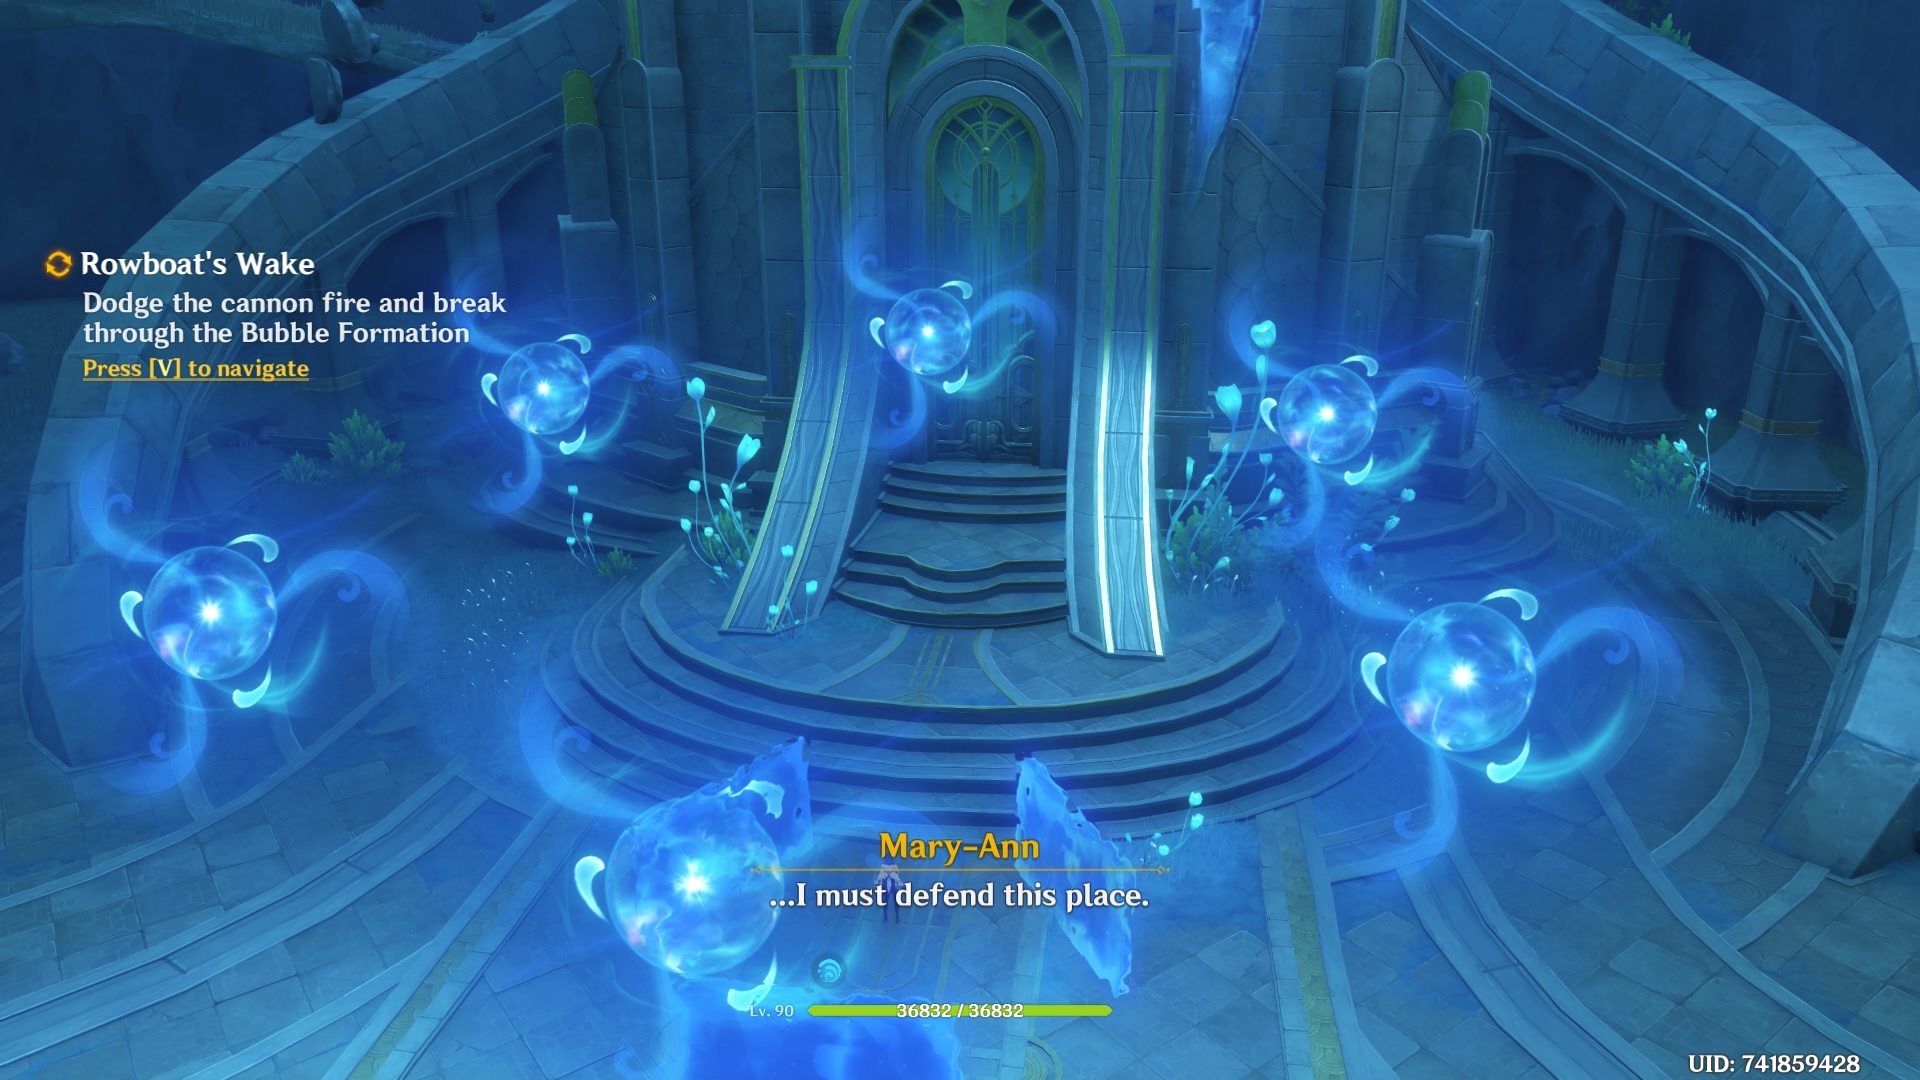
Upon reaching the tower's entrance, some bubble formations will spawn and start firing at you.
Here you just need to keep an eye out for the line of sight and accordingly take cover behind the walls.
Keep doing it until you get a cutscene. After the cutscene, a teleporter will spawn.
Keep moving forward until you get to the room with the mirror.
After this, you will get a series of cutscenes before you finally get control of your character again.
When you get control of your character, you need to teleport back to Merusea Village to meet up with Mamere.
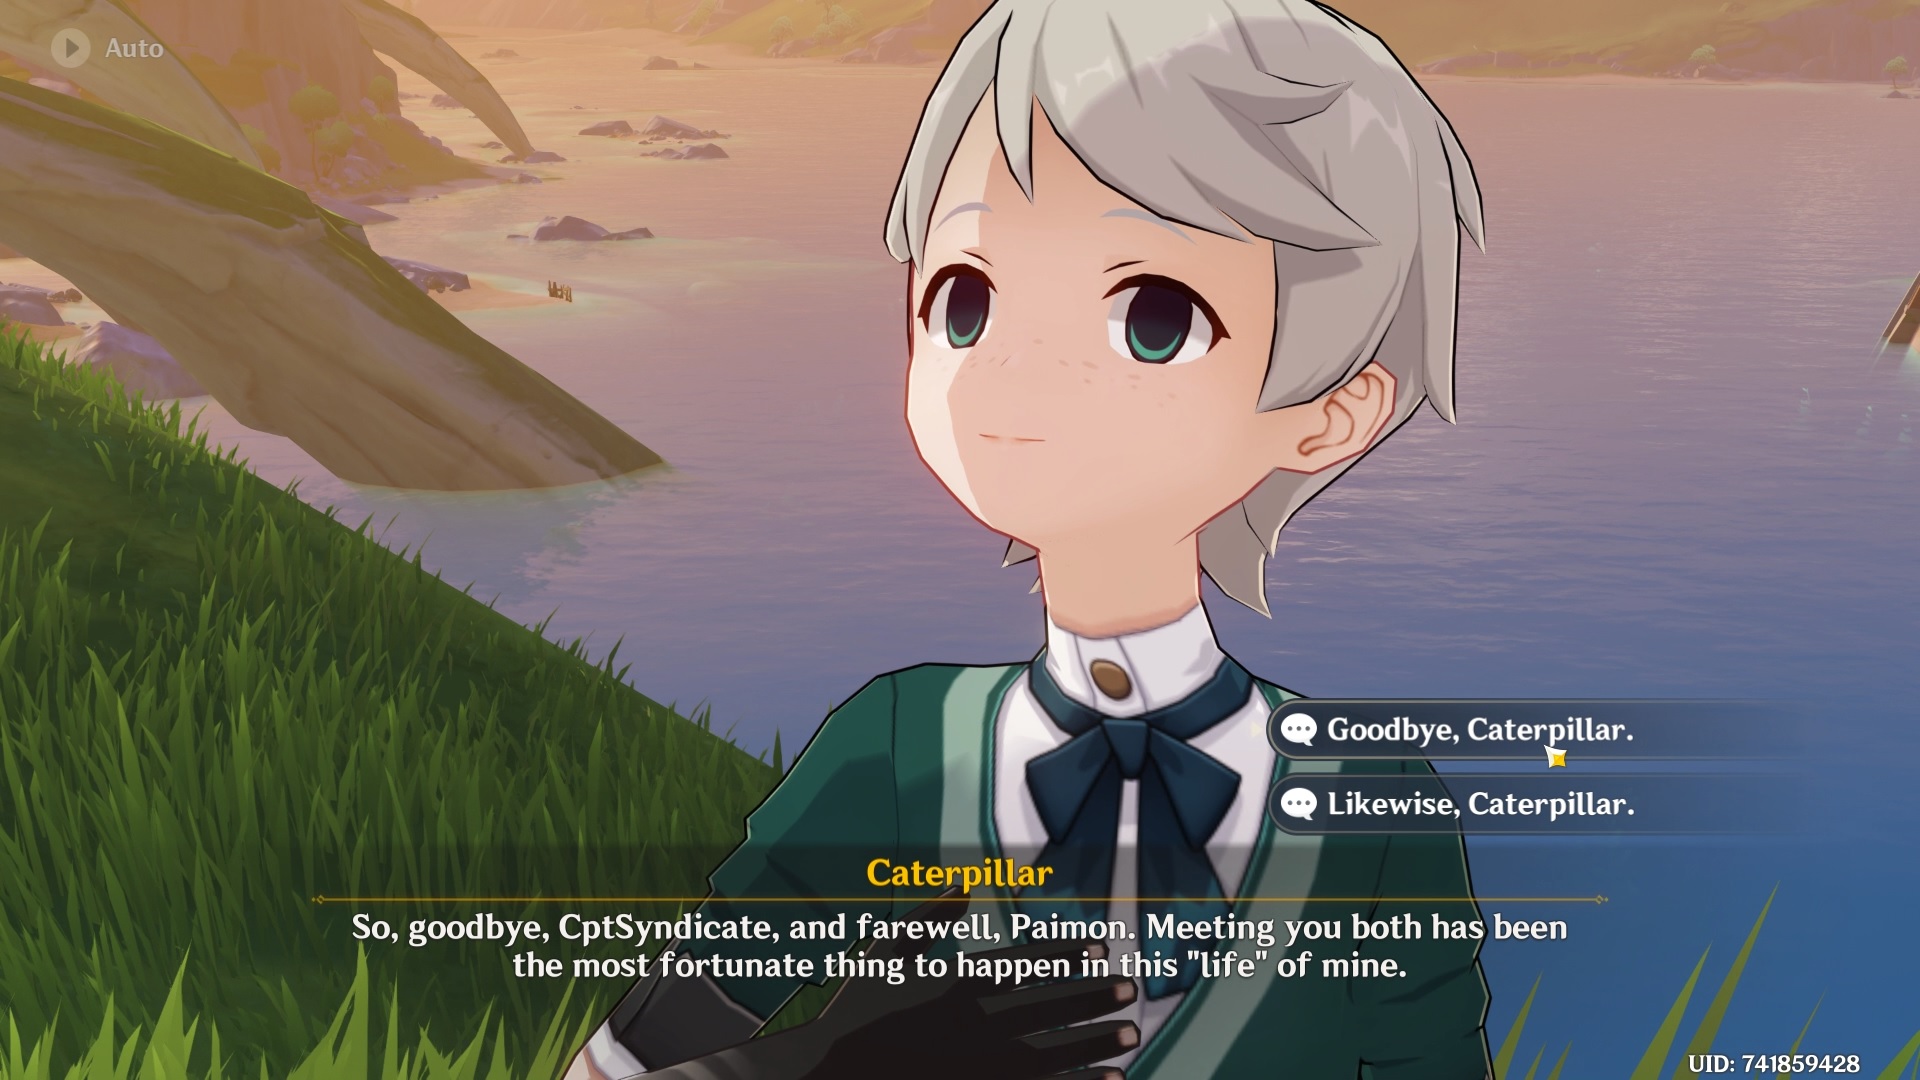
After the dialogue with Mamere, you get one final cutscene where you bid farewell to Caterpillar, concluding one of the best world quests in Genshin Impact.
Rewards
The following are the rewards associated with each act.
Act I: Search in the Algae Sea
Primogems: 110
Adventure EXP: 900
Mora: 80,000
Hero's Wit: 10
Mystic Enhancement Ore: 9
Act II: Savior's Wake
Primogems: 50
Adventure EXP: 450
Mora: 50,000
Hero's Wit: 5
Mystic Enhancement Ore: 4
Act III: Waking from the Great Dream
Adventure EXP: 200
Mora: 35,000
Act IV: Rowboat's Wake
Adventure EXP: 250
Mora: 30,000
Hero's Wit: 2
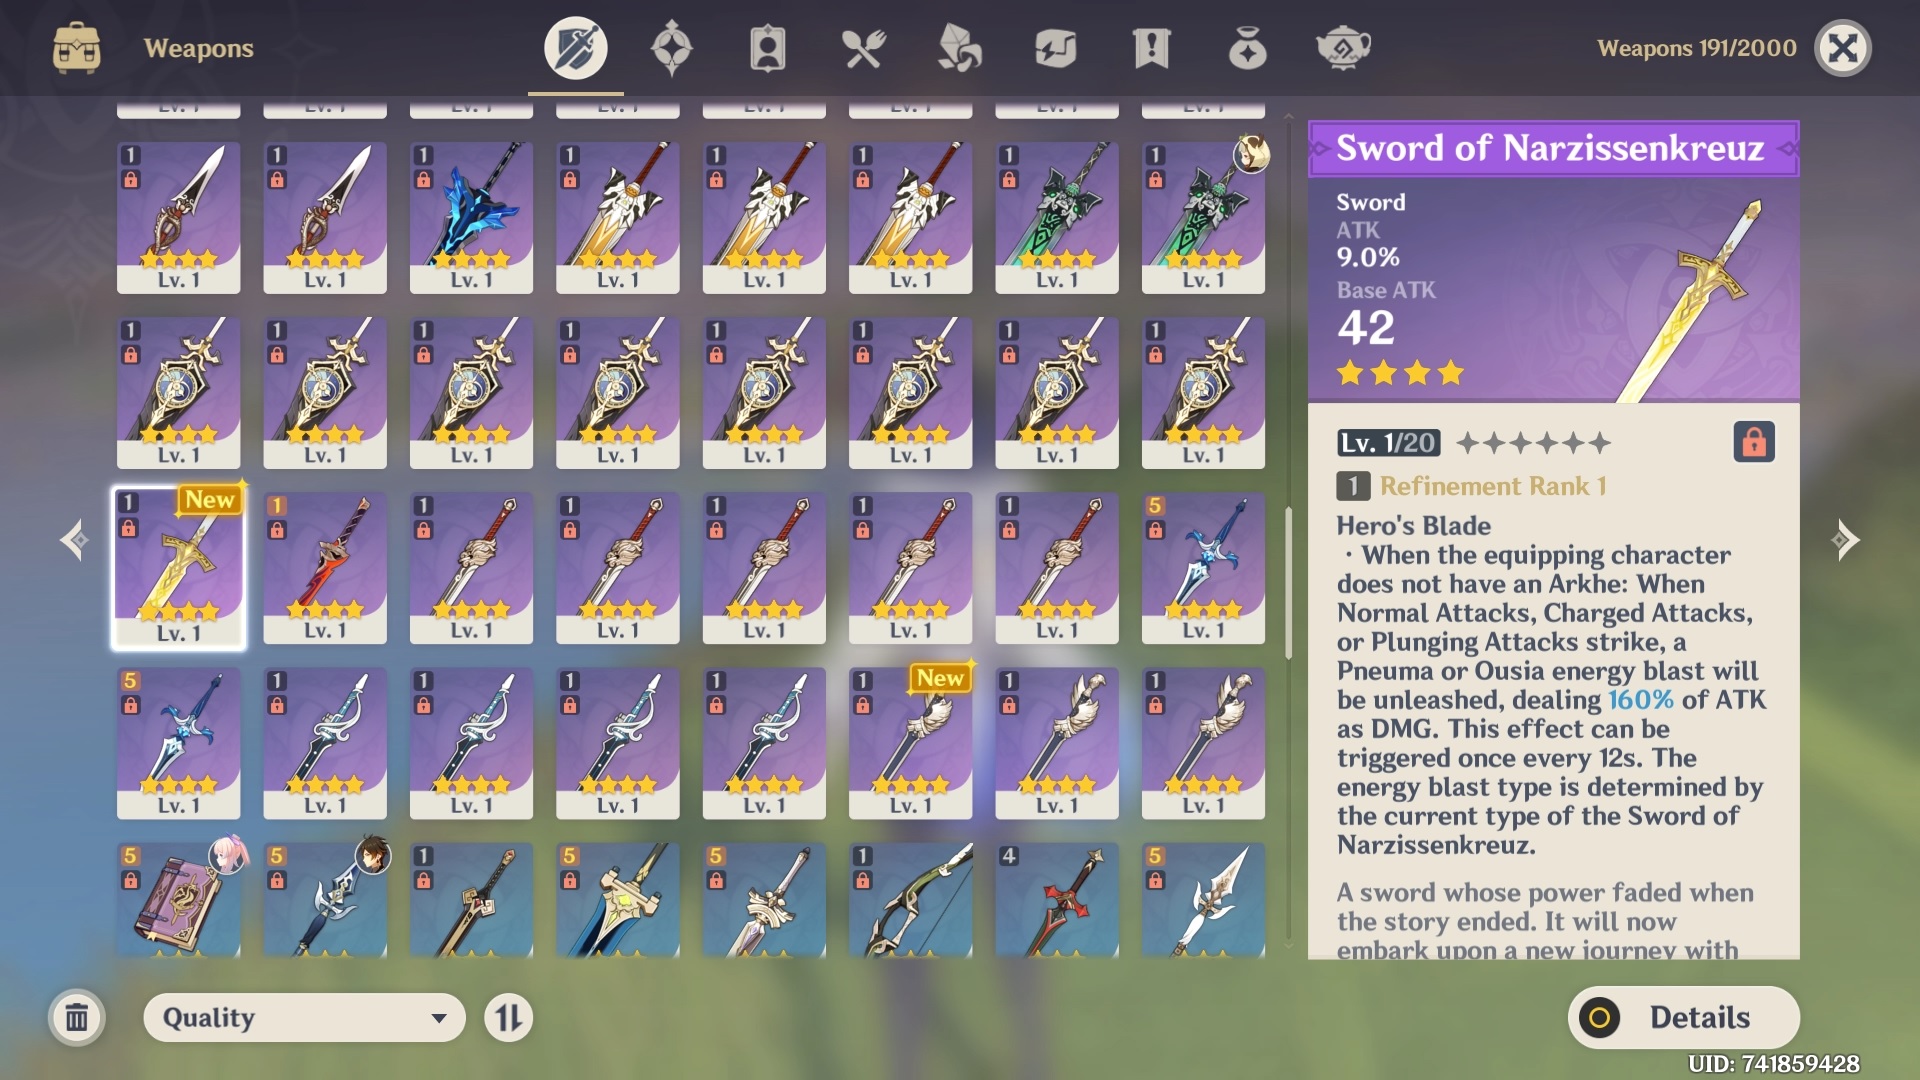
Upon completing the complete In The Wake of Narcissus world quest series, you will also be rewarded with the Sword of Narzissenkreuz.
It is a 4-star sword that allows the equipping character to wield the power of both Pneuma and Ousia. Similar to the Hydro Archon, Furina. This weapon is good for characters who do not have an Arkhe alignment, which is all of the non-fontainian characters.

