Questioning Melusine and Answering Machine is a new world quest introduced in Genshin Impact Fontaine 4.2. This world quest has three acts that are relatively shorter and can be completed in quick succession.
However, Act 3 will only be available on the next server reset once you’ve completed both Acts 1 and 2. The overall world quest is simple, with the quest marker leading you to the locations you need to go to. But there are some thought-provoking stages where you must decipher certain elements to progress.
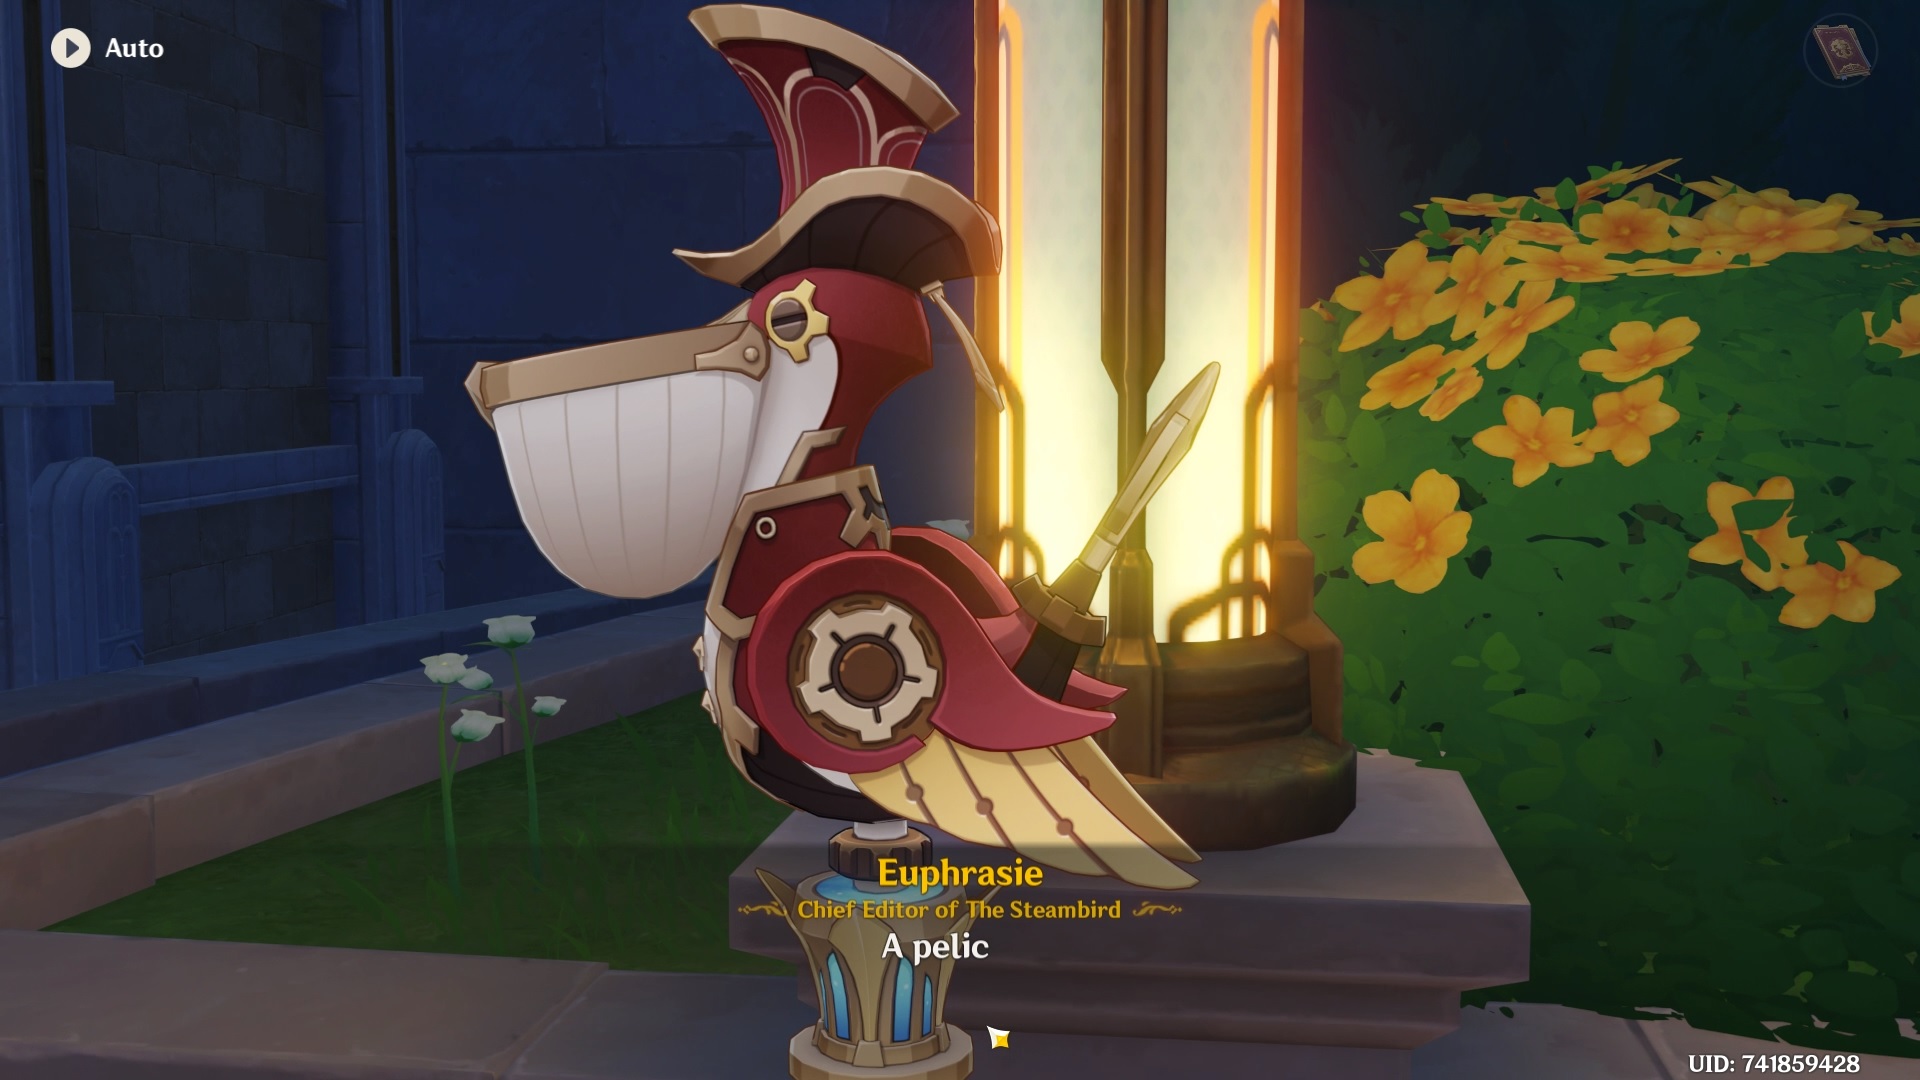
In this world quest, you must help Talochard, a Melusine, retrieve Sir Arthur, a robotic Pelican that belongs to Steambird. This guide covers everything you will need to complete the Questioning Melusine and Answering Machine world quest series.
How to unlock Questioning Melusine and Answering Machine
To unlock this quest, you need to complete the following world quests:
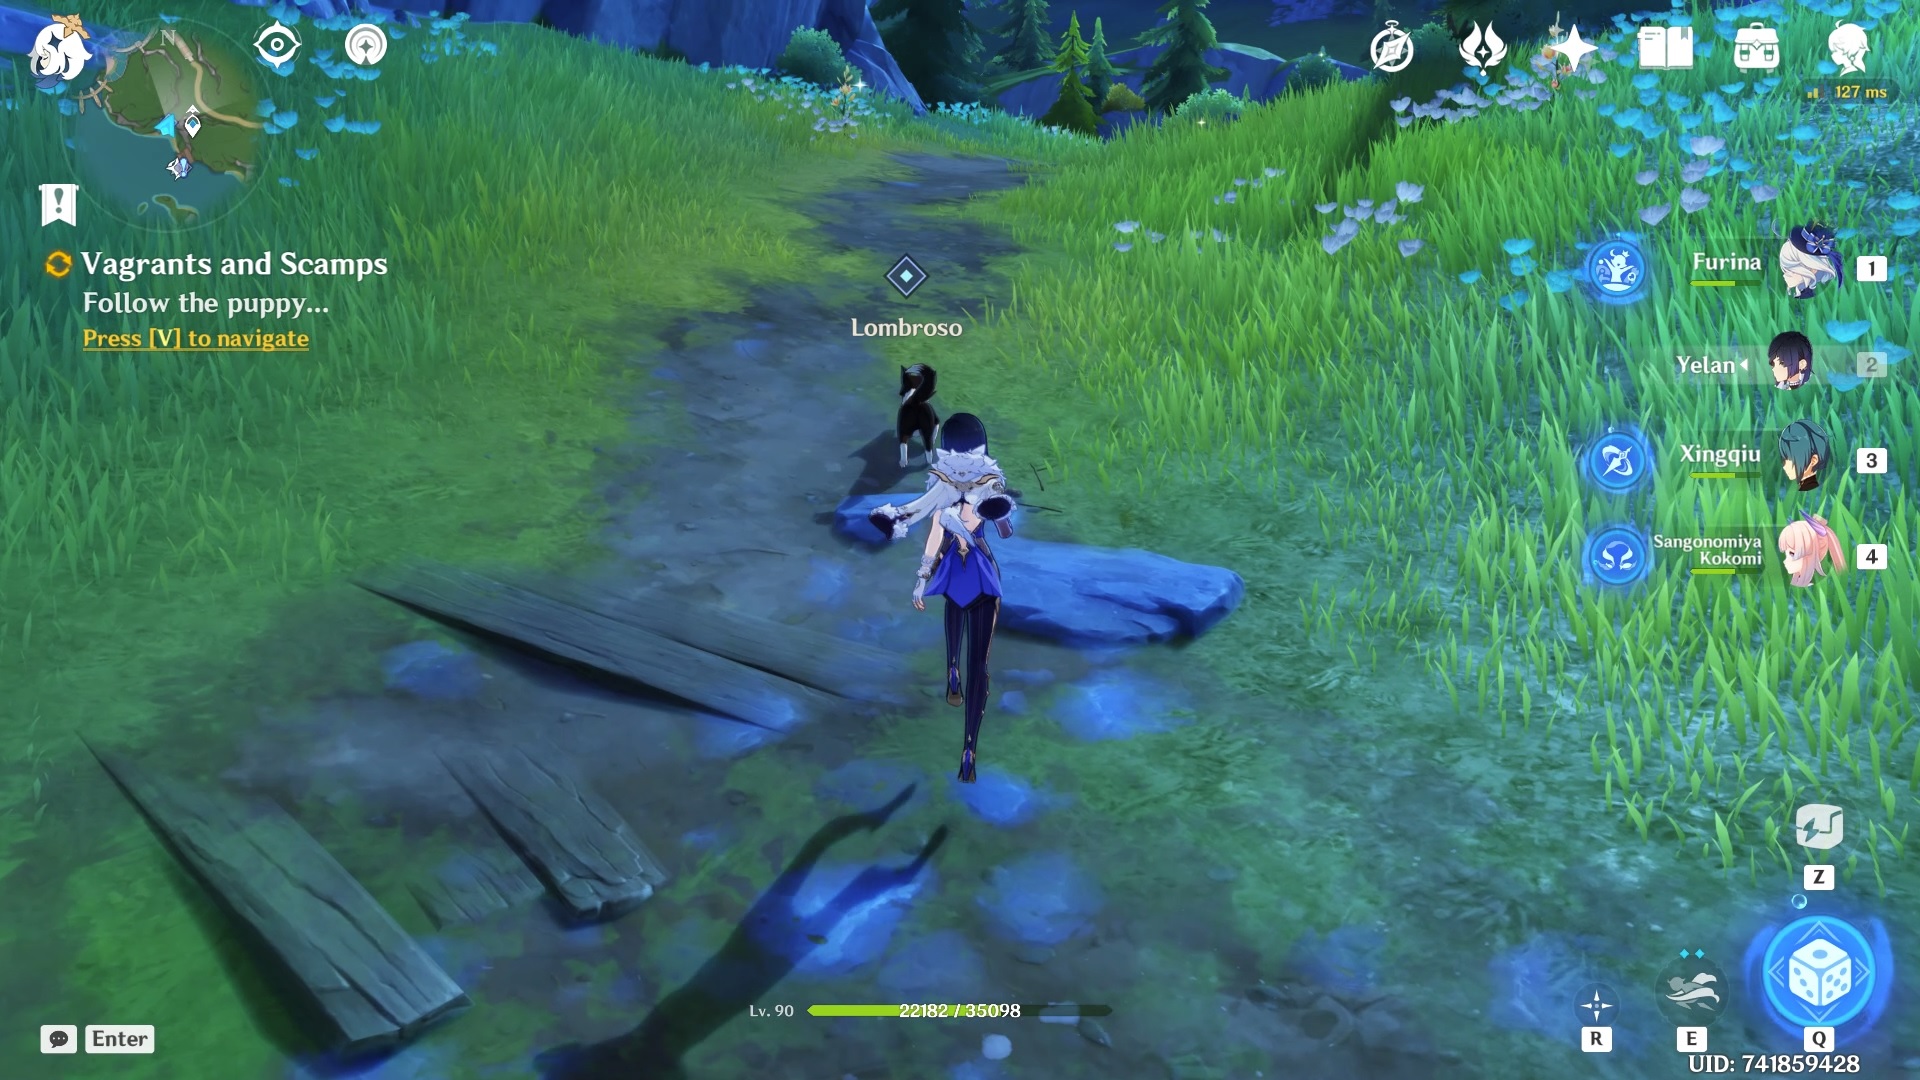
Act 1 – Vagrant and Scamps
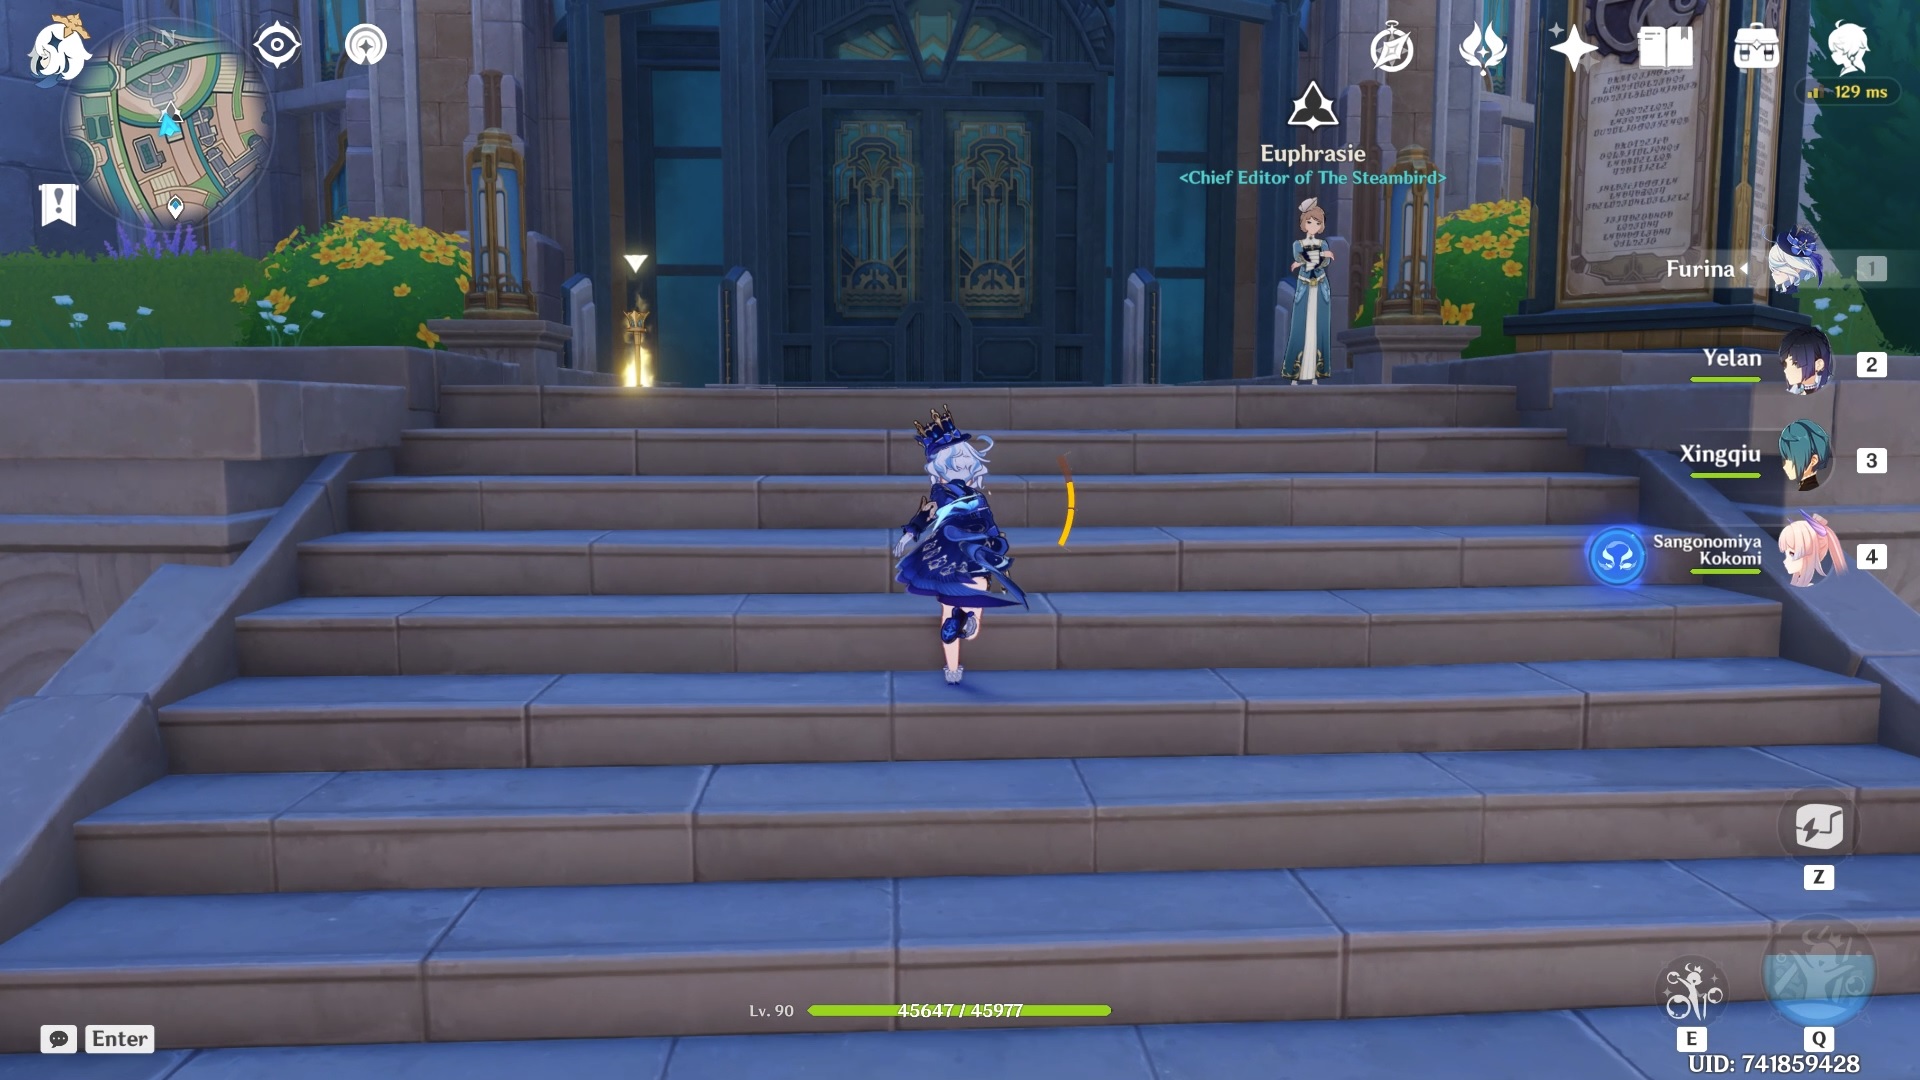
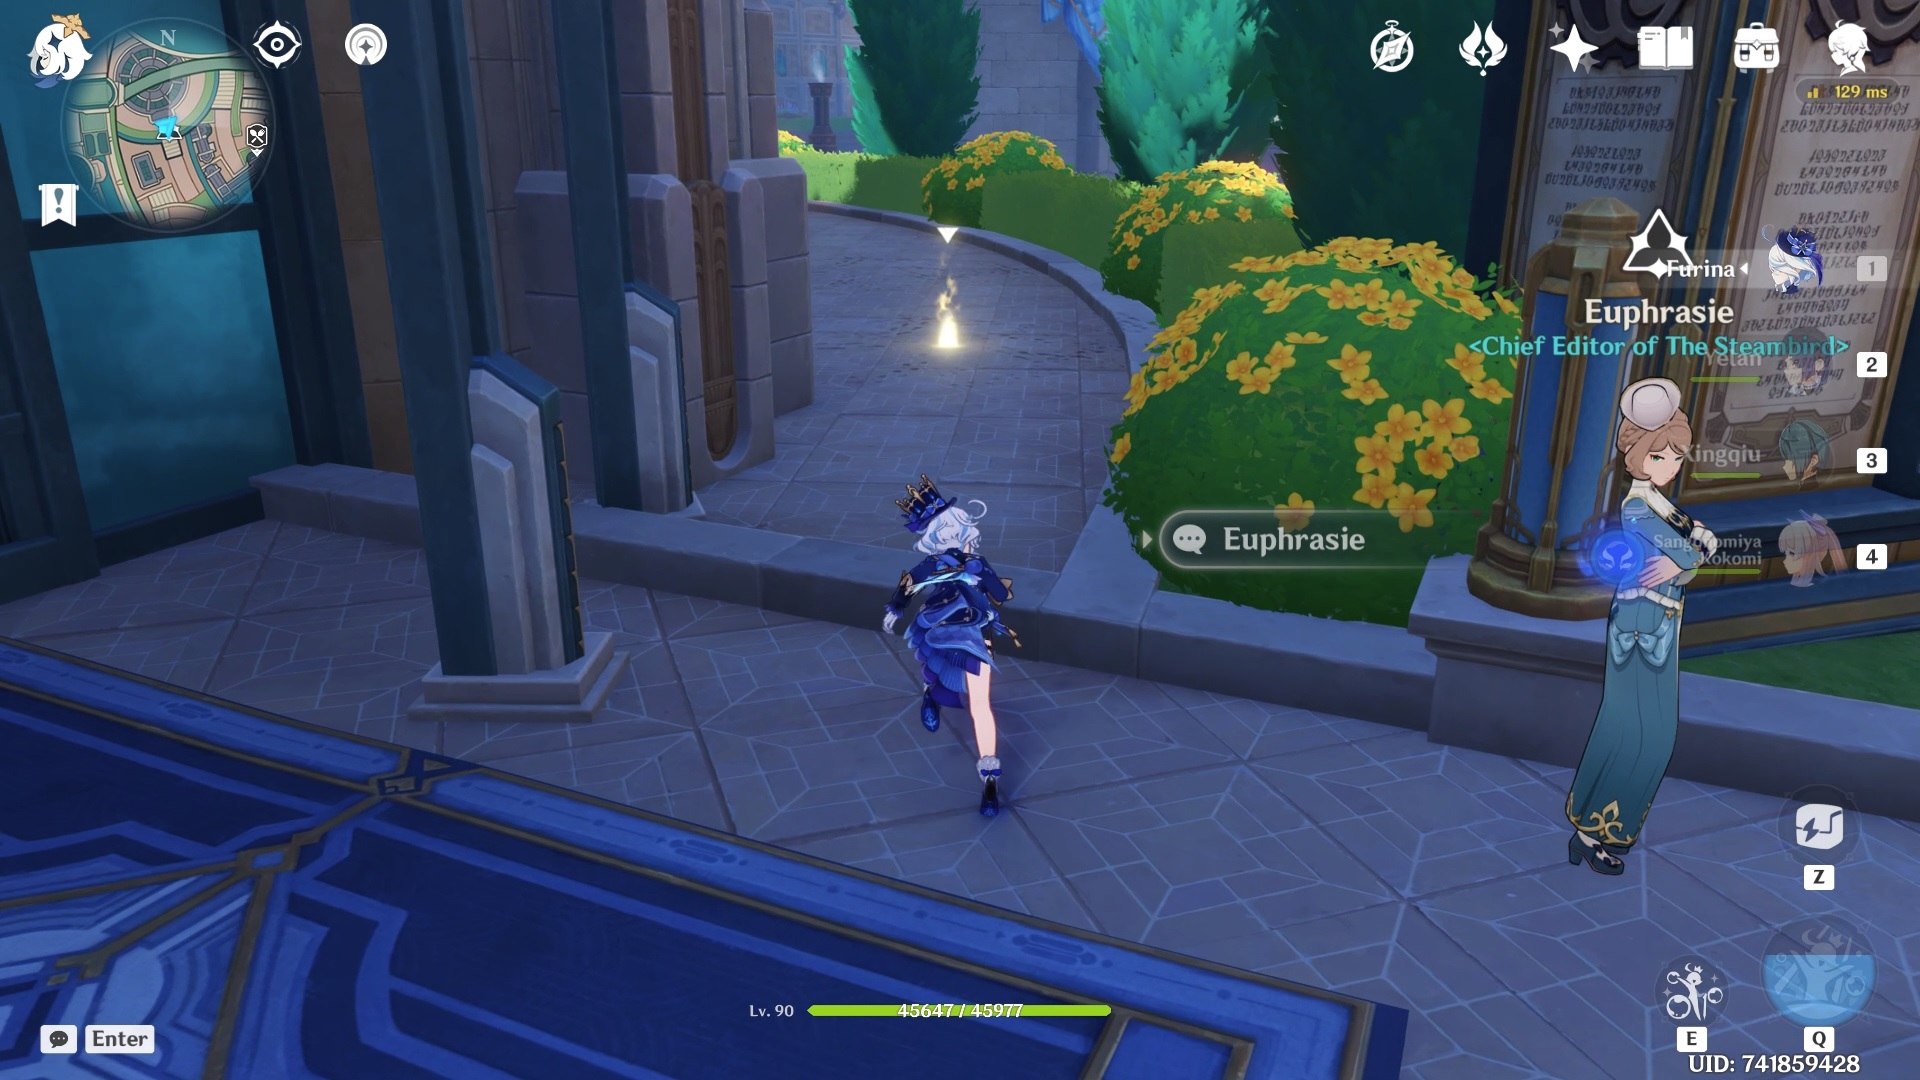
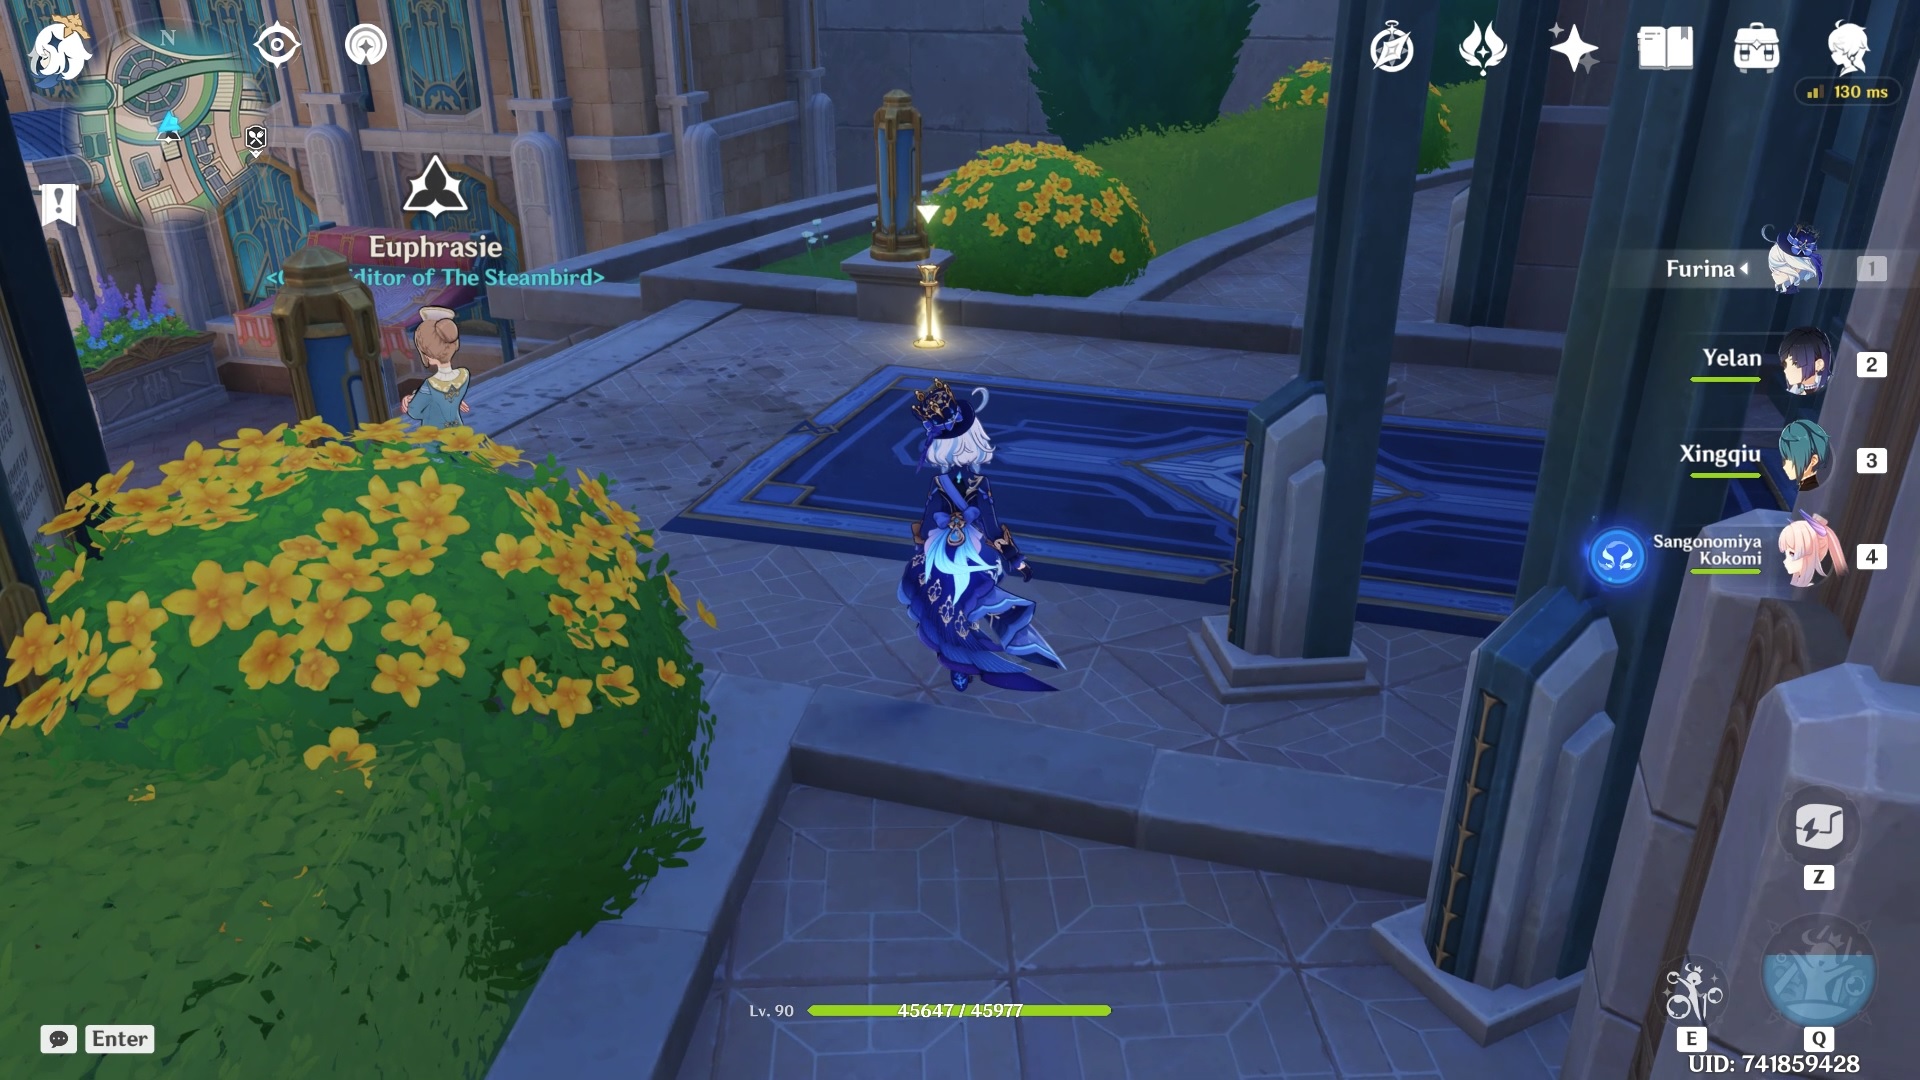
Once you’ve completed the pre-required world quests, head over to the Steambird (Fontaine’s reputation building) at the Court of Fontaine, and you will get a cutscene, which will automatically initiate the quest for you.
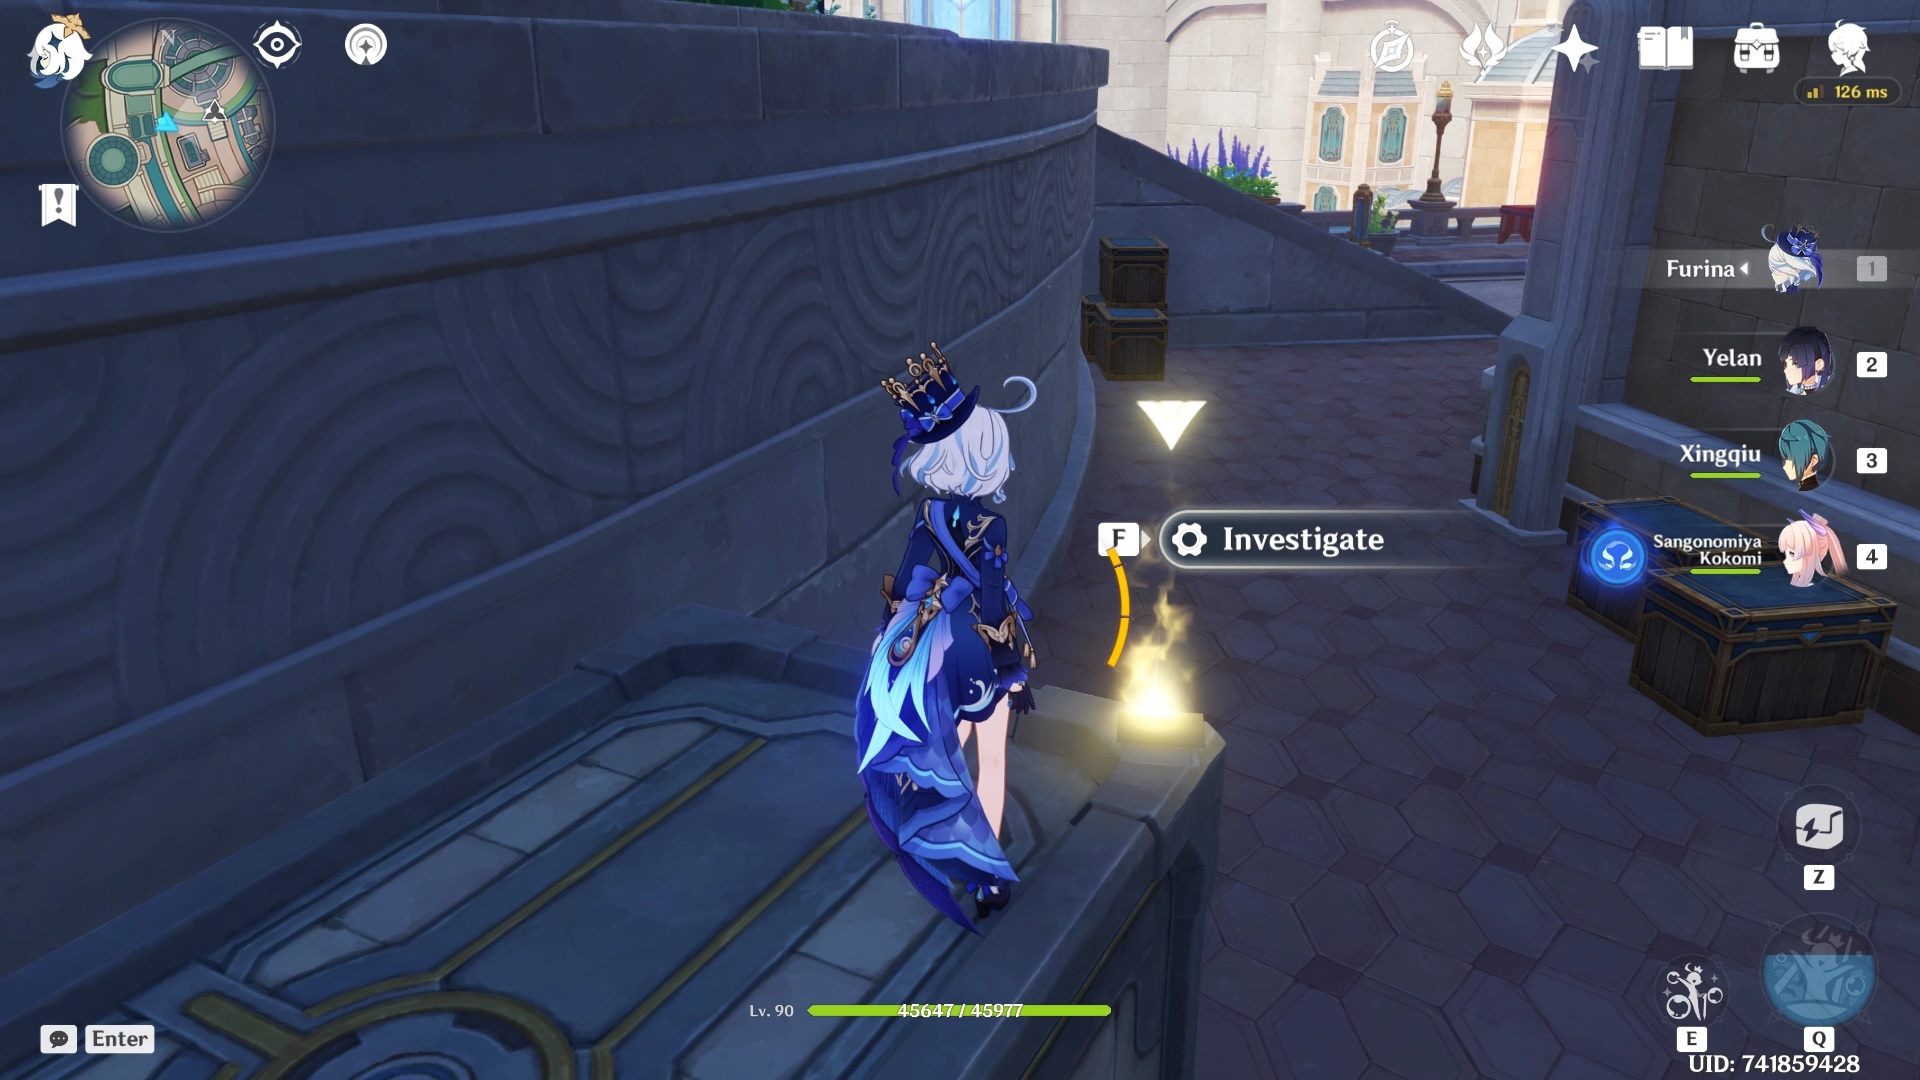
After the cutscene, you must investigate and collect five clues around the crime scene, basically around the Steambird building.
Clue 1
The first clue is on the right side of the main entrance of the Steambird. It is the “Messy Footprints.” Interact with it for a small dialogue, after which it will be added as a clue in your notebook.
Clue 2
The second clue is right at the entrance of Steambird by the street light.
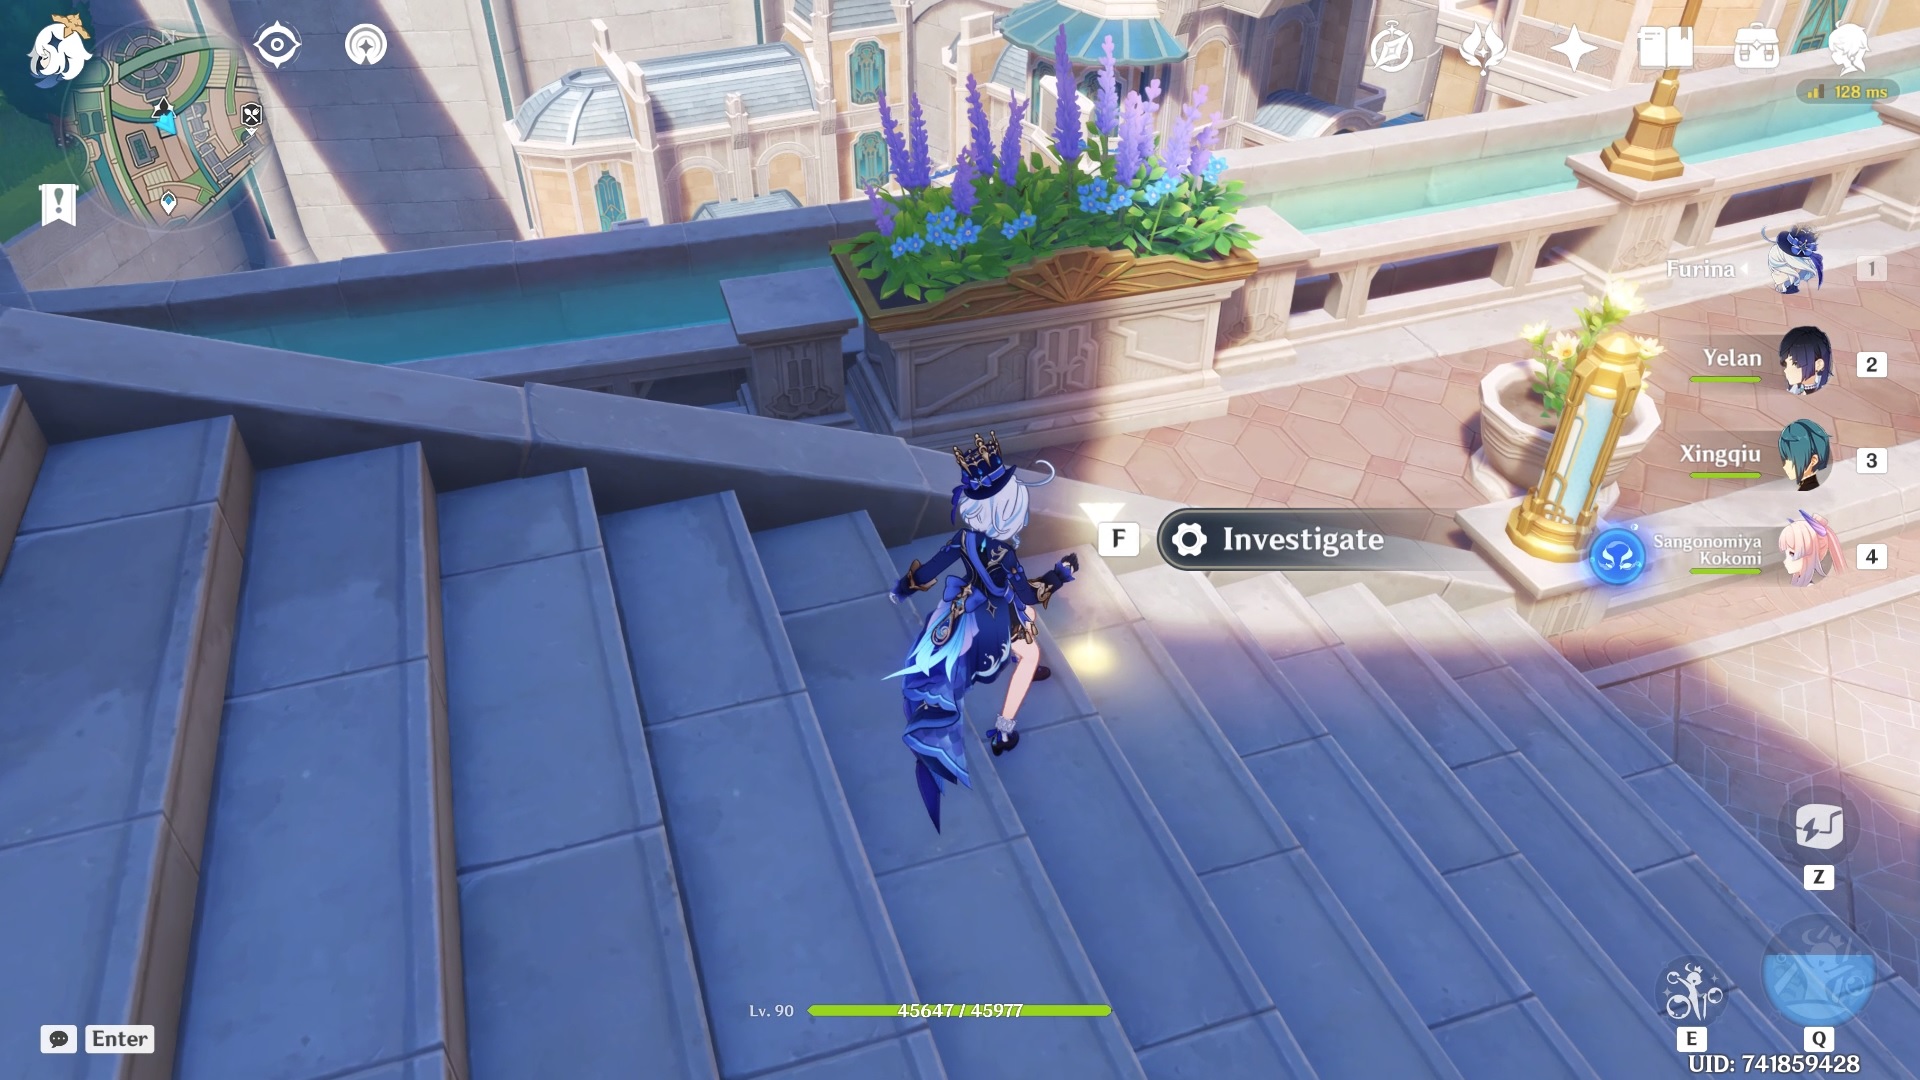
Clue 3
The third clue, Simple Button, is on the stairs leading up to the Steambird entrance.
Clue 4
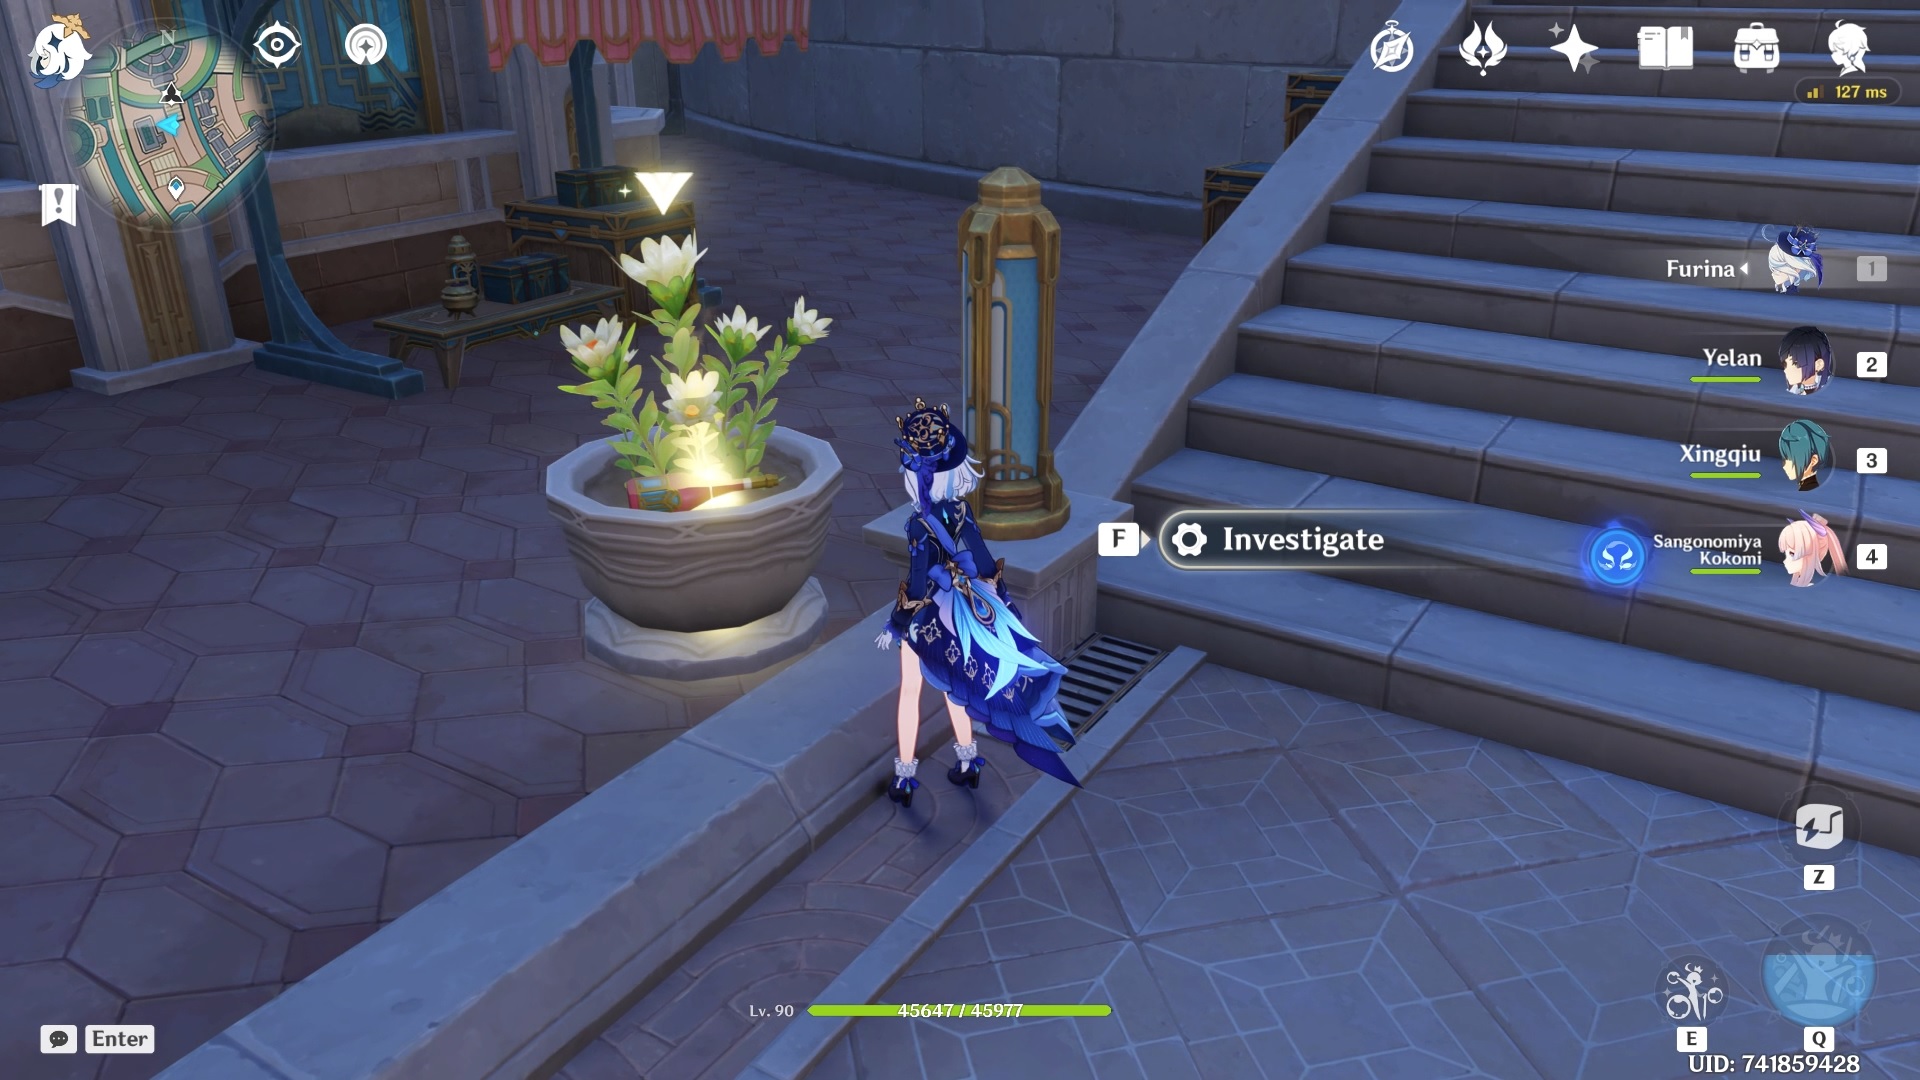
The fourth clue is inside a flower pot at the bottom of the stairs on the left side.
Clue 5
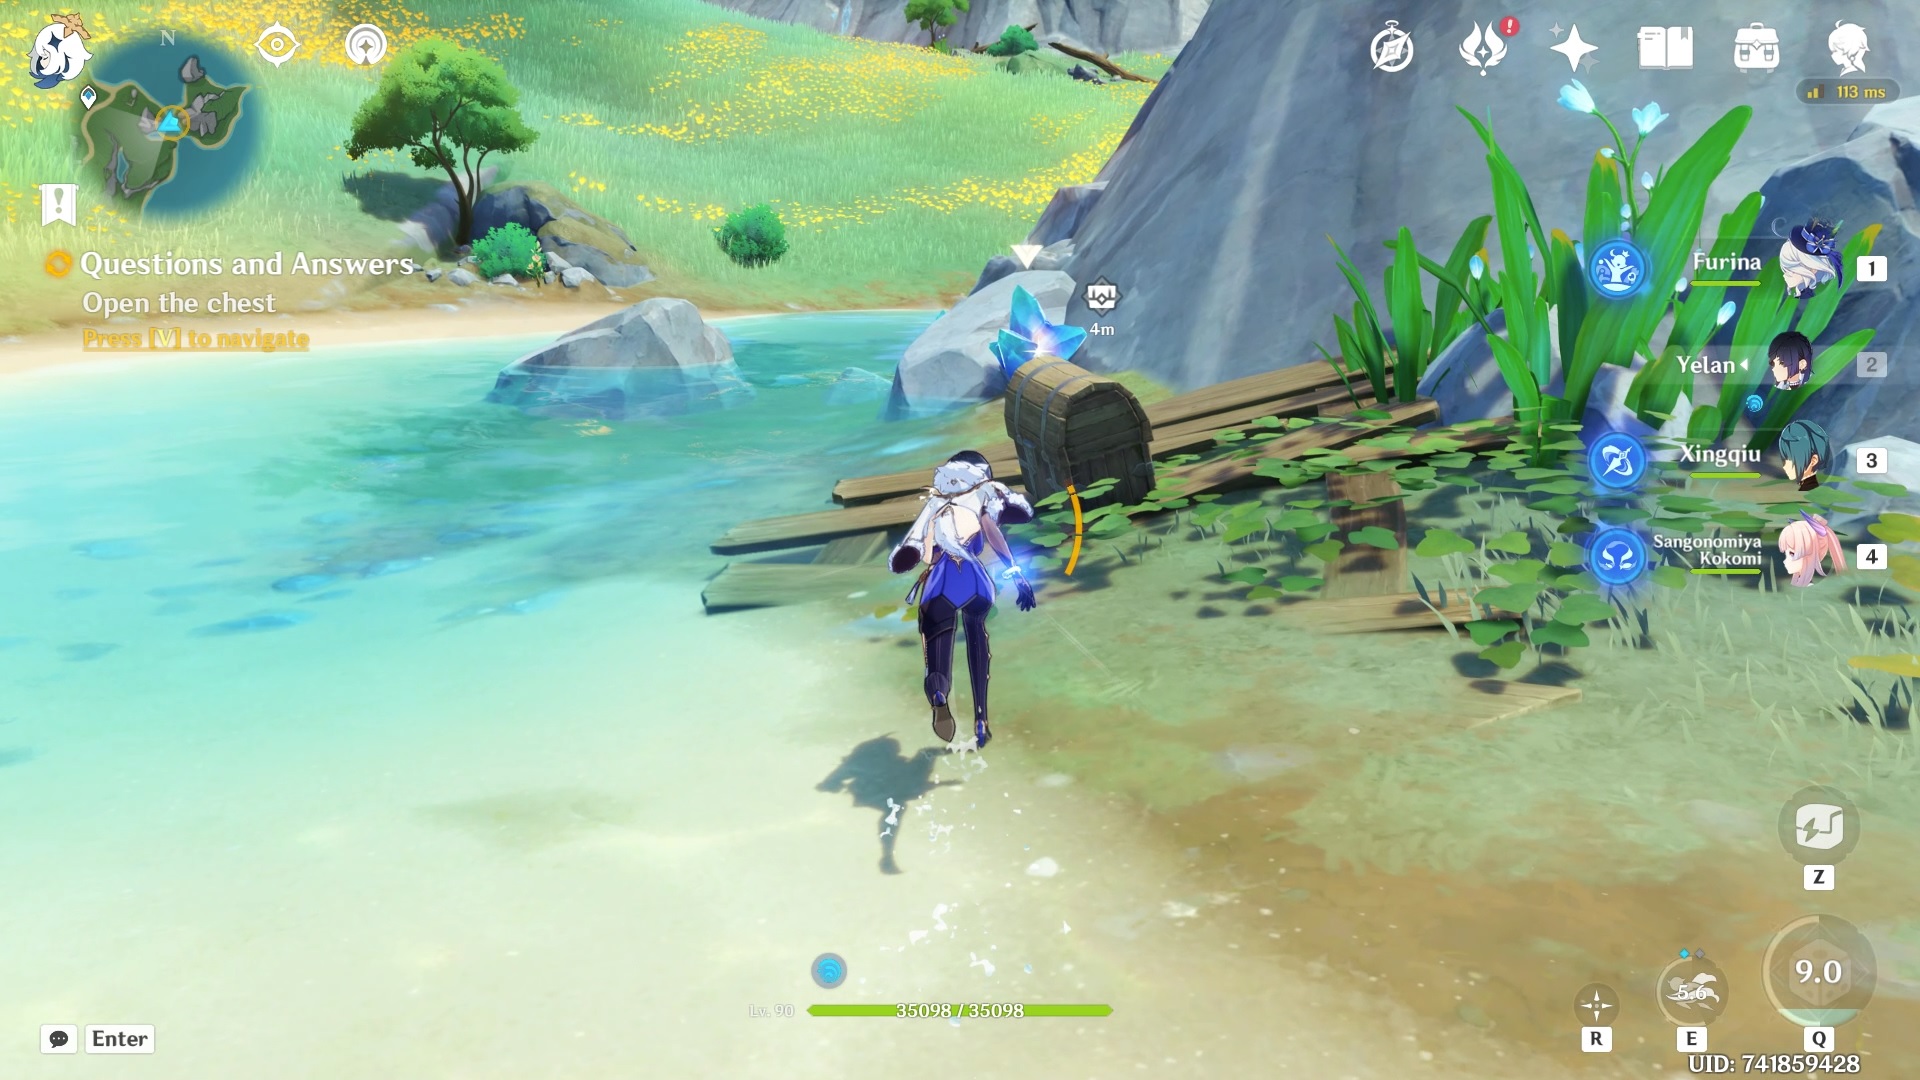
The final clue, an Unsealed Letter, is in the corner on the left side of the stairs. Go past the flower pot where you found your fourth clue, and you will find a large wooden box with a glowing indicator.
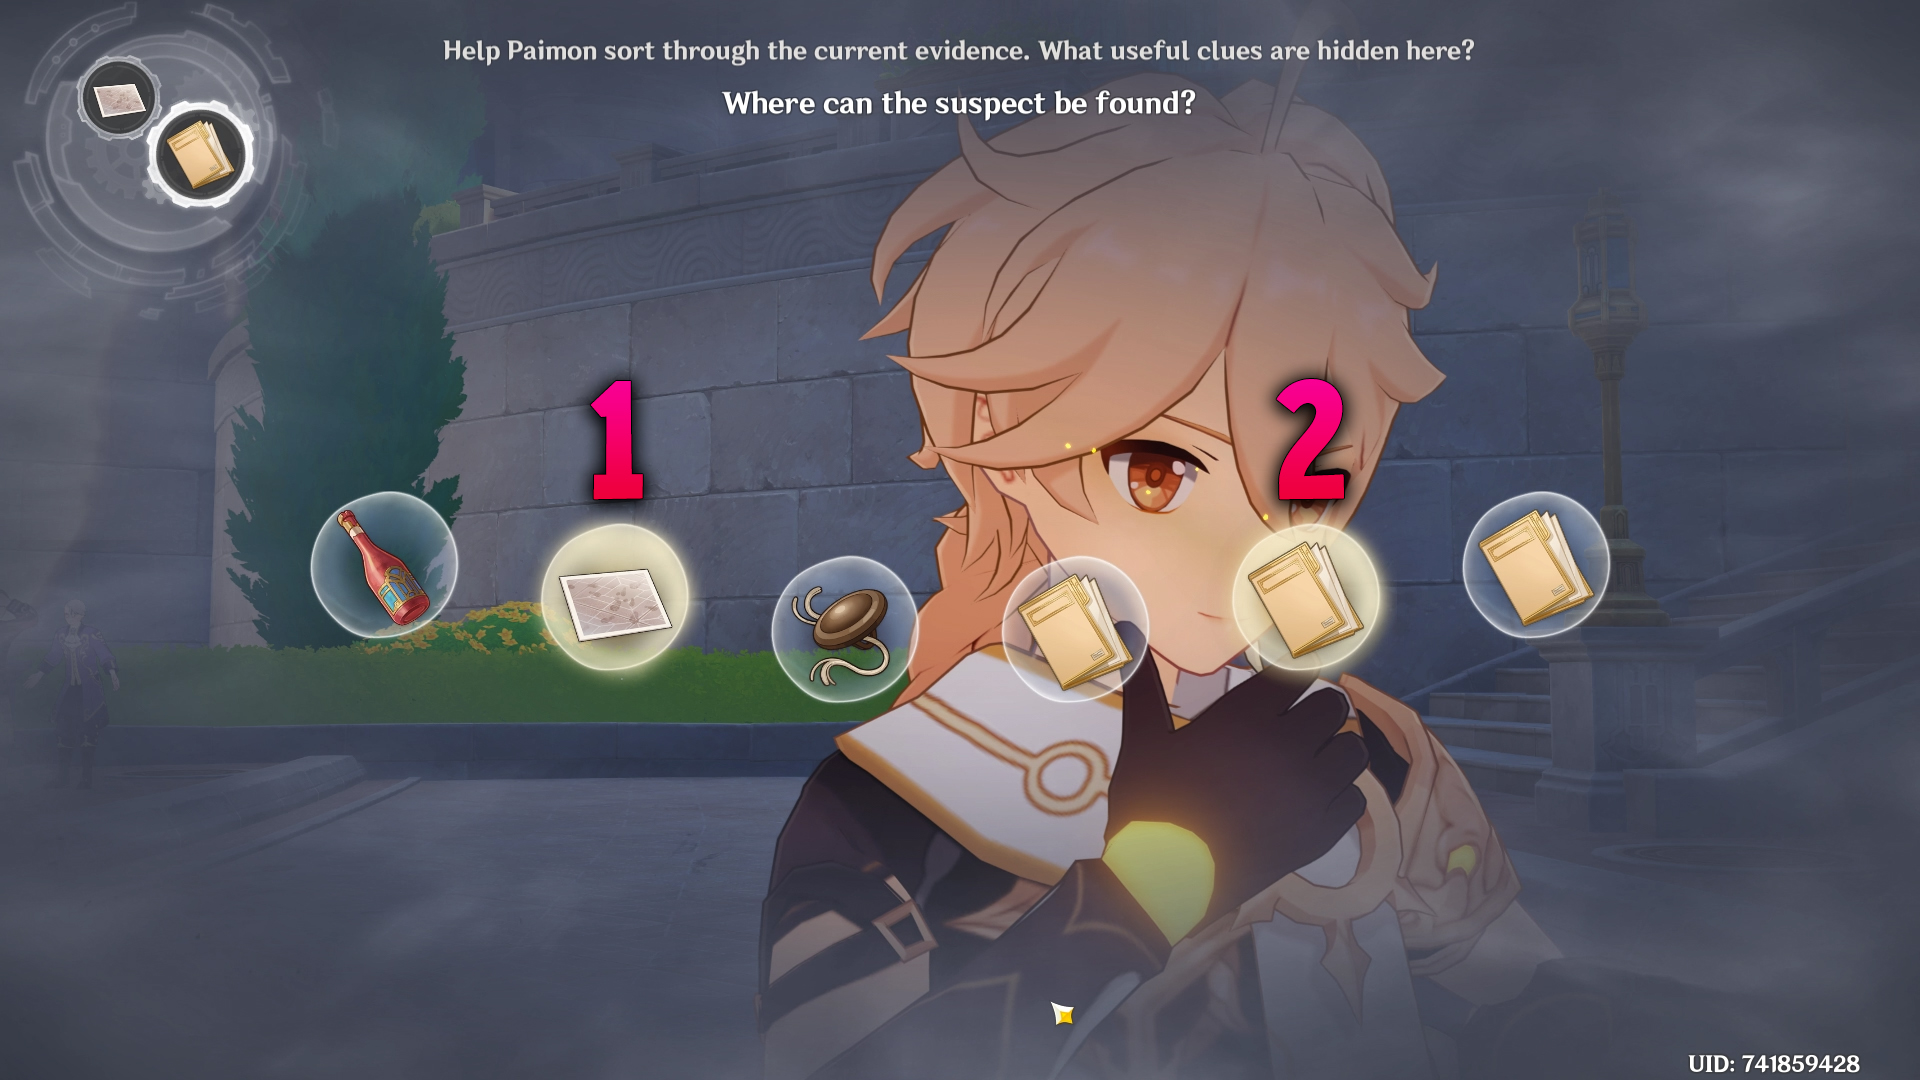
Association Game
Once you’ve gathered all the clues, you will get a game where you need to associate two items to deduce how many people are associated with the disappearance of Sir Arthur, a robotic Pelican.
Once done, you need to make your way to the pier located southeast of Opera Epiclese.

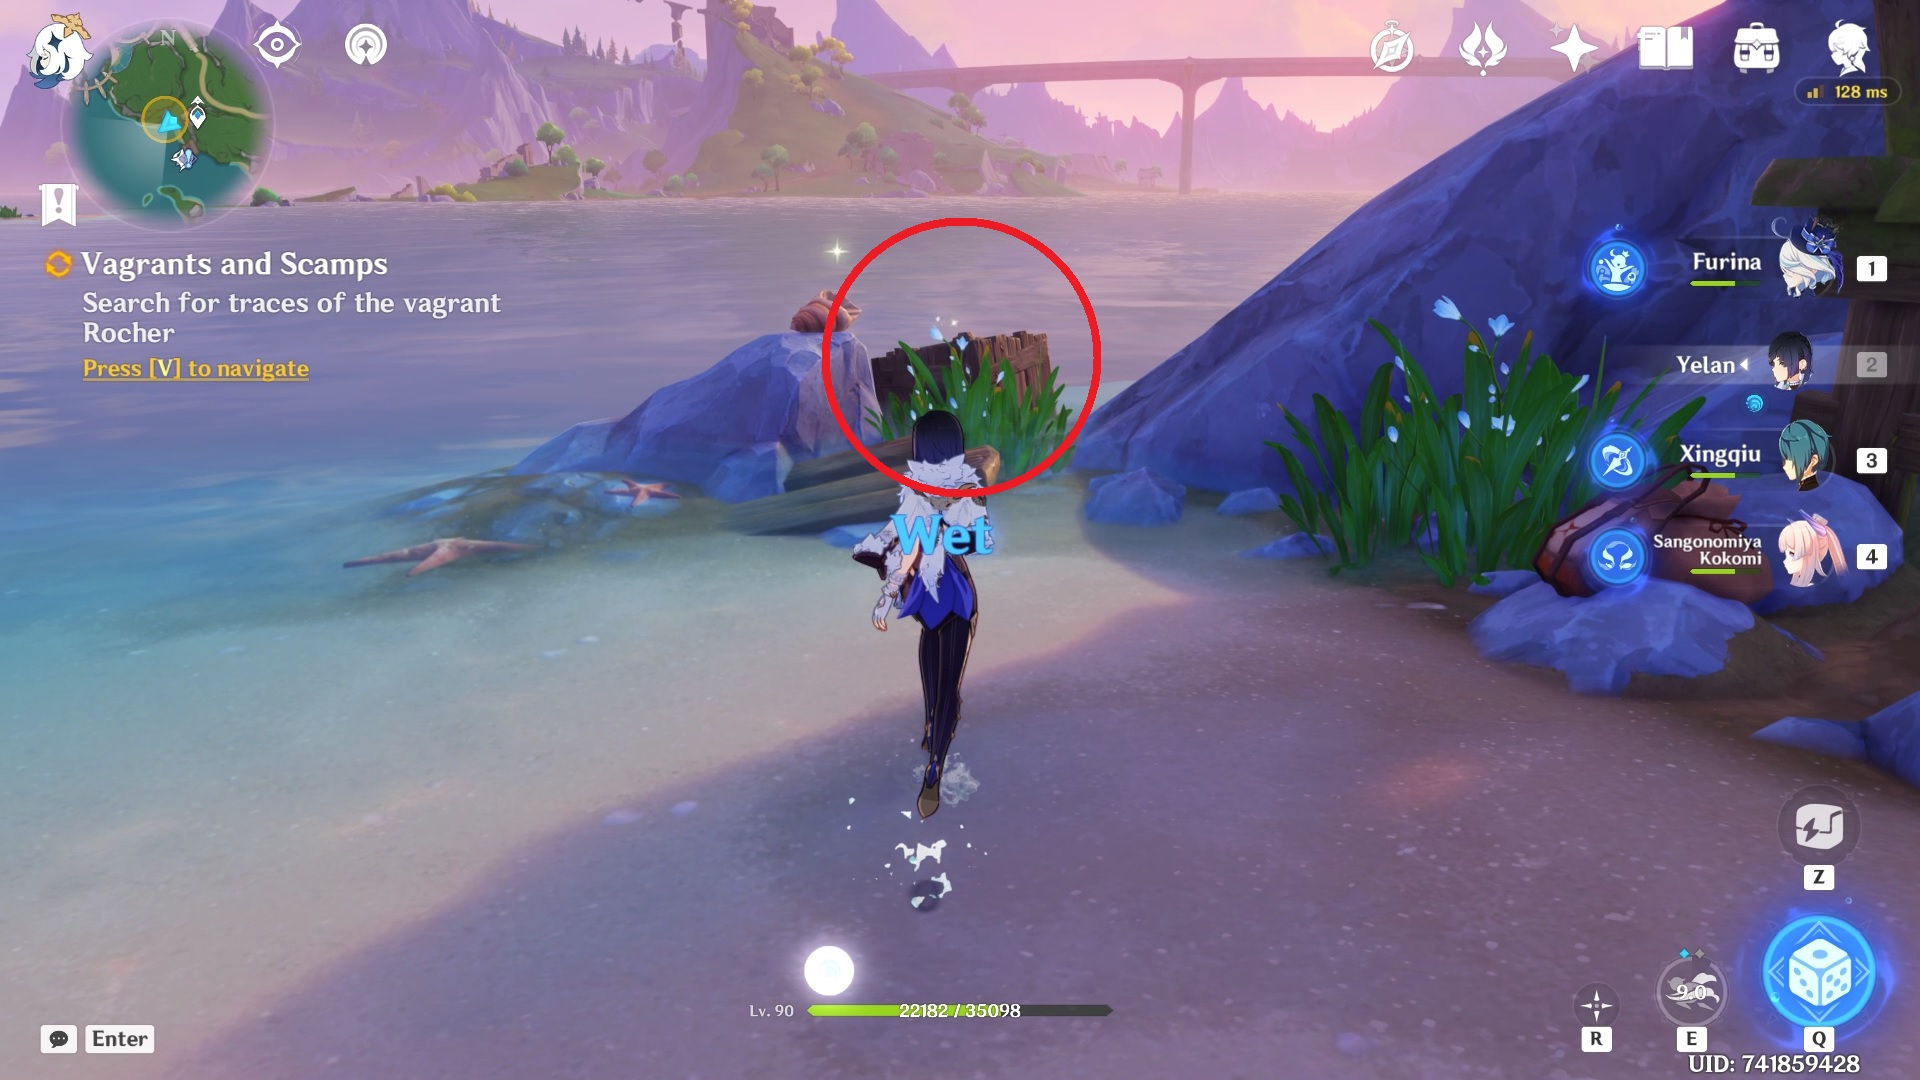
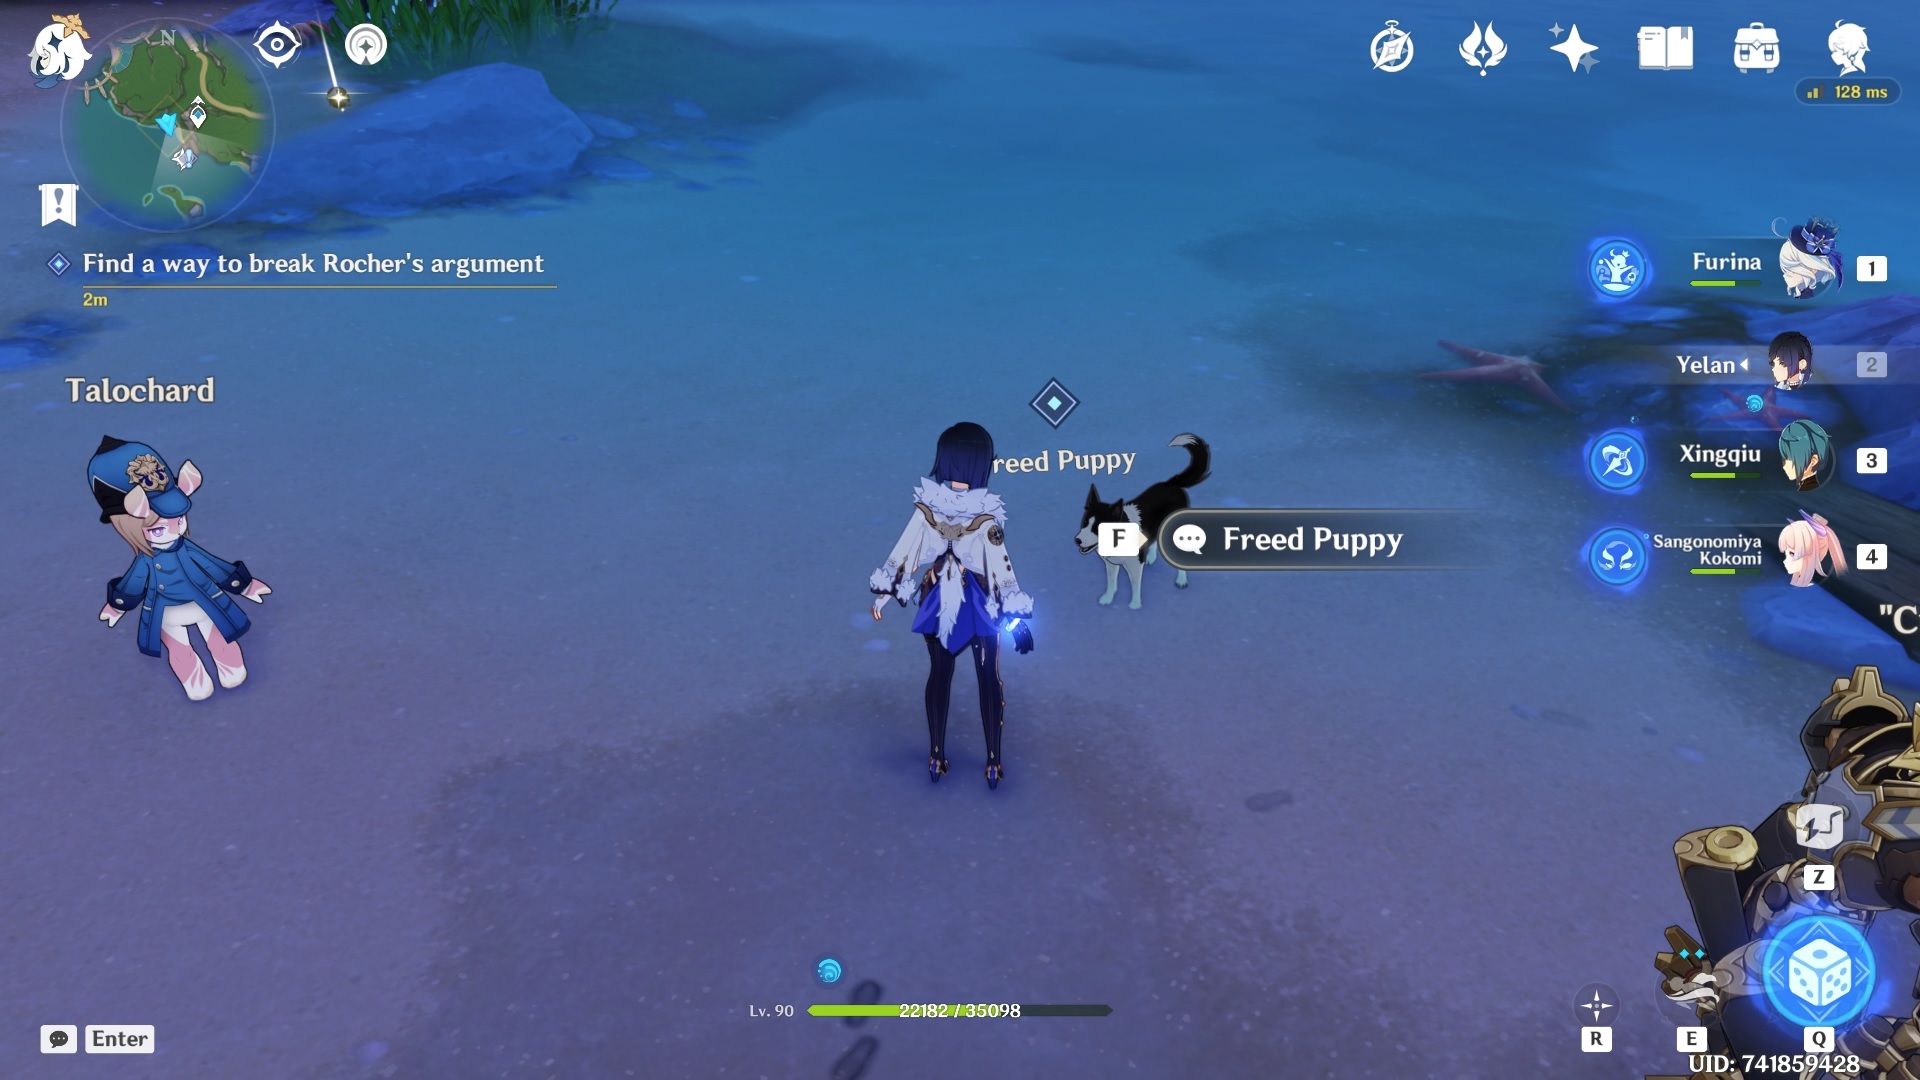
When you get to the pier, you will find some treasure hoarders, including “Intrepid Valberry,” troubling a puppy.

Once you’ve defeated “Intrepid Valberry,” you must look for traces of the Rocher. Look to your left, and you will see a wooden box near the shore and a rock with a huge conch.
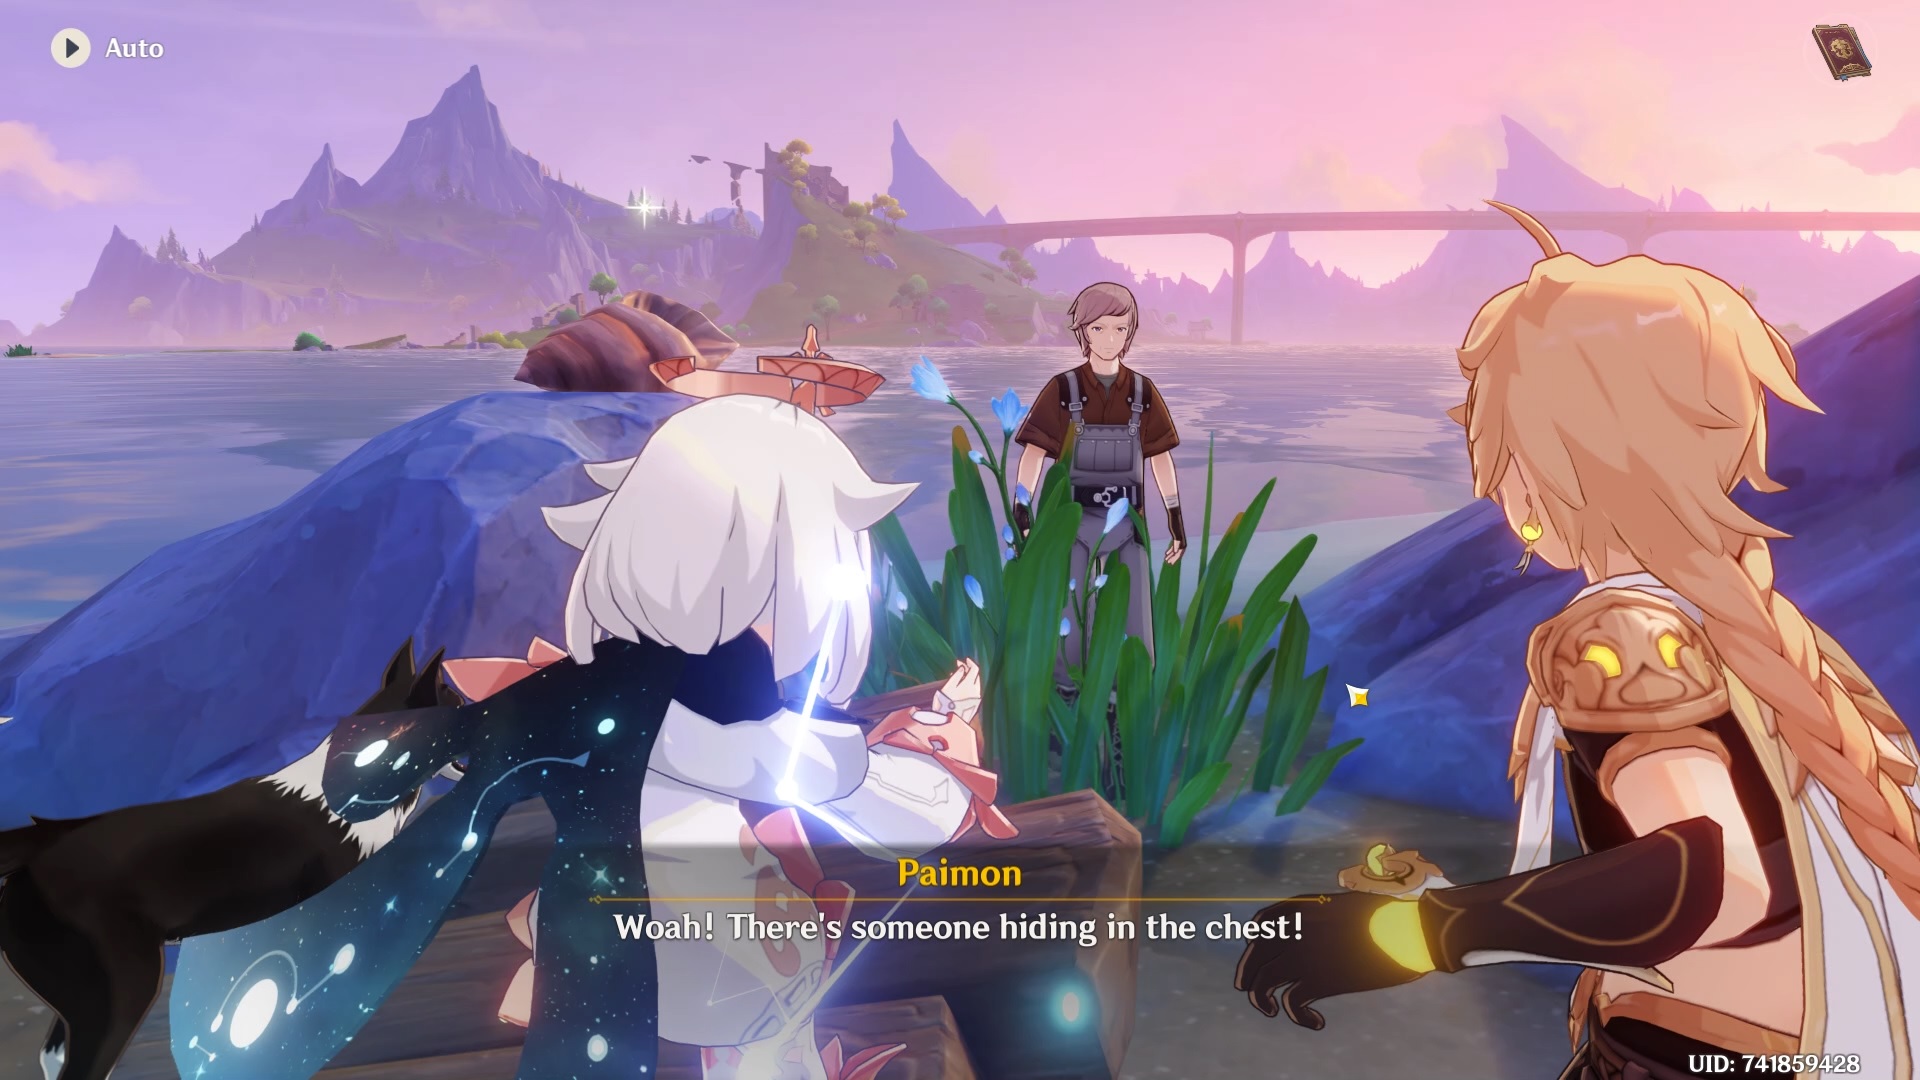
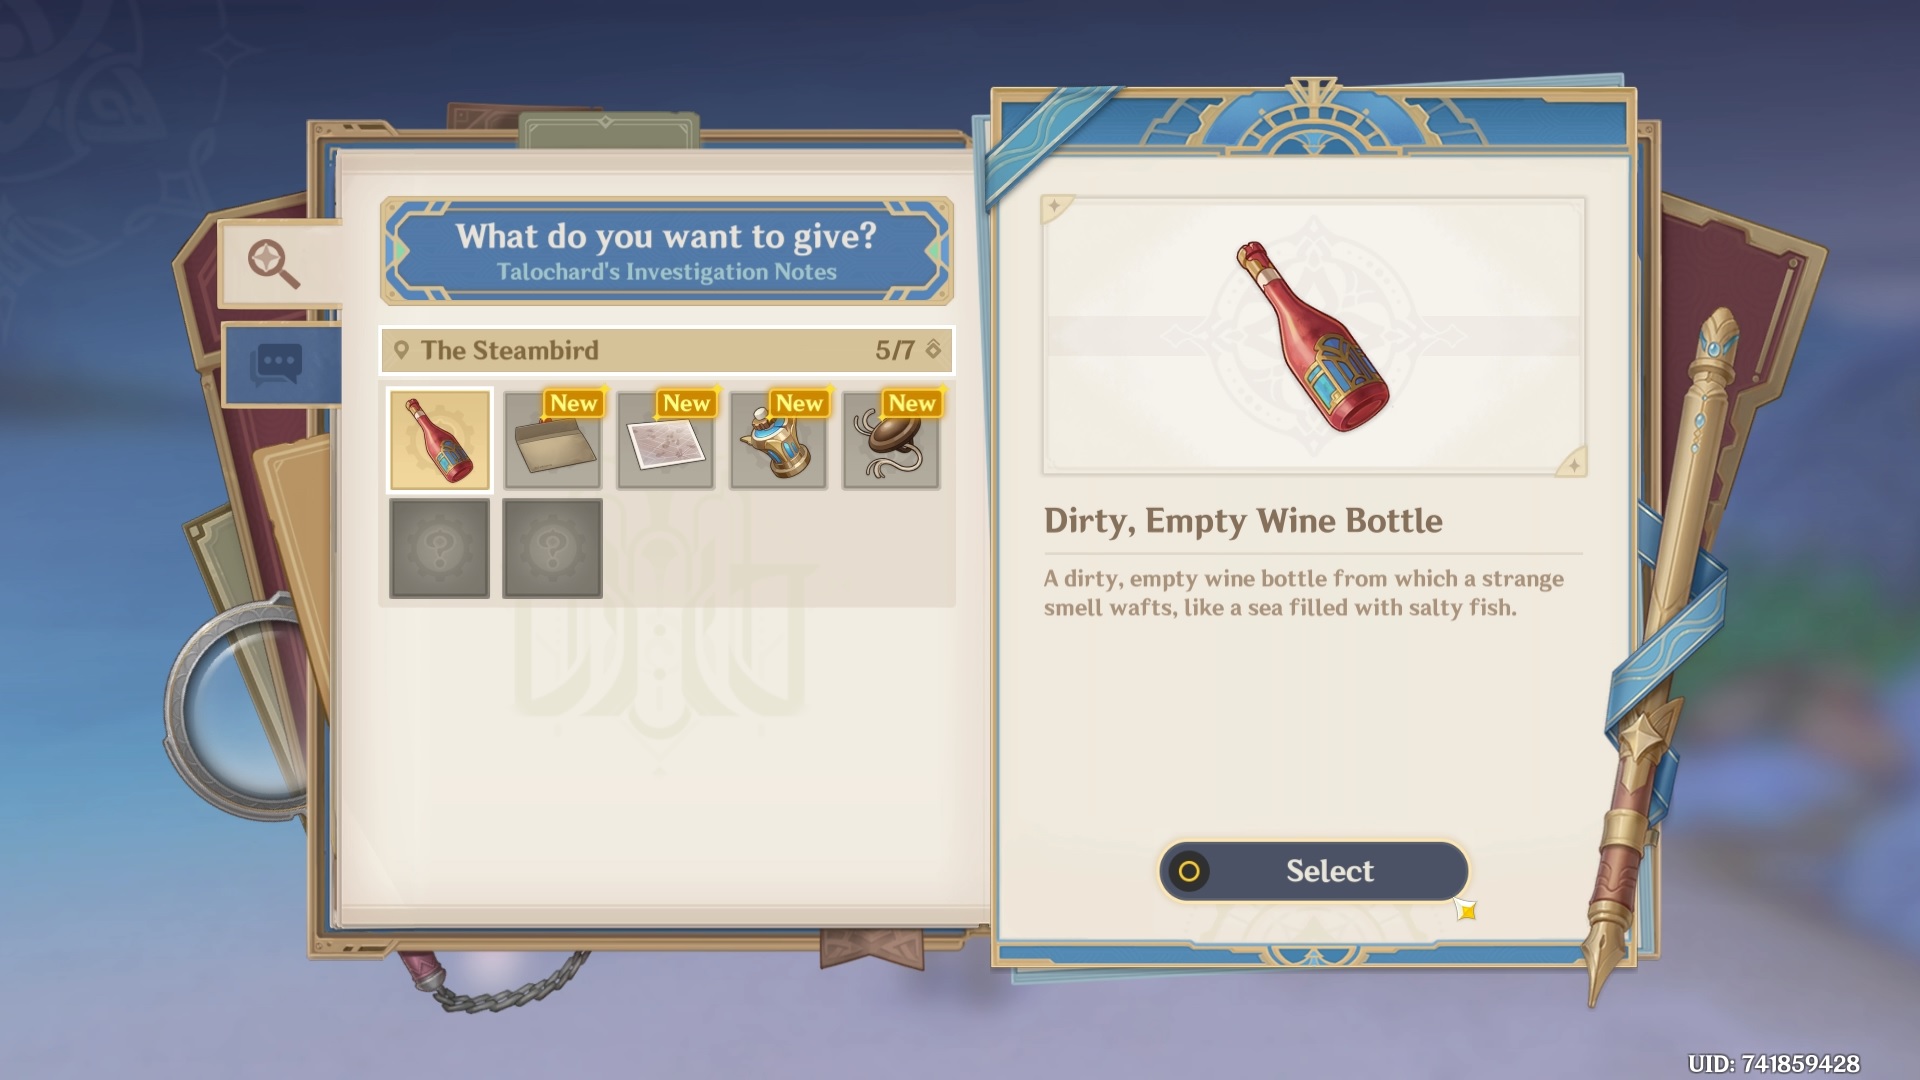
Interact with the Freed Puppy and show him the Dirty, Empty Wine Bottle you acquired earlier from the Steambird crime scene.
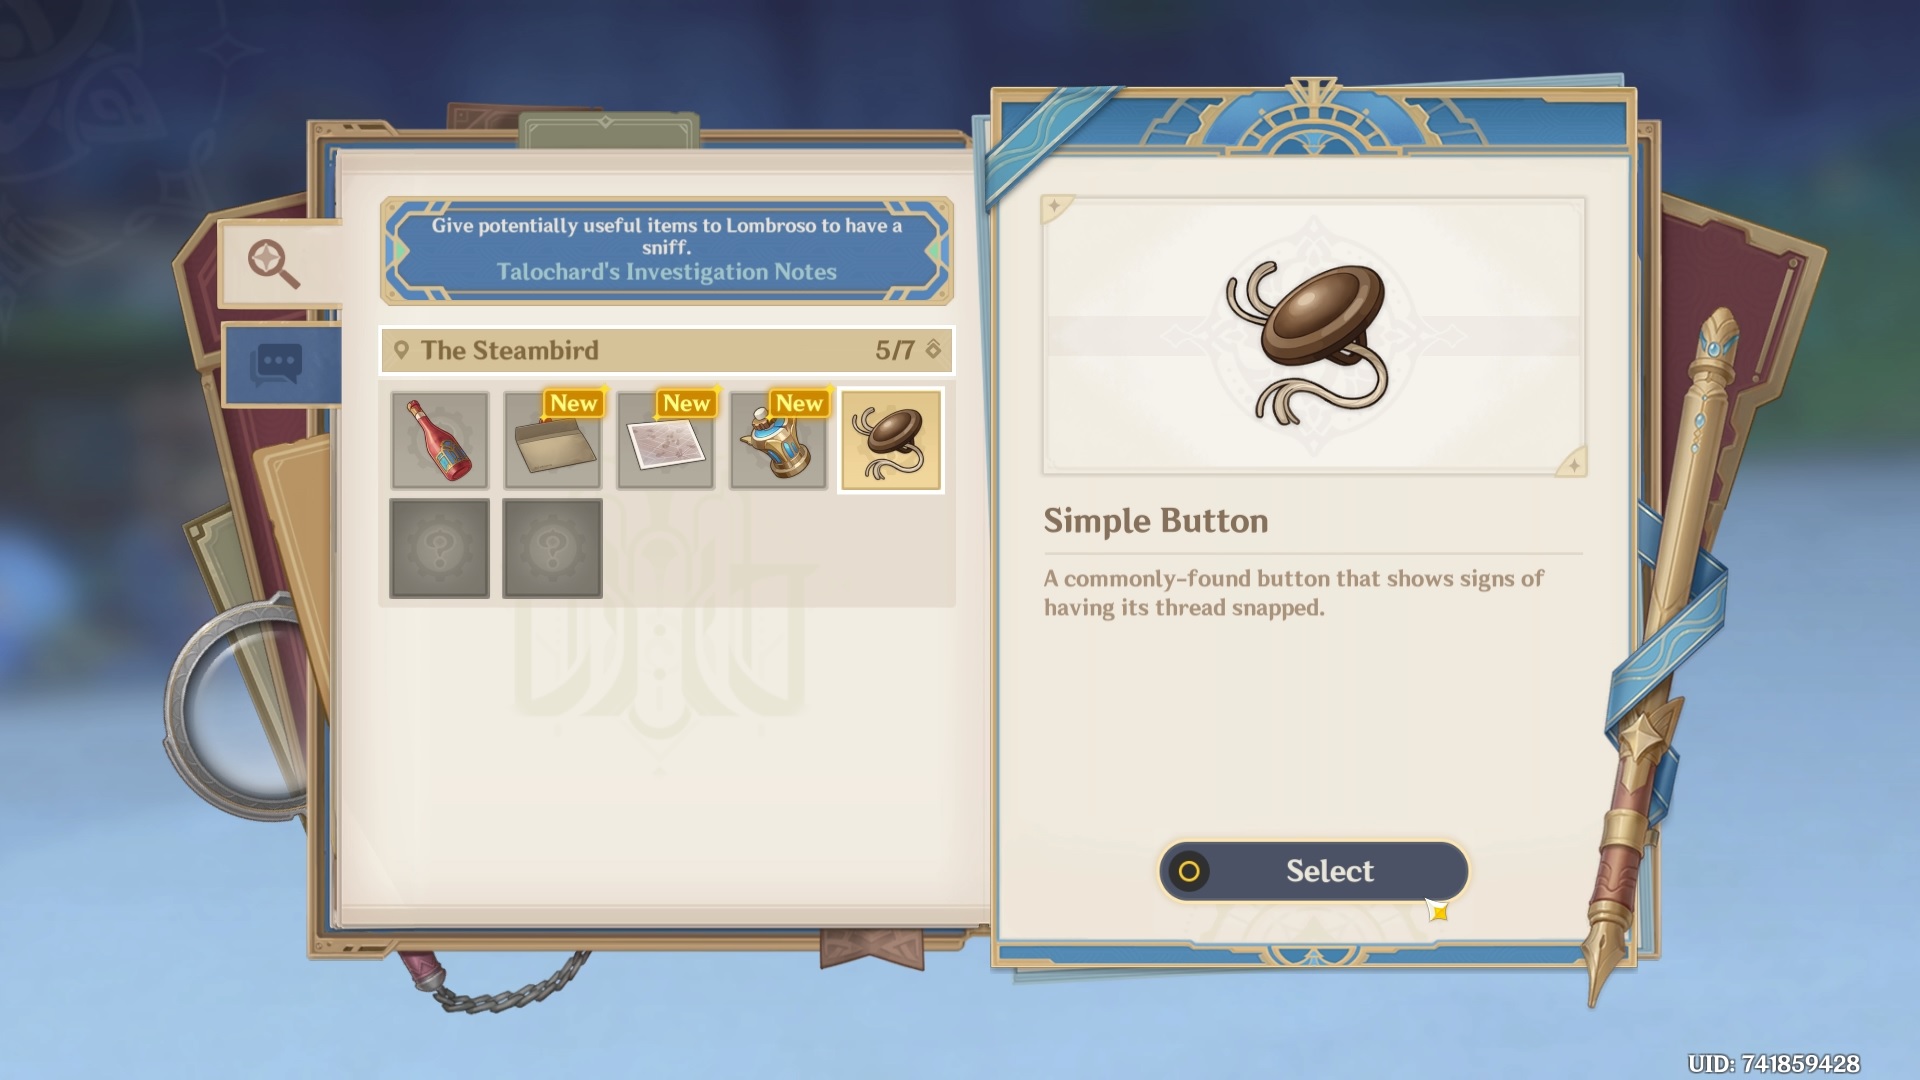
After a small cutscene, interact with the freed puppy, now identified as Lombroso, and give him the Simple Button.
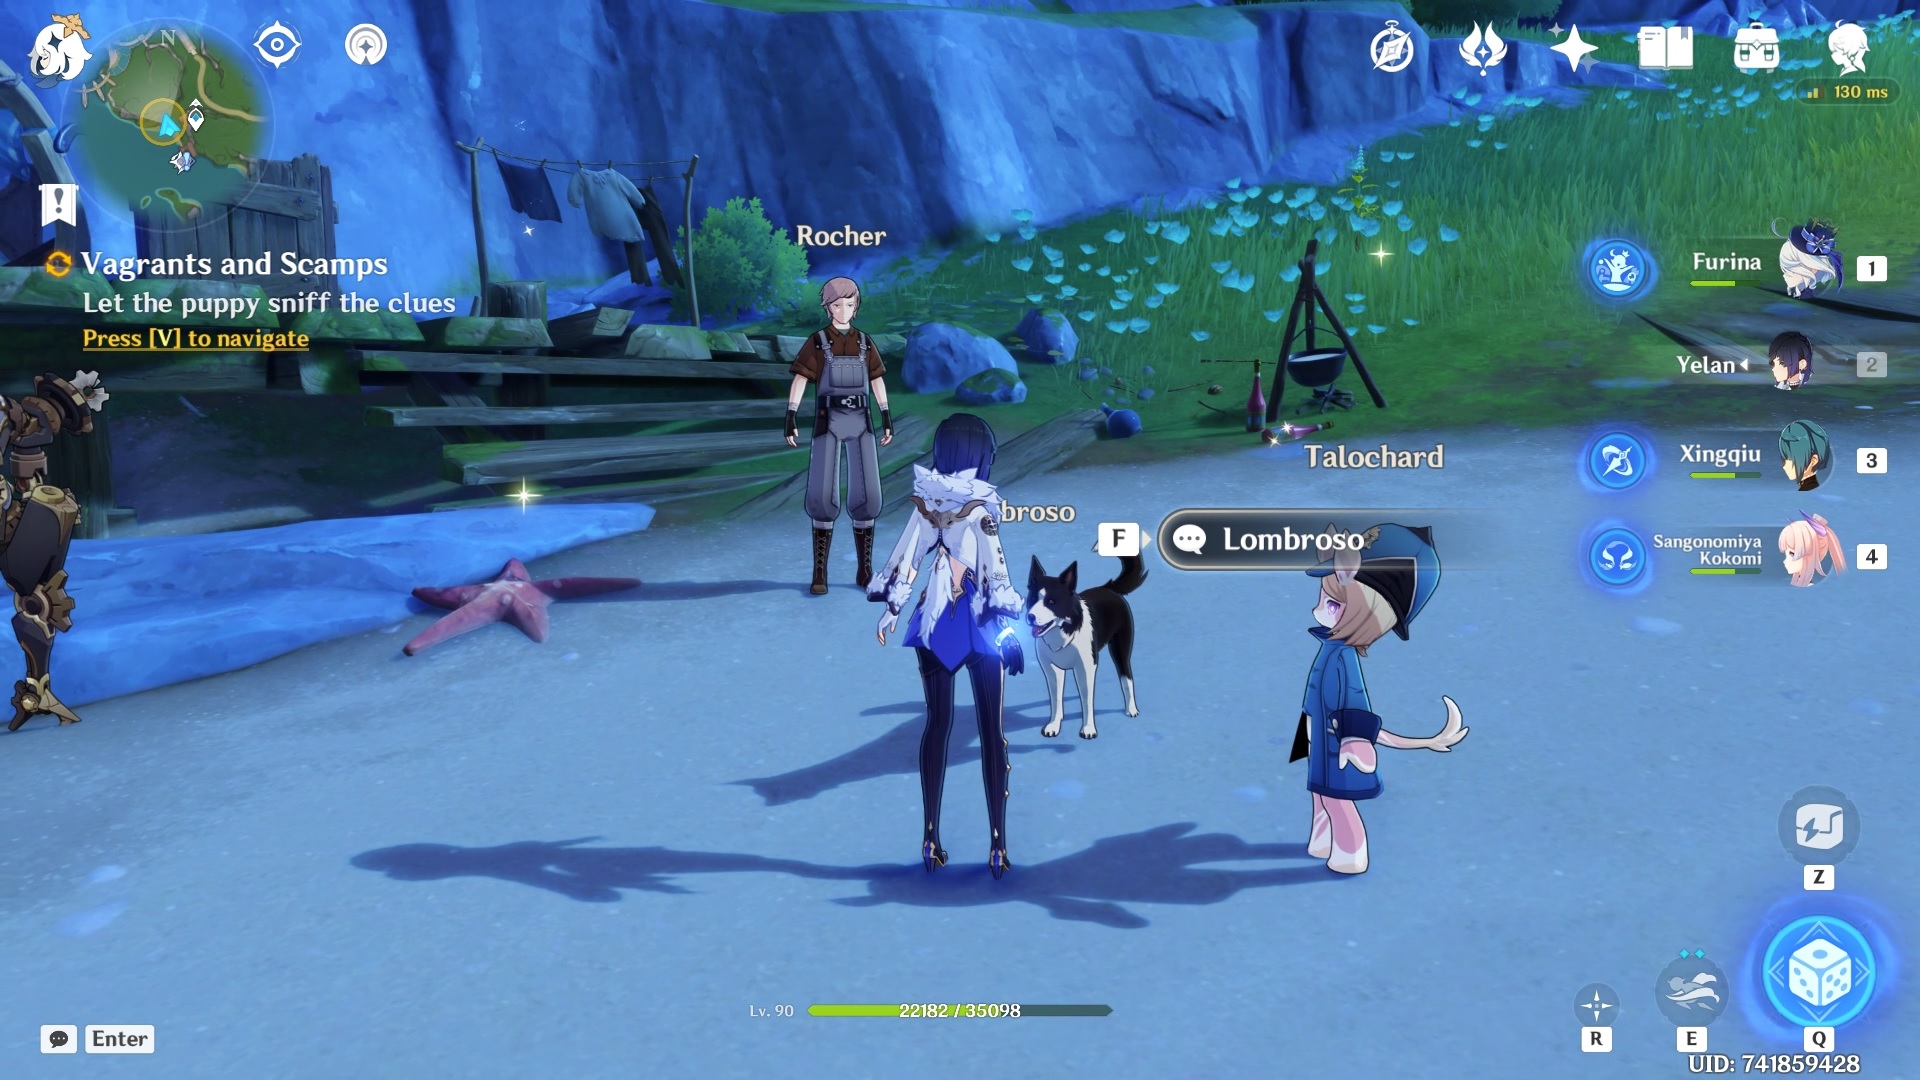
After showing Lombroso the Simple Button, he will lead you to another location where you find the second suspect named Kevin.
After a brief cutscene, you will find a child named Kevin and his mom, Madeleine, arguing outside their house.
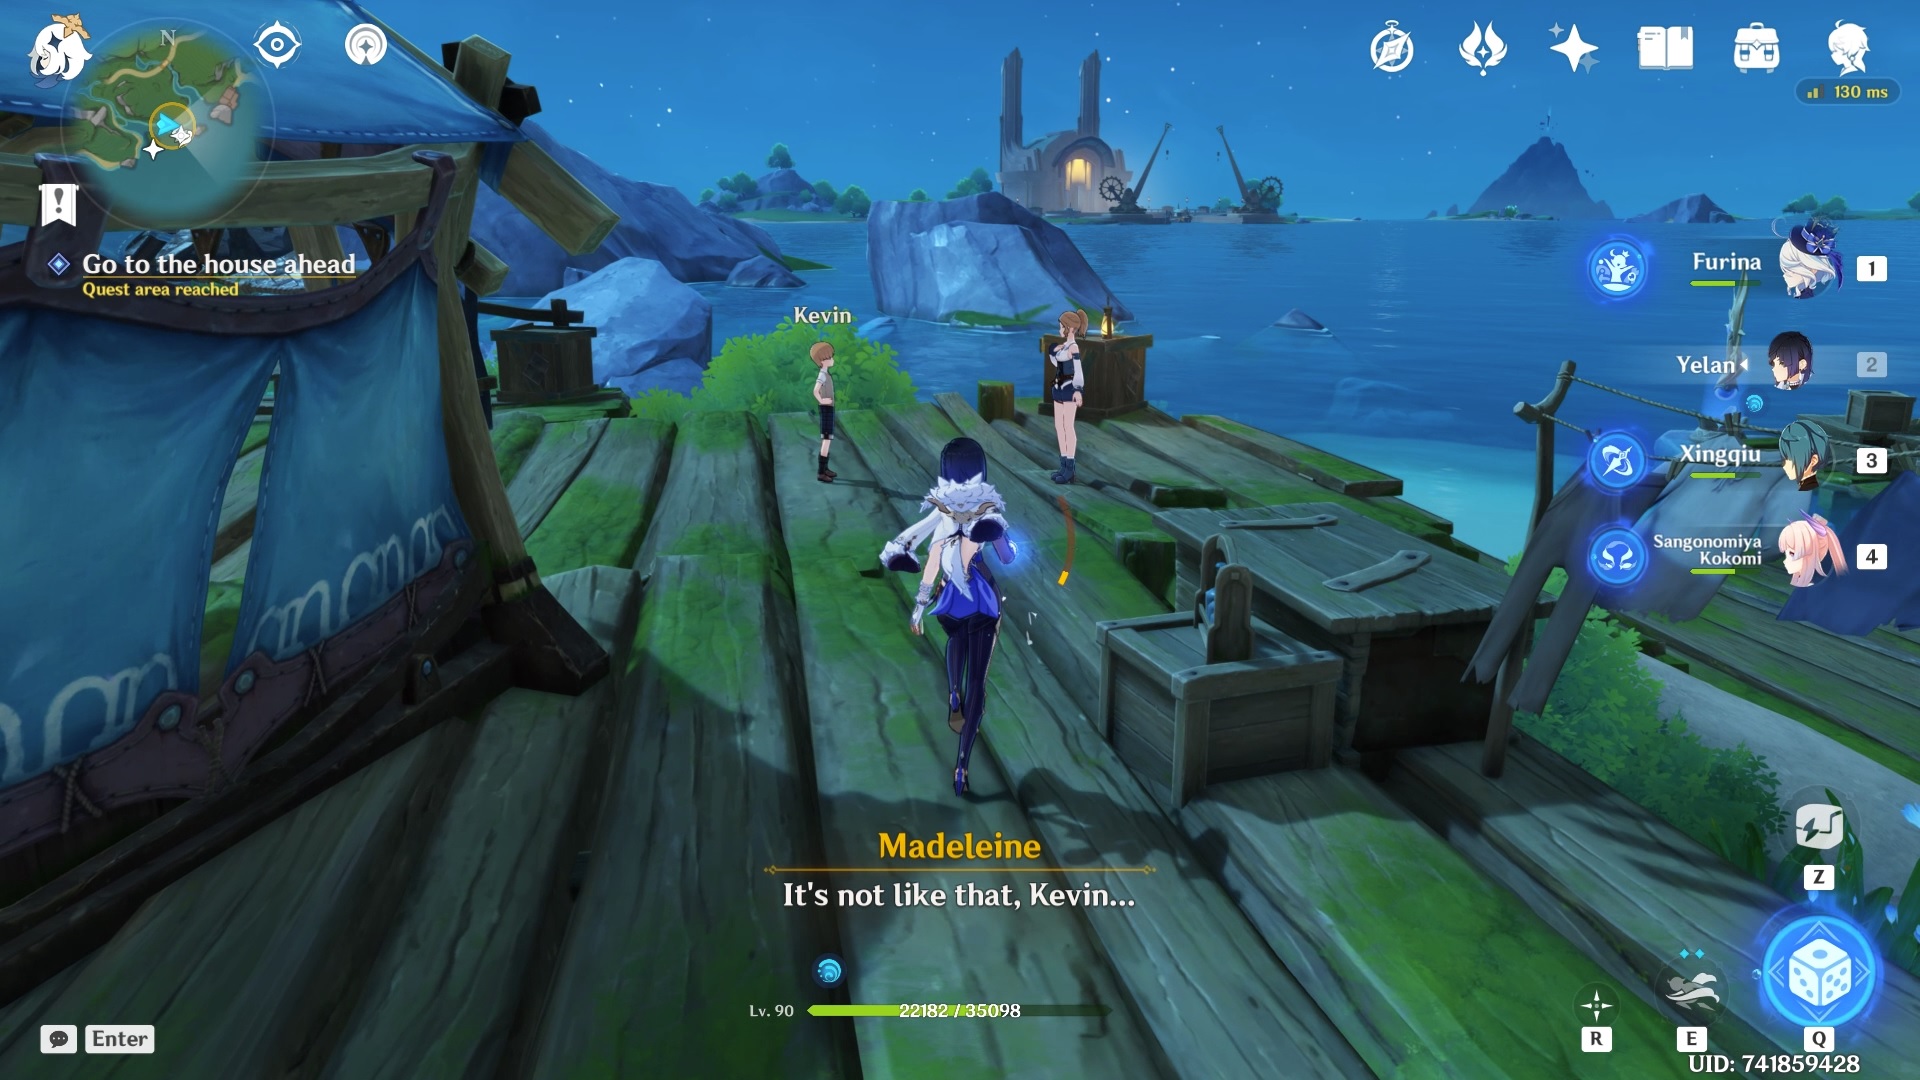
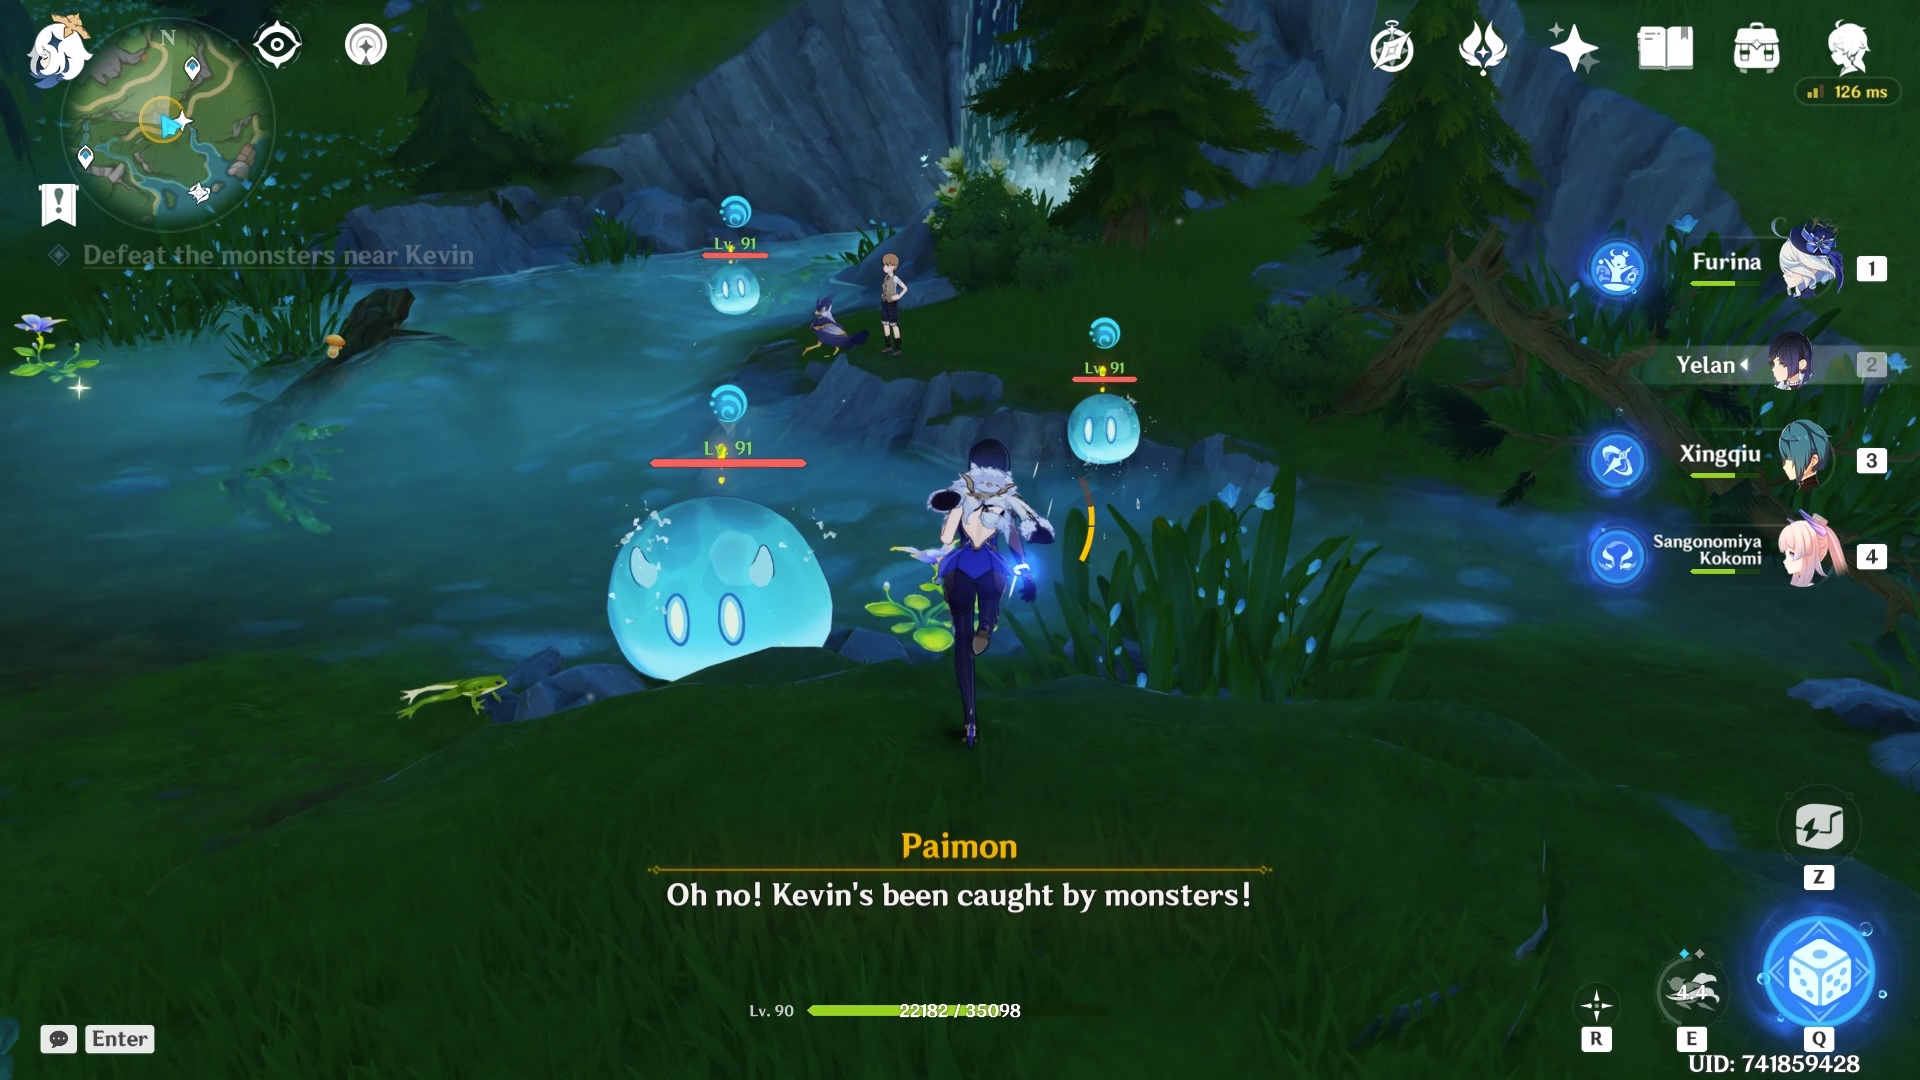
Once the cutscene ends, go to the marked location slightly away from the house to talk to Kevin and inquire about the blade. When you get to Kevin, you will find that he is surrounded by some Hydro Slimes.
After the cutscene, you are required to go to the location where Kevin threw the blade you’re looking for. Make your way to the location.
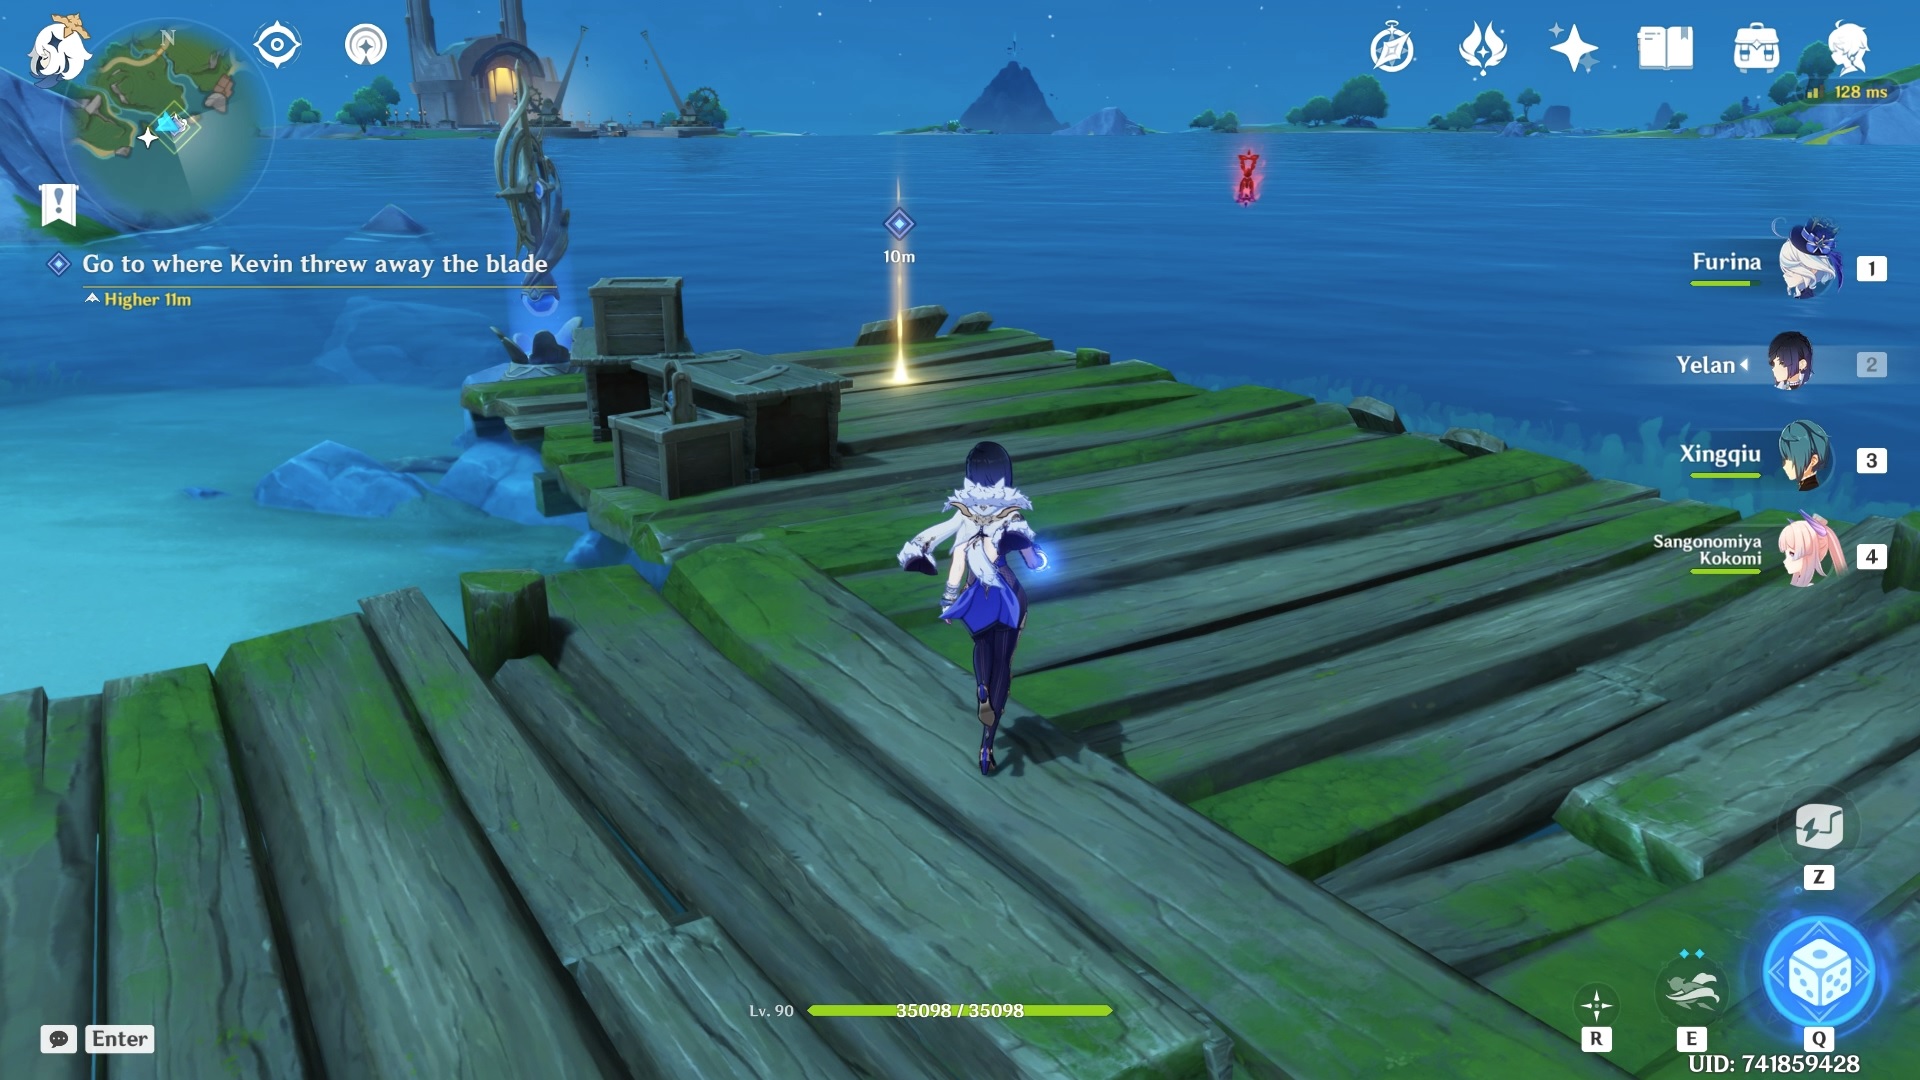
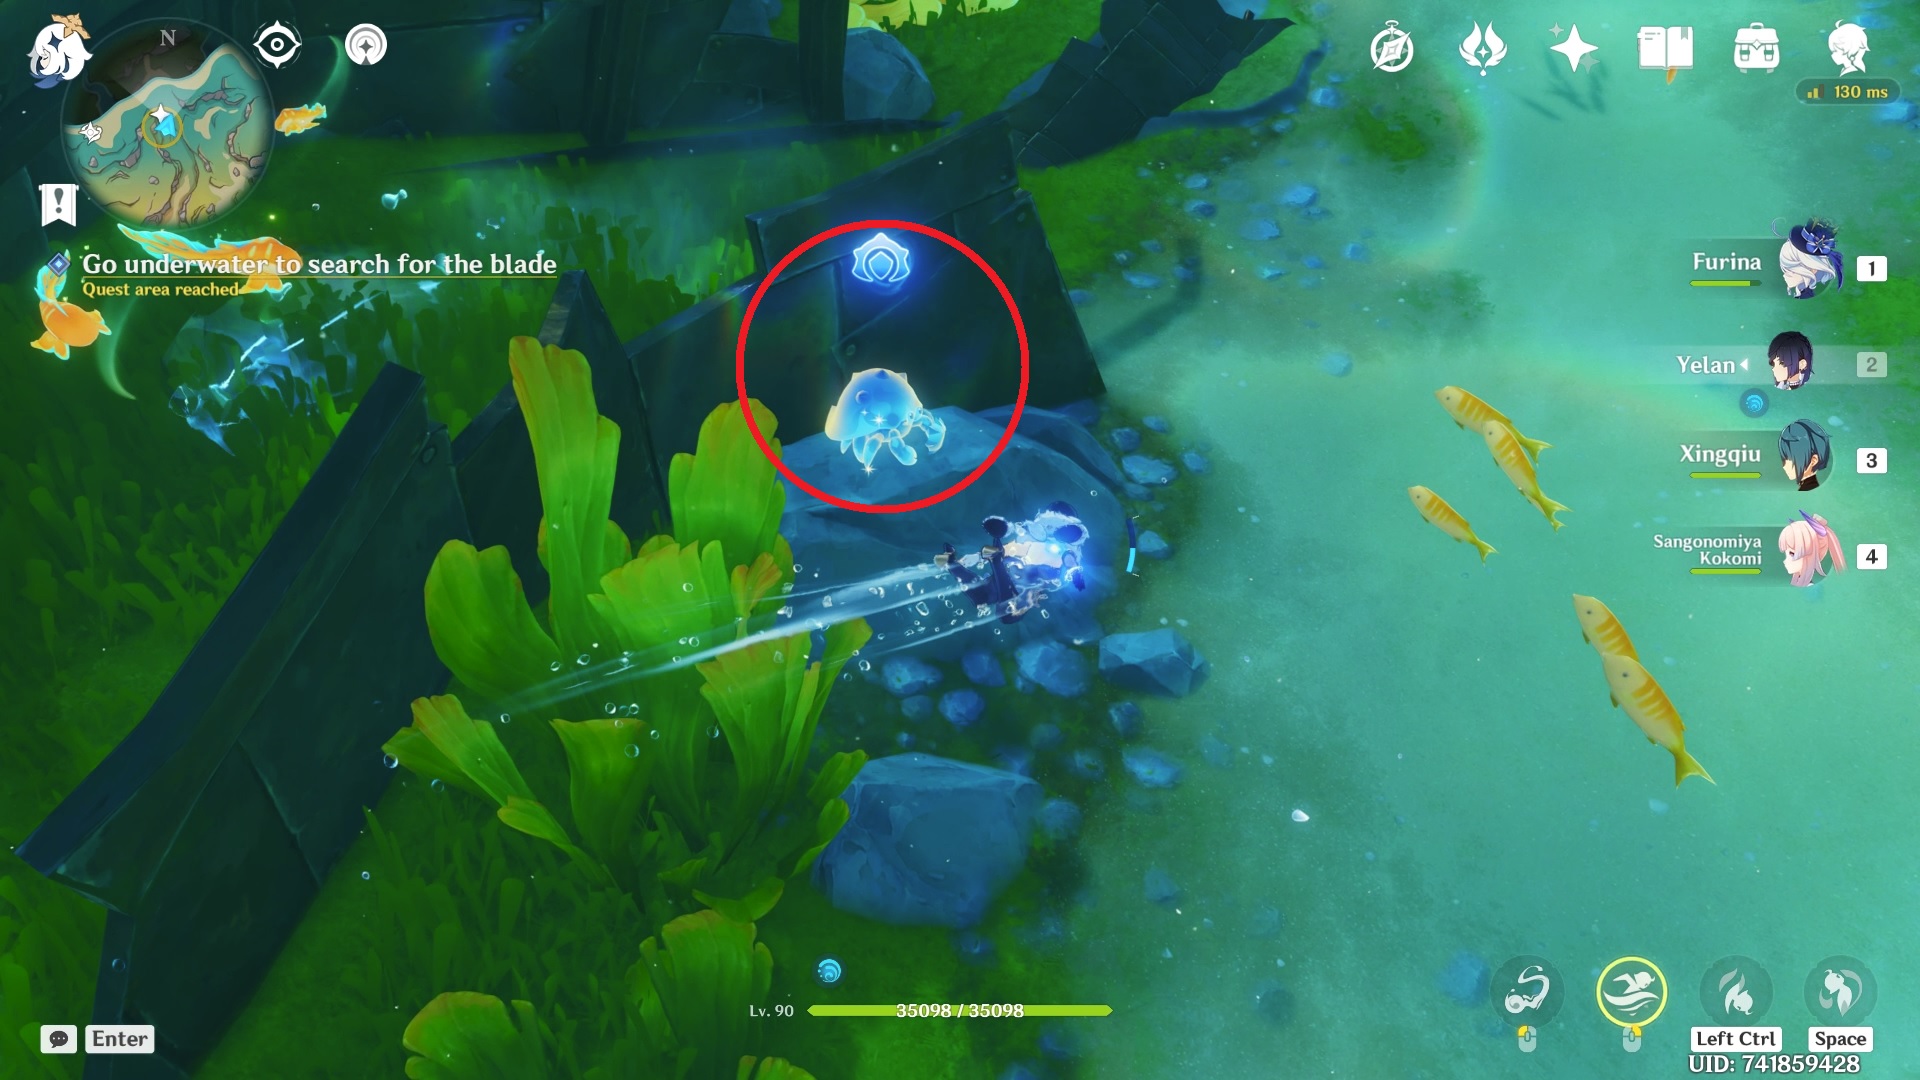
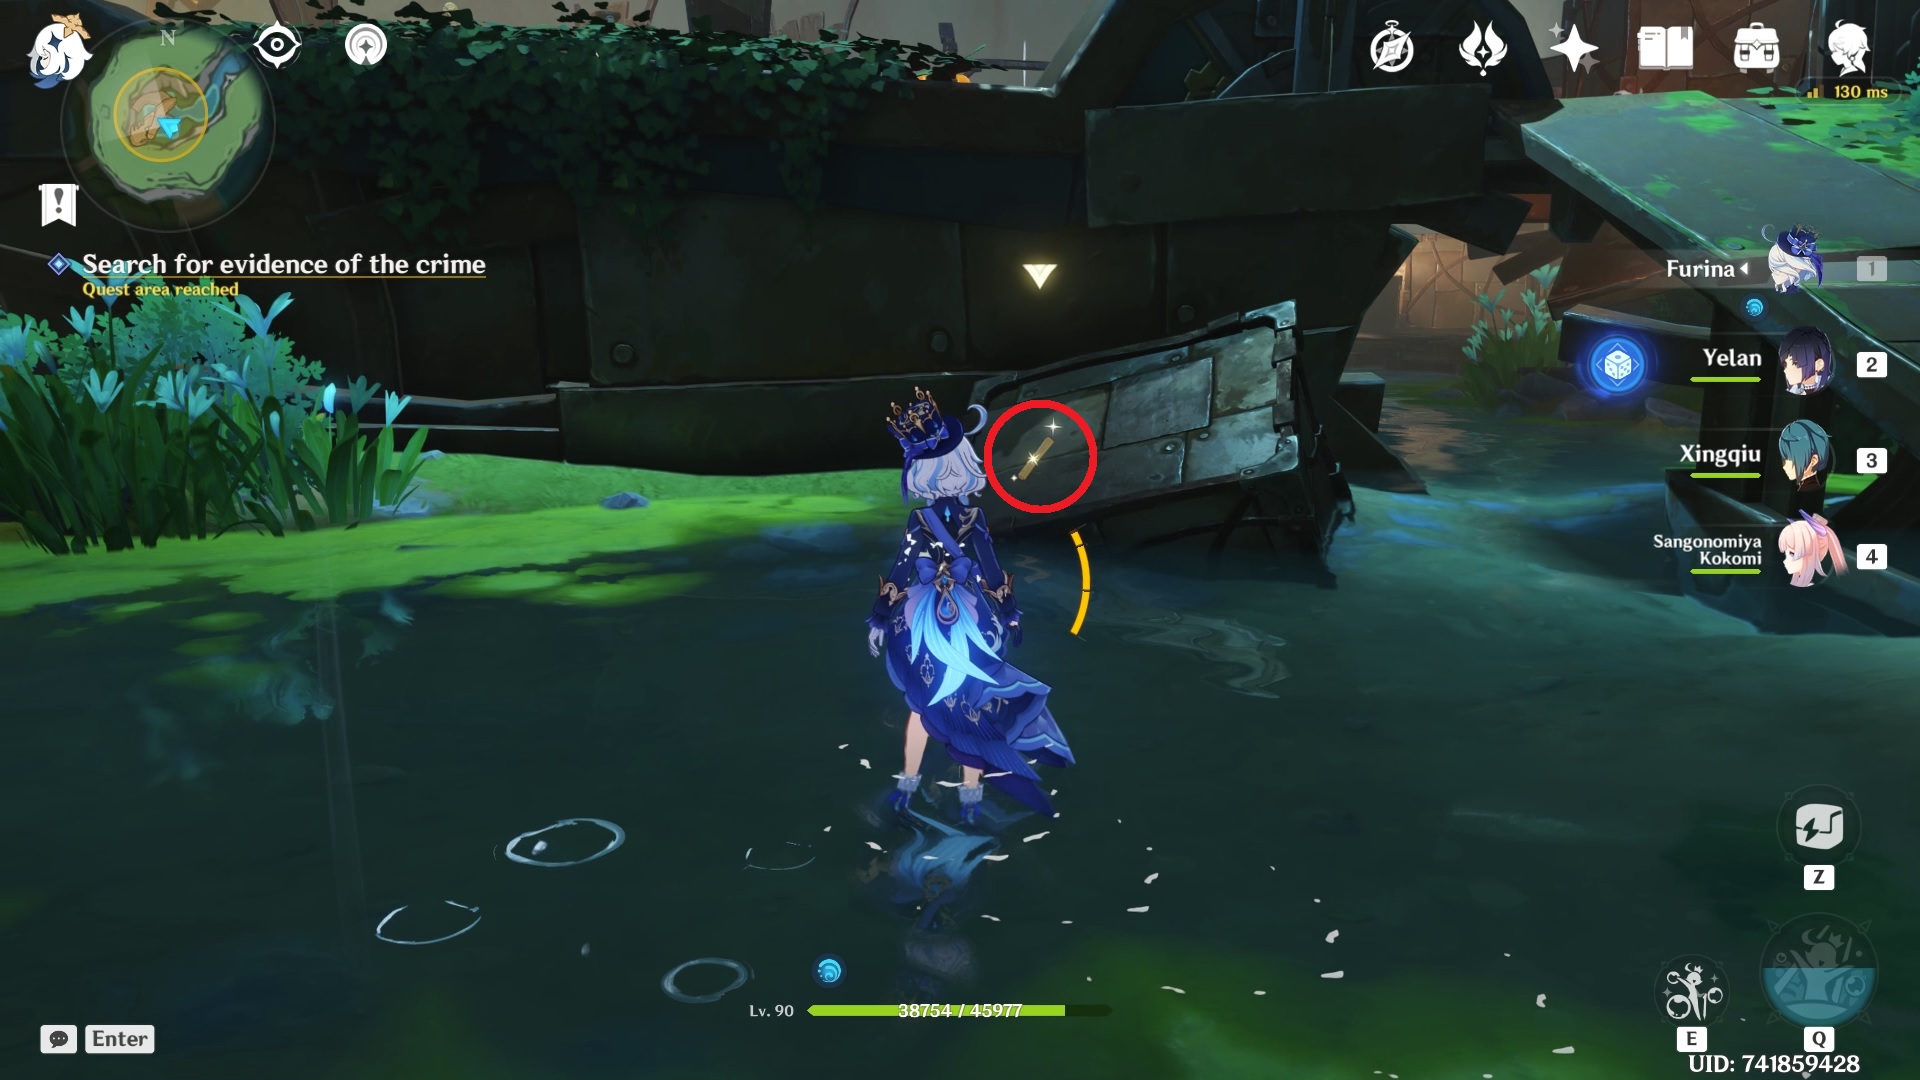
Once the cutscene ends, you need to dive underwater to find the blade. First, dive underwater and go to the marked location.
When you get to the marked location, you will find a couple of highlighted locations which you can interact with to find the blade. However, only one location is the correct one.
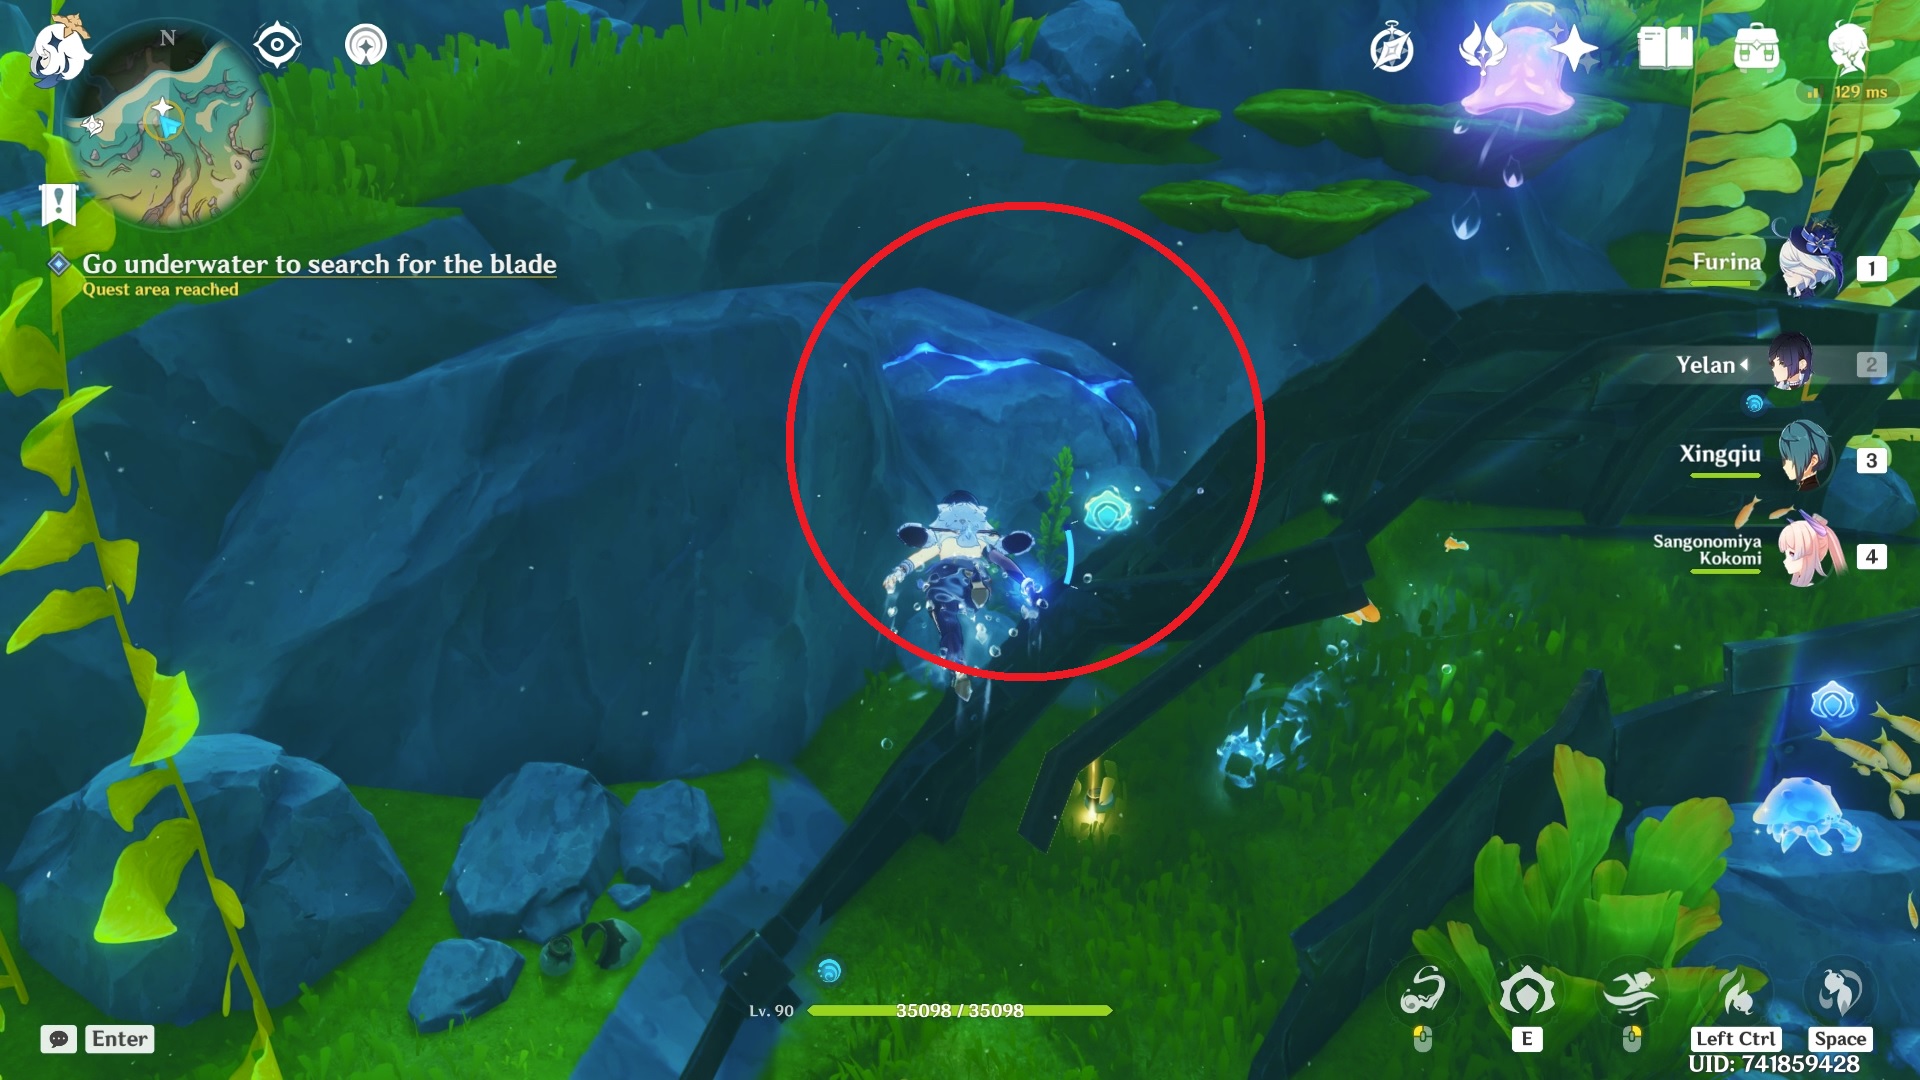
First, grab the scuttle crab ability from nearby.
After that, use the ability destroy the big boulder behind the wreckage to reveal a small underwater cave.
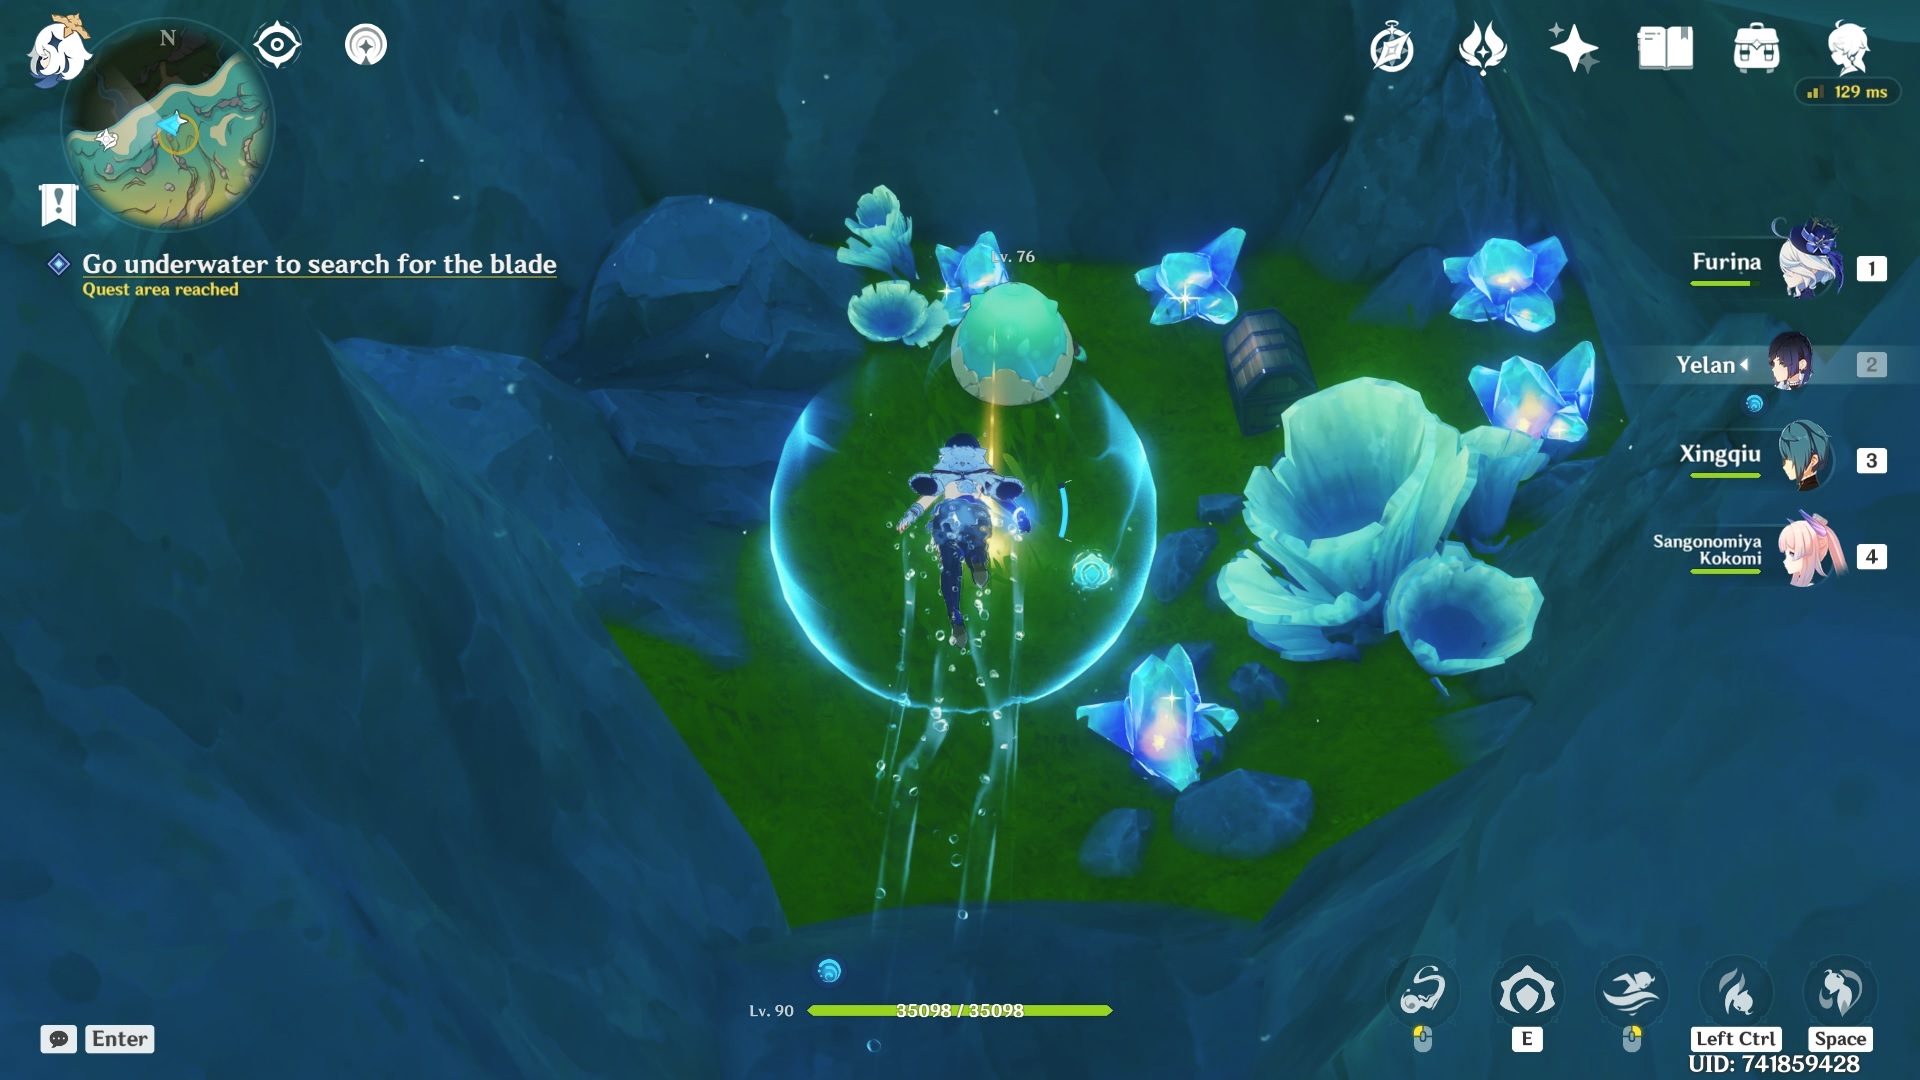
You will find some ores, an exquisite chest, and a blade (Waterstained Dinner Knife) inside this cave.

Once you’ve acquired the blade, return to Talochard on the shore. This is where you will get your final cutscene for Act 1.
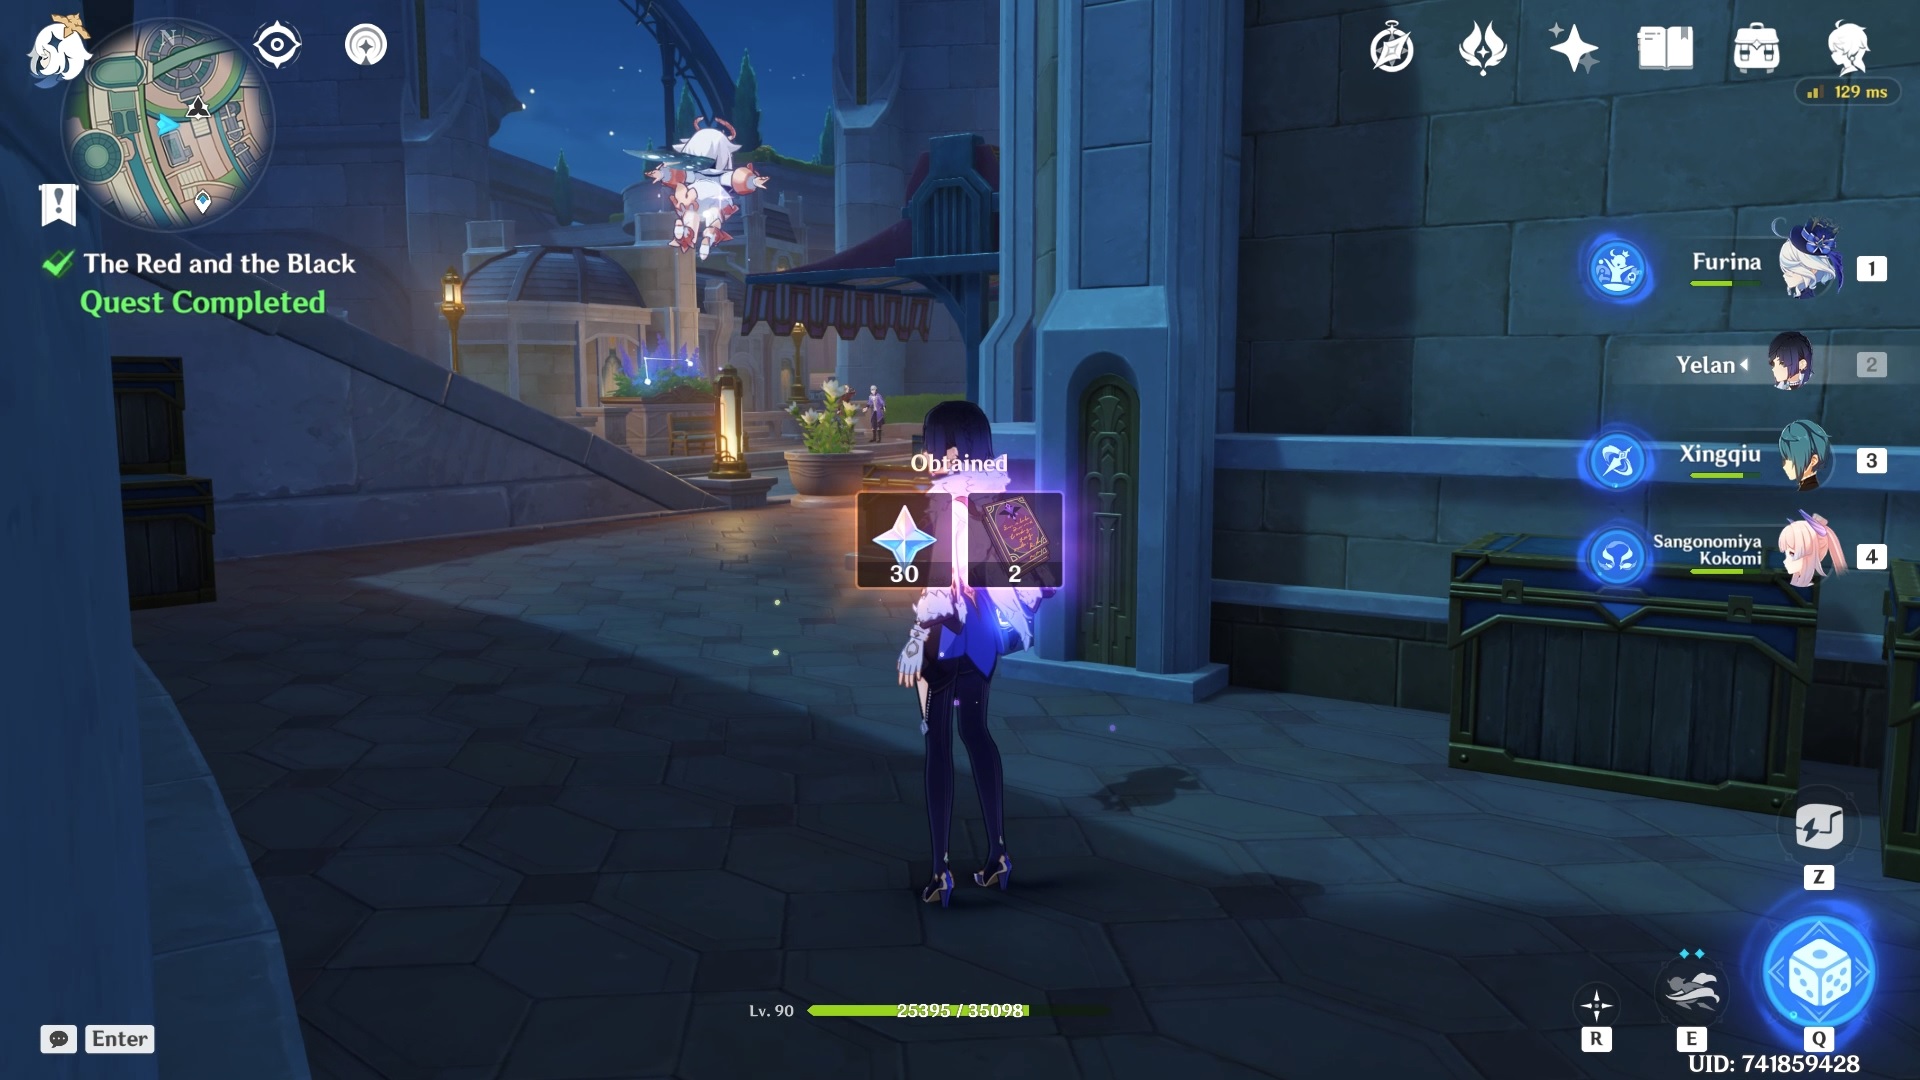
Act 2 – The Red and The Black
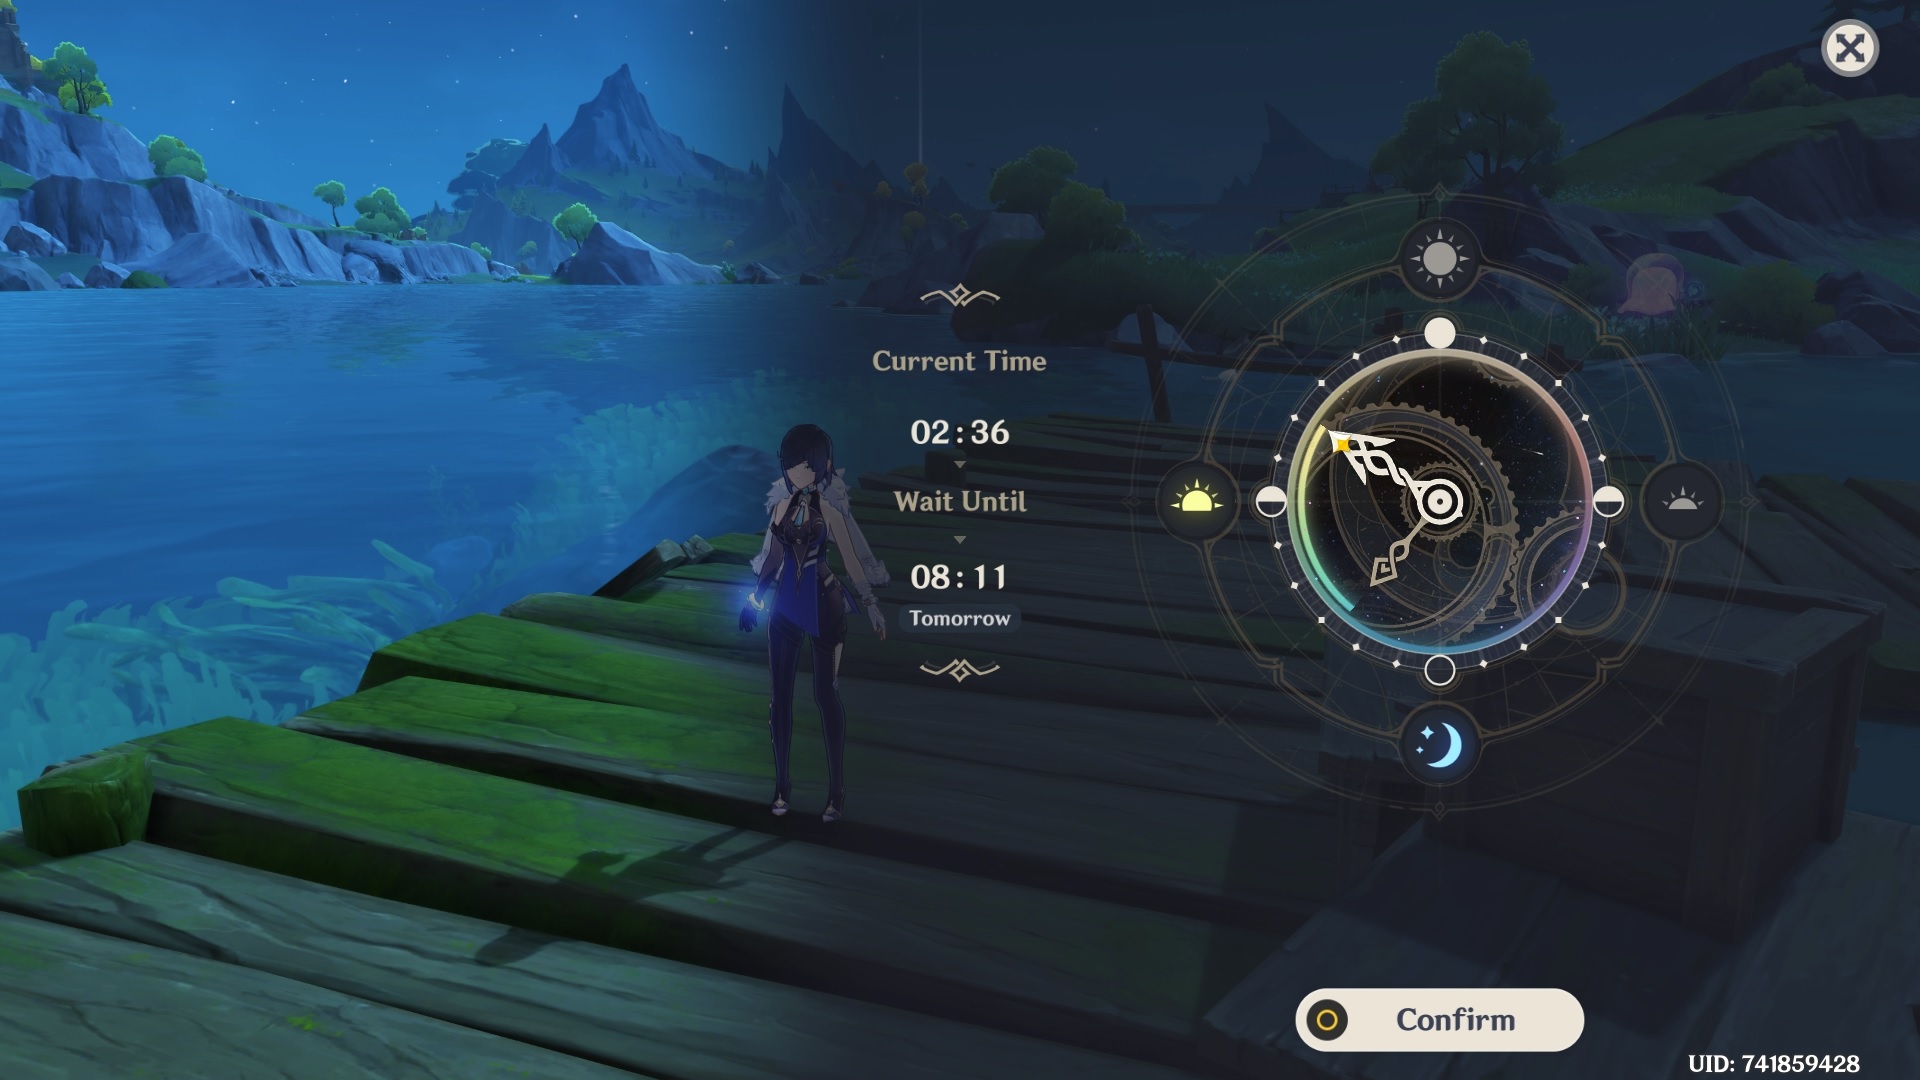
After the completion of Act 1, if it isn’t morning already, you need to fast forward time until 8:00 AM the following morning.
Once you’ve forwarded the time, you need to go to Palais Mermonia to meet with Talochard in the Court of Fontaine.

Speak to Talochard after which your Waterstained Dinner Knife will be updated with some new information.
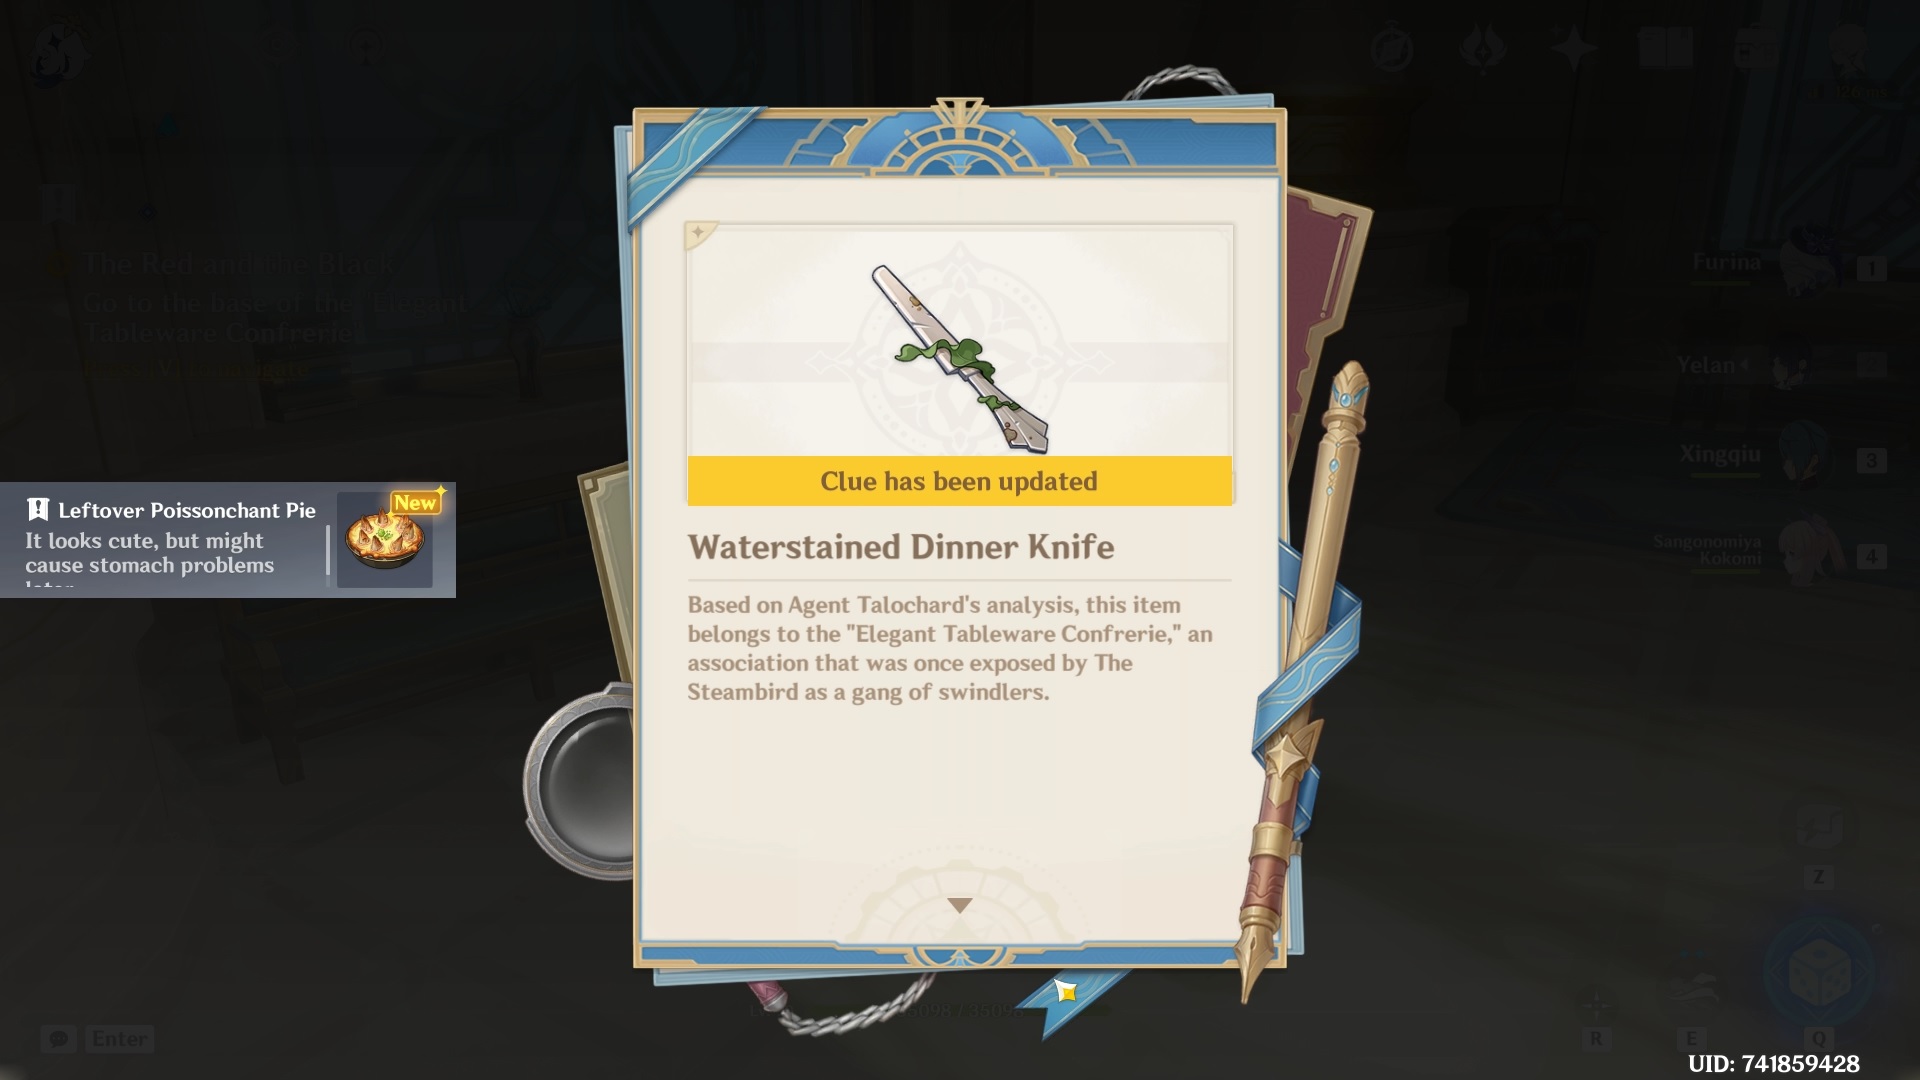
Next, you must head to the secret base where Talochard believes this Waterstained Dinner Knife originally came from.

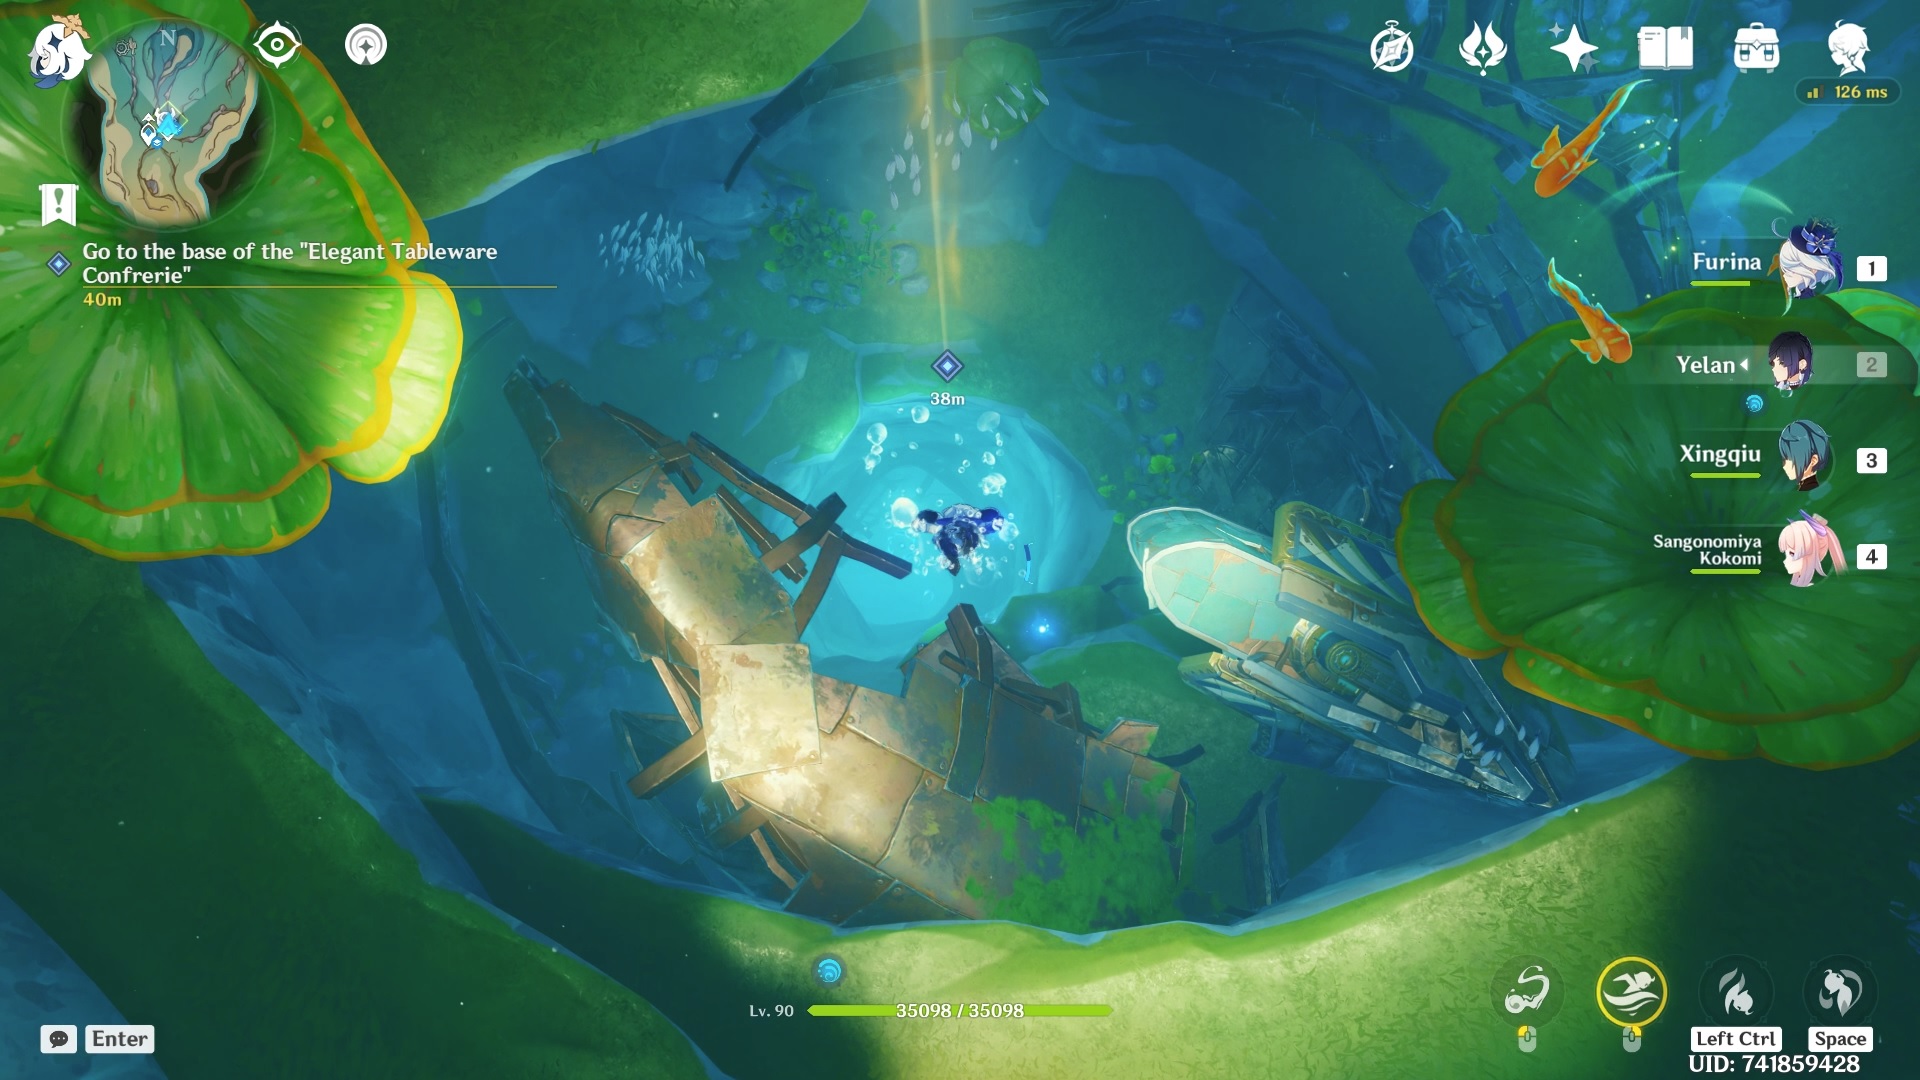
Keep swimming towards the quest marker deep underwater until you see a water teleporter.
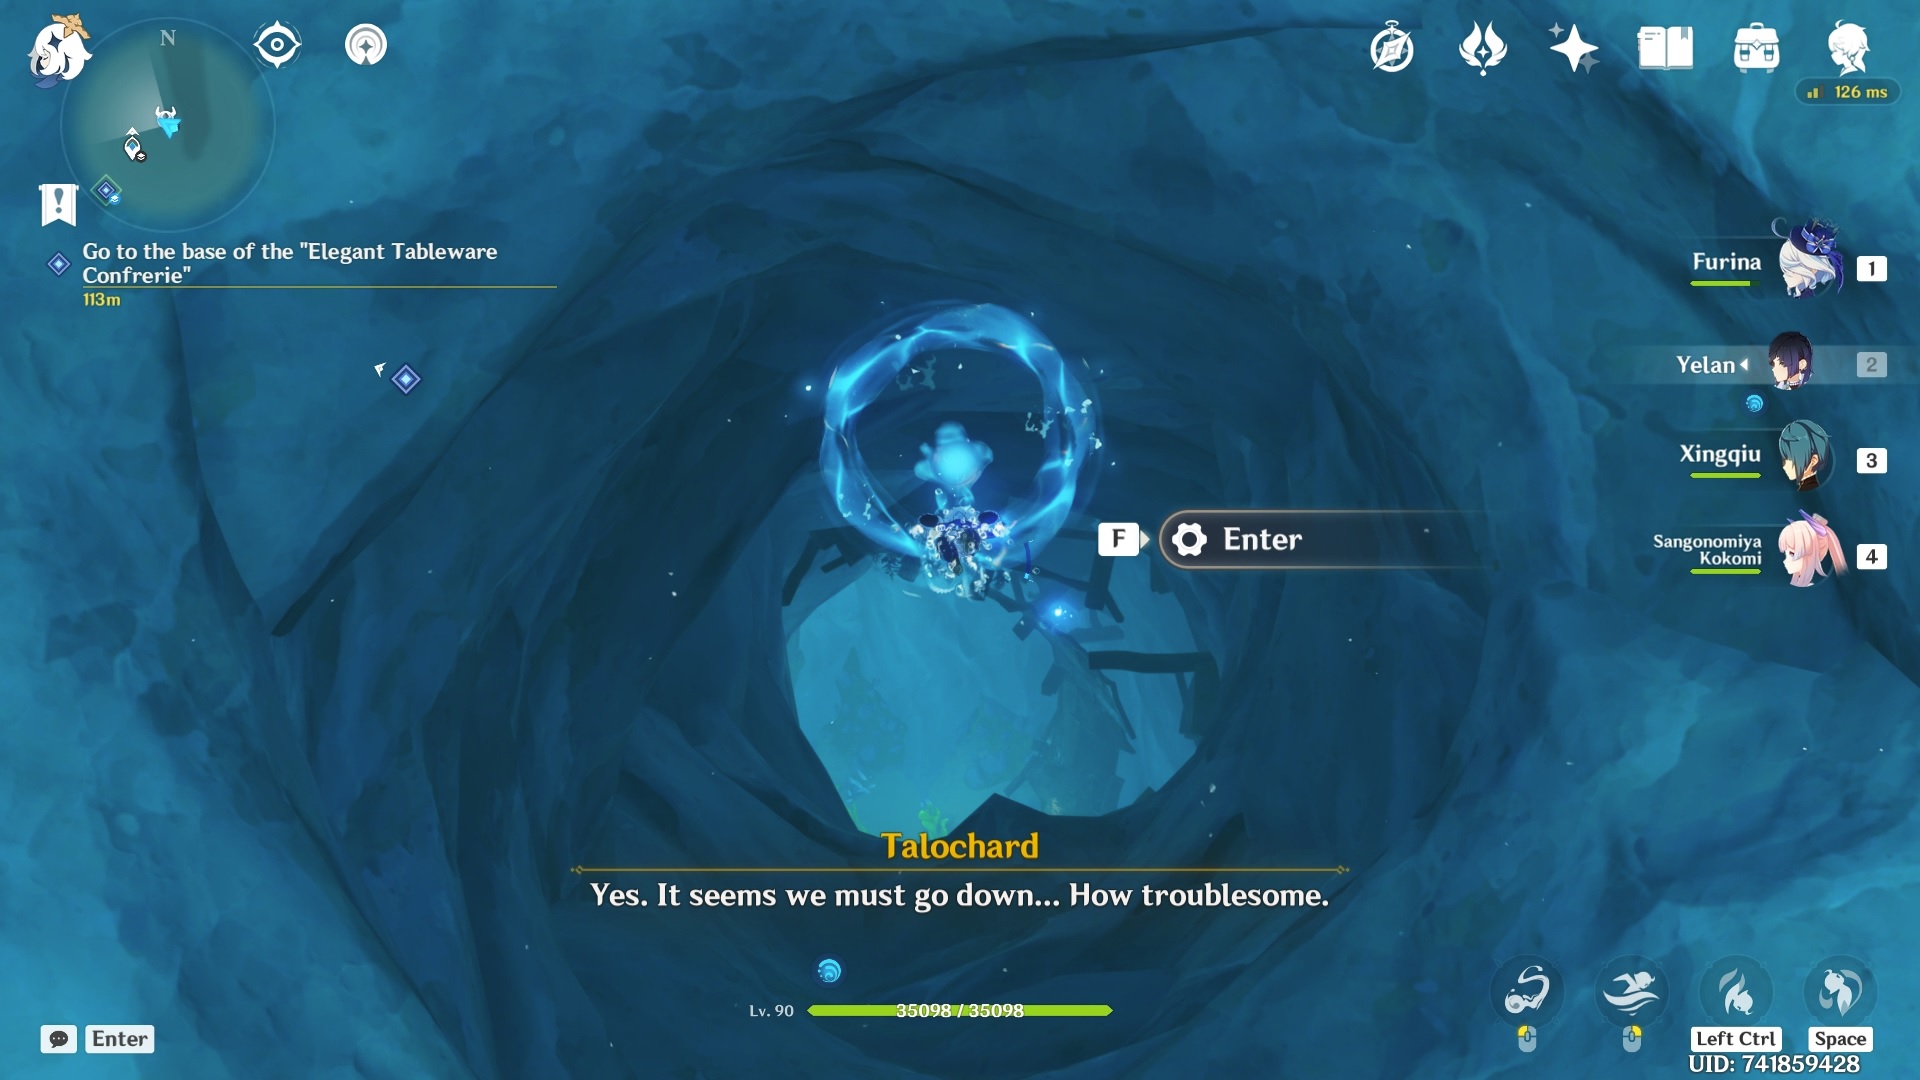
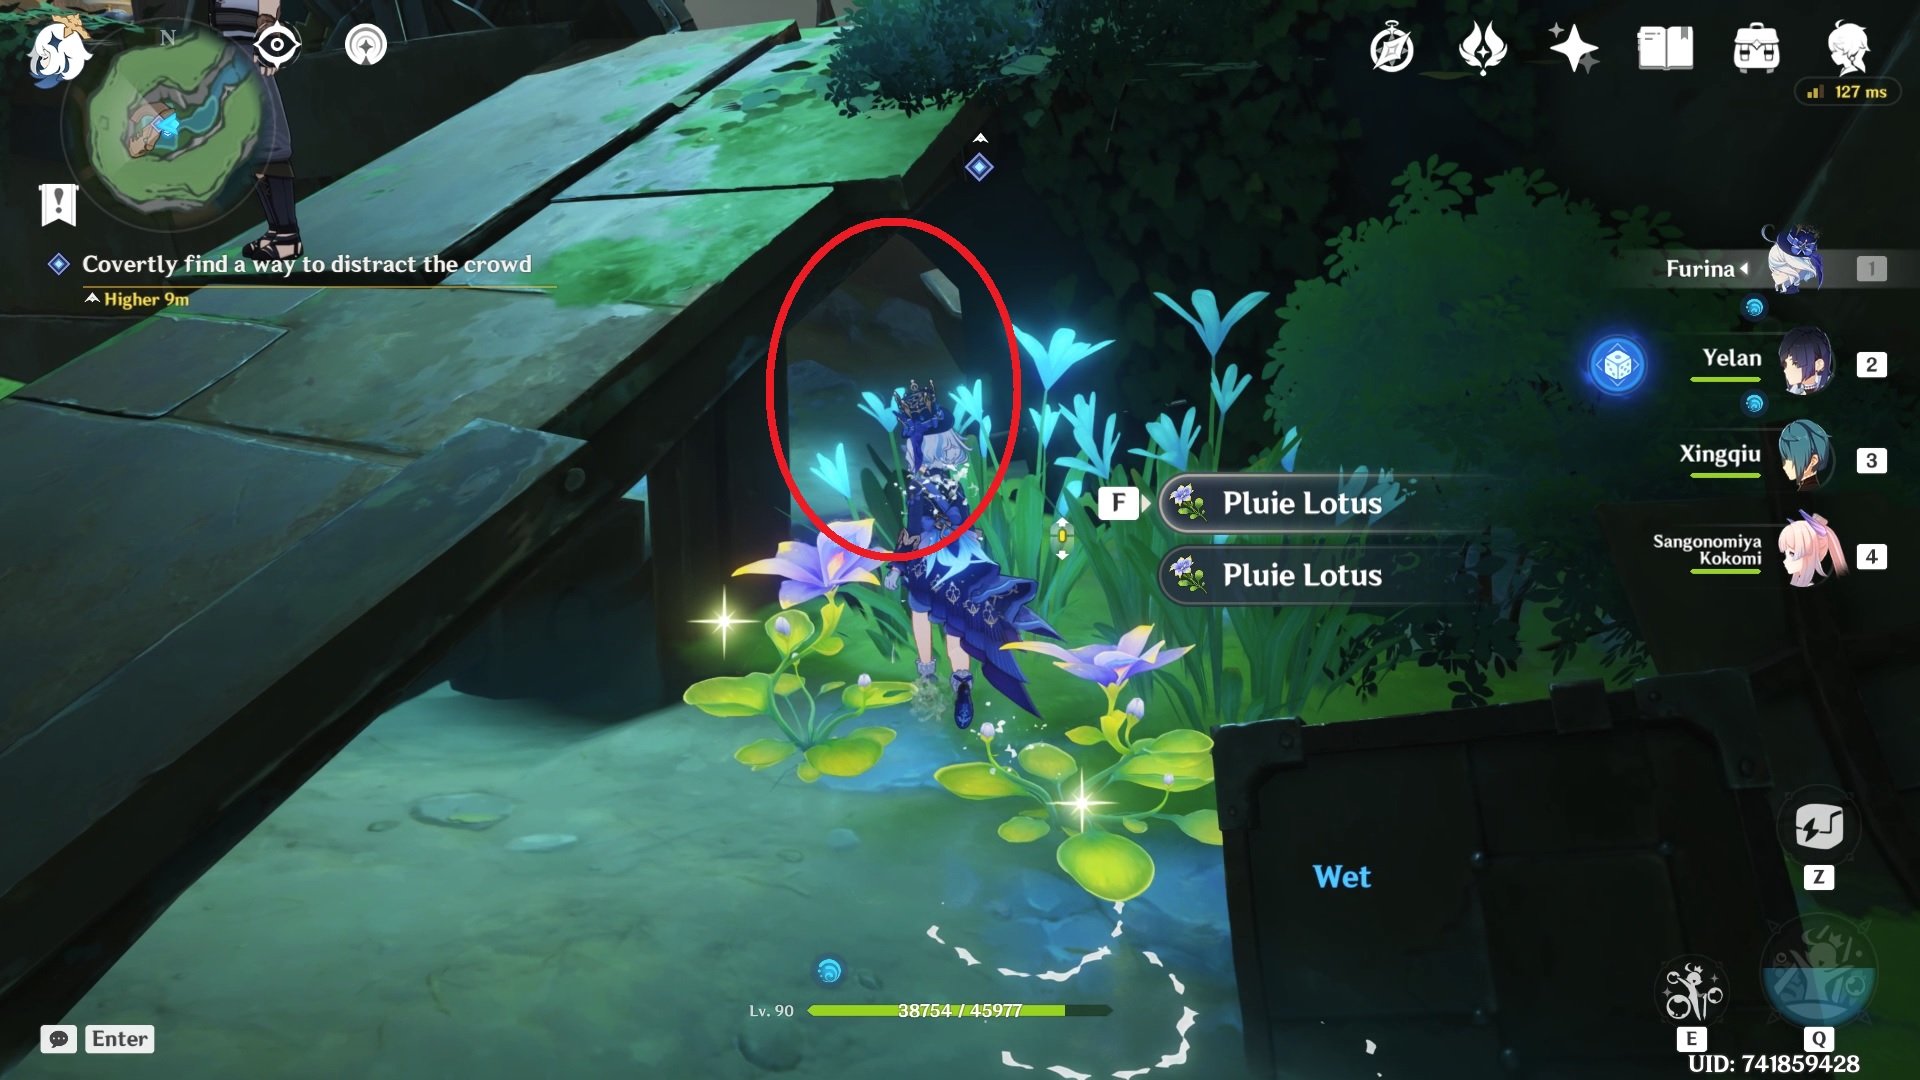
When you get to the base, you will get another cutscene. Once it ends, you need to sneak past the guards to spike their food so that they are distracted.
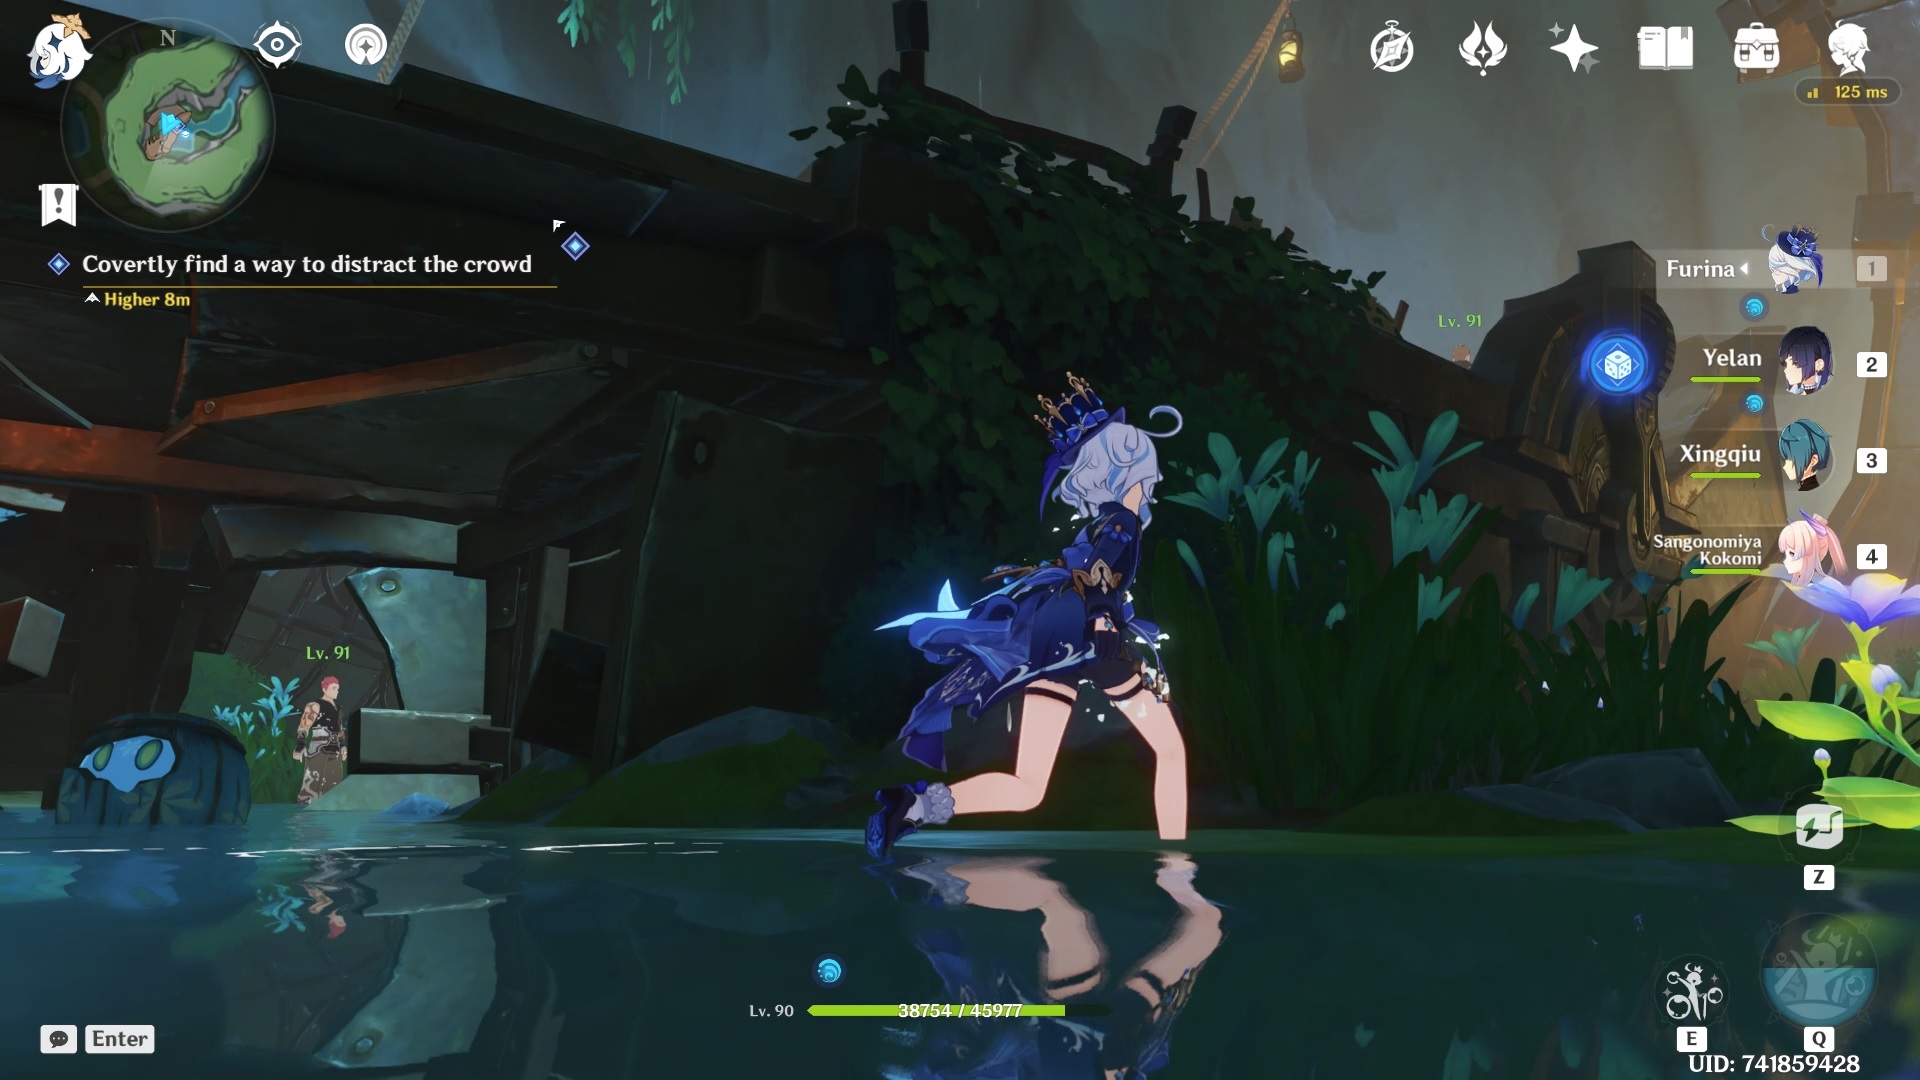
Take this route. First, go on the right side by going under and through the boarding platform of the wrecked ship.
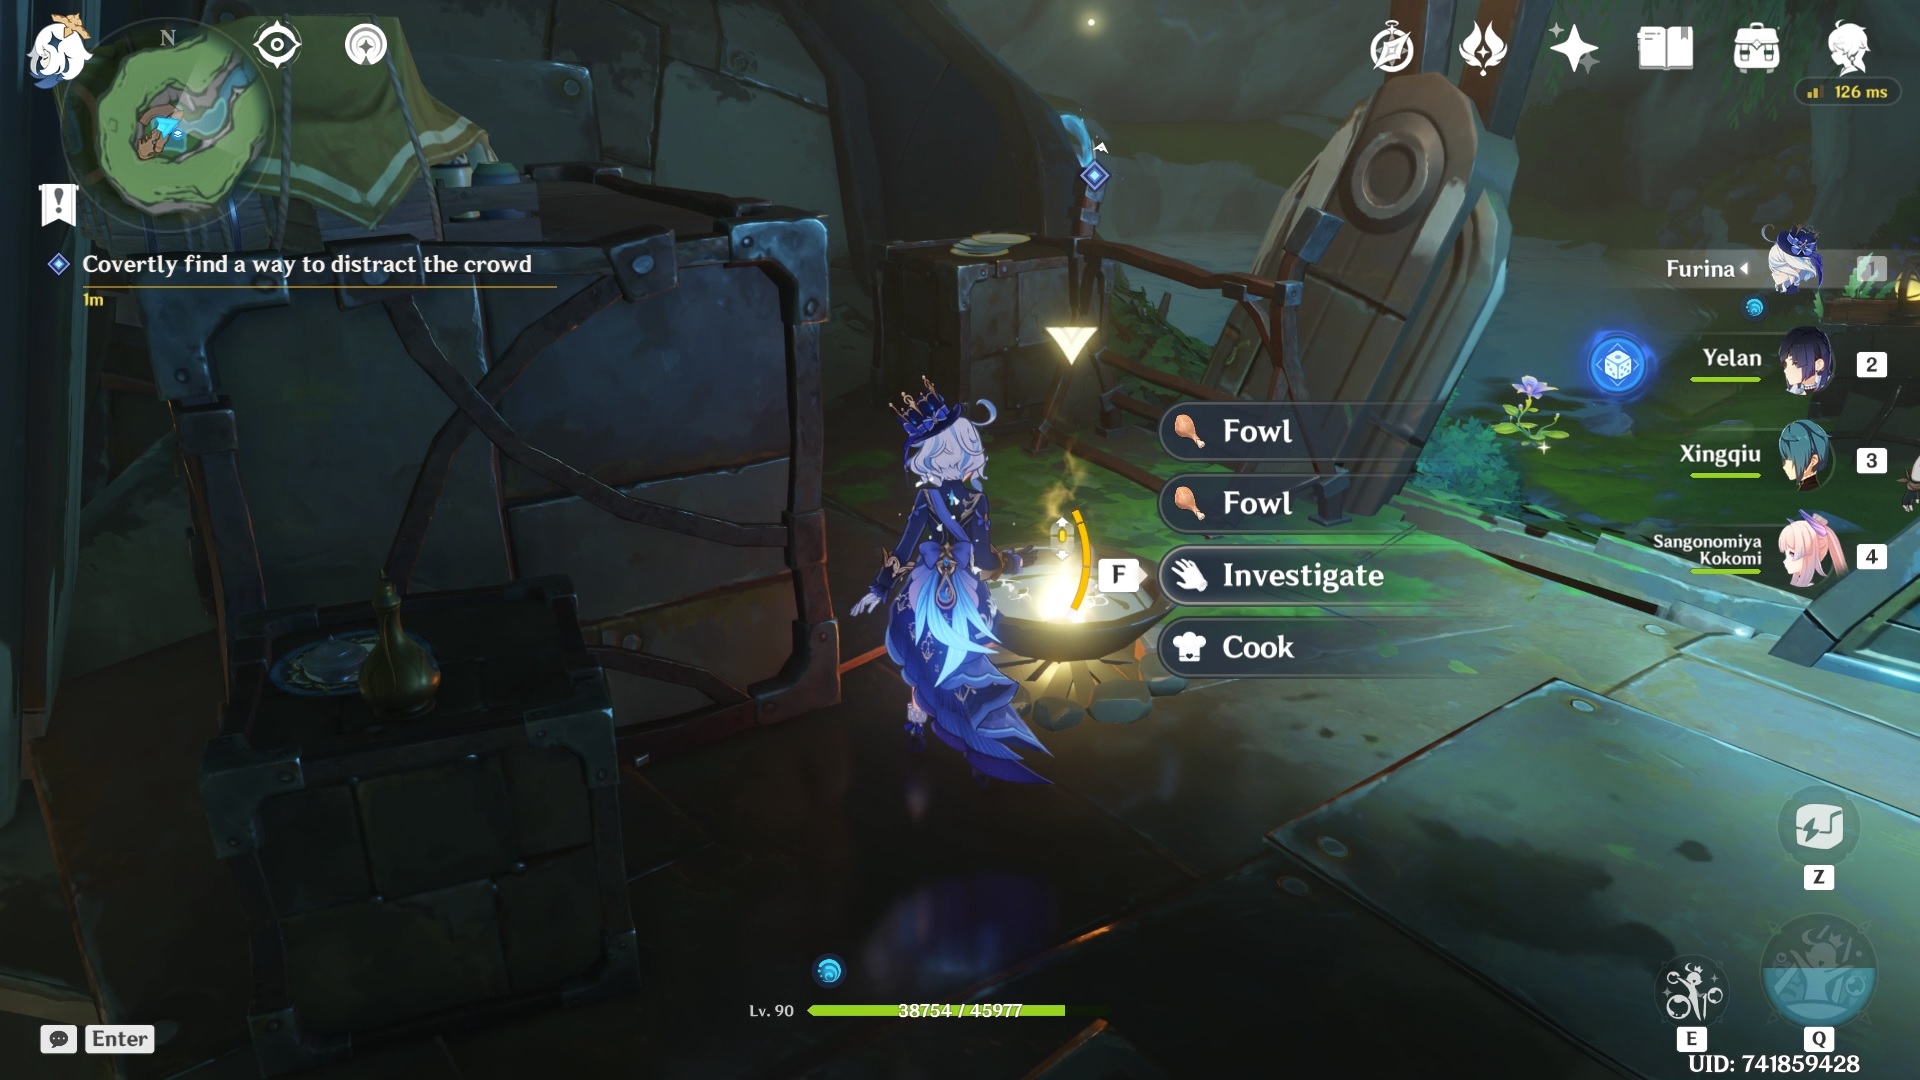
Once you’re through, look back up to the wrecked ship and climb onto it.
Now, you will find a cooking pot.
Once the area is clear of the guards, you need to find three key pieces of evidence around the area.
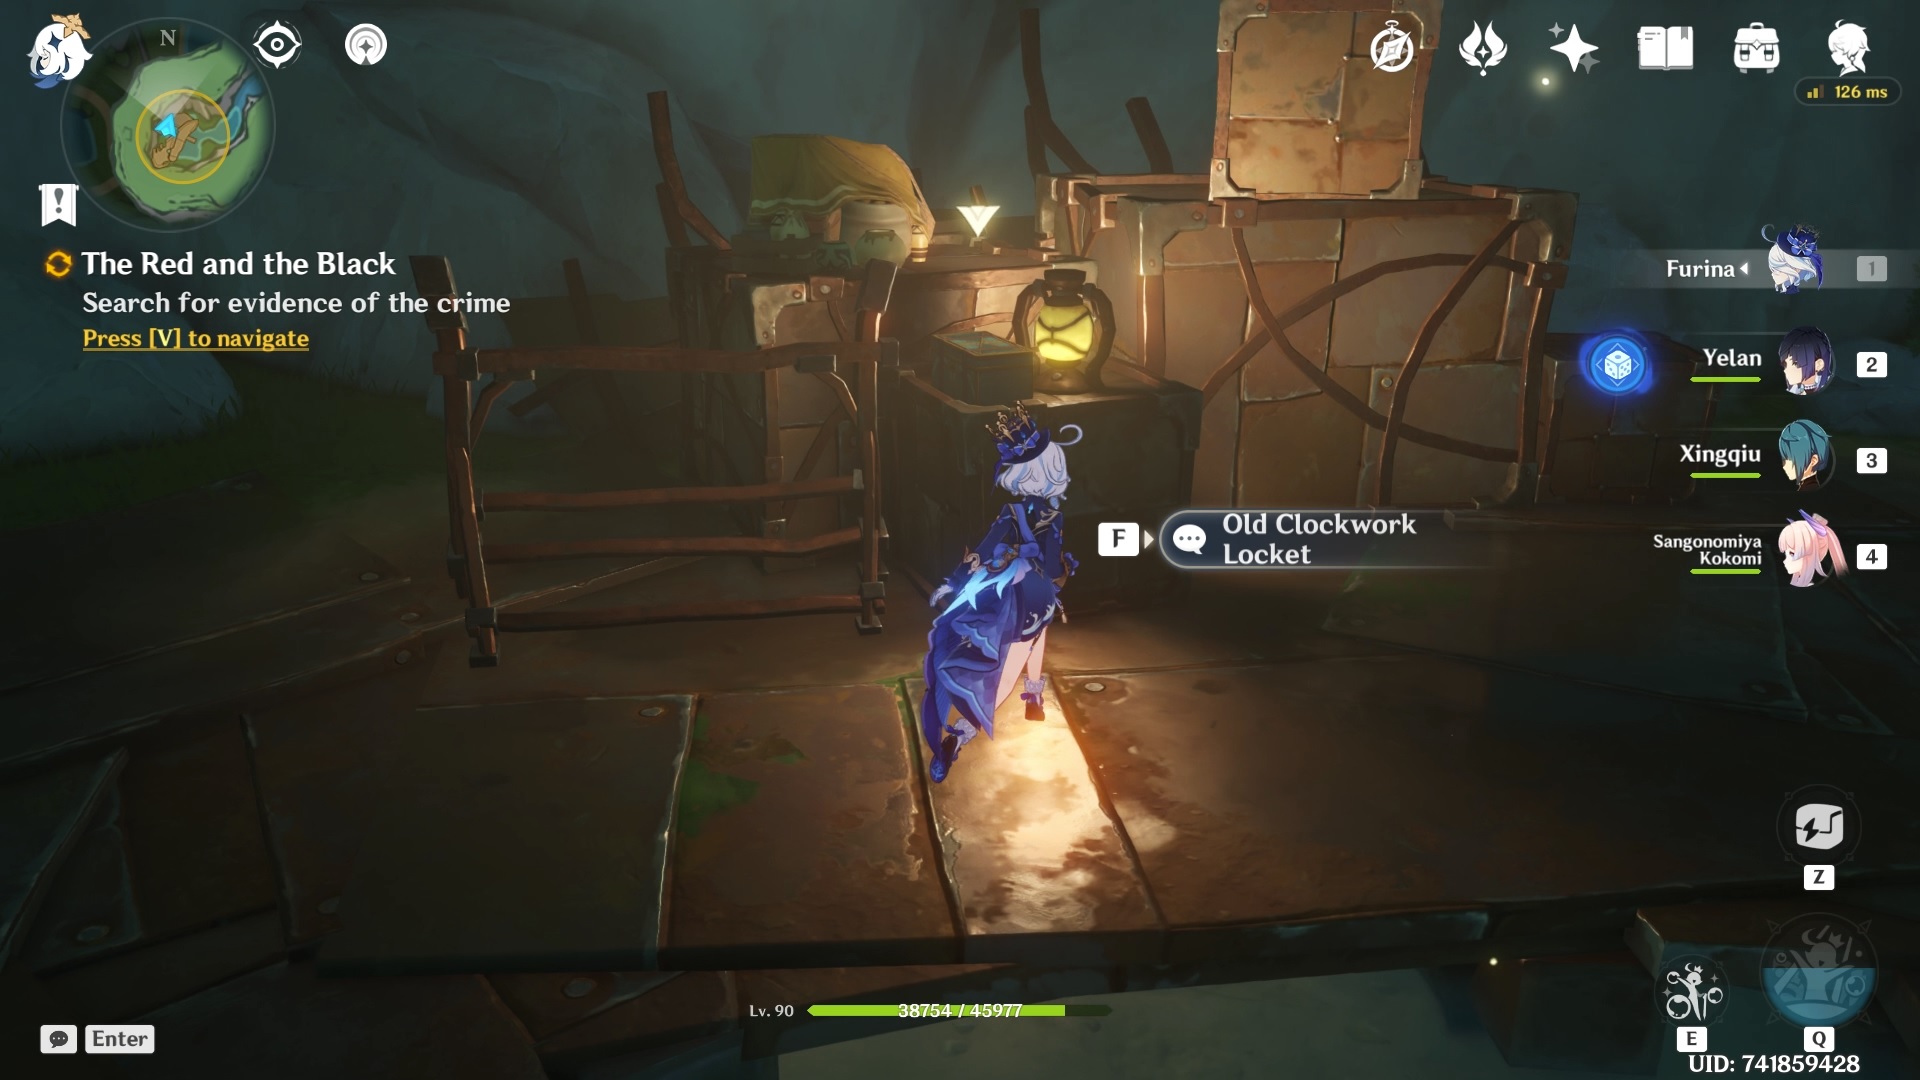
Evidence 1
The first evidence is the Old Clockwork Locket in a small green box resting on a metallic box by other boxes slightly north of the wrecked ship.
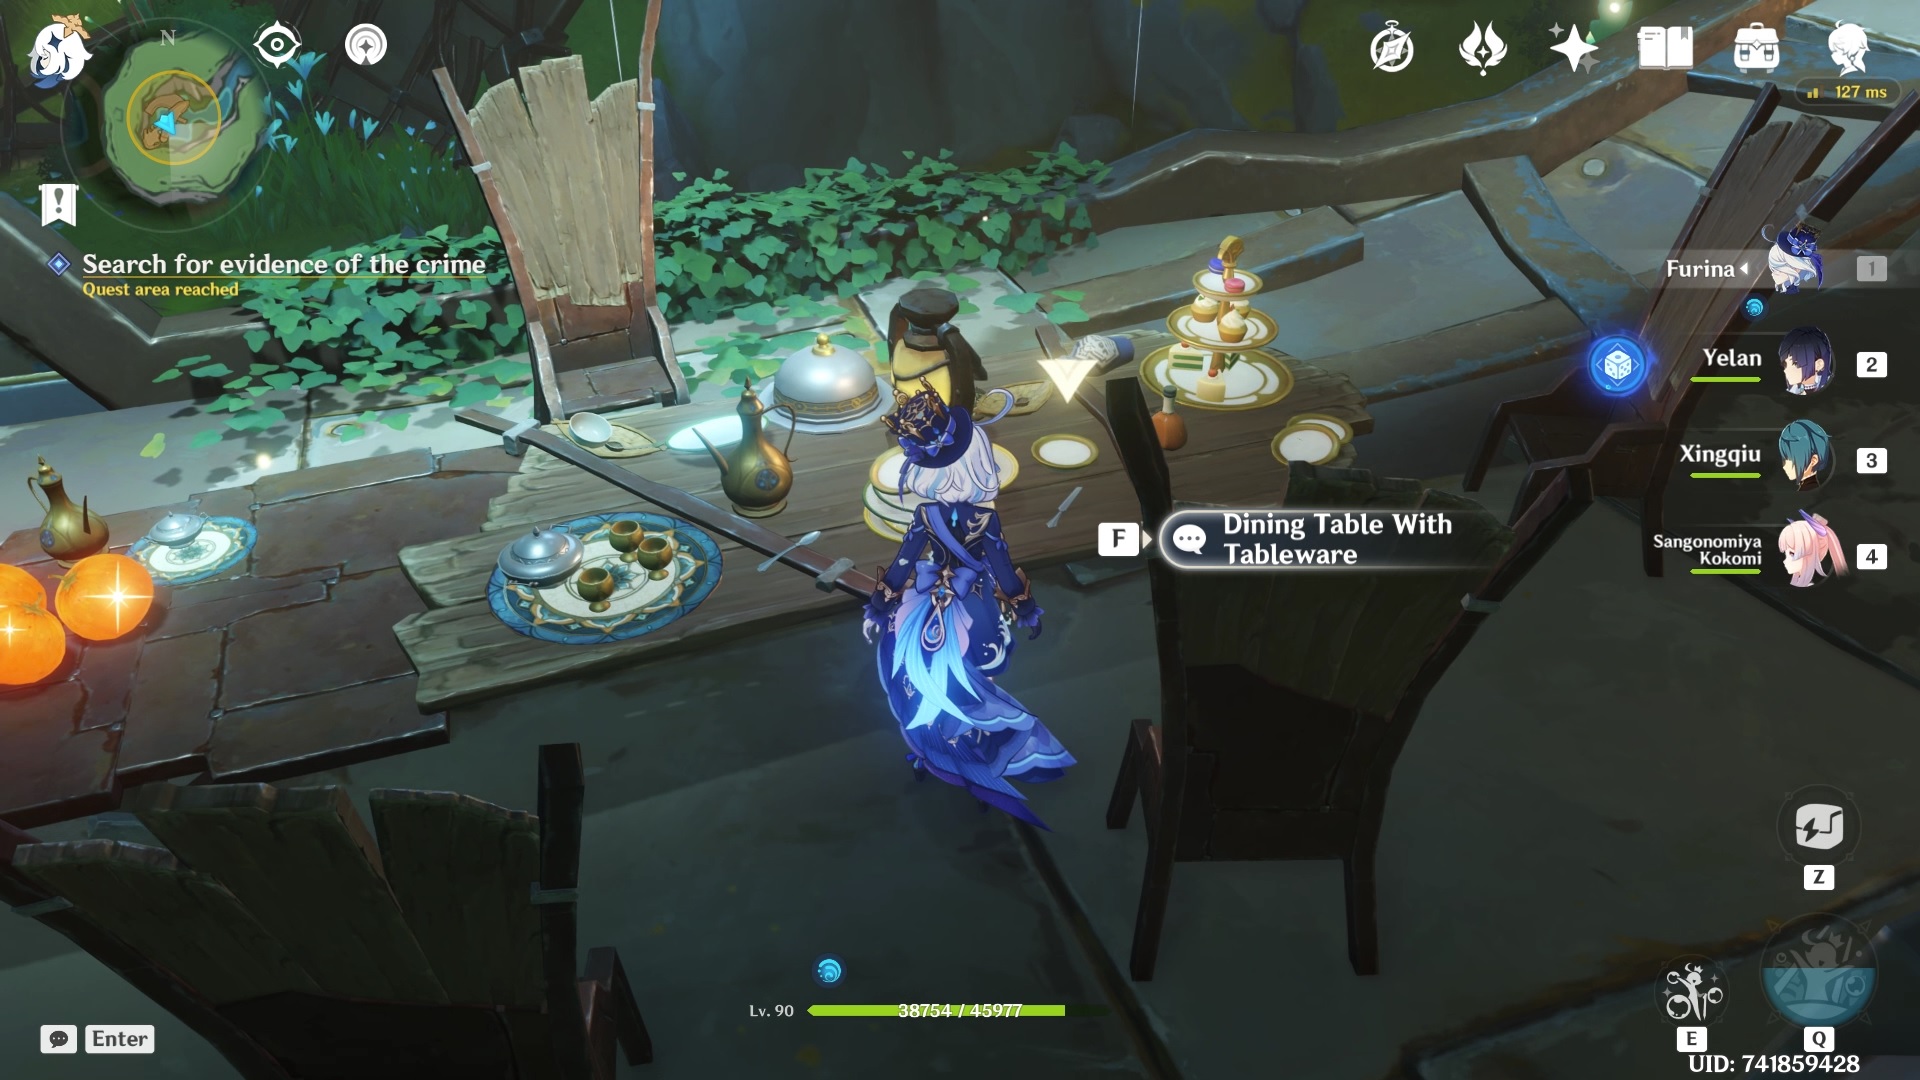
Evidence 2
The second evidence is on the wrecked ship. Get back on the ship, and you will find the second item on the dining table with tableware.
Evidence 3
And the final evidence is a Diary of a Valiant Struggle, which is a scroll on the left side of the boarding platform.
Once you’ve acquired all three items, a cutscene will play. In the middle of the conversation with the treasure hoarders, you will be asked to provide a solid evidence.
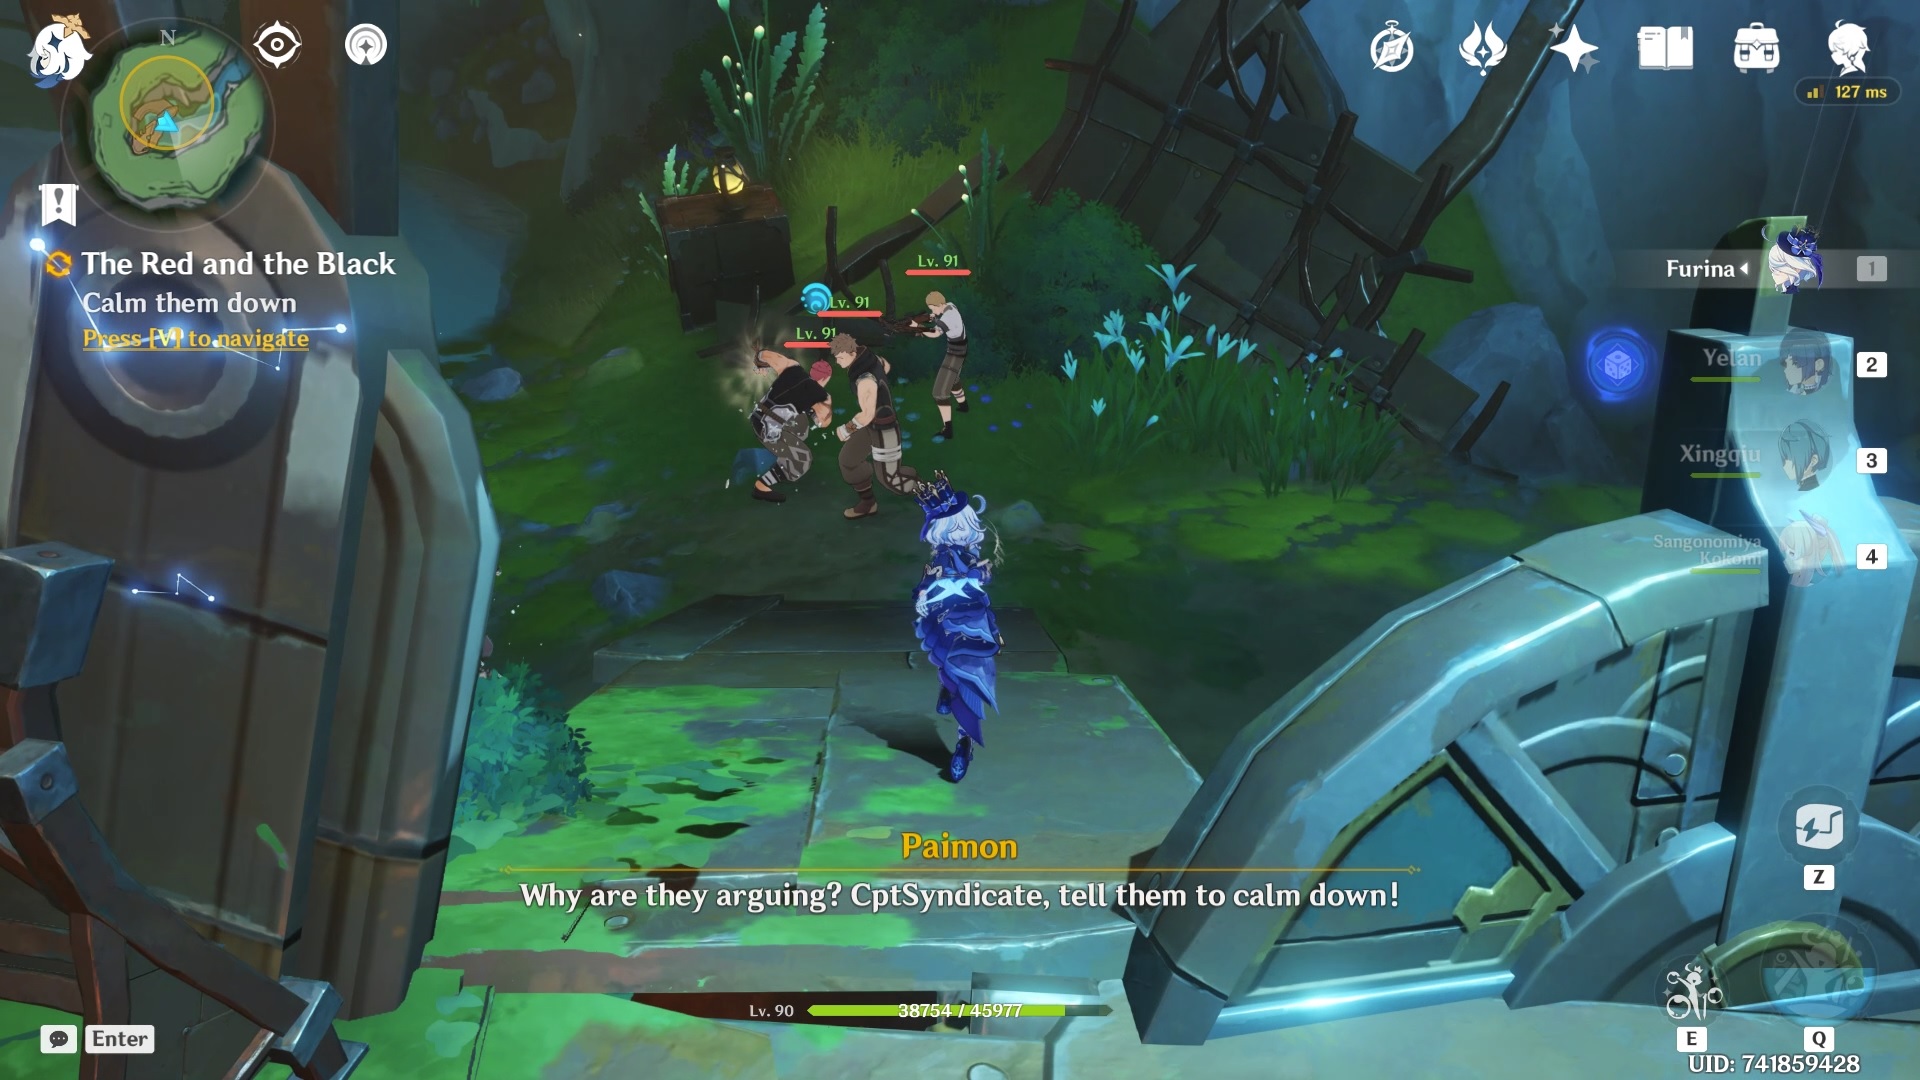
After that, the treasure hoarders will start fighting among themselves.
Once stopped, you will get another cutscene, after which you will automatically be teleported to Fleuve Cendre.
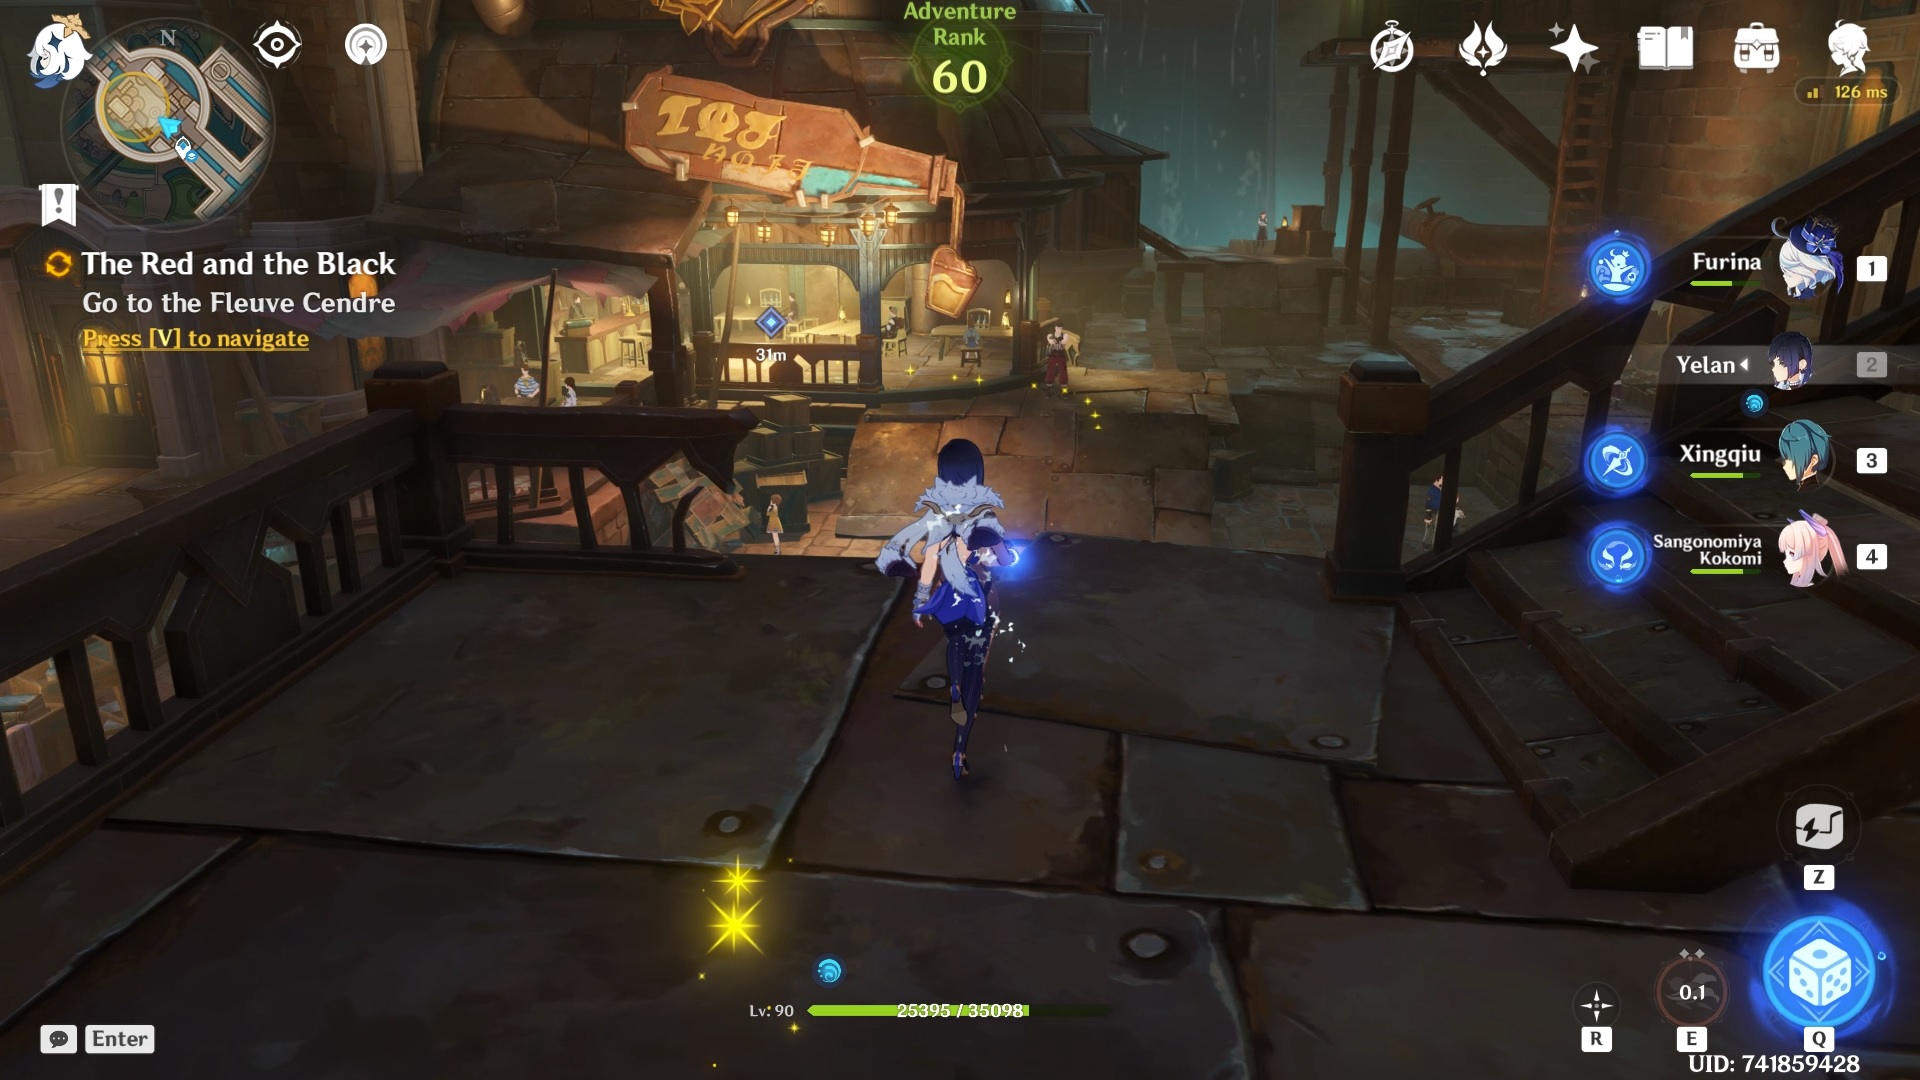
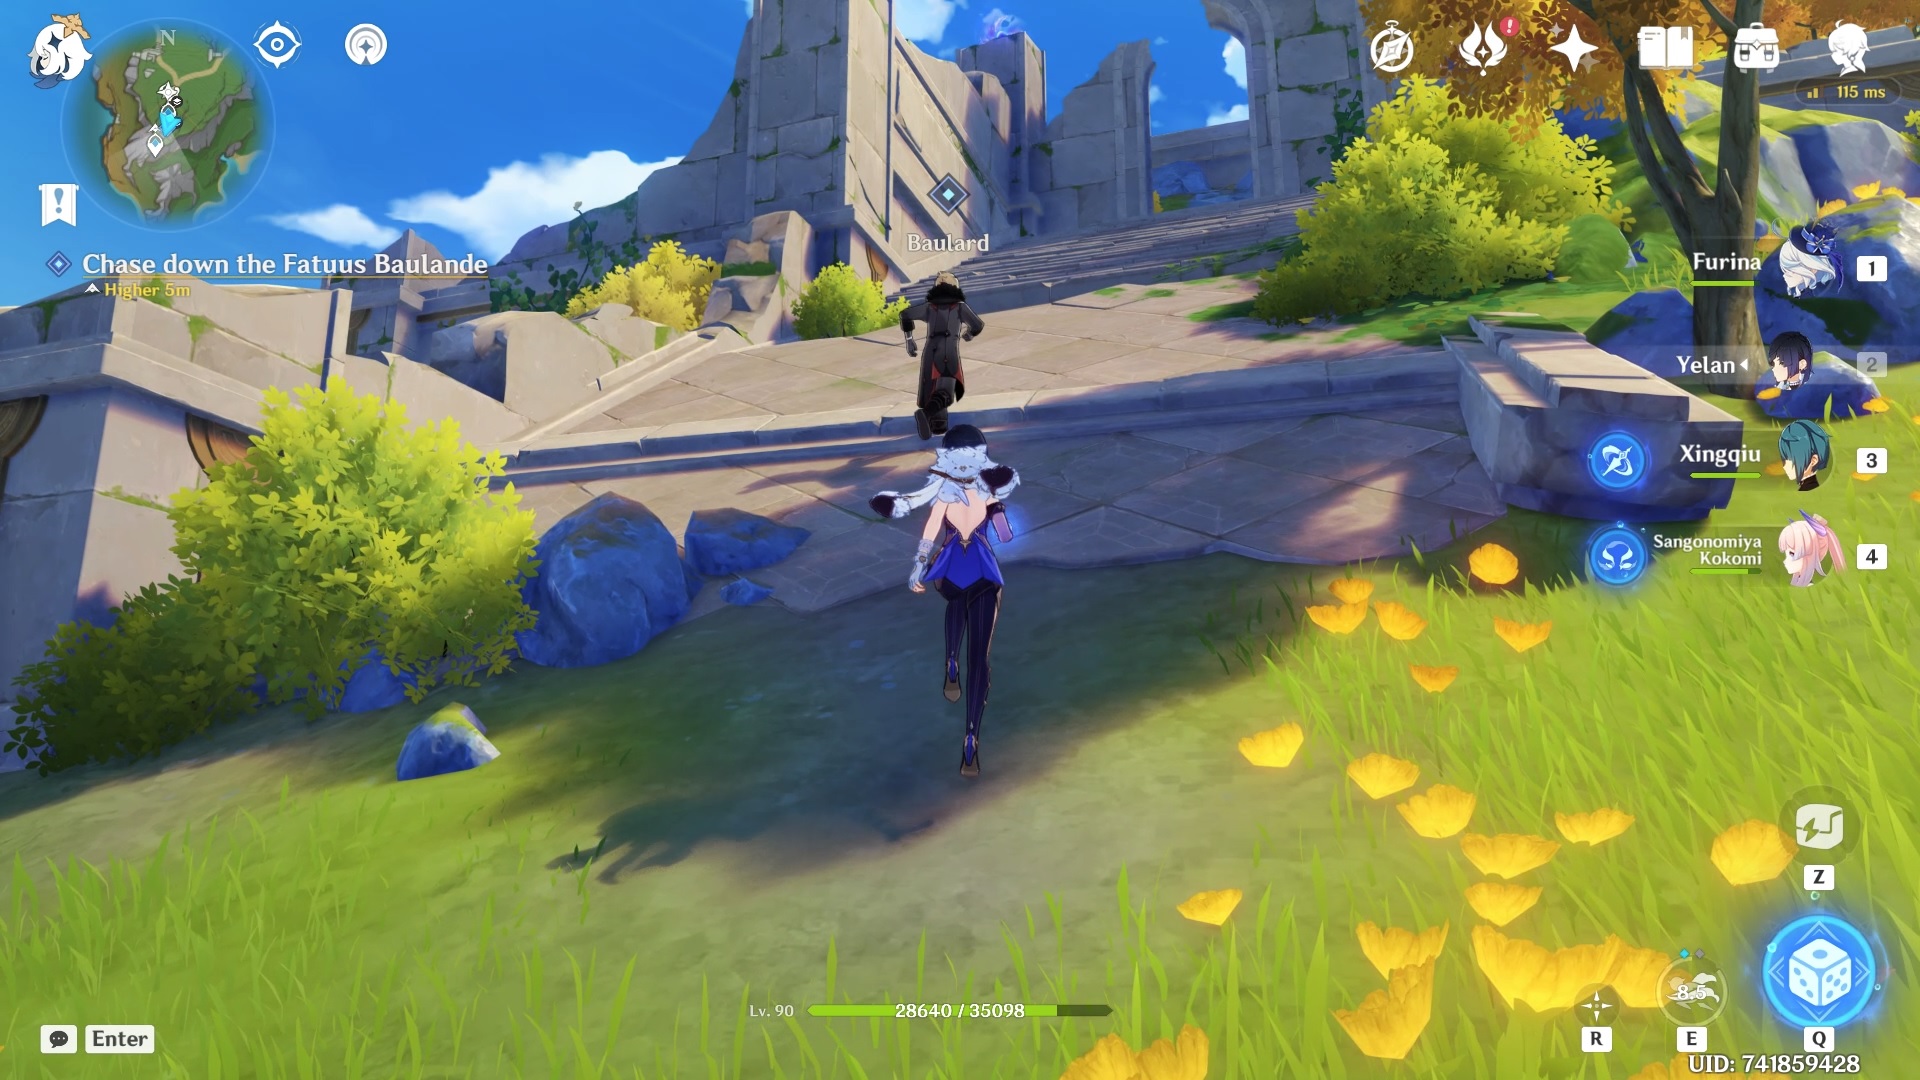
Go to the bar area and you will interact with a Fatui named Baulard.
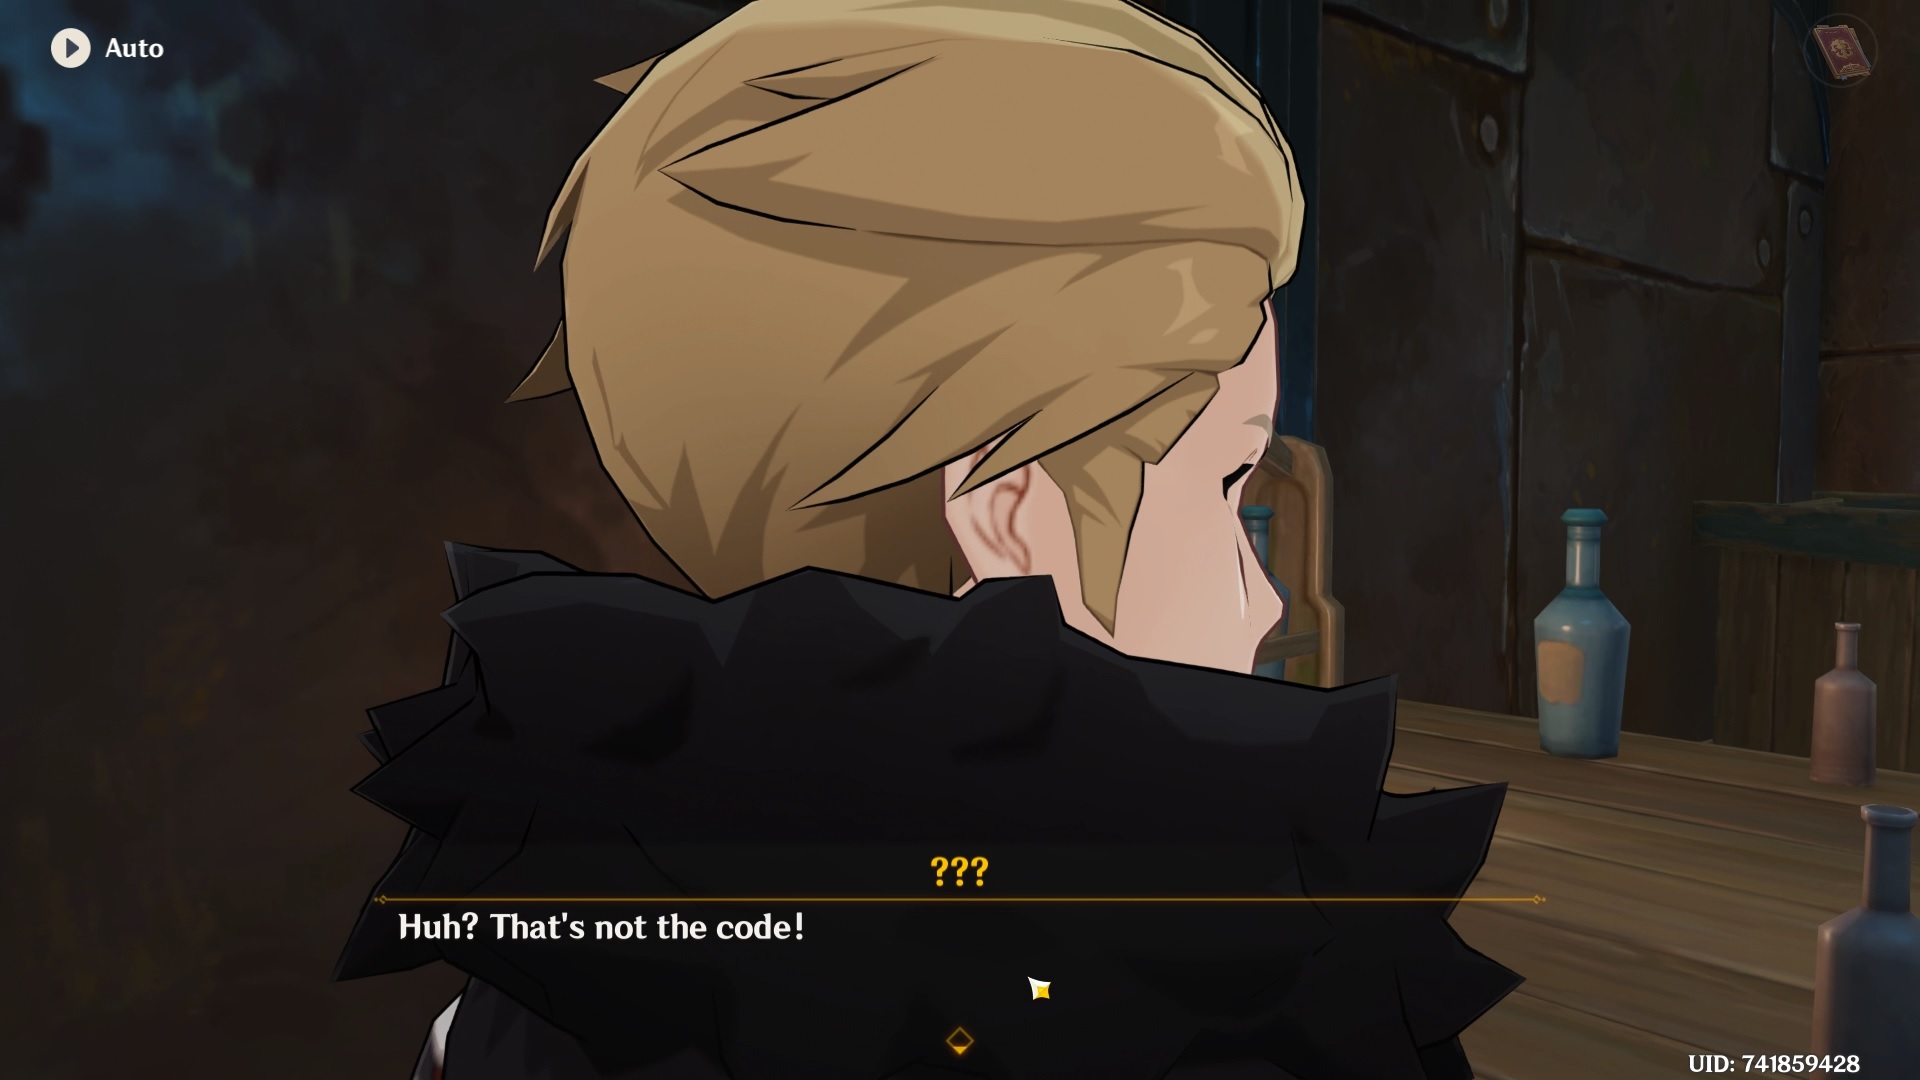
He will try to run away from you after he suspects you of not being his accomplice. Chase him down.
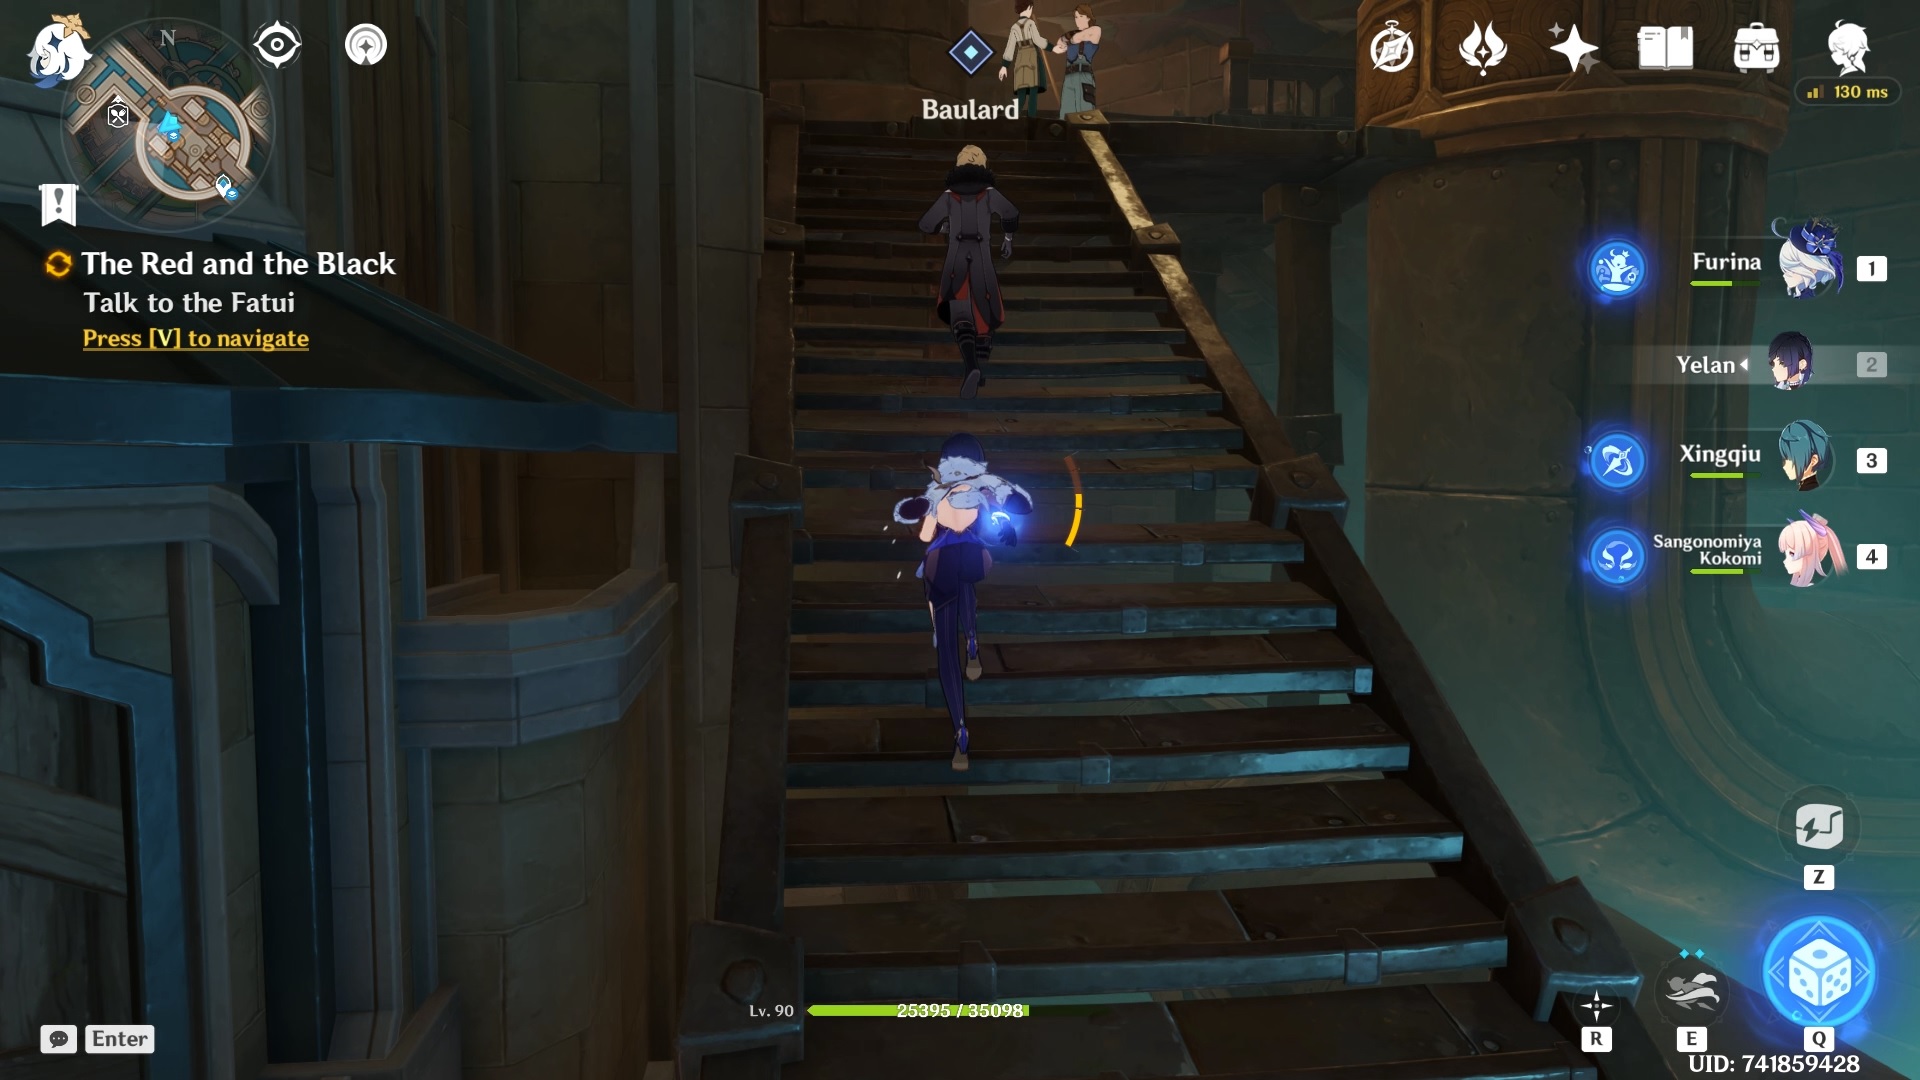
After the cutscene, you will get his testimony, a threatening letter and confirmed footprints as evidence.

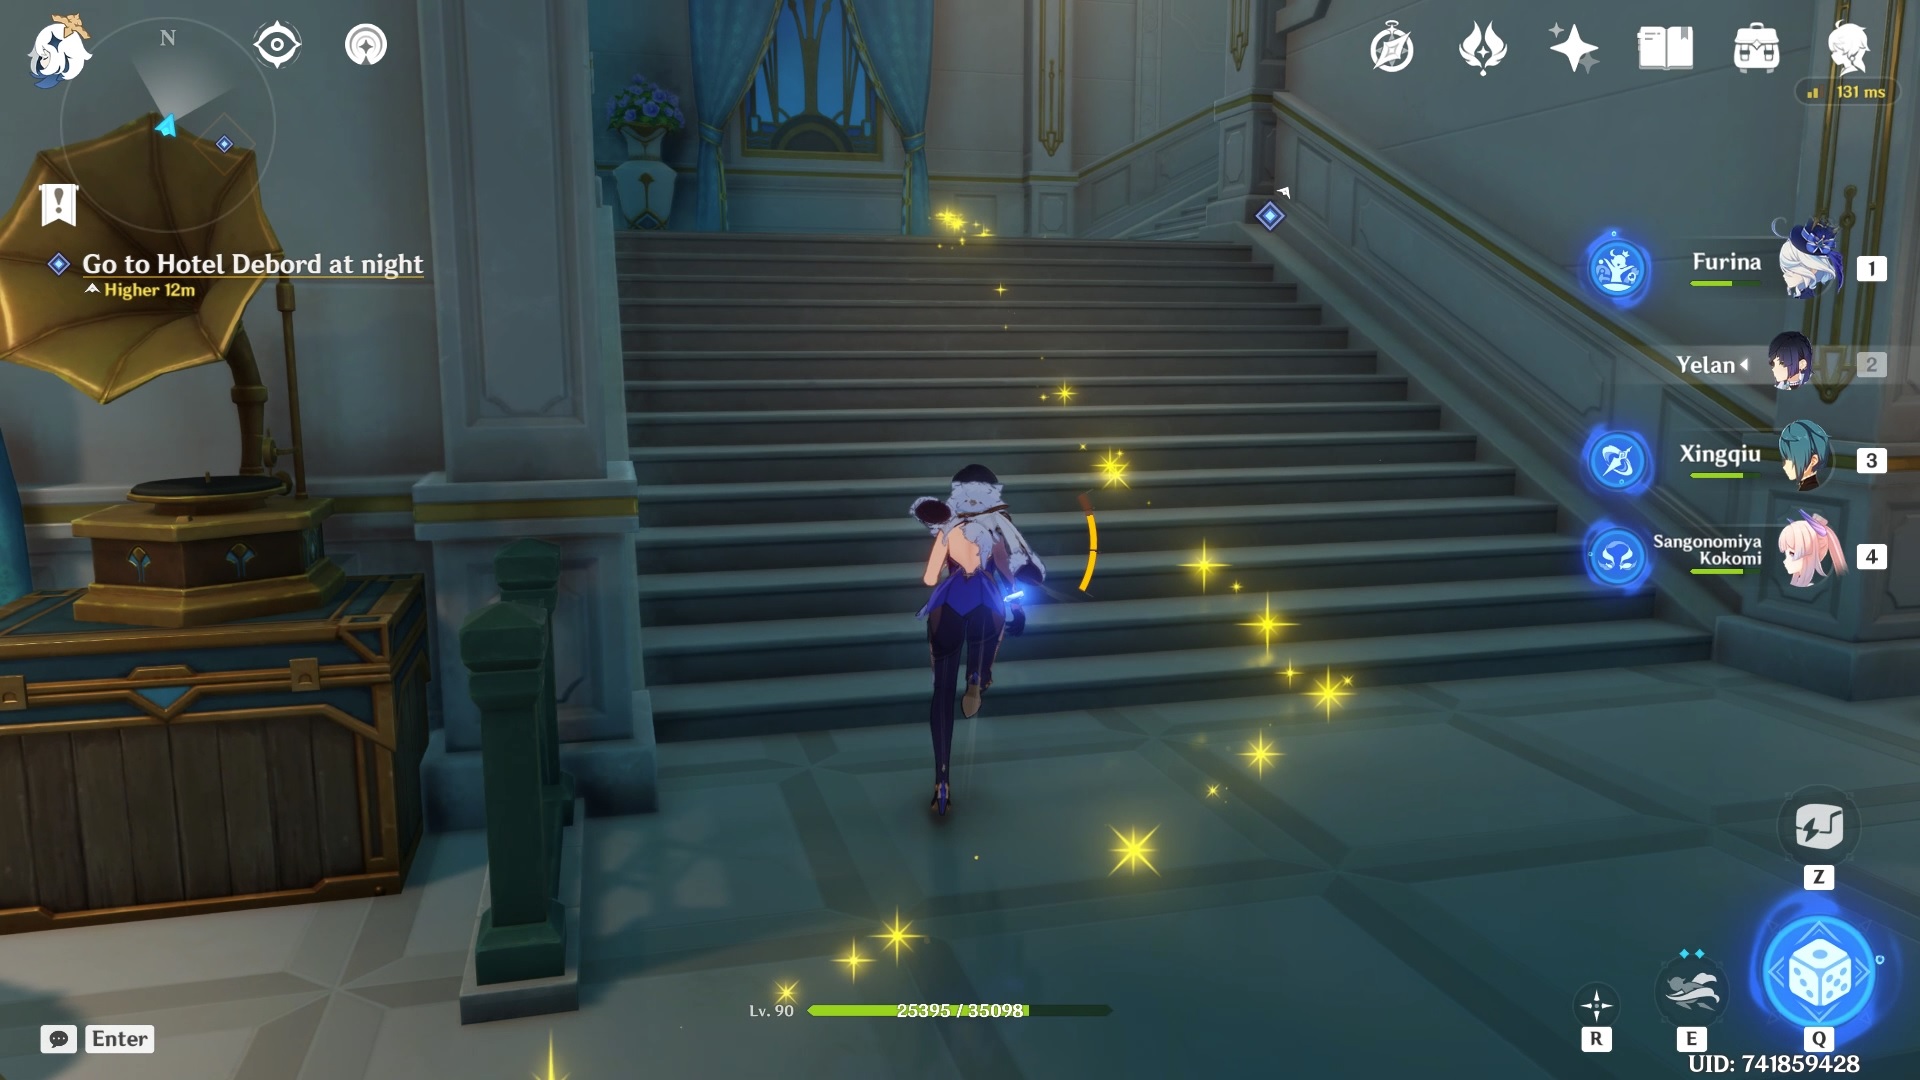
Now, skip time until it’s night time.
Go to Hotel Debord and talk to Talochard. Talochard is on the first floor of the building.
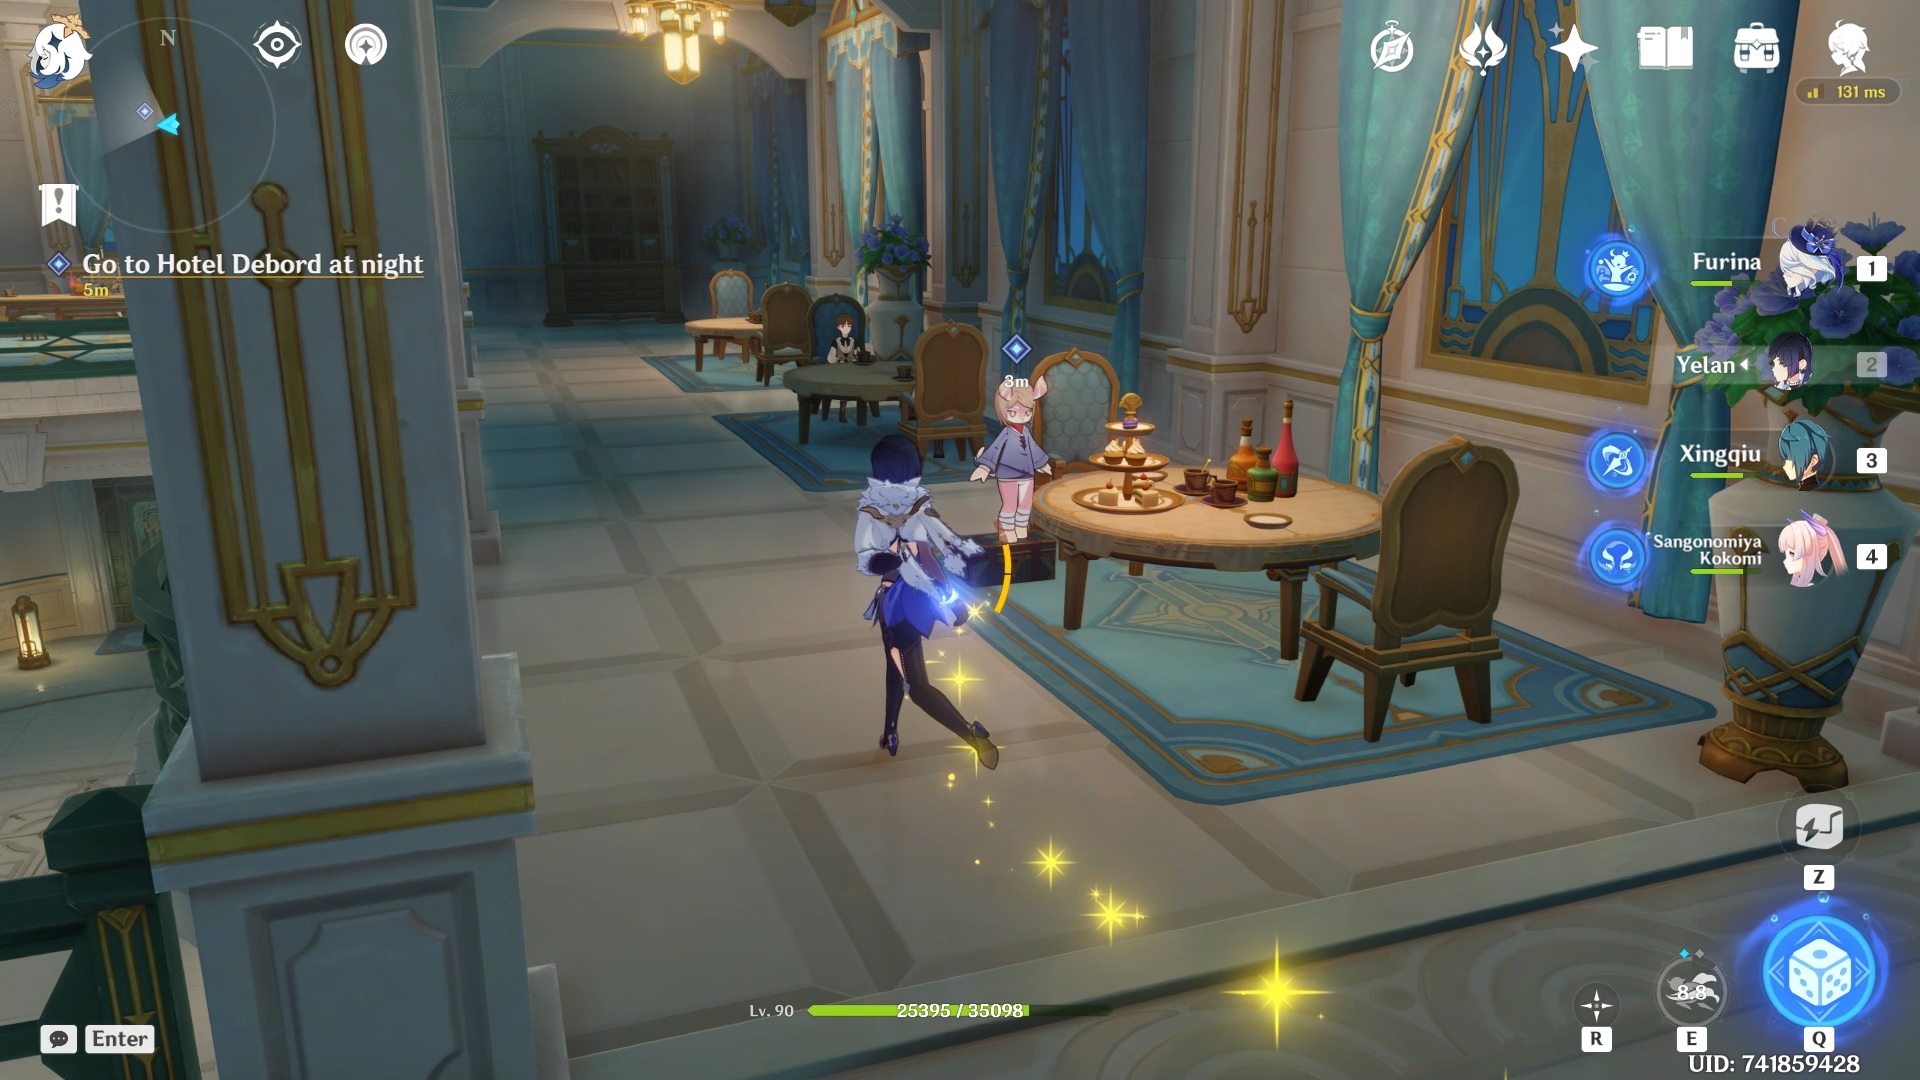
After a long dialogue session with Talochard, return to Steambird. Once you’re back at Steambird, you will get a second association game. In this mini-game, you need to select the suspects in order of their arrival at the crime scene to determine who could be the actual criminal.
Hypothesis Minigame
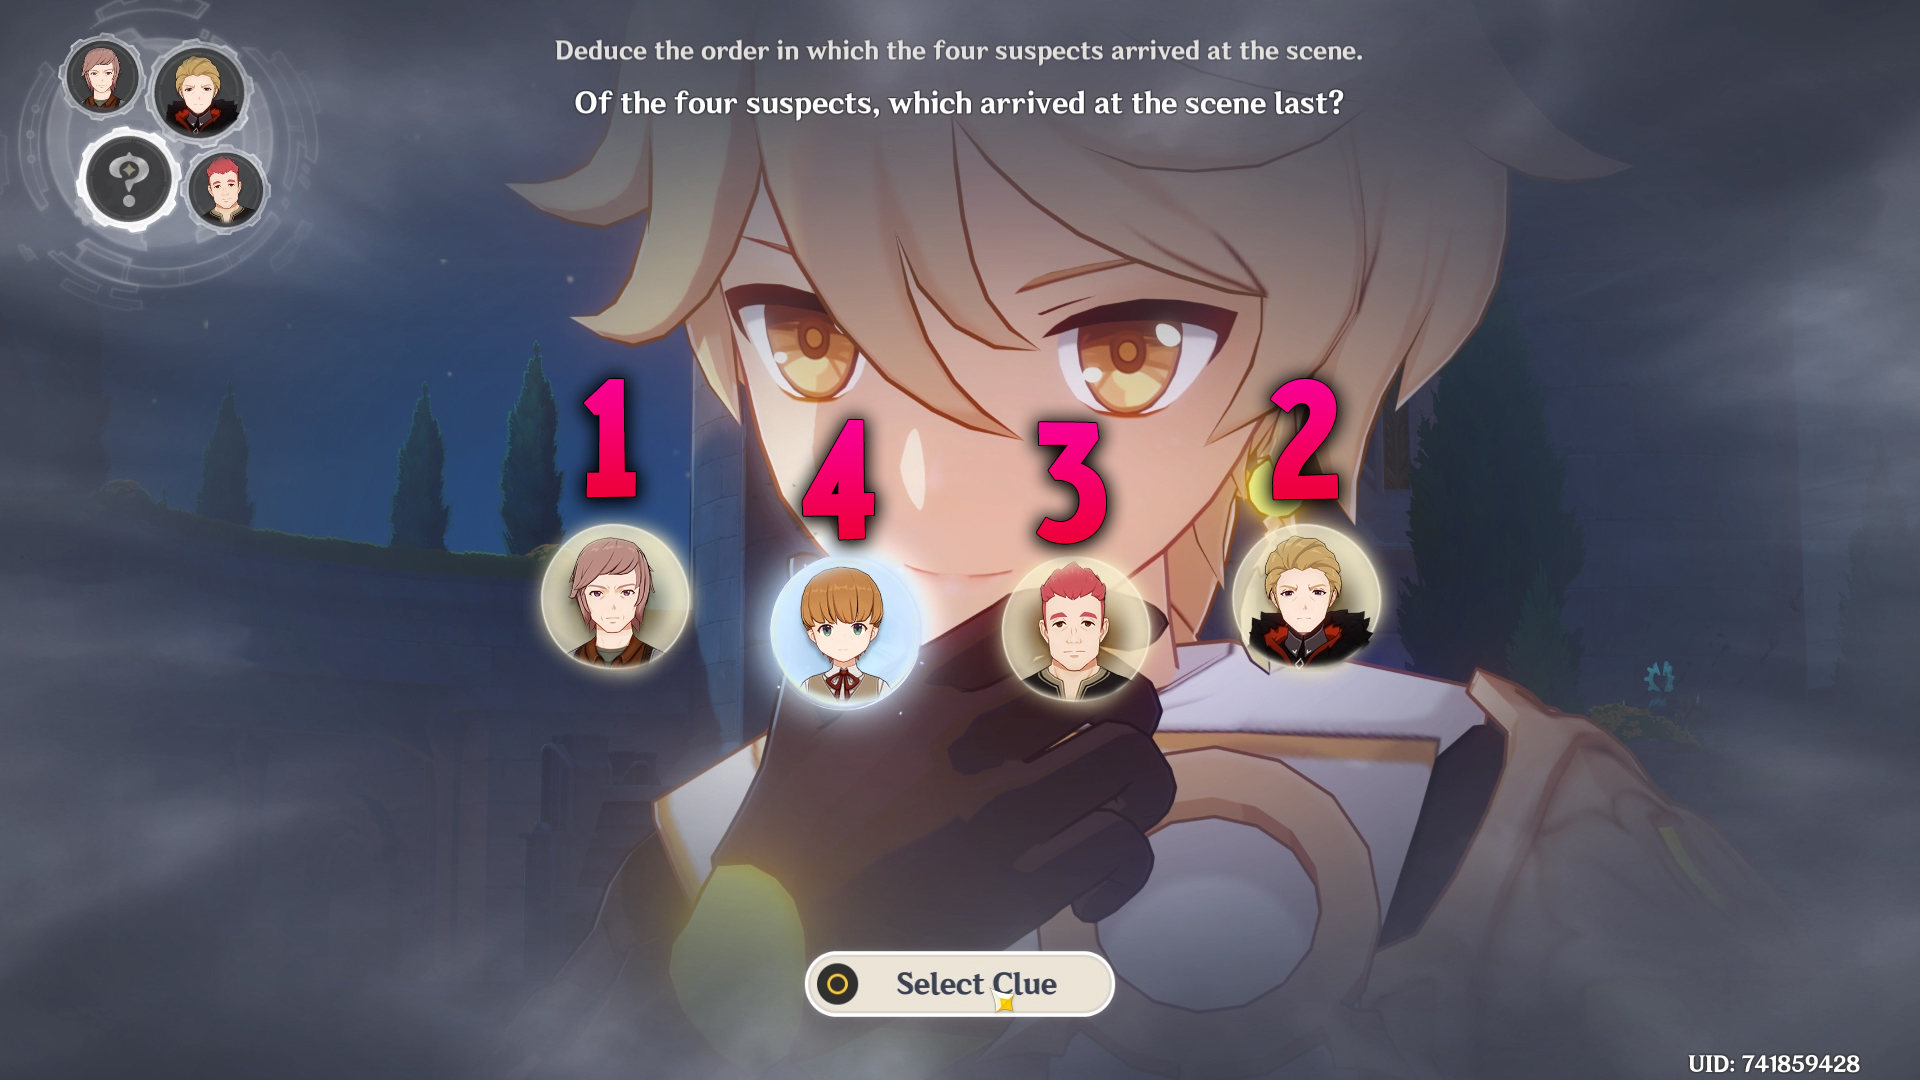
You need to select the suspects in the following order:
Rocher > Baulard > “Intrepid Valberry” > Kevin.
Once you’ve selected them in the correct order, your hypothesis will be correct, and with that, our Act 2 of Questioning Melusine and Answering Machine concludes.
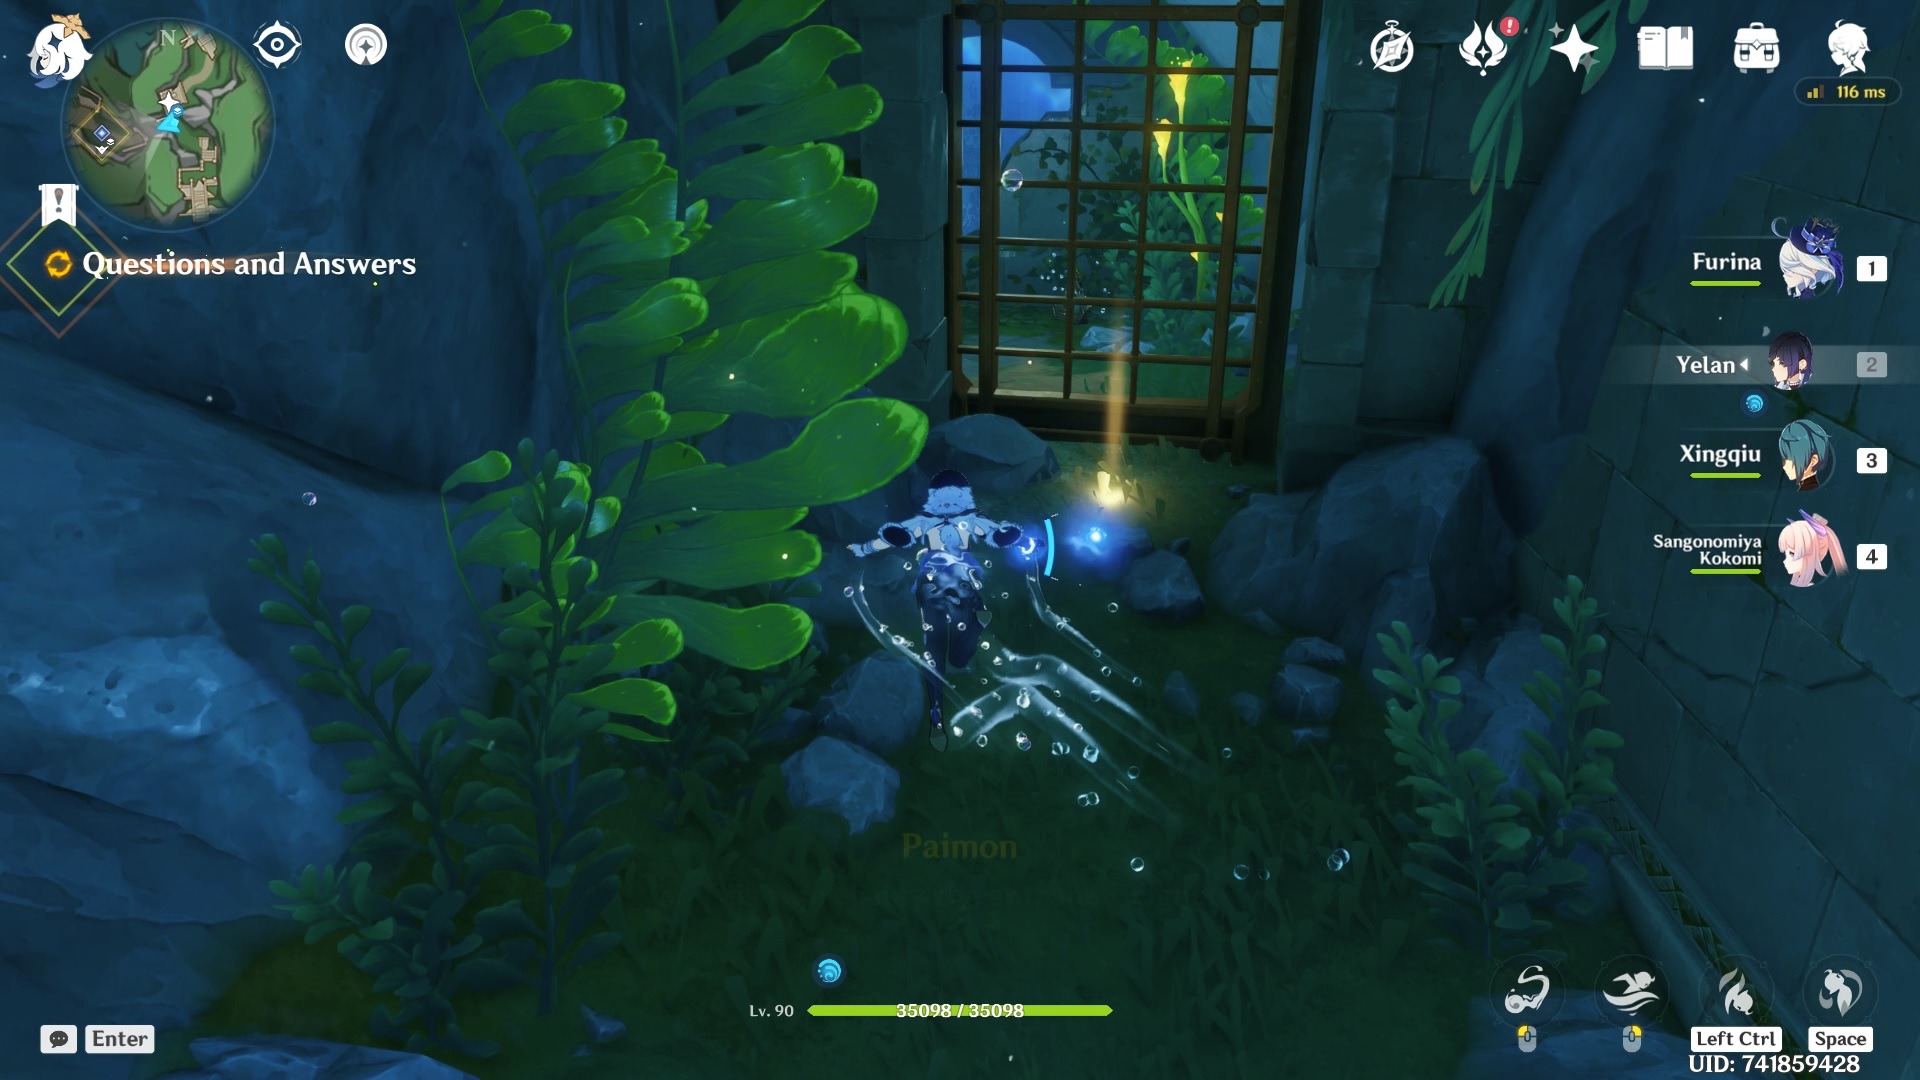
Act 3 – Questions and Answers
After completing Act 2, you must wait a day in real-life for the server to reset. Once the server resets and you log back into the game, you will automatically get Act 3 in your quest log.
Go back to Steambird and approach the building the start the third act.
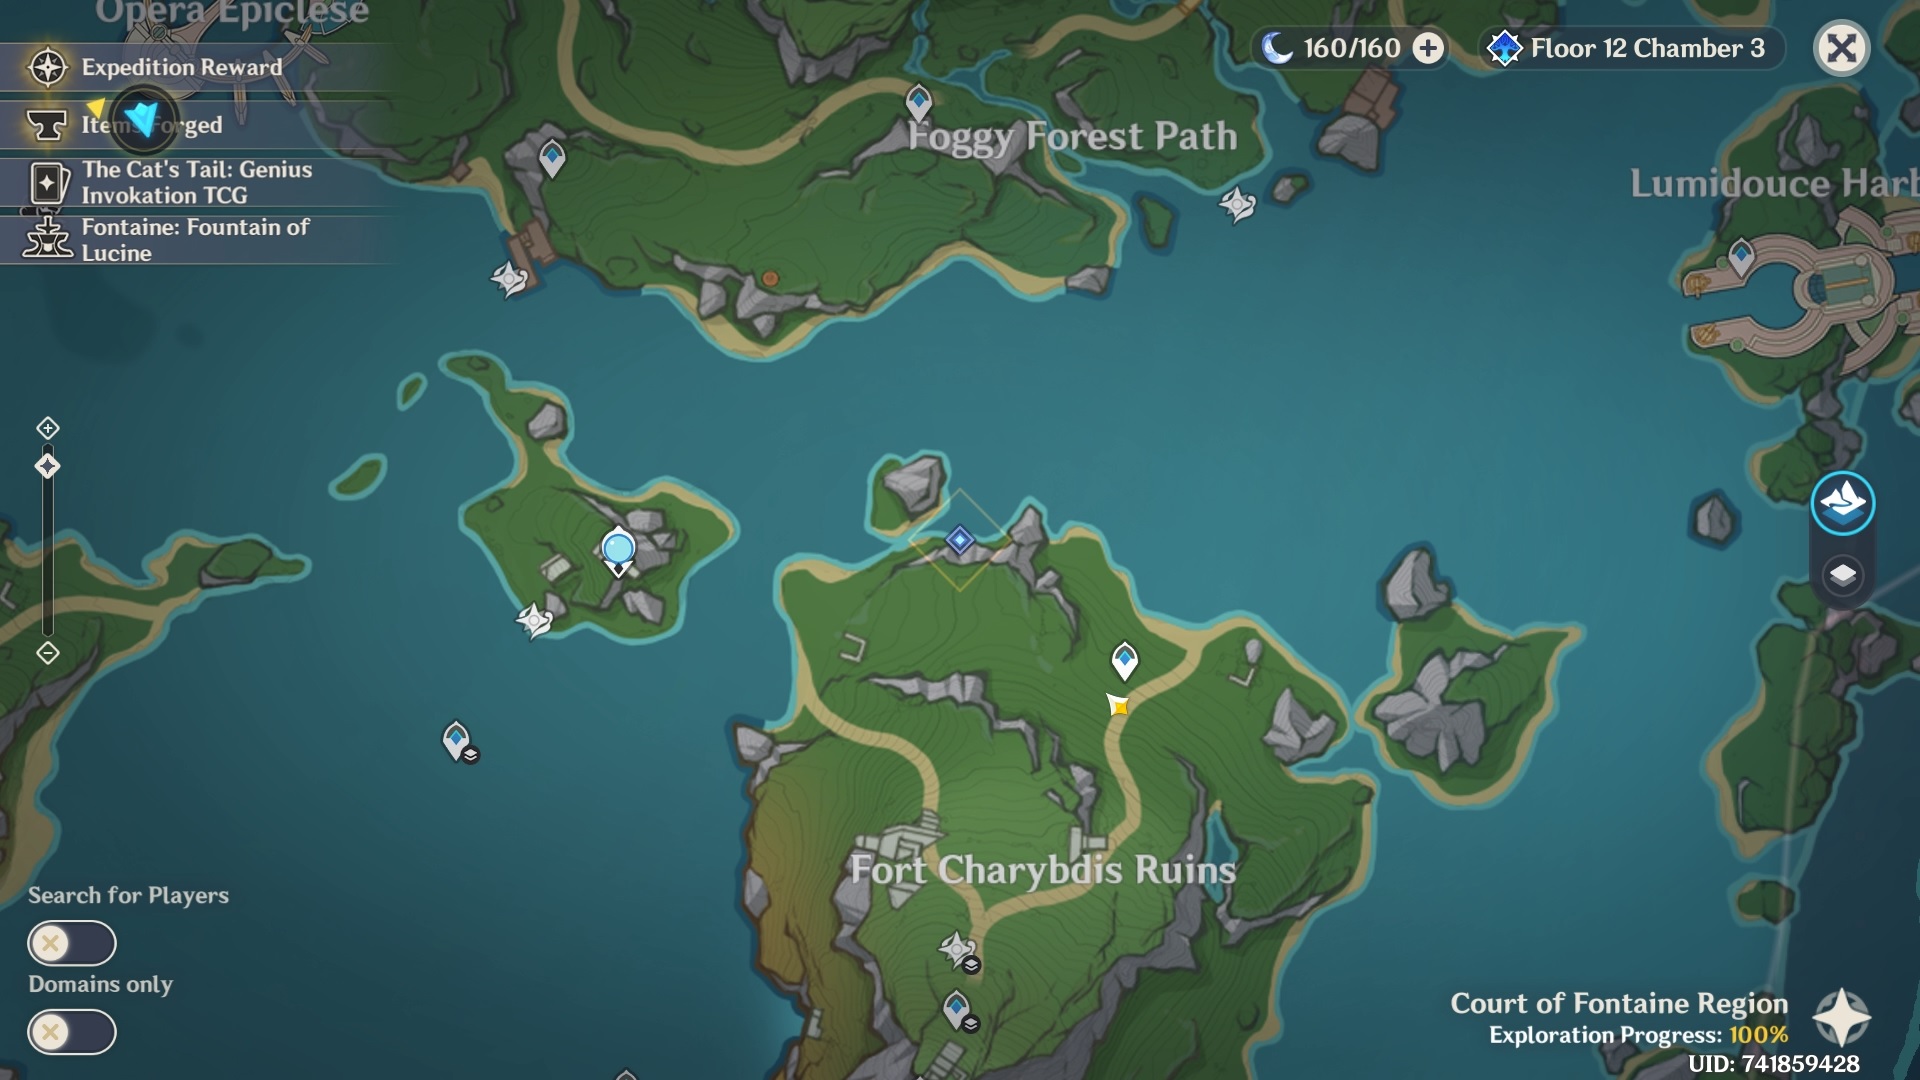
Now, you need to go to the northern shore of Fort Charybdis Ruins to look for the newspaper’s “item.”
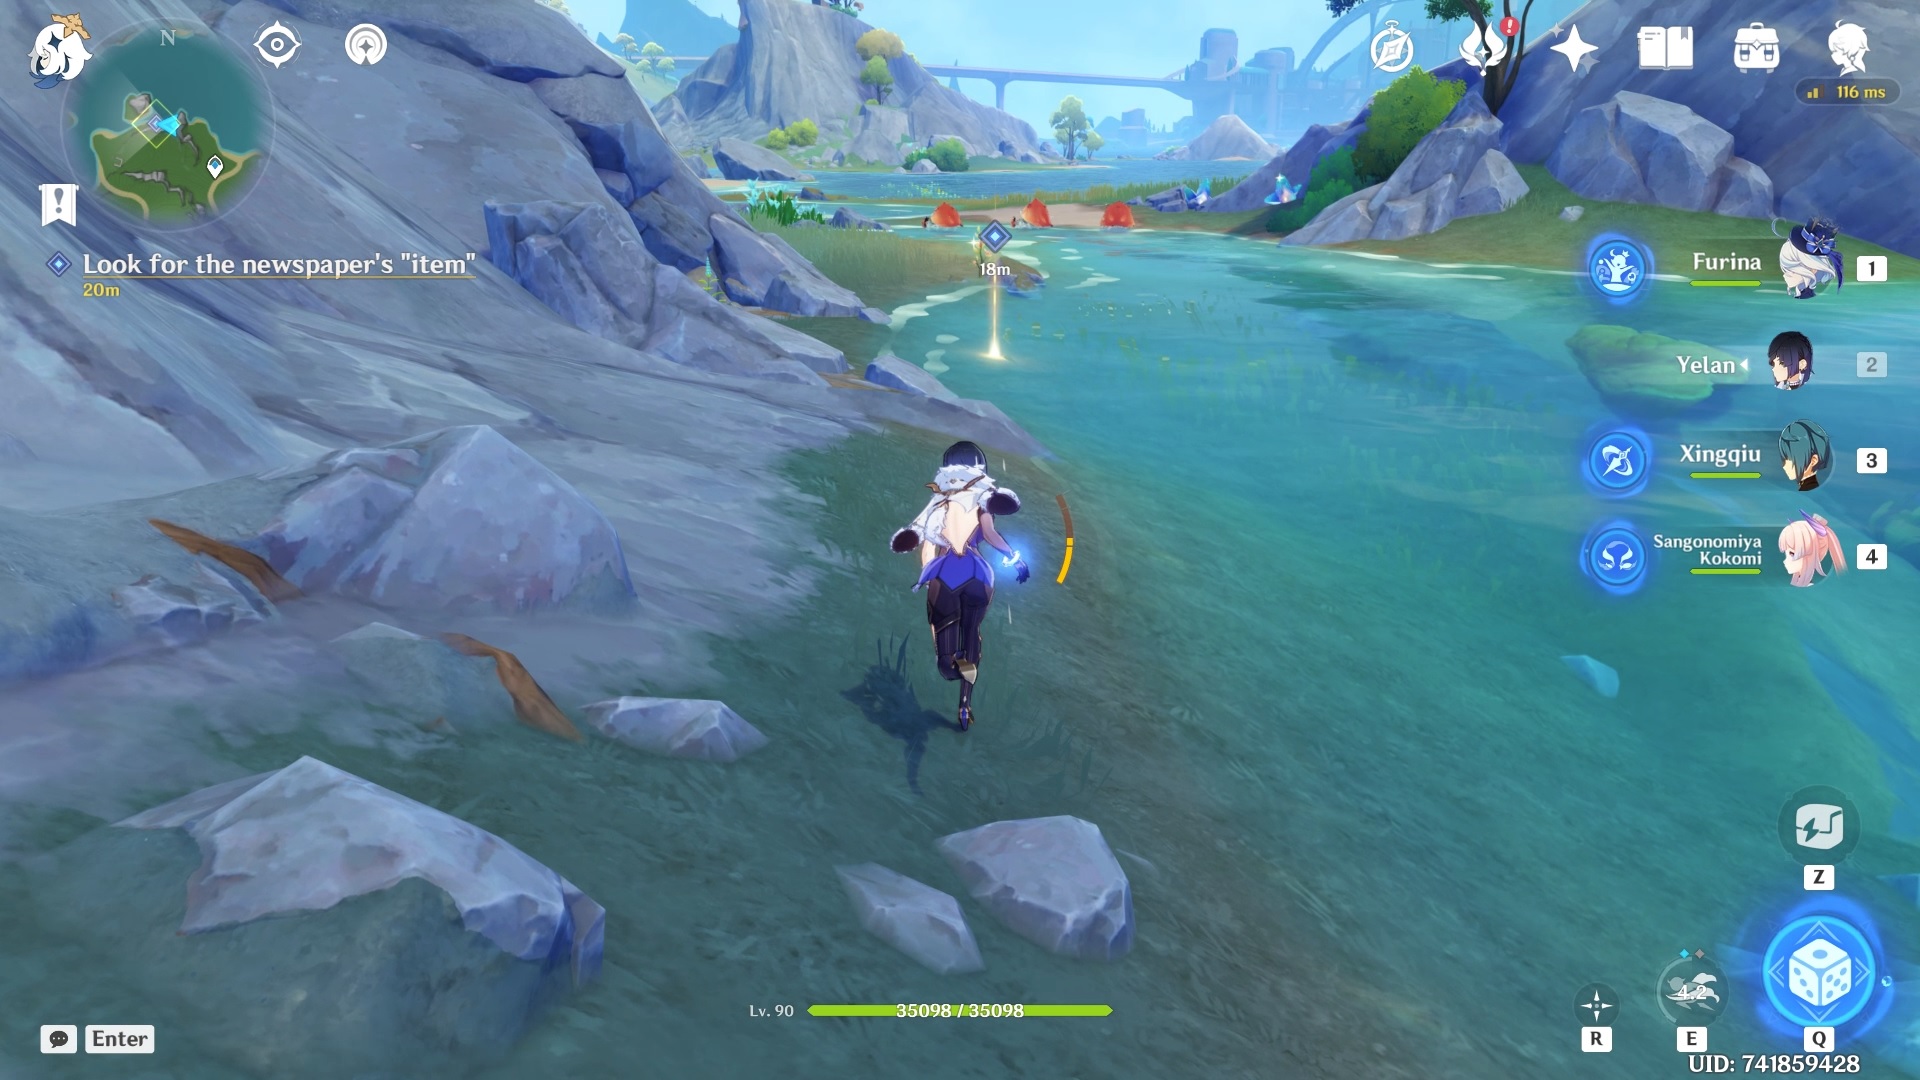
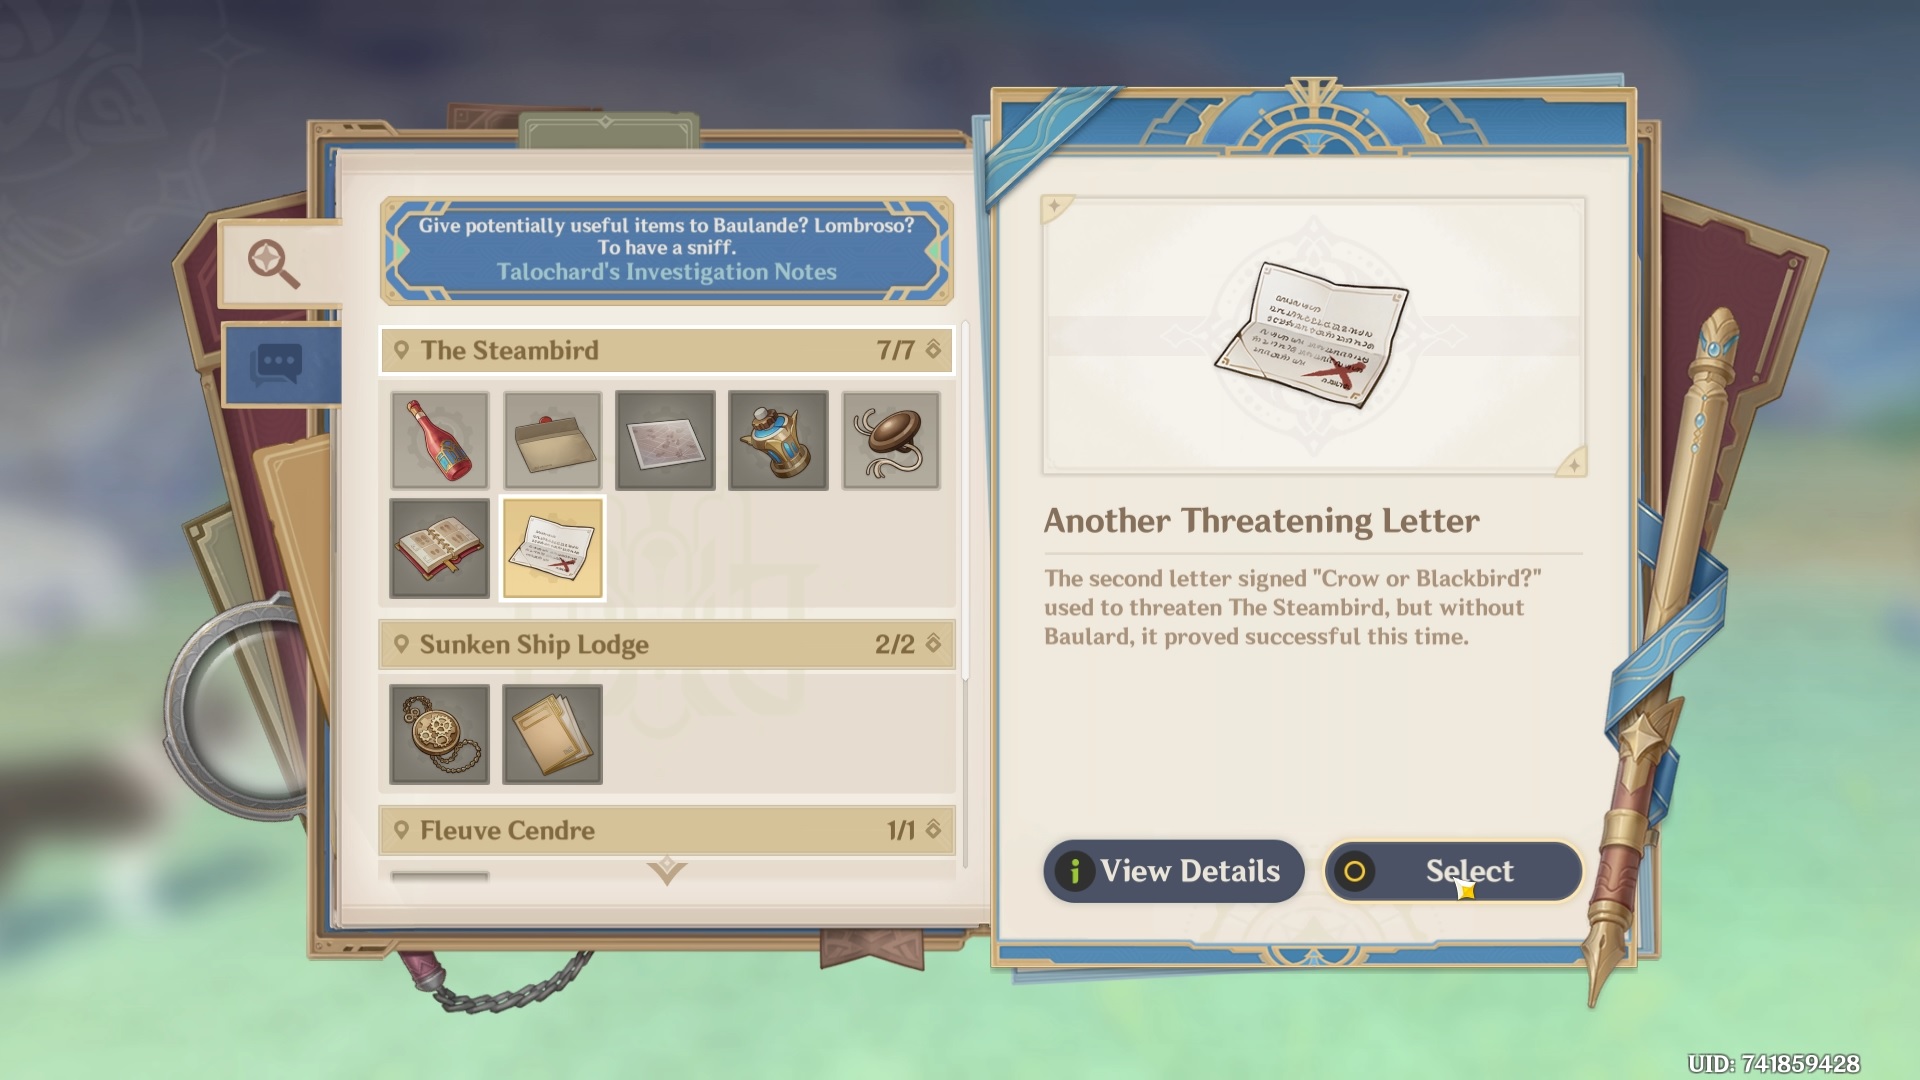
When you get to the marker, you will be asked to give a useful item to the puppy to have a sniff.
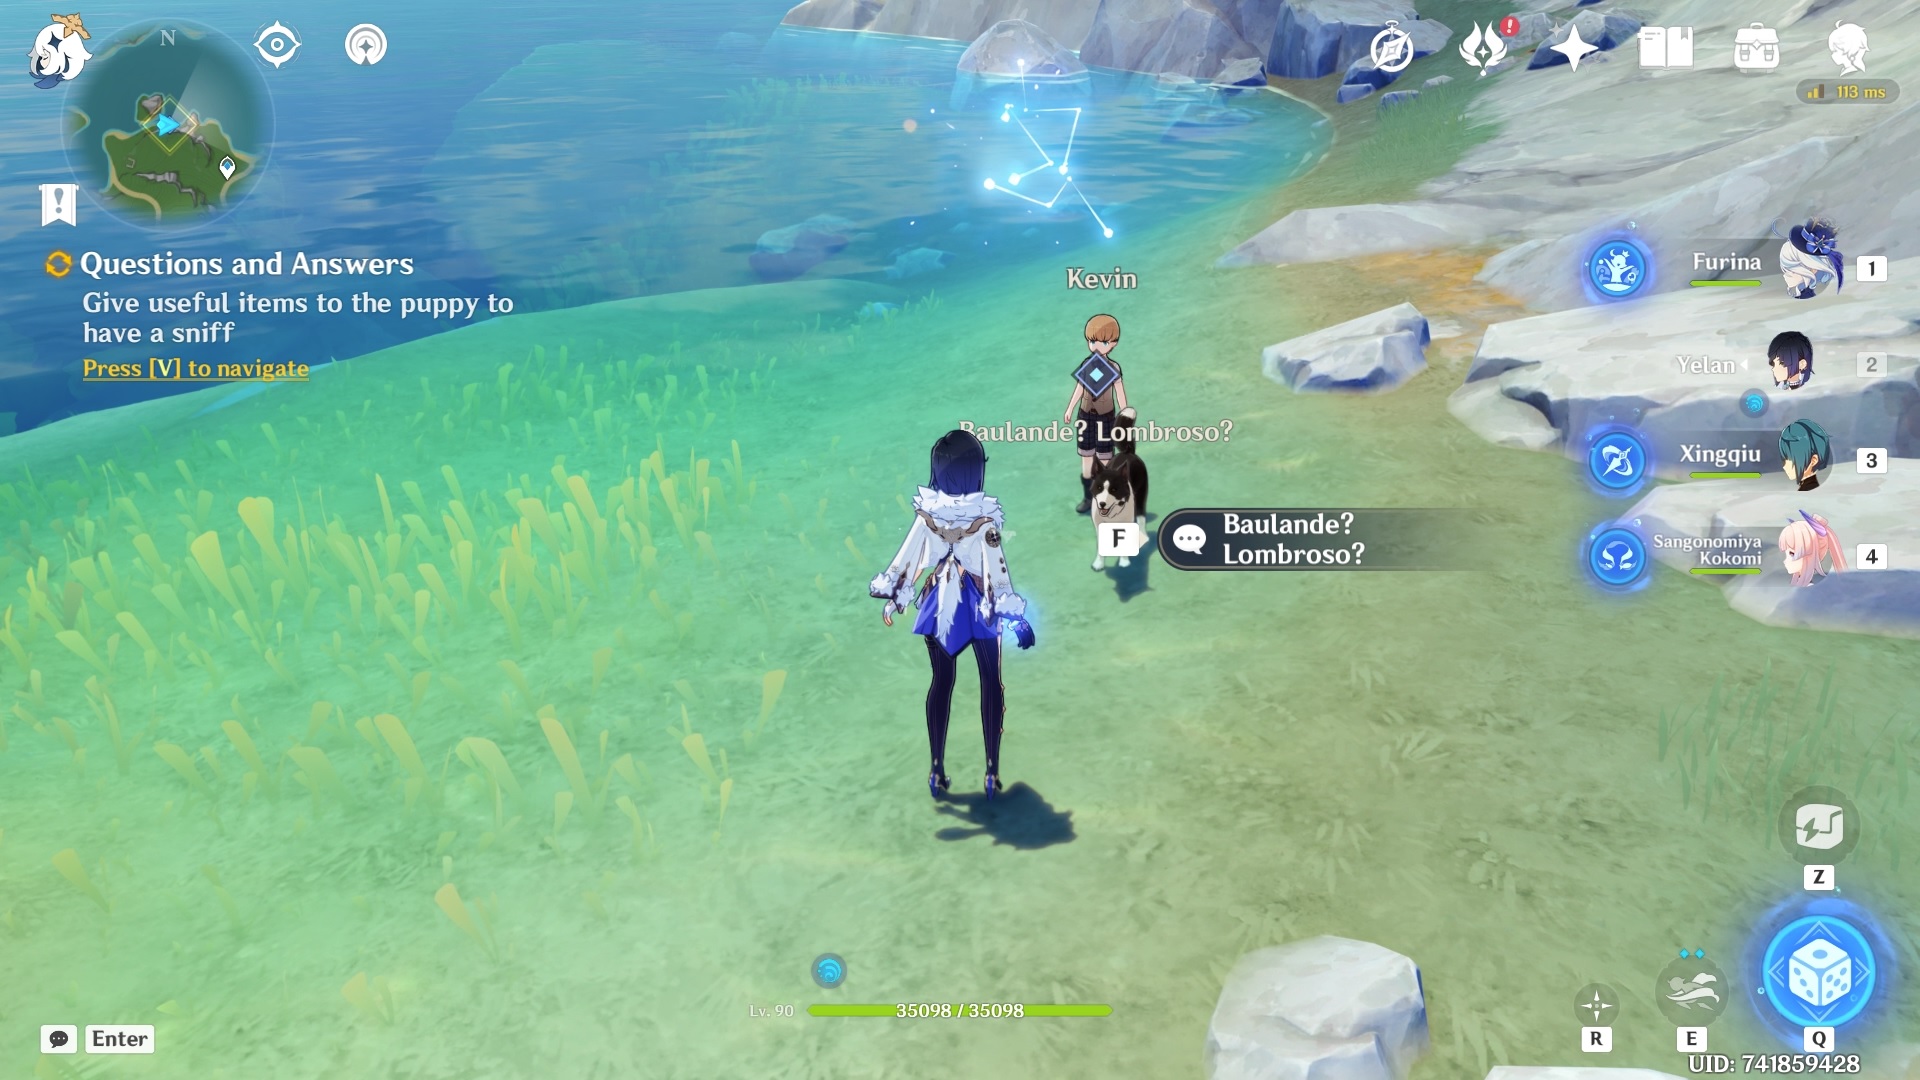
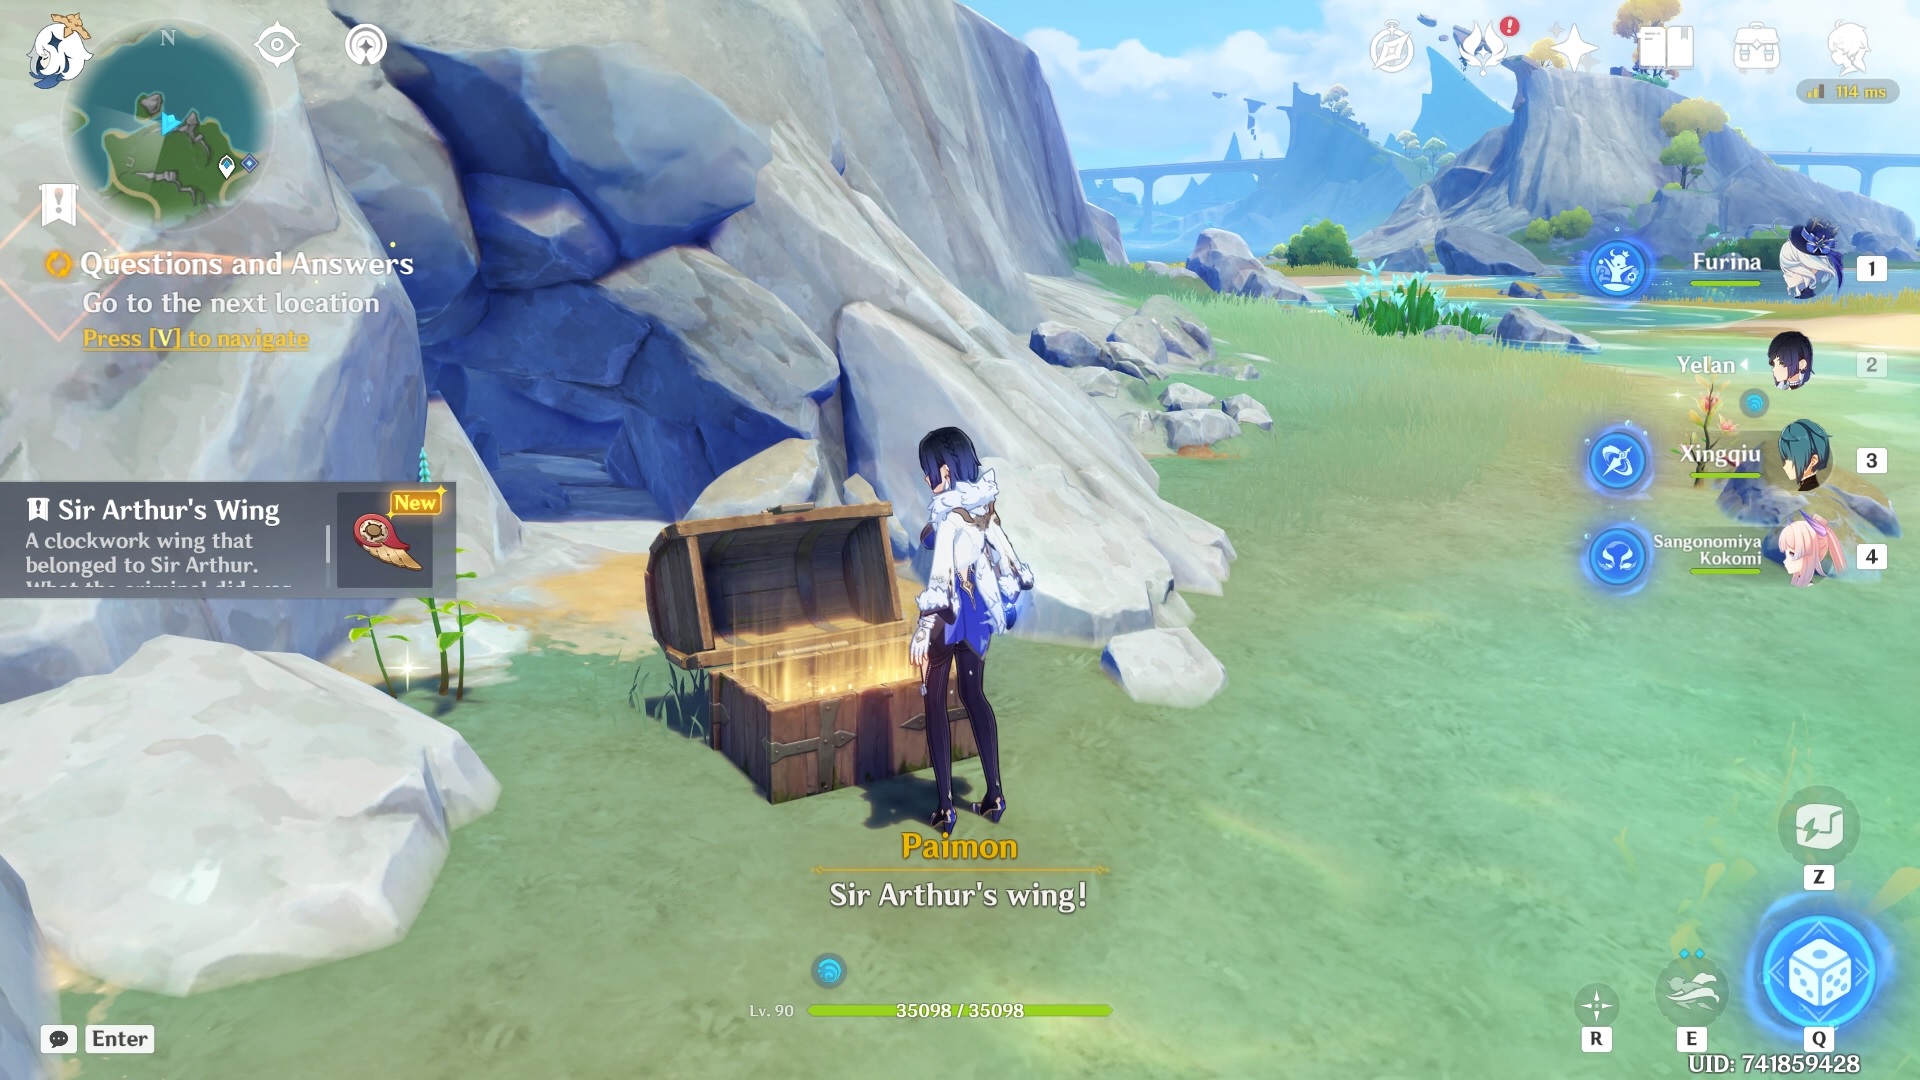
Once you do, the puppy will dig up a common chest nearby.
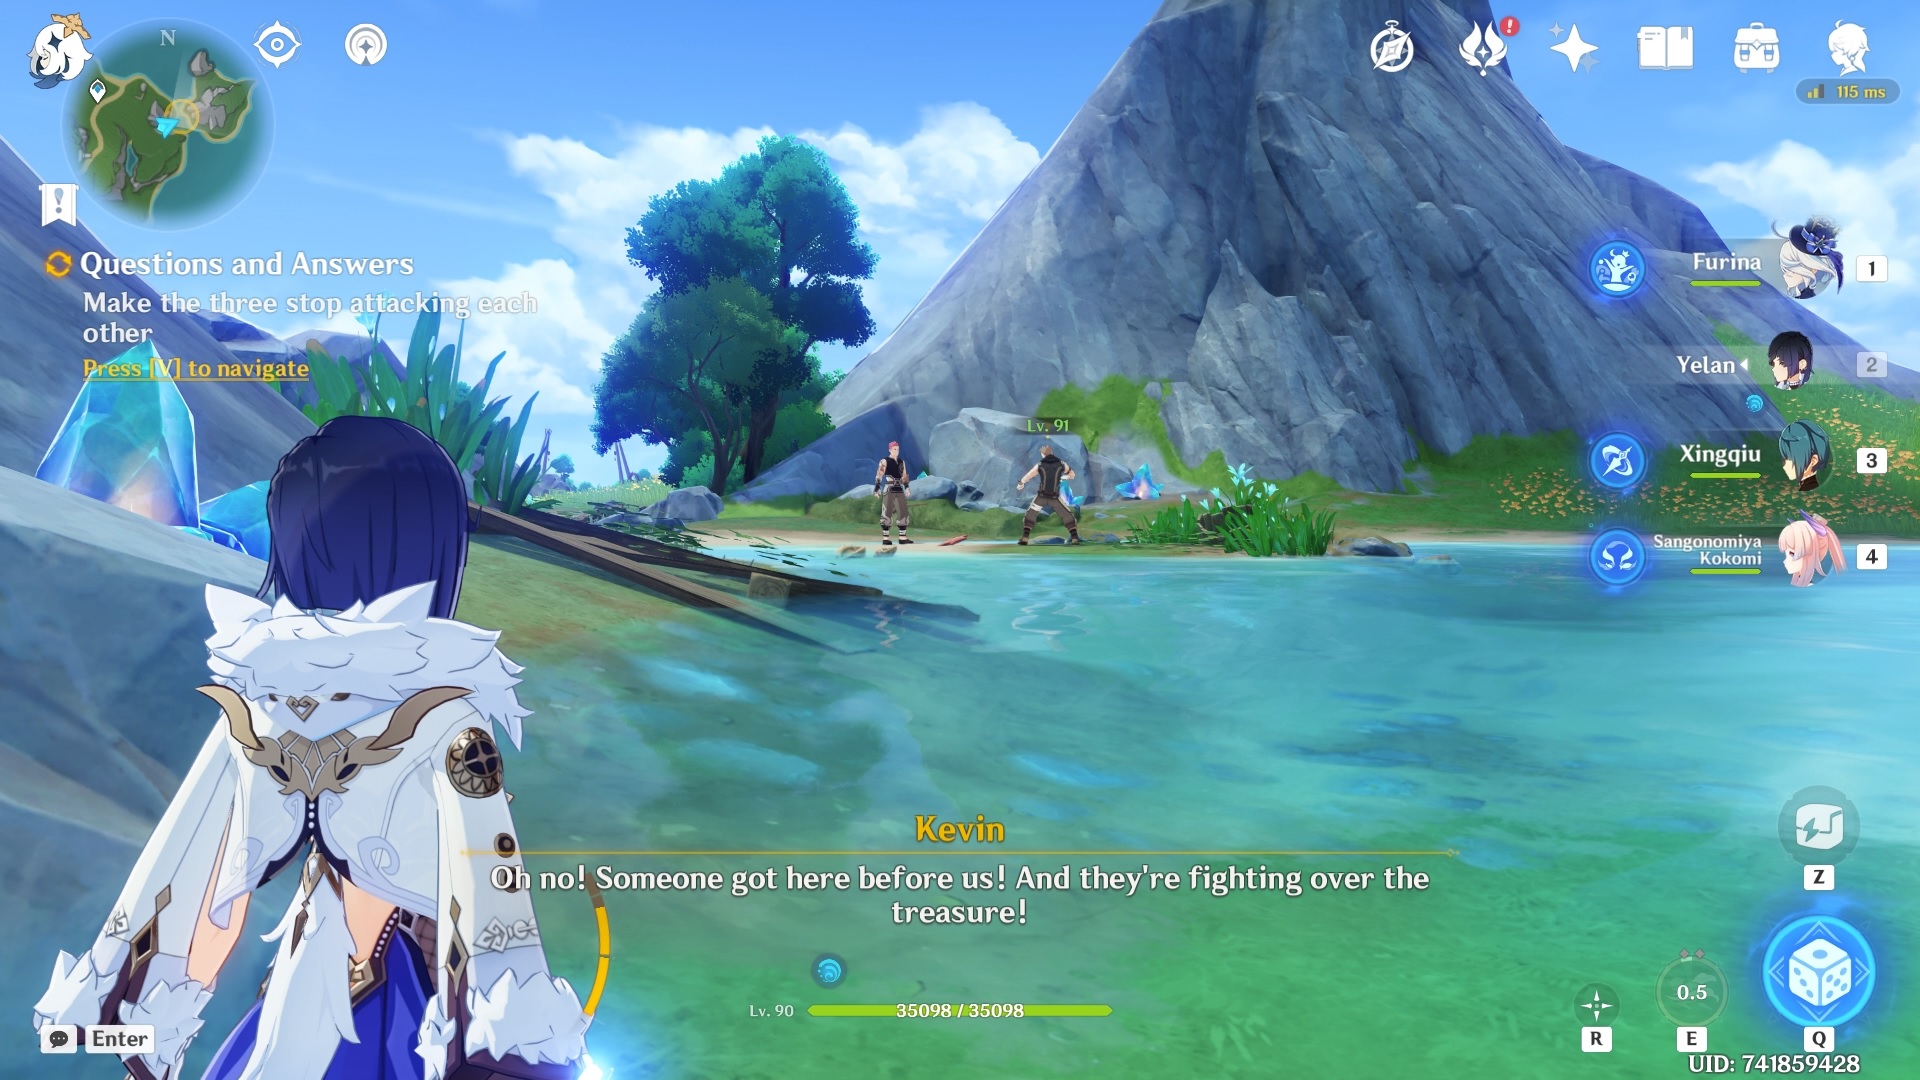
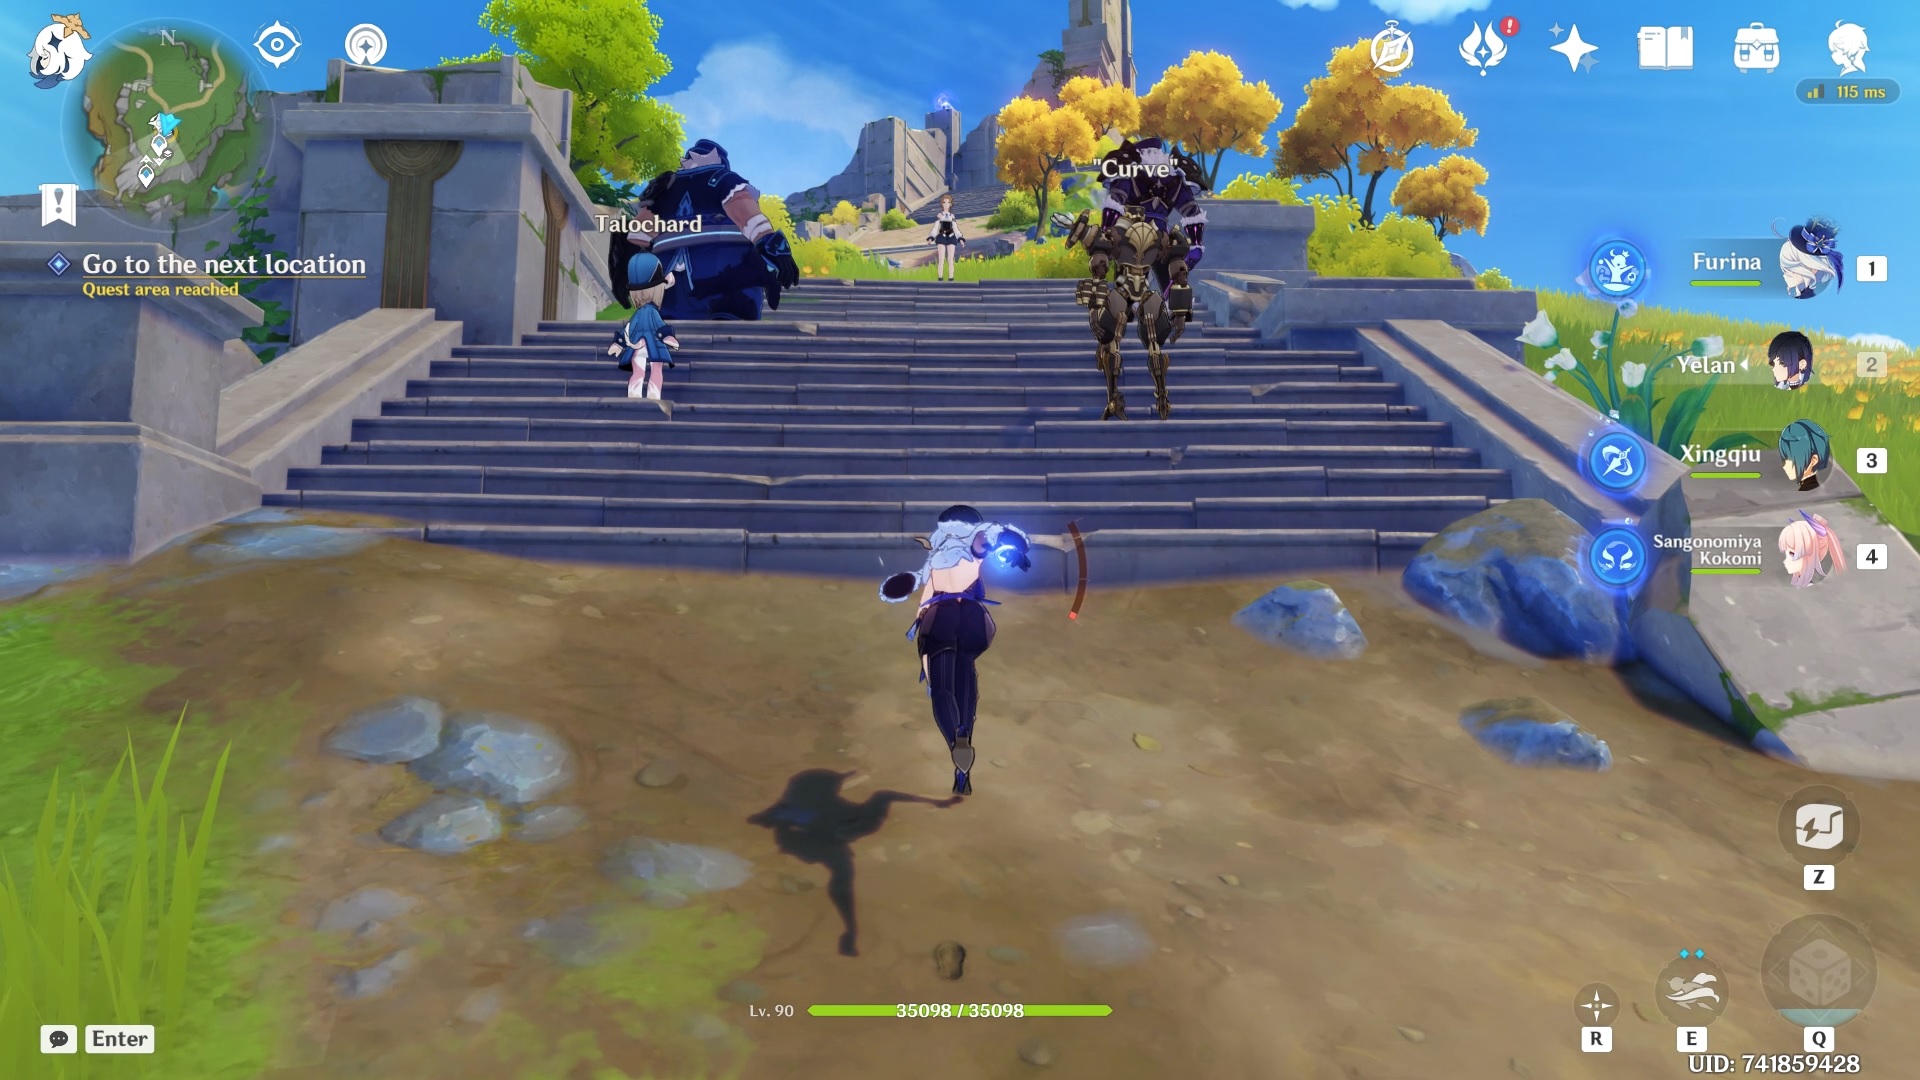
Afterward, head to the next marked location, where you will find the Boss and “Intrepid Valberry” fighting each other.
Finally, you must head to the final location in the center of the Fort Charybdis Ruins island.

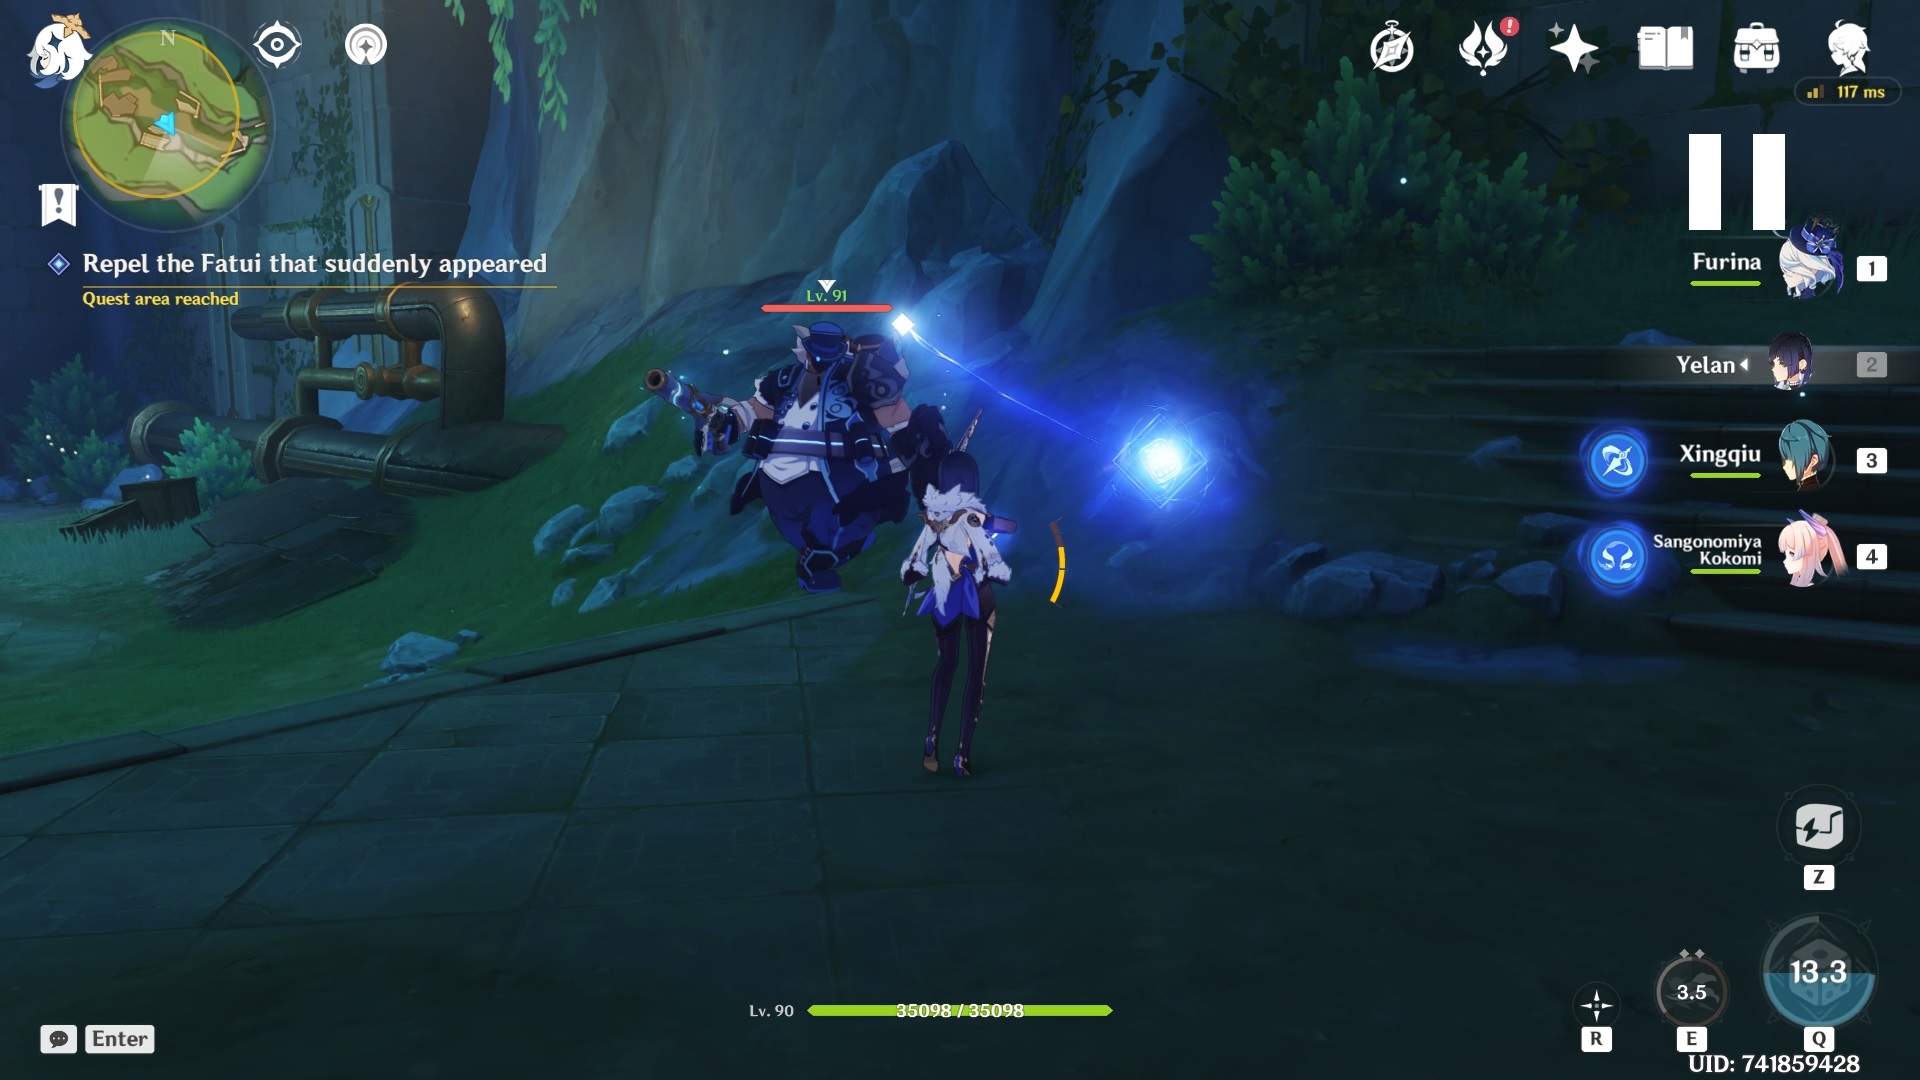
When you get to the location, you will find some Fatui members arguing with Madeleine.
Once the Fatui are defeated, you will see that the Fatuus Baulande (previously referred to as Baulard) is trying to run away from you.
Once you catch him, you can return to the Steambird.
In the middle of the conversation, you will be asked to give one of the clues to Melo. Select the Old Clockwork Locket. It might have an exclamation mark on it. If it does, simply click on it and “update clue.”

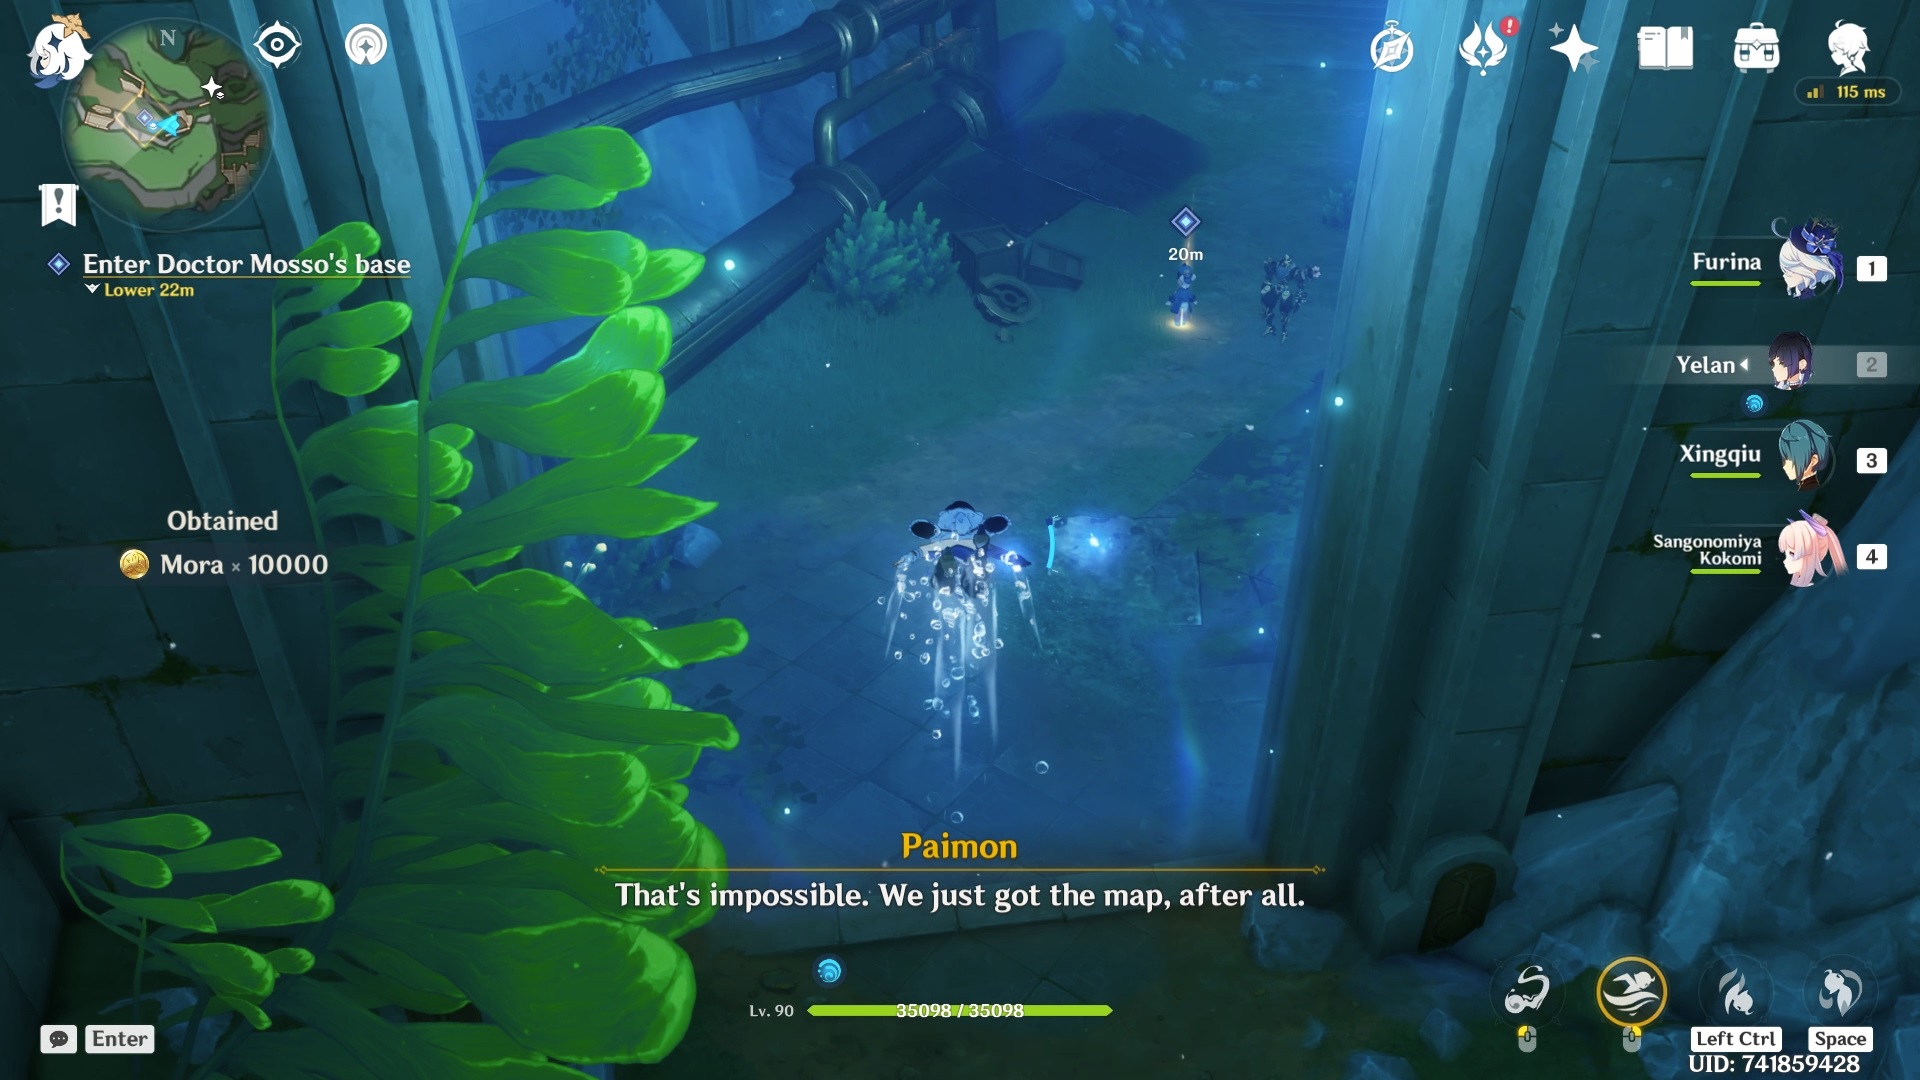
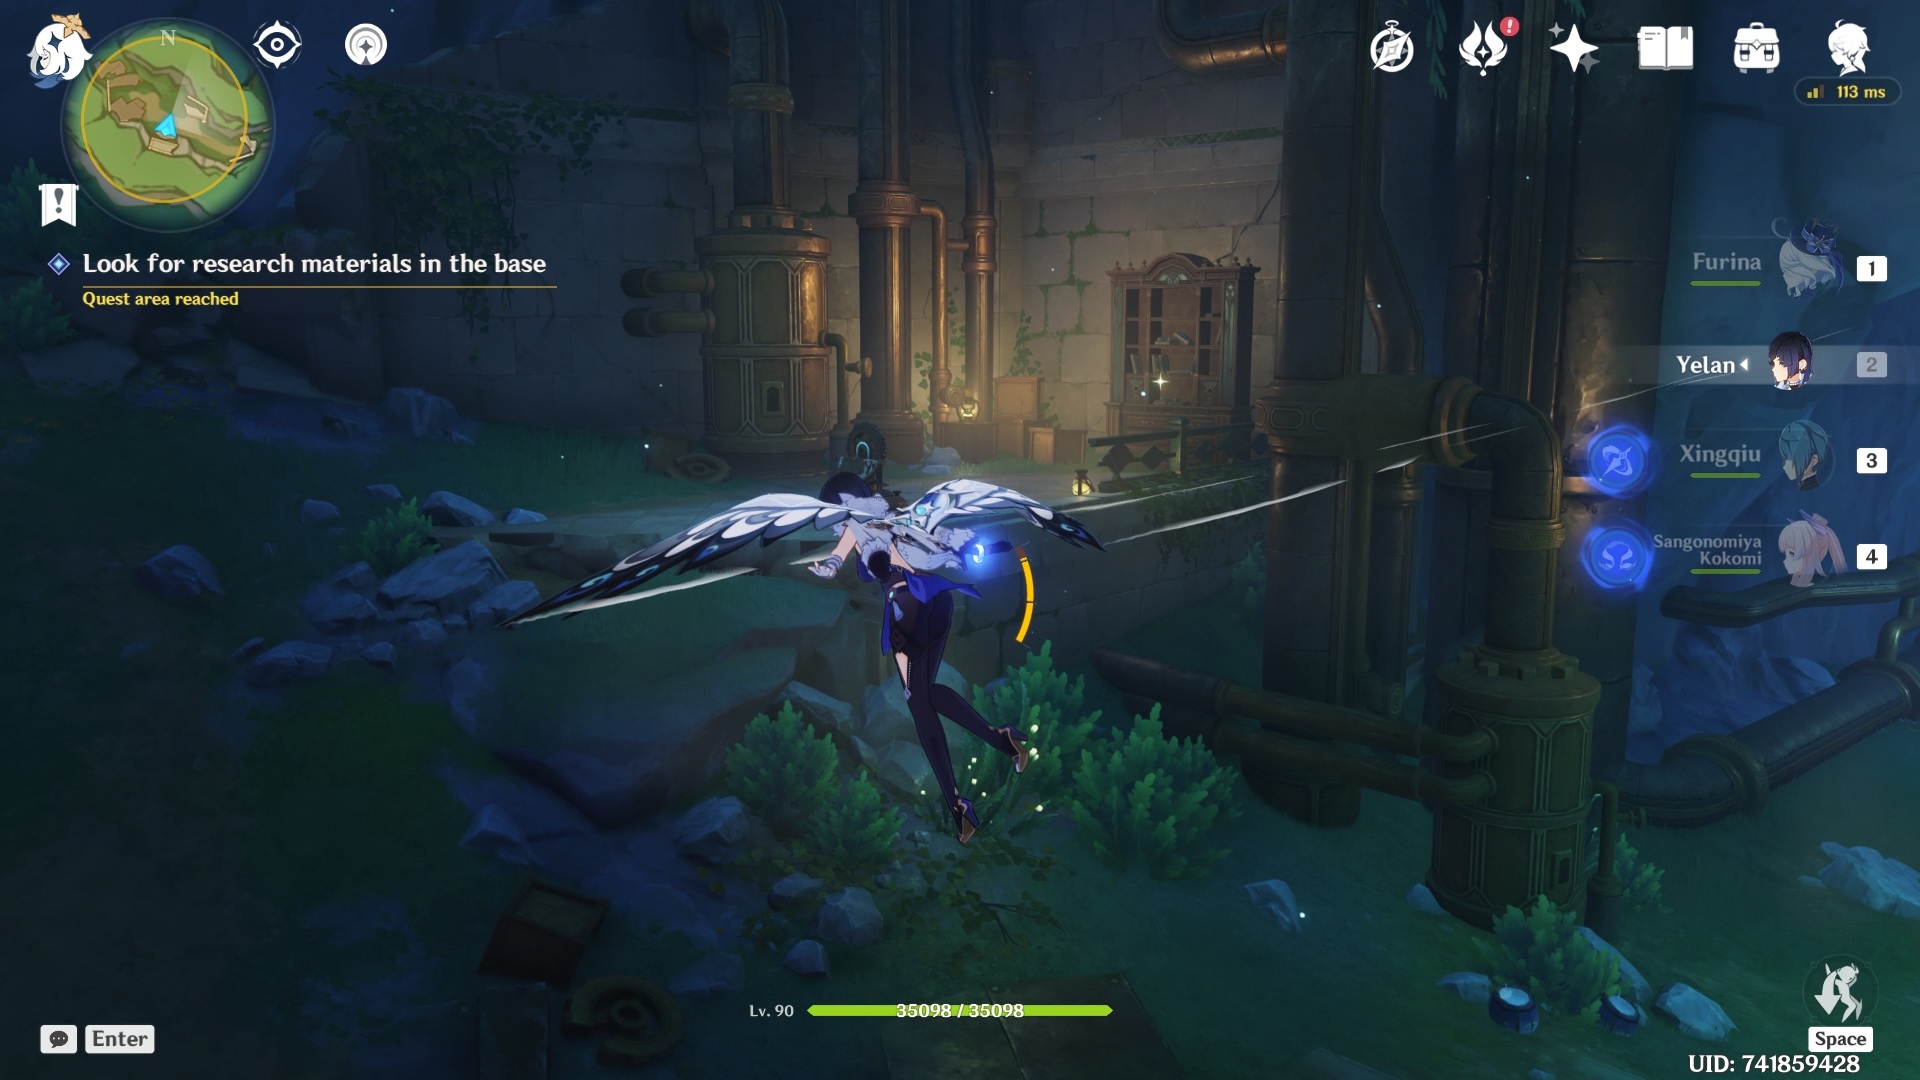
After the dialogue, you are asked to go to Doctor Mosso’s base. Doctor Mosso’s base is inside the ruins deep underwater north of the submerged Tower of Ipsissimus.


Once you get to the ruins, you will find a locked gate.
Go through the door, and you will find a water barrier ahead.
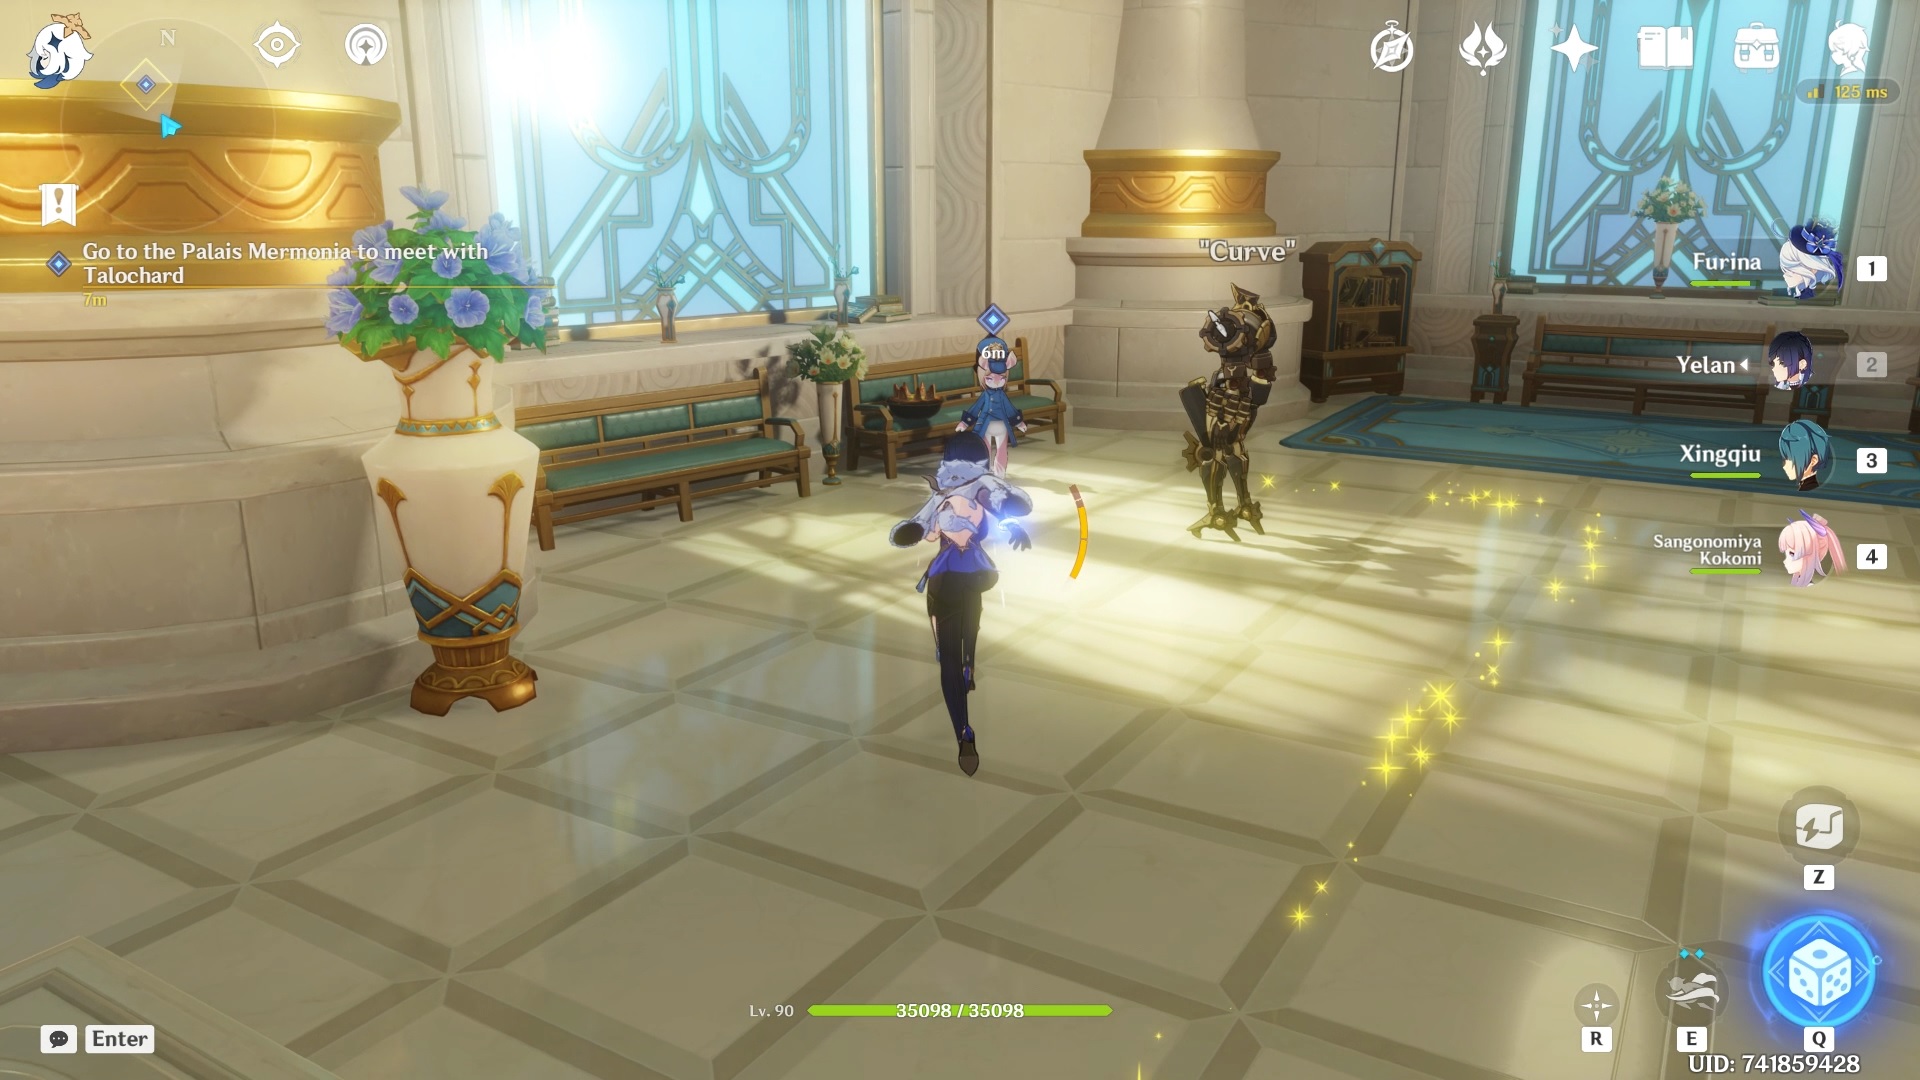
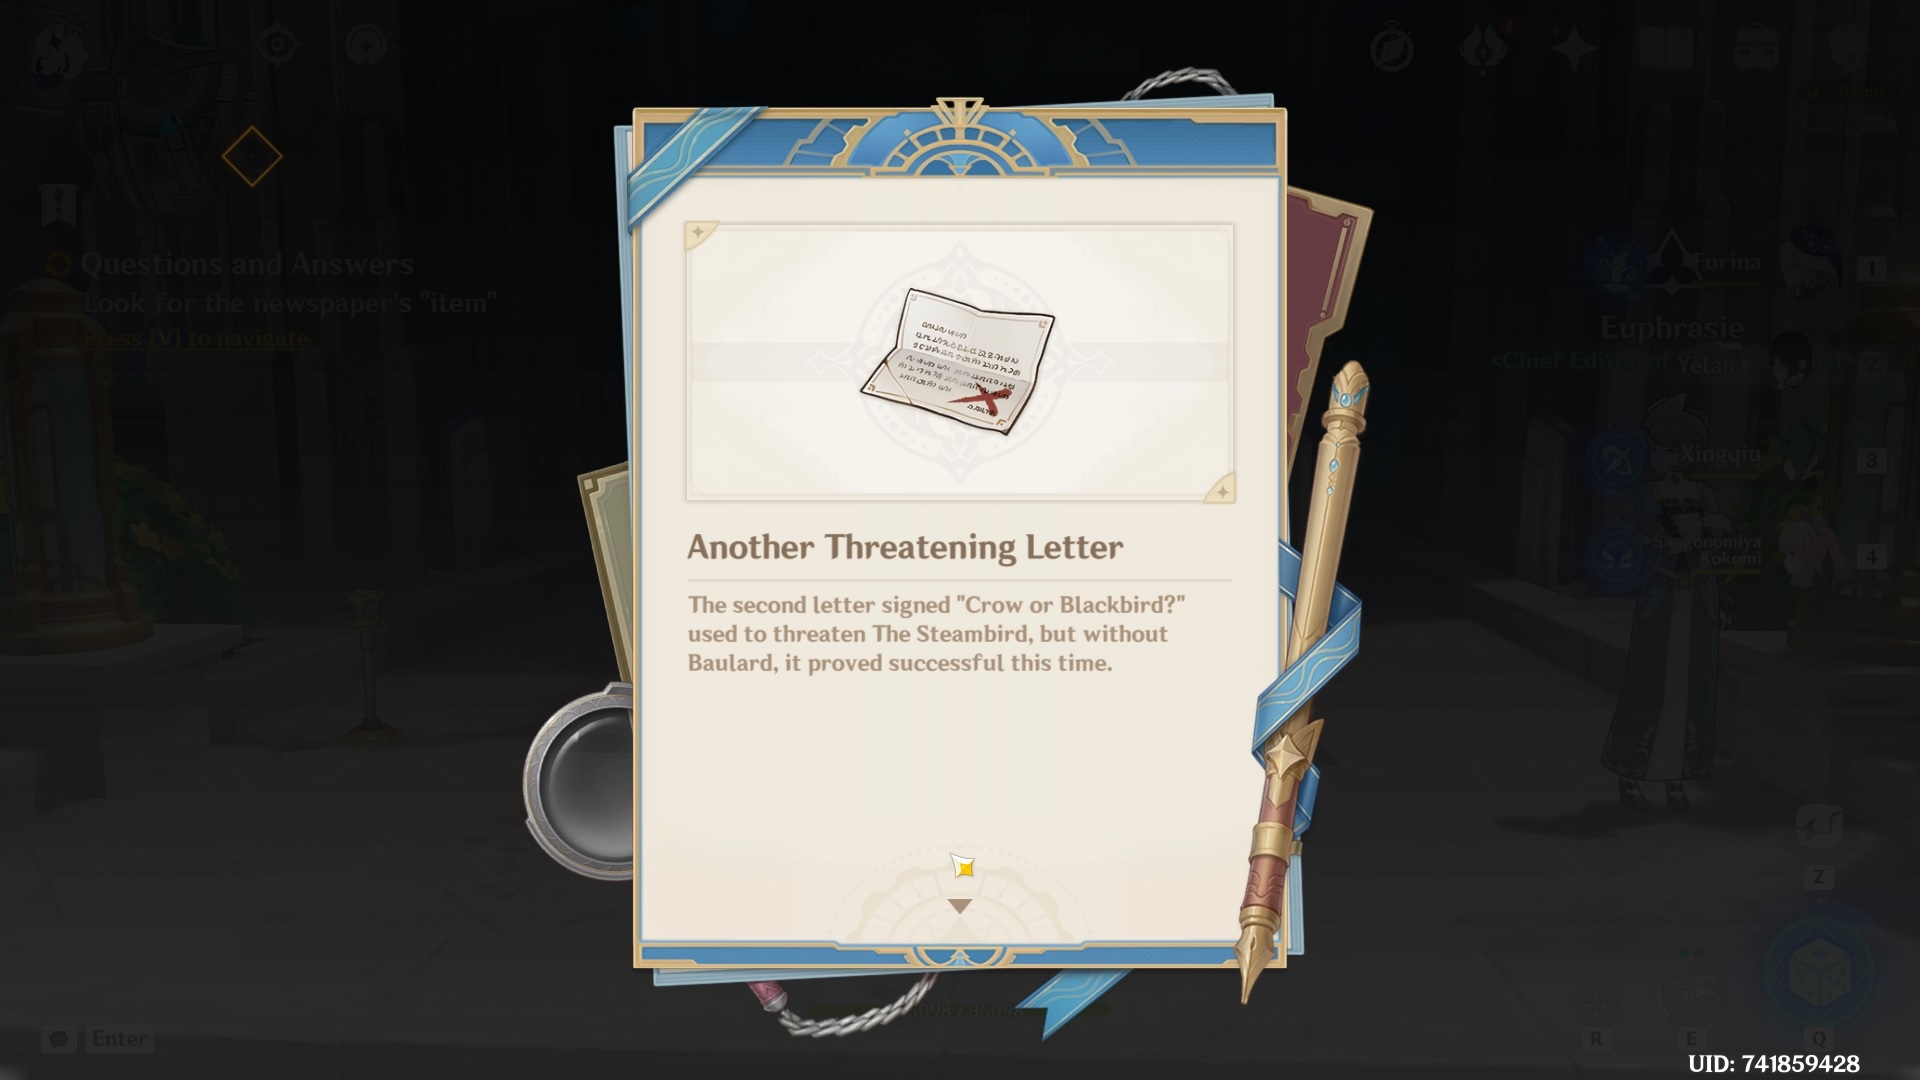
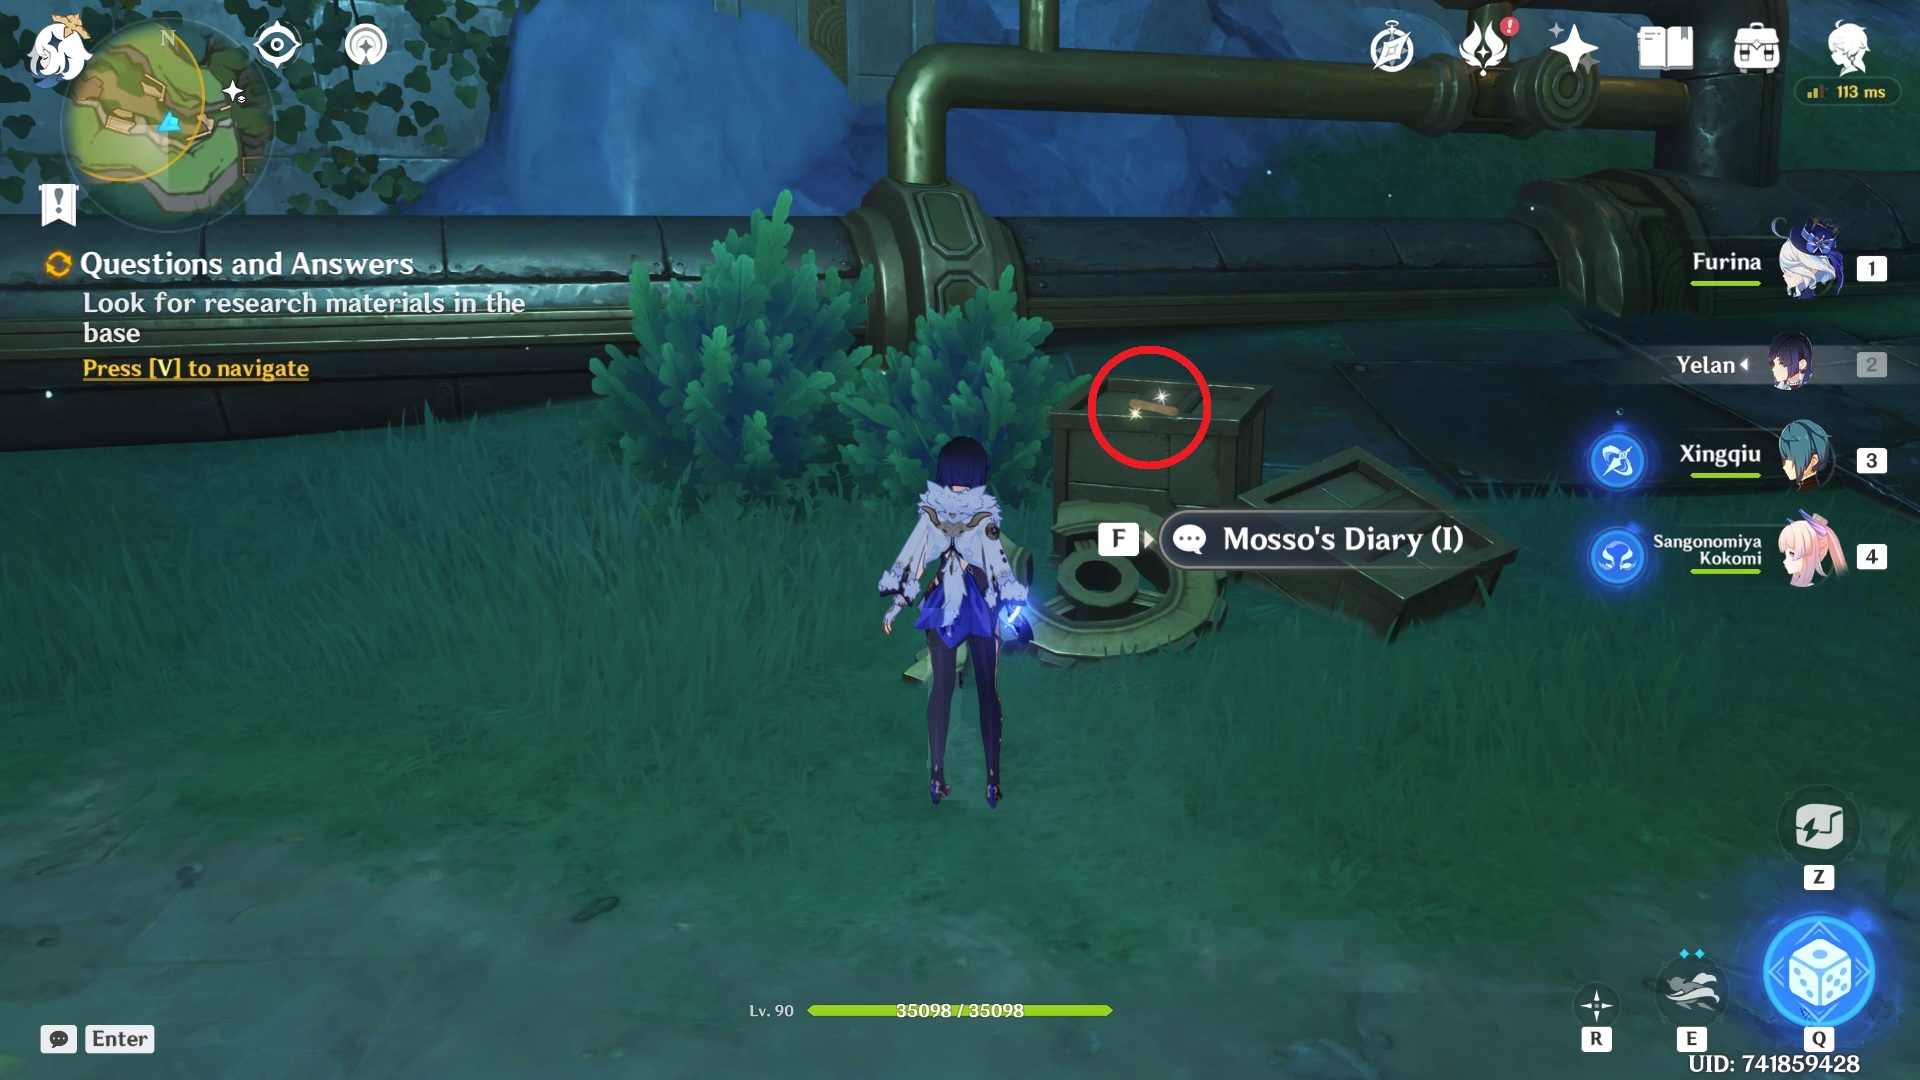
You will find Talochard and “Curve” inside the base. After talking to Talochard, you need to find the evidence. The evidence that you’re looking for is called “Letter send to the Editor-in-Chief.”
However, there are three more diary entries you can find. Let’s find them all and continue to the letter.
Mosso’s Diary (I)
The first page is on a box right by the entrance.
Mosso’s Diary (II)
The second page is behind the terminal on an elevated surface to your right. You do not need ladders for this one as you can just walk up to it.
The diary page is on the ground next to the bookshelf.
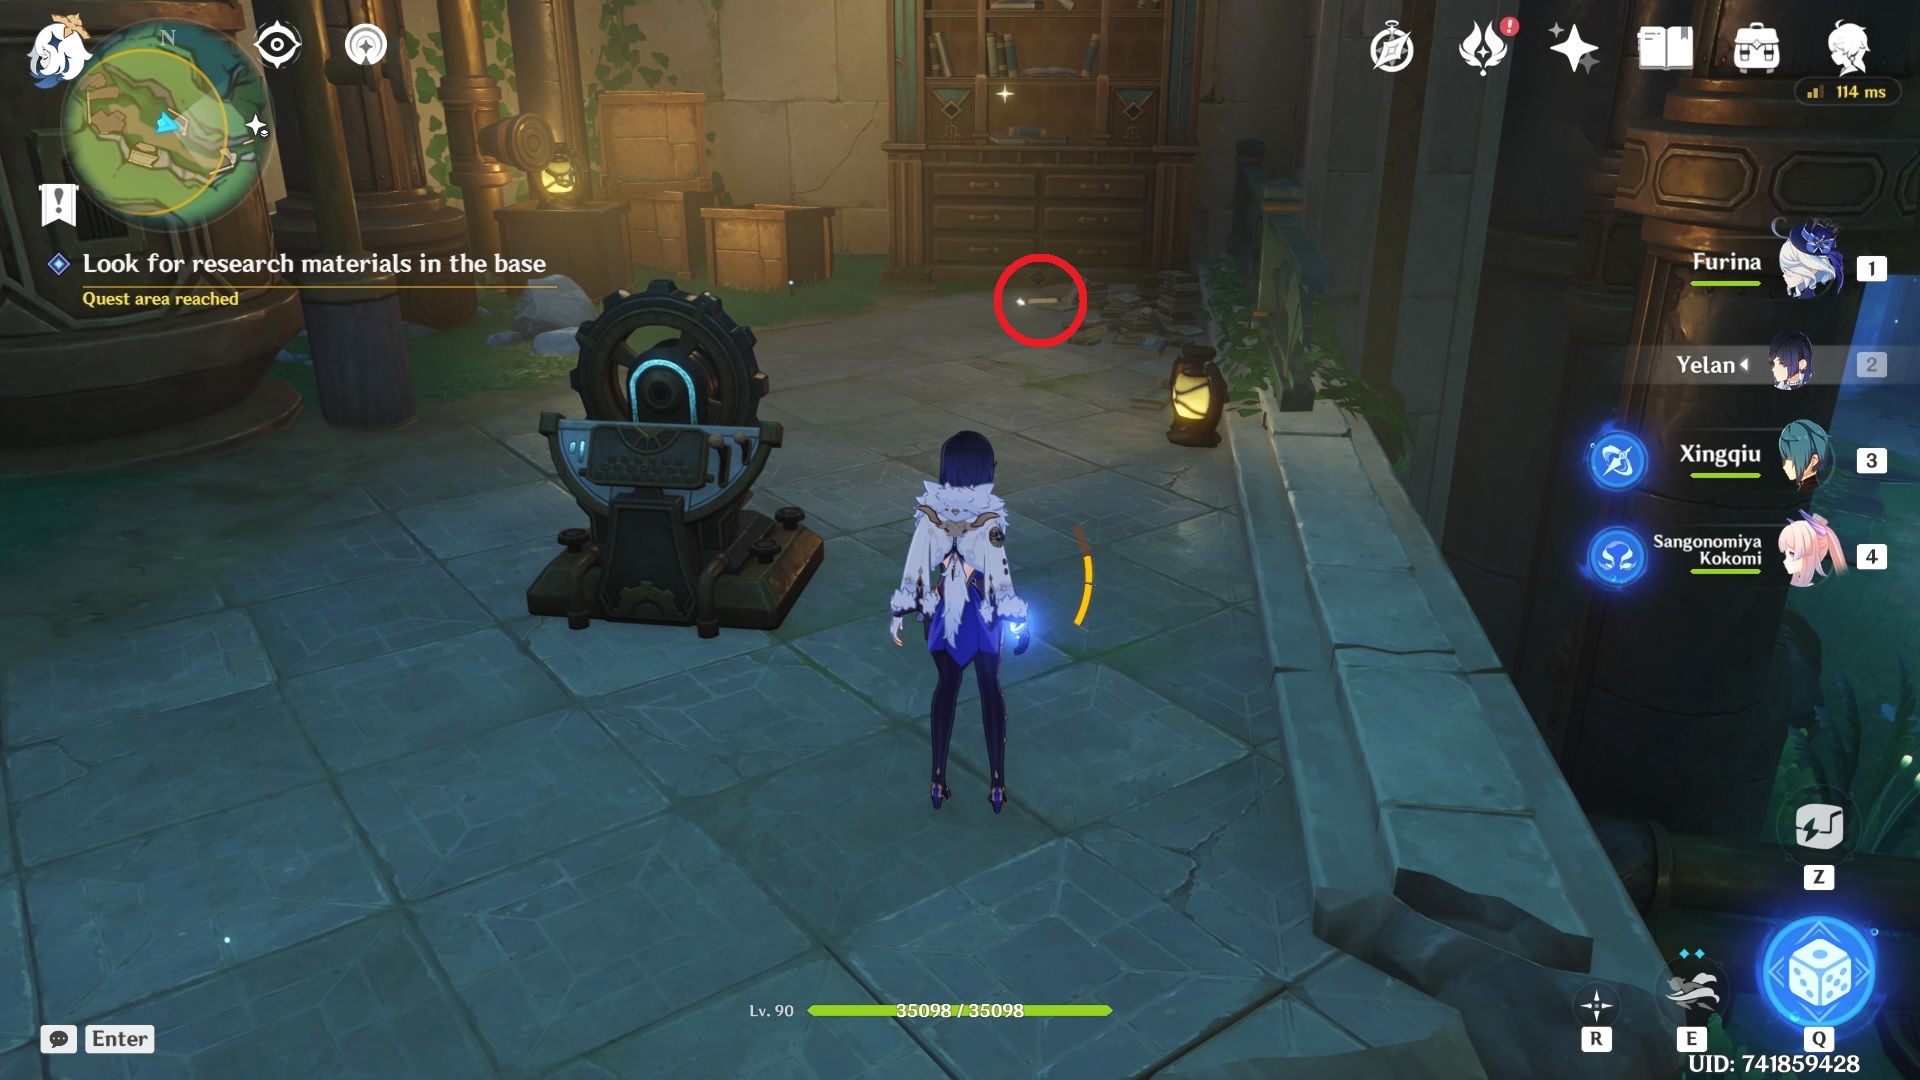
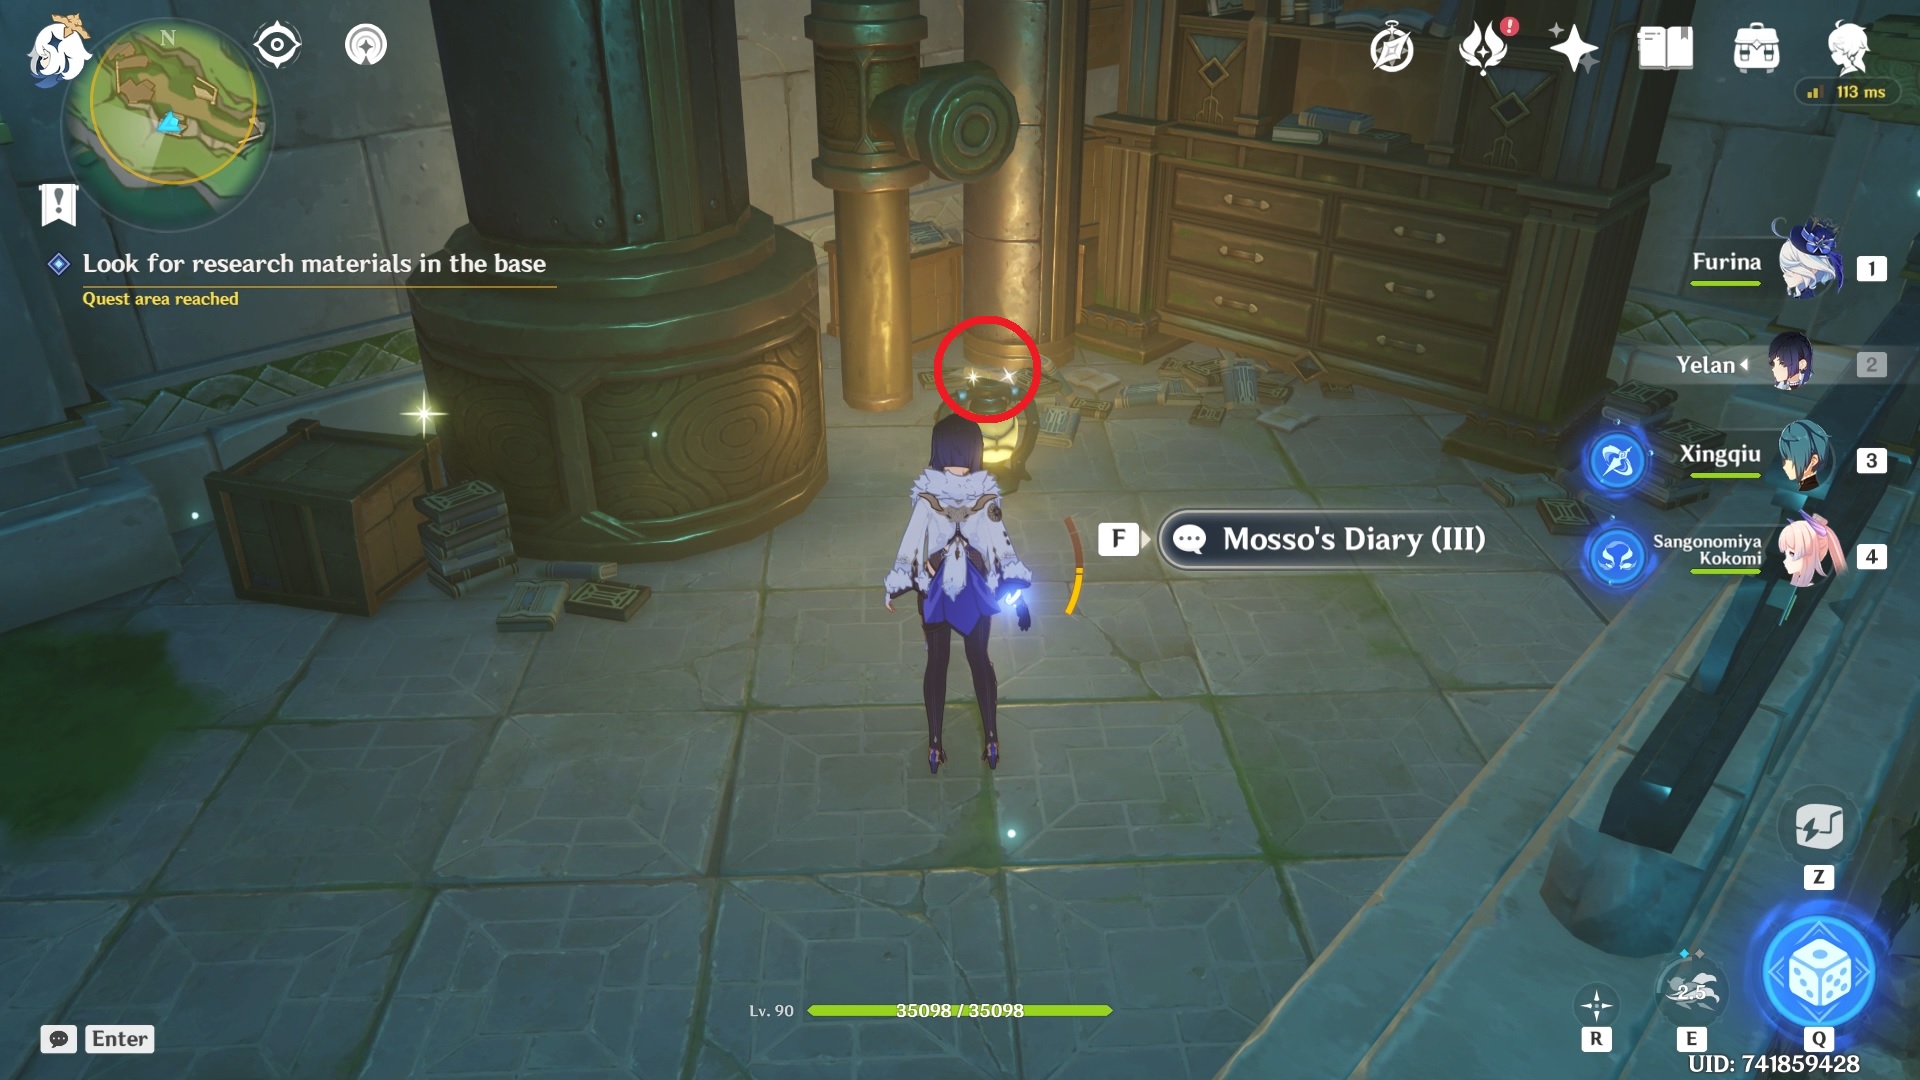
Mosso’s Diary (III)
The third page is on a lantern which is on an elevated platform opposite of where you got the second page from.
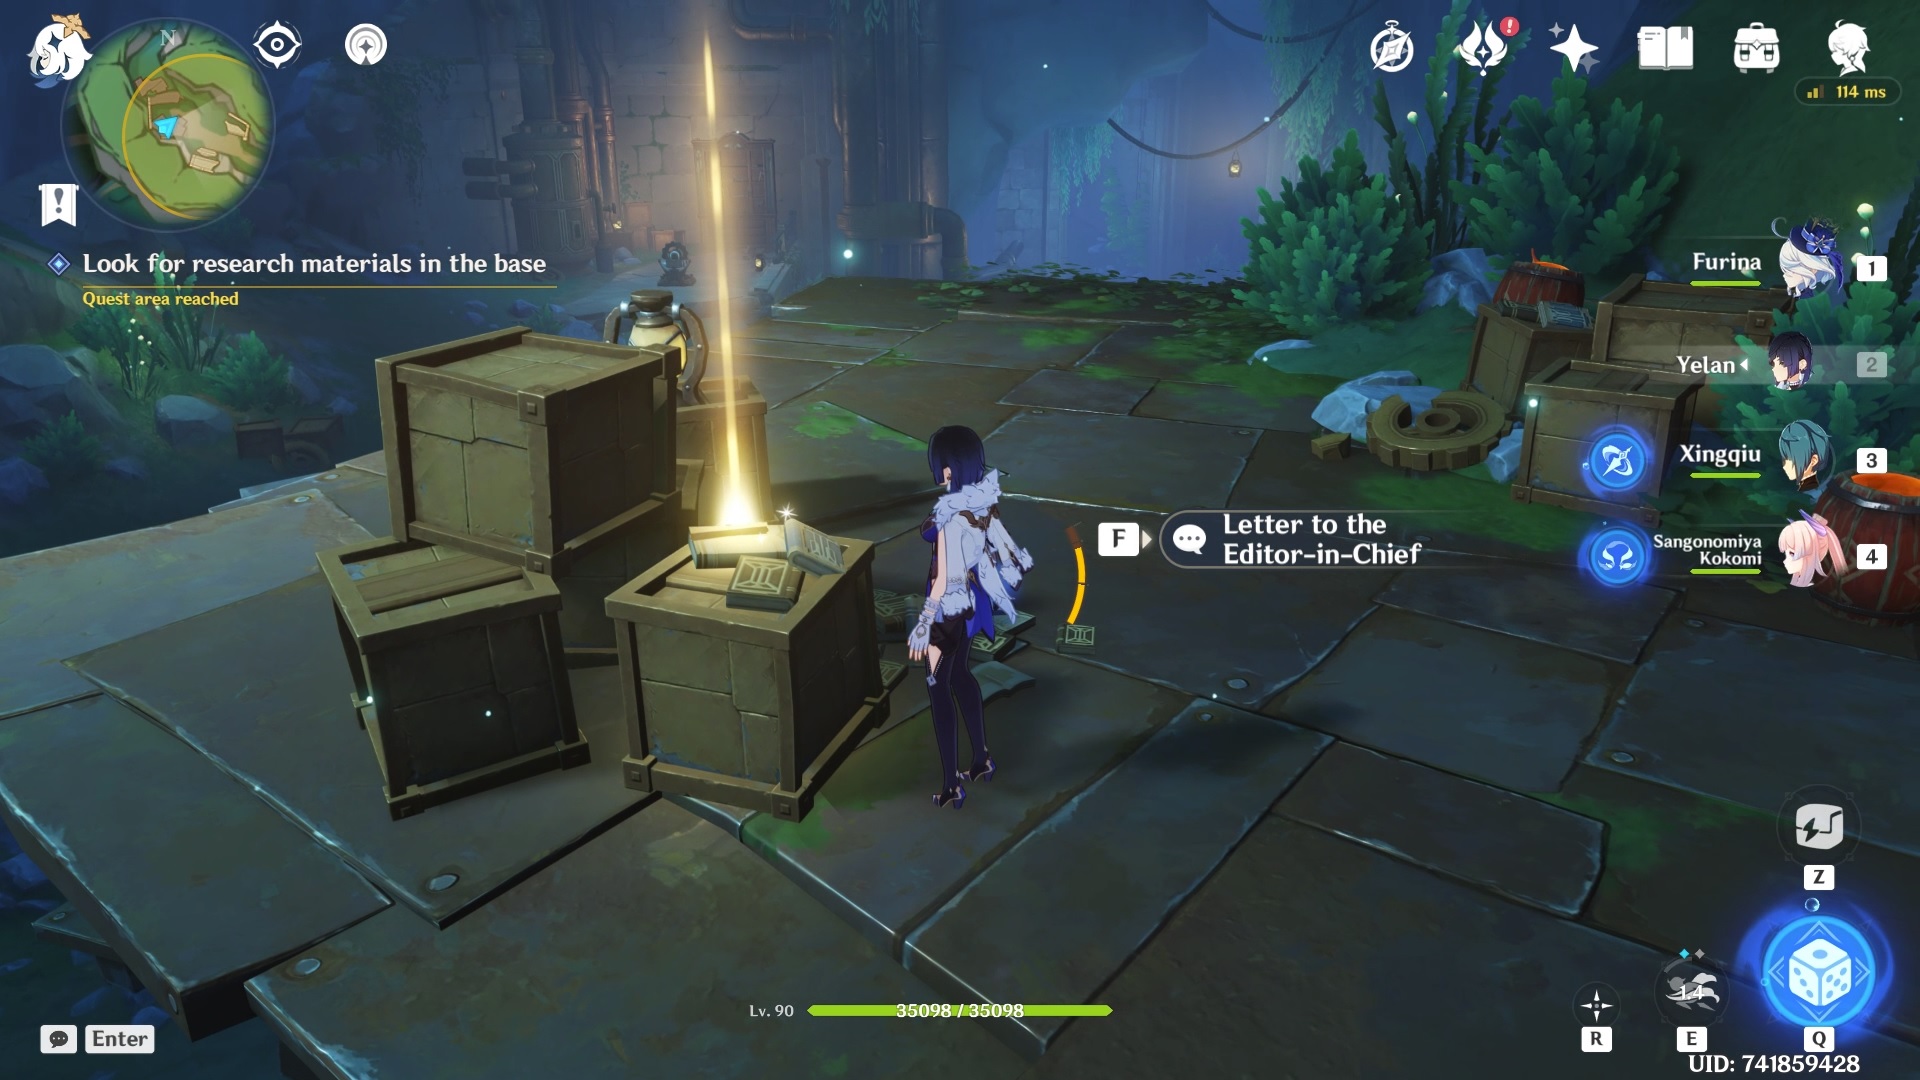
Letter to the Editor-in-Chief
The letter is on an elevated wooden platform deeper into this area. Take the second set of ladders up to the metallic platform and you will find a glowing indicator on some crates.

Once you’ve acquired the letter, some Fatuis will spawn. Eliminate them. Keep fighting them until “Curve” fixes the cannon.

Once the cannon is fixed, operate it and aim down once to aim at the incoming Fatui members. You don’t have to move the cannon in any other direction but down.
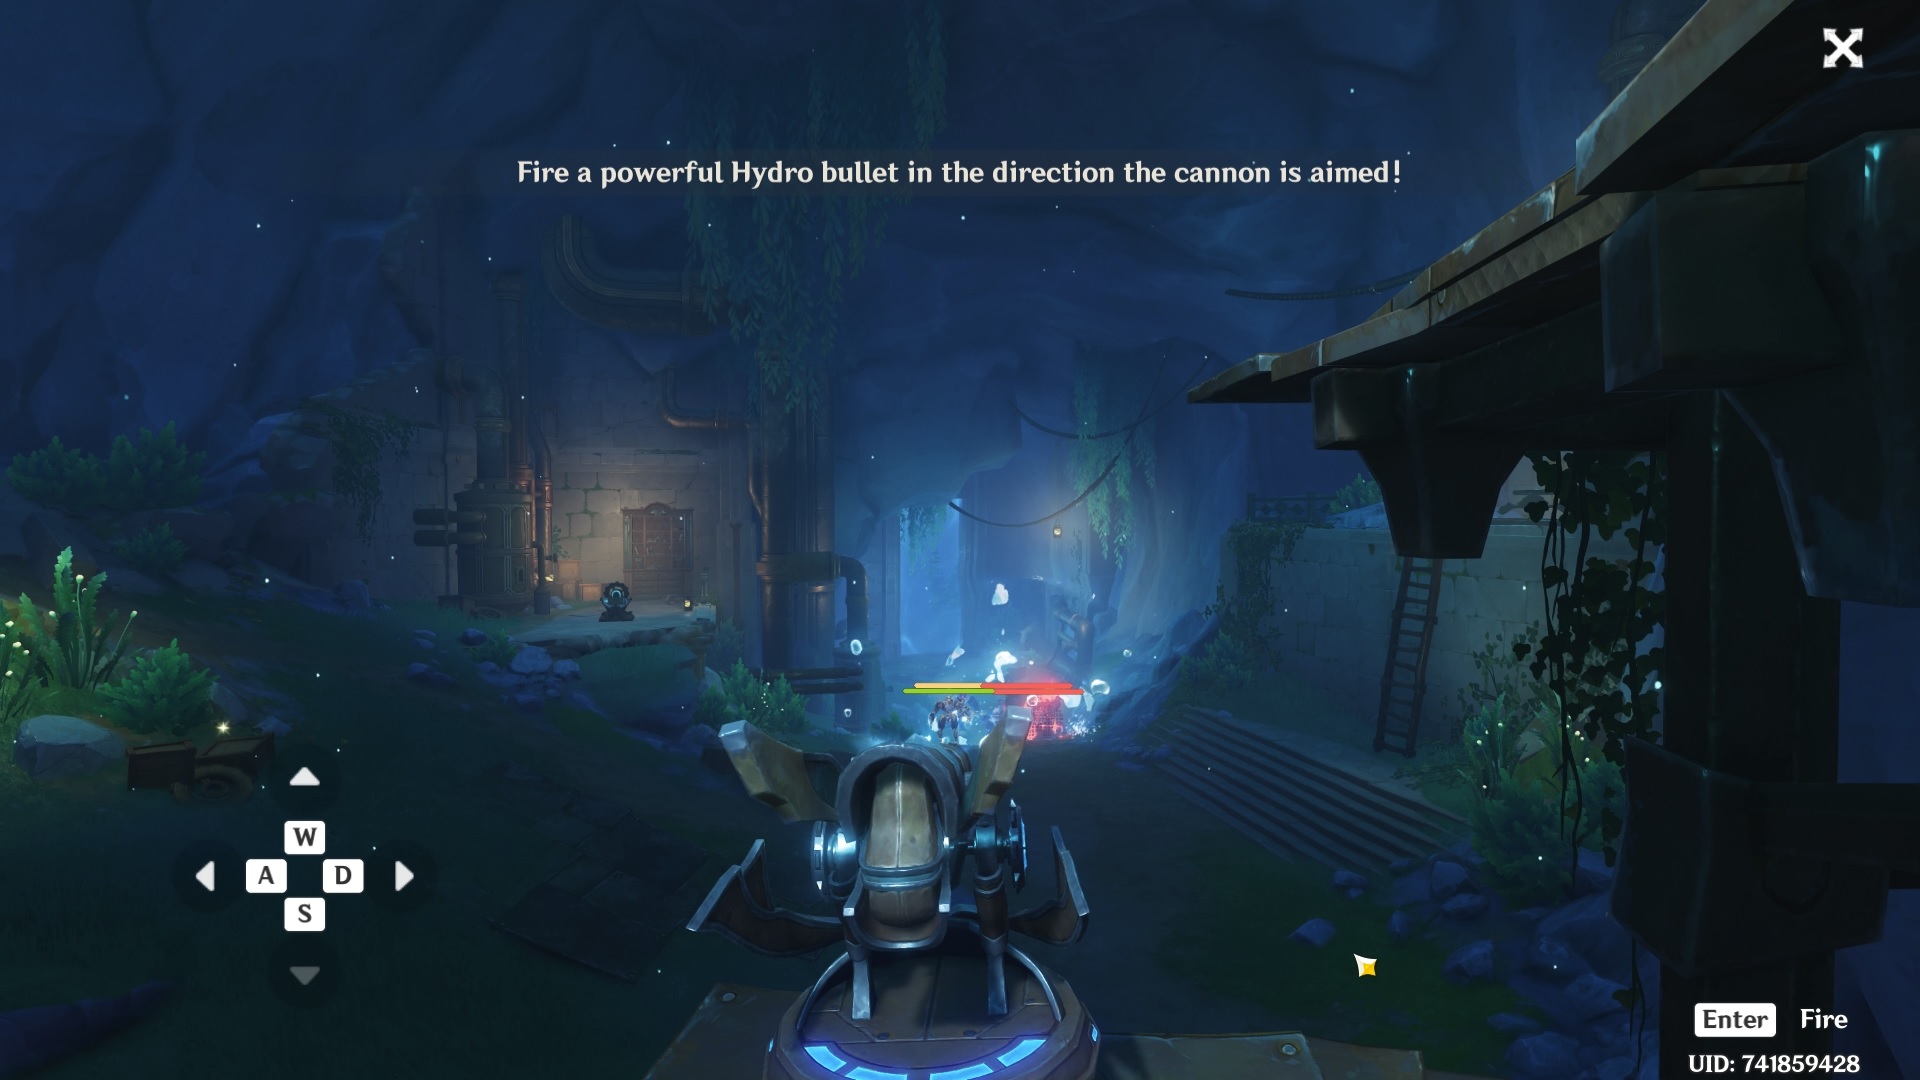
After defeating all the Fatui members, make sure you exit the cannon operation to proceed with the quest. It won’t automatically take you out.
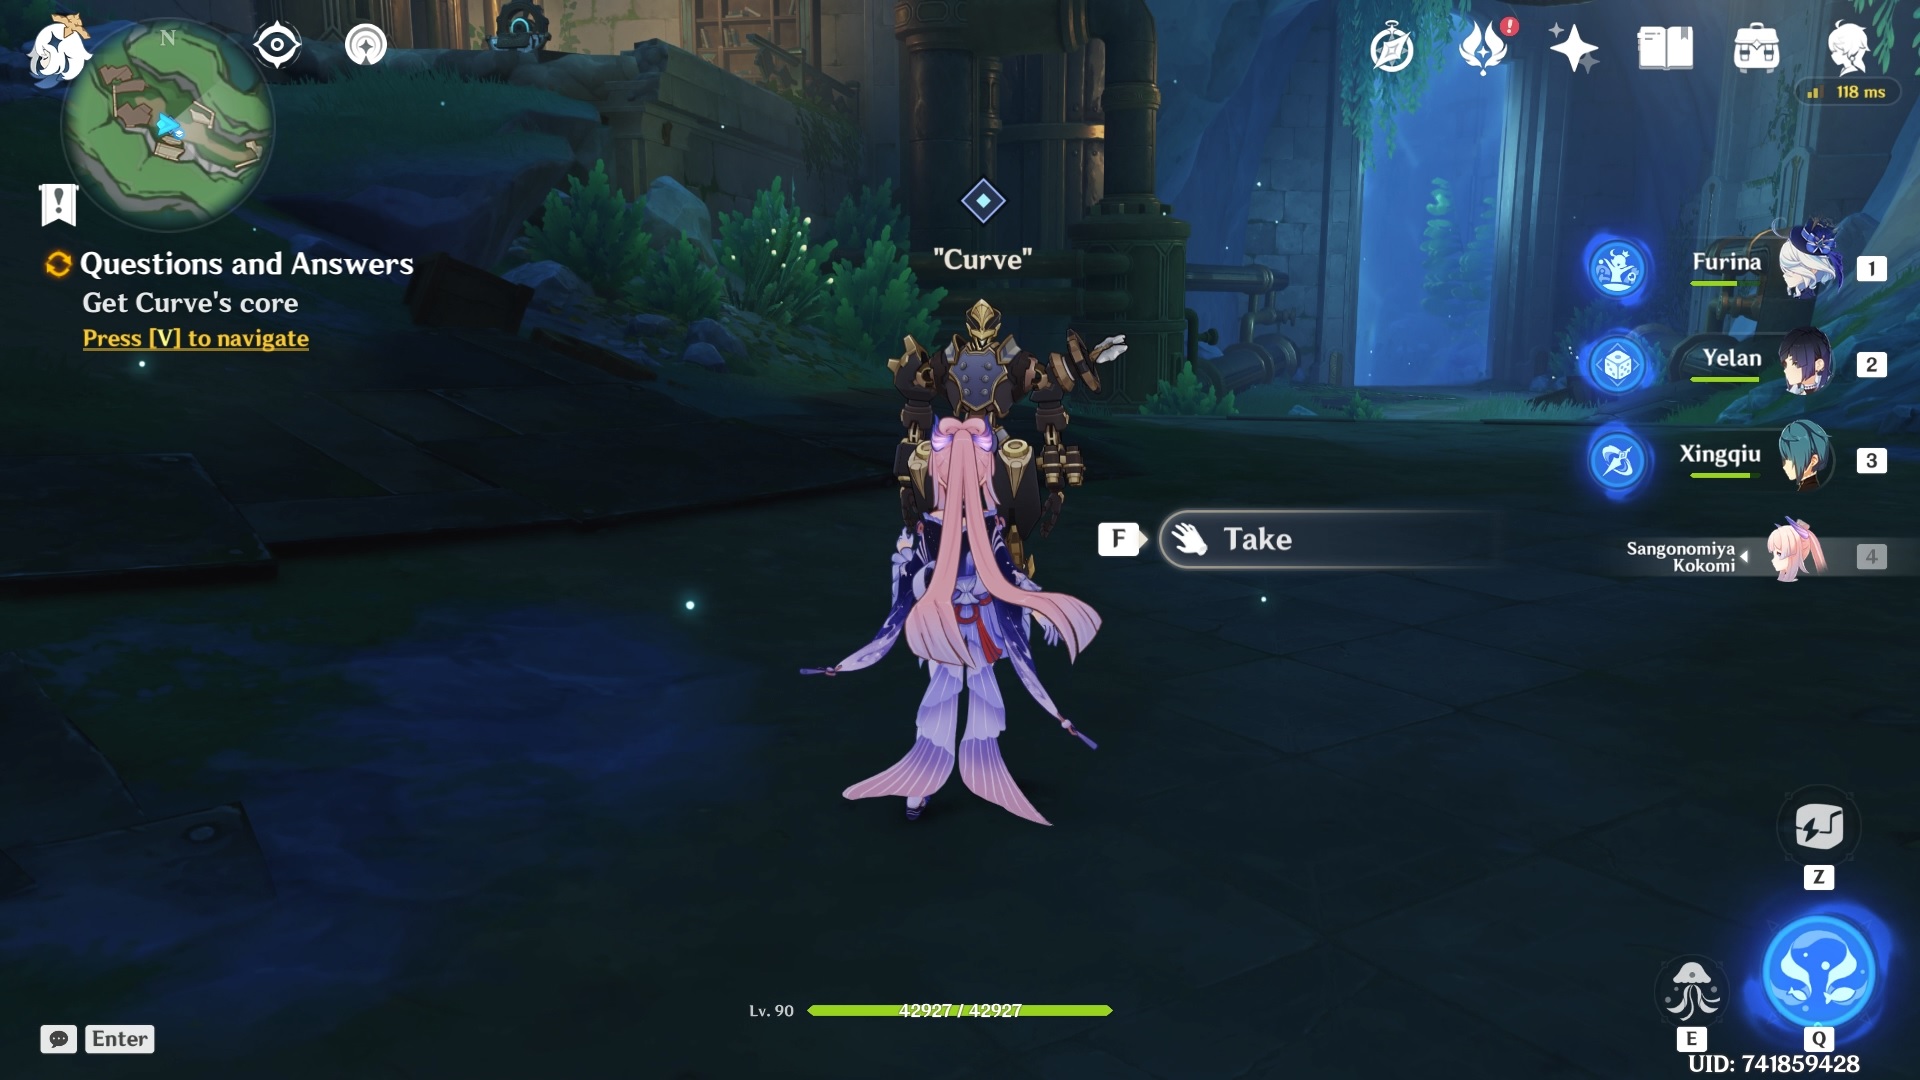
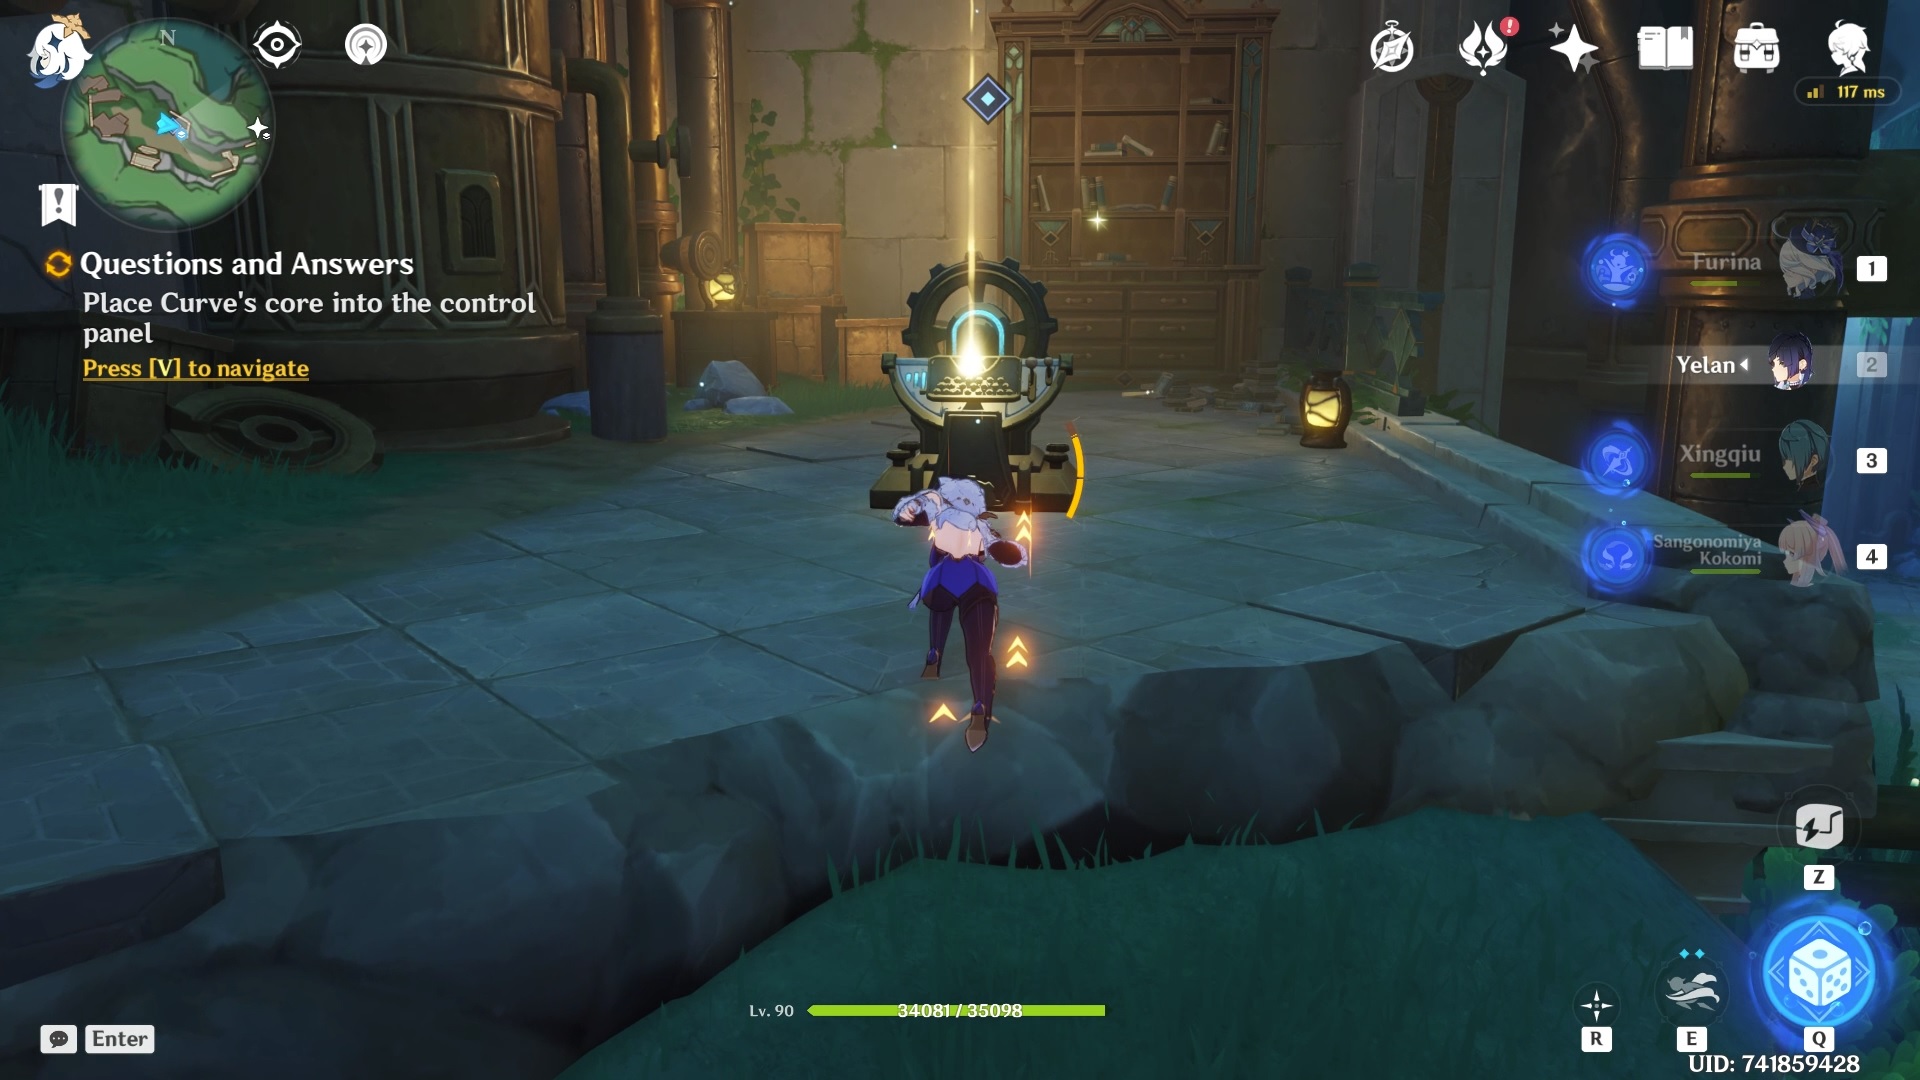
Following a short cutscene, interact with “Curve” to acquire his core, then install it into the control panel terminal situated to your left — the same terminal where you previously discovered the second Mosso Diary page.
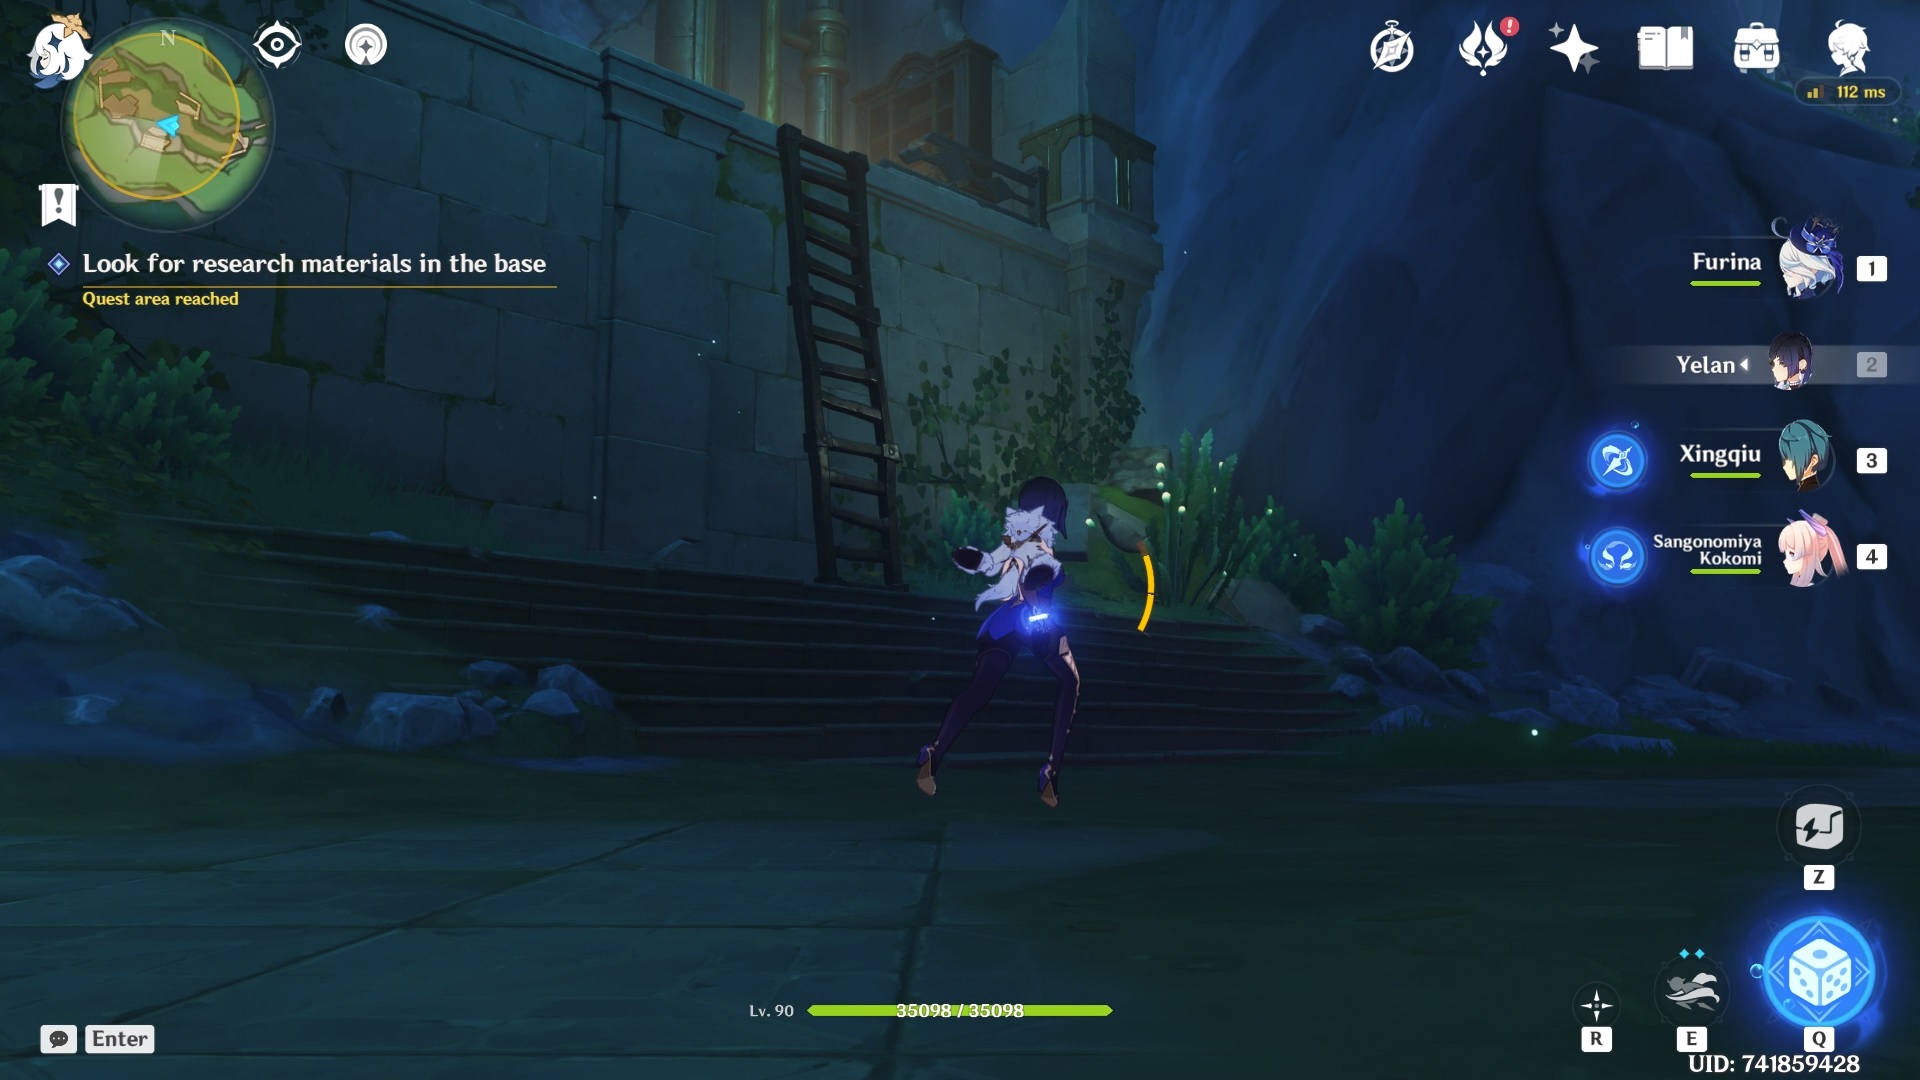
After that, head deeper into the cave towards northwest to head to the safe room.
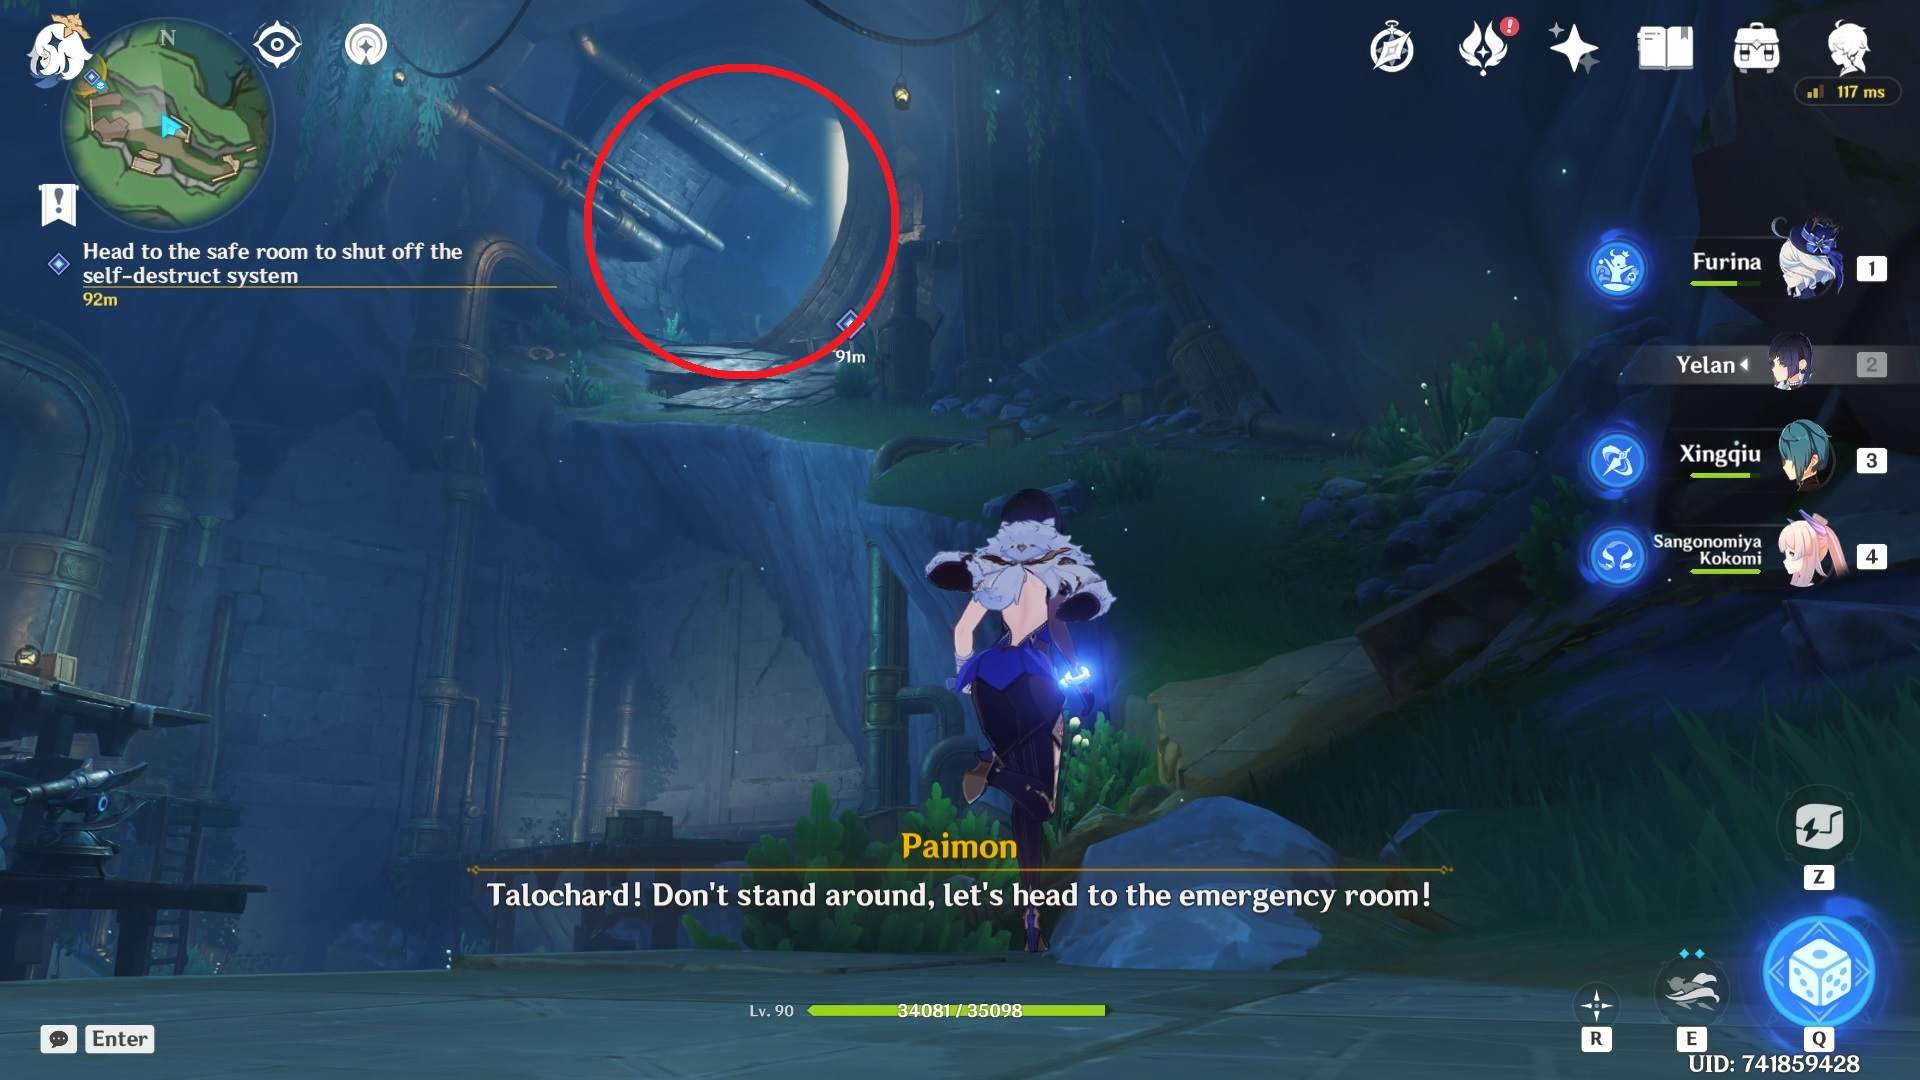
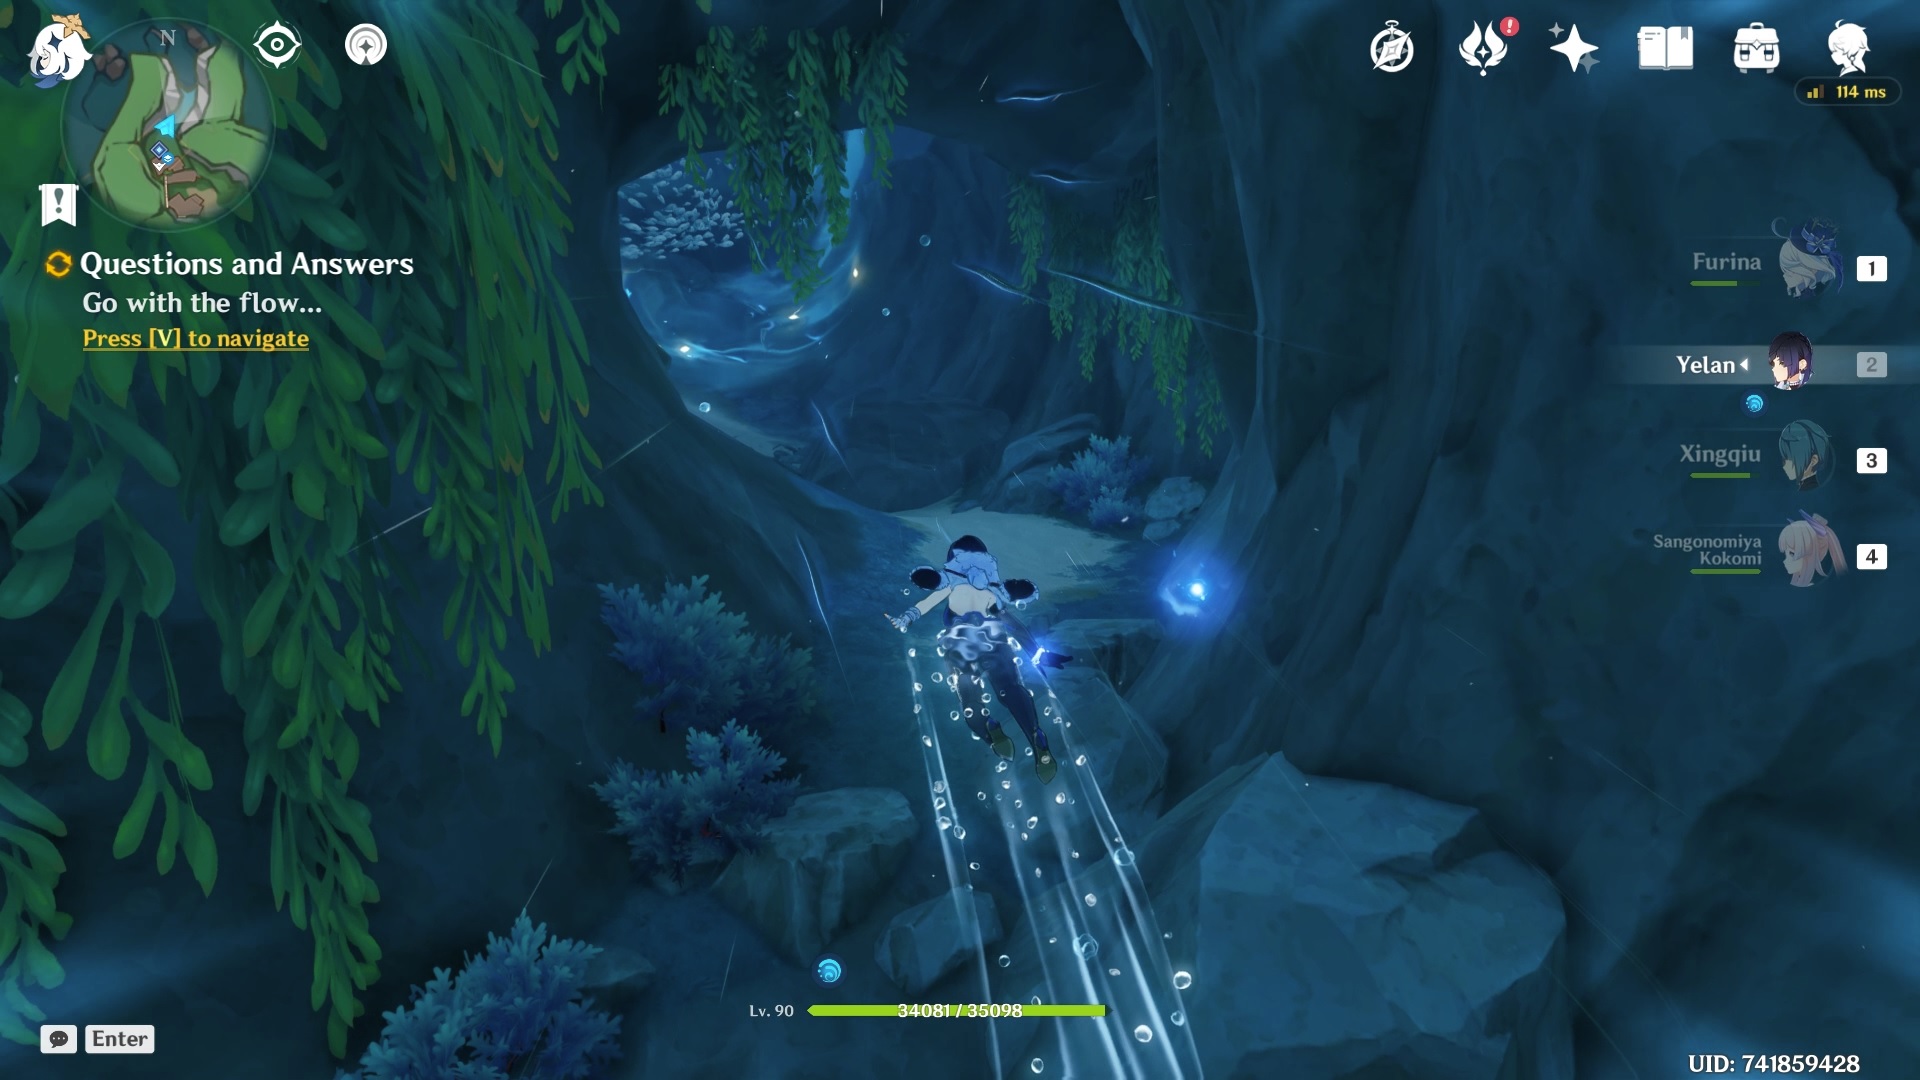
When you’re through another cutscene will play after which the whole place will be flooded with water.
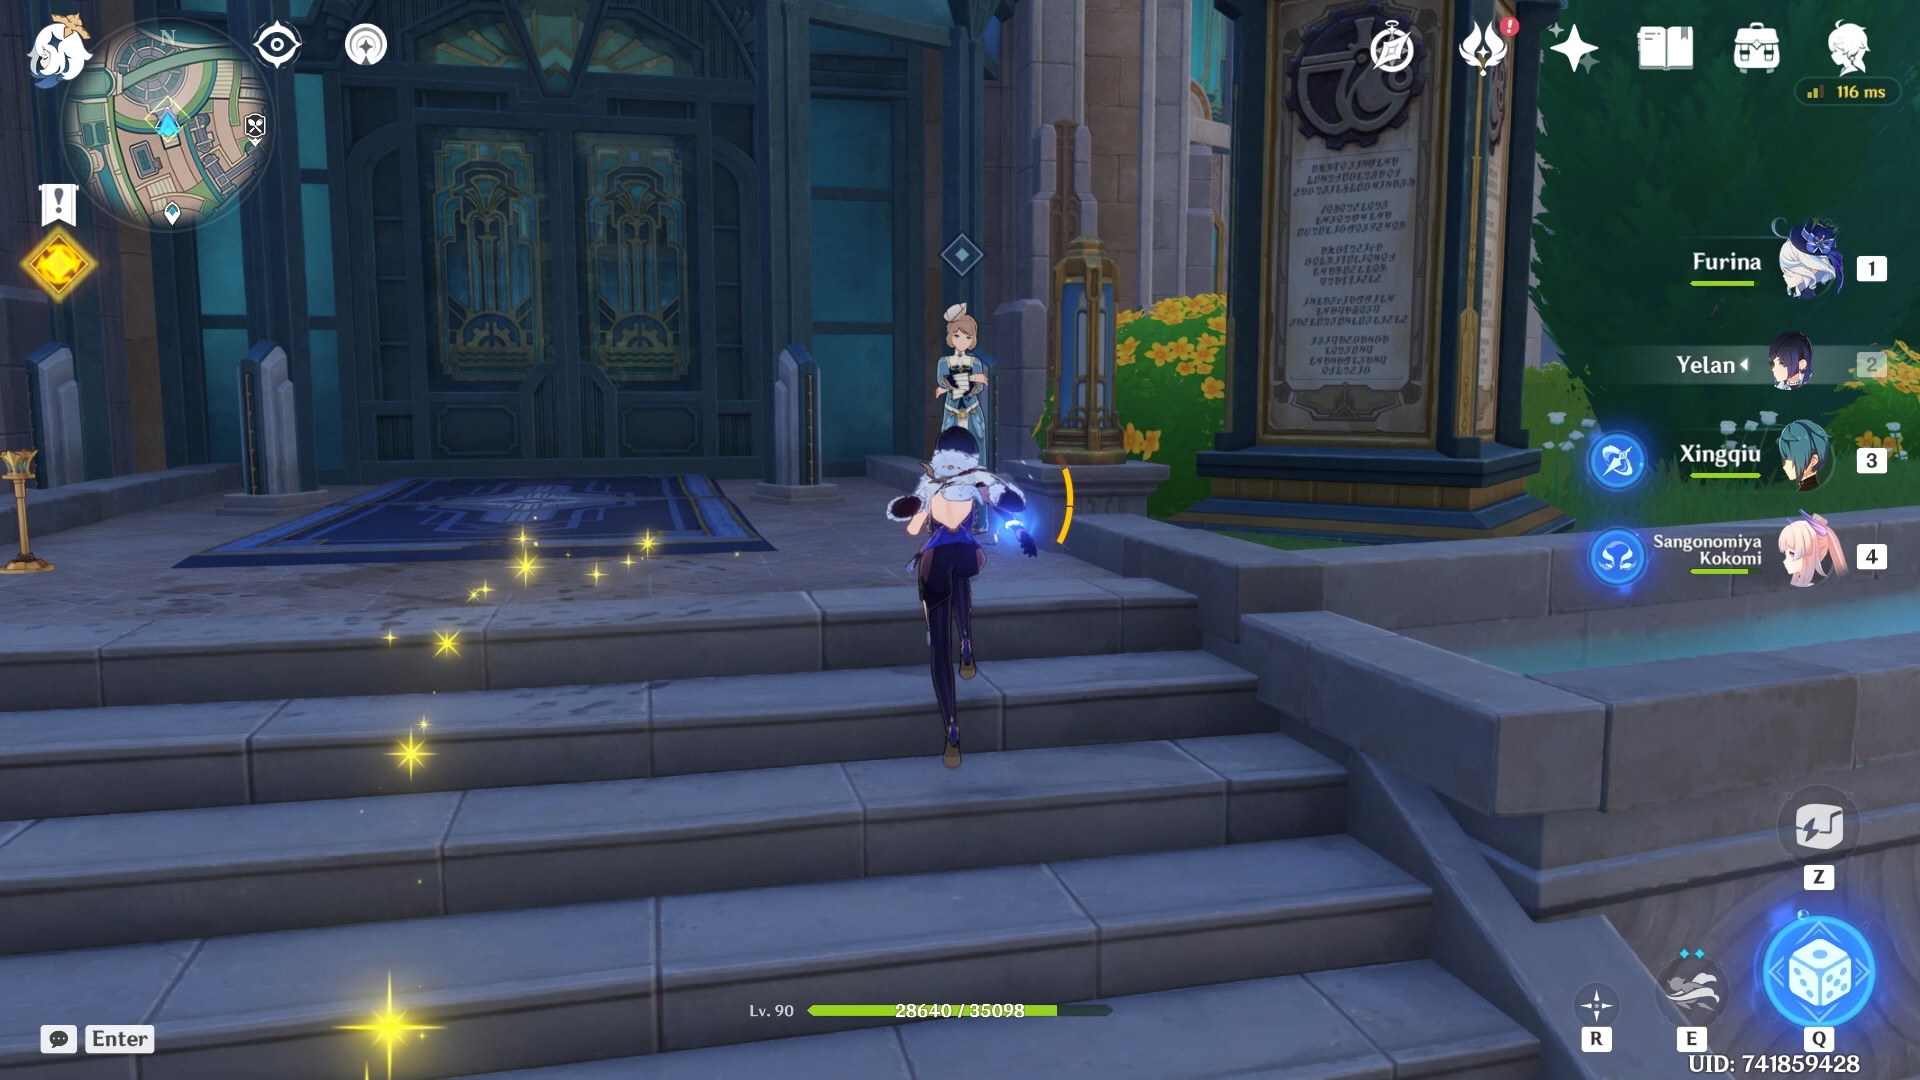
When you leave, you will be back outside Hotel Debord, where you will find Editor-in-Chief Euphrasie.
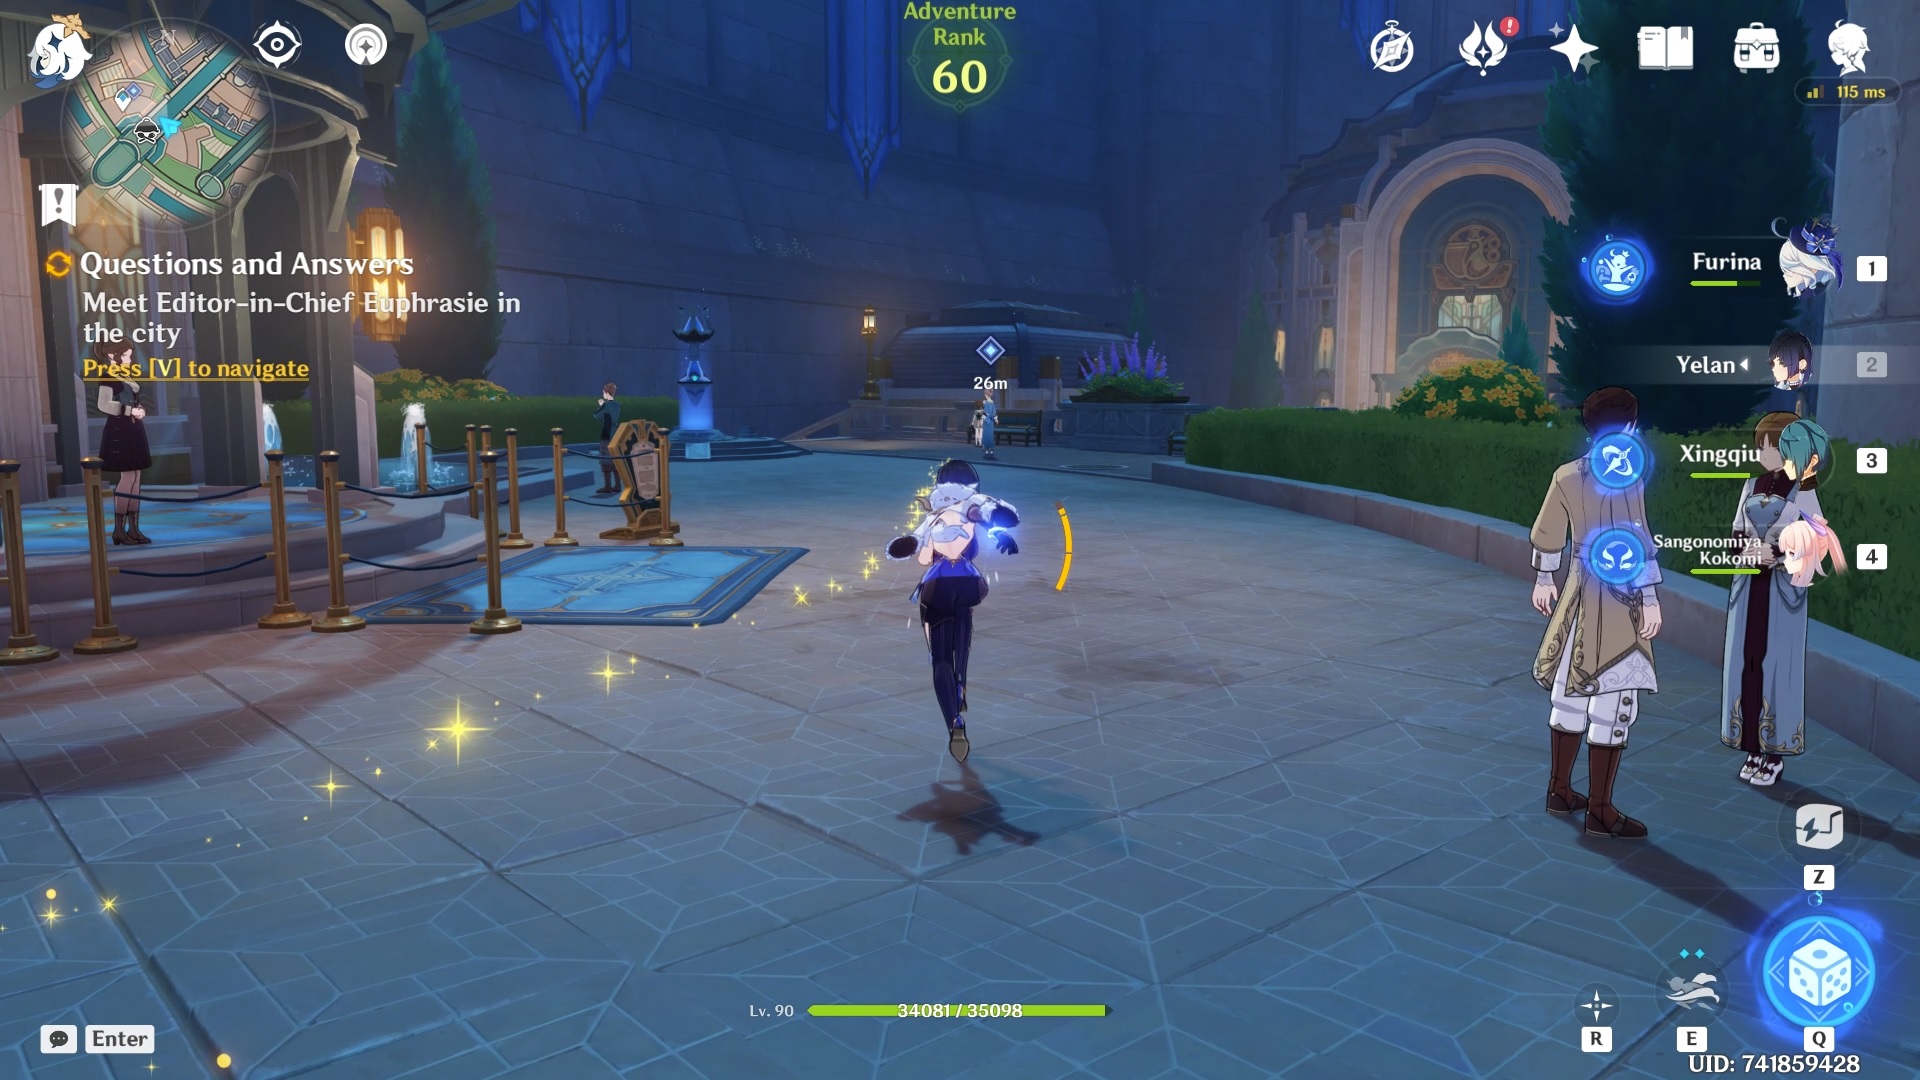
Speak with her to complete Act 3 and finalize the Questioning Melusine and Answering Machine world quest series.